Easy SSL Certificates for Lab Environments
In a home lab environment, we often want to test various functionality as we would use in production or otherwise. Nowadays, SSL connectivity is for the most part the standard when it comes to connecting to any type of web interface, console, etc. For most applications, in a home lab we can most likely deal with the certificate warnings presented when it comes to browser connectivity. However, at times we may want to have true SSL connectivity without warnings or errors presented to truly test applications in the home lab environment by provisioning a root CA and having the ability to provision multiple certificates. Recently, I was working with a home lab installation of VMware Horizon View and wanted to install a true SSL certificate on the Horizon View Security Server installation. Instead of having to spin up a Windows domain based PKI or even Linux PKI of some sort, and all the prerequisites required, I wanted to be able to stand up a quick and dirty CA certificate server and be able to issue certificates from it. Let’s look at a really powerful little free utility that allows easy ssl certificates for lab environments.
Easy SSL Certificates for Lab Environments
I stumbled on a free utility that I think many may benefit from knowing about called Certificate Management Tool from Real Time Logic that allows quickly standing up a certificate authority, issuing root certificates, and also server certificates for your resources. It is a nifty little install that provides a web-based wrapper around OpenSSL and allows a quick and easy way to provision a PKI infrastructure of sorts for various testing purposes. Let’s look at the installation process.
Installing Certificate Management Tool
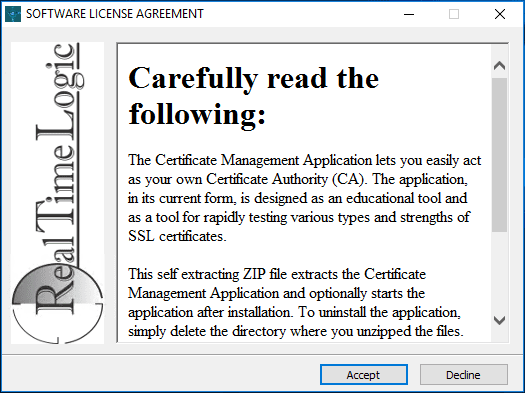
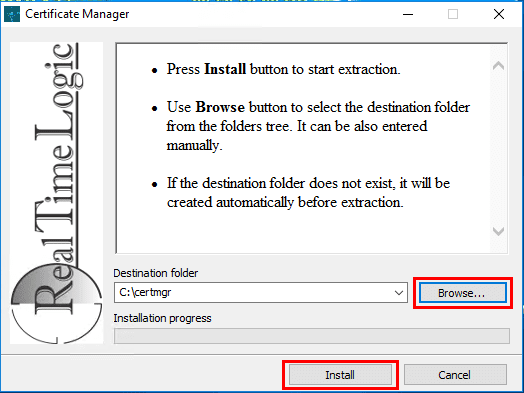
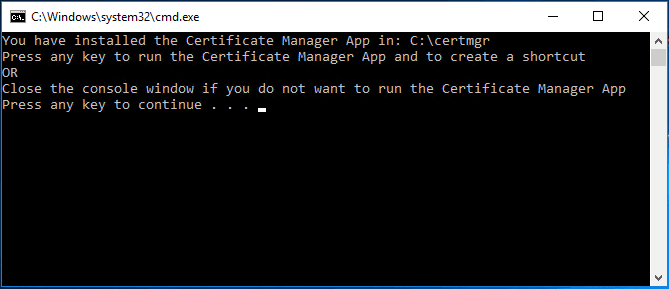
The download of the Certificate Management Tool is a single executable – certmgr.install.exe. Running the installer is intuitive and easy with only a couple of choices involving the installation directory, etc.
Creating the Certificate Database and Root Certificate
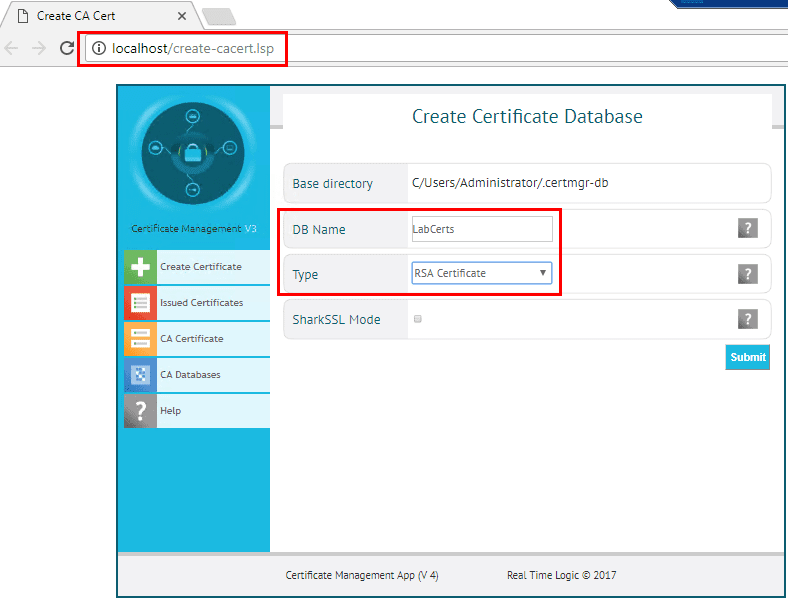
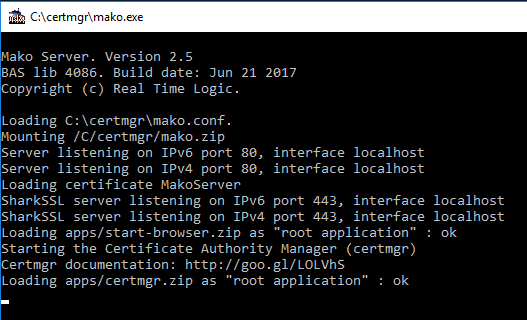
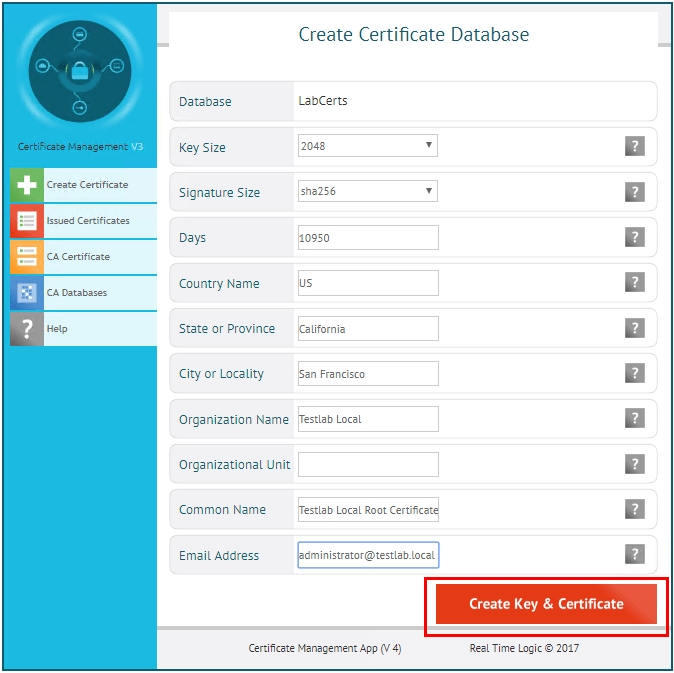
After a few moments, the Certificate Management Tool will automatically launch a browser with the Create Certificate Database showing by default. Here we select a DB Name for the certificate database and the type. For type, I chose the RSA Certificate type. The other option is Elliptic Curve Certificate which is a newer type of certificate that is smaller in size, but not as well supported.
In creating the root certificate, we can simply fill in the usual common information. The main difference with the root certificate creation is we can simply place a descriptive phrase in the Common Name field. When finished, click the Create Key & Certificate button.
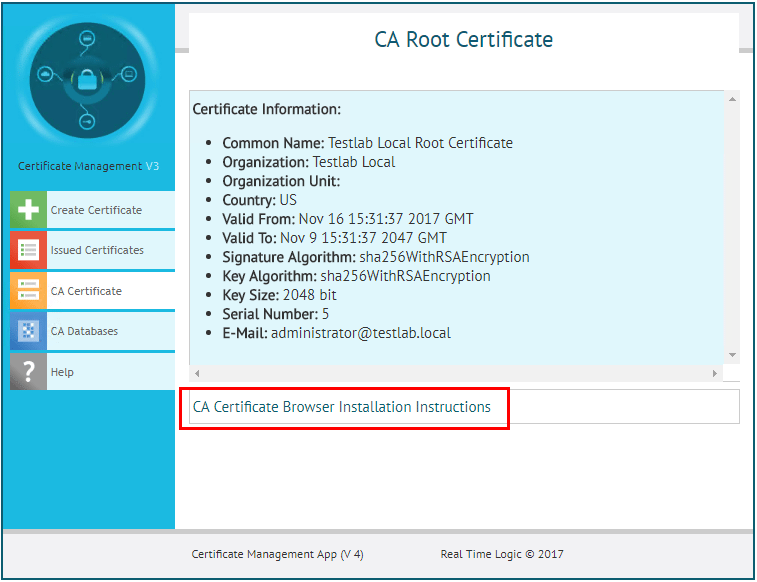
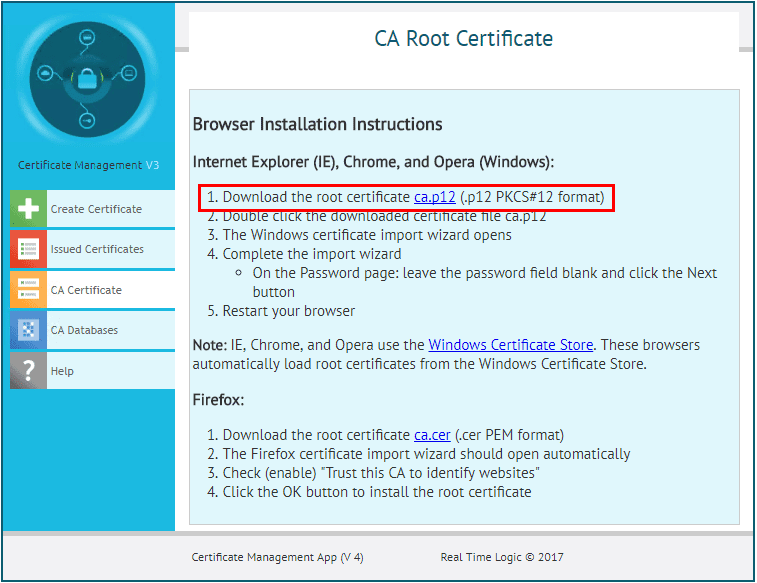
A summary screen will display. Click the CA Certificate Browser Installation Instructions to display a page where we can pull down the root certificate.
Download the root certificate by clicking the link.
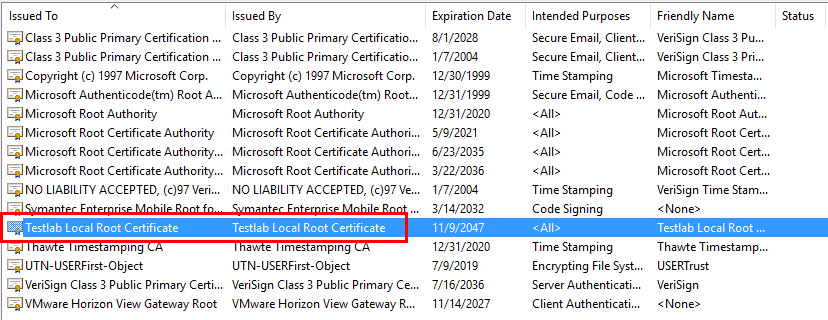
Below, I have downloaded the root certificate and placed in the root certificates store of the server.
Creating a Server Certificate
Now, we can get started creating our server certificates. Click the Create Certificate button on the left to display the form for creating our certificate.
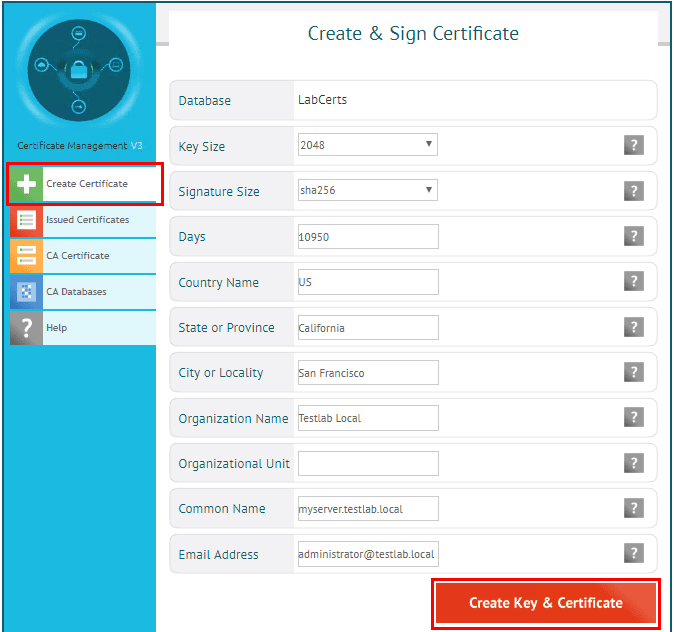
The difference here is once the certificate is created, we don’t get a download option.
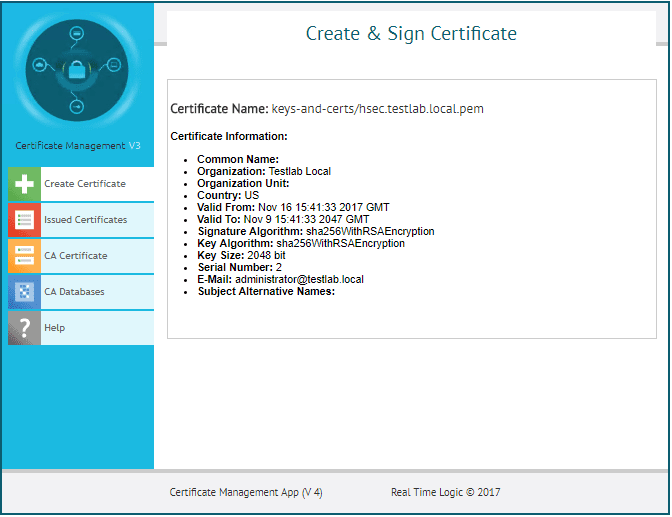
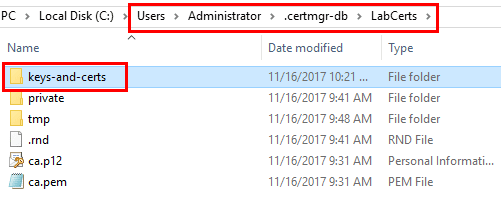
The server certificates are created in the profile directory of the user you are running it as under the .certmgr-db directory and then the name of your database you created. The subfolder called keys-and-certs houses server certificates that are created. There will be a pair of files a .pem file which is the certificate file and a .key file which is the private key.
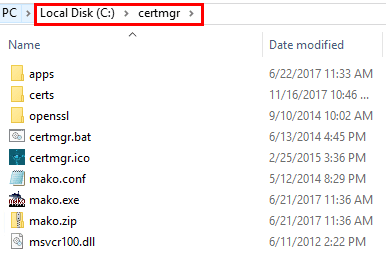
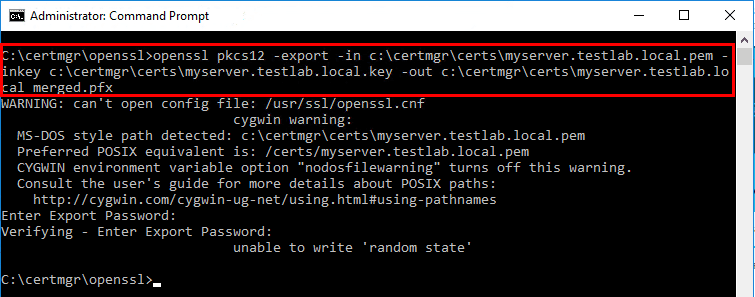
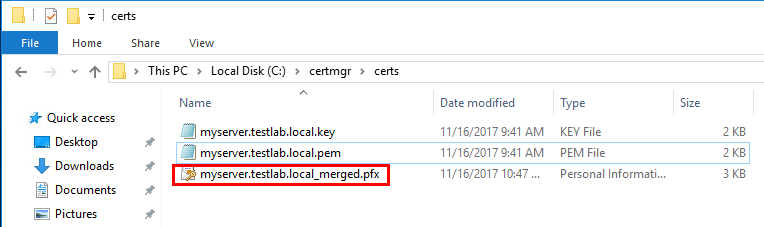
To easily create a .PFX file format that contains both the server key and the private key, we can run a simple OpenSSL command to combine the two files. Note, installing the Certificate Management Tool, installs OpenSSL in the installation directory. We can use this to perform the combine operation. Also, note below, I received a “unable to write random state” error, which is an OpenSSL error most likely related to permissions even though I am using an administrator prompt. I am still looking into this, however, it did not affect the resulting PFX that worked perfectly.
openssl pkcs12 -export -in <path to .pem file> -inkey <path to .key file> -out <path of resulting .PFX>
Testing the Easy SSL certificate
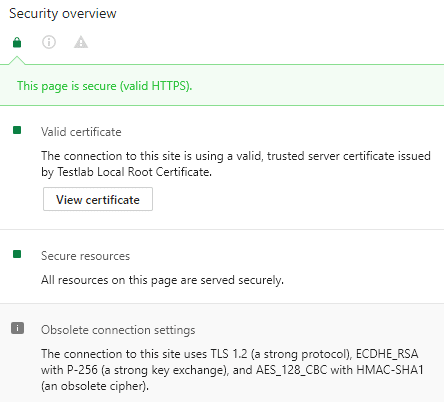
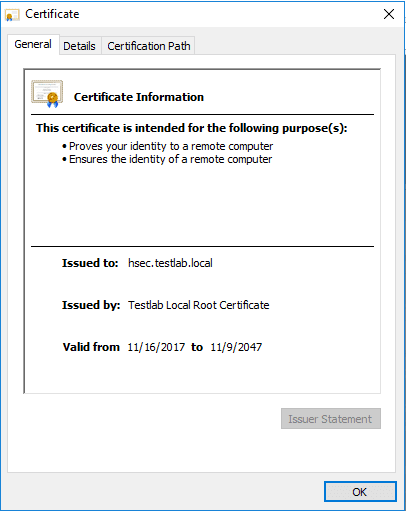
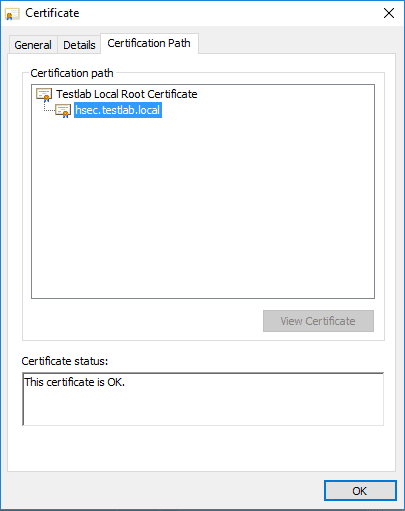
After importing the resulting PFX file onto my server, which as mentioned above, is a Horizon Security server, I was able to test the browser session and it worked like a charm. Below are a few screenshots of checking the certificate out from the browser as well as viewing the certificate itself along with the certification path.
Thoughts
The Certificate Management Tool is a great little utility that allows creating Easy SSL Certificates for Lab Environments. Using self-signed certificates is okay in most cases in lab environments, however, the Certificate Management Tool allows quickly spinning up your own root CA and issuing certificates for testing which greatly shortcuts the process to standing up your own PKI infrastructure.