
You may or may not have heard about nested virtualization. However, nested virtualization is a great way to set up virtualization labs and other learning environments. Nested virtualization in Proxmox is fairly easy to configure. With the Proxmox hypervisor, you can run nested hypervisors inside virtual machines. Let’s see what nested virtualization is and how to set this up in Proxmox.
Table of contents
What is nested virtualization?
Nested virtualization allows running a hypervisor, like Proxmox VE (PVE) or others like VMware ESXi or Hyper-V, inside a virtual machine (VM), which itself runs on another hypervisor. With nested virtualization configured, a host hypervisor is hosting a guest hypervisor (as a VM). Then, the “nested” hypervisor is capable of hosting its own VMs. It allows utilizing the hardware acceleration from the host system and virtualization technology, enabling a VM within another VM.
Why do it?
You might wonder why you would want to run nested virtualization in Proxmox. Well, nested virtualization is a great way to learn. There may be other production use cases. However, with nested virtualization, you can set up one physical Proxmox host in the home lab and then run a cluster of Proxmox hosts as VMs.
By configuring nested virtualization, you can treat the VM hypervisor like any other VM. It means you can use things like snapshots to capture the state of the VM. Then, you can roll it back like any other VM in your environment.
Using snapshots on these nested virtualization VMs allows playing around with and learning new skills, without worrying about breaking things.
Checking Processor Compatibility and Current Settings
First, determine if your Proxmox host’s processor supports nested virtualization. For Intel CPU, use the command SSH into your Proxmox host as root and run the following:
cat /sys/module/kvm_intel/parameters/nested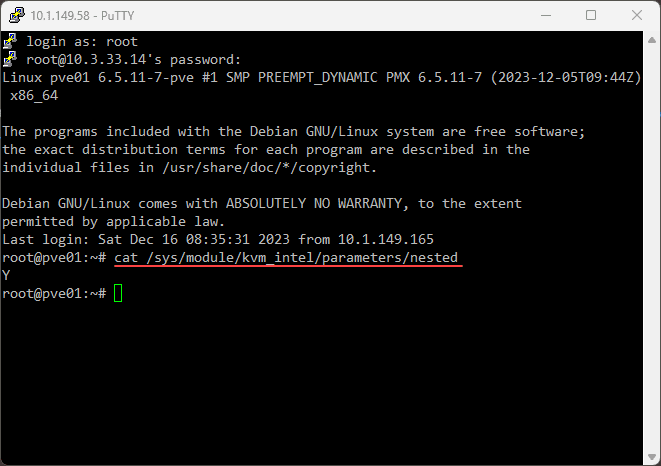
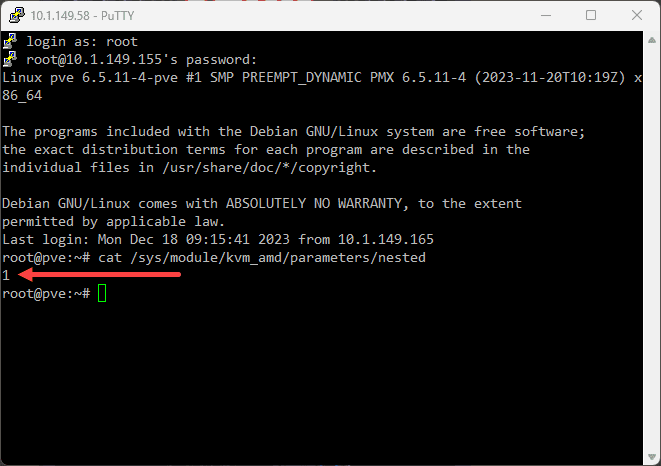
For AMD CPU, use:
cat /sys/module/kvm_amd/parameters/nestedThe output will be either “N” or “0” (not enabled) or “Y” or “1” (enabled).
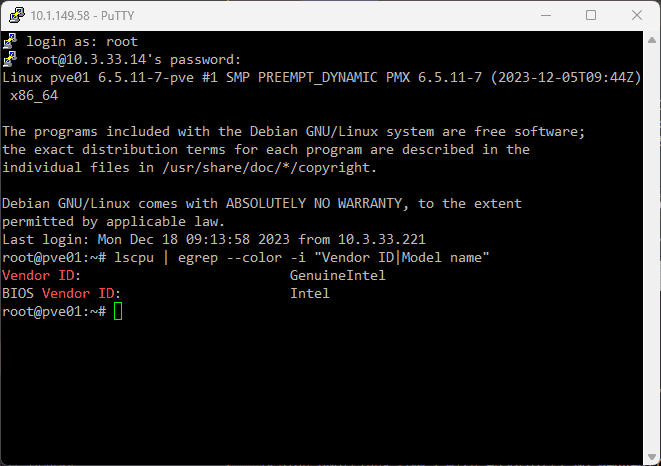
Additionally, check the processor model using:
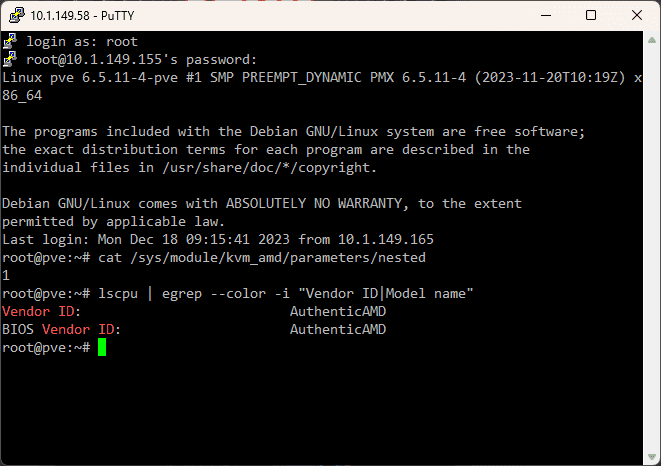
lscpu | egrep --color -i "Vendor ID|Model name"Intel CPUs will look like the following:
AMD CPUs will look like the following:
Enabling Nested Virtualization on Proxmox Host
You can activate it using specific commands if nested virtualization is not enabled. For Intel CPUs, use the commands:
sudo modprobe -r kvm_intel sudo modprobe kvm_intel nested=1 echo "options kvm-intel nested=Y" > /etc/modprobe.d/kvm-intel.conf

## Reload the kernel module
modprobe -r kvm_intel modprobe kvm_intel
For AMD Proxmox host, the commands are slightly different:
sudo modprobe -r kvm_amd sudo modprobe kvm_amd nested=1 echo "options kvm-amd nested=1" > /etc/modprobe.d/kvm-amd.conf

## Reload the kernel module
modprobe -r kvm_amd modprobe kvm_amd
These commands effectively enable the nested virtualization feature for your CPU type.
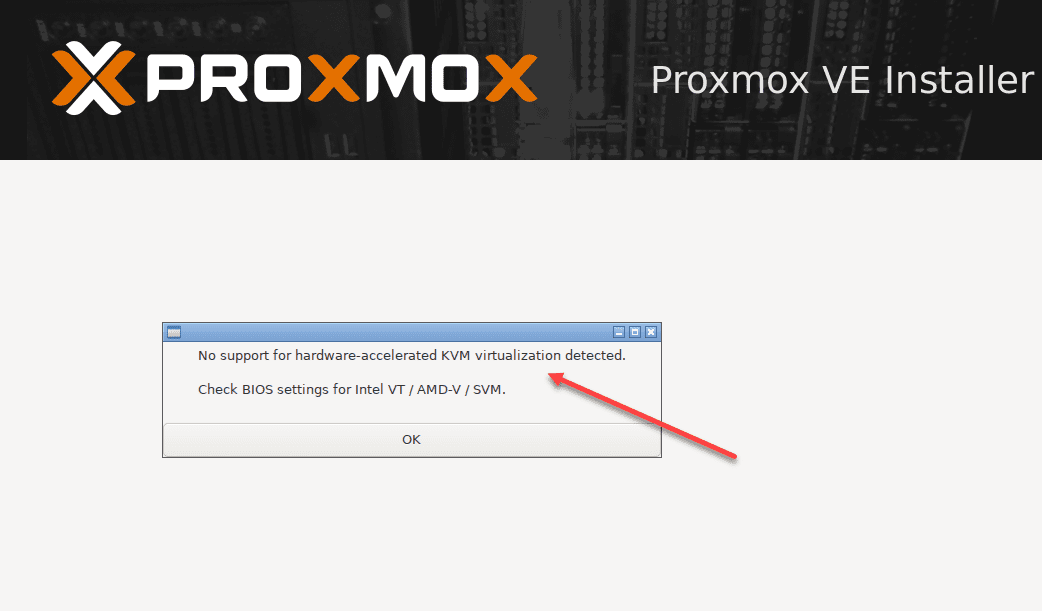
What happens nested virtualization isn’t enabled?
What will you see if there is no support for nested virtualization? Note the following error message displayed when trying to install a nested Proxmox hypervisor as a VM on a Proxmox physical host:
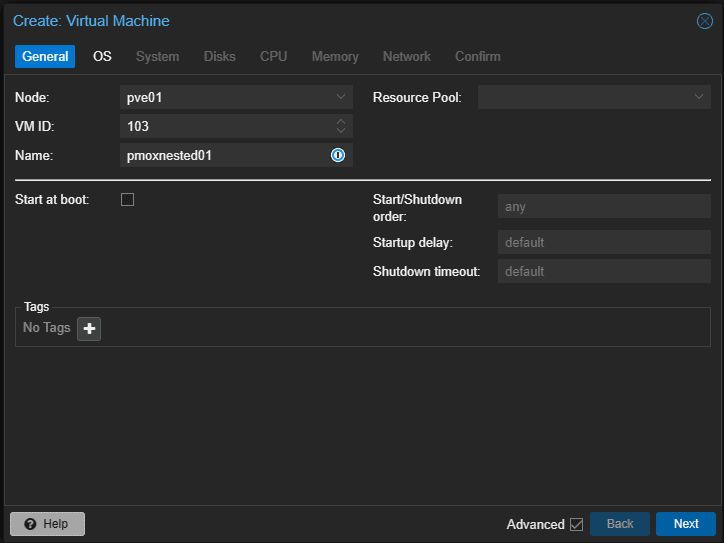
Configuring Nested Virtualization in VMs
After enabling nested virtualization on the Proxmox server, you must set up the virtual machines to utilize this feature when you create VM instances.
Turn off the guest VM, then use the command to set the CPU type of the VM to “host”:
qm set <VMID> --cpu host 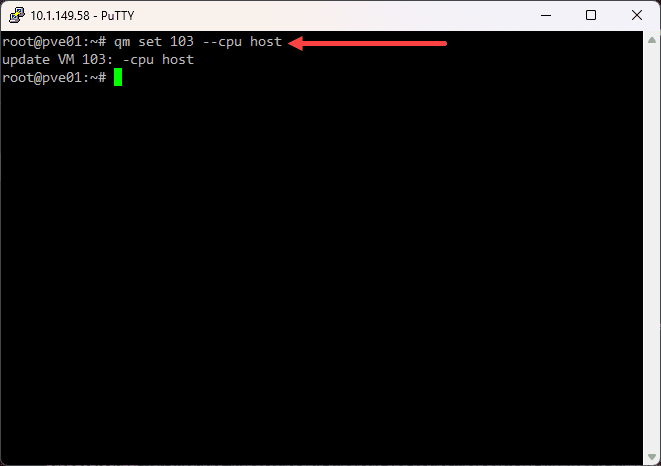
For AMD processors, you’ll need to add additional parameters to the VM configuration file:
args: -cpu host,+svm.Validating the Configuration
Finally, restart the VMs and validate the configuration. Check if VT-X is enabled in the VMs, which is necessary to host guest machines. The following command will help you verify if VT-X is enabled:
egrep --color -i "svm|vmx" /proc/cpuinfo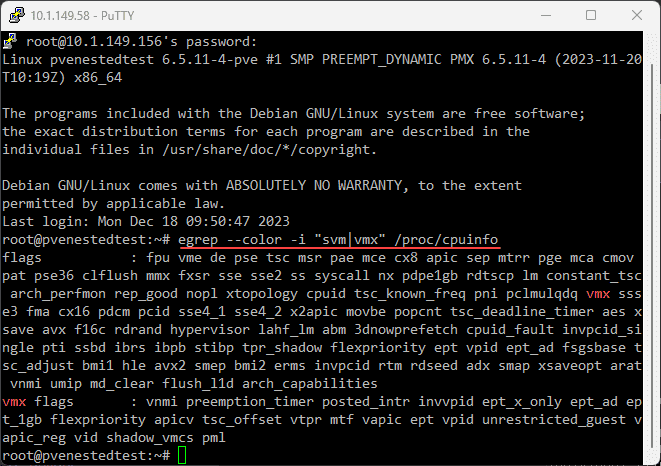
Wrapping up
Nested virtualization in Proxmox is a great feature to take advantage of. With nested virtualization, you can run nested Proxmox VE servers, or even other hypervisors. It allows creating labs and other learning environments that can take advantage of a snapshot or even backups from Proxmox Backup Server as an example.
Google is updating how articles are shown. Don’t miss our leading home lab and tech content, written by humans, by setting Virtualization Howto as a preferred source.
About The Author