I have been having a lot of fun lately playing around with various Mini PCs in the home lab and finding options for running various hypervisors. I currently run VMware vSphere in the lab environment so installing ESXi on Mini PCs is a natural choice. However, if you are looking to utilize the VMware vSphere hypervisor, ESXi, on mini PC hardware for a micro-server design that is power efficient, there are several things you need to keep in mind. This guide will discuss five crucial tips for successfully installing ESXi on a mini PC, followed by a detailed installation walkthrough.
Table of contents
What is VMware ESXi?
VMware ESXi is the hypervisor or bare metal hypervisor (operating system) you install on your physical servers, or mini pcs in this case. After ESXi is installed, you can begin creating various virtual machines in your environment that will run on top of ESXi.
You can start creating virtual machines like vCenter Server that enable more advanced virtualization features like vMotion, cloning, setting up a cluster, vSAN, and many others.
Why install ESXi on a mini PC?
With so many interested in home labs and wanting to run their own servers at home to get their feet wet with virtualization and enterprise technologies, running VMware ESXi on a mini PC makes a lot of sense. Note the following:
Mini pcs are less expensive than servers
They are much more energy-efficient
They are much quieter
They have become much more powerful in terms of hardware in recent years
Note my full write-up comparing mini pcs vs server here: Mini pc vs Server: Best Home Lab Server in 2024?
5 tips to install ESXi on a Mini PC
Let’s take a look at 5 simple tips to install ESXi on a Mini PC that will save you quite a bit of time trying to get things working. These are the following:
Choose your hardware wisely (network adapters)
Use USB network adapters
Adjust the systemMediaSize boot parameter for small disks
Know about the VMware Flings (Community network driver and USB network driver)
Customize your ESXi ISO install media
1. Choose your hardware wisely (network adapters)
One of the first areas to pay attention to when thinking about the process to install VMware ESXi is the hardware of the mini PC you are considering for purchase. The network adapter is one of the hardware areas that will generally cause issues from the start.
Many of the mini pcs out there may be configured with Realtek network adapters. The Realtek chipset is generally not supported in the latest releases of ESXi for on-board adapters (they are with USB adapters). The compatibility of your network adapter with VMware ESXi can make or break the installation process when attempting to configure VMware ESXi.
Before diving in, research your mini PC’s network adapter model and ensure ESXi supports it. This upfront homework will prevent issues when installing ESXi due to an unsupported network adapter.
When you attempt to install ESXi on your mini PC, if the network adapter is not supported and a suitable drive is not found, you will see the following. Just know you won’t be able to even install ESXi if no network adapters are found.
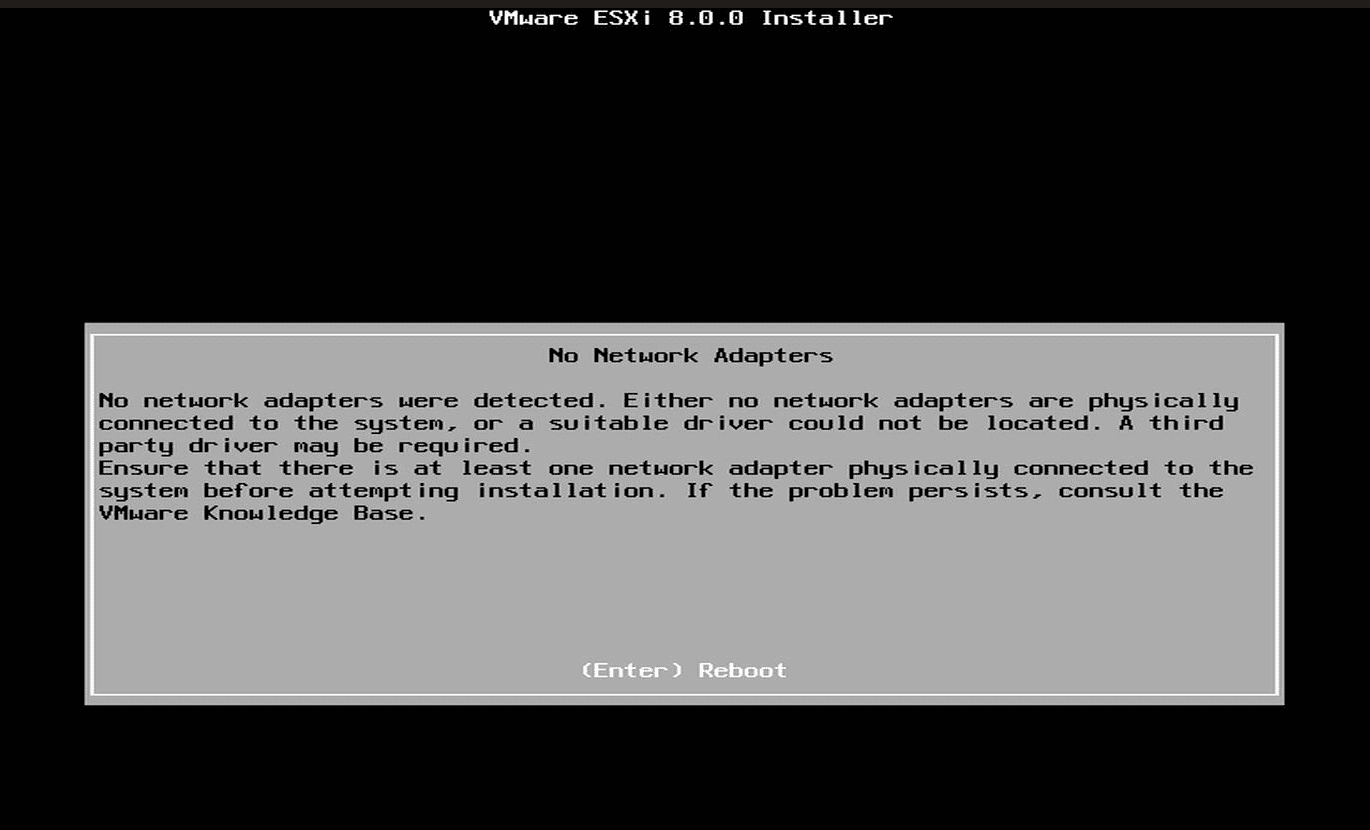
There are workarounds for this, as we will discuss below. However, knowing these things up front can help save time later and issues that may arise when installing VMware ESXi server.
2. Use USB network adapters
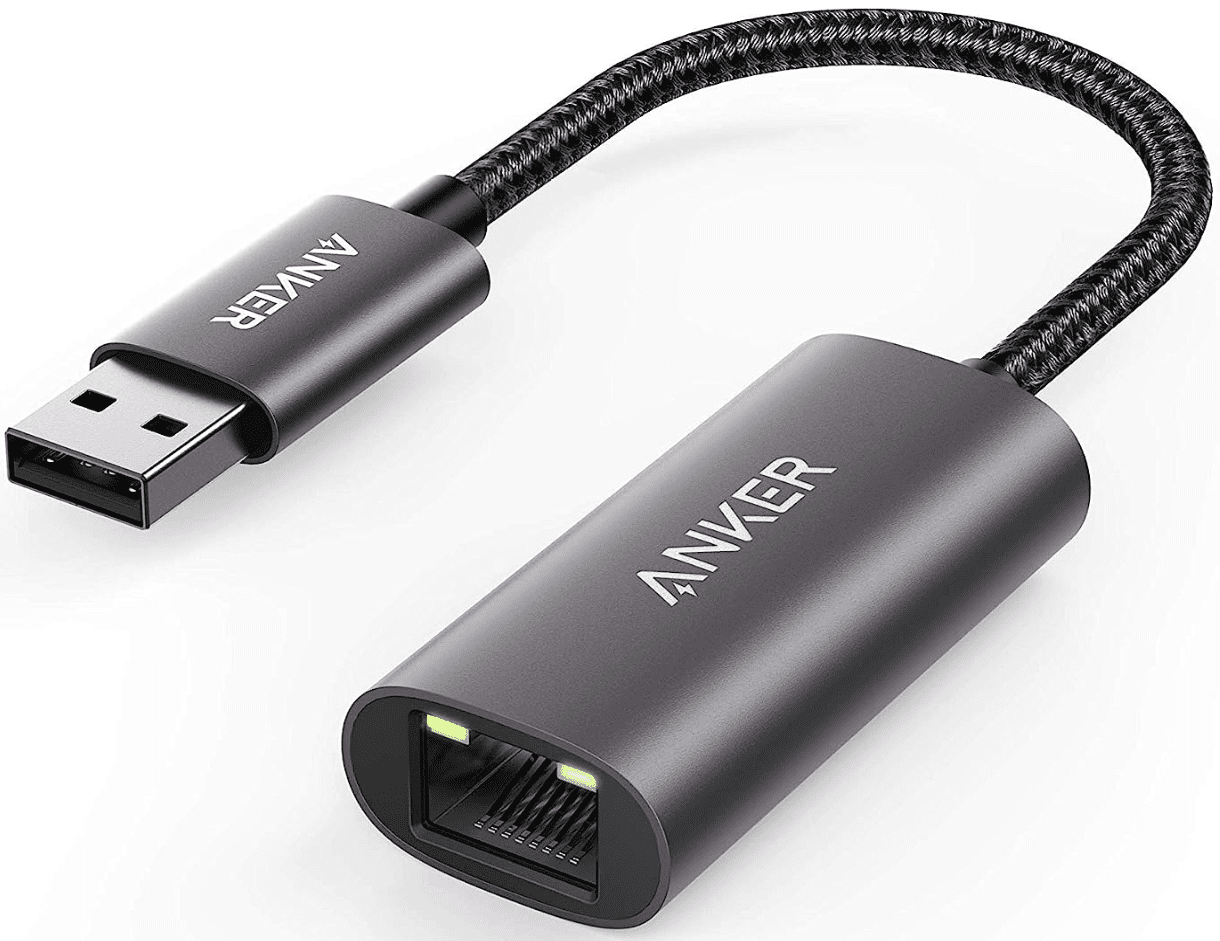
Even if you have a mini PC with an on-board Realtek network card, all is not lost. You can still get ESXi to install. How? Using USB network adapters. While ESXi doesn’t support the onboard Realtek adapters found in a lot of mini PCs, it does have USB network card drivers for these.
Below is a similar adapter to what I have that works. I have an older USB A to RJ45 adapter made by Anker. Mine is a Realtek chipset.
3. Adjust the systemMediaSize boot parameter for small disks
If your mini PC has a disk smaller than 128 gigs, you will need to be aware of changes VMware has made to the disk layout starting in ESXi 7.0. The default installation parameters of ESXi may not be optimal for such sizes.
Note the following VMware KB:
Also in relation to the systemMediaSize boot option parameter VMware has added a boot parameter to adjust the sizing of the partitions to accommodate smaller disks:
Adjust the systemMediaSize setting to fit the specific size of your disk. This ensures a smooth installation process and optimizes the ESXi host’s performance on smaller storage devices.
What happens if you don’t adjust the systemMediaSize parameter? Well, you don’t see any issues when installing ESXi. However, if you have a single disk that is 128 GB or smaller, ESXi won’t create a default datastore, and you won’t have free space to create a datastore.
So you will need to have another plan for VM storage, such as using NFS or iSCSI, or some other storage allocated.
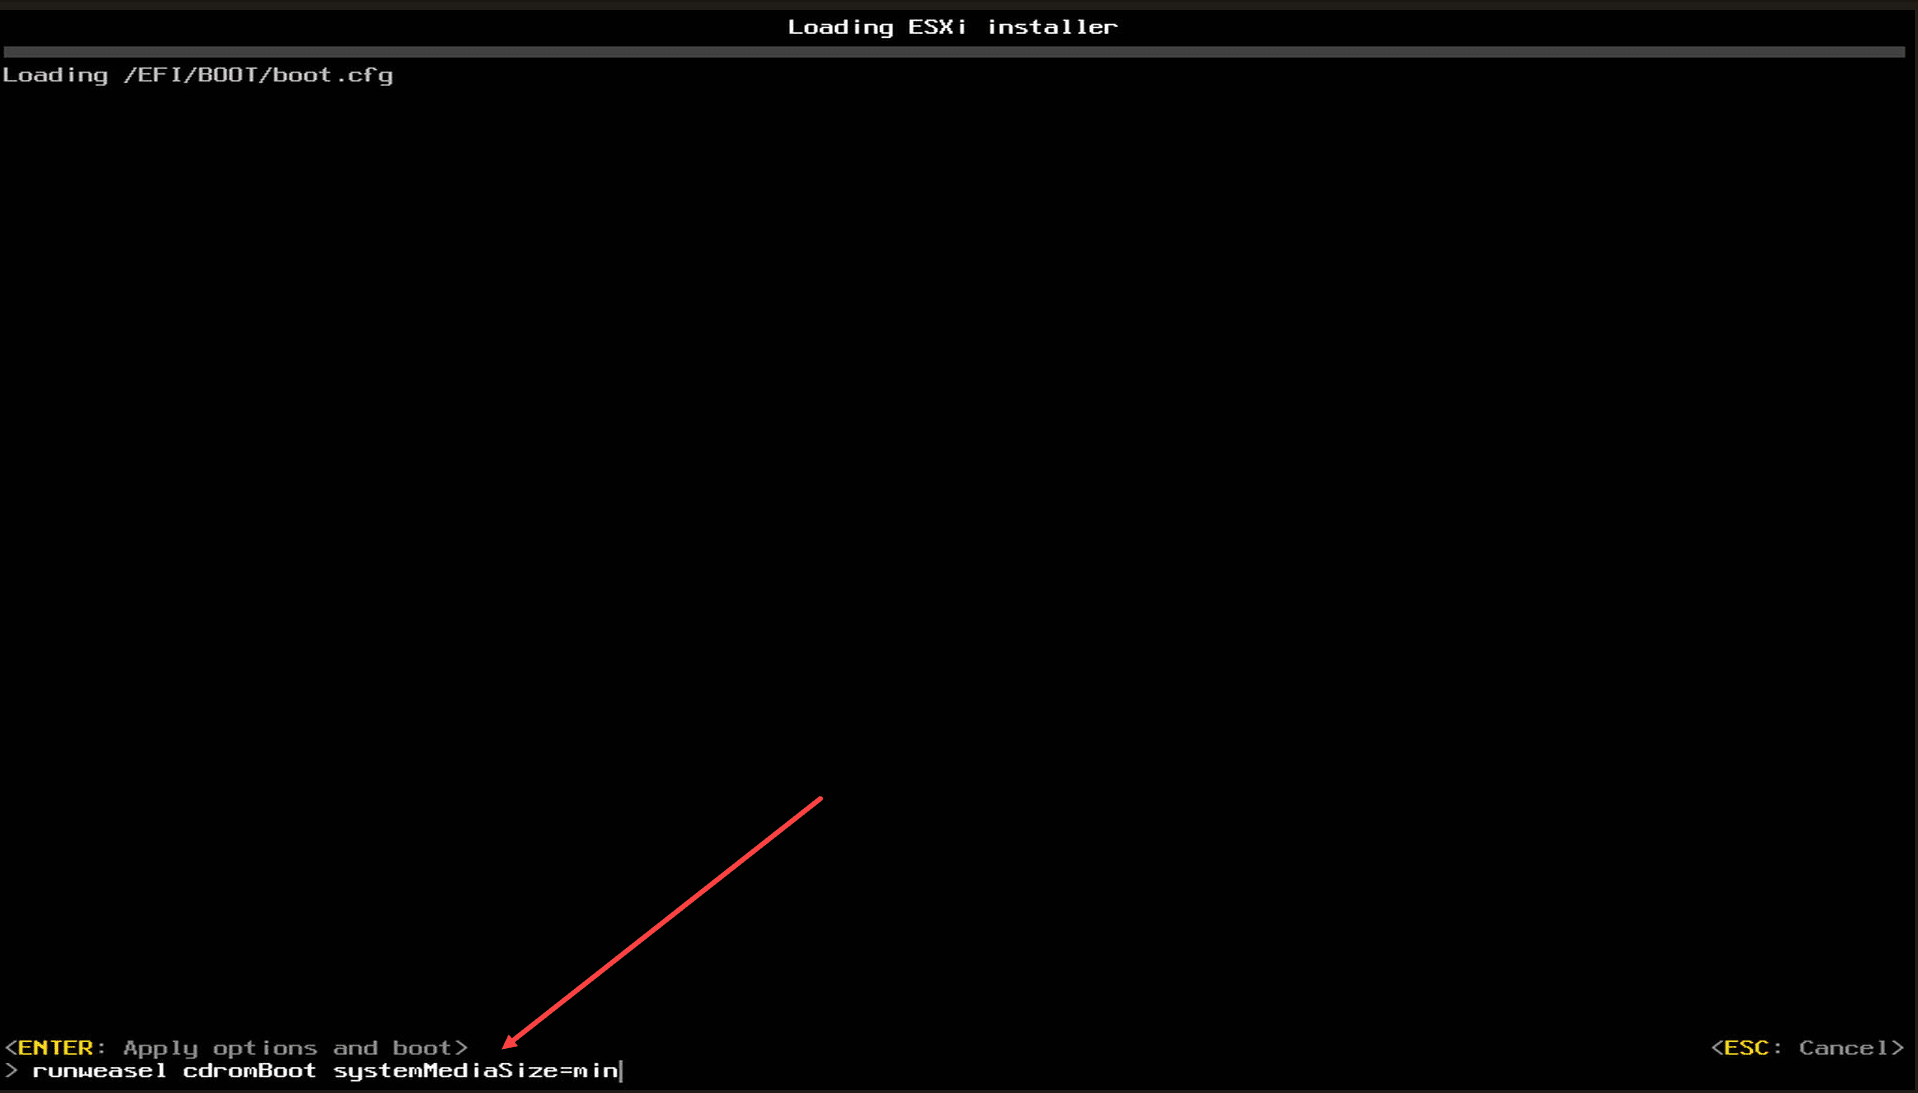
When you are booting your ESXi installer from the ISO you have on your USB stick using either Rufus or Ventoy, you will hit the key sequence SHIFT+O when you see the prompt for this during boot (during the 5 second countdown).
Add the following boot parameter to the end of the line as shown below:
#Choose one of the following sizes
systemMediaSize=min/small/max

min     33GB, for single disk or embedded servers
small   69GB, for servers with at least 512GB RAM
max     all available space, for multi-terabyte servers
Below, I am configuring the “min” size.
You won’t have to do anything else. Once you go through the install process, ESXi will remember the boot parameter and use the partition layout size you define using it. Once you use the smaller size, you will see that ESXi will configure a default datastore, where otherwise it wouldn’t.
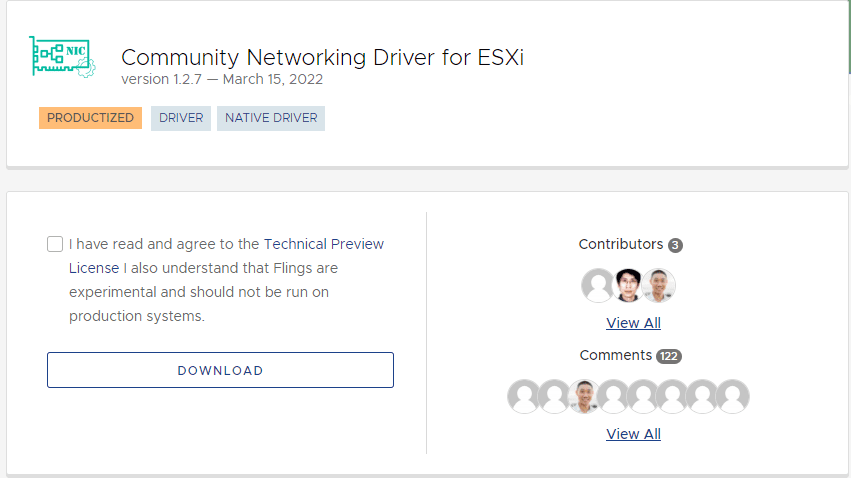
4. Know about the VMware Flings (Community network driver and USB network driver)
Sometimes, the default network drivers provided with ESXi might not be the driver needed for your mini PC. That’s where the Community Network Driver or the USB Network Driver Fling comes into play.
These community-supported tools offer unofficial drivers to allow network connectivity for VMware ESXi. If you haven’t heard about VMware flings before, this is an awesome resource for home labbing.
Below is the Community Networking Driver for ESXi:
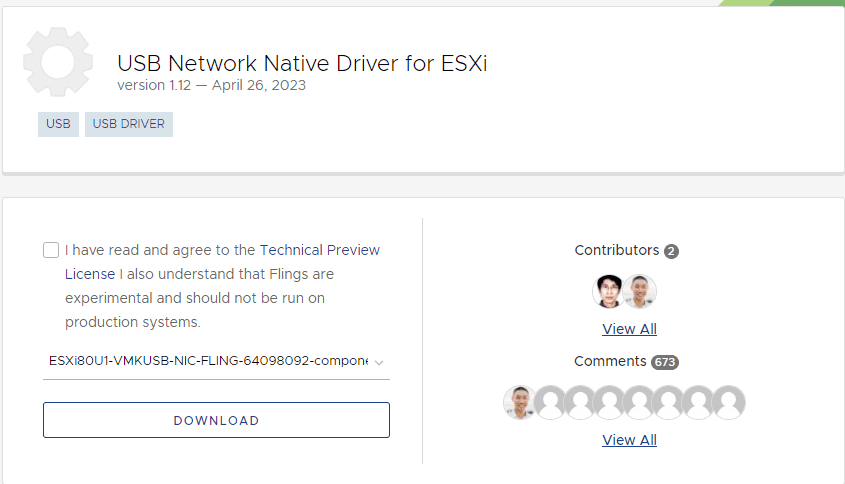
The USB Network Native Driver for ESXi is also a great resource for USB network adapters:
5. Know how to customize your ESXi ISO install media
If you download the Community Network Driver or USB Natvie driver, you will need to be able to get these into your ESXi ISO for installation.
To do that, you can use what is known as the Auto Deploy process to slipstream these driver packages into a Custom ESXi ISO image that you can use for installing VMware ESXi.
I have already written up a detailed post covering the Auto Deploy process and show you guys how to create a custom ESXi ISO image. Take a look at my post covering that topic here:
ESXi Host Installation on a mini PC: A Step-by-Step Guide
Now that we’ve covered our five essential tips let’s delve into the actual ESXi installation process:
Preparing the Installation Media
Download the ESXi Installer: Head over to the VMware website and download the latest ESXi image suitable for your mini PC.
Load the ISO to a USB Drive: Use tools like Rufus Ventoy to make a bootable USB flash drive using the ESXi ISO. Check out my post here on Ventoy: Rufus Alternative for Linux and Windows installing ISOs – Ventoy.
Initiating the Installation
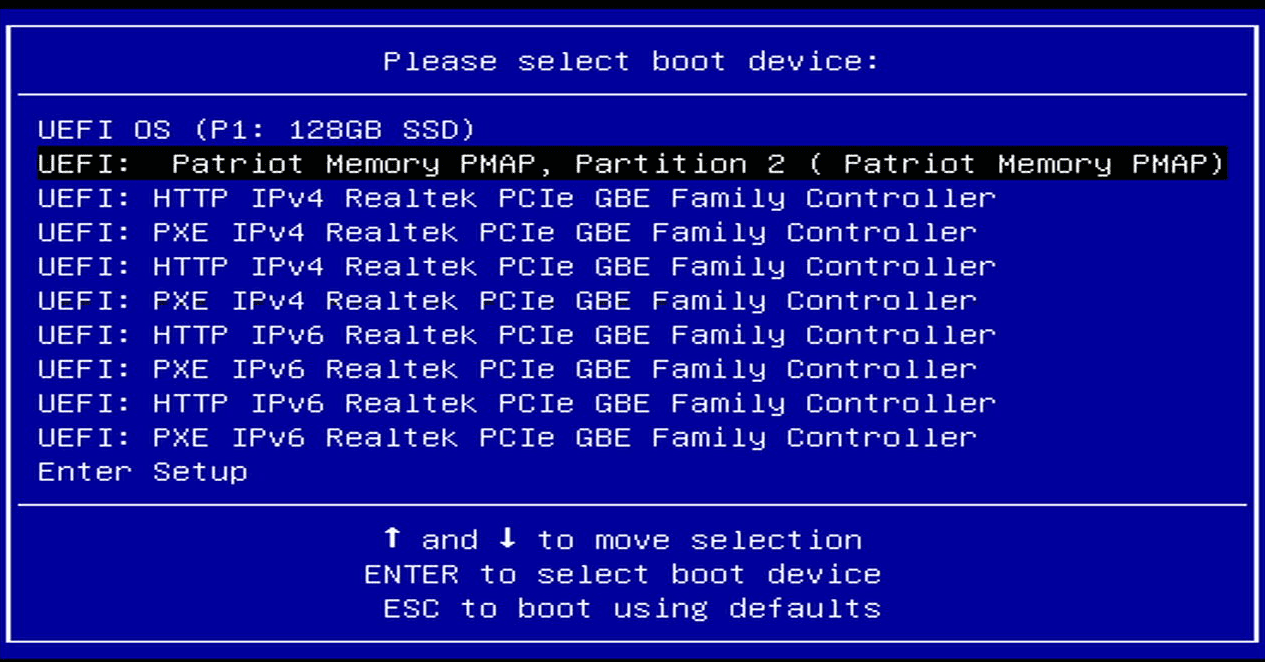
Boot from the USB Drive: Insert the USB drive into your mini PC and reboot. Enter the boot menu and select the USB drive to start booting ESXi.
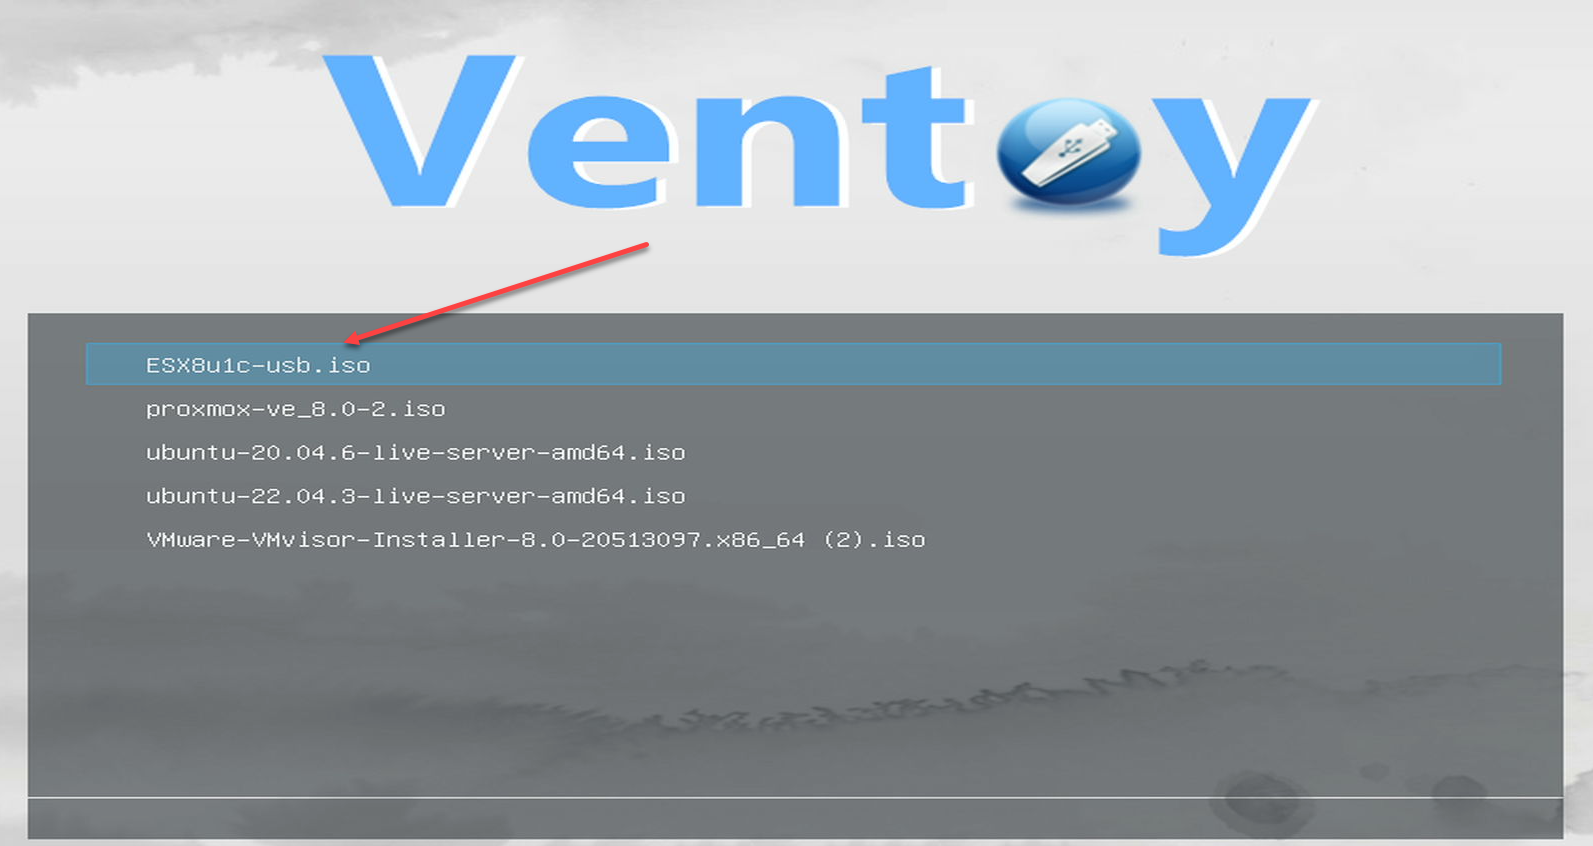
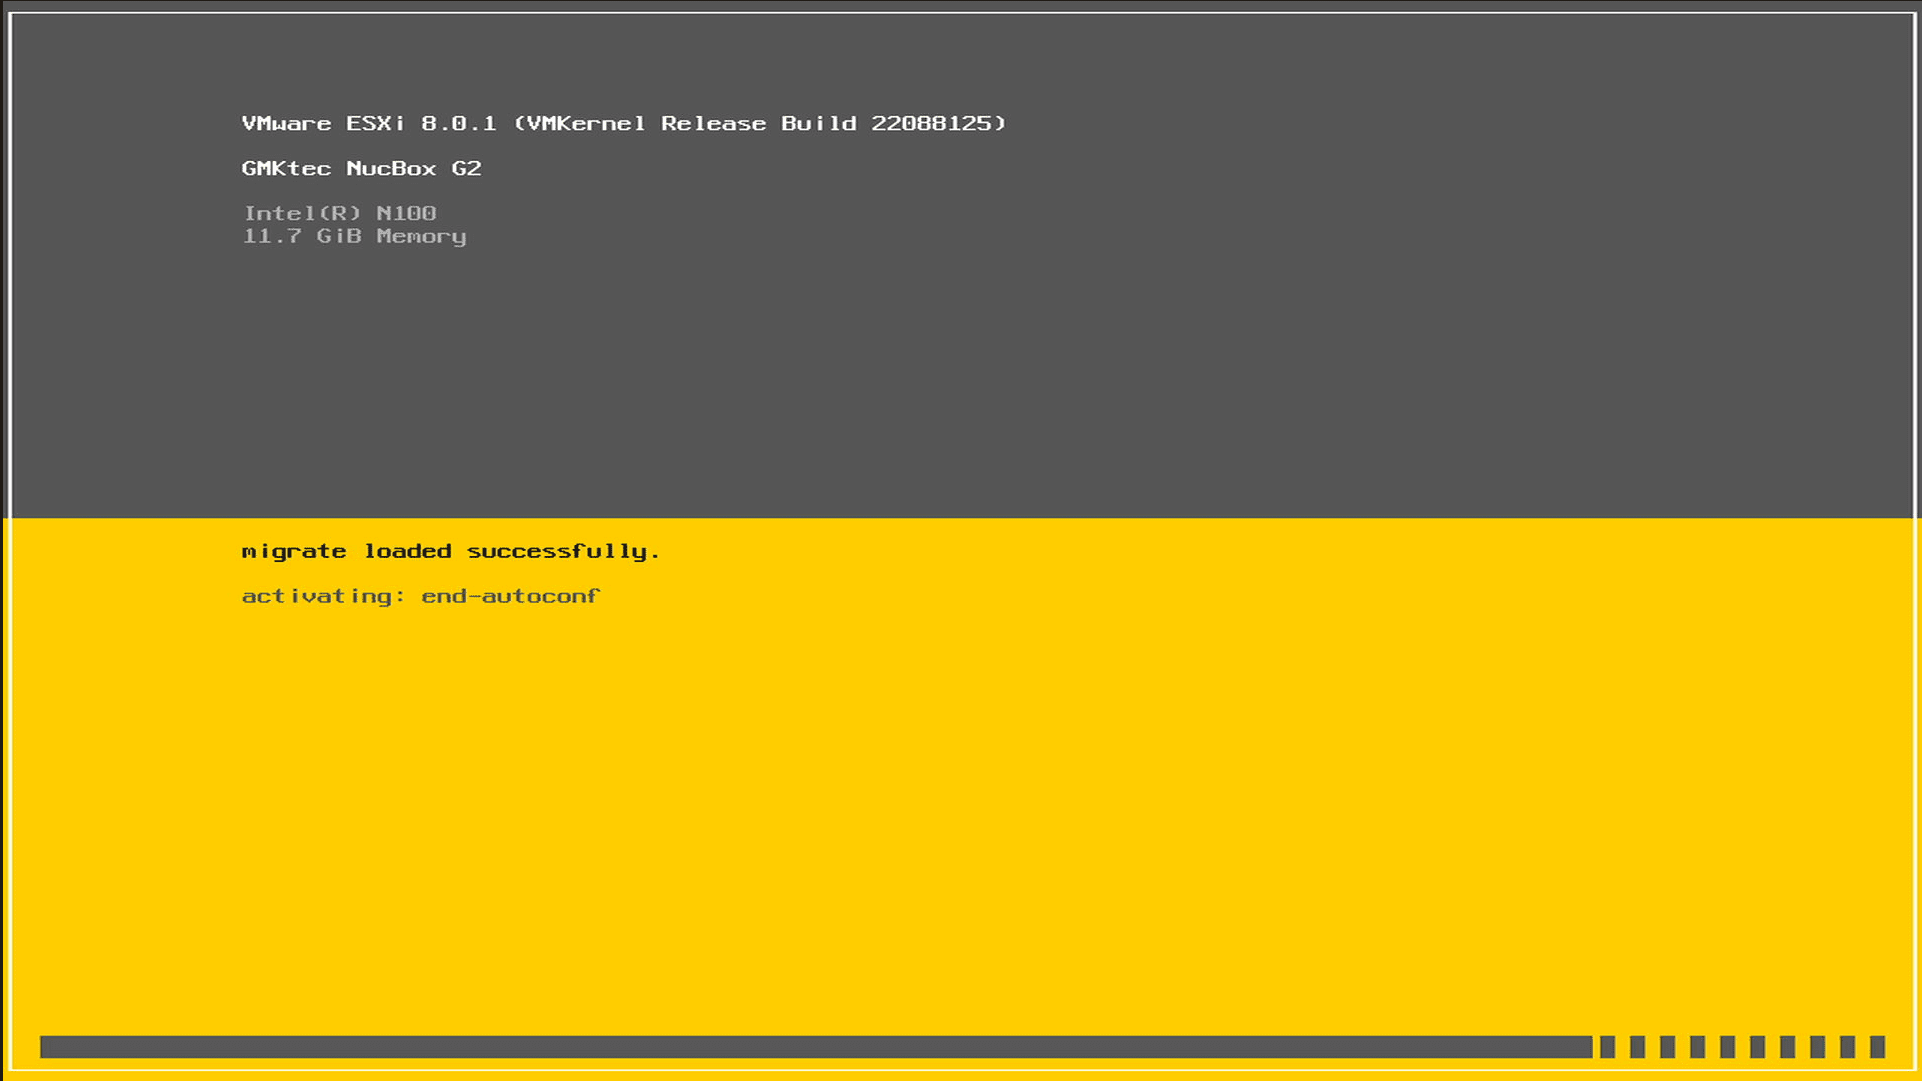
Below I have created a Ventoy disk I am booting from and selecting a customized ESXi ISO I have created using Auto Deploy.
The mini PC server boots VMware ESXi.
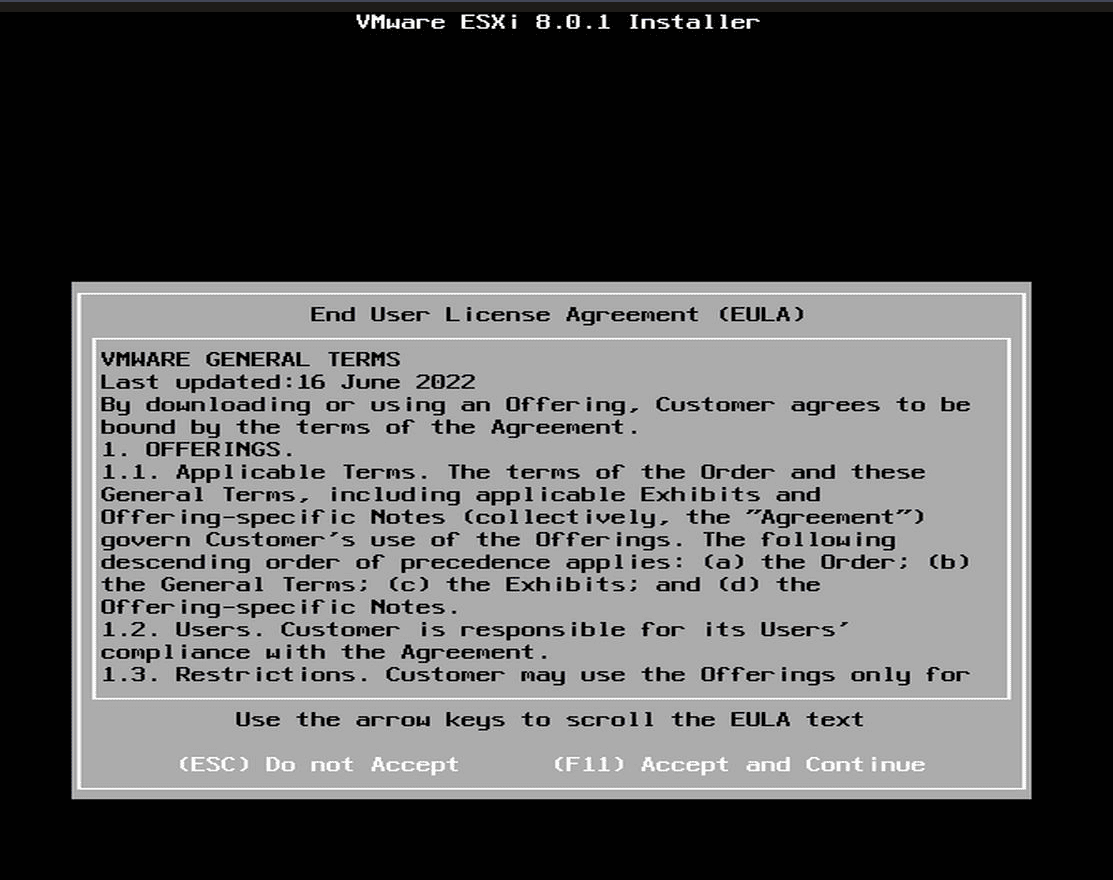
Run the ESXi Installer: Follow the on-screen prompts once the system boots into the ESXi installer. You’ll be asked to accept the end user license agreement, choose the installation disk, and set a root password.
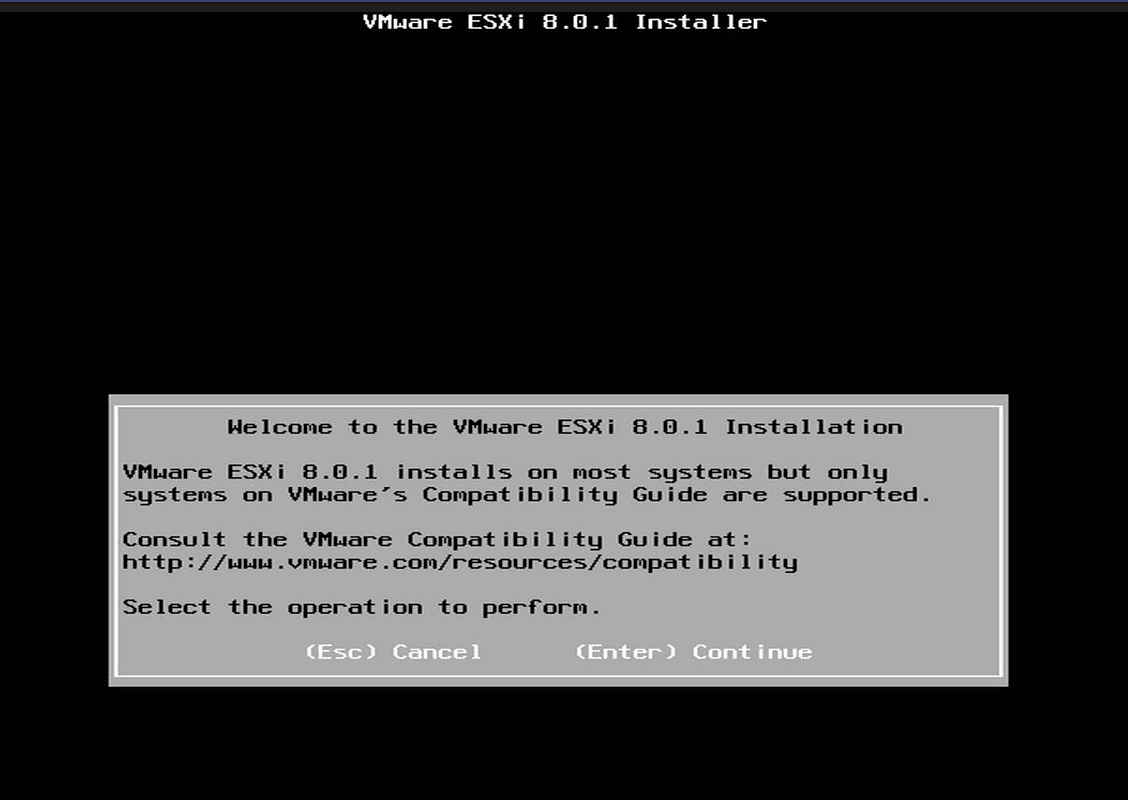
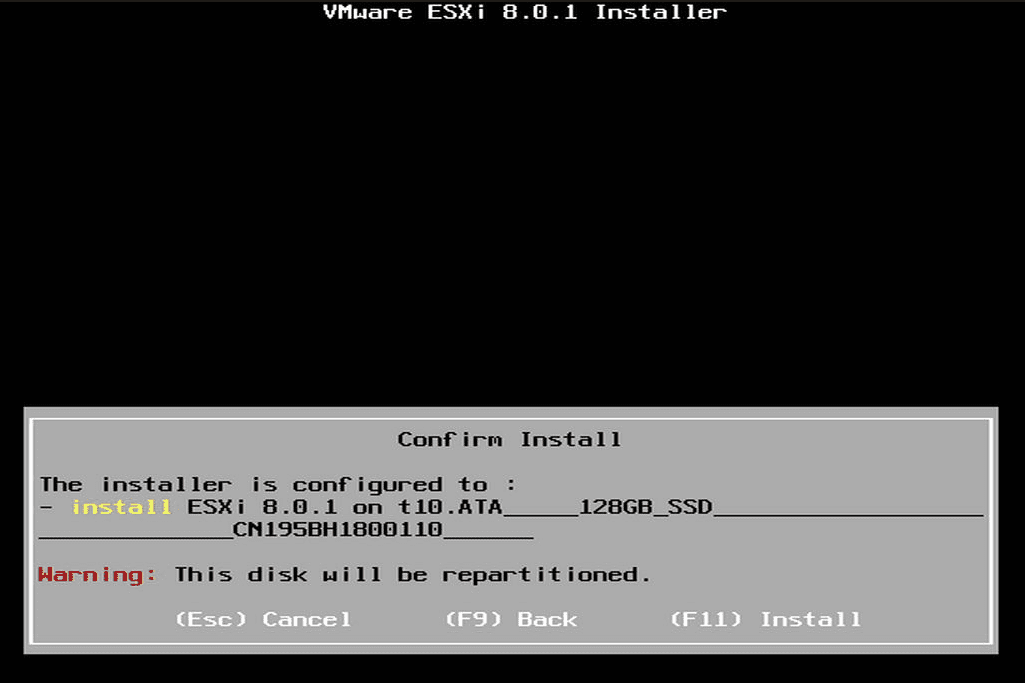
Below, press F11 to accept and continue.
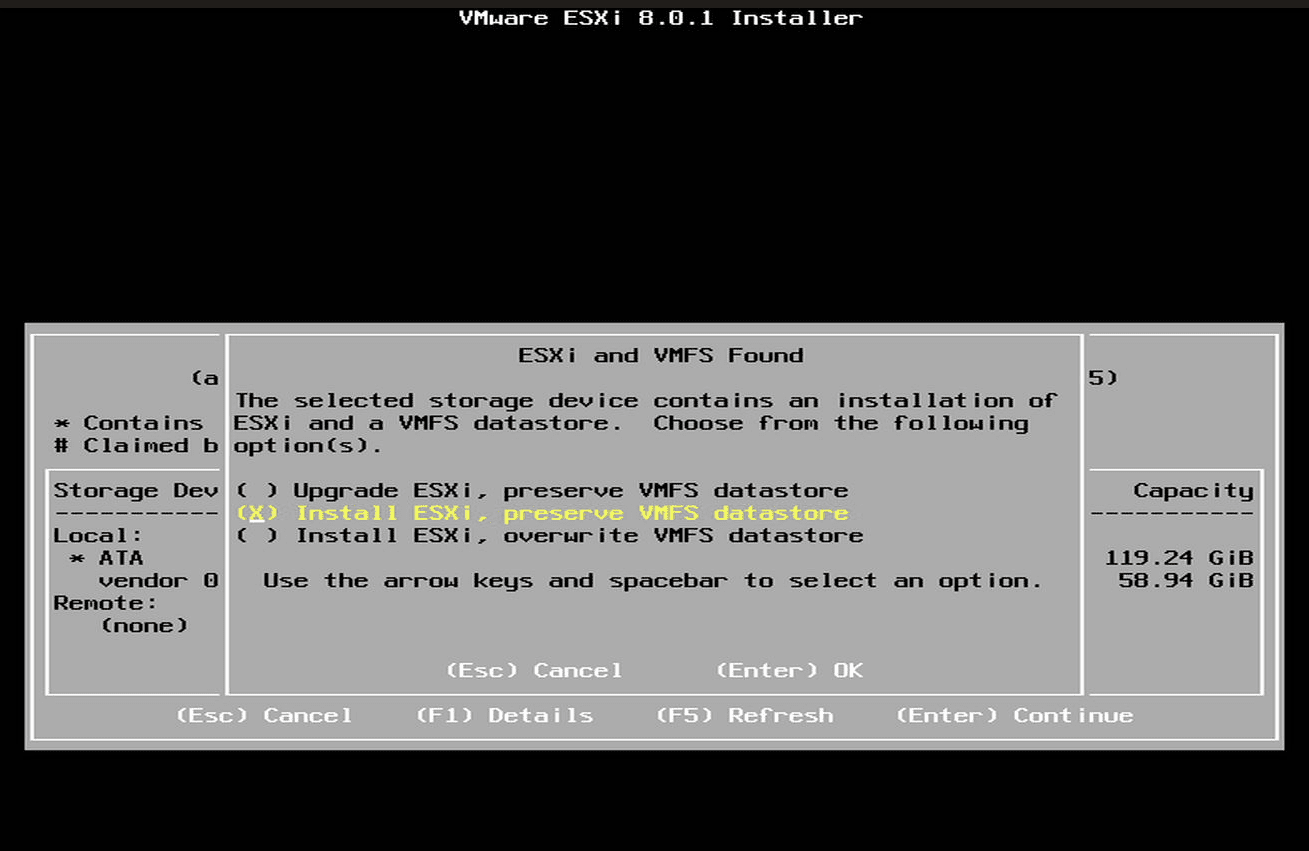
Select the target disk.

Below, I had already loaded ESXi and created a data store. So, here I am preserving the datastore and having it install. You will most likely see an “Install” option if you havent’ installed ESXi on the disk before.
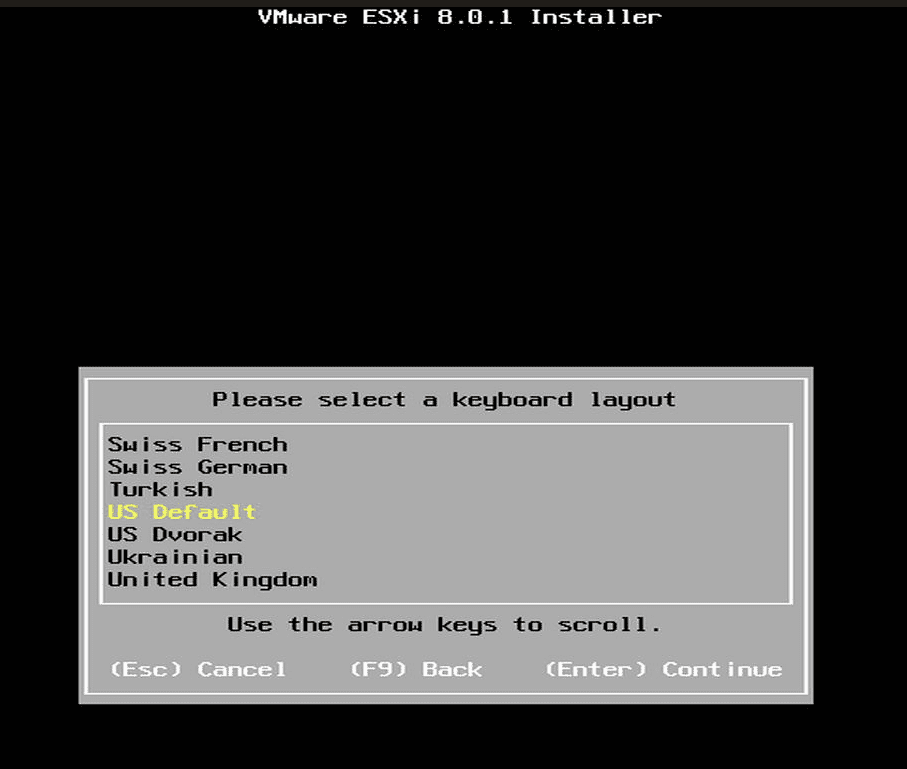
Select your language.
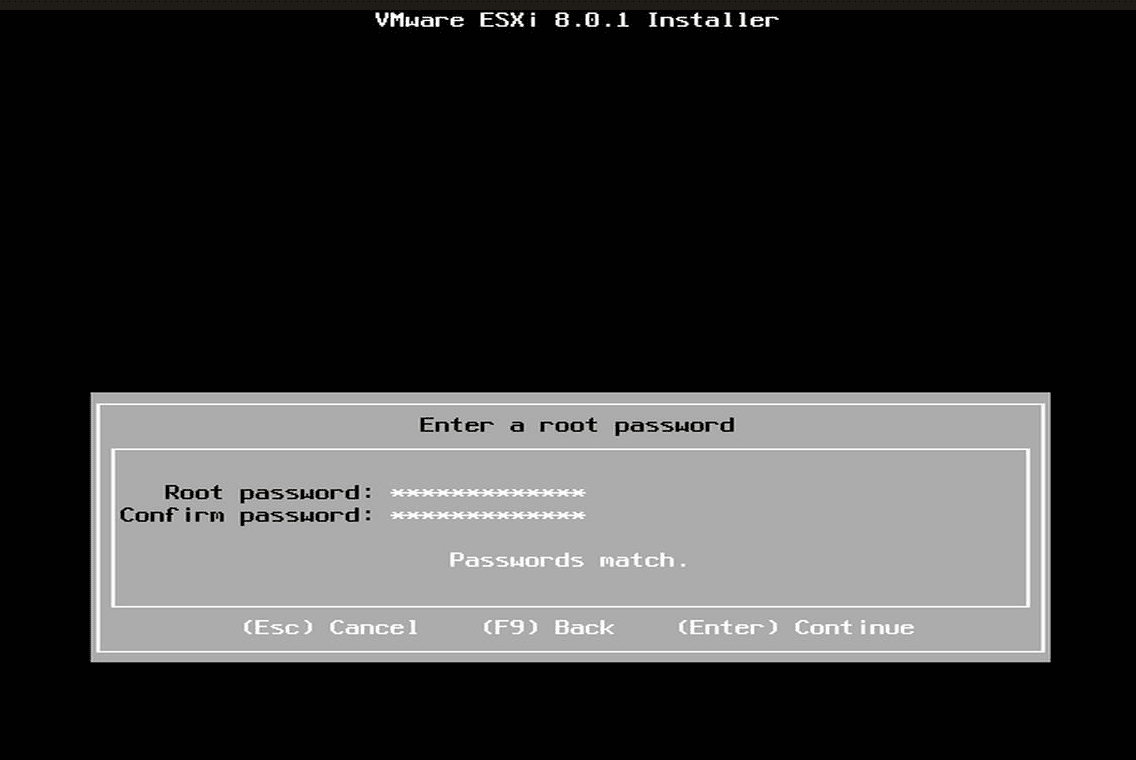
Enter a password.
Confirm by pressing F11 you would like to erase the contents of the disk.
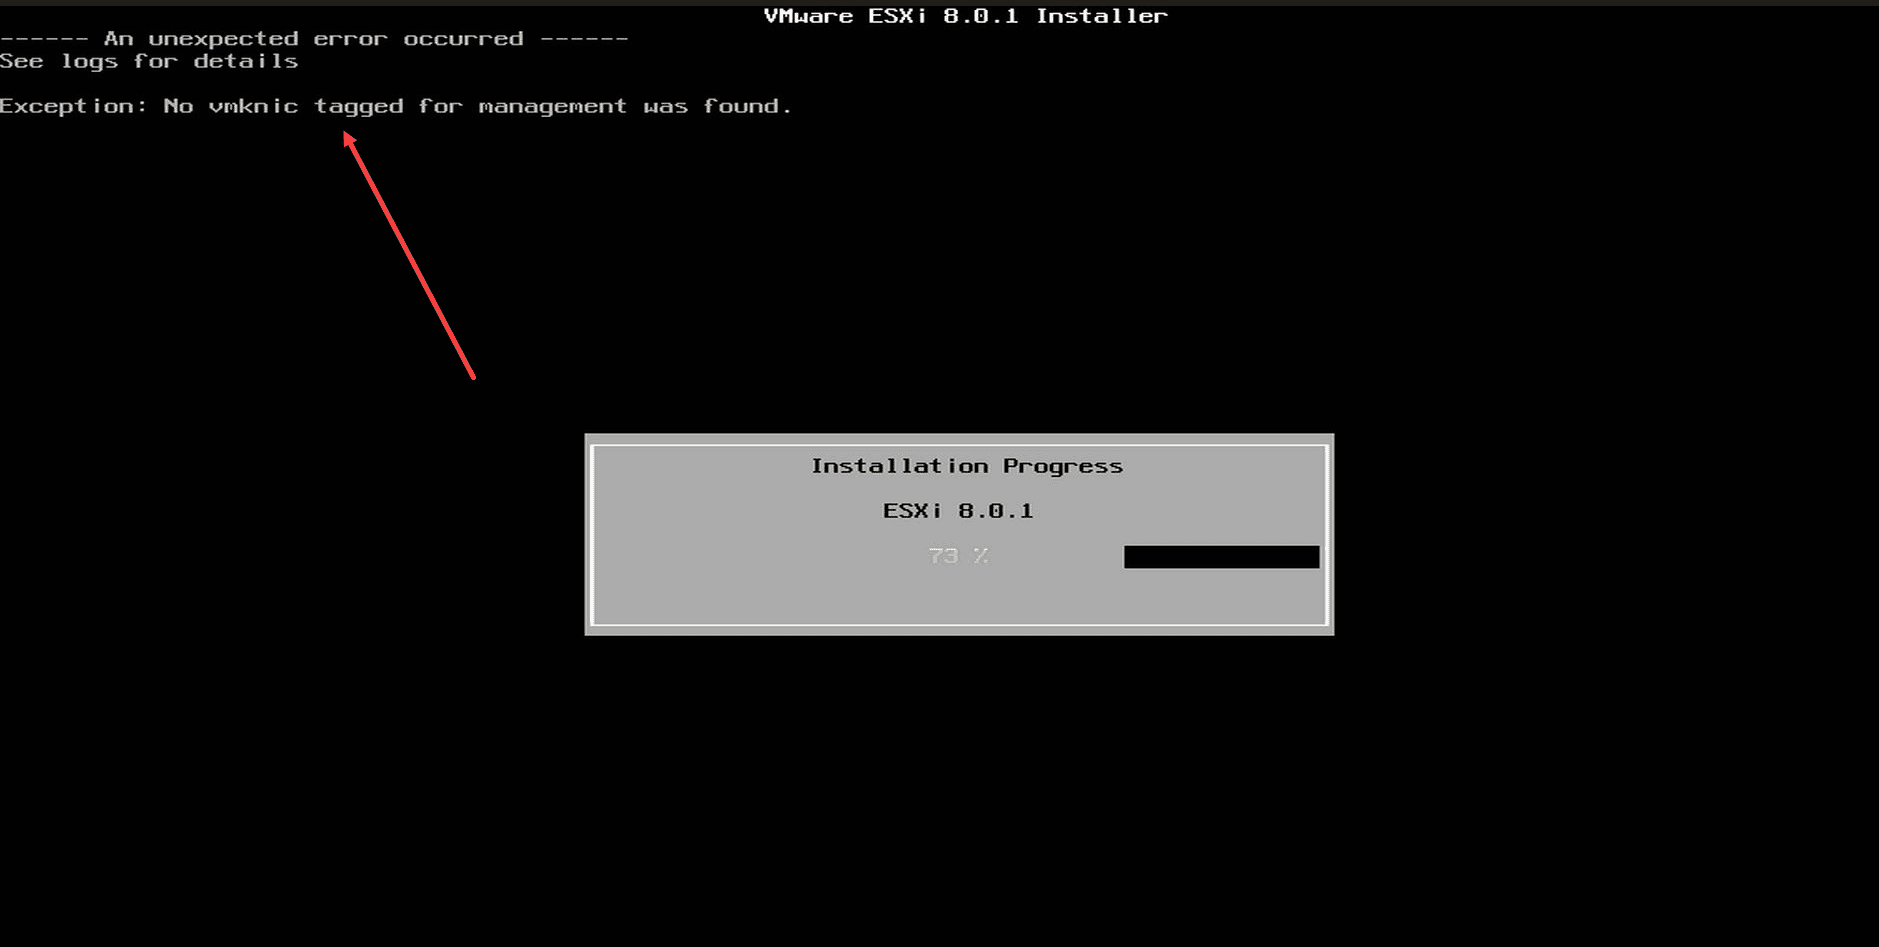
USB network adapter installation error
One thing I want to note. There is a bug/error of sorts when you are using a USB network adapter. You will likely see the following: No vmknic tagged for management was found. The only thing you can do here is press ESC.
It will then go back to the Install ESXi screen. Just hit ESC again to cancel the install again and reboot the server. ESXi is actually installed, even with the error.
One of the side effects is the password does not get properly set. Here if I try to login with the password I set, it will error. Instead, use a blank password.

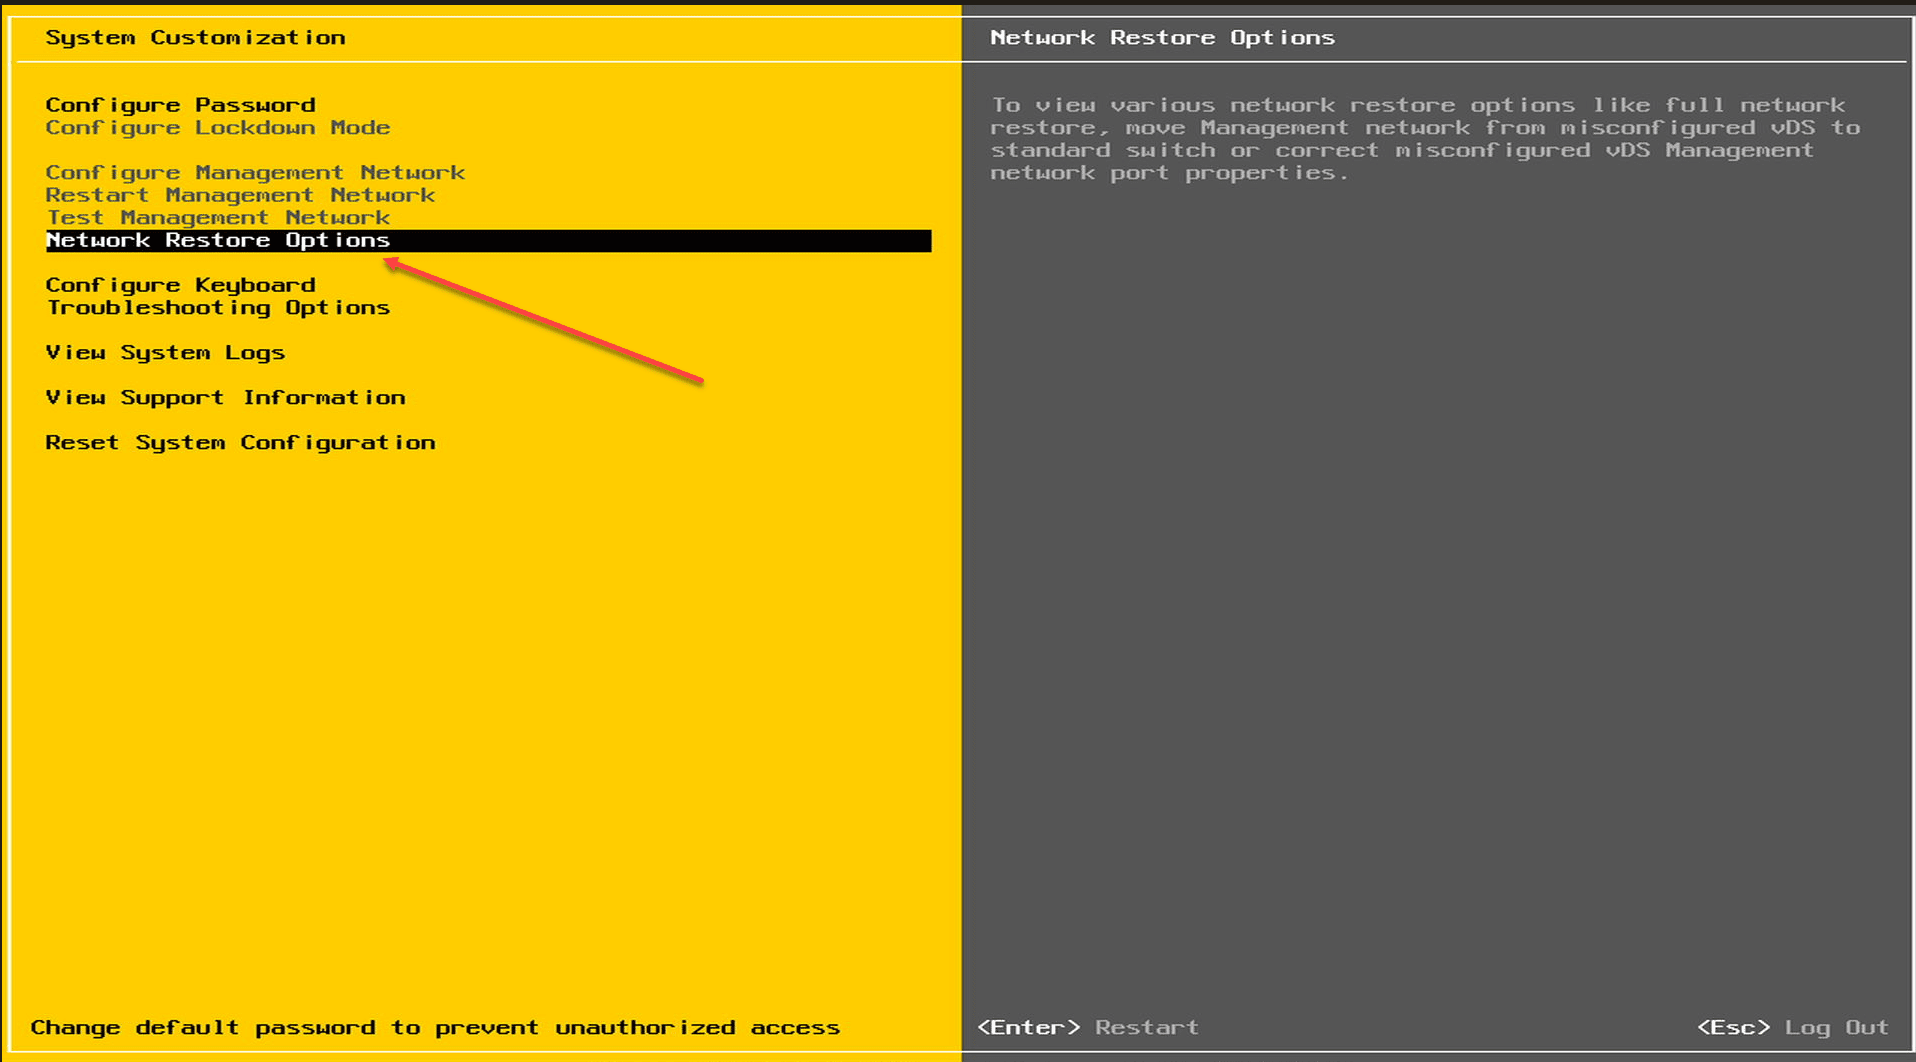
Now, press F2 to customize your system, select Network Restore Options.
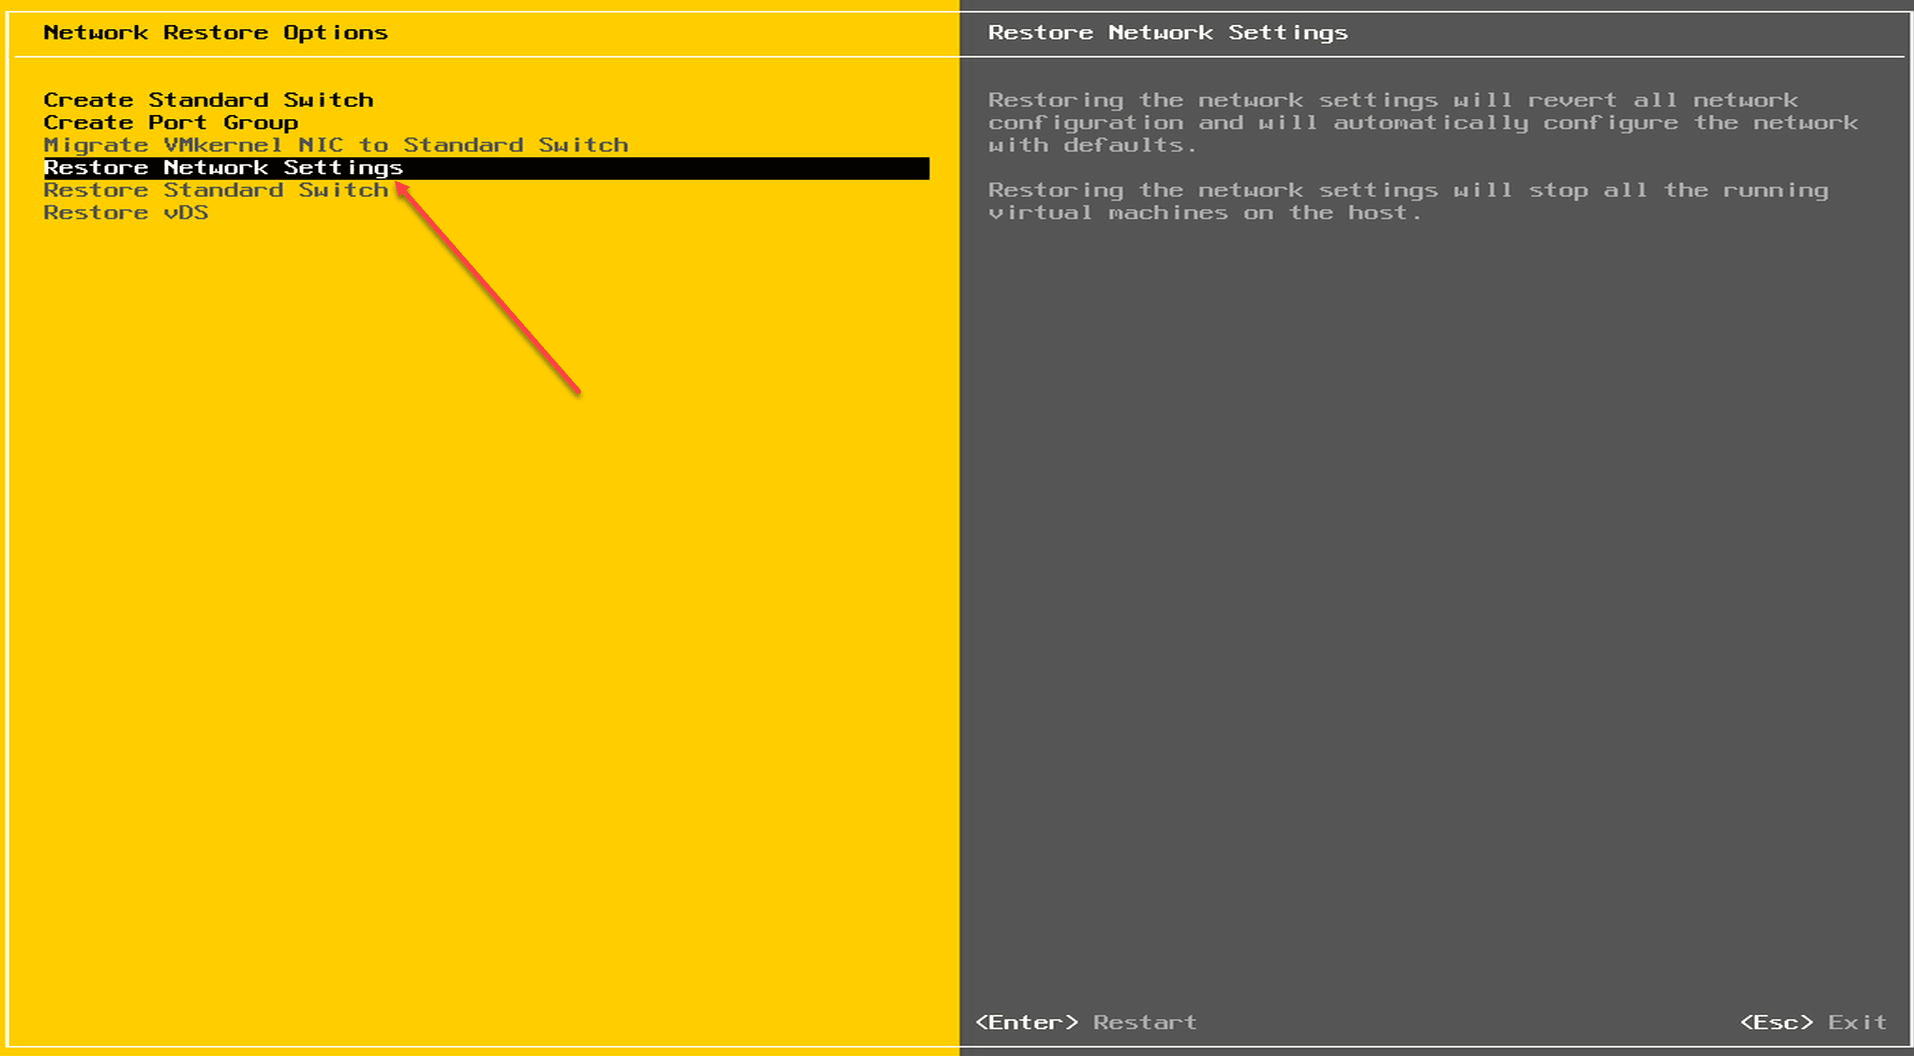
Select Restore Network Settings.
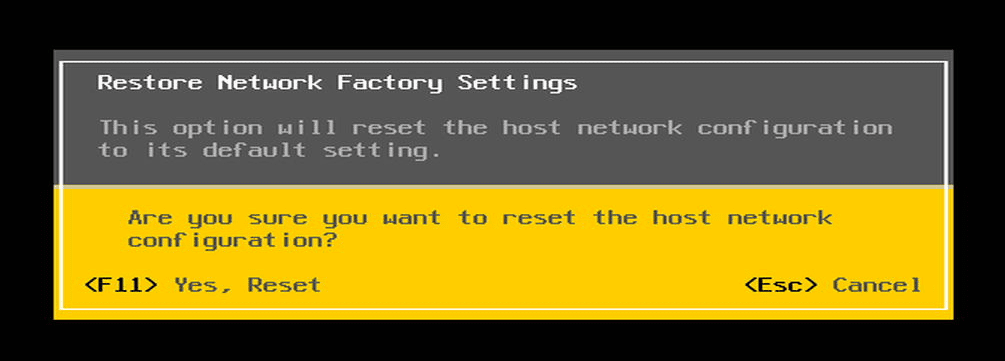
Confirm you want to restore network factory settings by pressing F11.
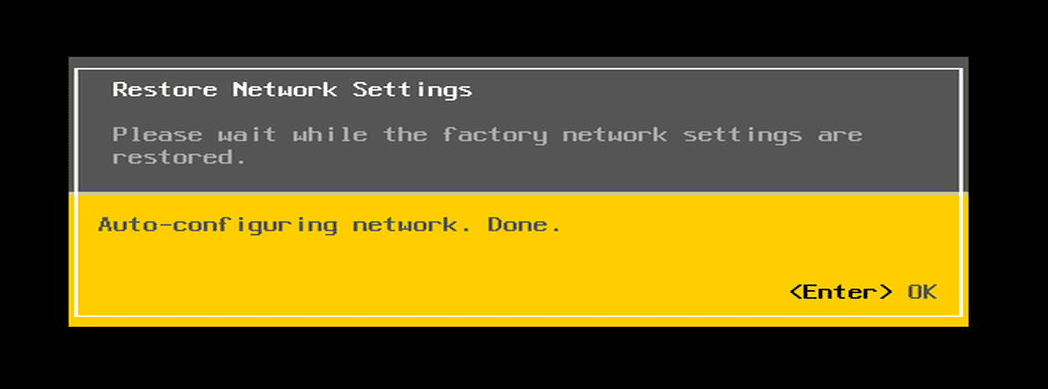
Press ENTER once the reconfiguration is complete.
Post-Installation Configuration
Access the Direct Console User Interface (DCUI): After the ESXi installation completes and the system reboots, you’ll enter the DCUI. This interface allows you to configure management network settings, set static IP addresses, and more.
Finalize Management Network Settings: Ensure that your IP address, subnet mask, default gateway, and DNS configuration align with your network settings. This ensures your ESXi server is accessible and manageable.
Access the Host Client: Using any web browser, access the host client by typing in the IP address you’ve configured. Here, you can start creating virtual machines, managing your storage, and more.
Video overview
Wrapping up
Installing VMware ESXi on a mini PC has many benefits, especially if you are wanting to get into running your own home lab. Using mini PCs can certainly save money on hardware and on power, cooling, noise, and many other advantages. However, there are a few tricks to ensure you can get ESXi installed on a mini PC as we have shown. Hopefully, these 5 tips to install ESXi on a mini PC will help others who may be struggling with drivers, datstore not showing up, network adapters, and other issues.
Google is updating how articles are shown. Don’t miss our leading home lab and tech content, written by humans, by setting Virtualization Howto as a preferred source.
About The Author


What a work!! Better to install Ubuntu with LXD on top. Much easier and faster to install. And easily expandable to a microcloud. This is so 2007!
Can you pls share the Mini Pc type used for this illustration?
Can you pls share the mini pc details used for this guide?