Let’s see how to install Pi-Hole on Proxmox using an LXC container as the platform running in Proxmox VE server.
Table of contents
- What is Proxmox?
- What is Pi-Hole?
- Setting up Proxmox Environment
- Creating a Proxmox LXC Container for Pi-hole
- Creating a new container and Configuring Container Resources
- Setting Up the Network
- Part 4: Installing Pi-hole on the Proxmox LXC Container
- Configuring Pi-hole DNS Settings
- Configure your network to use Pi-Hole
- Accessing and Managing Your Pi-hole Server
- Improving your security
- Troubleshooting
- Related topics
- Wrapping up
What is Proxmox?
Proxmox is an open-source virtualization platform that is gaining a lot of popularity in the home lab and even the enterprise environment. It is free to download and run with a lot of enterprise features, like clustering.
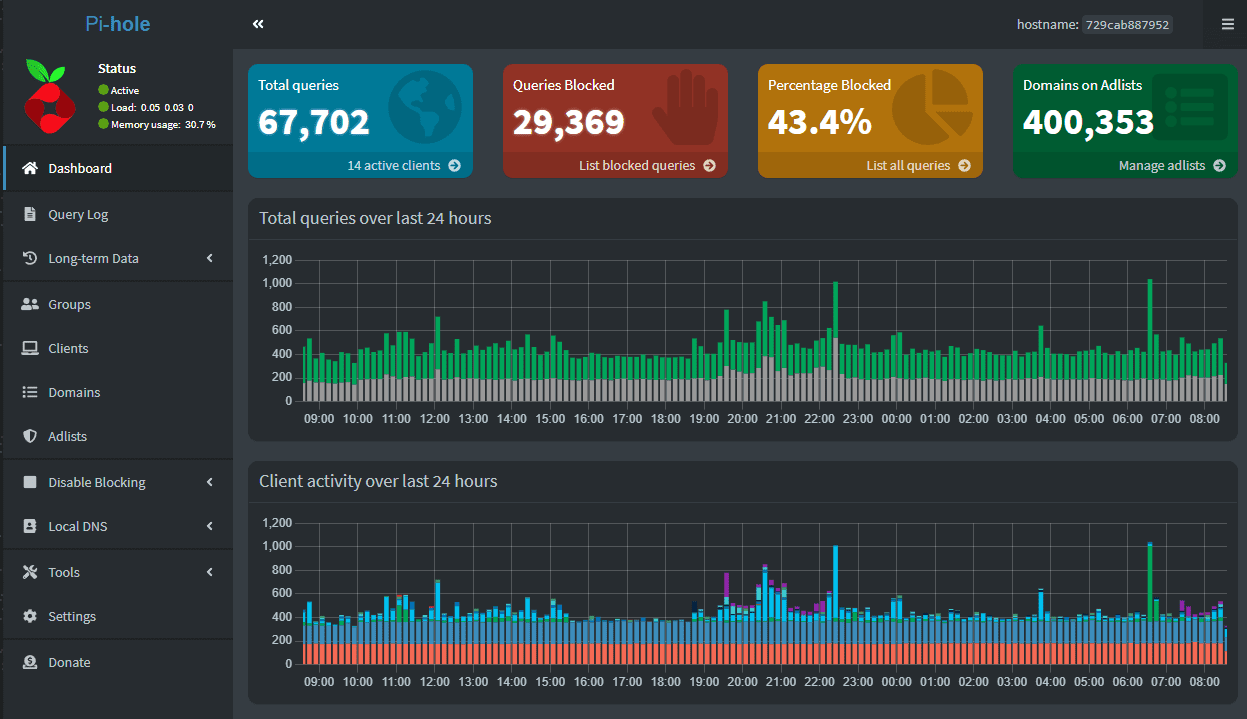
What is Pi-Hole?
Pi-hole provides ad-blocking for your network and all devices without needing individual ad-blocking software. Blocking ads improves security and the browsing experience
Setting up Proxmox Environment
First, things first, you will need a Proxmox server. Proxmox is super easy to install. Just take a look at my installation walkthrough here: Proxmox Install Beginners Guide.
Creating a Proxmox LXC Container for Pi-hole
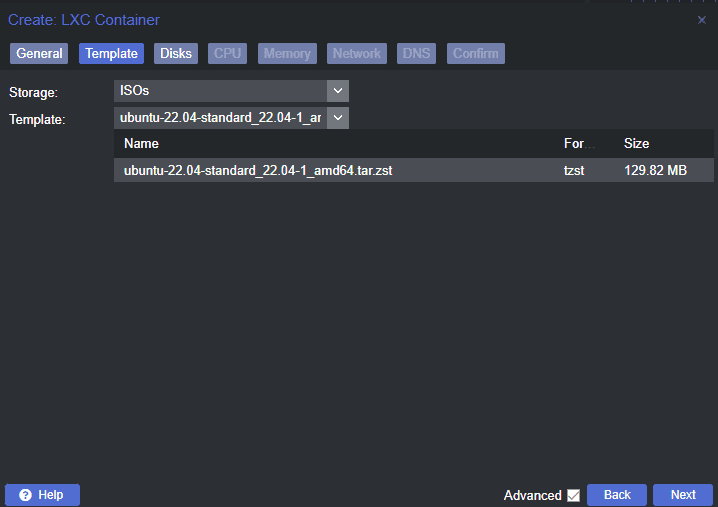
First, let’s download the Container Template. Navigate to your local storage, CT templates, and click Templates.

You can search for a specific distro for your container. Below, we are entering Ubuntu.
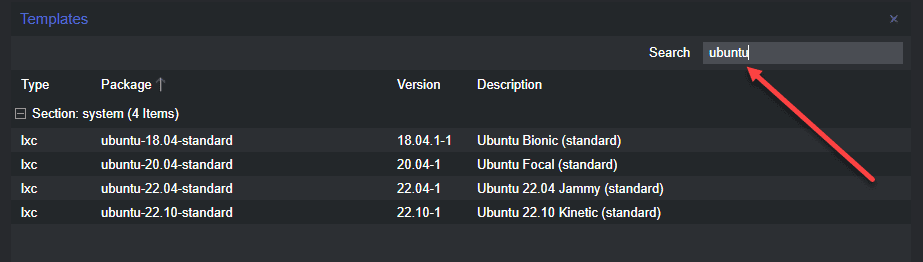
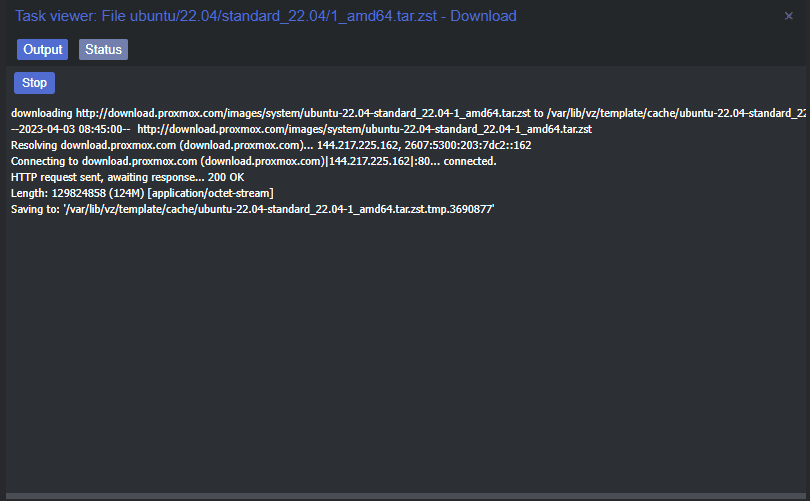
The download of the container image begins.
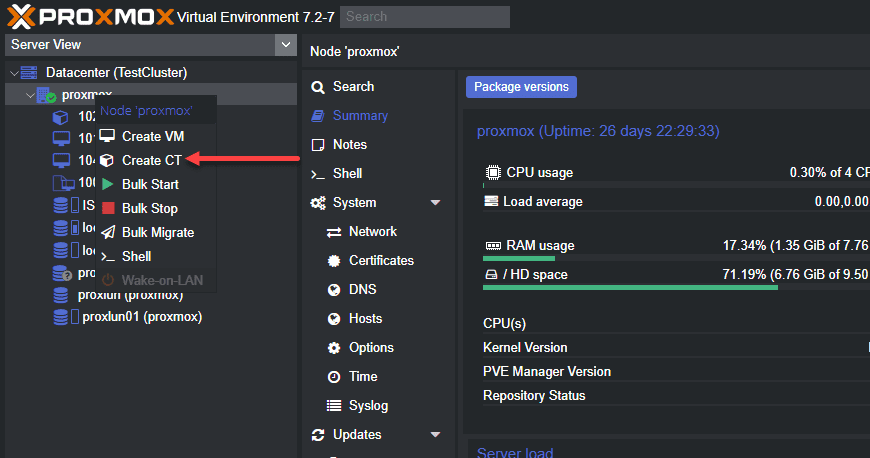
Creating a new container and Configuring Container Resources
It is easy to create a new container in Proxmox.
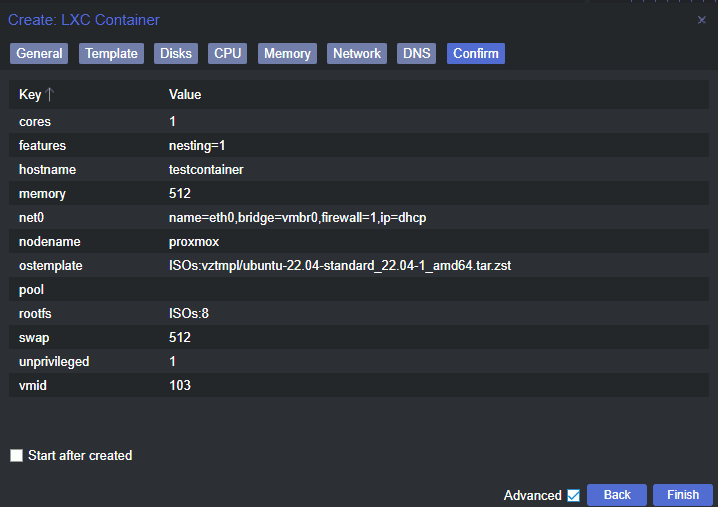
Next, configure the amount of resources to your container by configuring the Name, Template, CPU, and Memory:
First, name the container and enter a password.

Choose the Proxmox template you want to use for the new Pi-Hole container.
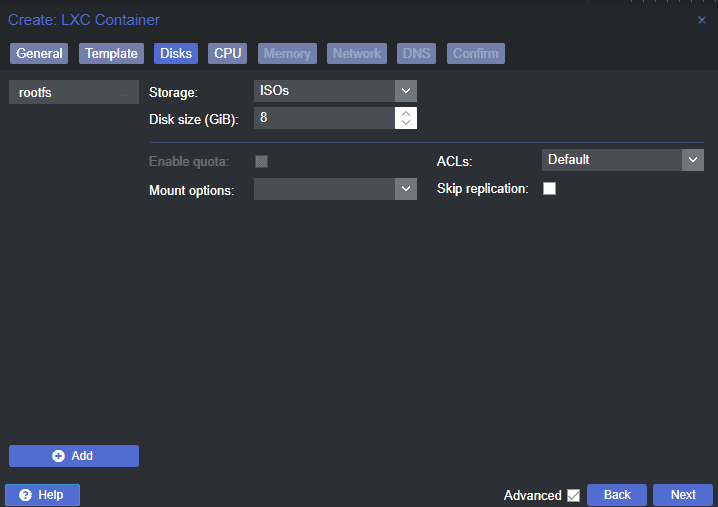
Under the “Disk Size” section, define the storage space you want to allocate to the container. A minimum of 8 GB is recommended to accommodate future updates and additional blocklists.
Click on the “CPU” tab and set the desired number of cores. For most home users, 1-2 cores should be sufficient.

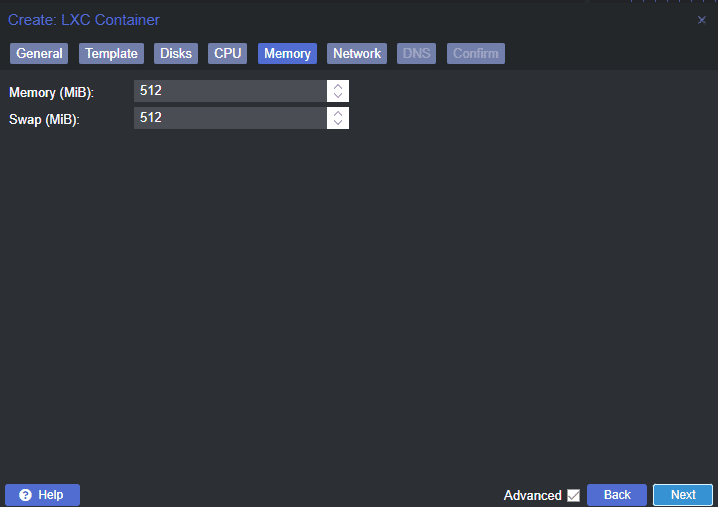
Navigate to the “Memory” tab and allocate the appropriate amount of RAM. A minimum of 1 GB is recommended for smooth operation.
Setting Up the Network
On the “Network” tab within the container creation dialog you can choose a static IP address within your network’s IP range. Just make sure it doesn’t conflict with other devices with the same IP address. You can also use DHCP if you can create a reservation for the specific IP pulled from DHCP.
Why? We want an IP address that doesn’t change as this will be configured in your DHCP as your DNS server for devices. So if it changes in the future, your DNS resolution will break.

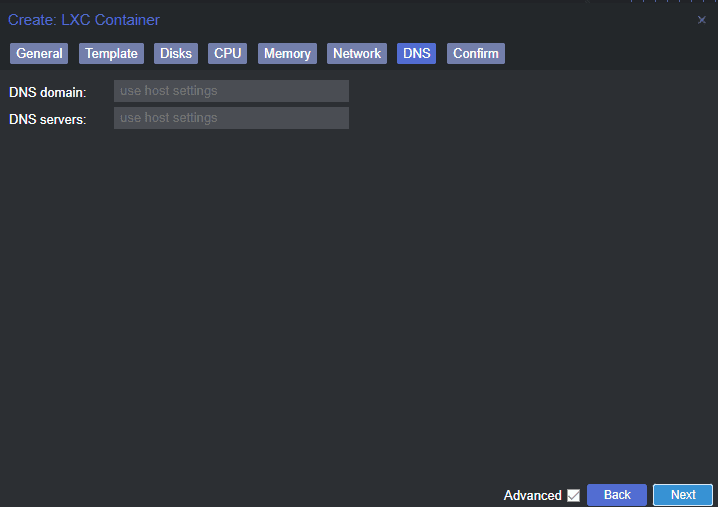
You can also set the DNS servers configuration for the Pi-Hole container. On the DNS tab, enter the DNS domain and DNS servers.
Once you’ve completed the container configuration, click Finish. Proxmox will now set up your new LXC container with the specified resources and network settings.
Part 4: Installing Pi-hole on the Proxmox LXC Container
Now that we’ve created the LXC container, it’s time to run the Pi-Hole installer. Follow these steps:
Access your newly created container using SSH or the Proxmox web console.
Log in with the ‘root’ user and the password you set during container creation.
Update the container’s package lists and install any available updates with the following commands:
apt update apt upgradeInstall the ‘curl’ utility, which will be used to download the Pi-hole installation script:
apt install curlDownload and execute the Pi-hole installation script using the following command:
curl -sSL https://install.pi-hole.net | bashFollow the on-screen prompts to configure Pi-hole to your preferences for running Pi-Hole.
Configuring Pi-hole DNS Settings
During the Pi-hole installation process, you’ll need to configure the DNS settings:

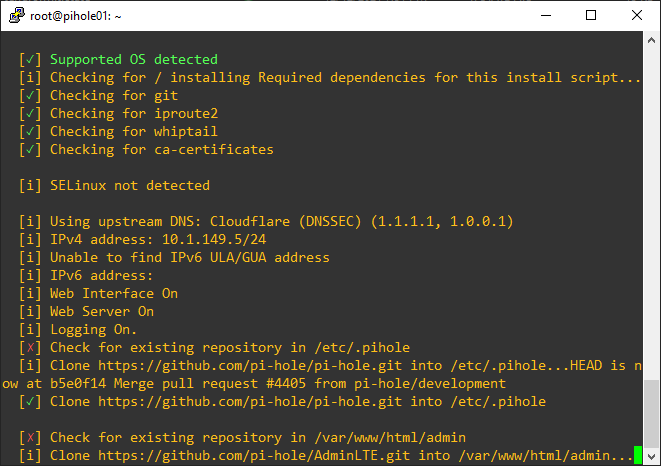
When prompted to choose an upstream DNS provider, select from the following DNS server addresses (e.g., Google DNS, OpenDNS, etc.).

Pi-hole will automatically detect your container’s static IP address. Confirm that the detected IP address is correct.
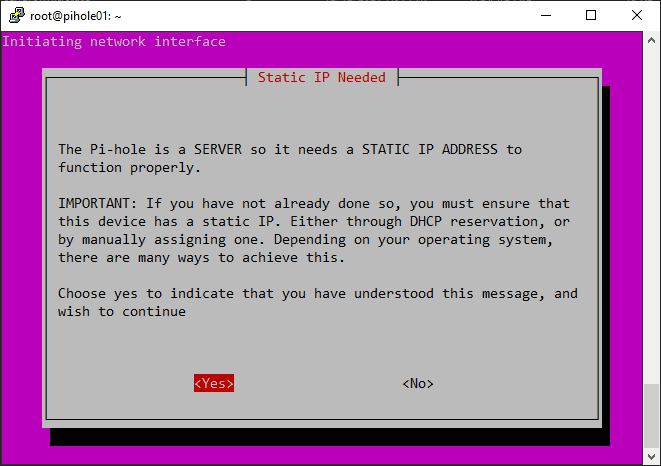
Set a custom IPv4 or IPv6 address, following the on-screen instructions.
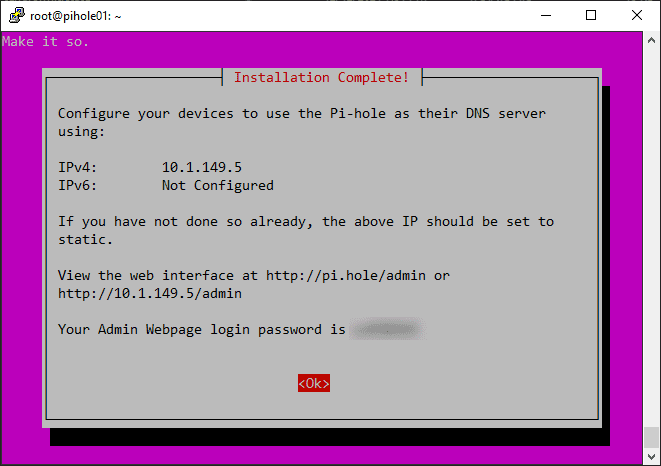
Once you’ve configured the DNS settings, the Pi-hole installation will continue, and you’ll be prompted to set an admin password for the web interface. Note the following additional screens.

Prompt to install the lighttpd web server.

Log queries by default.

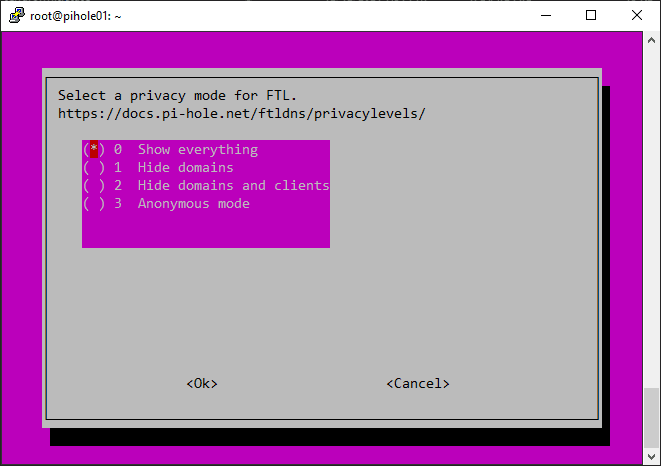
Select your privacy mode.
Finishing out the script.
You will see your admin URL listed along with the generated admin login password.
Configure your network to use Pi-Hole
To ensure that all devices on your network use the Pi-hole DNS server, you must update your router or DHCP server settings. DHCP servers allow you to specify the DNS servers you want to hand out with the IP address configuration.
Access your router or DHCP server’s web interface.
Locate the DNS settings, usually found under the LAN or DHCP settings.
Replace the existing DNS server addresses with the static IP address of your Pi-hole container.

Accessing and Managing Your Pi-hole Server
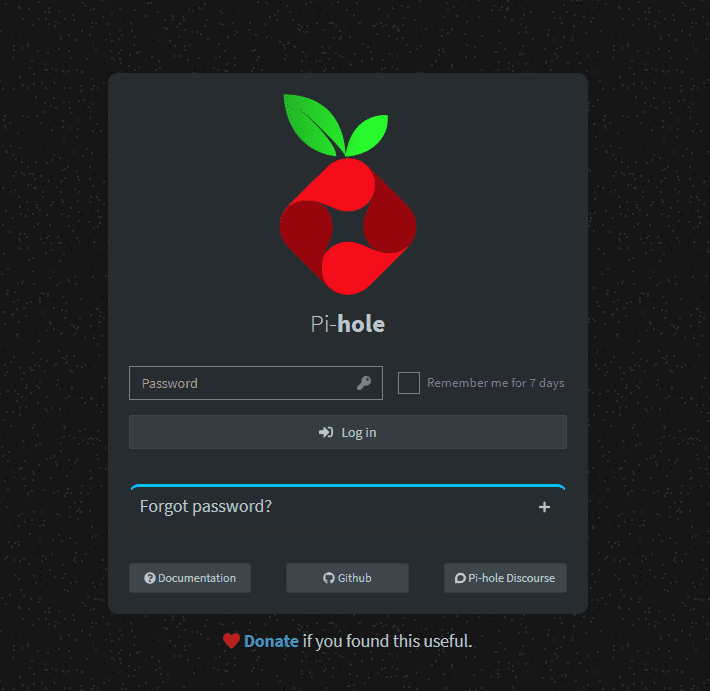
To manage your Pi-hole server go to the Pi-hole web interface using the URL provided after the installation:
Open a web browser and enter the Pi-hole website address followed by /admin (e.g., http://192.168.1.100/admin). This is the admin web interface.
Log in using the admin password you set during the configuration process.
Improving your security
Pi-hole can also be used to improve security and privacy on your network. Go to the Pi-hole web interface. Navigate to the “Settings” tab.
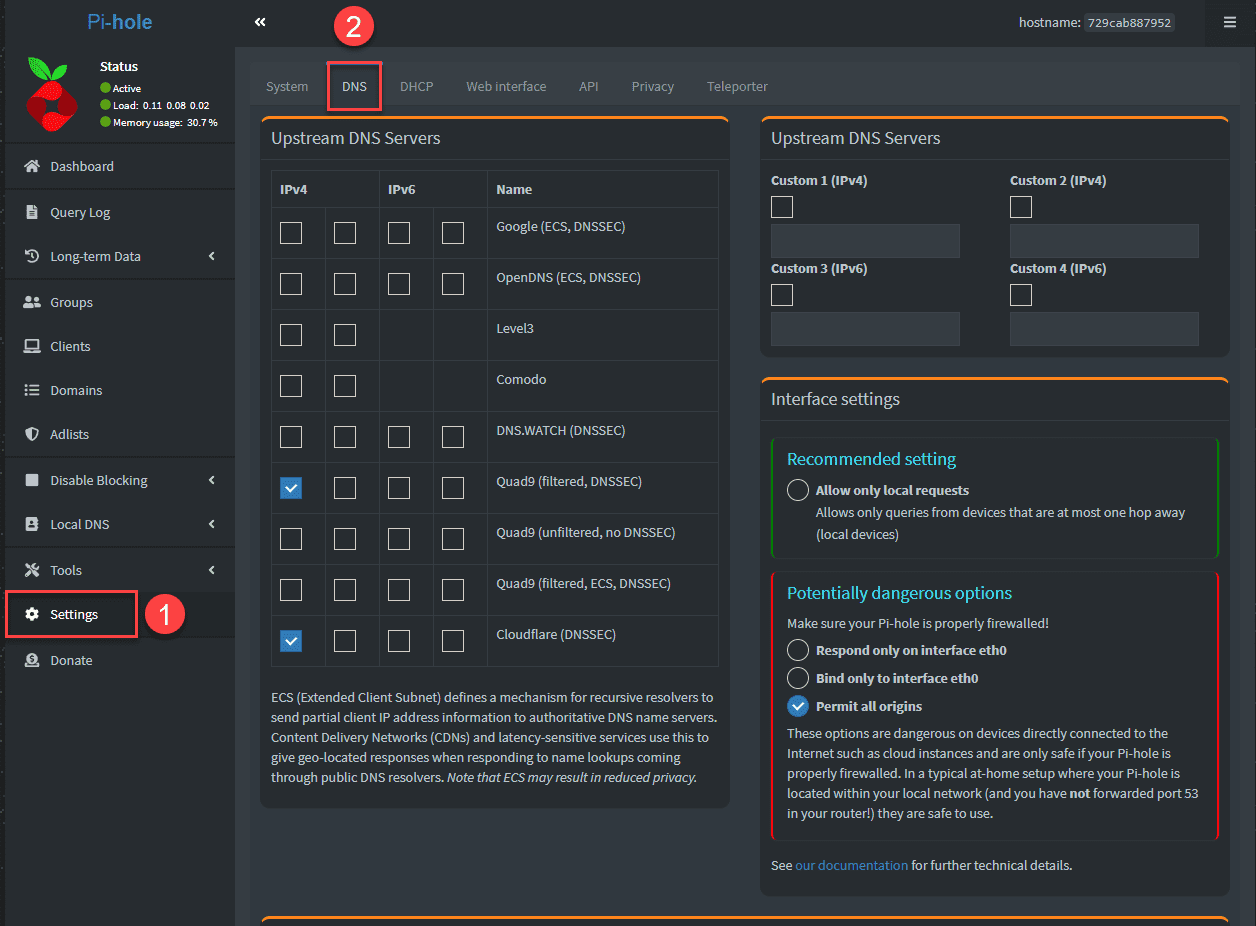
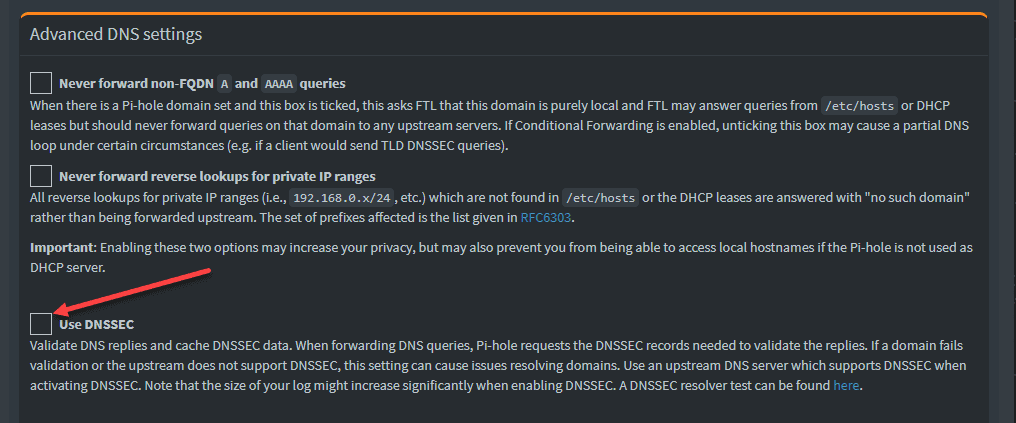
On the DNS Tab, enable DNSSEC to ensure the integrity of DNS data.
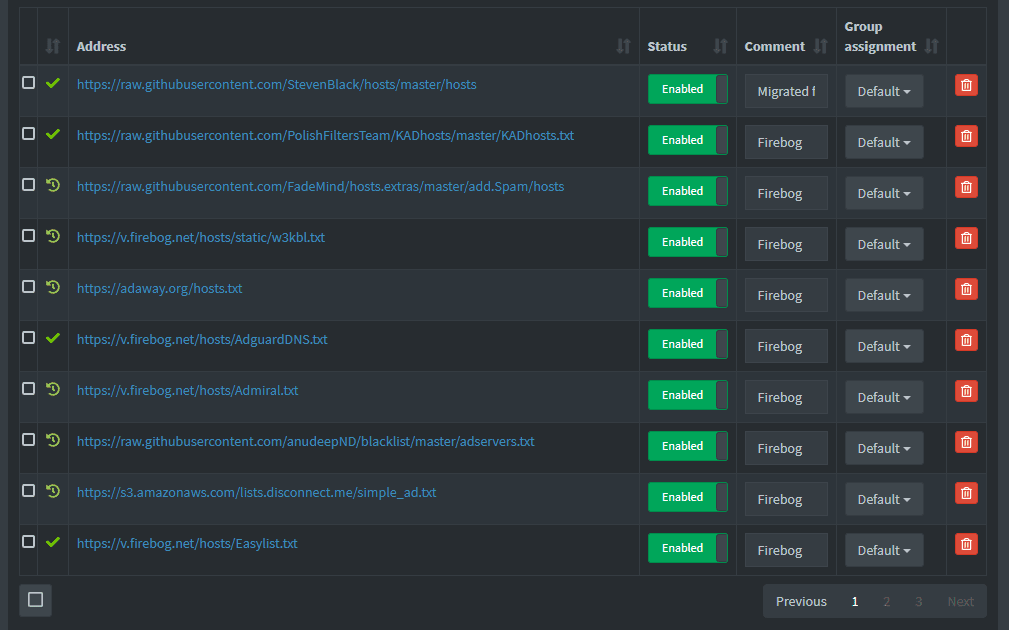
Consider enabling additional blocklists to protect against malware, phishing, and other malicious activities.
can enhance their security, privacy, and overall performance while protecting your entire network.
Troubleshooting
Here are some troubleshooting tips to help you resolve issues:
DNS resolution issues: If you have problems with DNS resolution, double-check your network settings and make sure that your devices are configured to use the Pi-hole server as their primary DNS server
Web interface access issues: If you’re unable to access the Pi-hole web interface make sure that your firewall settings aren’t blocking the necessary ports (usually 80 and 443)
High CPU or memory usage: If your Proxmox LXC container is using a lot of resources, you might try increasing the CPU, memory, or disk space, or reducing the number of blocklists enabled.
Unwanted ads still appearing: You can manually add the domains that are still getting through to your Pi-hole blocklist or use other community-curated blocklists.
Related topics
Wrapping up
Installing Pi-Hole on Proxmox VE server is not difficult using LXC containers. Installing Proxmox is simple as well to have the platform for use in your home lab. Hopefully this tutorial covers the points you need to get up and running quickly.
Google is updating how articles are shown. Don’t miss our leading home lab and tech content, written by humans, by setting Virtualization Howto as a preferred source.
About The Author