These days there are threats everywhere you turn when using electronic devices. Most of us are targeted for ads everywhere we go and every device we browse, search or place orders on. Aside from these threats to your privacy, there are all-out cybersecurity threats that exist in the form of malware. Ad-blocking has been around quite some time and has primarily been used in the form of browser plugins and other tools and utilities. However, deploying a network-wide ad-blocking solution is a superior approach. Pi-hole is an open-source project that allows you to do just that. There are many ways to install and run Pi-hole, including virtual machines, Raspberry Pi devices (hence the name), and even containers. In this post, let’s take a look at how easy it is to install Pi-hole in Ubuntu 21.04 and start blocking ads on your entire network.
What is Pi-hole?
Most of you that are reading this block post will already be familiar with what the Pi-hole project is and what it does. However, as a high-level overview for those that may not have heard of Pi-hole, it provides network-level ad and malware blocking using the concept of a DNS sinkhole.

According to online resource Enisa, a DNS sinkhole is a way to protect users by intercepting DNS requests attempting to connect to known malicious or unwanted domains (think ransomware, potentially unwanted programs, adware, spyware, etc), and returning a false or controlled IP address. The sinkhole server is defined by the DNS administrator.
As we know, DNS is the “phone book” of the Internet. If you can control the phone book and prevent end-user clients from dialing up the numbers of known criminals or unwanted users on the other end of the connection, your users will be much safer in the end. This is exactly the premise of a DNS sinkhole and is what solutions like Pi-hole do so well.
Benefits of Pi-hole
The beauty of Pi-hole is that it doesn’t require you to install any client-side software (browser plugins, agents, etc). It provides several other benefits, including:
- It is easy to install and takes just a few minutes (as you will see below in the walkthrough for Ubuntu 21.04.
- It provides protection not only for websites, but ad-infested mobile apps and smart TVs
- Speeds up browsing by performing DNS caching
- It is lightweight and runs on minimal hardware, including Raspberry Pi’s
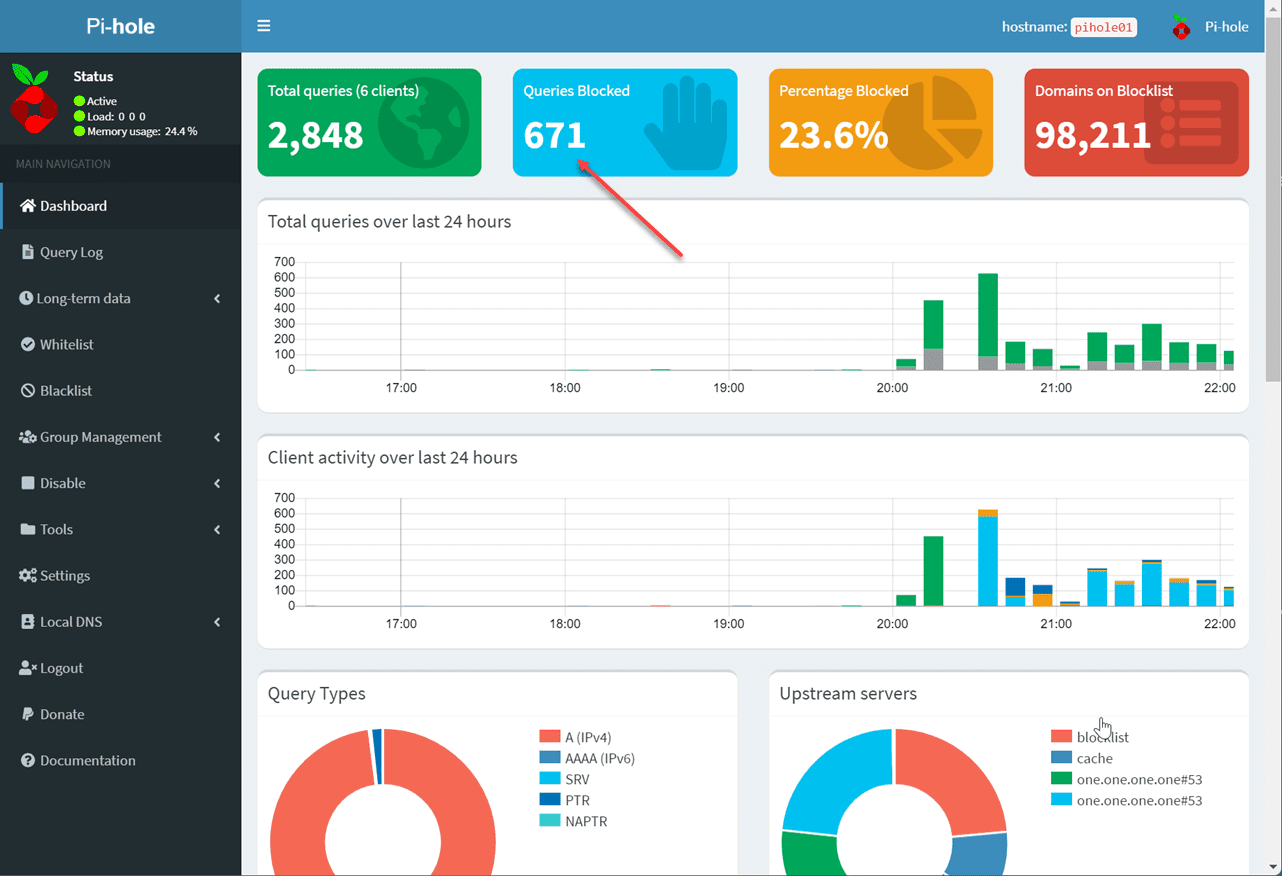
- Easy to navigate web interface that provides great metrics and visibility into your network and the DNS connections being made
- It can also house other network services, such as DHCP and DNS server proper (not just DNS sinkholing)
- Very performant and scalable
- Can block ads and malware over both IPv4 and IPv6 networks
- It is free, based on open-source software
Install Pi-hole in Ubuntu 21.04
- Install lighttpd server
- Install Pi-hole
The installation process in Ubuntu 21.04 for Pi-hole is simple and straightforward and only takes a few minutes. The process involves:
1. Install lighttpd server
First, let’s install lighttpd server in your Ubuntu 21.04 installation. To do that, use the command below. As a note, Pi-hole will install lighttpd for you. However, I like to have control over installing this manually as I had issues with SSL on a previous build. After installing manually I didn’t have any issues getting SSL implemented. (Will detail this in a future post).
sudo apt install lighttpd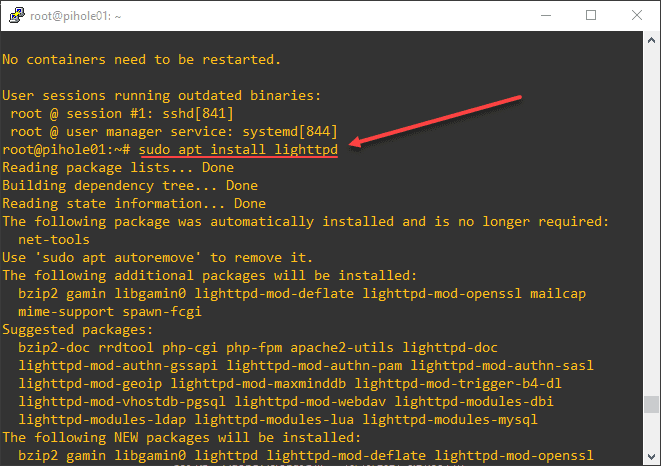
2. Install Pi-hole
After installing lighttpd server, the next step is installing Pi-hole. To do that, just issue the command:
sudo curl -sSL https://install.pi-hole.net | bashThis launches a GUI installer of sorts from the command line. Here, we just follow the prompts to install Pi-hole.

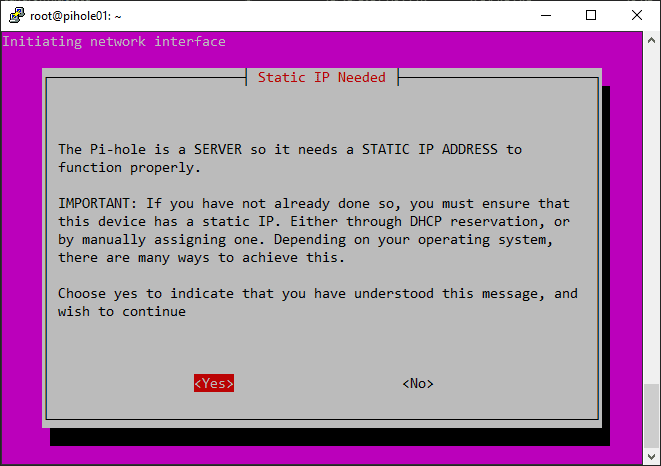
During the installation, the Pi-hole installer alerts to the need to have a static IP address. This is just basic network best practice. You don’t want to have a DNS server that you are using for DNS sinkholing on a floating dynamic IP as this could potentially change over time as DHCP leases run out.
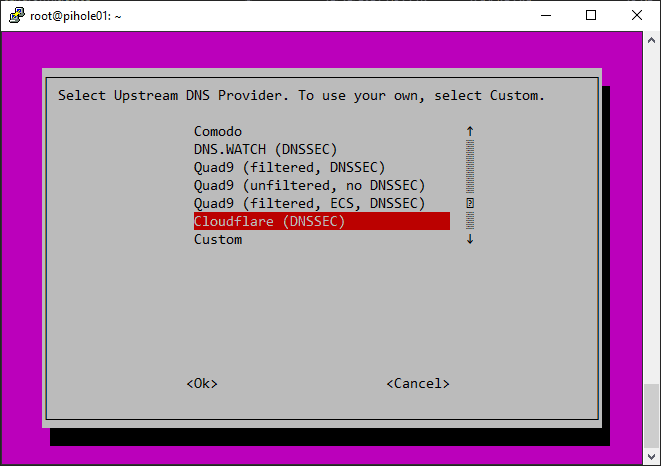
Pi-hole gives you the option to choose which upstream DNS provider you use. What is an upstream provider? In other words, it is the DNS server that Pi-hole uses to answer your DNS requests. Here I like to use the Cloudflare provider. It seems to always edge out the other big names in the list in terms of performance, etc. I have not had an issue with Cloudflare. However, keep in mind all the other providers will work fine here as well.
As a note, if you have another on-premises DNS provider, you can use your custom DNS server here as well with the Custom option.
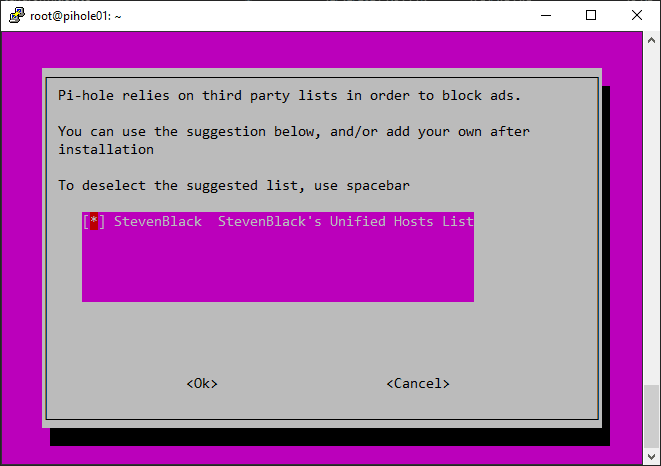
Another good feature of Pi-hole out of the box is it comes with a default blocklist of sorts. So, you don’t have to install one to get started blocking ads on your network. There are many other good Pi-hole blocklists out there as well that you can take advantage of in your installation. These can be added and customized later.
You can choose whether or not you want to install the web admin interface, which I highly recommend.

You can install the webserver and required PHP modules. Here, you can allow Pi-hole to install Lighttpd for you and the required PHP modules. This will work fine for most. As I mentioned earlier, I like to install it manually. Pi-hole will make use of your existing installation.

Decide how you want to log queries. I am here just accepting the defaults.

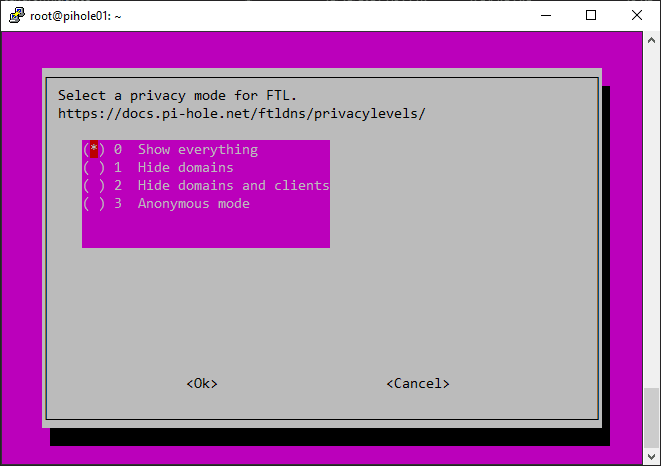
You can also decide how you want to handle the privacy mode of Pi-hole. You can choose to show or hide everything.
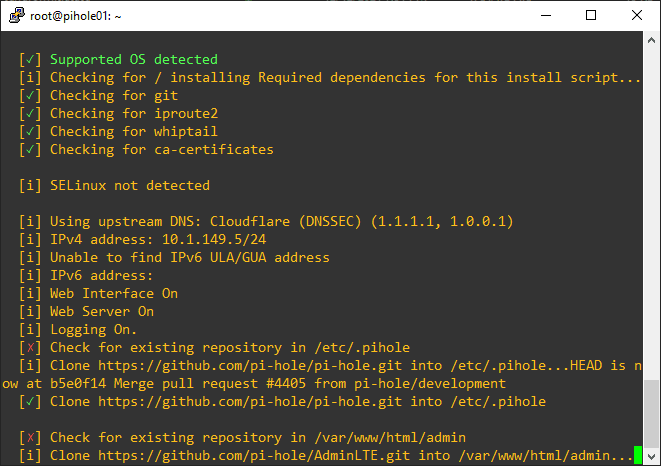
After clicking OK, you will see the installation of Pi-hole begin.
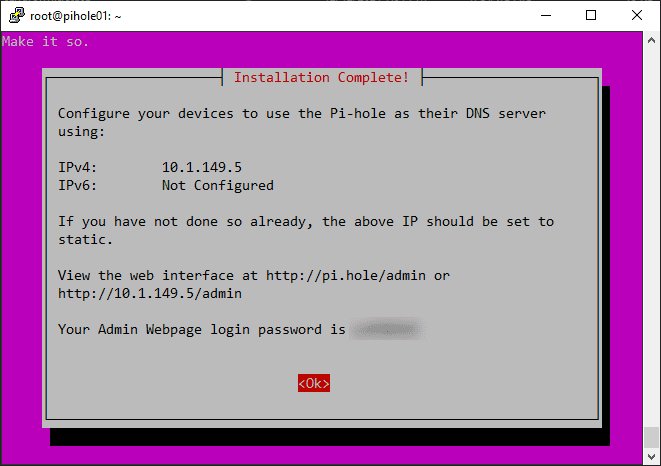
After a few moments, you should see that Pi-hole is successfully installed. You will see an automatically generated random password for the admin interface. Be sure to note this password. You can change it later as well.
After clicking OK, you will see the command to change the admin password, as well as the location for the log file.
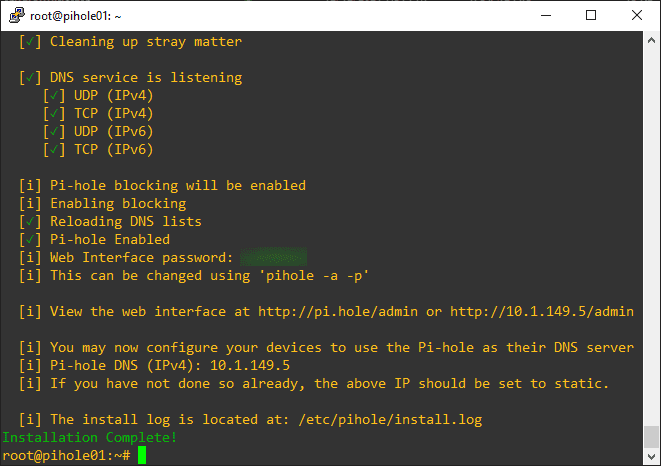
Start enjoying the freedom from ads on your network!
Wrapping Up
Pi-hole is just one of those solutions and open-source projects that get me excited. The use case hits home for just about anyone who is serious about cleaning up their network from ads, tracking, and malware. Pi-hole provides a DNS sinkhole that works well to protect your network from many different threats. As shown, you can install Pi-hole in Ubuntu 21.04 in just a few minutes. After installing you simply point your clients to your Pi-hole server and enjoy ad-free browsing!
Google is updating how articles are shown. Don’t miss our leading home lab and tech content, written by humans, by setting Virtualization Howto as a preferred source.
About The Author