Well, it seems like it wasn’t long ago that we saw ESXi-Arm demonstrated at VMworld. I think all of us were wondering when we could get our hands on this release of ESXi as the potential very cool and exciting use cases this architecture opens up are really endless. Thinking about edge computing in particular, having the ability to run very small form factor devices equipped with Arm processors running ESXi is fantastic. I have been waiting to get in on the fun that I have been seeing as of late with all of my fellow virtualization enthusiasts have already been having with ESXi-Arm in their lab environment. Since I just received my Raspberry Pi 4 device in today, I decided to get right to it and get ESXi-Arm loaded. Let’s take a look at how to install ESXi-Arm step by step on Raspberry Pi 4 and see the steps involved.
Install ESXi-Arm Step by Step on Raspberry Pi 4
There are basically just a few steps to getting ESXi-Arm installed on a Raspberry Pi 4 device. I am going to break this down for you and show you the exact Raspberry Pi 4 device I ordered, what is included, and how the hardware went together. The steps include:
- Build the Raspberry Pi 4 hardware (kit)
- Install Pi OS on your microSD card
- Update Raspberry Pi 4 eeprom
- Setup UEFI on the microSD card
- Build your ESXi-Arm ISO
- Install ESXi-Arm
- Change your Boot order to boot ESXi-Arm
1. Build the Raspberry Pi 4 Hardware (kit)
So the great thing about Raspberry Pi hardware is that you can buy readily available kits that you can find fairly economically on Amazon. The thing I like about this option is that you get everything you need in the kit to install ESXi-Arm.
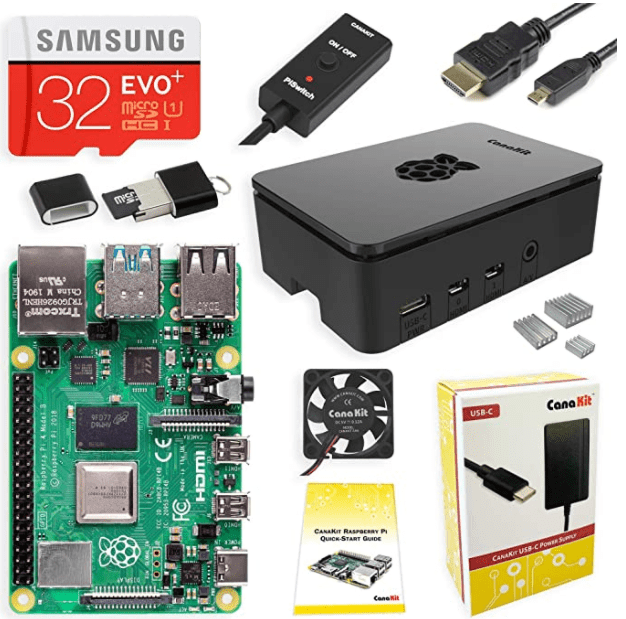
The kit that I purchased is found below. I definitely recommend as do others, if you want to play around with ESXi-Arm, get the 8 GB Raspberry Pi 4 device.:
- CanaKit Raspberry Pi 4 8GB Starter Kit – 8GB RAM
- This kit has almost 3000 5 star reviews
- Comes with case, heatsinks, fan, Raspberry Pi 4, microSD card, mini HDMI to HDMI cable, power cable, quick switch on/off power switch, and USB microSD card reader
- So, it literally has everything that you need to build a nice Raspberry Pi 4 build where you won’t have to piece things together yourself.
Opening the CanaKit Raspberry Pi 4 kit.
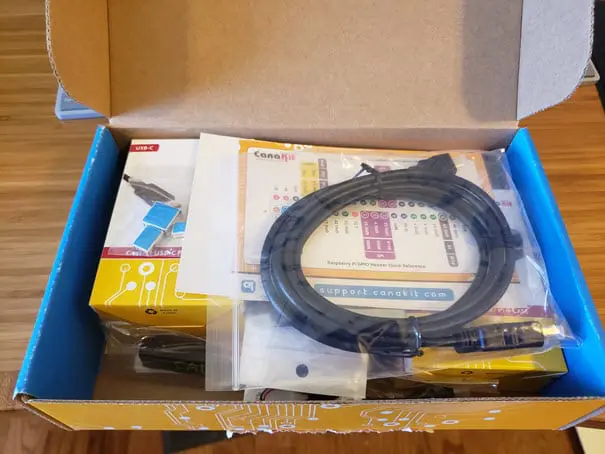
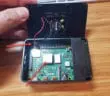
Below, you can see I have installed the (3) heatsinks that come with the kit as well as the active fan cooling. It is hard to see, but the leads from the fan header plug into pins 2 & 3 on the Raspberry Pi 4 board.

2. Install Pi OS on your MicroSD card
The next step you want to take is to install Pi OS on your microSD card. Doing this allows you to update your Raspberry Pi device to makes sure you are running the latest and greatest.
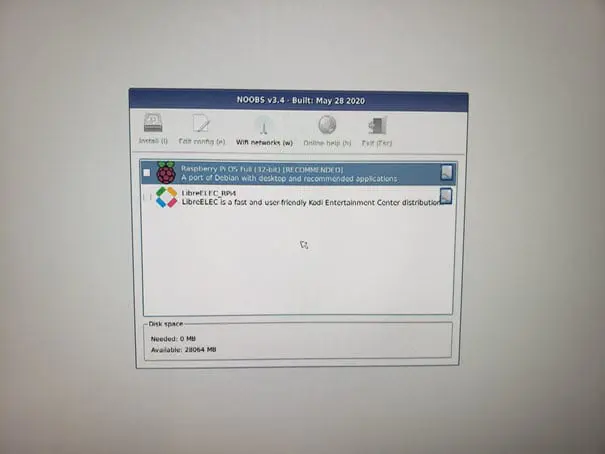
Once you have the hardware kit put together as I have shown above, you can power on the Raspberry Pi 4 device and it should boot to the screen below. This screen allows you to choose to install Raspberry Pi OS Full on your card. Choose this option.
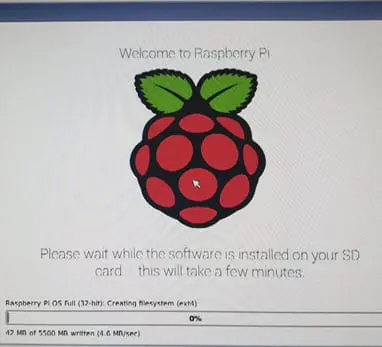
This install will take a while. For me I think it was probably around 10-12 minutes or so.
3. Update Raspberry Pi 4 eeprom
Once you have installed Pi OS and have this up and running. Launch the Pi OS terminal and type the following command:
sudo rpi-eeprom-update

This will tell you if you have an eeprom update that you need to apply. I didn’t have an update available. If you do, run the following other two commands:
sudo rpi-eeprom-update -a
sudo reboot
After either no update is found or after the reboot, you will simply need to shutdown your Raspberry Pi 4 device.
4. Setup UEFI on the microSD card
For this next step, you are going to need two different packages of files at your disposal.
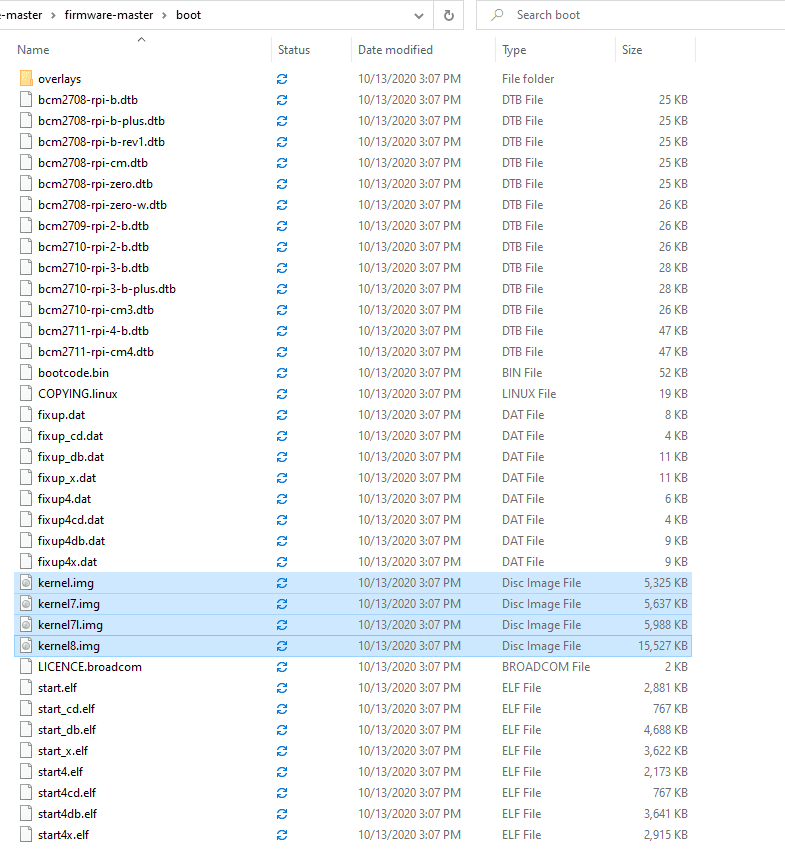
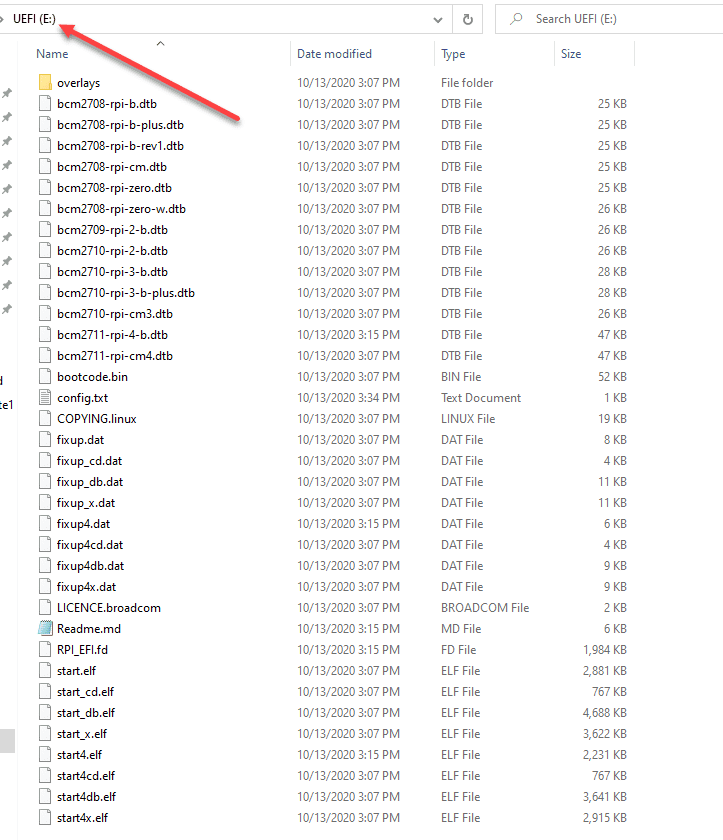
After downloading, just extract both zip files to their own folders. After you have extracted, you are going to navigate to the firmware-master > boot folder and delete the (4) files that start with kernel*. Below, I have these highlighted.
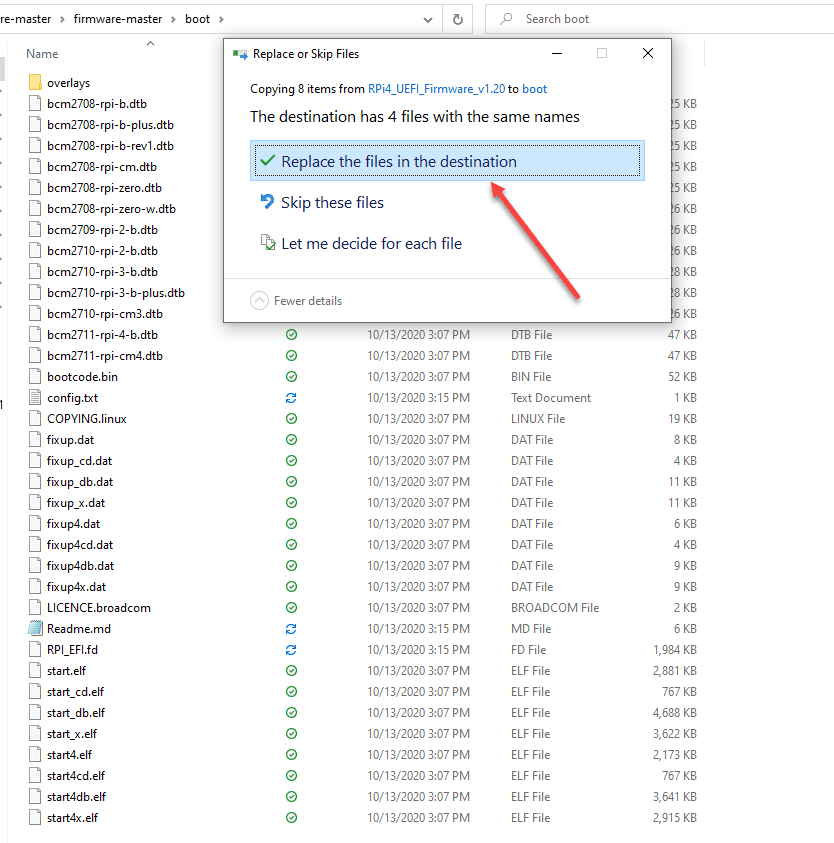
Now, the UEFI folder that you extracted. Copy all the files in this folder and paste them into the same firmware-master > boot folder. Choose to Replace the files in the destination as this is expected.
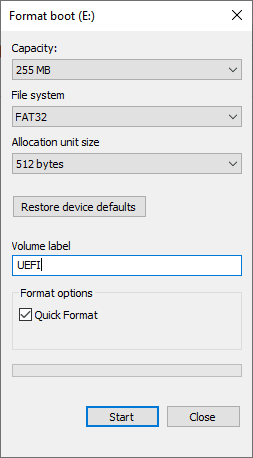
Take the microSD card that you have in your Raspberry Pi 4 device, or take a totally different microSD card and we want to format the card with Fat32. Below is the screenshot of me doing this in Windows 10.
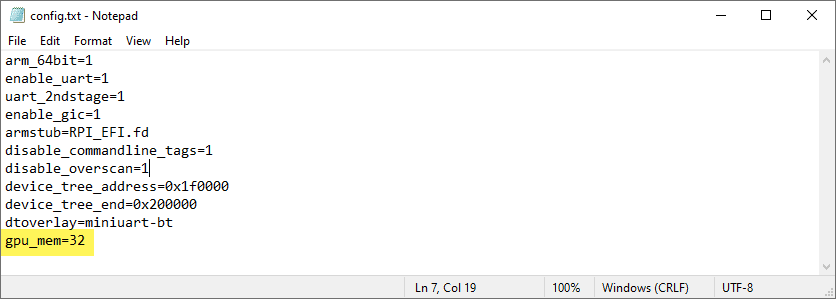
According to the official VMware Fling documentation for ESXi-Arm, this configuration is only needed for the 4GB Raspberry Pi model, however, I did see some others who mentioned the following tweak for the 8GB Raspberry Pi model. I went ahead and added the configuration and had no problems doing so. However, just know this might not be needed for the 8 GB model.
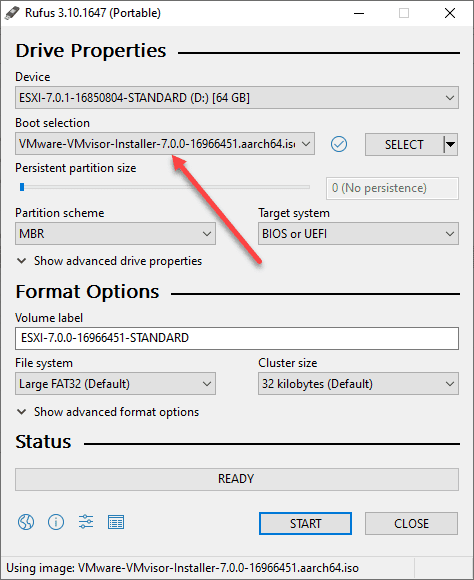
5. Build your ESXi-Arm ISO
Next, you need to build the ESXi-Arm ISO installation USB drive. Hopefully this is something that you have done numerous times before with x86 ESXi . For this task, we need to use Rufus to “burn” the ISO to a USB thumb drive.
6. Install ESXi-Arm
You will need this USB flash drive as well as another USB flash drive to install the ESXi-Arm installation to. So a total of (2) drives will be needed. Once you boot your Raspberry Pi 4 device, hit the Escape key to enter into the settings. Choose the USB disk you created using Rufus for installing ESXi-Arm.
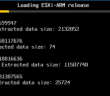
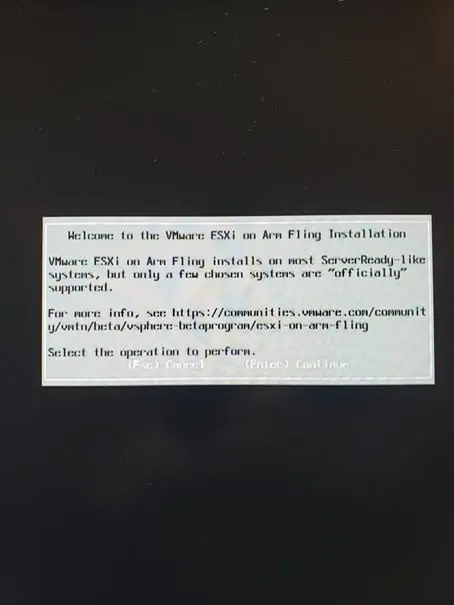
The installation of ESXi-Arm begins.
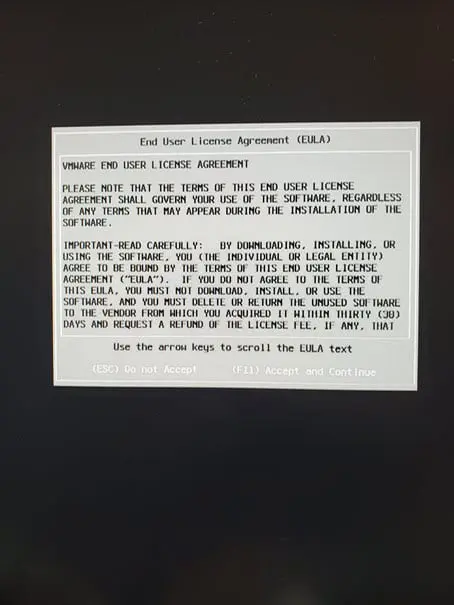
The installation notes this is a Fling installation that is not supported. However, for the most part, the screens for the installation are exactly the same. I am going ahead and posting these for posterity.
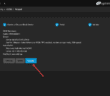
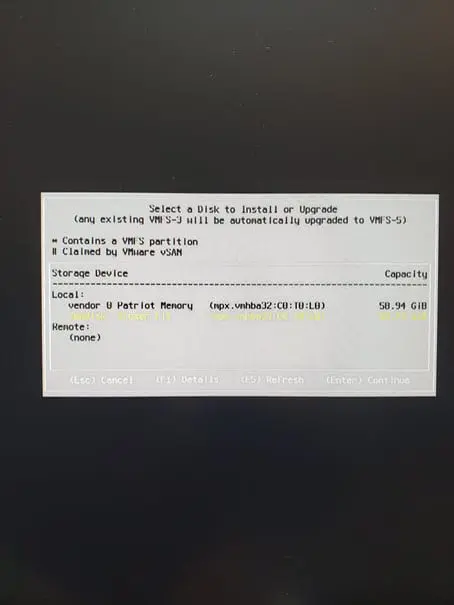
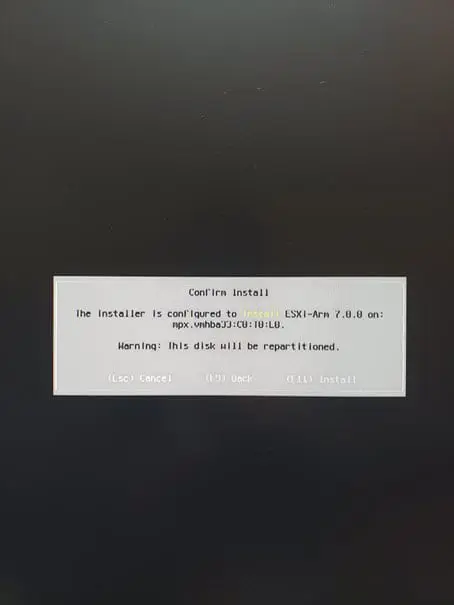
Here, you will choose your other USB disk that you mounted to be the target of the installation of ESXi-Arm.
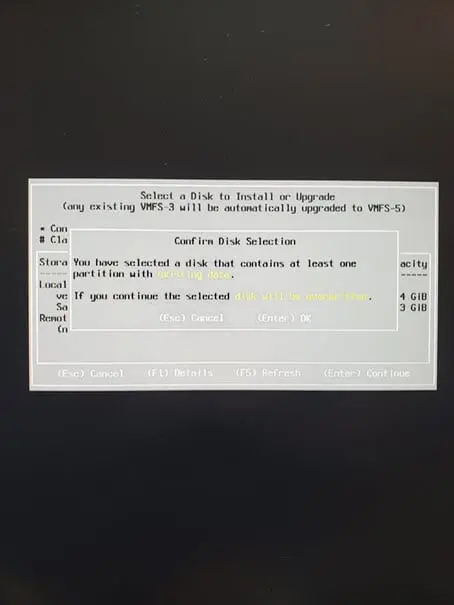
Confirm formatting the USB disk.
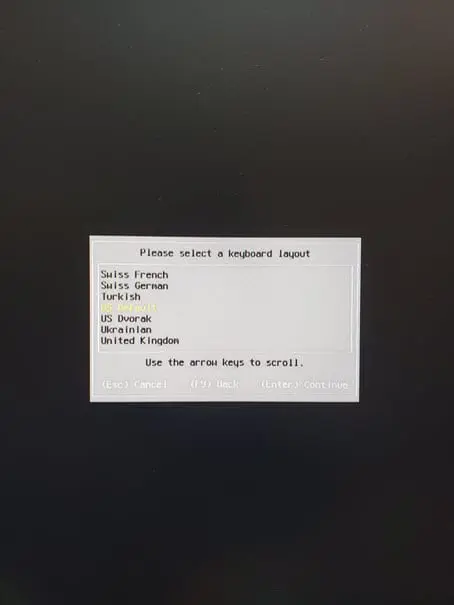
Keyboard input and other standard ESXi installation options.
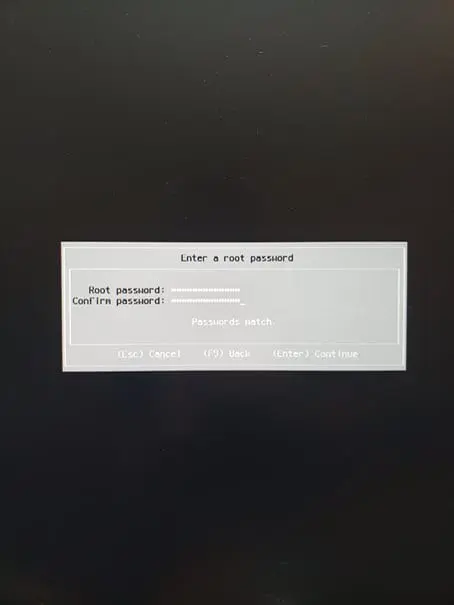
As with normal ESXi, you will have to press F11 to proceed with the installation.
The installation of ESXi-Arm completes.

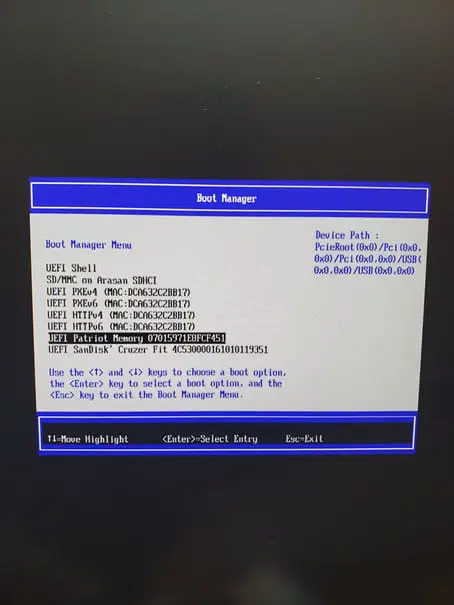
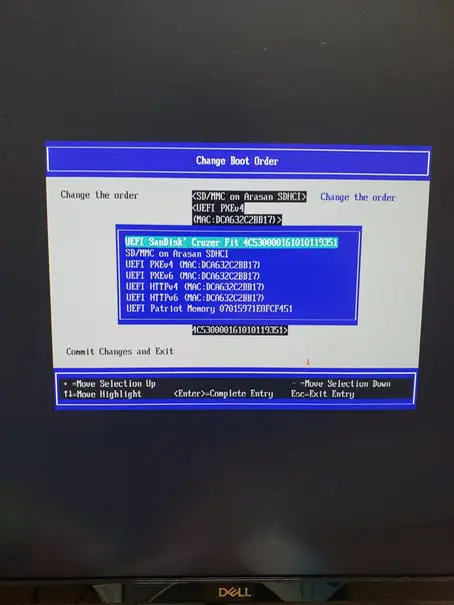
7. Change your Boot order to boot ESXi-Arm
After the installation is finished, you will need to set the boot order for your Raspberry Pi 4 so that it will boot from the persistent installation of ESXi-Arm.
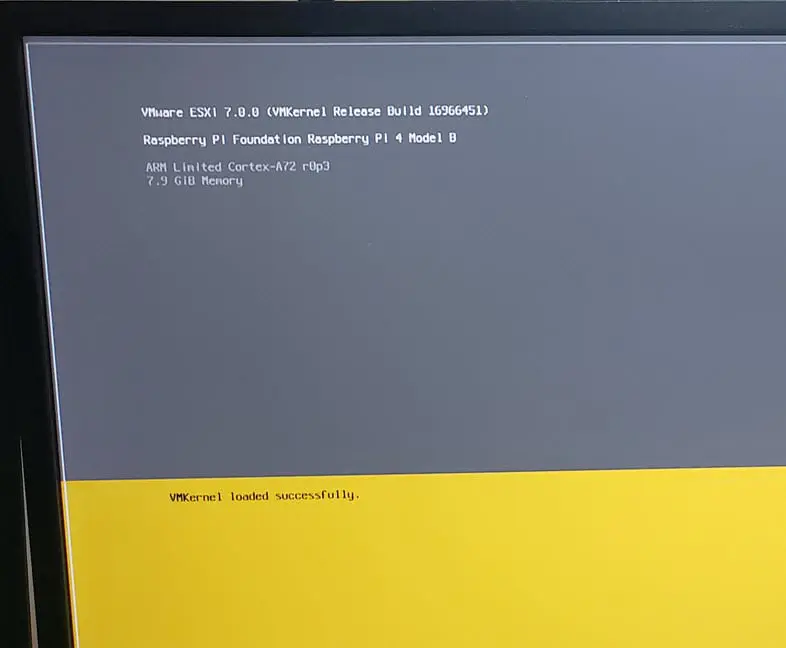
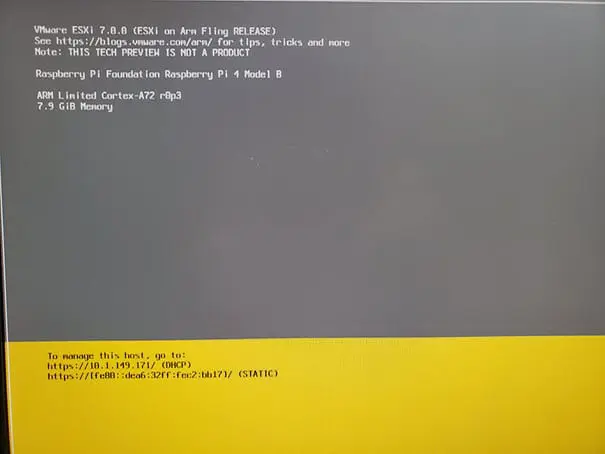
After setting the boot order and booting the Raspberry Pi 4 with ESXi-Arm.
Resources
There are many great resources for ESXi-Arm. However, two that I want to be sure you know are the following:
Concluding Thoughts
ESXi-Arm is an extremely cool and interesting distribution that I have been excited about since I first heard about it at VMworld. It is going to be an interesting next few months as this Fling will no doubt be heavily used in the community. It will be great to see what different use cases are experimented with using ESXi-Arm. This could potentially change the edge environment moving forward on various fronts. Stay tuned!
Google is updating how articles are shown. Don’t miss our leading home lab and tech content, written by humans, by setting Virtualization Howto as a preferred source.
About The Author