Like most of you, I am a big fan of automation, especially when it comes to automating the building of operating system images for template creation. I saw a blurb yesterday about a new VMware Fling simply called, Imager. It caught my attention as it is a solution allowing automated image creation for Windows VMs. Let’s take a quick look at the new VMware Imager Fling to automate Windows 10 Builds and see how the tool works and how we can use it to build out an automated Windows 10 virtual machine.
What is the New VMware Imager Fling
First, what is the new VMware Imager Fling? The new VMware Imager Fling is a new tool that provides a FULLY automated solution, allowing teams to build out Windows 10 VMs from scratch in a single workflow. The resulting virtual machine created by the Imager Fling is a sysprepped golden image that can be used for deployment purposes.
Note some of the following features of the Imager VMware Fling:
- It silently creates the virtual machine
- It fully patches the operating system
- The OS is sysprepped
- It provides a “Stop here” feature that allows stopping the flow at a particular stage to perform manual tasks
- Less reliance on particular technologies and coding is required for other automated build processes. – It provides a point and click approach
Installing the new VMware Imager Fling
The process to install the new VMware Imager Fling is very straightforward and provides a “next, next, finish” installation process familiar with many easily installed applications. Below are the screenshots from installing the application in my home lab environment.
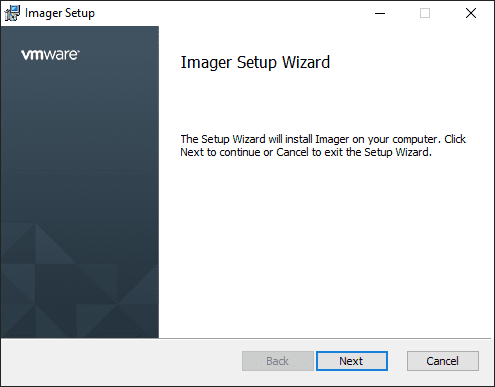
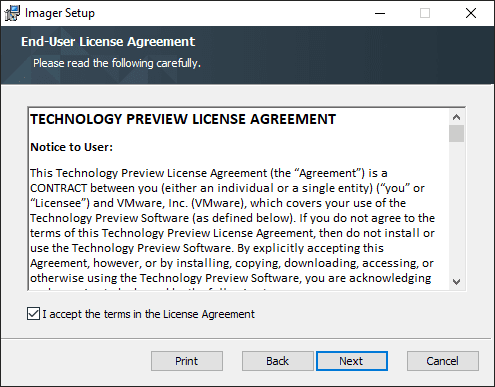
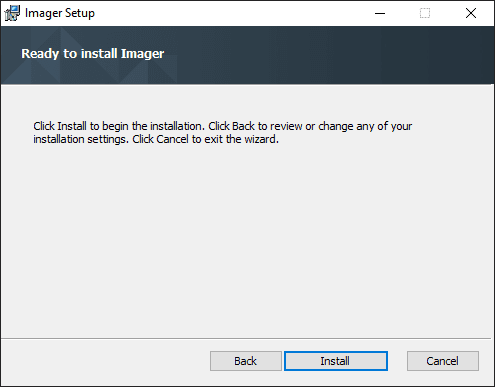
Once you install the tool, click Finish and launch the Imager utility from your programs.
Using the new VMware Imager Fling to build a Windows 10 Golden Image
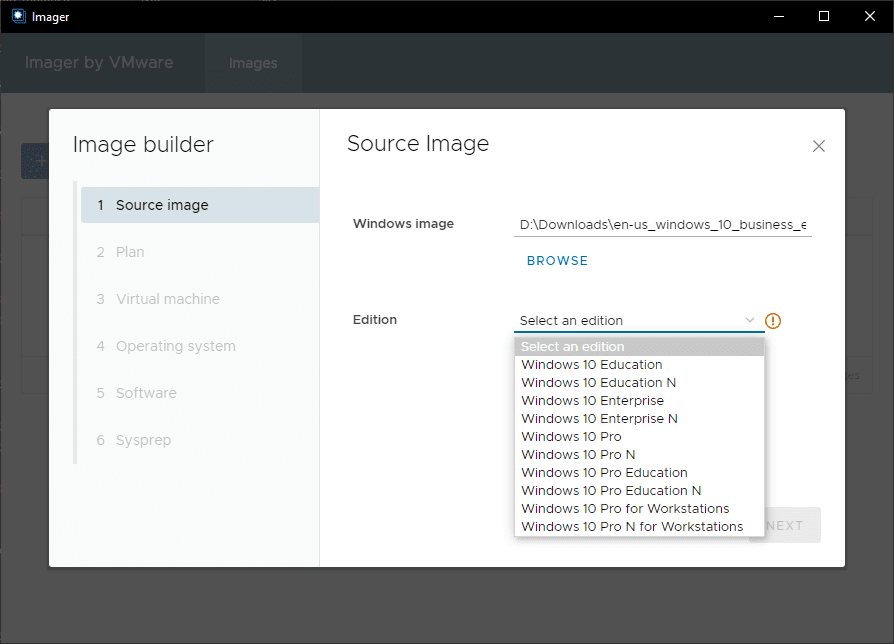
Once you install the Imager Fling, it opens a very familiar-looking tool with the first step being configuring the Source image. On the Source Image screen, you select the following:
- Windows Image – Here you select the Windows ISO you want to use to build the image. It is always best practice here to download the latest Windows ISO from Microsoft as they keep these updated generally on a monthly basis. It helps to shortcut the process of installing updates as these are slipstreamed into the media.
- Edition – Most of the ISOs you download from Microsoft are multi-edition ISOs that provide the various editions of the operating system you want to install. Choose the Edition of Windows to install from the dropdown.
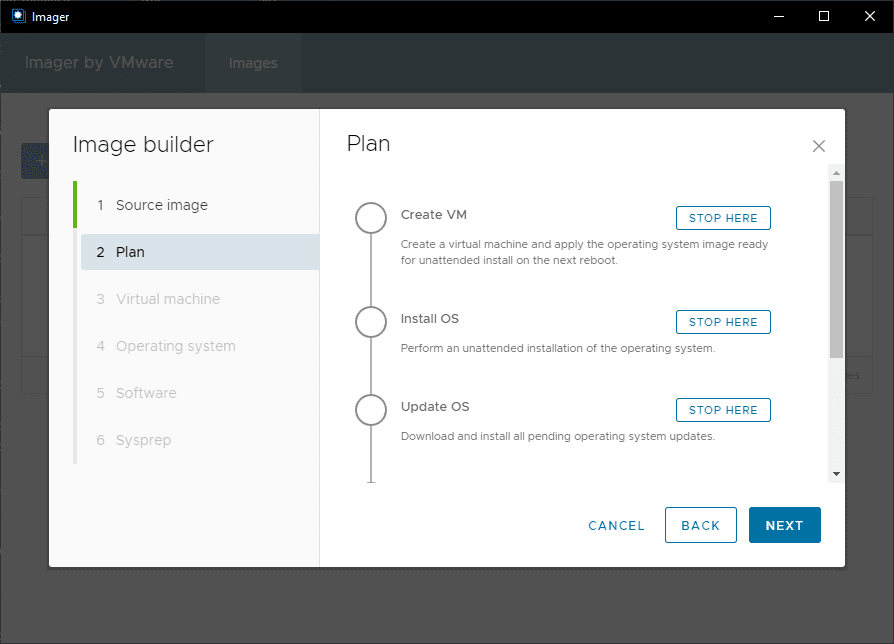
The next screen is the Plan screen. On the Plan screen, you will see the workflow displayed for the build. The workflow includes the following steps:
- Create VM
- Install OS
- Update OS
- Provision Software
- Sysprep
With each step, you have a Stop Here button. With the Stop Here button, you can pause the workflow so you can perform any manual steps needed.
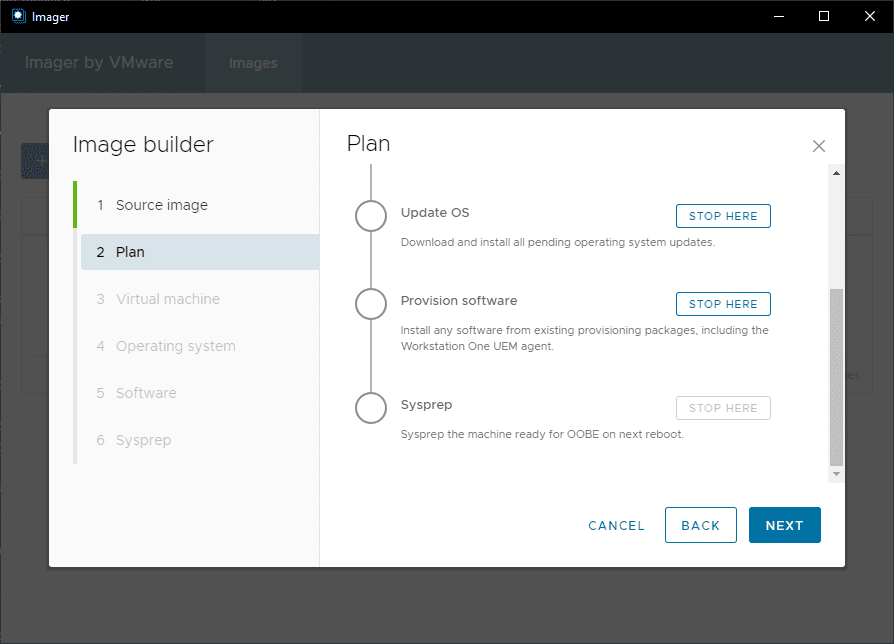
Below is the same screen. I have just scrolled down to show the final steps.
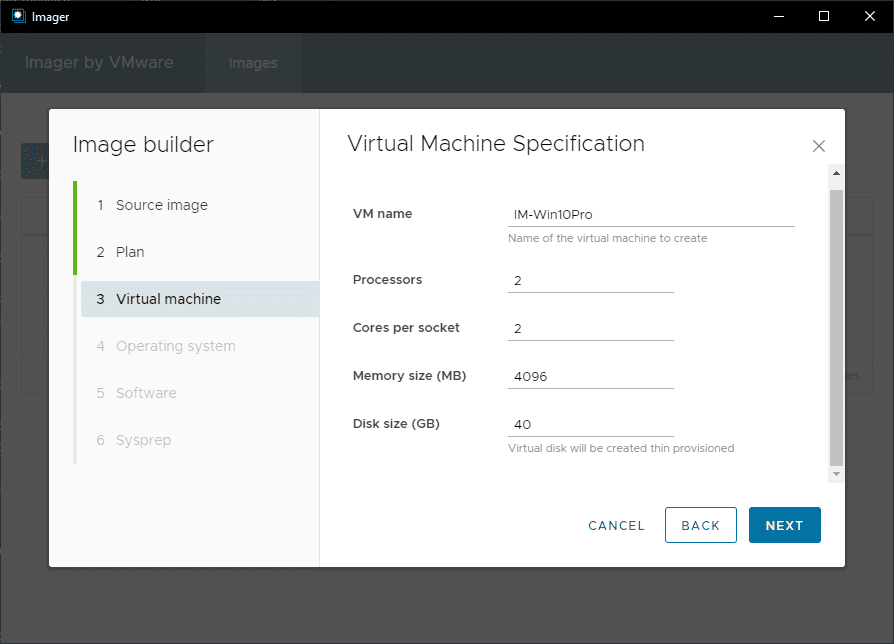
The next screen is Virtual Machine Specification. On this screen, you configure the virtual hardware configuration for the Virtual Machine Specification. The configuration screen includes the following:
- VM name
- Processors
- Cores per socket
- Memory size (MB)
- Disk size (GB)
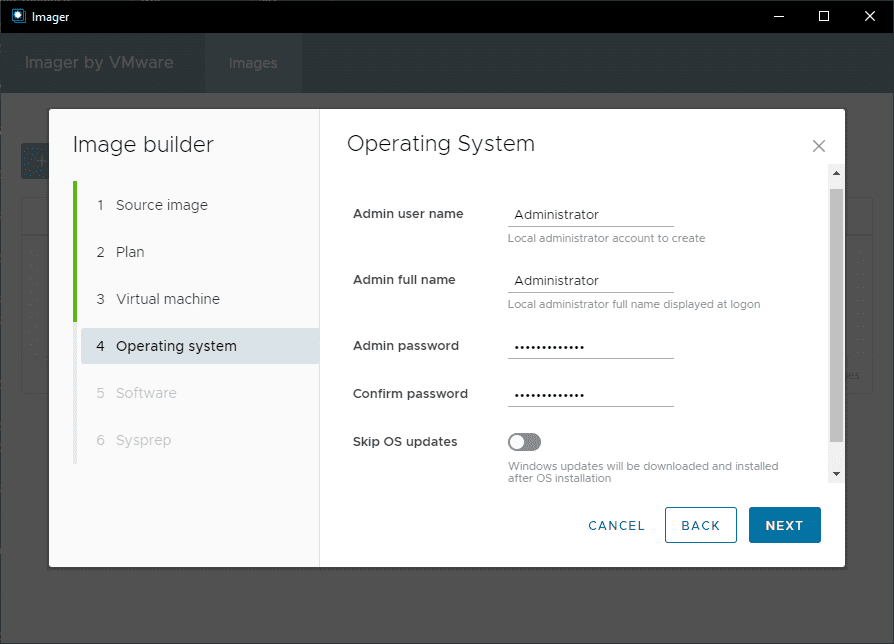
The Operating System configuration screen contains configuration for the operating system, including the Admin user name and password, as well as Skip OS updates toggle. This toggle allows skipping the downloading and installation of Windows updates.
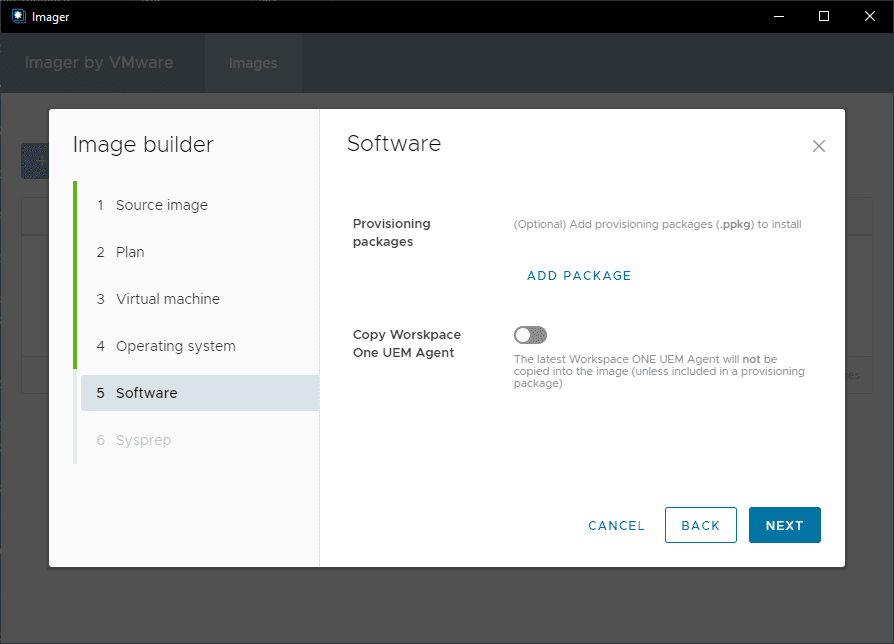
On the Step 5 Software screen, you can add packages and copy Workspace One UEM Agent.
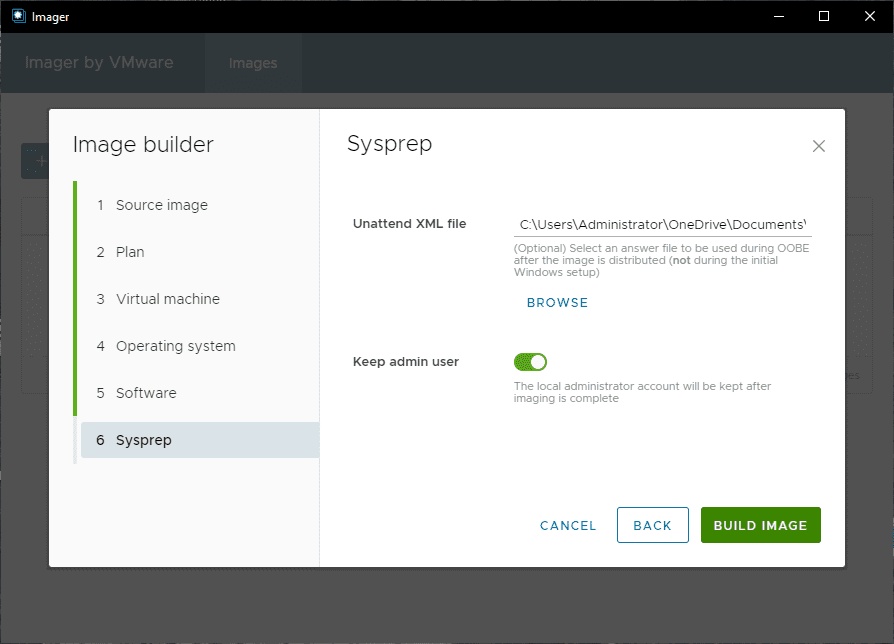
Finally, on the Sysprep screen, you can feed the installation an unattend XML file. You can also toggle the Keep admin user. Once you have these configurations set, click the Build Image button. It will begin the image build process.
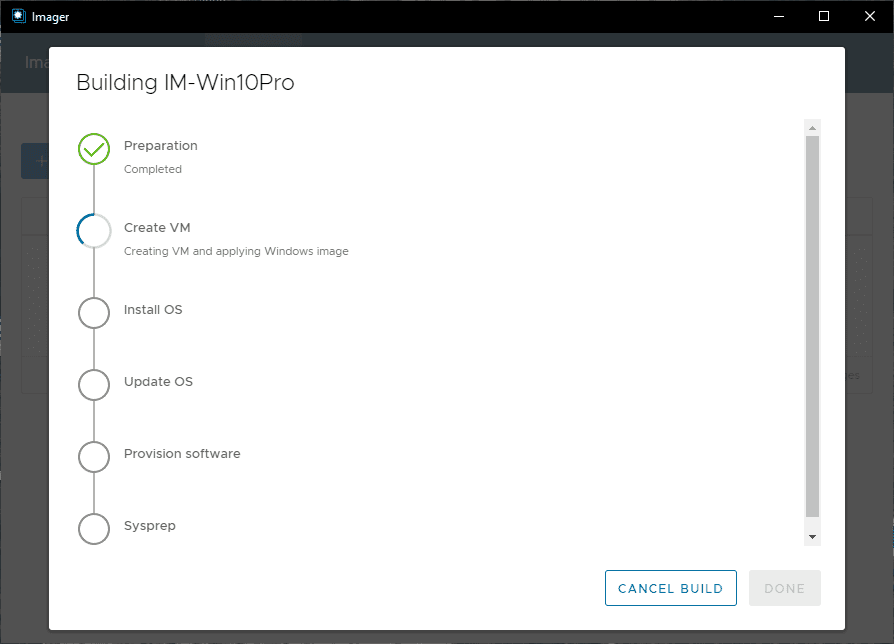
The workflow begins and each stage of the process begins. The screens look very much like vRealize Automation.
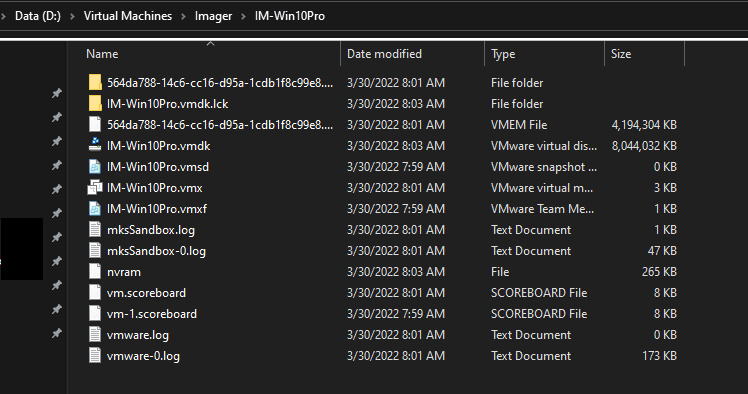
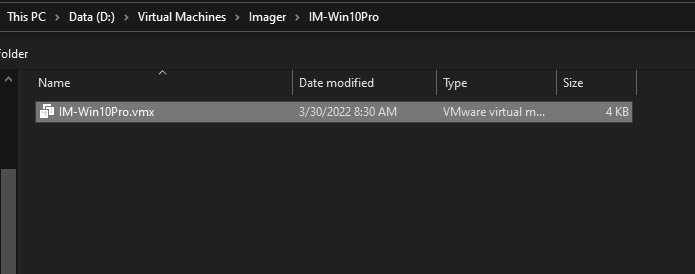
While I didn’t see the VM appear in the VMware Workstation Pro, navigating to my default VM location for VMware Workstation, the VM files are created.
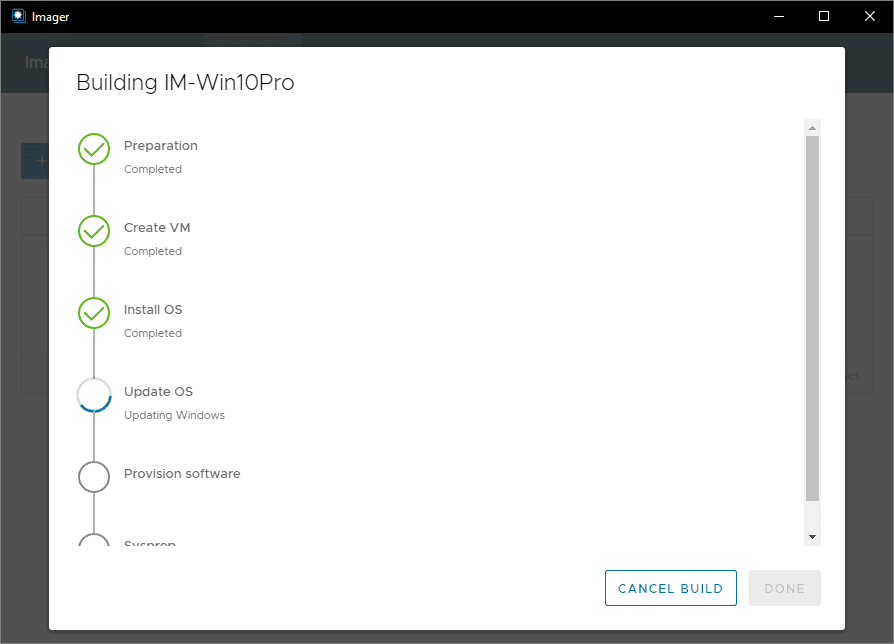
The process continues as it works through the blueprint for the build.
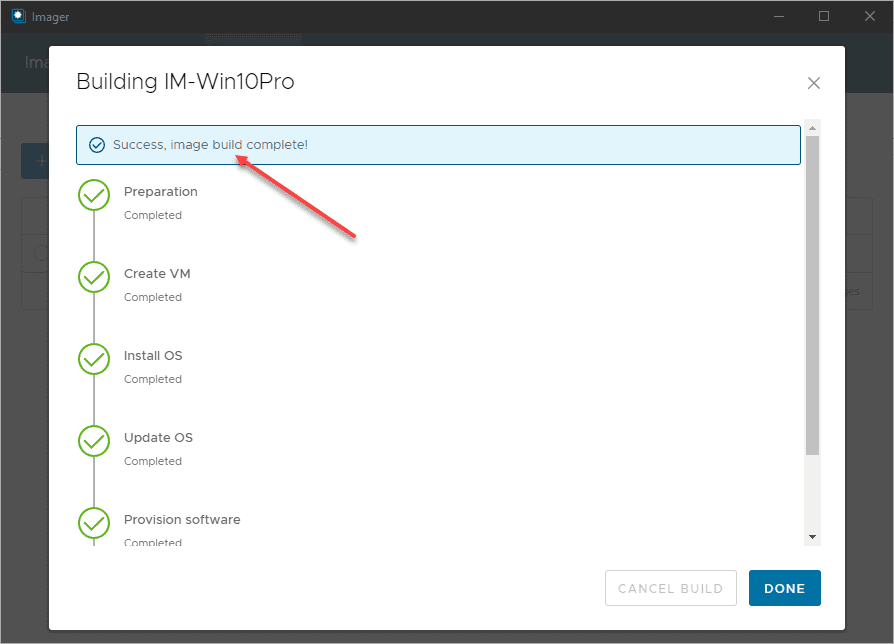
After a while, the build finishes successfully. The time it takes will depend on the age of the ISO you use, whether you decide to include Windows Updates and your hardware.
Add the virtual machine to VMware Workstation and Upload to vSphere
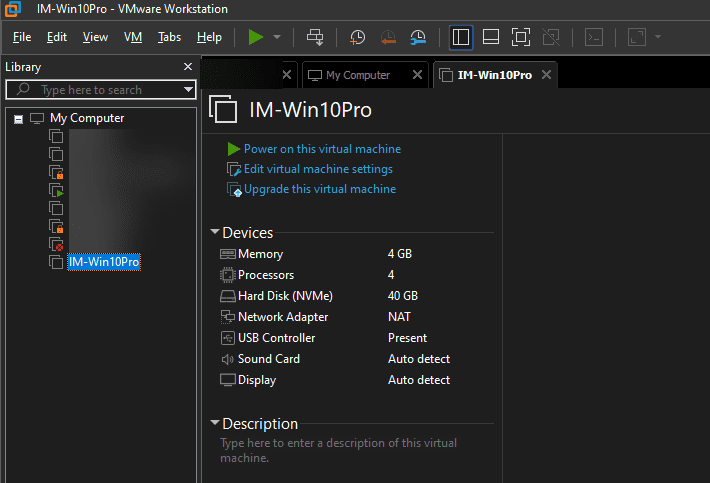
Now, you can add the VM to your VMware Workstation inventory. Click File > Open and select the VMX file for the virtual machine created with the Imager.
Now, I have the VM added to my VMware Workstation inventory.
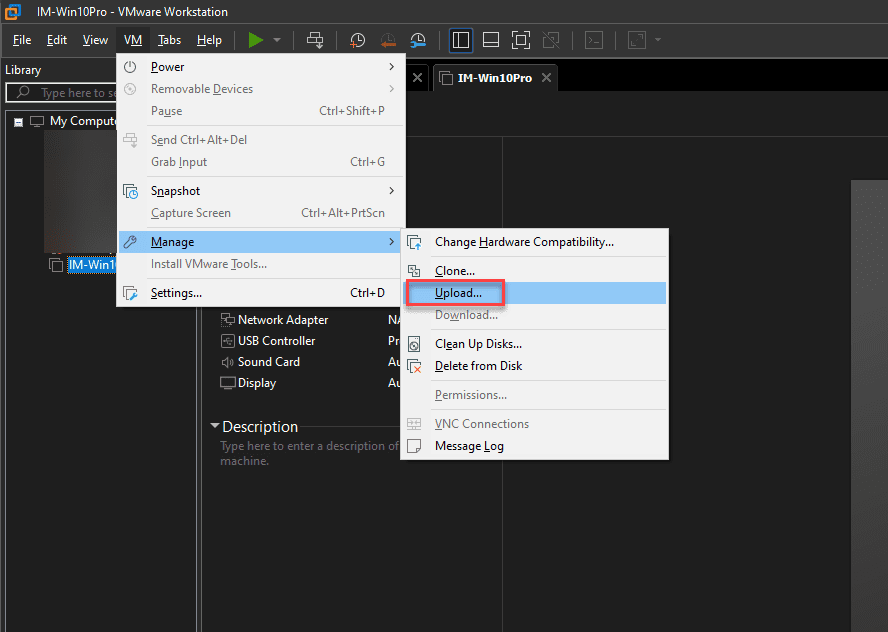
Now, you can easily upload the virtual machine to vSphere. Click VM > Manage > Upload to start the upload process to vSphere.
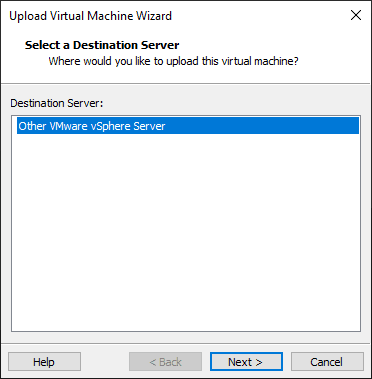
Select the destination server as vSphere Server
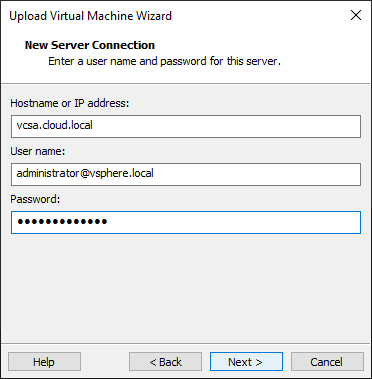
Enter the connection information for your vCenter Server. Note this can also be an ESXi server.
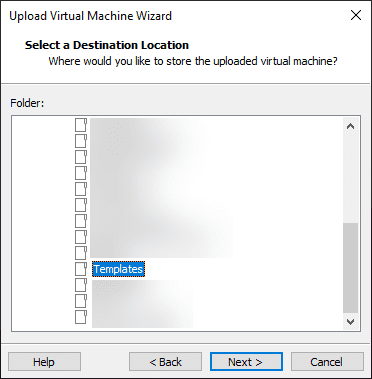
Select the destination in vSphere inventory for uploading the virtual machine to vSphere.
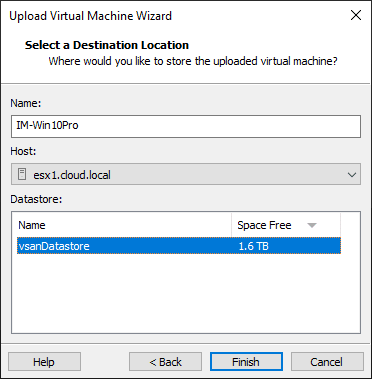
Select the compute and storage resource to house the resulting VM.
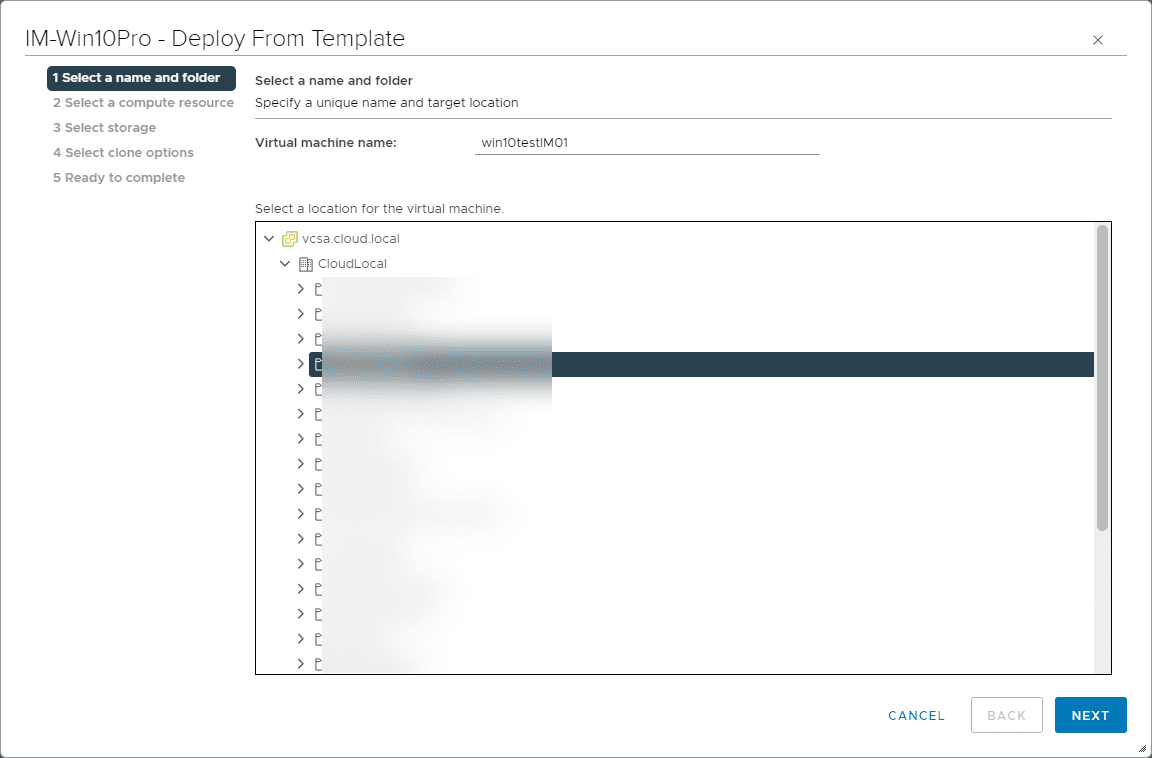
Convert to template and clone the virtual machine
After you have uploaded the resulting virtual machine to your vSphere inventory, convert it to a template and you are ready to begin using it for cloning.
Final Notes
The new VMware Imager Fling is a great new addition to the tools available to VI and EUC administrators to create fully customized “golden” images ready to use for remote desktops in a VDI infrastructure environment, or simply a desktop deployed for a single user. It requires no coding skills which makes it a great tool for those who may not want to delve into using Packer or other DevOps tools to create customized images. It is free to download and works as you would expect.
Download the Imager Fling here: Imager | VMware Flings
Other Imaging posts:
- Automated Windows 11 Installation with autounattend and Packer
- Automated Windows Server 2022 Packer Build
- Packer Build Ubuntu 21.04 for VMware vSphere
Google is updating how articles are shown. Don’t miss our leading home lab and tech content, written by humans, by setting Virtualization Howto as a preferred source.
About The Author