One of the things I like to play around with in the home lab is firewalls and various firewall configurations that I work with in production environments. Arguably the most popular open-source firewall solution deployed today is pfSense. The pfSense firewall is a great solution that offers many enterprise features freely available in the pfSensecommunity edition of the firewall. Let’s take a look at the deploy pfSense VMware process and see what is involved to get up and running with this open-source firewall in a VMware virtual machine.
Check out my other post covering the topic of virtual vs. physical firewalls and which might be best:
What is pfSense?
The pfSense solution is an open-source firewall project that originated years ago from the Monowall firewall project. According to the pfsense.org page, thousands of enterprises use pfSense. I will concur that I have seen pfSense more than any other open-source or community-driven project out there, including OPNsense, although OPNsense is a fork from pfSense.
Basically, when you download pfSense you are getting a fully functional firewall/L3 router in an all-inclusive package, including many other capabilities such as a proxy server, IDS/IPS, high-availability, certificate manager, and VPN concentrator.
You can download pfSense Community Edition installation as an ISO or USB image. Also, you can buy pfSense as a hardware device from Netgate. There is also another version of pfSense that is not free, pfSense+. I will create a separate blog post covering the differences between the two. However, pfSense+ is a paid offering (with free options for now in the home and lab environments). For now, the features are relatively the same.
You can read more about pfSense+ here:
Deploy pfSense VMware step-by-step
Let’s take a look at the deploy pfSense VMware process step-by-step and see what is involved in getting the pfSense firewall running in a pfSense VMware virtual machine. There are basically three different configuration phases to deploy pfSense VMware. These include:
- Create the pfSense VMware virtual machine
- Deploy pfSense VMware installation
- Perform the initial configuration
- Use the WebConfigurator to finish the pfSense VMware configuration
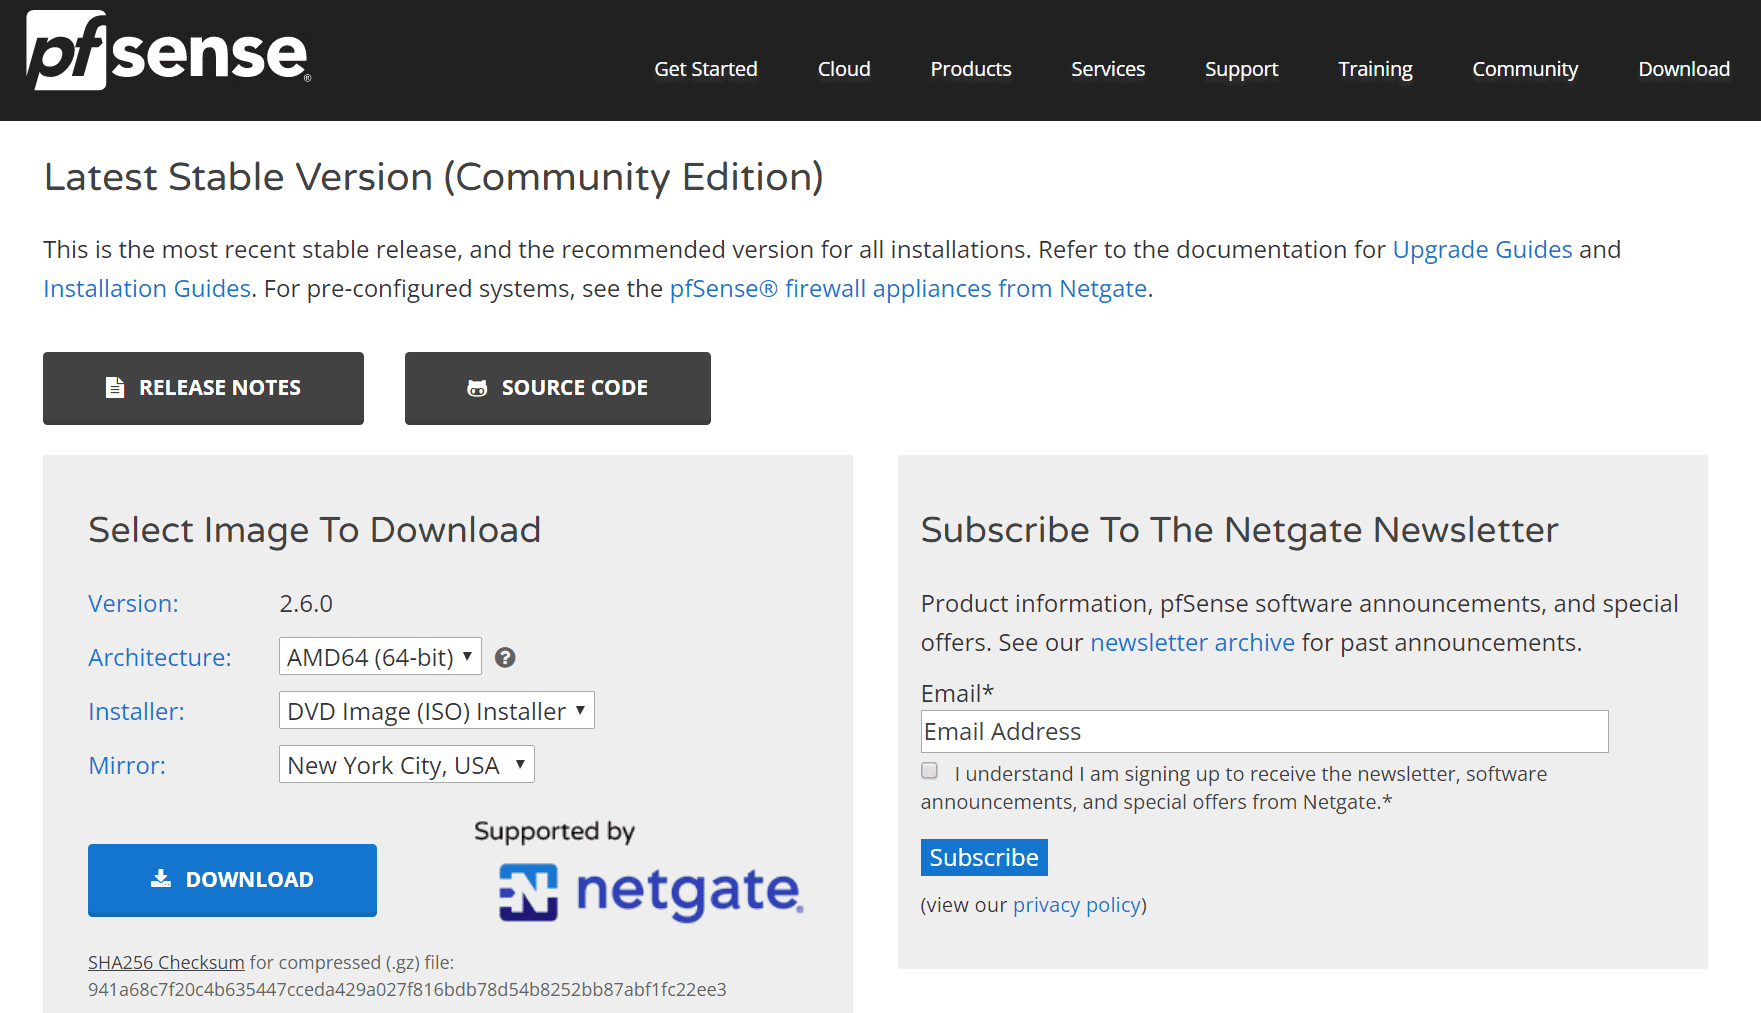
Before starting the installation, we need to download the pfSense media. Browse out to https://pfsense.org and click the Download link. Download the AMD64 (64-bit) DVD image (ISO) installer.
Upload the downloaded ISO to your vSphere datastore. We will use this to mount to the virtual machine we create to begin the installation.
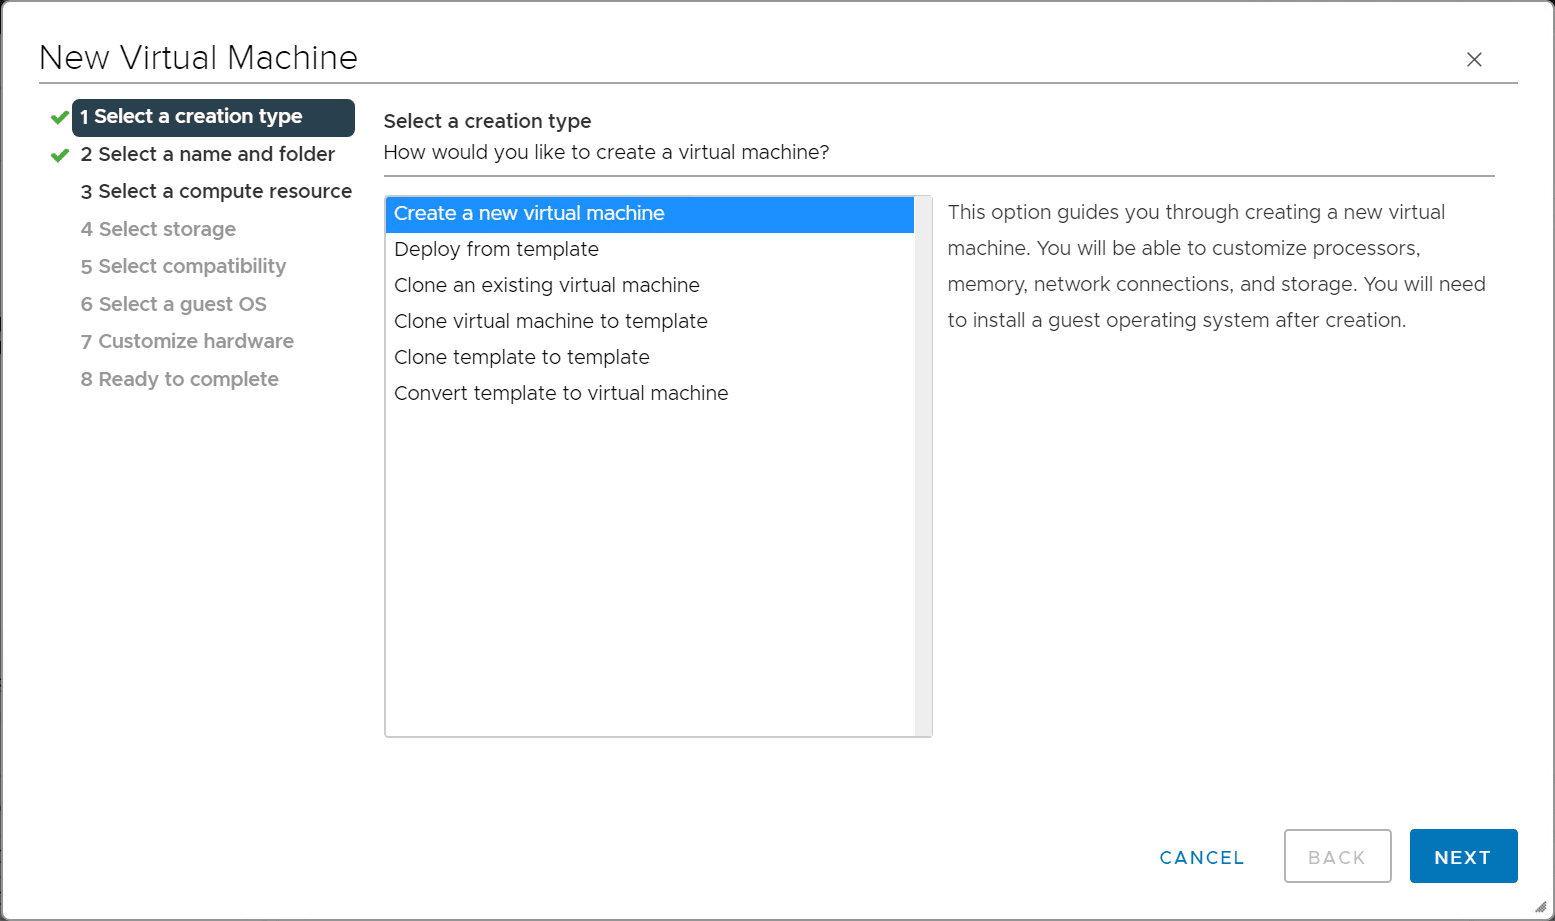
1. Create the pfSense VMware virtual machine
Creating the pfSense VMware virtual machine follows the typical new virtual machine wizard.
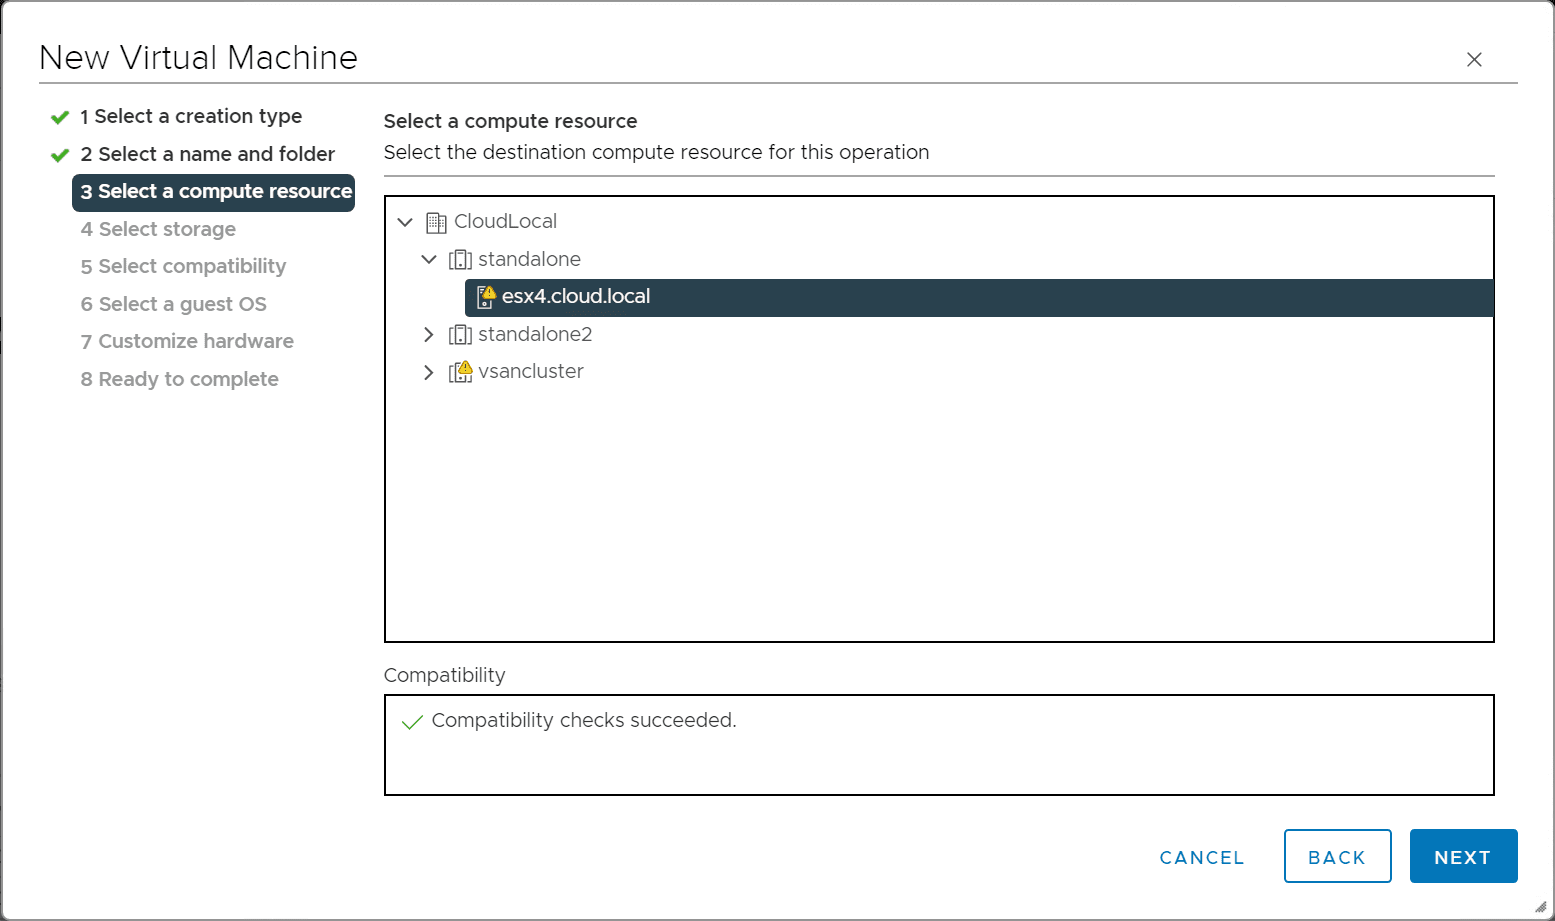
Select the compute resource.
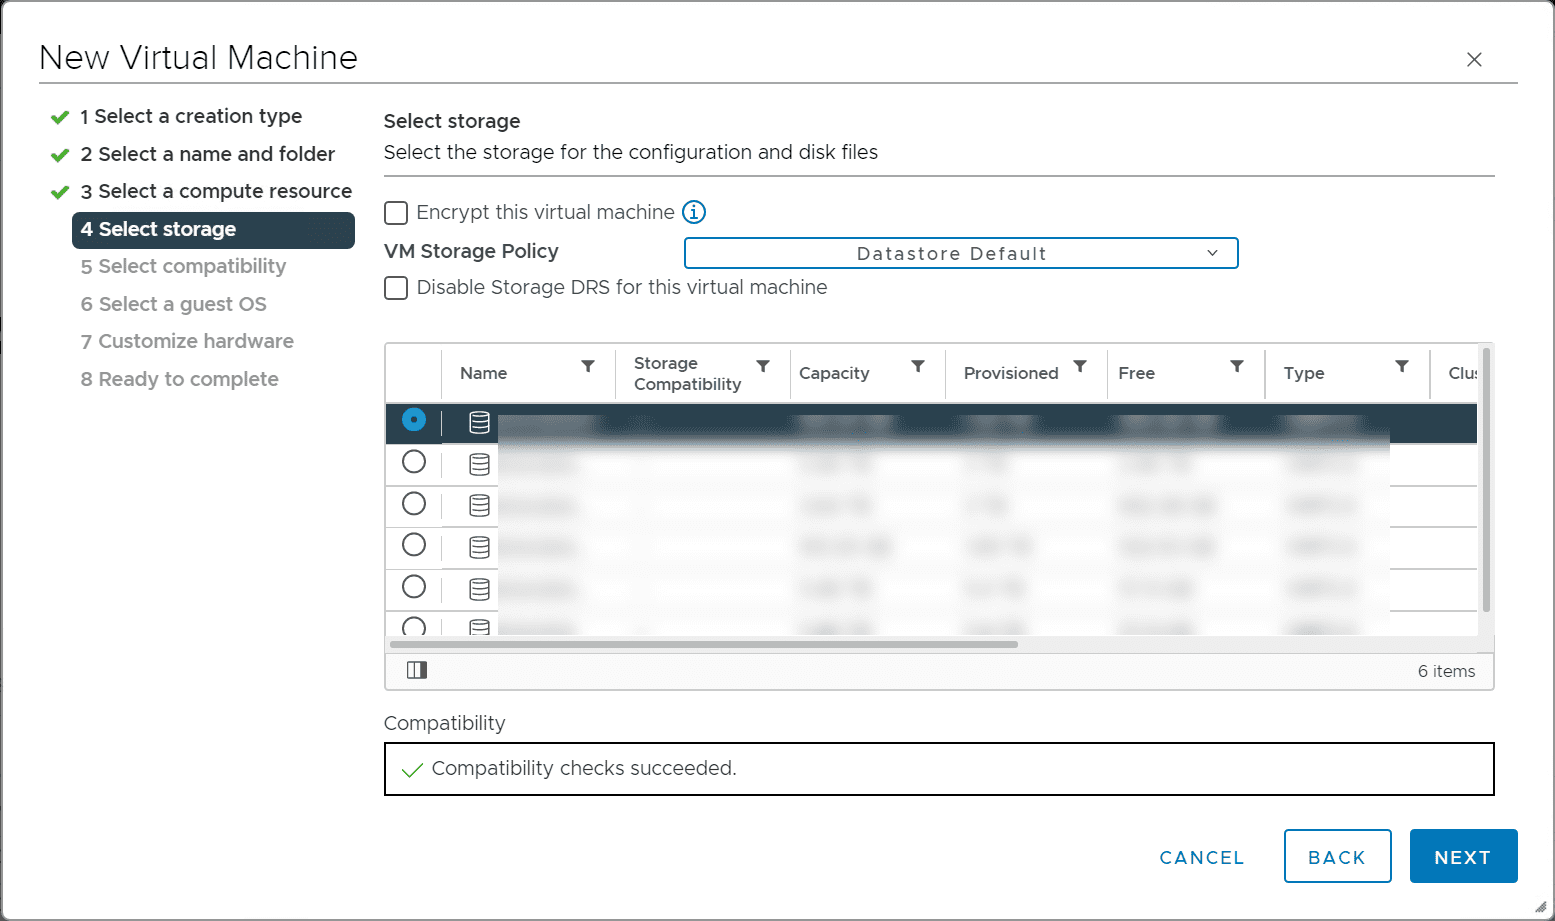
Select the vSphere datastore on which you want to store the pfSense virtual machine.
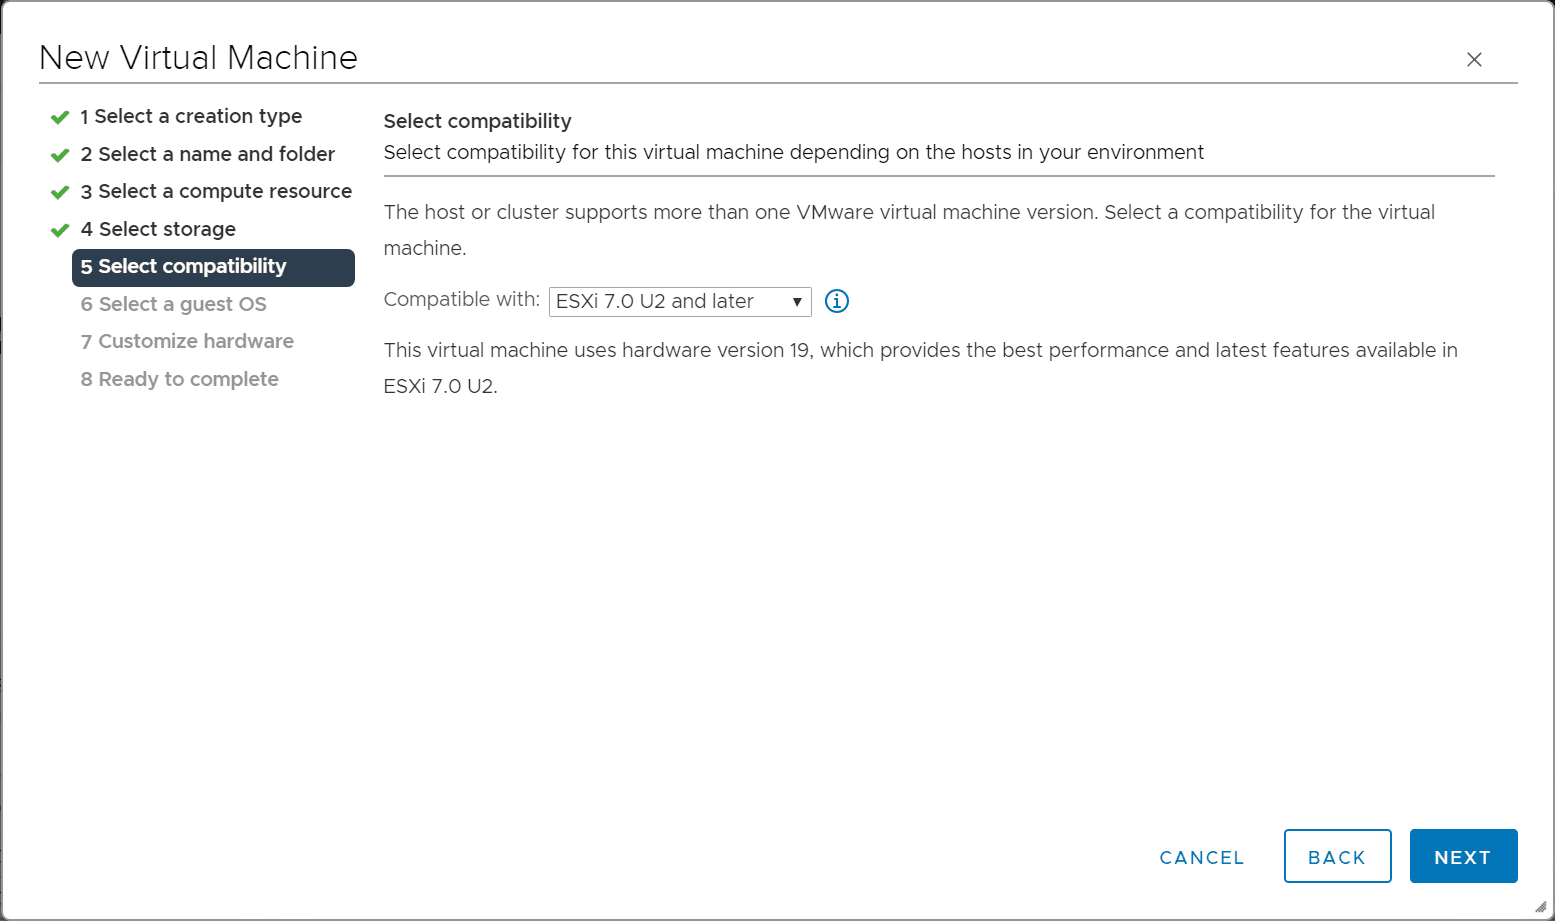
Select the virtual machine compatibility. It is fine to select the default highest version here.
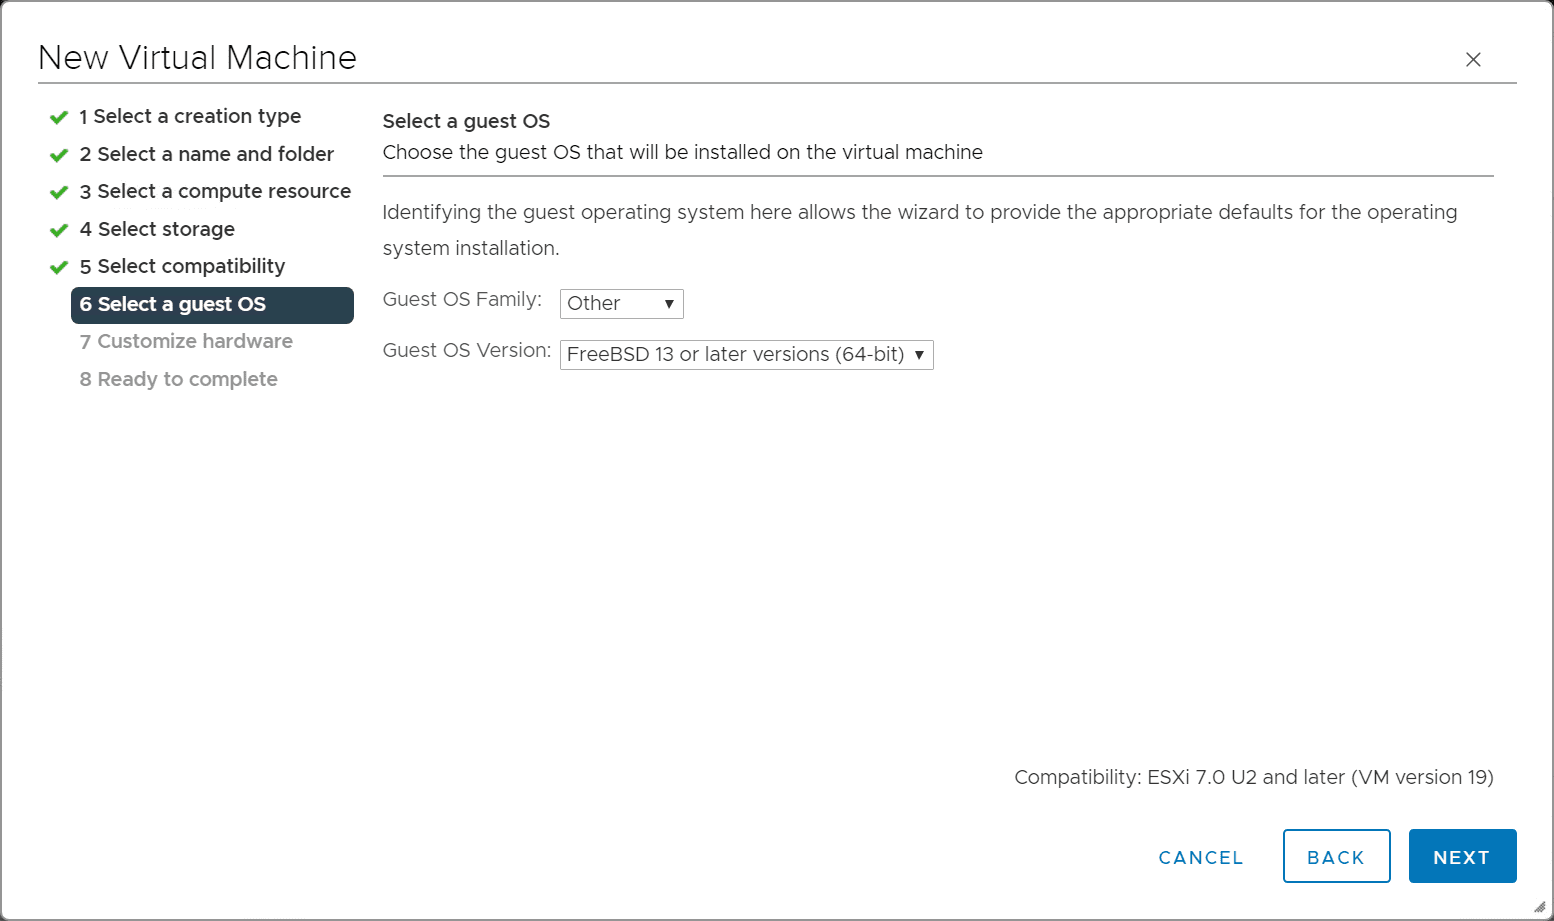
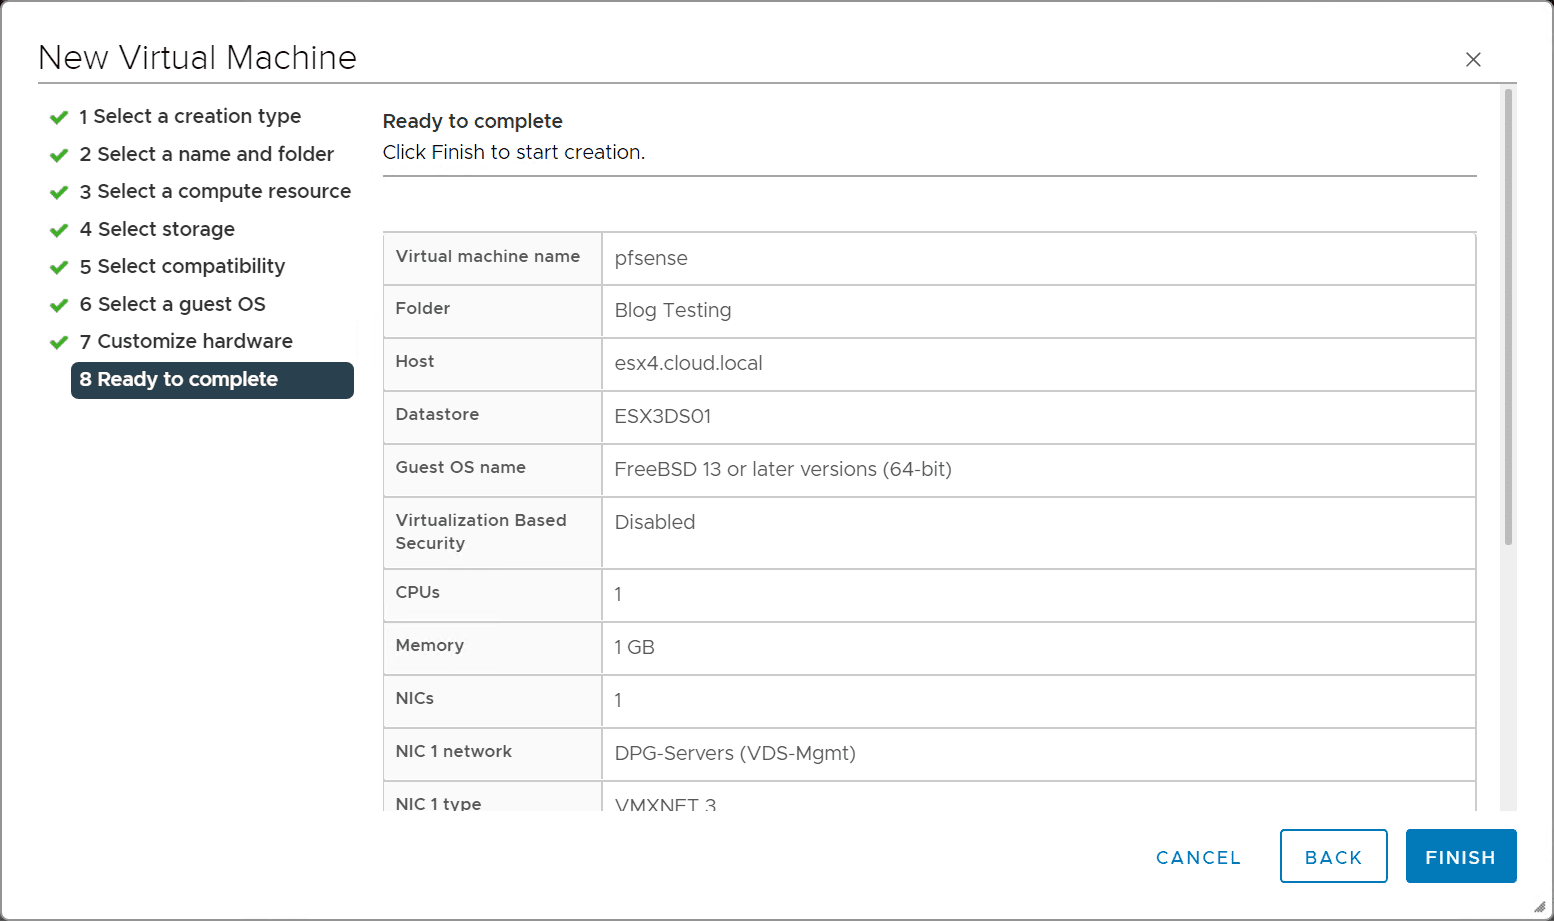
On the Select a guest OS screen, change the Guest OS Family selection to Other. Then on the Guest OS Version, select FreeBSD 13 or later versions (64-bit).
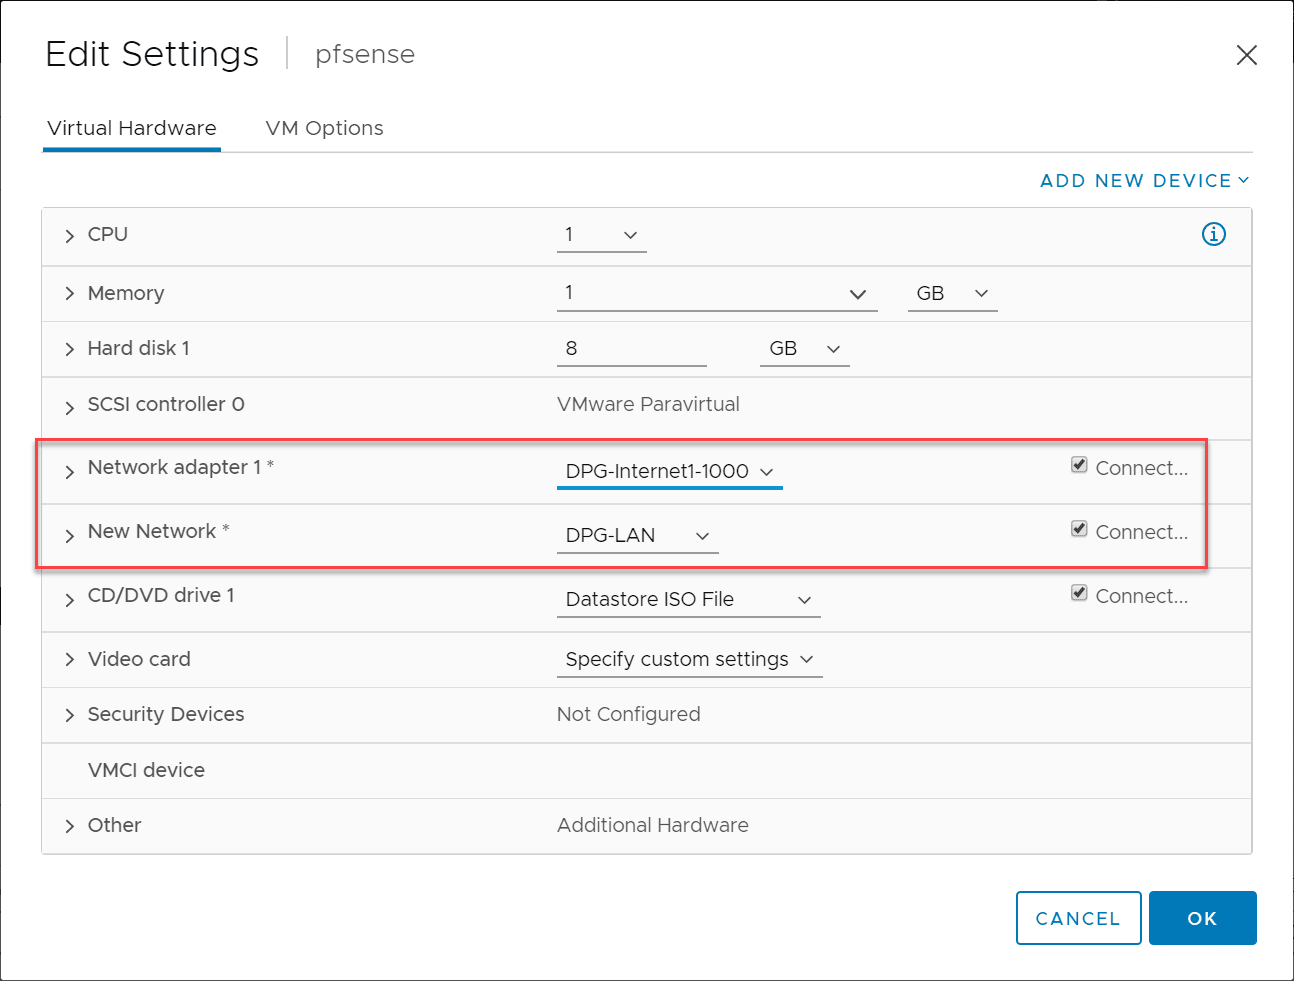
There are several changes we need to make on the customize virtual hardware screen. This includes changing the storage controller to LSI Logic Parallel or LSI Logic SAS controller. Make sure you have at least two network adapters added to the VM. One will be the WAN connection and the other the LAN connection. Also, select the pfSense ISO and configure this for the CD/DVD drive. Make sure it is set to connected and connect at power on.
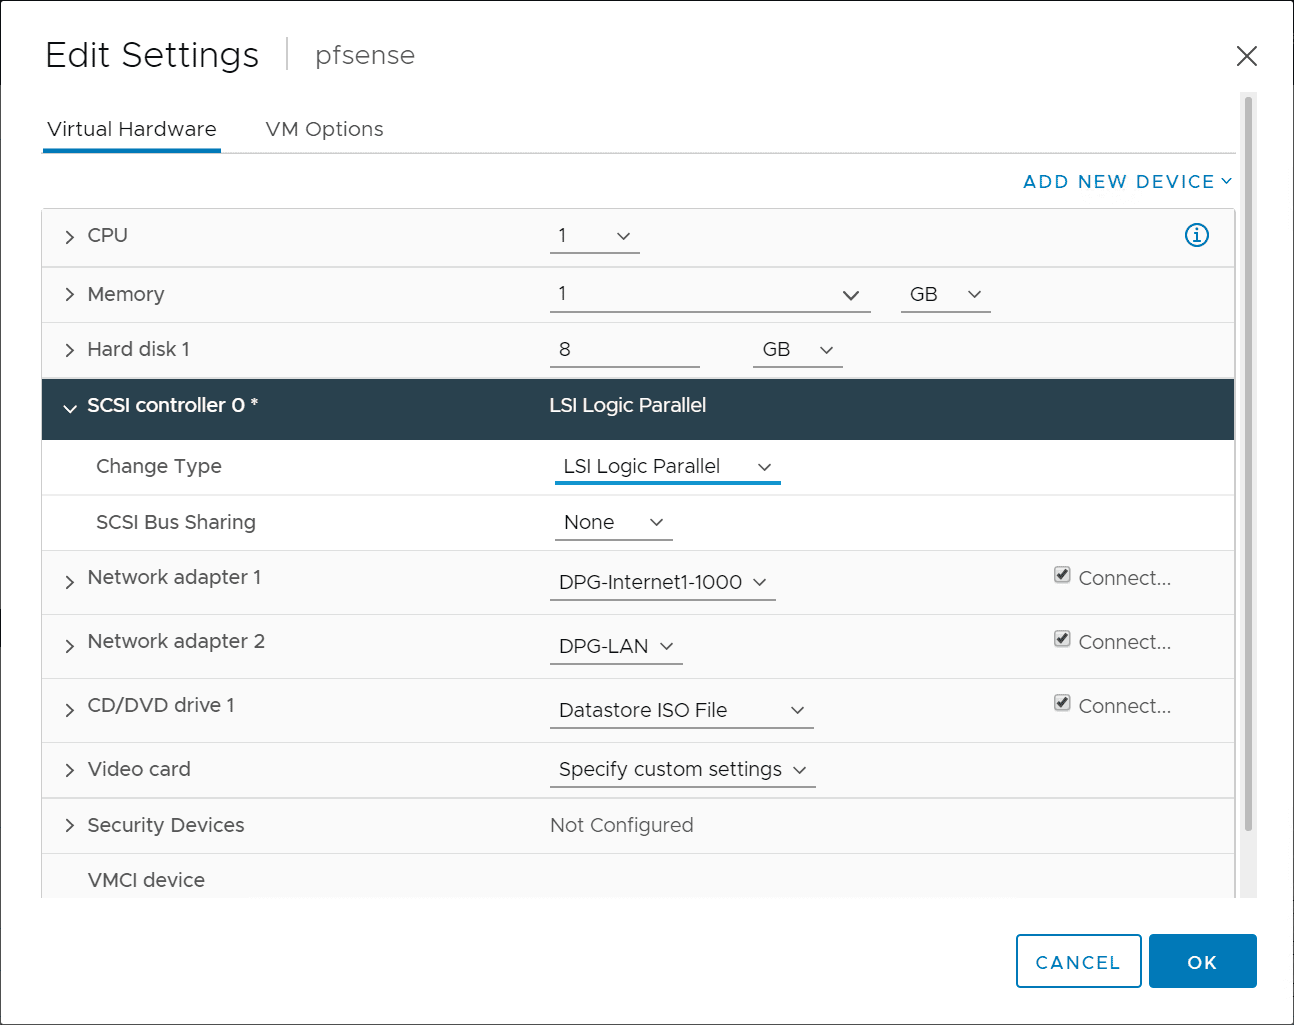
Below, as you can see, I have set one of the connections to a port group connected to the Internet and the other to the LAN.
Finish the new virtual machine wizard.
2. Deploy pfSense VMware installation
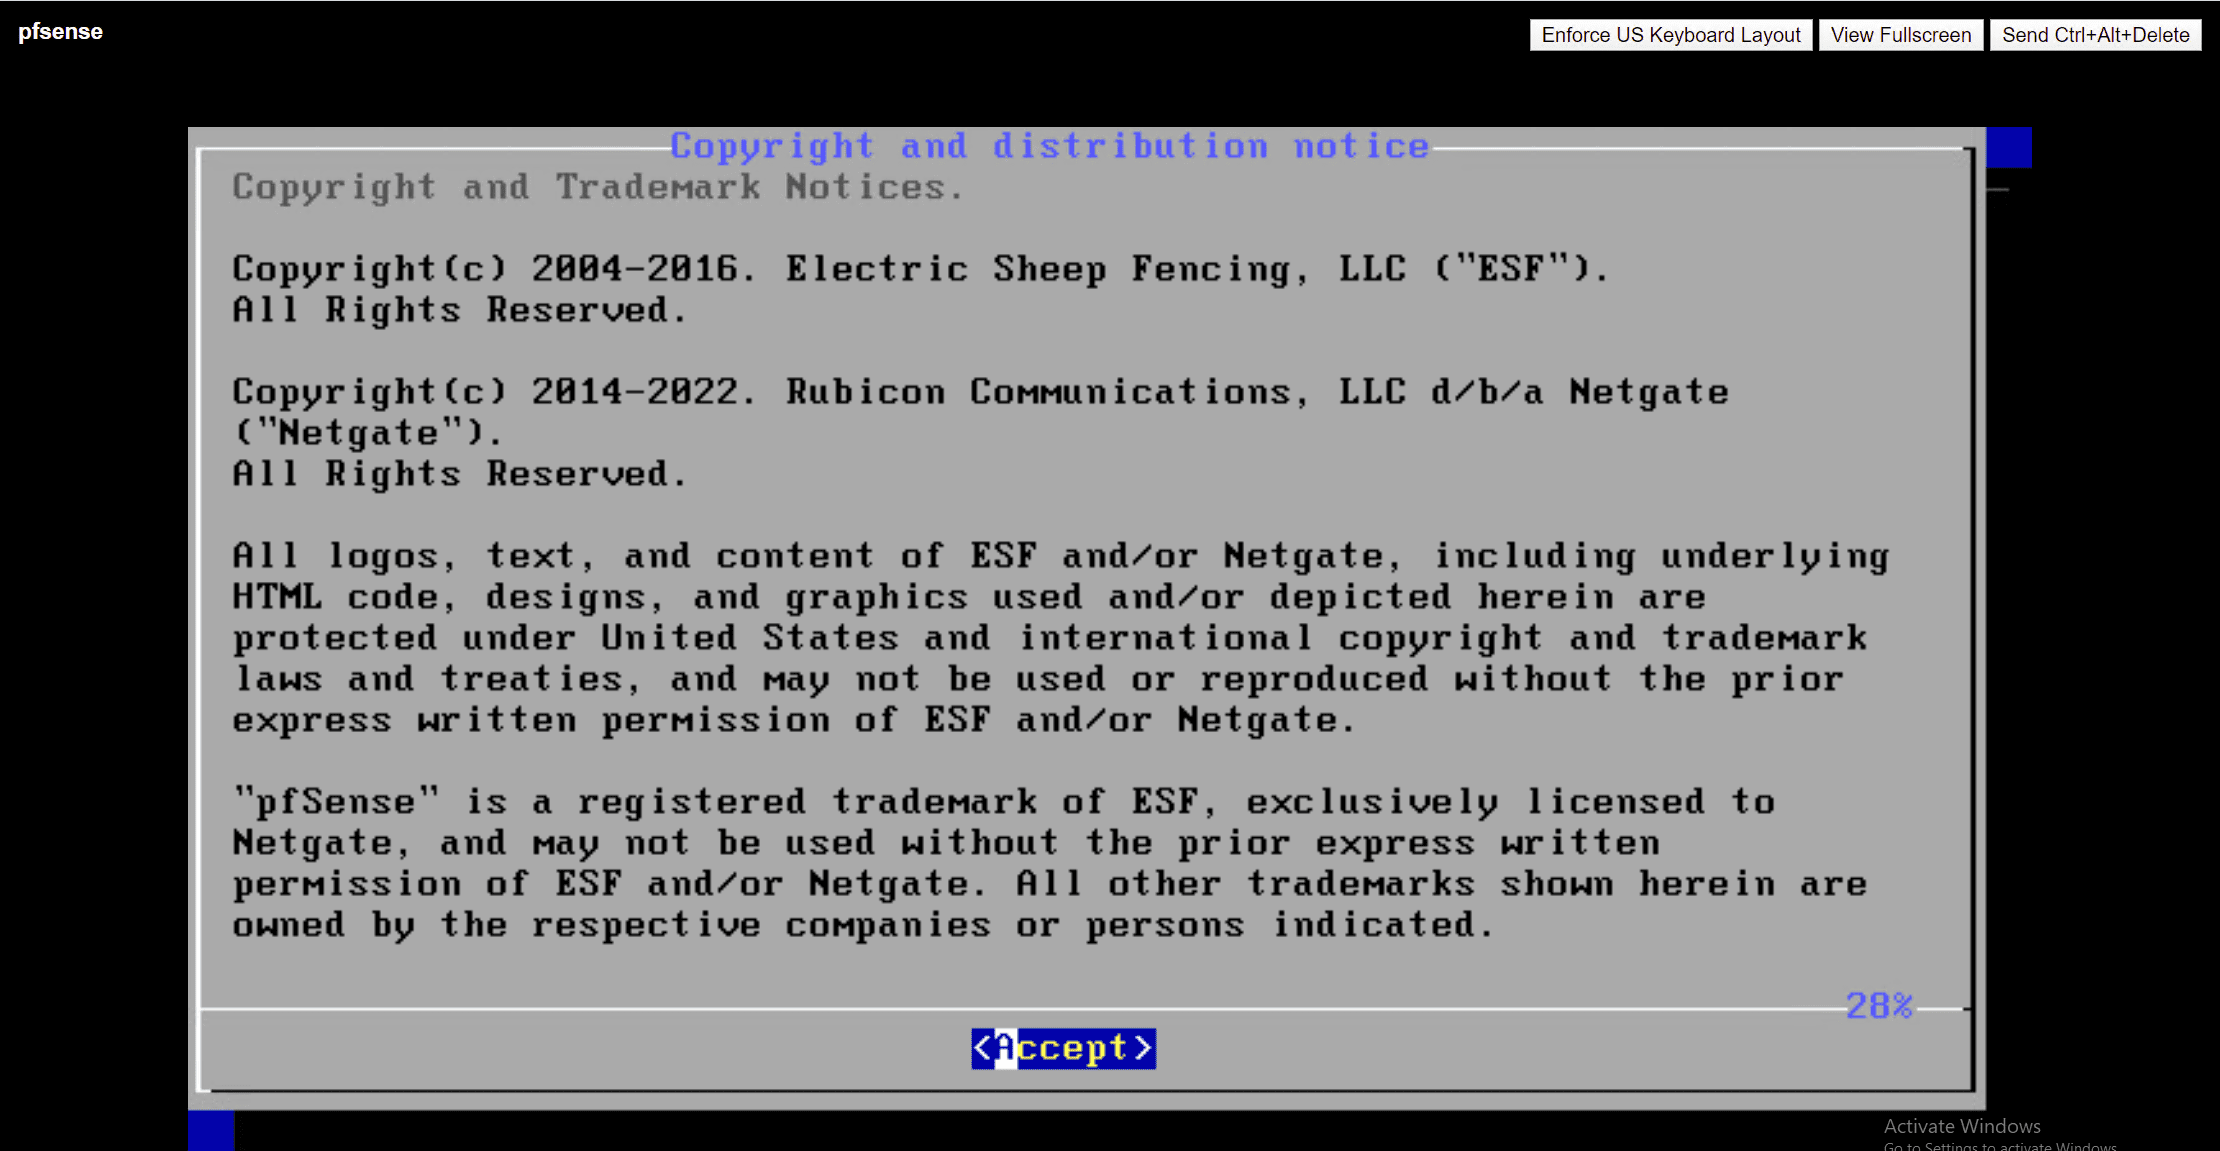
Boot the virtual machine and you should see the pfSense installation begin. Accept the EULA on the first text-based screen.
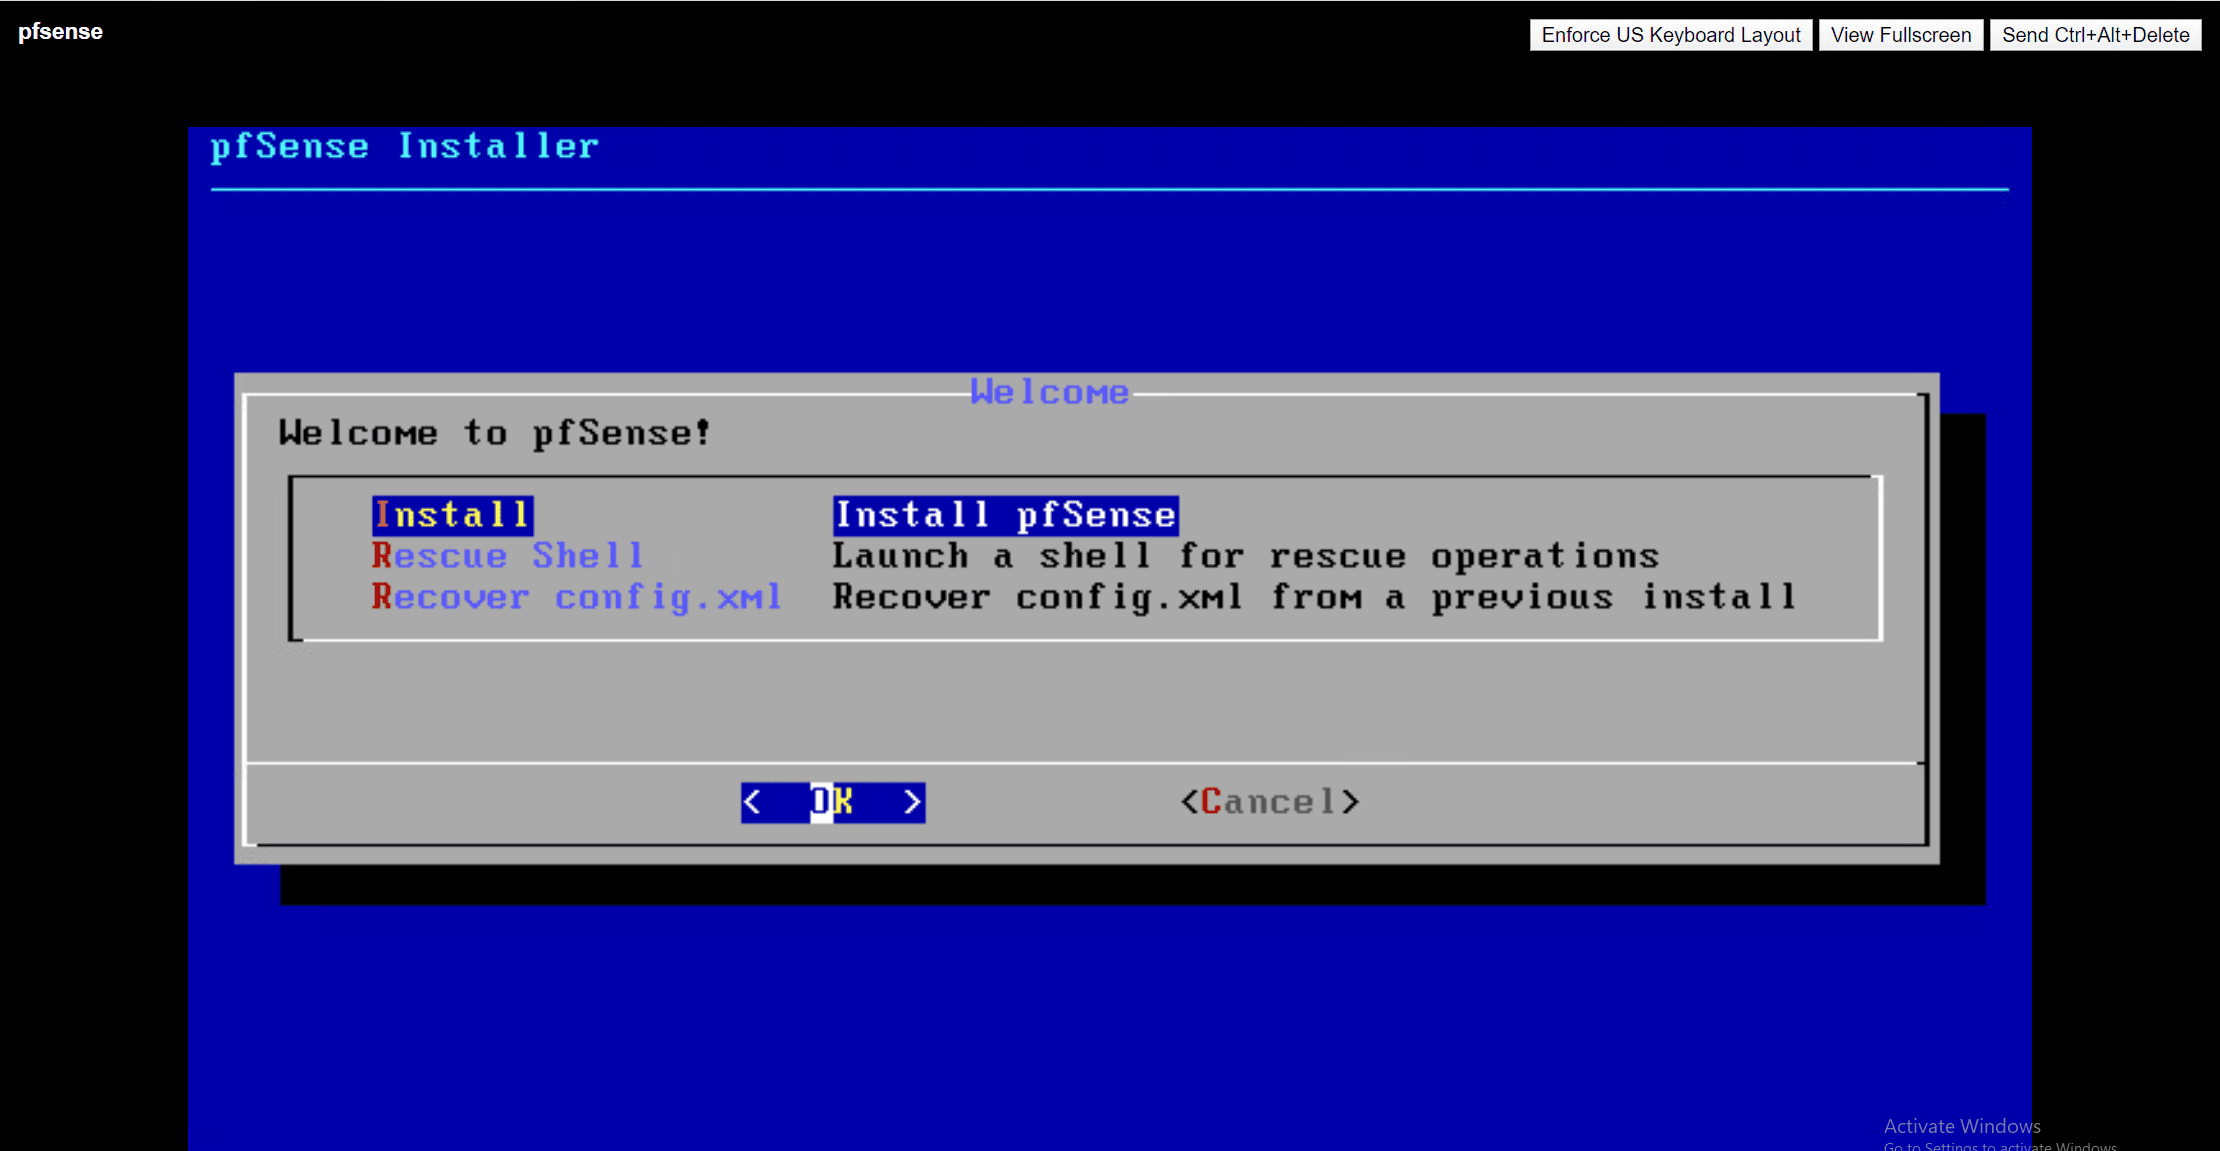
Select to Install pfSense.
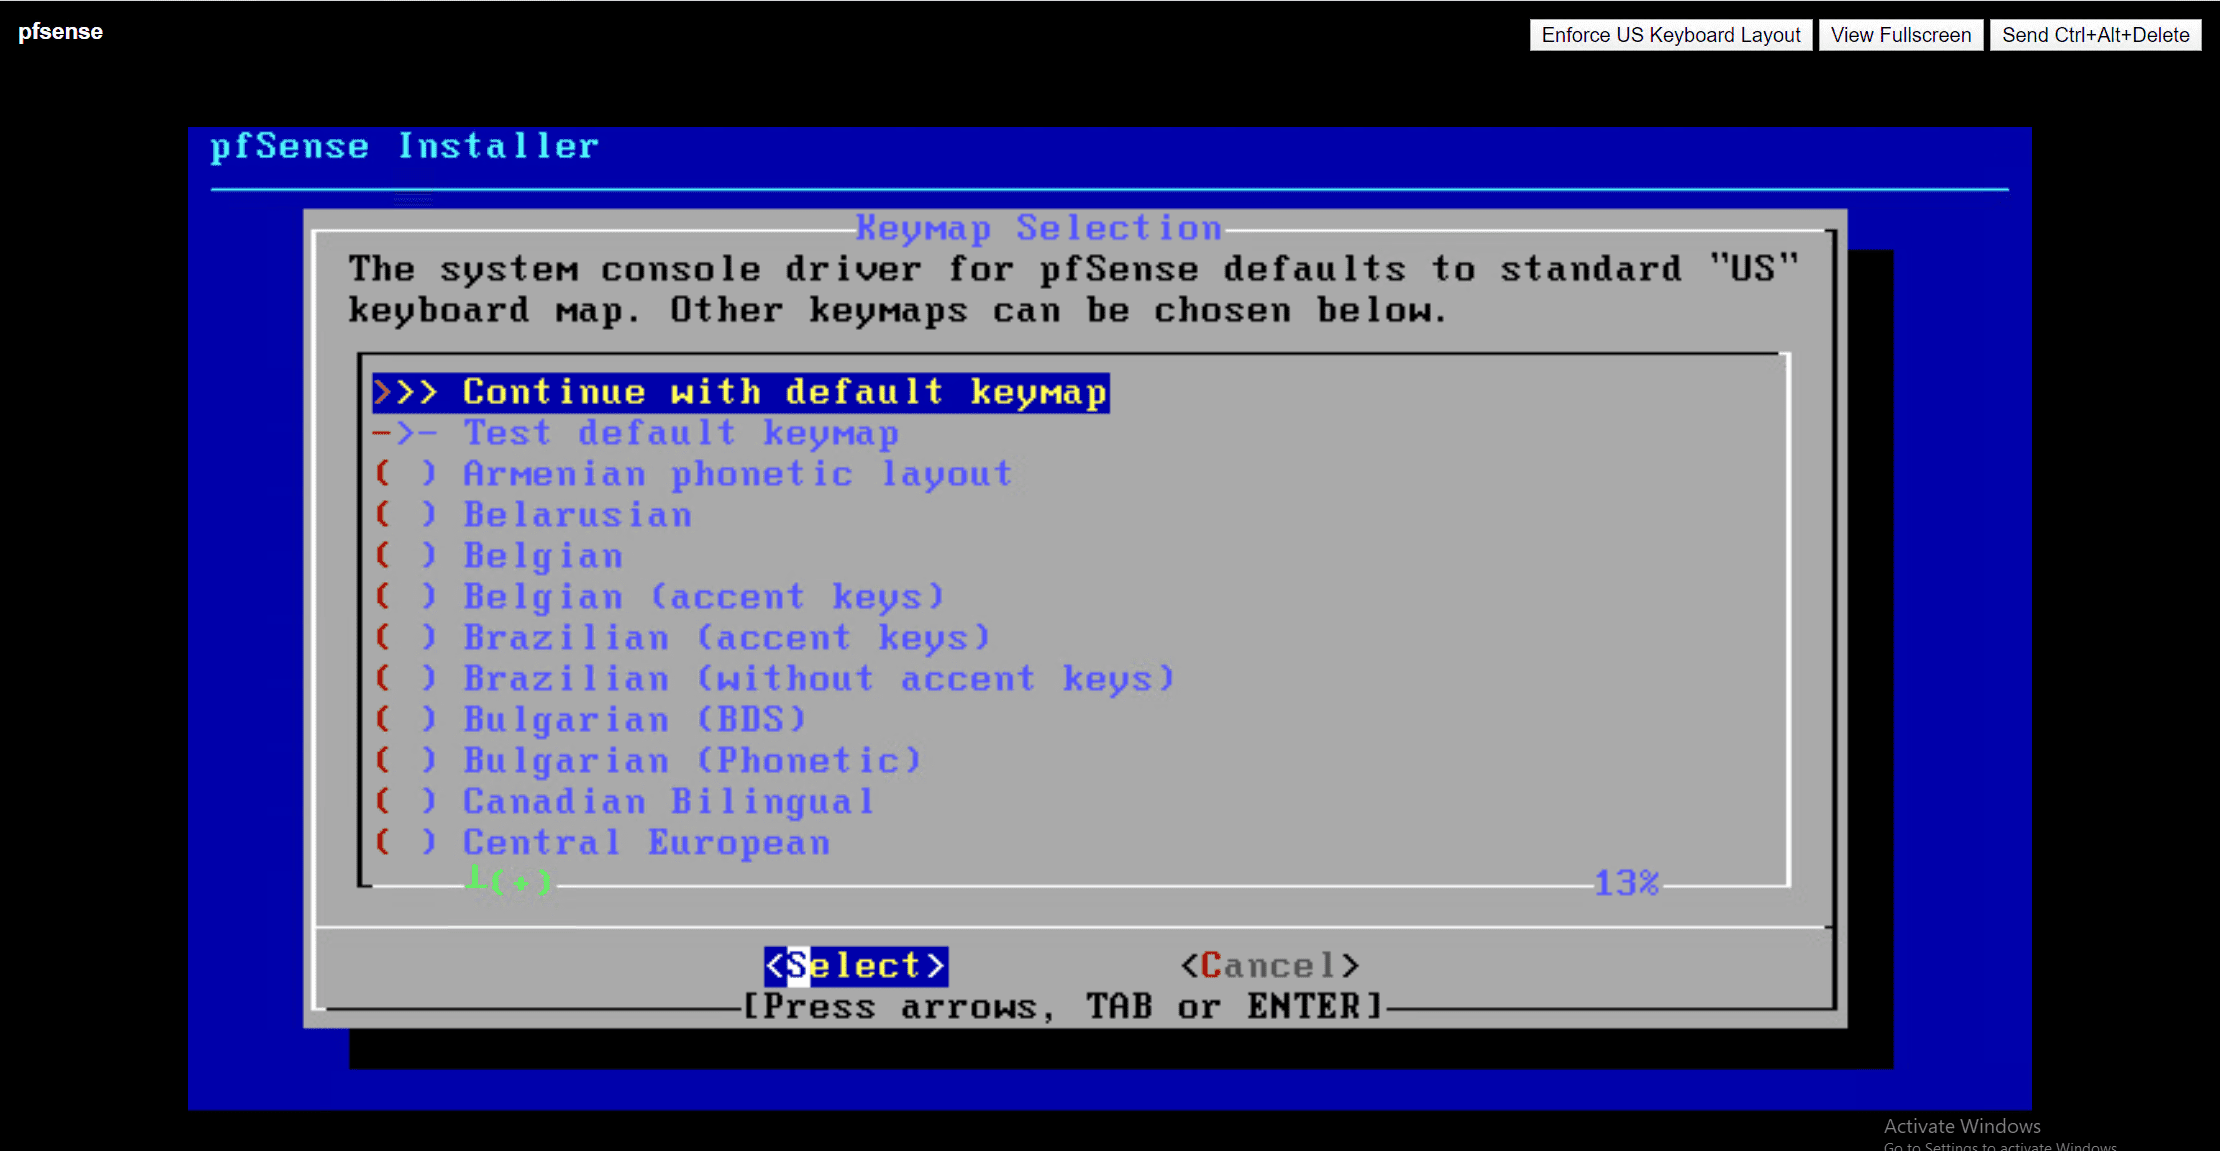
Configure your keyboard layout. For most, you can select Continue with default keymap.
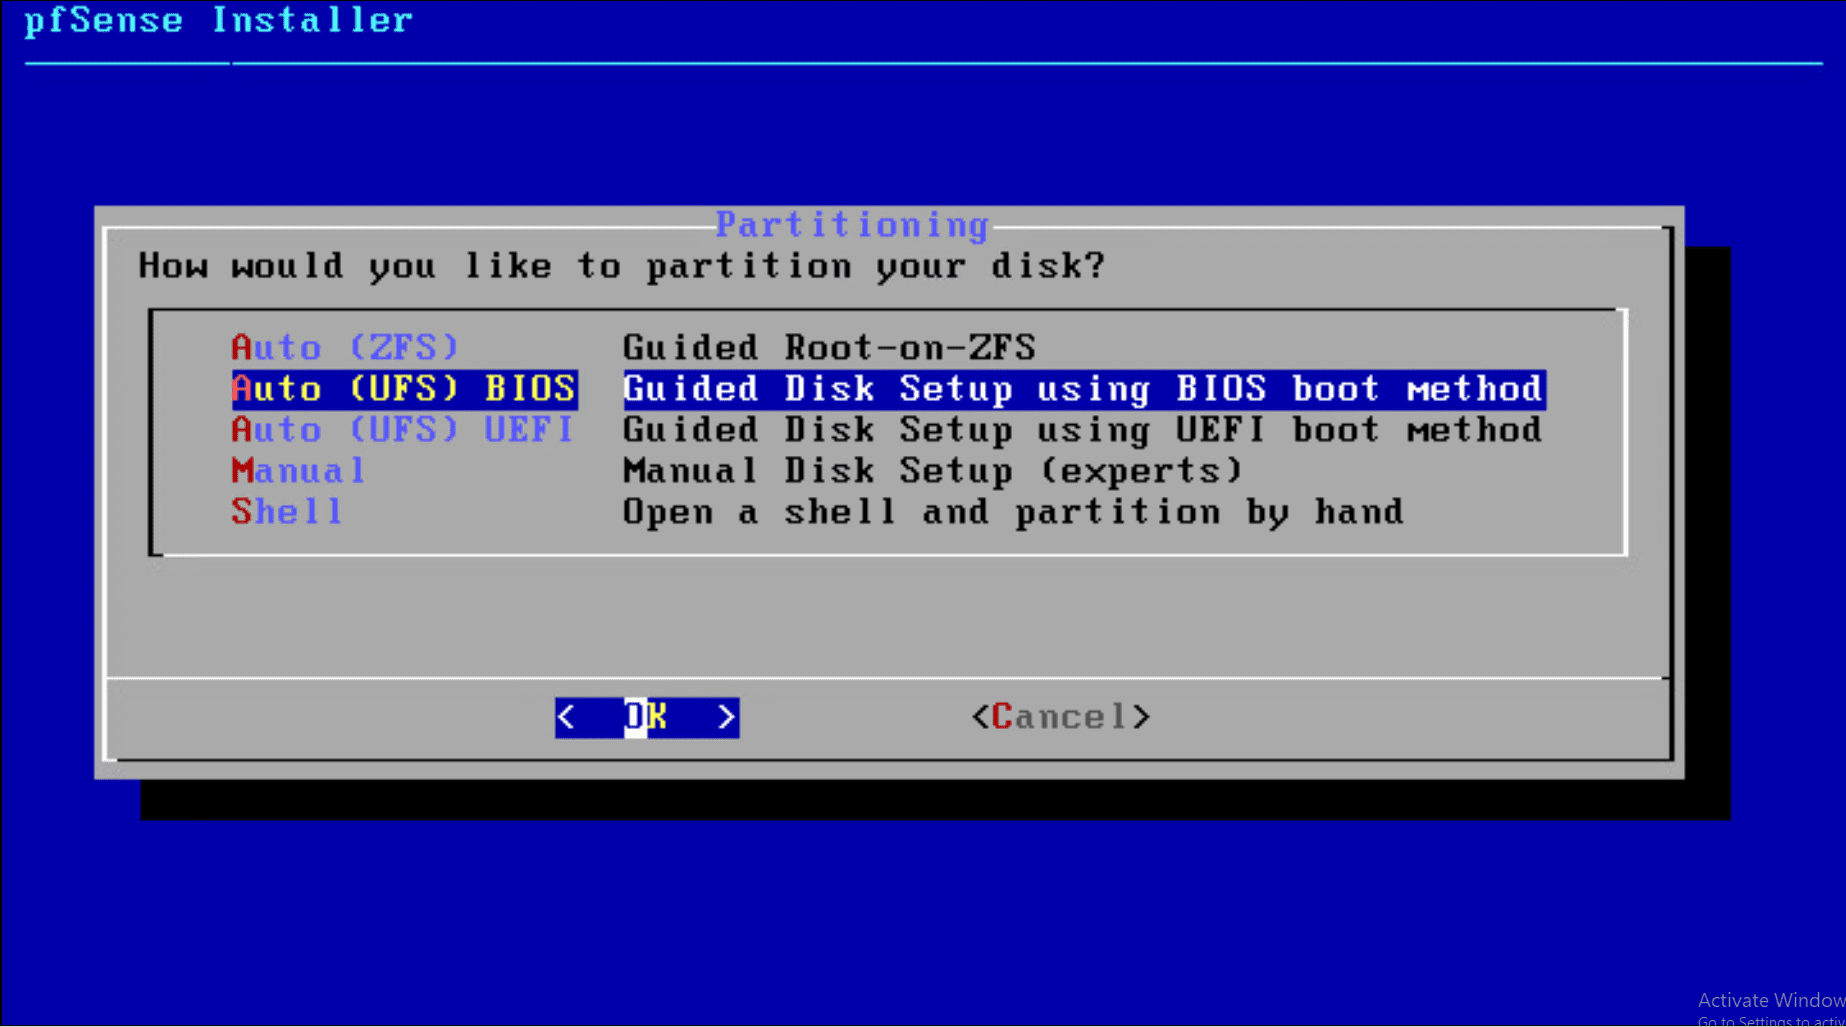
Select your partitioning configuration.
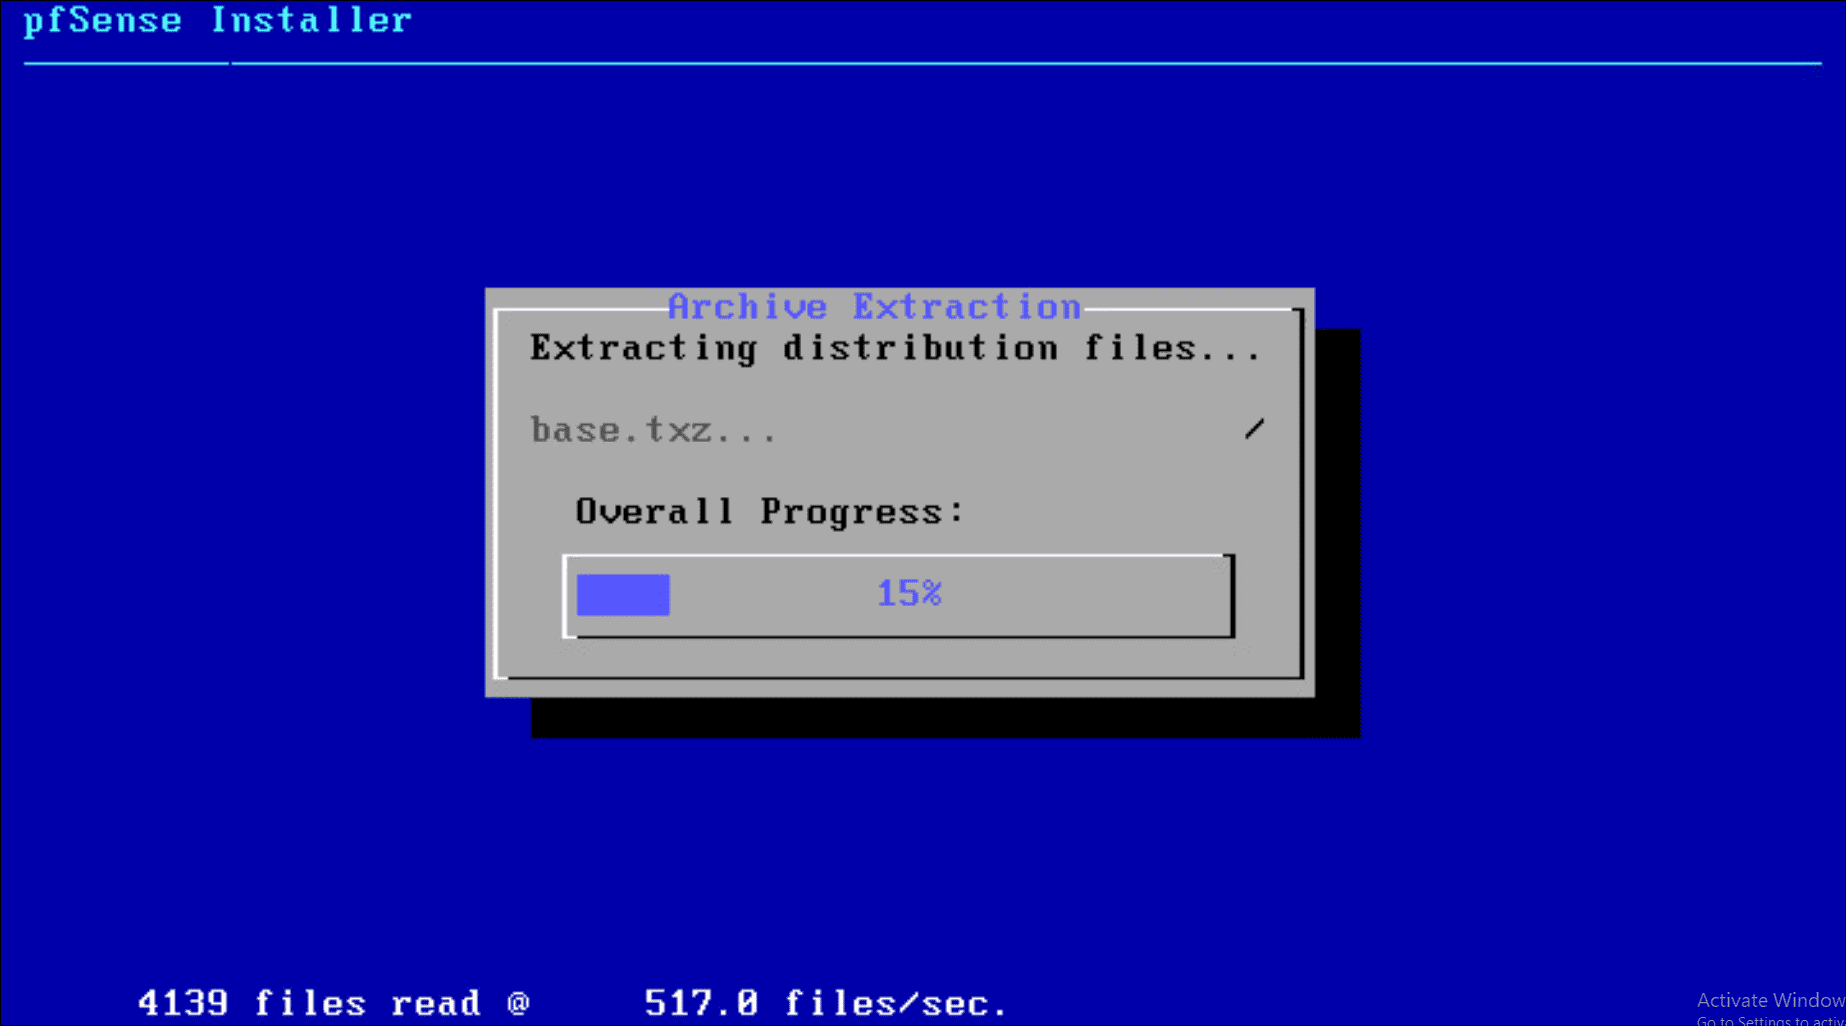
The installation of pfSense begins writing files to the hard drive.
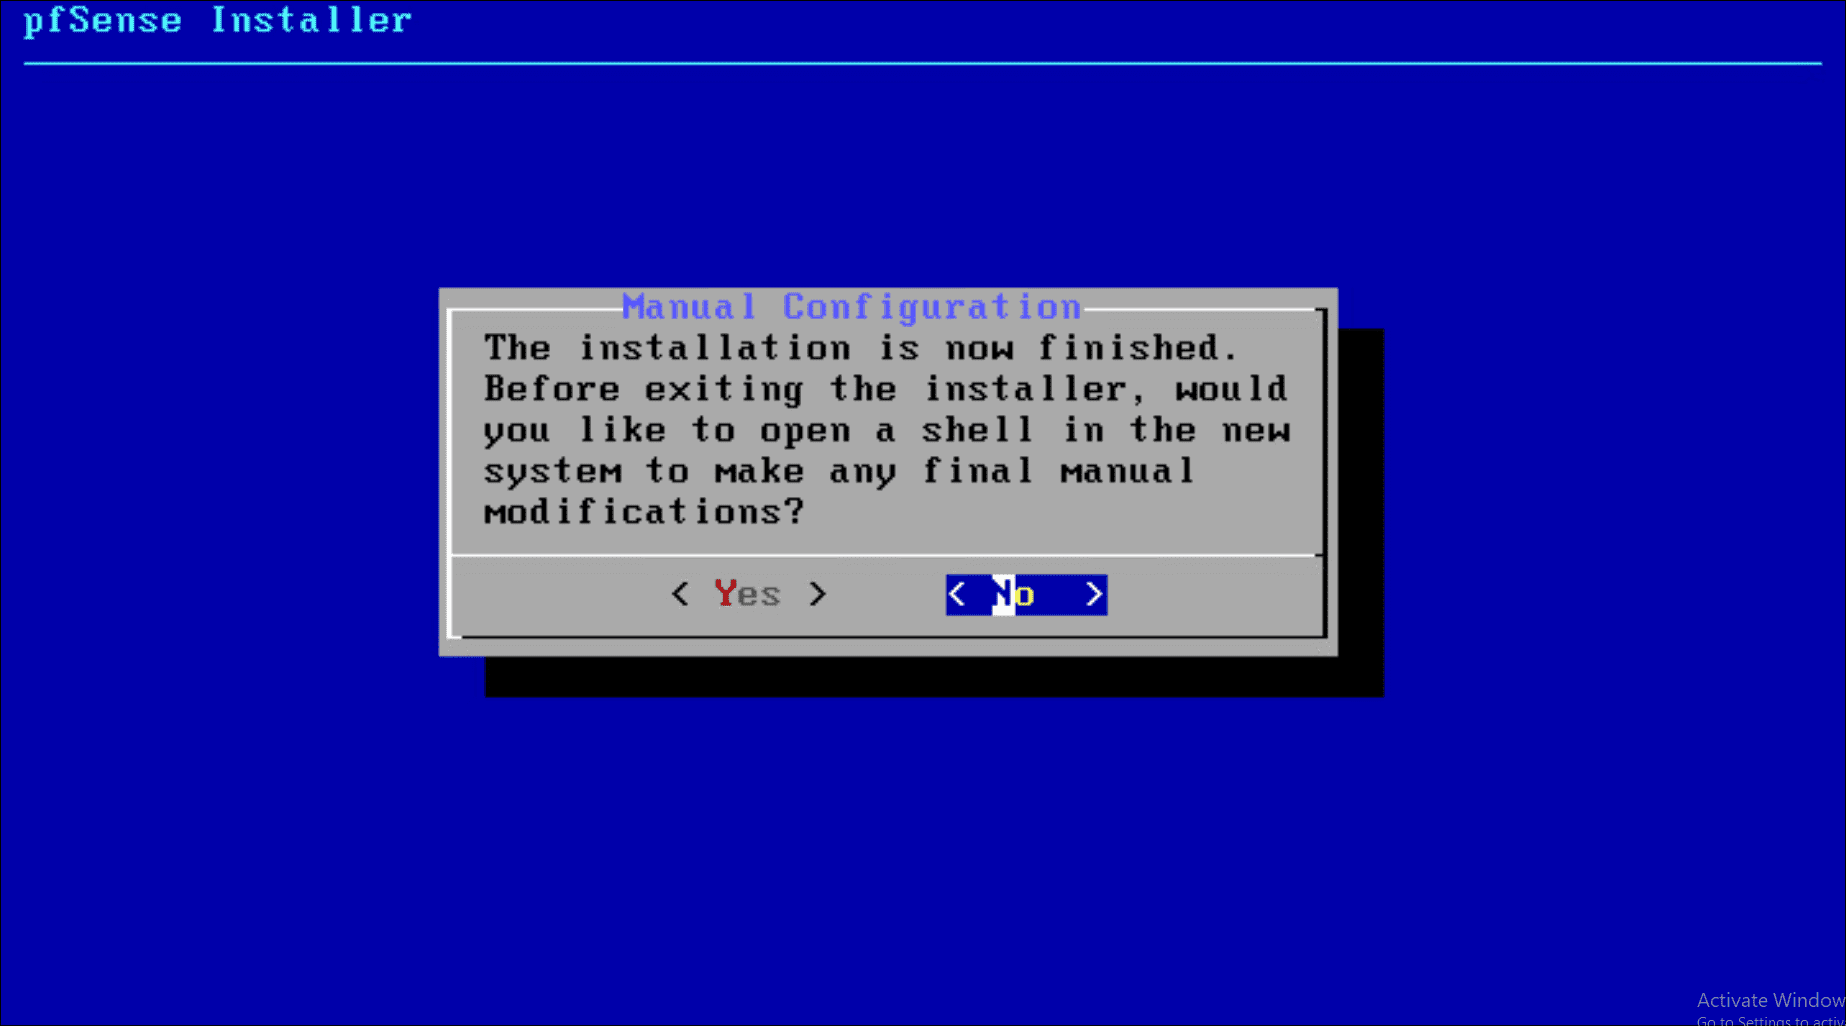
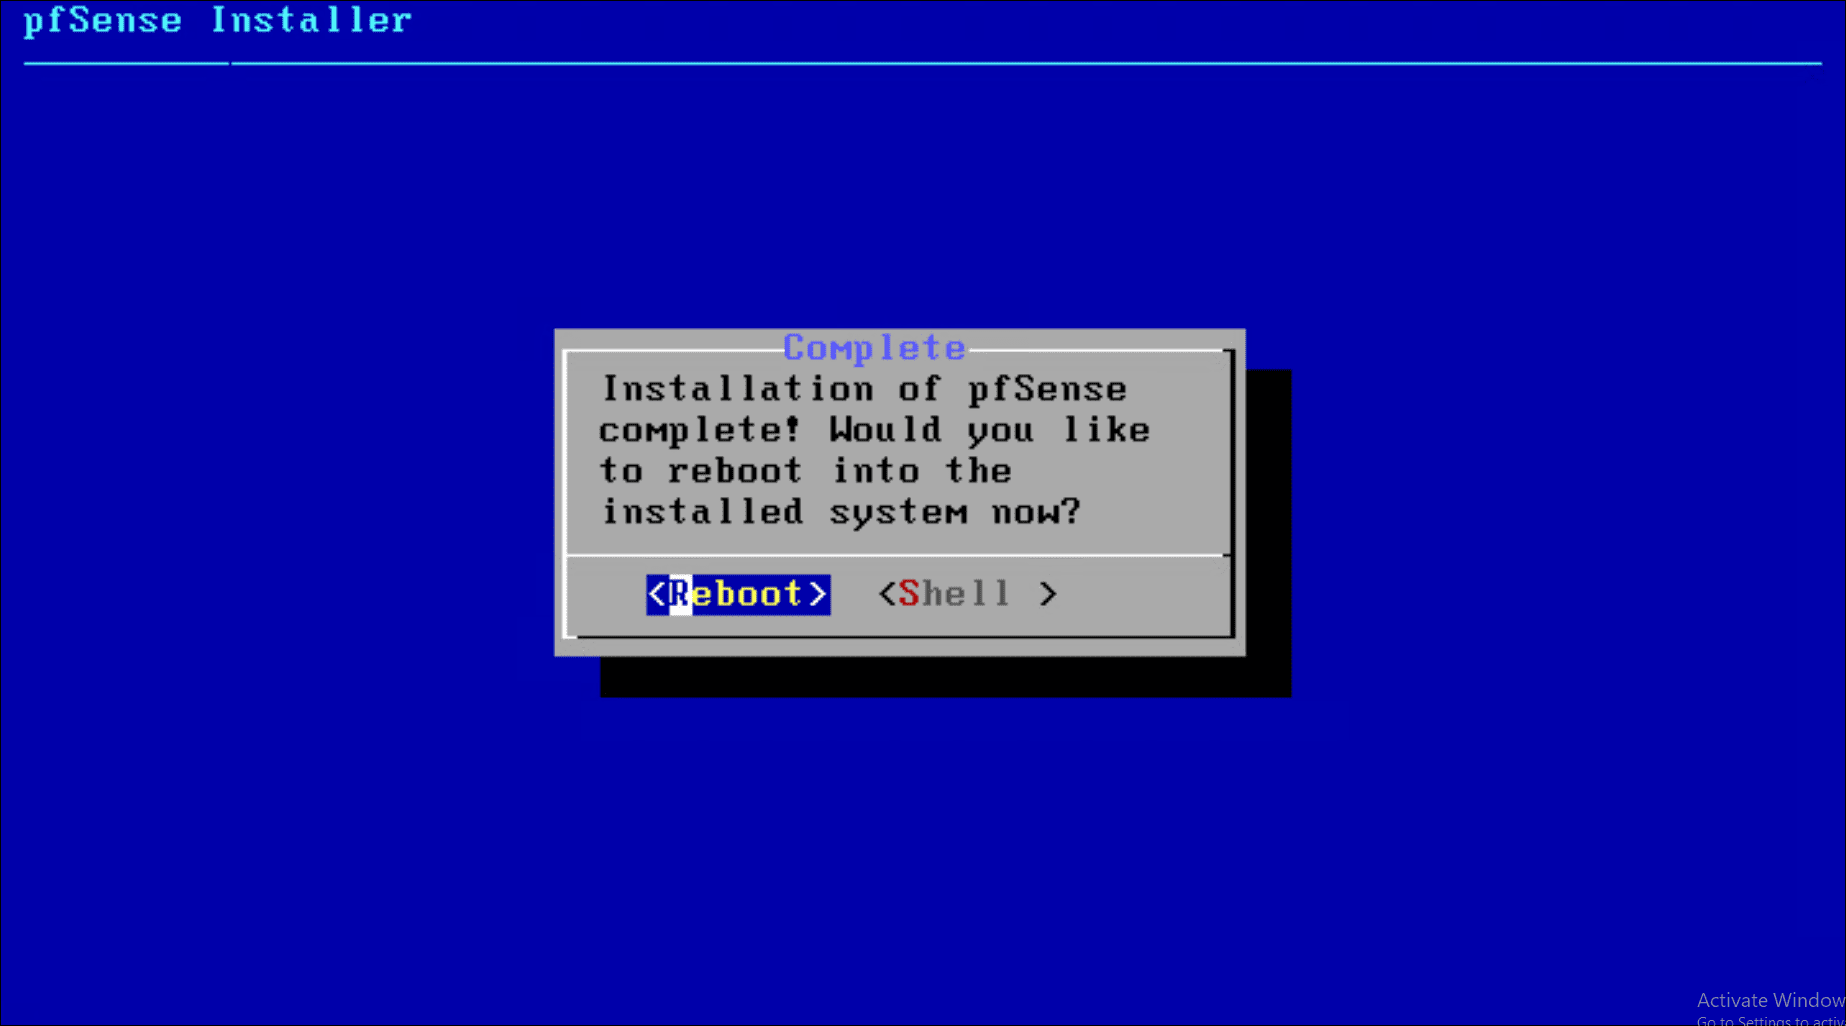
The installation of pfSense finishes and you are prompted if you want to make any further configuration changes using the shell.
The installation of pfSense completes successfully. Click Reboot.
3. Perform the initial configuration
After the installation of pfSense completes successfully, the virtual machine will boot into the initial configuration phase of the setup. In this text-only menu-driven interface, you are able to configure the initial network configuration so you have connectivity to the pfSense VM.
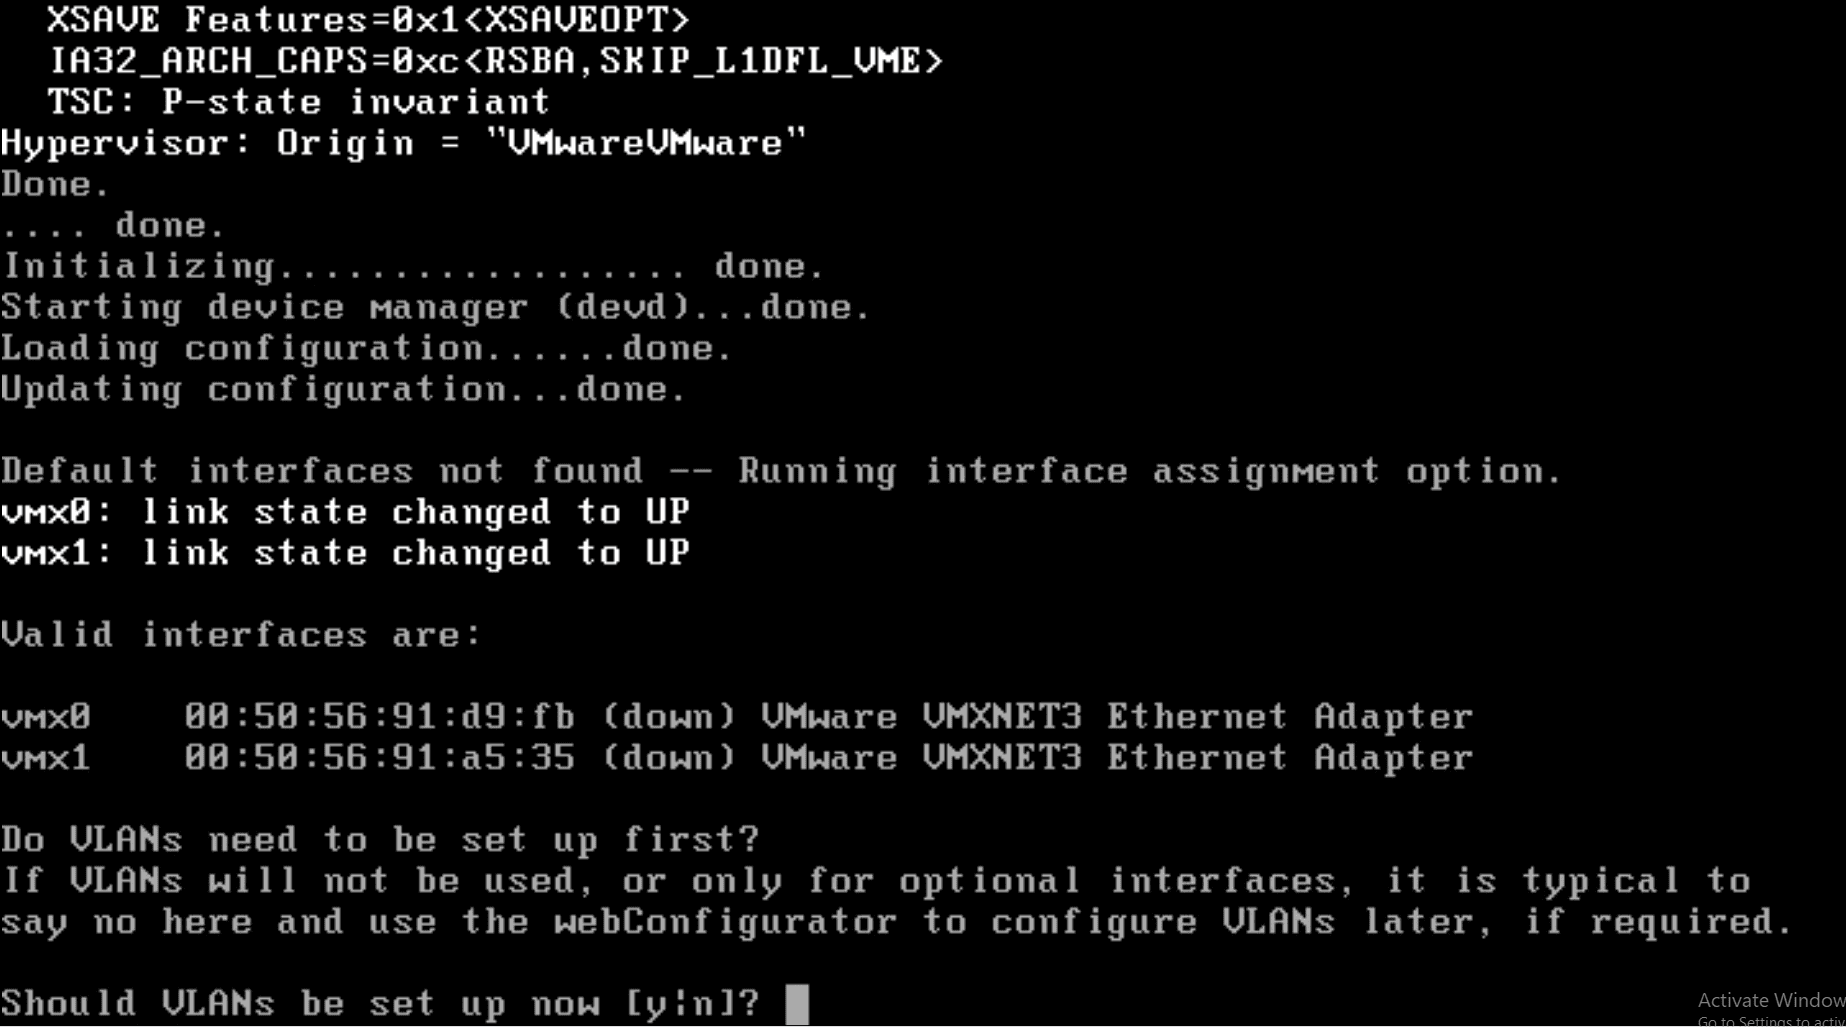
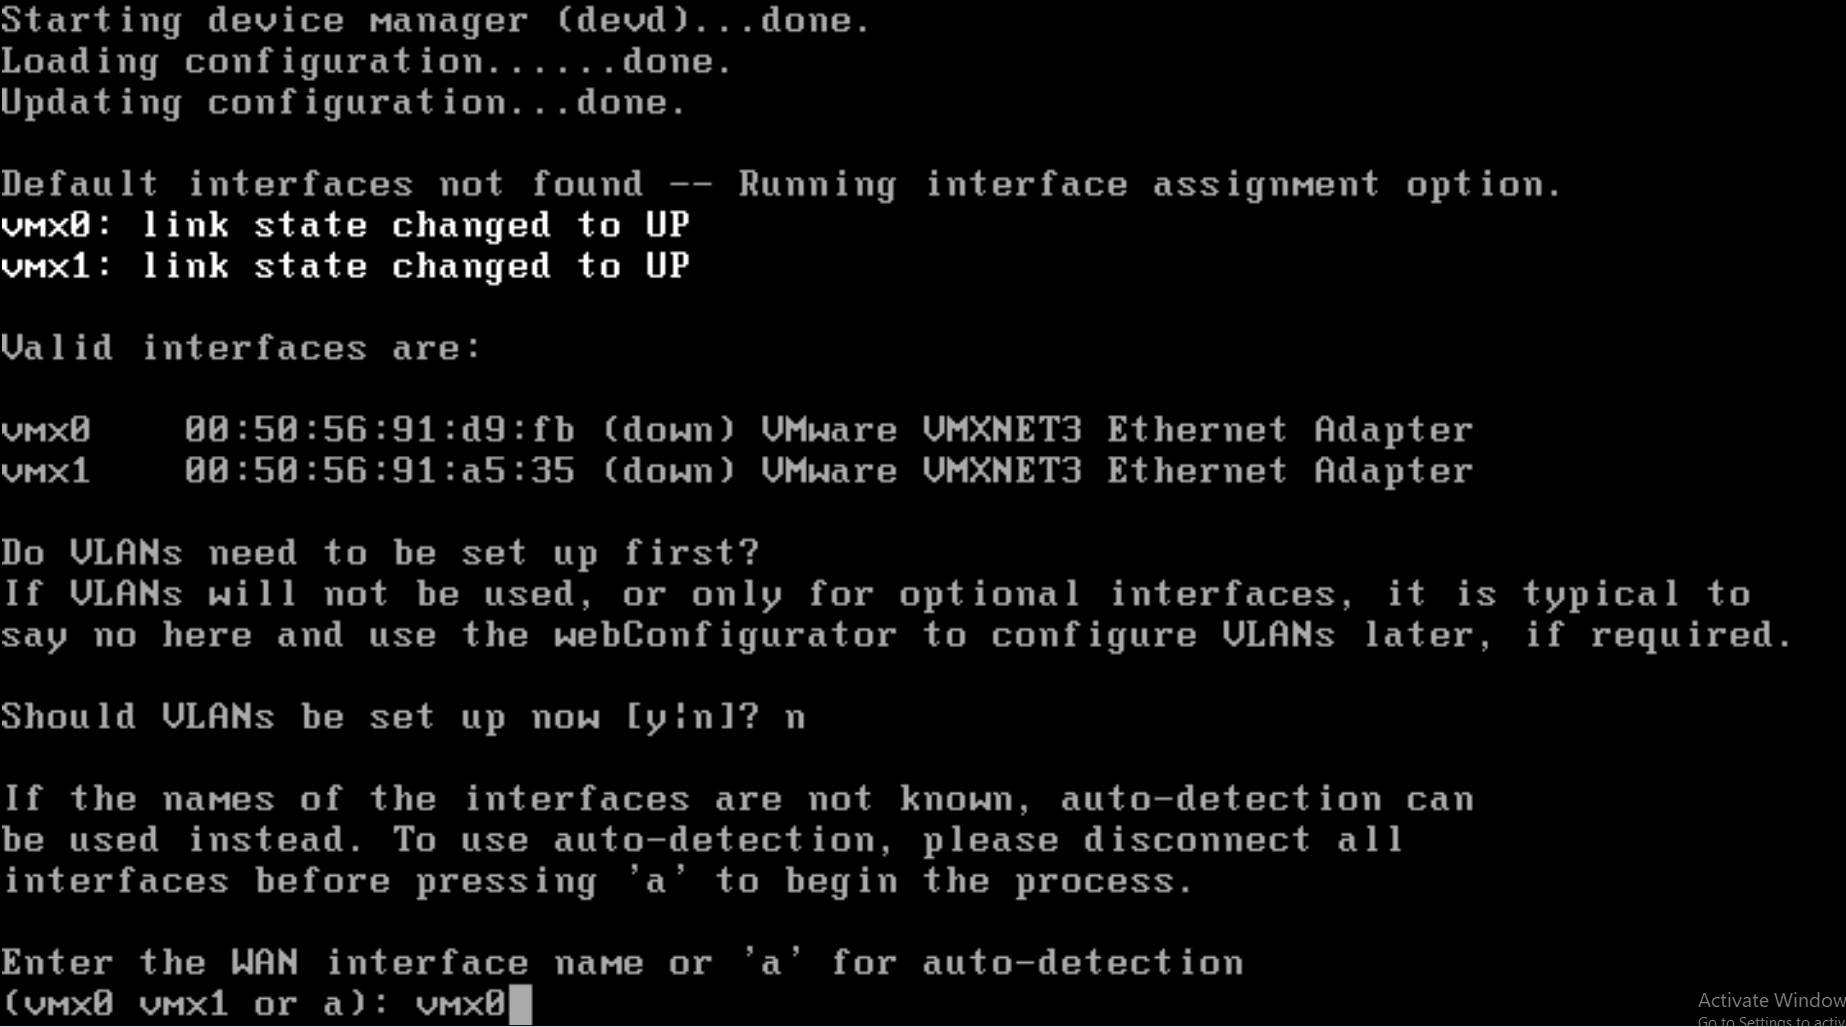
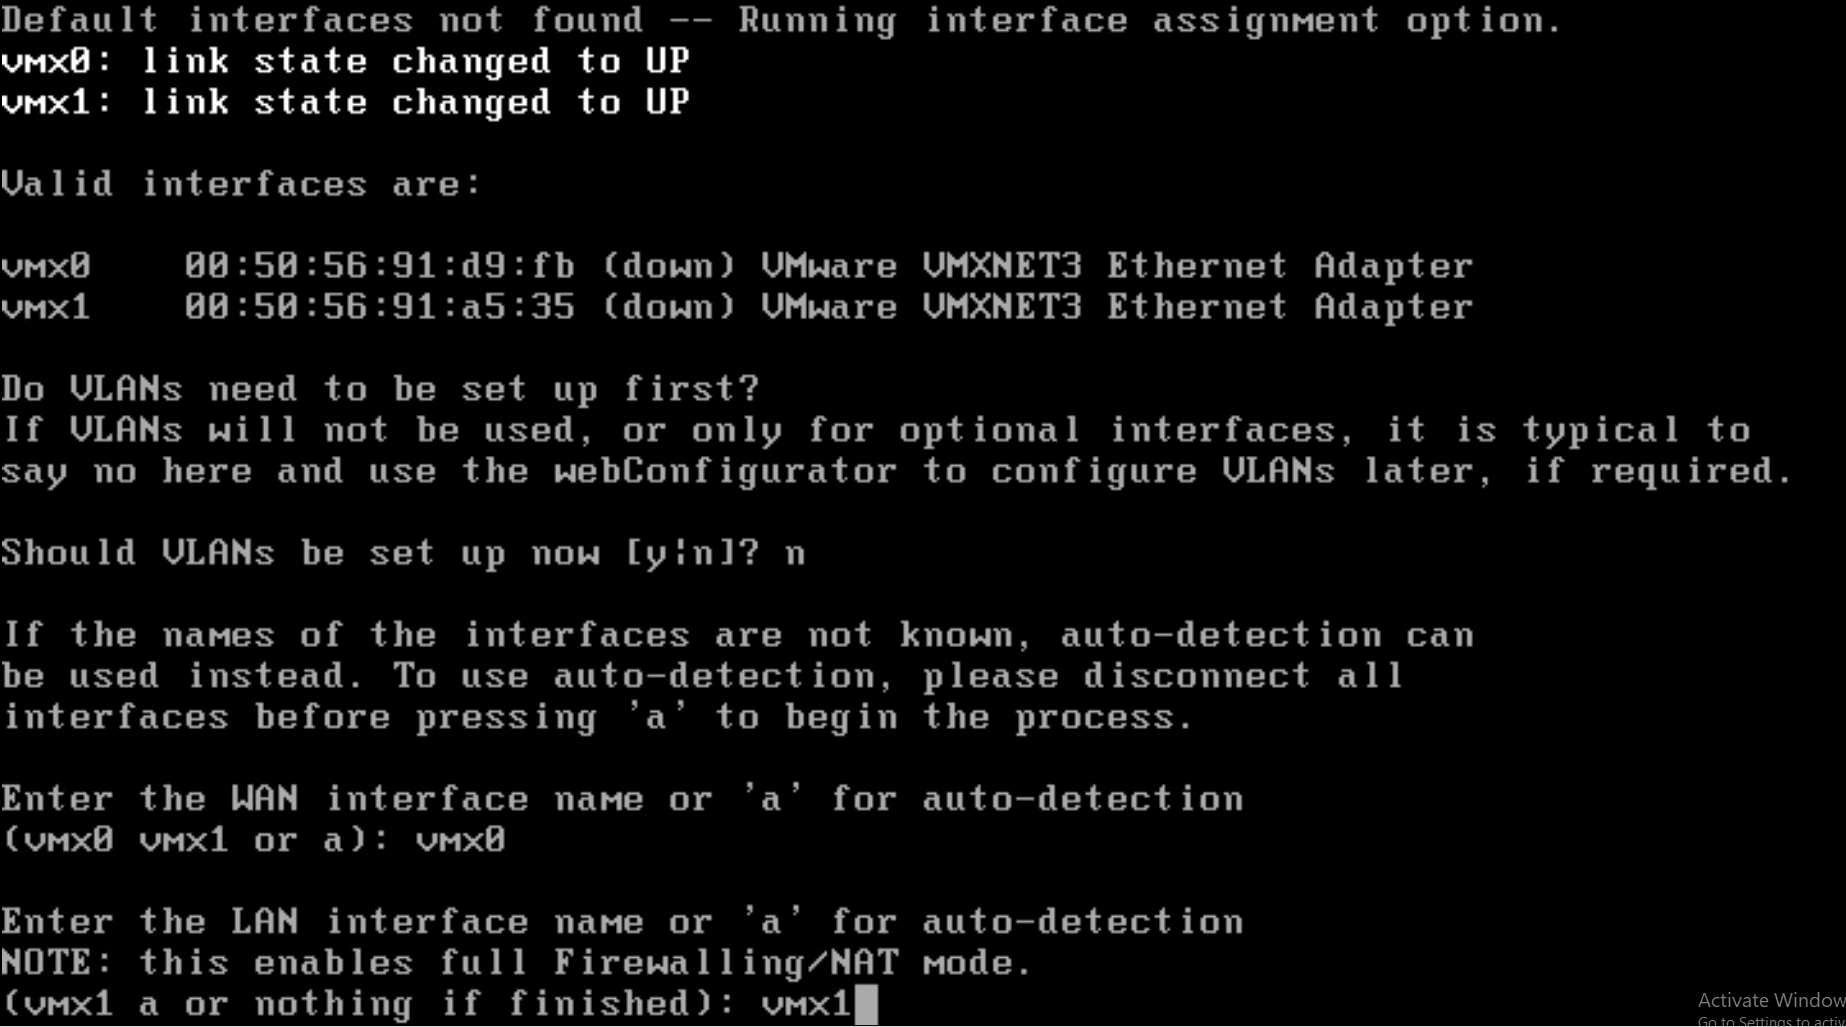
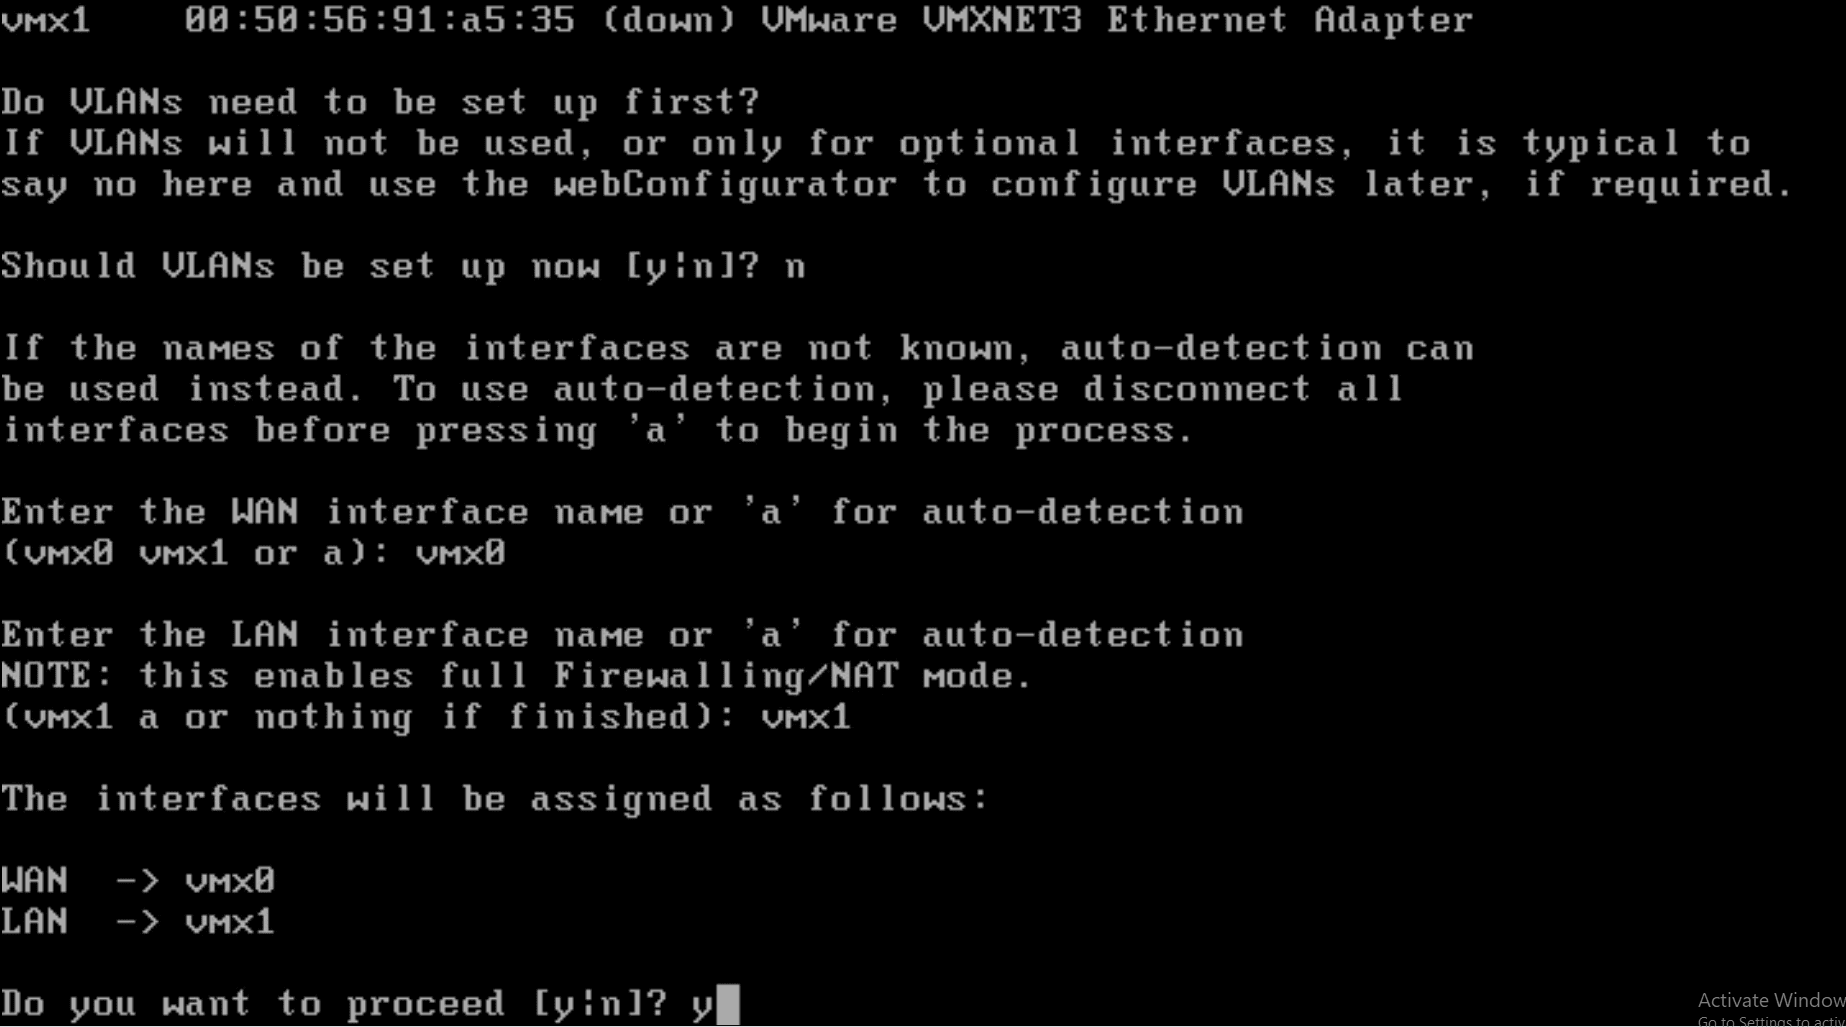
The next section of the text-based configuration is extremely important. You are prompted to choose the WAN and LAN interfaces. Here you need to select the correct VMware vSphere vmnics assigned to the pfSense virtual machine. Here it would be easy to cross up the vmnics with the assignment of WAN and LAN.
In the next prompt, you are asked to configure the LAN interface.
Finalize the configuration by typing a “y”.
4. Use the WebConfigurator to finish the pfSense VMware configuration
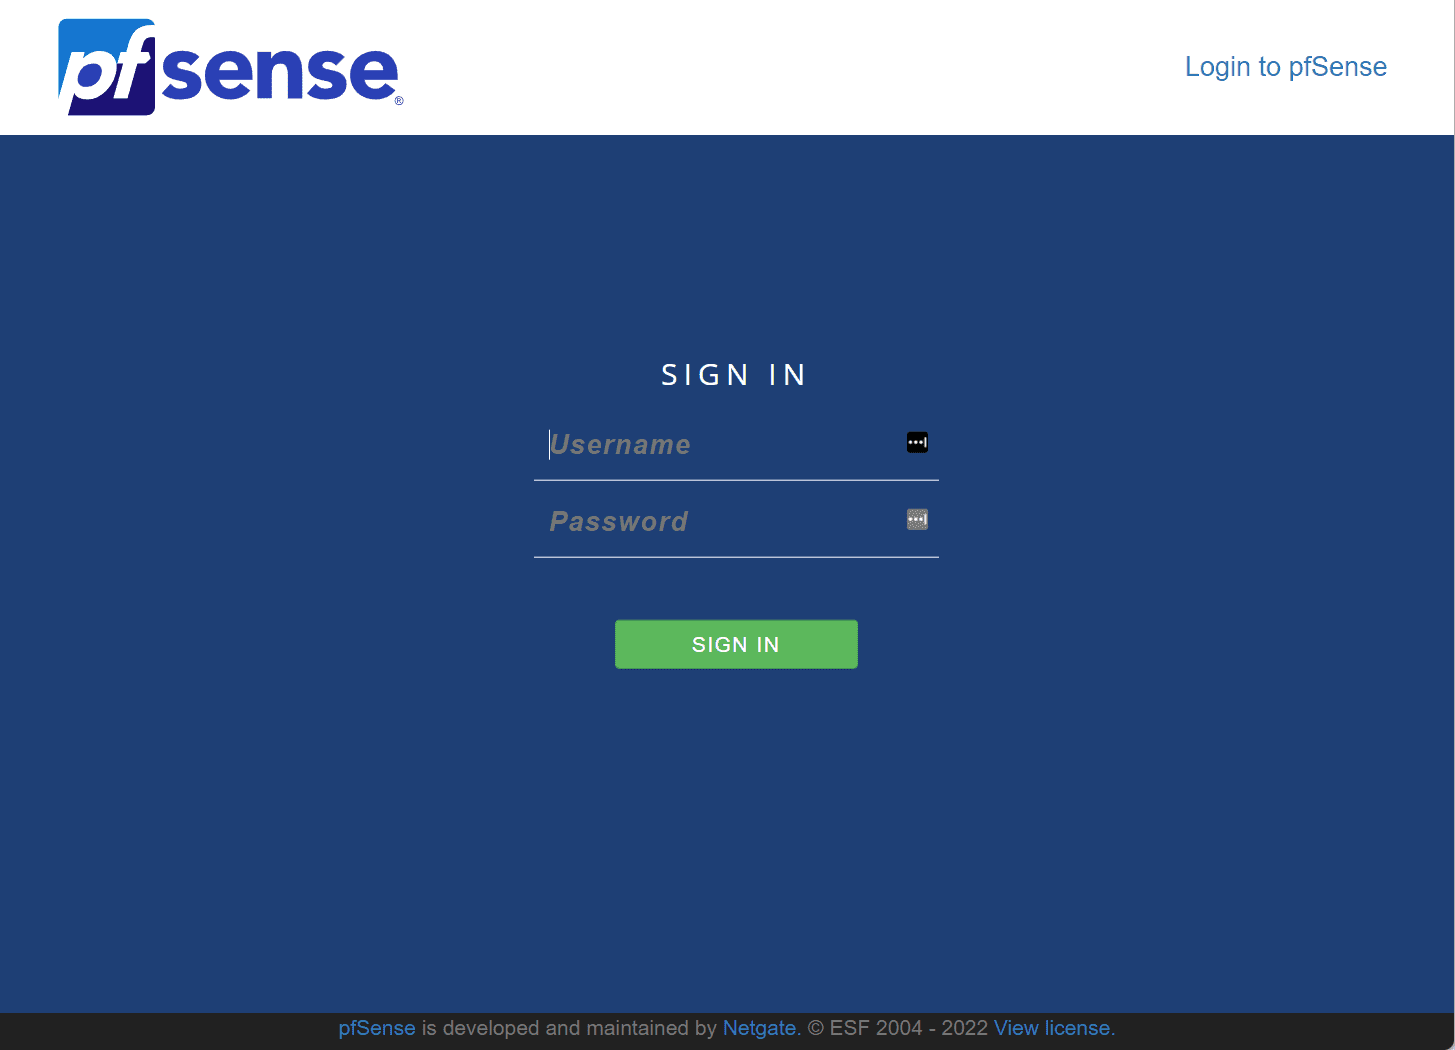
After the configuration is assigned using the text-based initial configuration. You should be able to browse to the LAN-side IP address of the pfSense VM. The default pfSense credentials are:
- username: admin
- password: pfsense
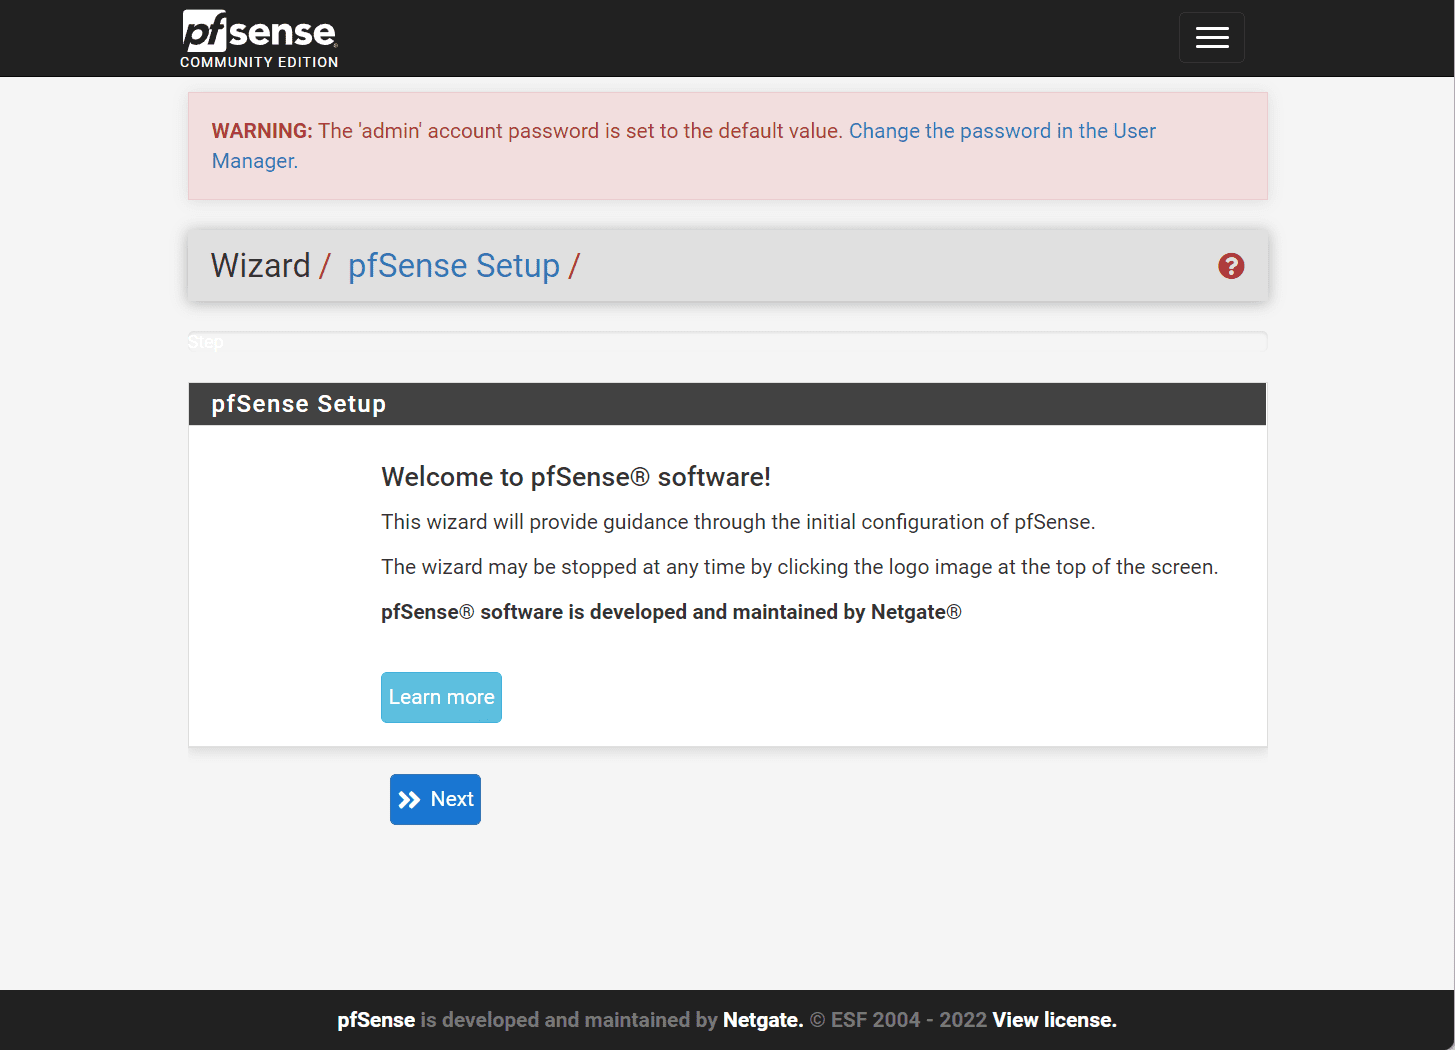
This begins the Webconfigurator wizard. Click Next.
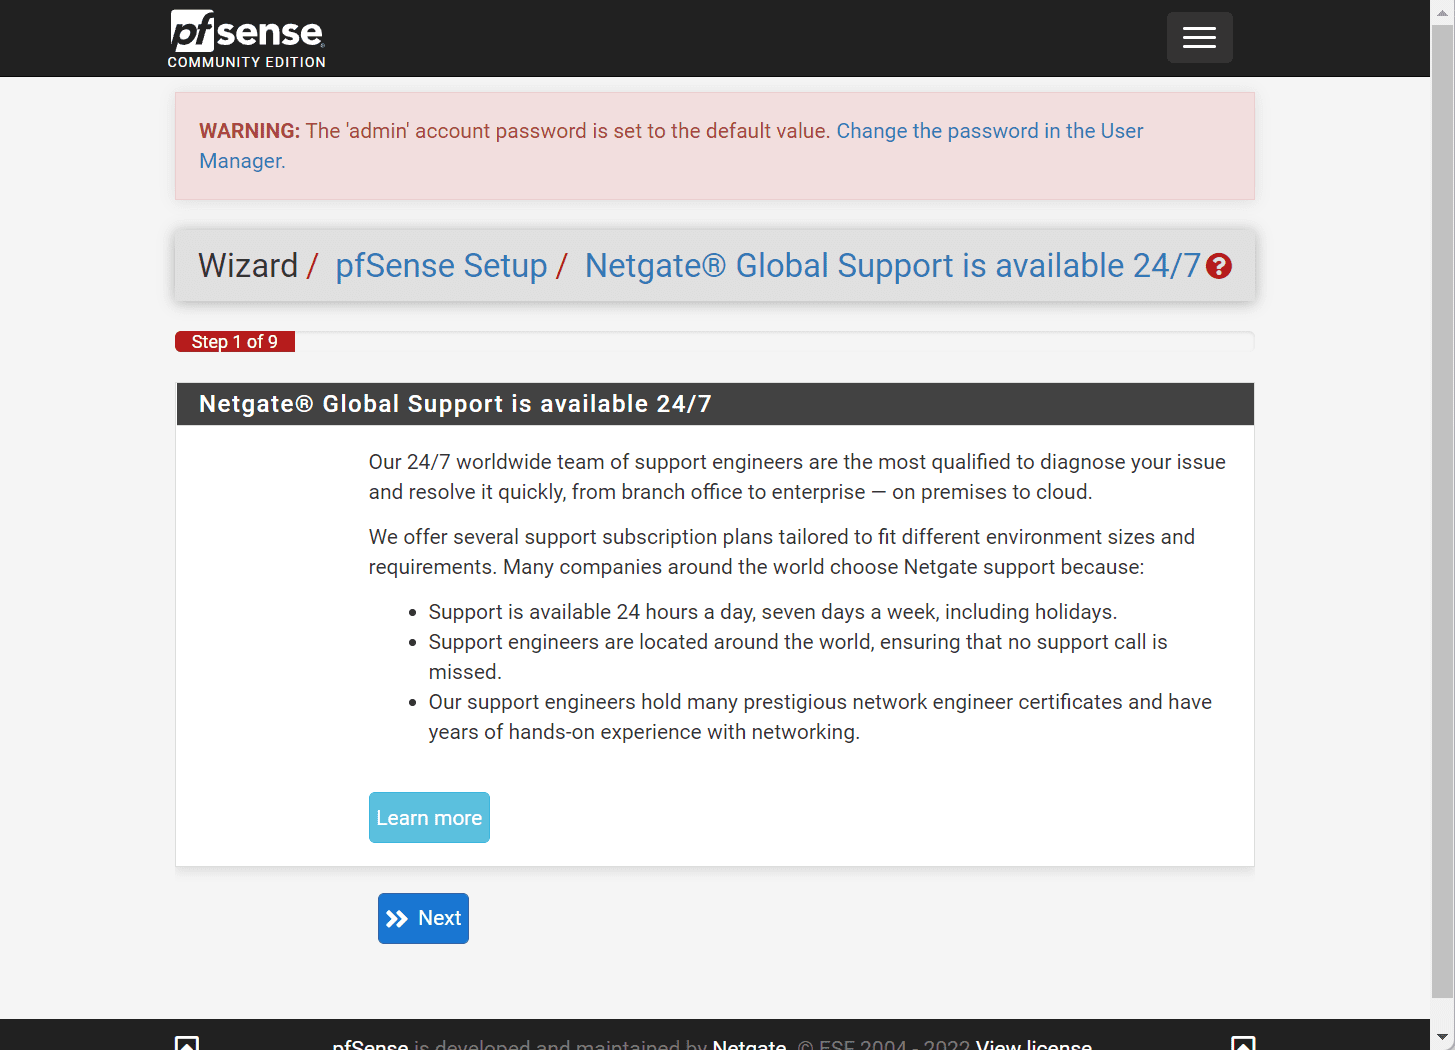
Click Next on the global support page.
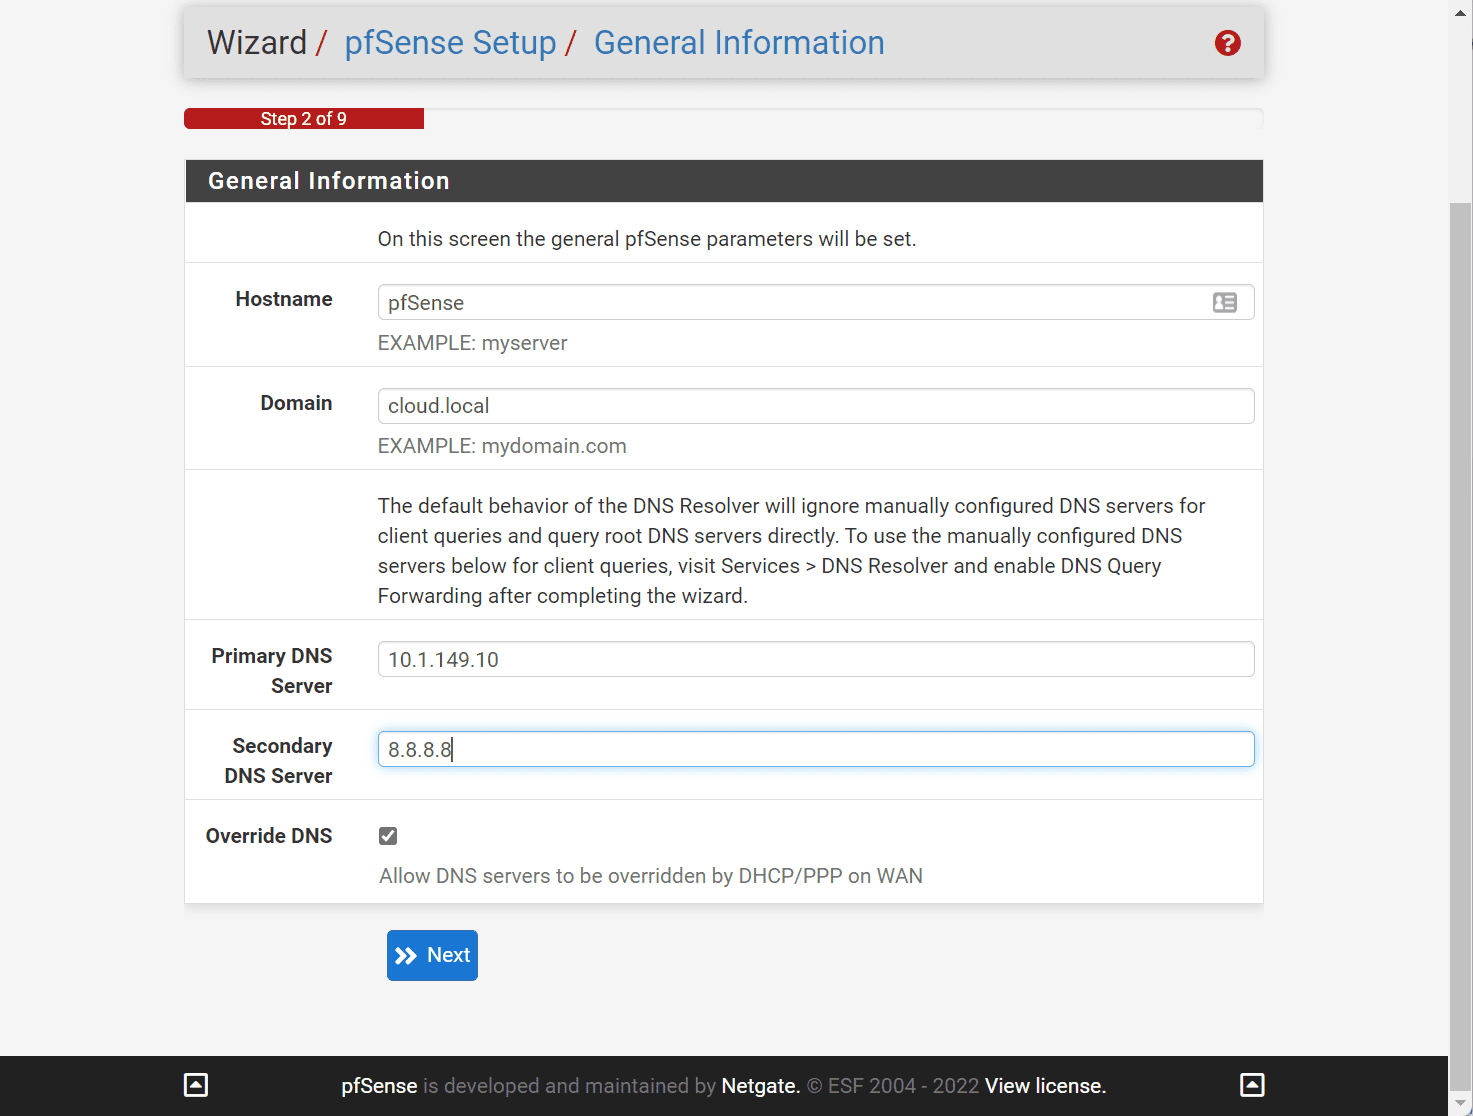
Set the hostname, domain, and DNS configuration.
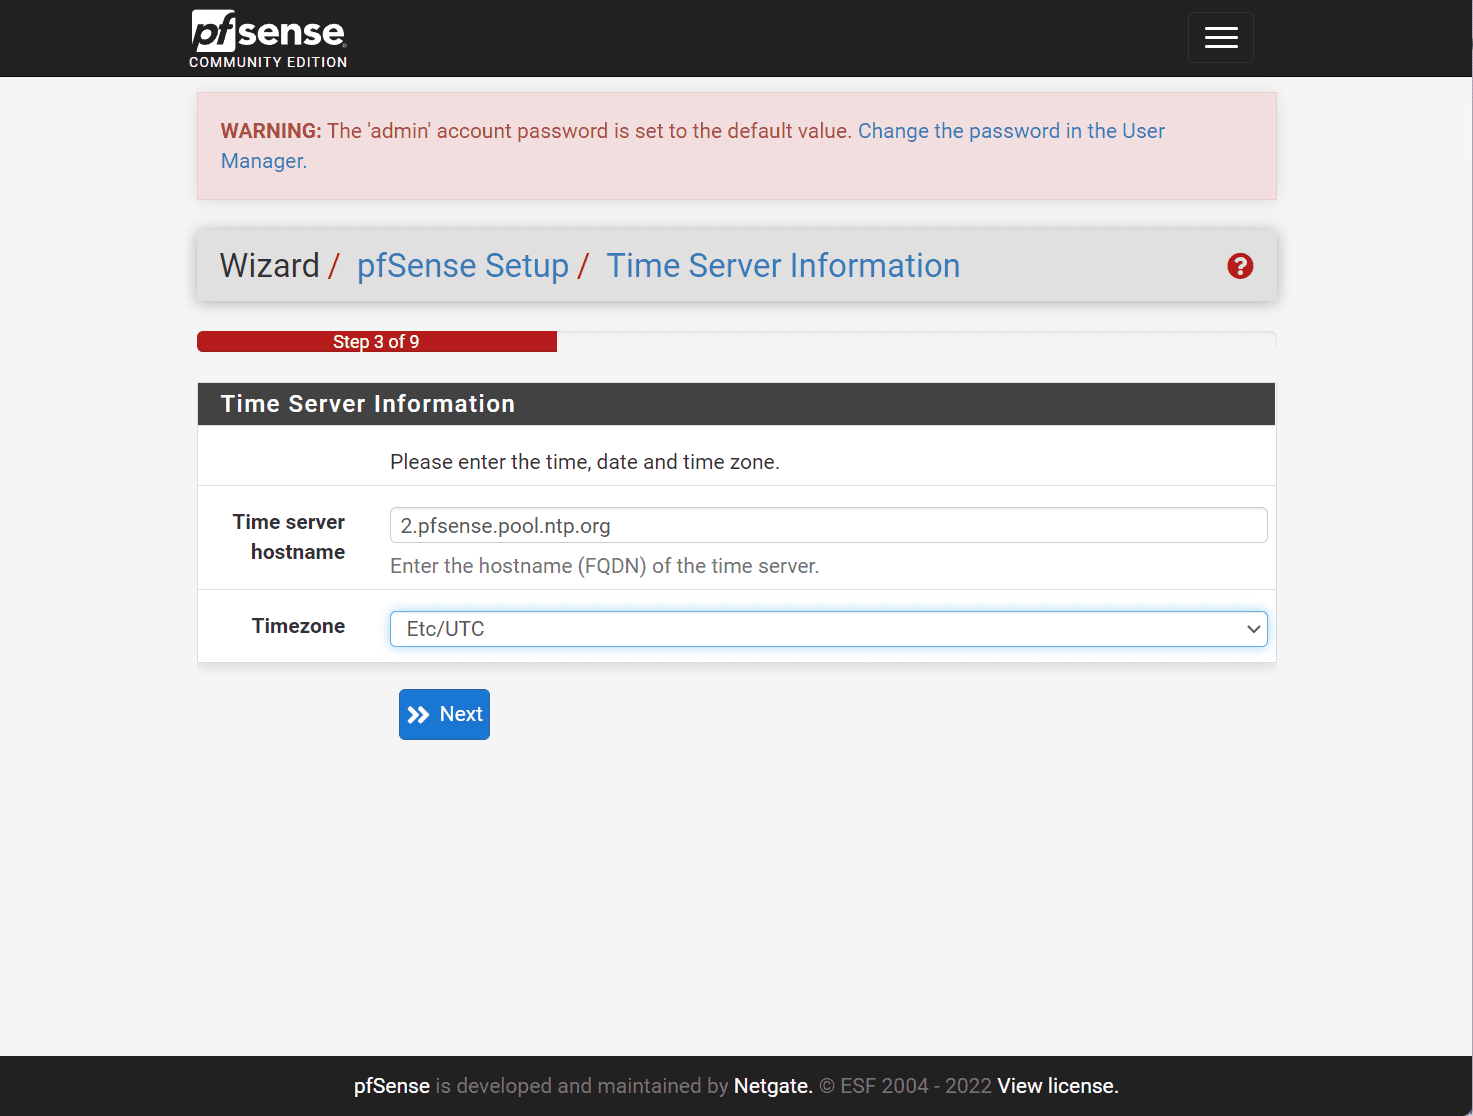
Configure NTP and the timezone.
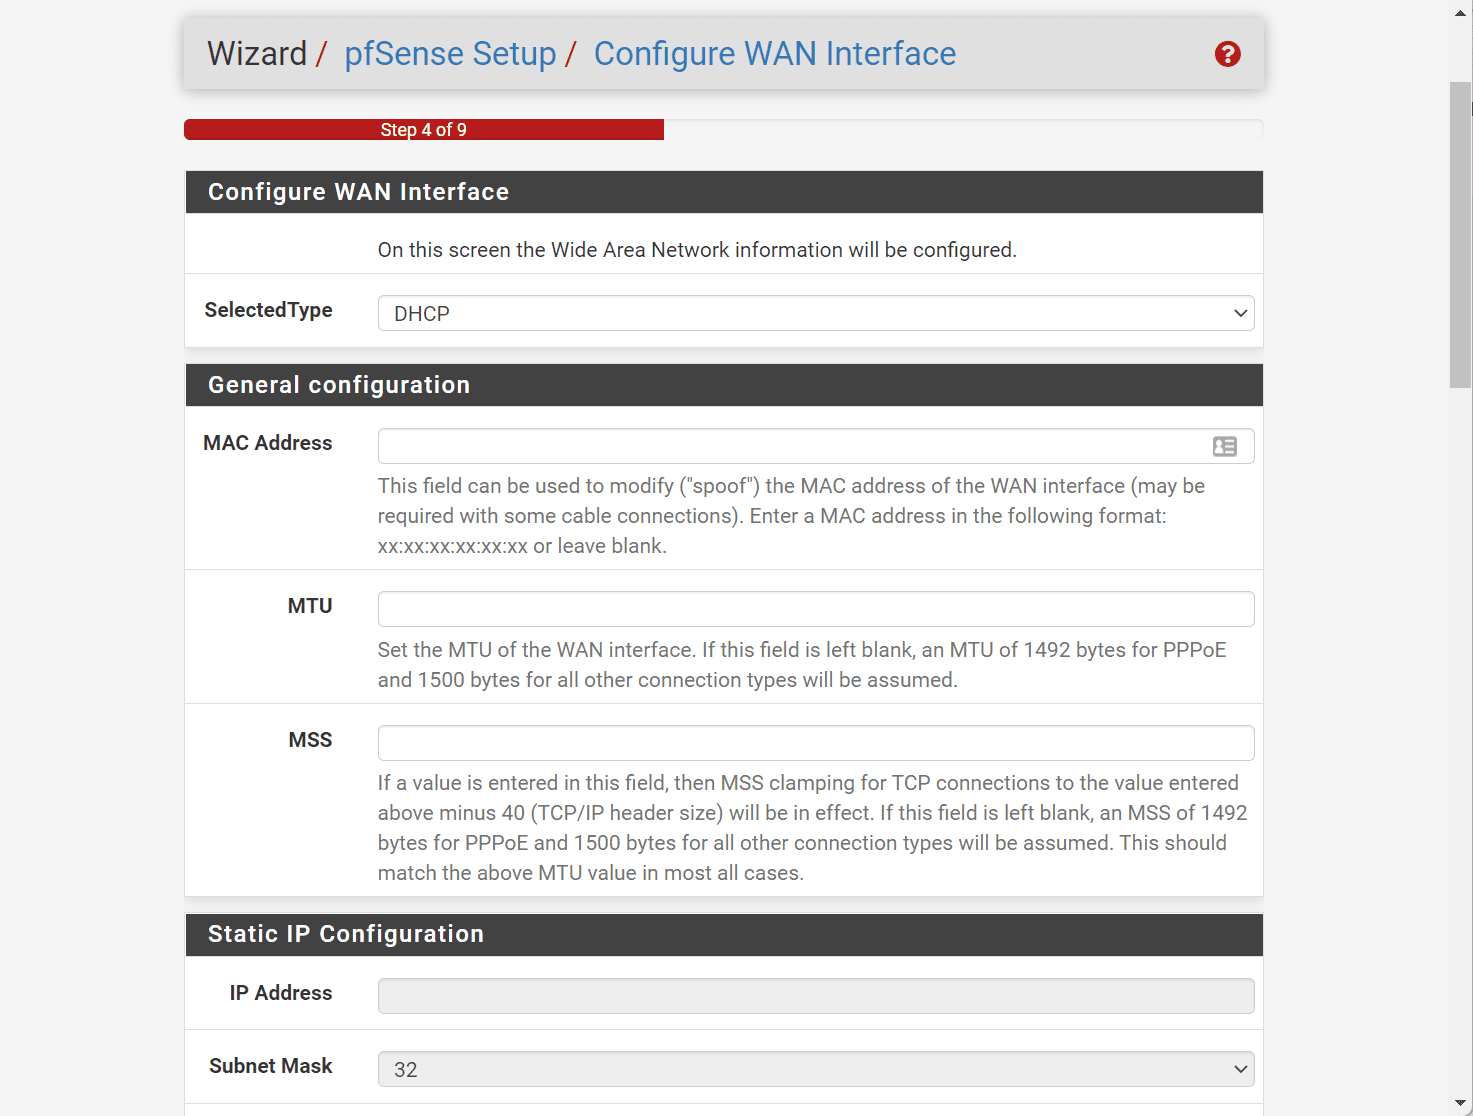
You can configure your WAN connection in the Webconfgurator wizard. You don’t have to reconfigure. However, the Webconfigurator wizard gives many more configuration options for different types of ISPs and connection technologies.
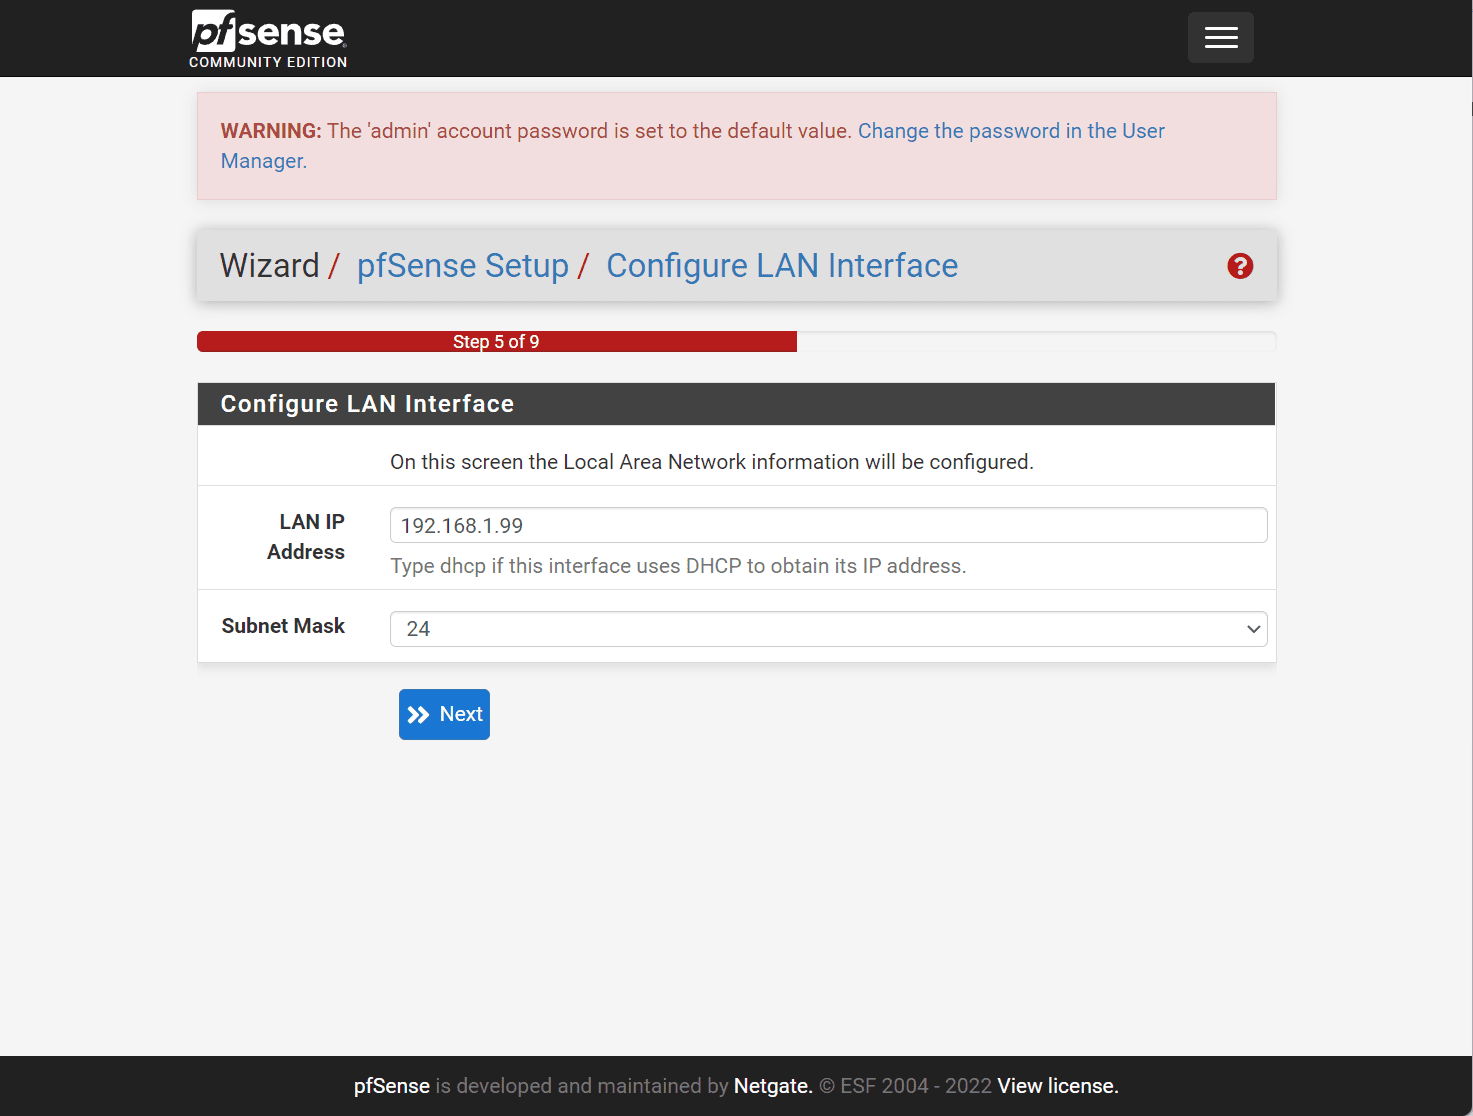
Configure the LAN connection.
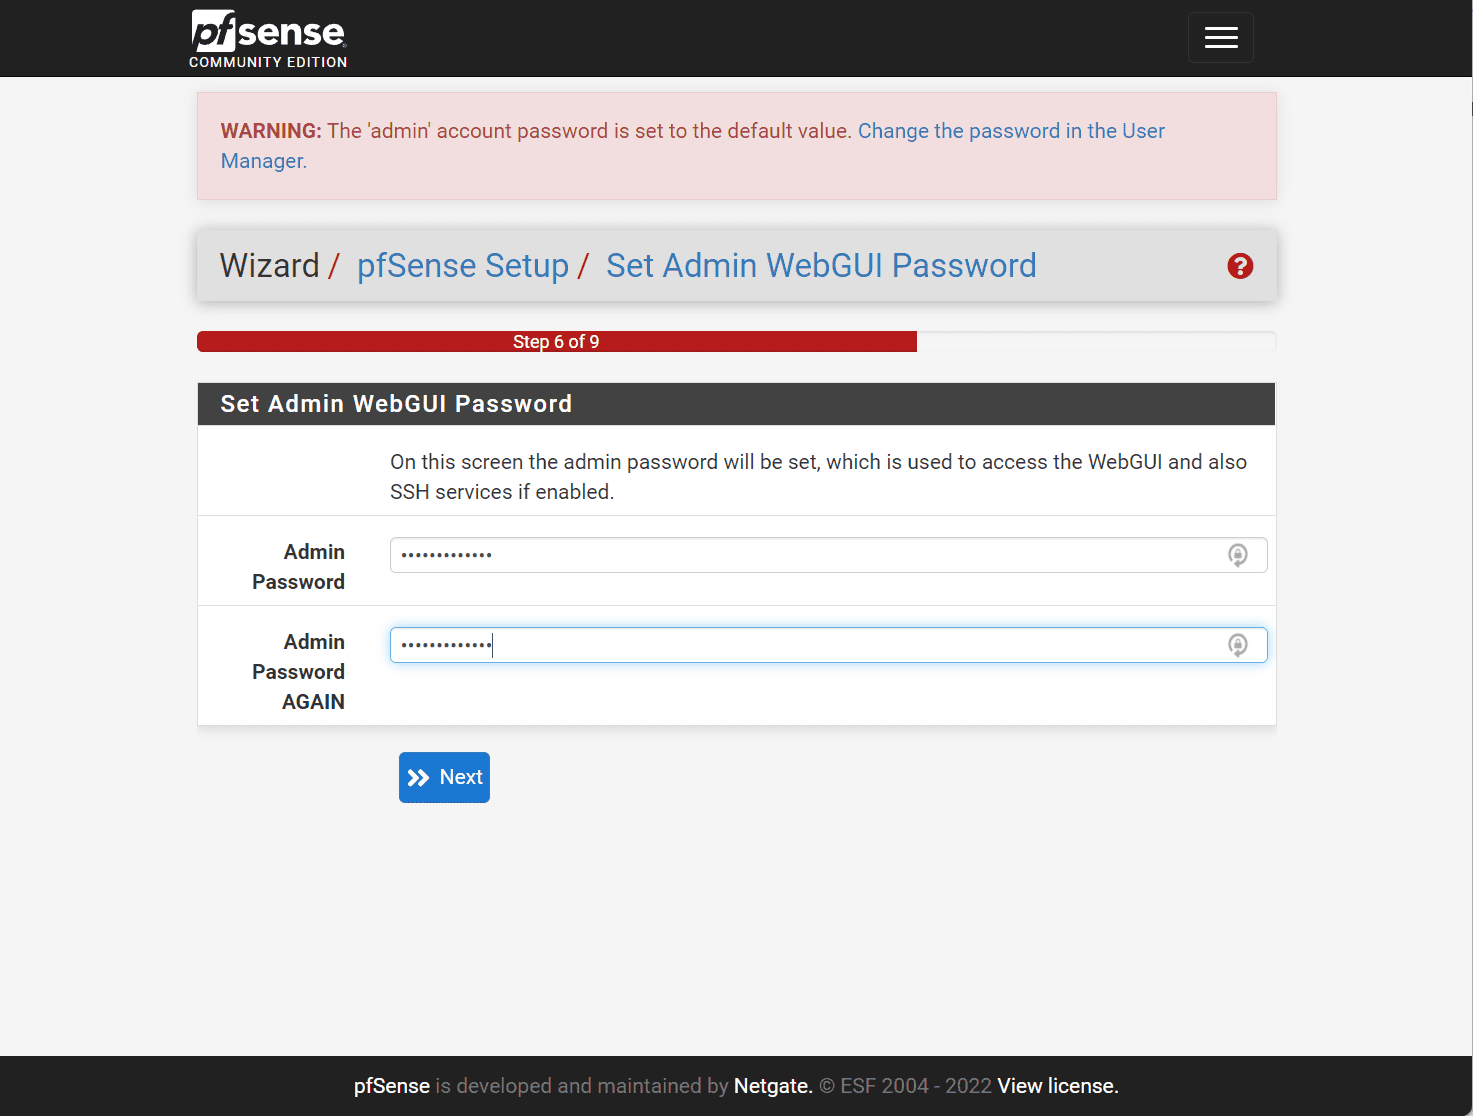
Set the WebGUI password. Be sure to change your WebGUI password from the default “pfsense” password set during the installation.
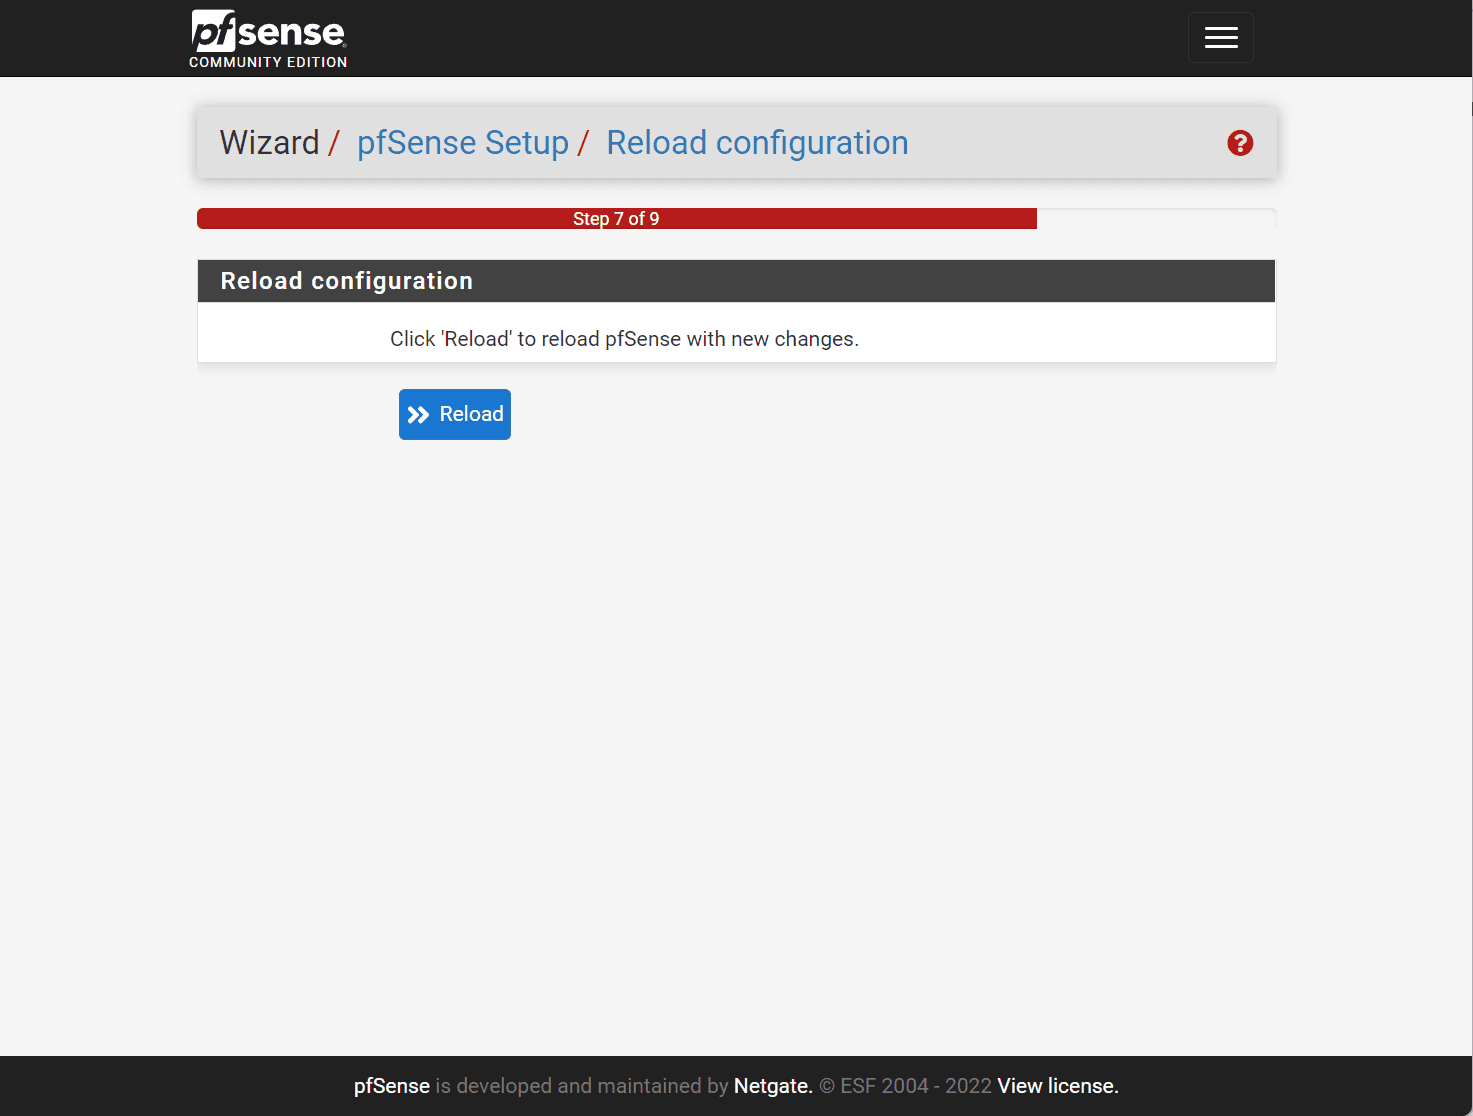
You are prompted to reload the configuration.
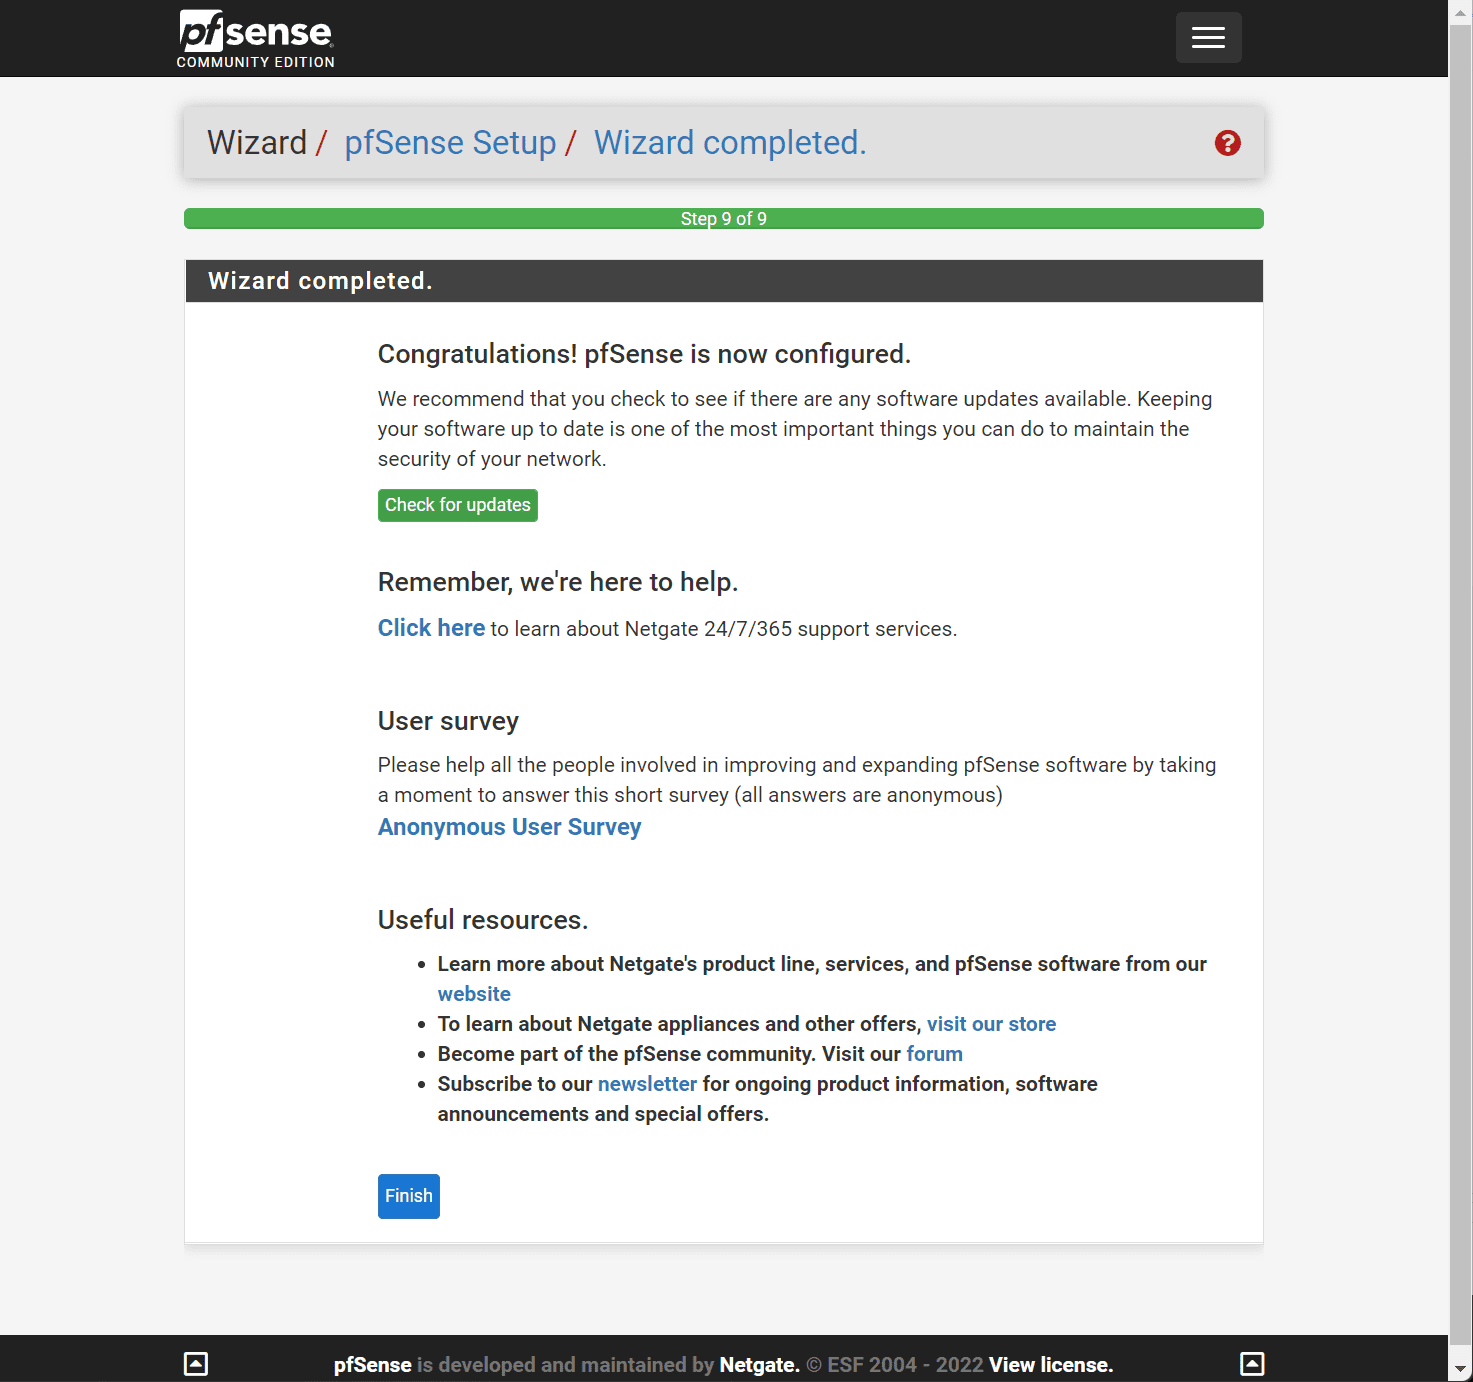
Finally, after reloading click to Finish the Webconfigurator configuration.
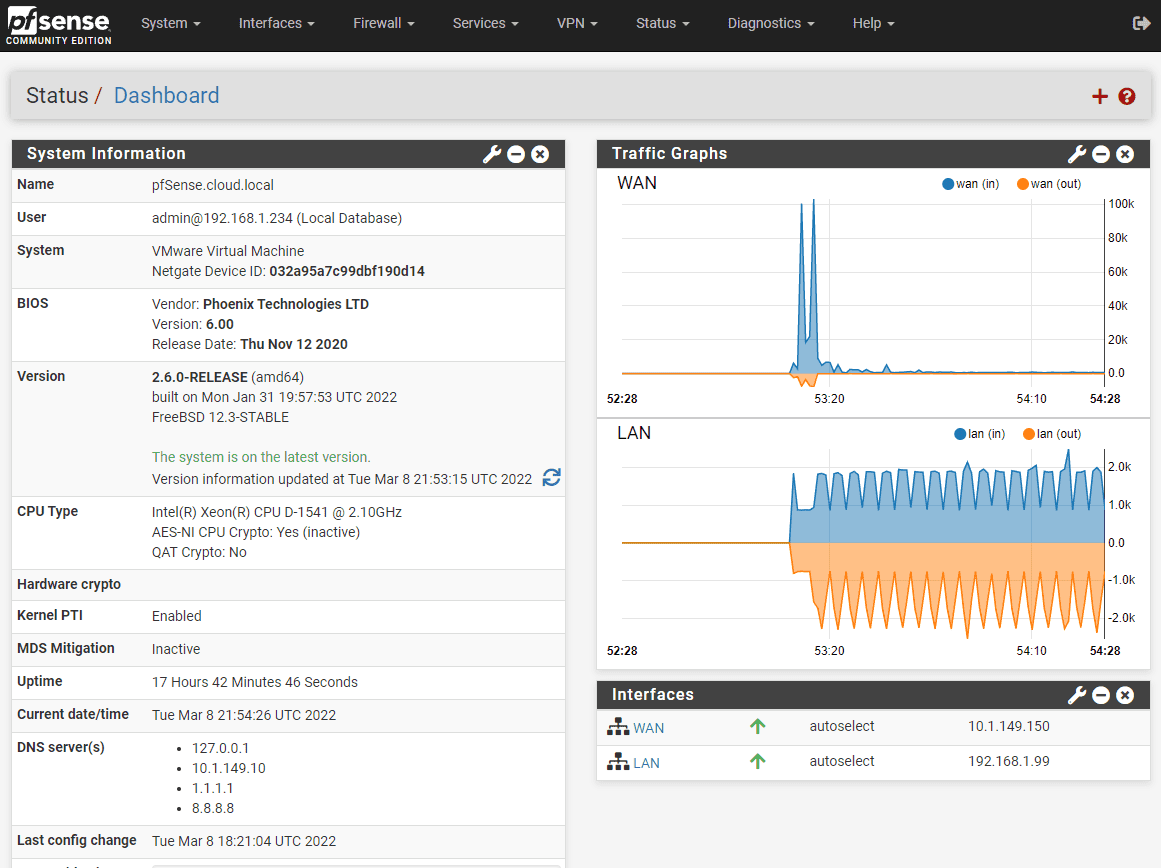
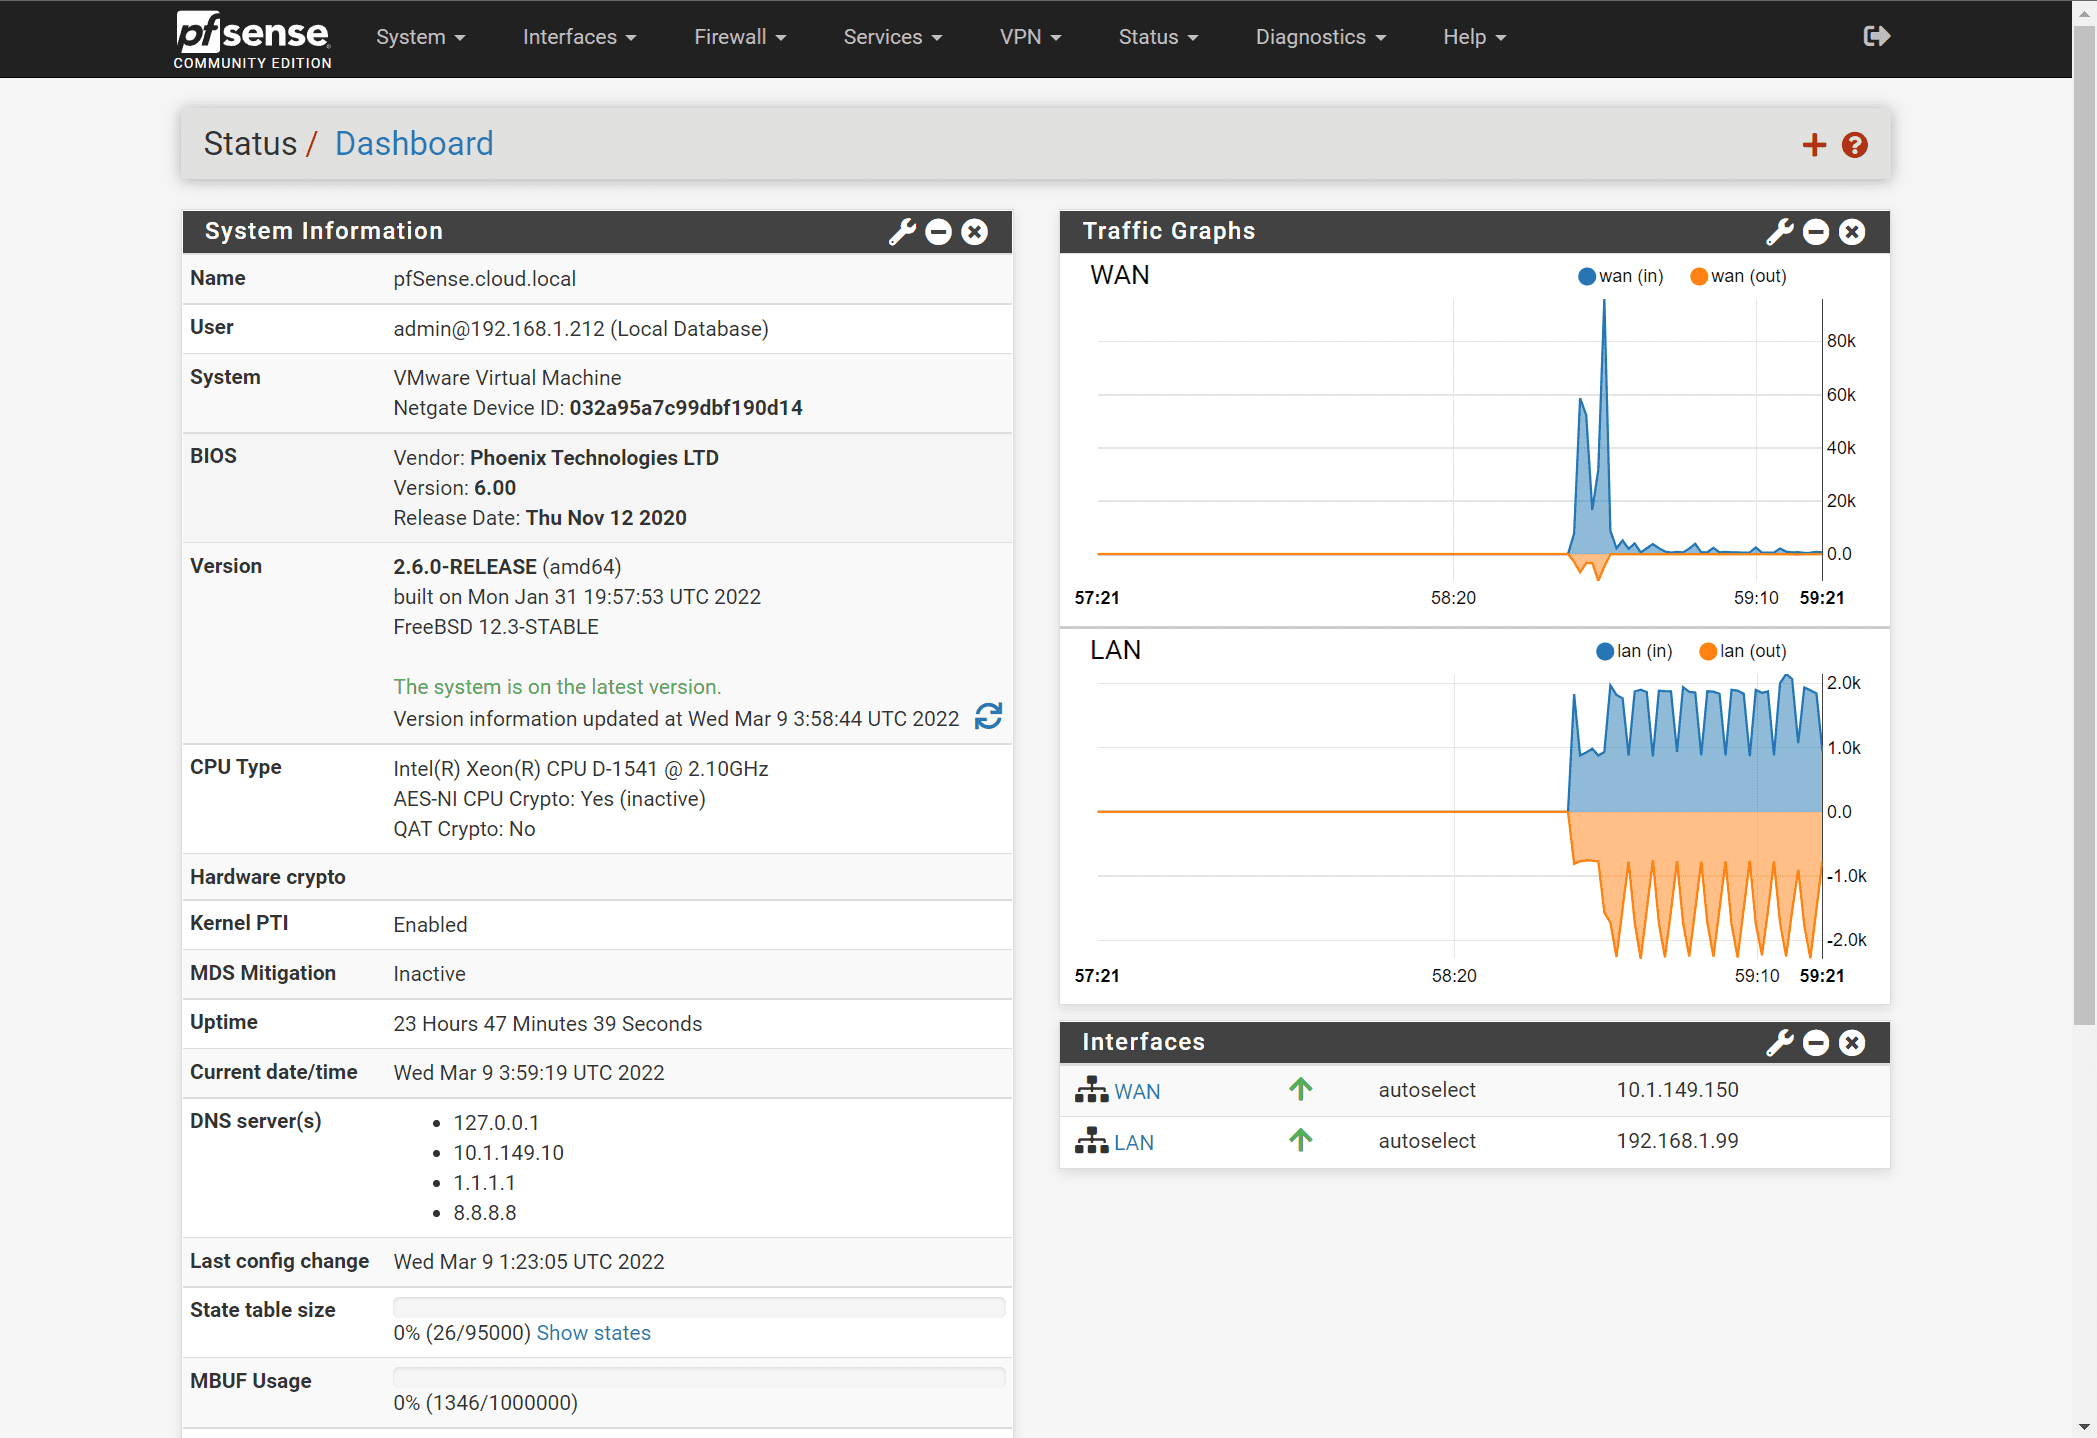
After clicking finish, you are taken to the default pfSense dashboard. You can customize the widgets displayed on this page. Below, I have added the Traffic Graphs and Interfaces widgets. At this point, you are ready to begin creating firewall and NAT rules for your environment to start passing traffic.
Deploy pfSense VMware FAQs
- What is pfSense? pfSense is a freely available solution that provides a robust firewall and routing solution for installation on your own hardware. You can download the ISO or USB image and install on your own x86 appliance if you choose or inside a virtual machine such as VMware vSphere.
- How is pfSense installed? pfSense is installed from an ISO or USB image. You can also purchase Netgate hardware solutions with pfSense already installed.
- Is pfSense free? Yes, pfSense is a free solution in the Community Edition. pfSense + is a new paid offering that is only available for Netgate appliances and cloud environments such as AWS and Azure.
- Is pfSense a good firewall? Yes, it is a very robust firewall with many enterprise features. These include firewalling, IDS/IPS, VPN, Proxying, DNS server, certificate management and many others.
- Can you deploy pfSense VMware vSphere? Yes, as shown in the above walkthrough, you can install pfSense in VMware vSphere with only a few configurations to note during the new virtual machine creation wizard.
Video overview showing how to deploy pfSense in VMware vSphere
Final Notes
In this Deploy pfSense VMware step-by-step configuration guide, we have covered how to install pfSense in a VMware vSphere environment and the configuration needed during the installation. The pfSense firewall solution provides many robust features that are suited for both home lab use and even enterprise use cases.
More in this topic

Discuss this in the Community
Google is updating how articles are shown. Don’t miss our leading home lab and tech content, written by humans, by setting Virtualization Howto as a preferred source.
About The Author
