Add a TPM card to VMware vSAN Host
Security is an extremely important part of server technology these days. With the sophistication of malicious attacks, supply chain hacks, and other risks to business-critical data, security contains several layers of protection. Security not only must be applied to software but it must also be applied at the host level. The Trusted Platform Module (TPM) is a passive security device that serves the purpose of storing sensitive security information. It can be used to validate the integrity of a host, enabling secure boot. In the world of virtualization, the host having a physical TPM device is required before you can add a virtual TPM or vTPM to your virtual machines. In my home lab, I have recently added TPM devices to my Supermicro servers. I thought I would create a blog to detail the steps to add a TPM card to VMware vSAN hosts in my home lab and what was involved.
TPM add-on cards
Many are under the impression if your server does not come with a TPM module, it is not possible to add one. This may be the case depending on your server model and the capabilities of your server’s motherboard. However, most boards produced in the past few years often have the header available for installing a TPM module. I am running all Supermicro gear in the home lab and Supermicro has several TPM add-on cards available that can be added to servers.
Take a look at the write-up of my Supermicro home lab here:
The hosts that I am currently installing TPM devices in are the Supermicro SYS-5028D-TN4T model servers. I specifically went with the TPM device listed here:
Installing the TPM add-on card in the Supermicro 5028D-TN4T
The process to install a TPM add-on card in the Supermicro 5028D-TN4T server wasn’t difficult. I wasn’t quite sure where the TPM header was located, however, quickly found it next to the motherboard SATA connectors as you will see below. Before installing, here is a quick pick of the 9665V-S model TPM.
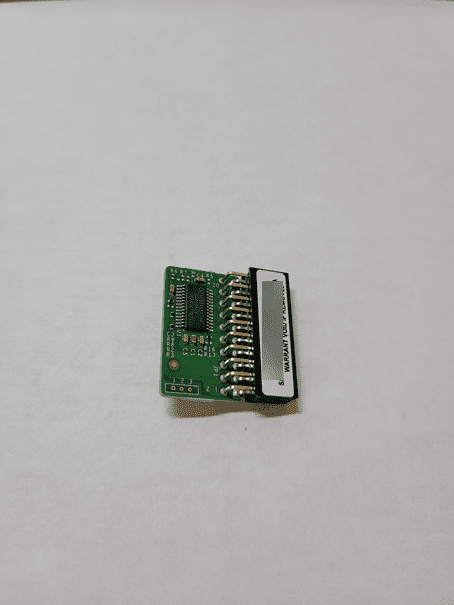
Below is a photo I took after I installed the TPM add-on card in the Supermicro server. This model is a

The 9665V-S card is a vertical model that sits vertically on the motherboard. This model works perfectly in the 5028-TN4T server.
Configuring the TPM in the BIOS
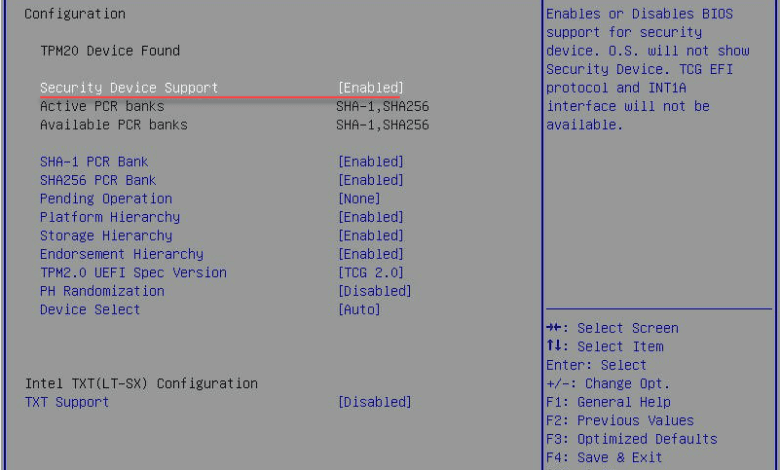
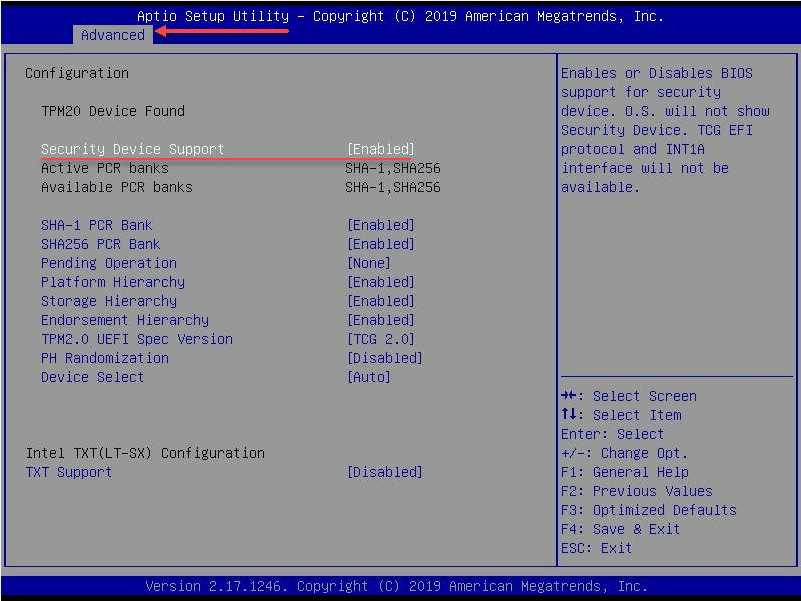
One thing I like about the 9665V-S model (S for server) is that it is preconfigured for use. I didn’t have to download any utilities to configure it beforehand which is nice. Under the Advanced settings in the Supermicro BIOS, you see the TPM device configuration. All of the settings below are the default settings once I installed the device.
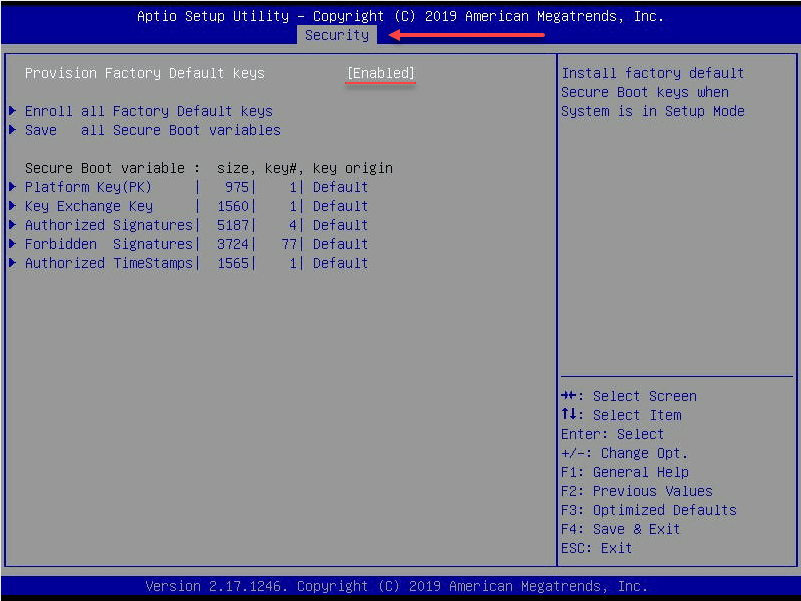
Under Security, you will want to set the Provision Factory Default keys to enabled.
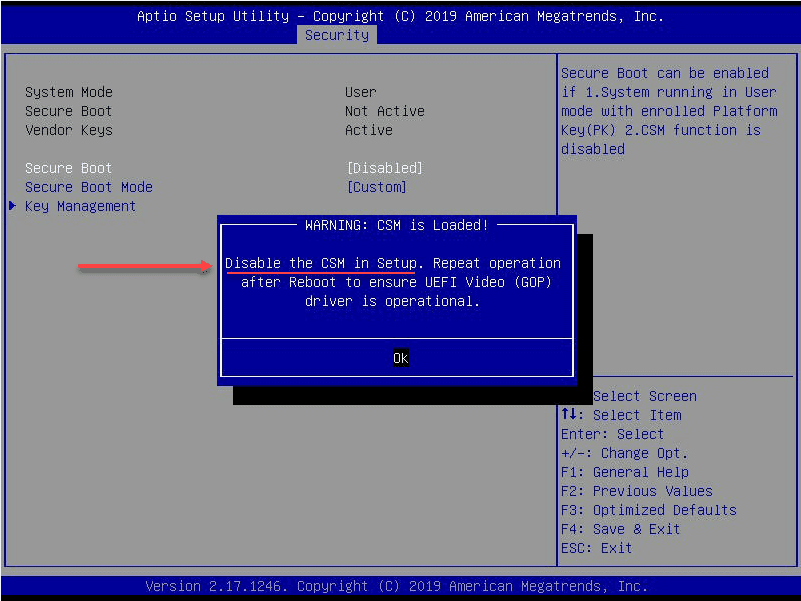
You will see the message to Disable the CSM in Setup message. After setting the Secure boot to enabled, you will see the warning below on changing the CSM setting.
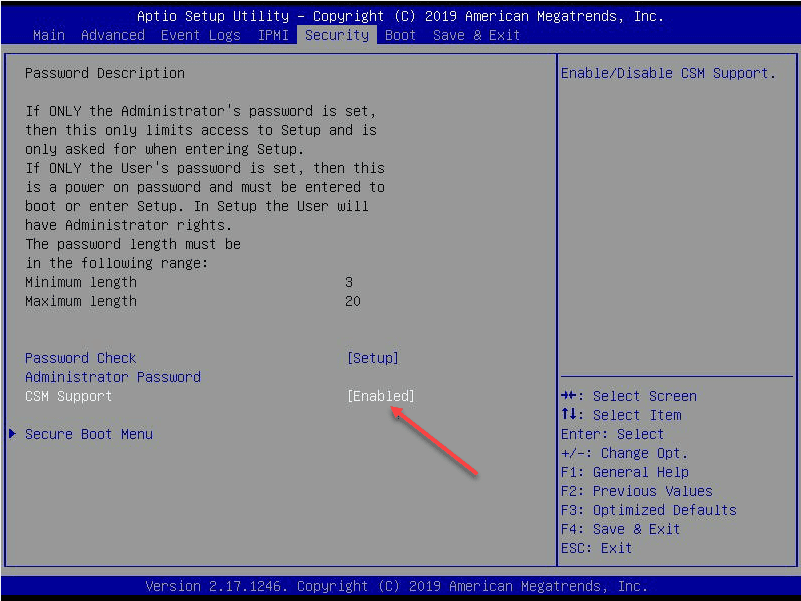
Viewing the CSM setting under the Security tab. Set this to disabled.
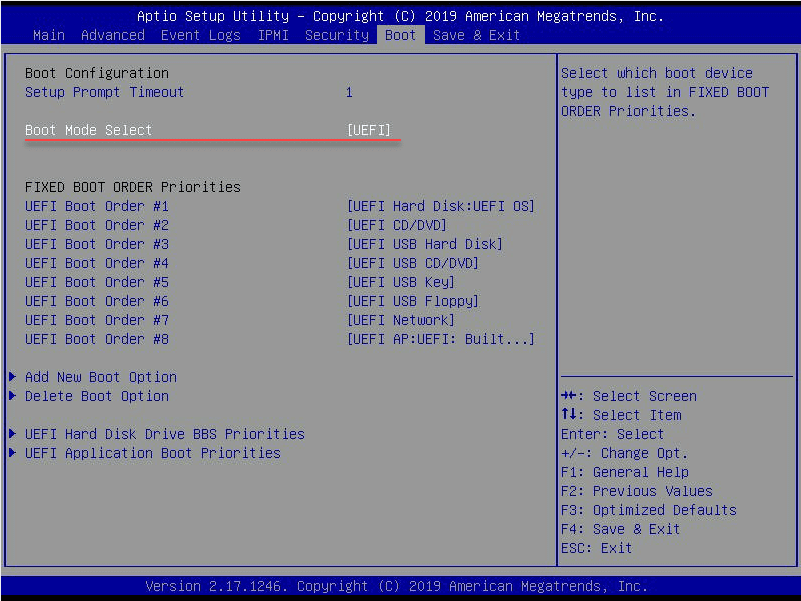
Verifying I am set to
Add a TPM card to VMware vSAN Host
After booting checking out the Monitor > Security dashboard. As you can see below, I received the Internal failure message. After a quick hit on a VMware KB, this is due to the host not being disconnected and reconnected to vCenter.
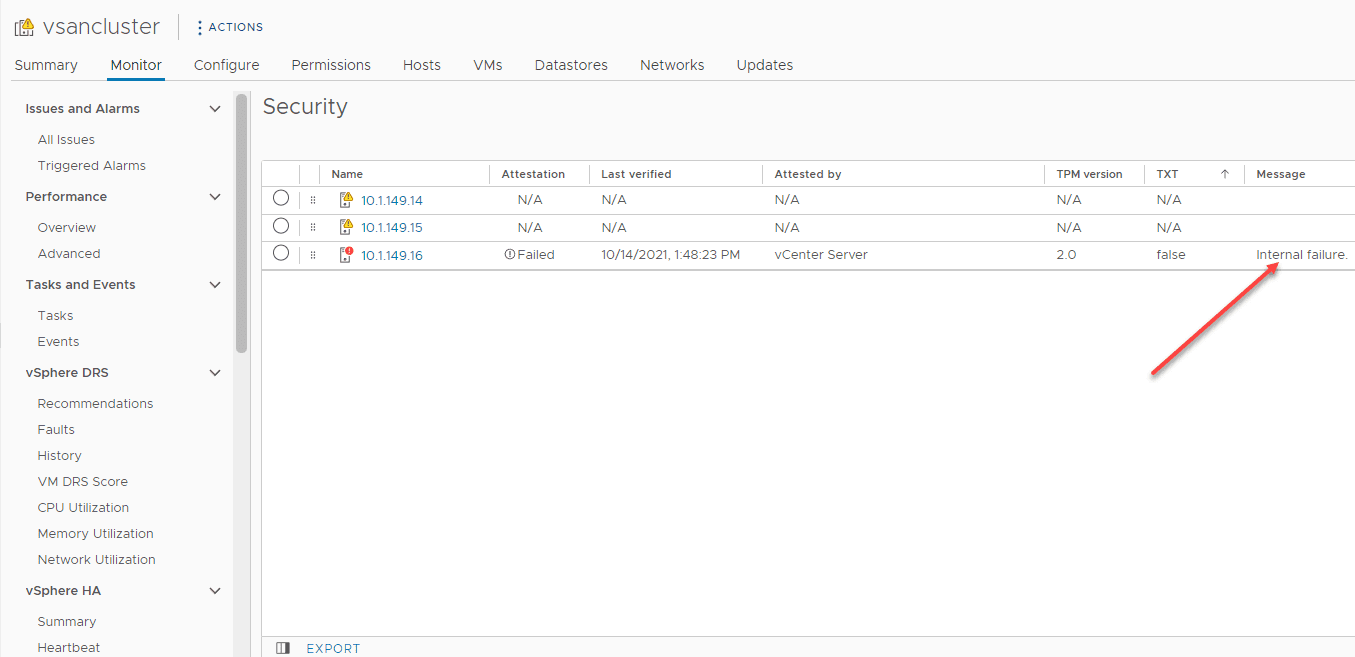
This is corroborated by the vpxd.log from vCenter with the No cached identity key, loading from DB error.

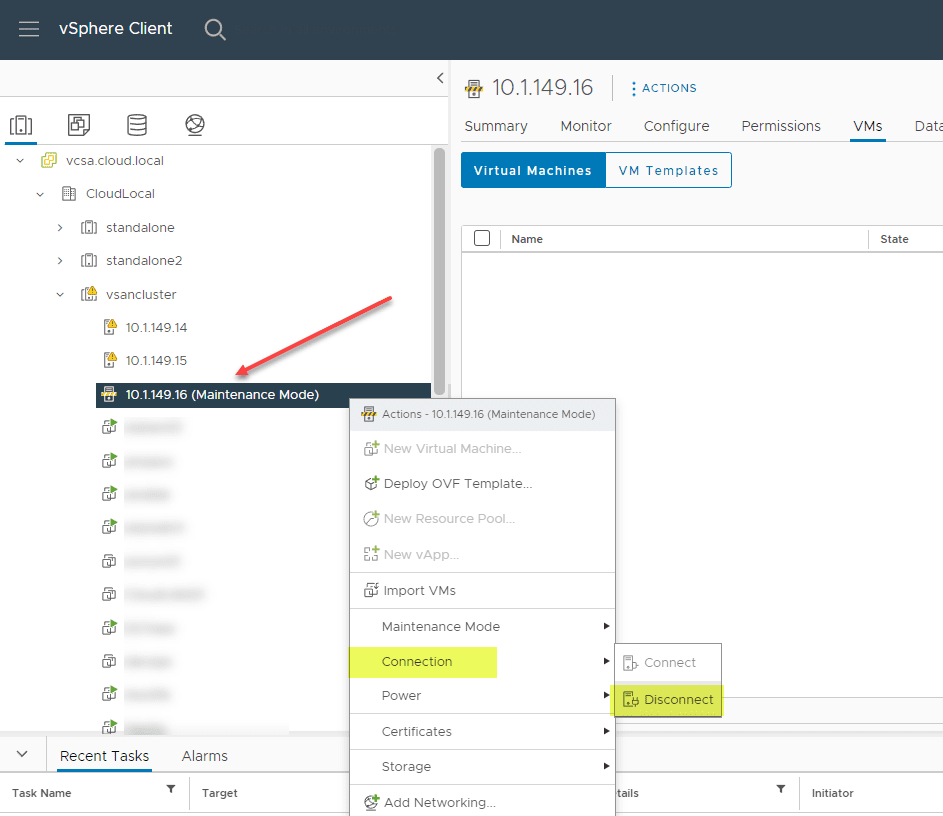
Can you safely disconnect and reconnect a vSAN host? Yes. Just migrate your workloads from the vSAN host, place it in maintenance mode, and then you can quickly and easily disconnect the host and reconnect it in vCenter.
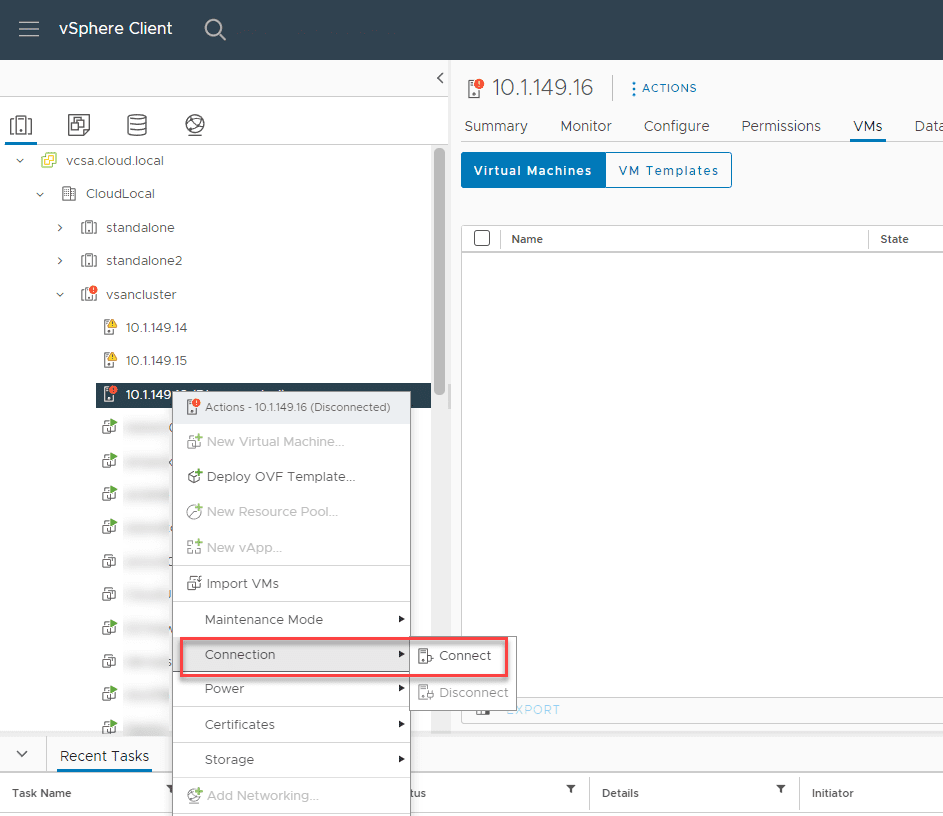
After disconnecting the host, reconnect it.
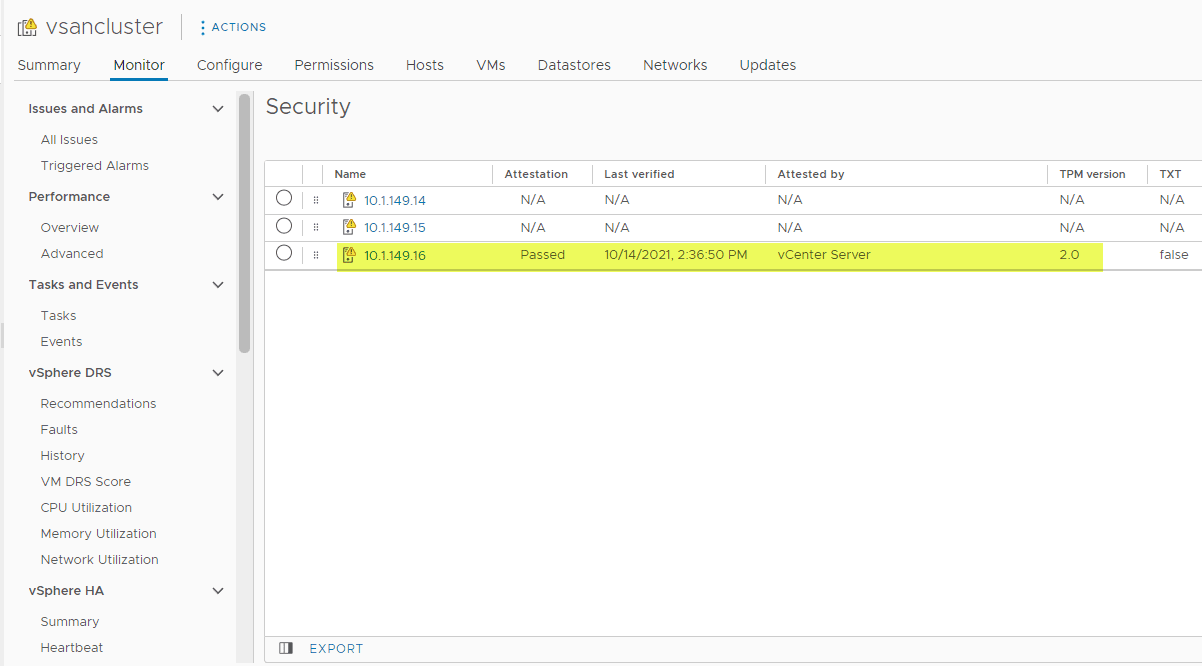
Now, a few seconds after disconnecting and reconnecting the host, you should see your host attestation change to Passed with no failure messages in the messages column.
Wrapping Up
The process to Add a TPM card to VMware vSAN Host was straightforward. Depending on the hardware manufacturer, the process may vary. However, with the Supermicro TPM add on card, a simple installation of the card onto the TPM header was all that was required, besides a few BIOS settings as detailed above. After installing and configuring the TPM card, you can then set your server to Secure Boot. In VMware vCenter Server, the host needs to be disconnected and reconnected to correctly perform host attestation and get rid of the Internal Error that you will likely see adding a card after the fact.