vRealize Orchestrator 8.0 Download Install and Configuration
Performing all the tasks associated with daily IT administration today in a manual way can be time consuming, tedious, and down right impossible. Automation is king when it comes to getting things done in a timely and efficient manner. VMware provides some really powerful tools in the world of automation that helps to make repetitive and mundane tasks much easier. One such tool is known as vRealize Orchestrator (vRO). The great thing about vRealize Orchestrator is that if you own a vCenter license, you are licensed for vRealize Orchestrator! In this post we will take a look at the newest version, vRealize Orchestrator 8.0 Download Install and Configuration to see how you get this appliance as well as how it is installed and initially configured.
What can you do with vRealize Orchestrator?
With automation you can do just about anything in a VMware vSphere environment. This is what vRealize Orchestrator does for you along with its companion vRealize Automation.
Many do not realize but vRO can allow you to do things far outside of your VMware environment, from provisioning users, creating Exchange Mailboxes, and provisioning user resources. All of this could be defined in a vRO workflow that an HR person can run without any of the underlying permissions to do so.
vRealize Orchestrator 8.0 New Features
Lots of great new features to be found in vRealize Orchestrator 8.0 including the following among others:
- Git integration
- Enhanced searching and filtering
- Ability to export workflow runs and logs
- vRealize Orchestrator is now embedded inside of vRealize Automation 8.0
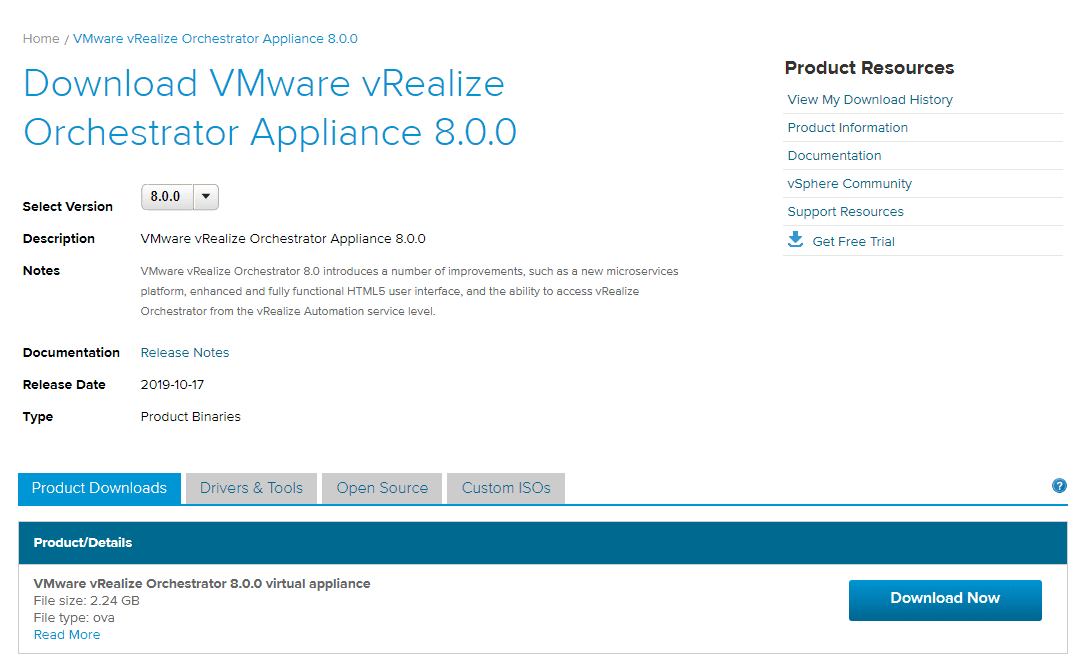
vRealize Orchestrator 8.0 Download
First of all, where do you get the vRealize Orchestrator download? This is a download from VMware that comes in the form of a VMware OVA appliance.
As you can see the download below of VMware vRealize Orchestrator Appliance 8.0 is around 2.24 GB. The OVA appliance download file at the time of this writing is O11N_VA-8.0.0.6622-14878026_OVF10.ova.
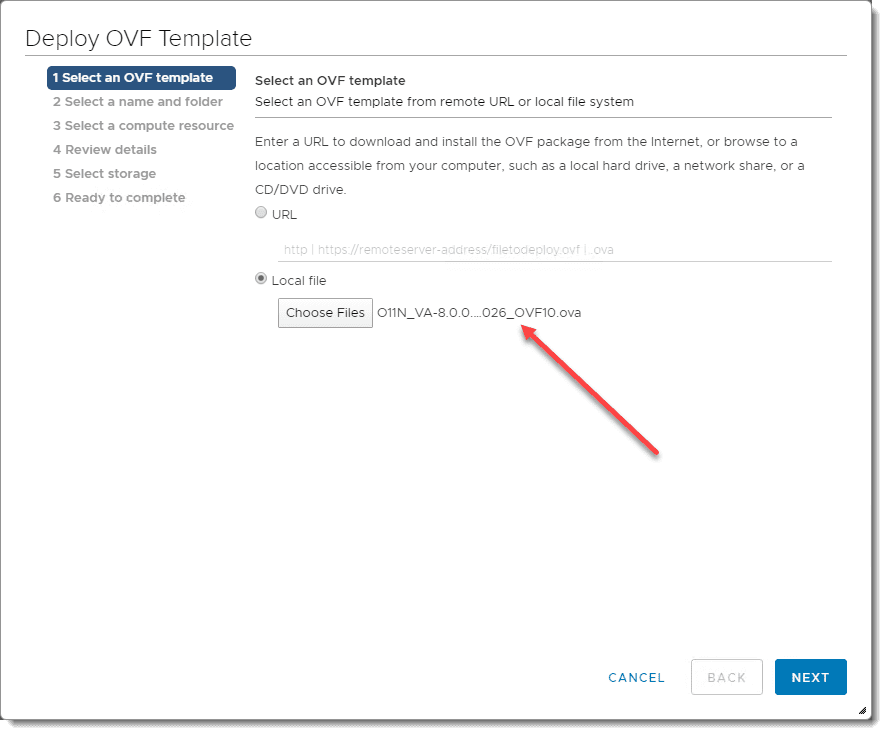
Install vRealize Orchestrator Appliance
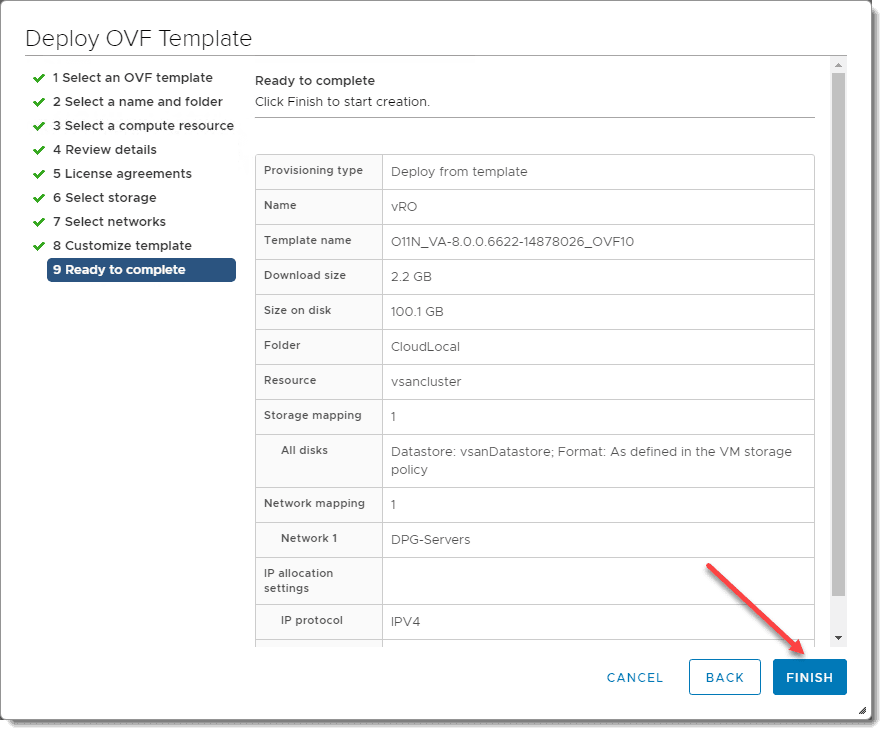
Let’s walk through the steps to deploy the OVA, although we won’t show all steps here as for the most part, it is the classic OVA deployment process. Choose the downloaded OVA appliance for vRealize Orchestrator to begin the deployment process.
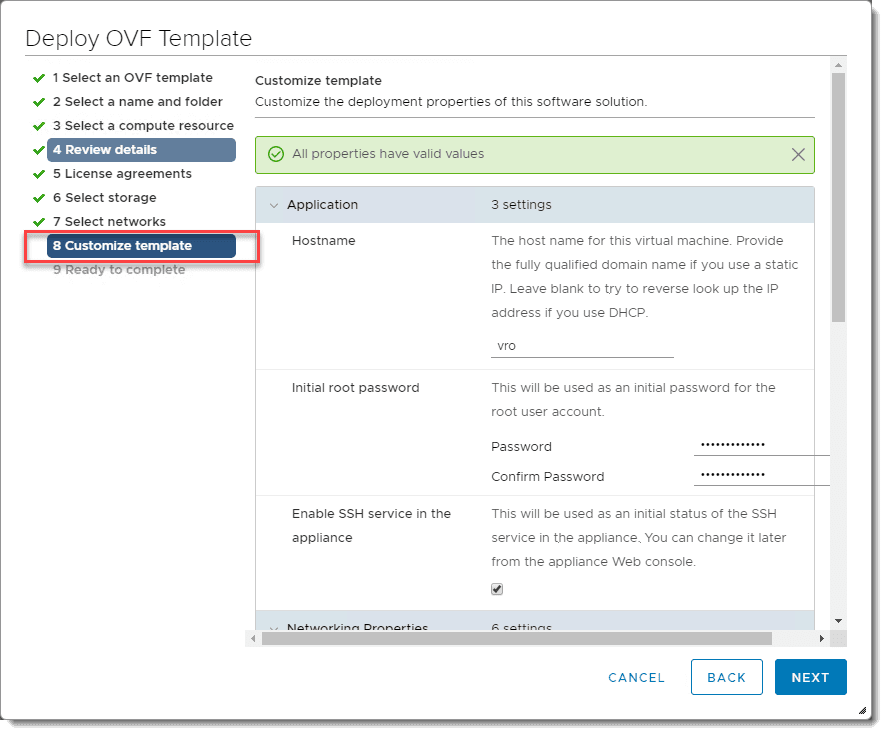
Here, we will skip down to Step 8 which is Customize template. In this step you will set the hostname, root password, SSH options, as well as network configuration including IP, DNS, subnet mask, and gateway.
Finishing the OVA deployment wizard.
vRO 8.0 Initial Configuration
I did run into an issue when I first deployed my vRO 8.0 appliance that prevented me from accessing the web interface. I will detail this in a further blog post. However, the following is screenshots of getting the initial configuration completed once past the error.
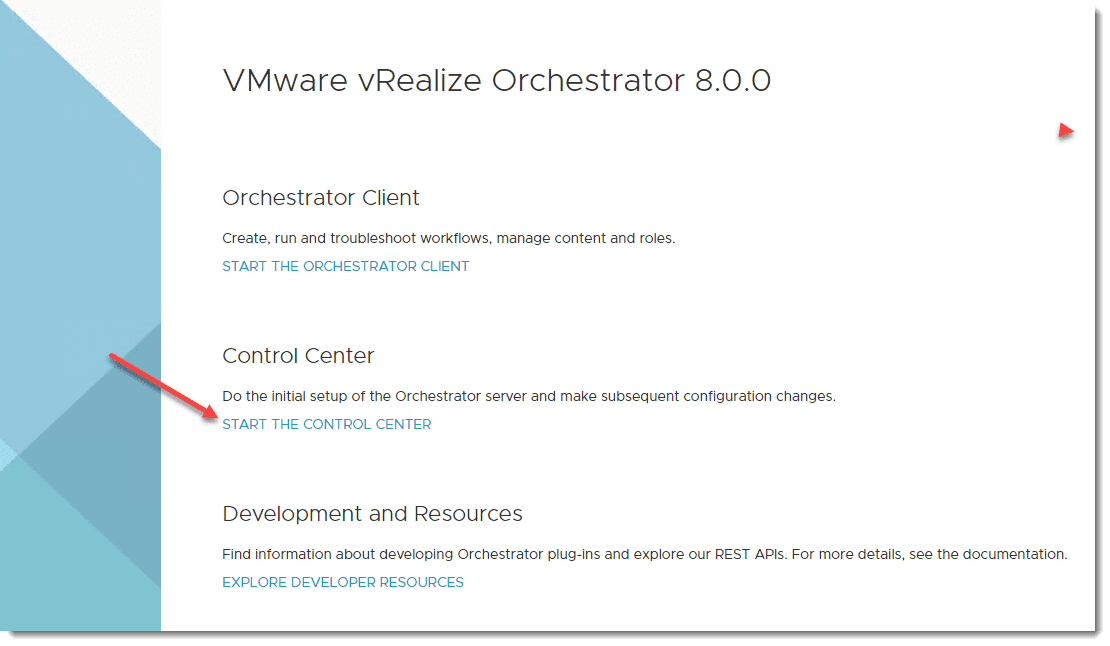
Login to the interface – in the screengrab below, I incorrectly am showing “admin”. You will need to use root and the password you set during the OVA deployment.

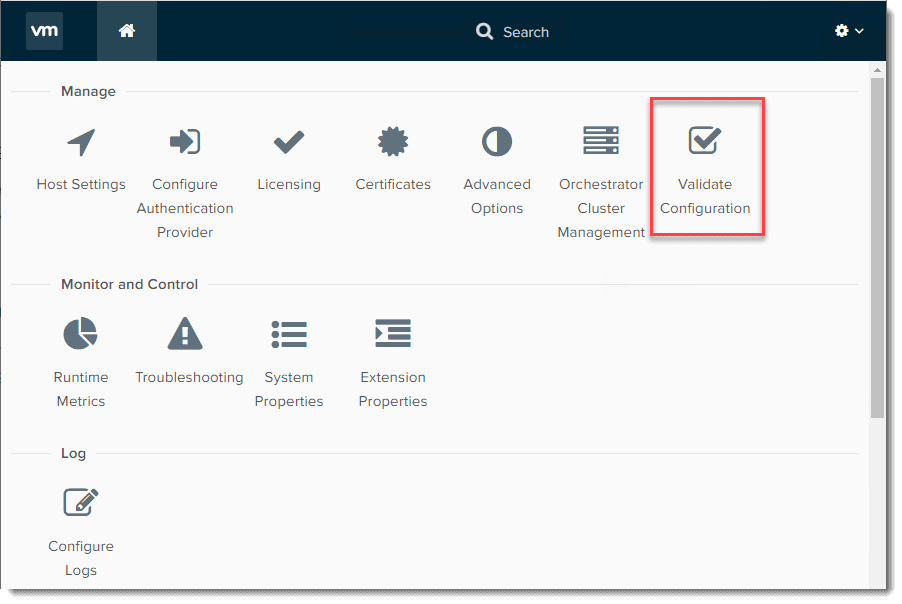
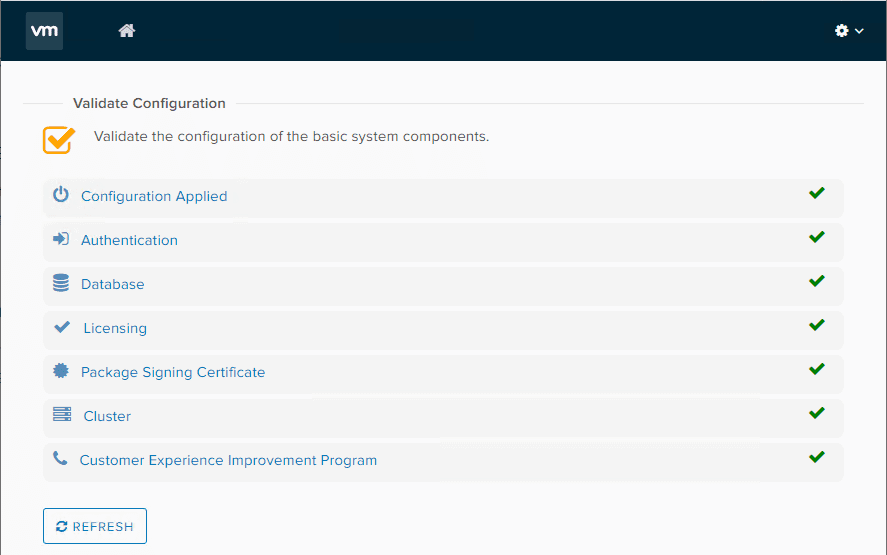
The Control Center has many different configuration dashboards you can enter into. You can think of it like a VAMI of sorts for vRO. Just to demonstrate, if you click the Validate Configuration option, it will run through a quick series of tests of your vRO configuration and health.
Running the validate configuration option.
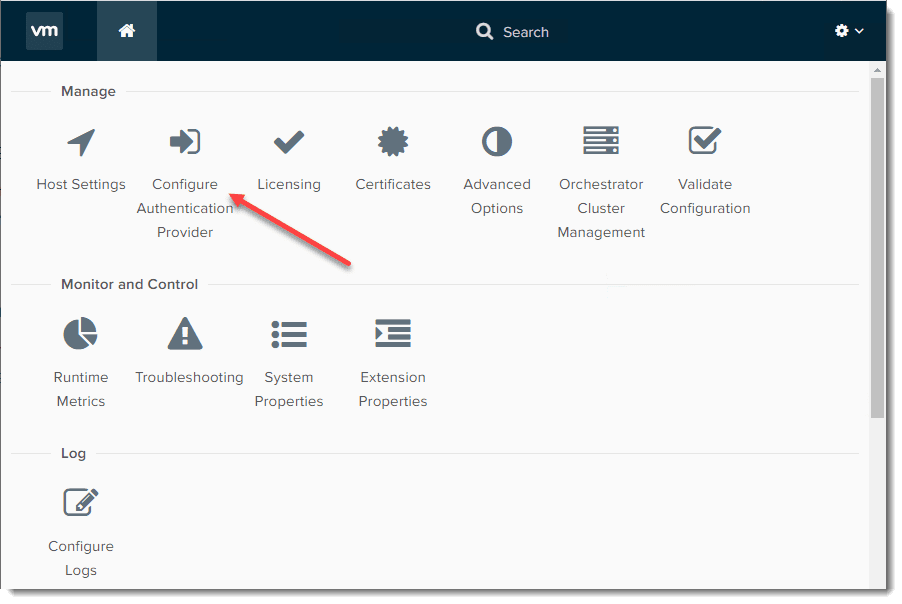
The next thing we need to do is Configure Authentication Provider. This connects vRO to some environment to allow it to integrate for workflow purposes.
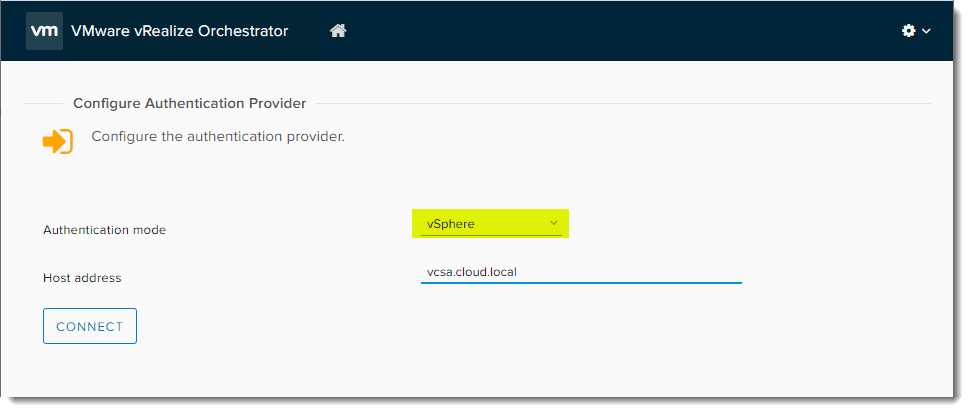
Below, I am going to connect it to a vSphere environment by way of vCenter Server. Change to vSphere and enter your vCenter Server address.
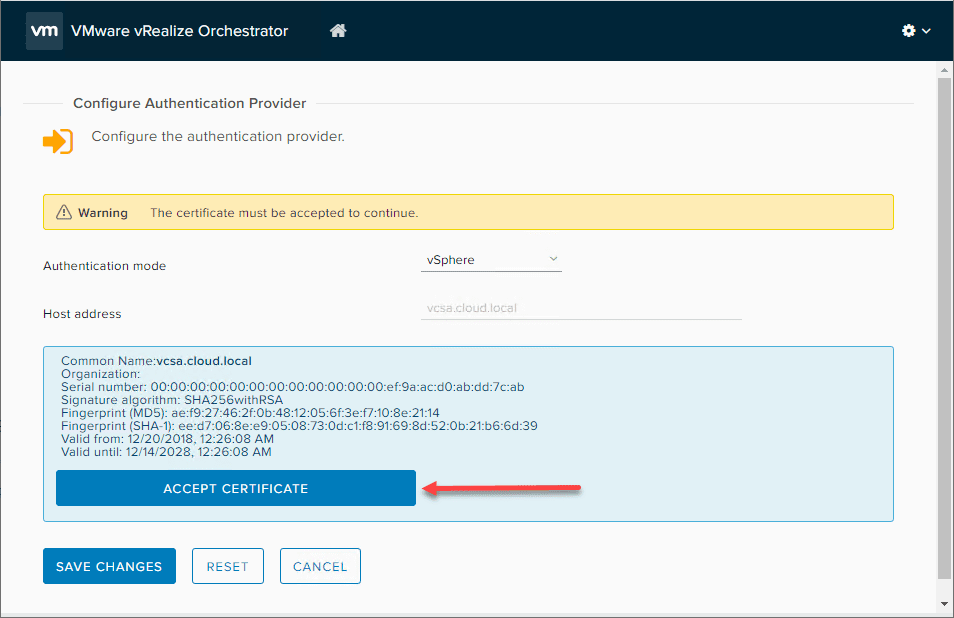
Accept the certificate trust prompt.
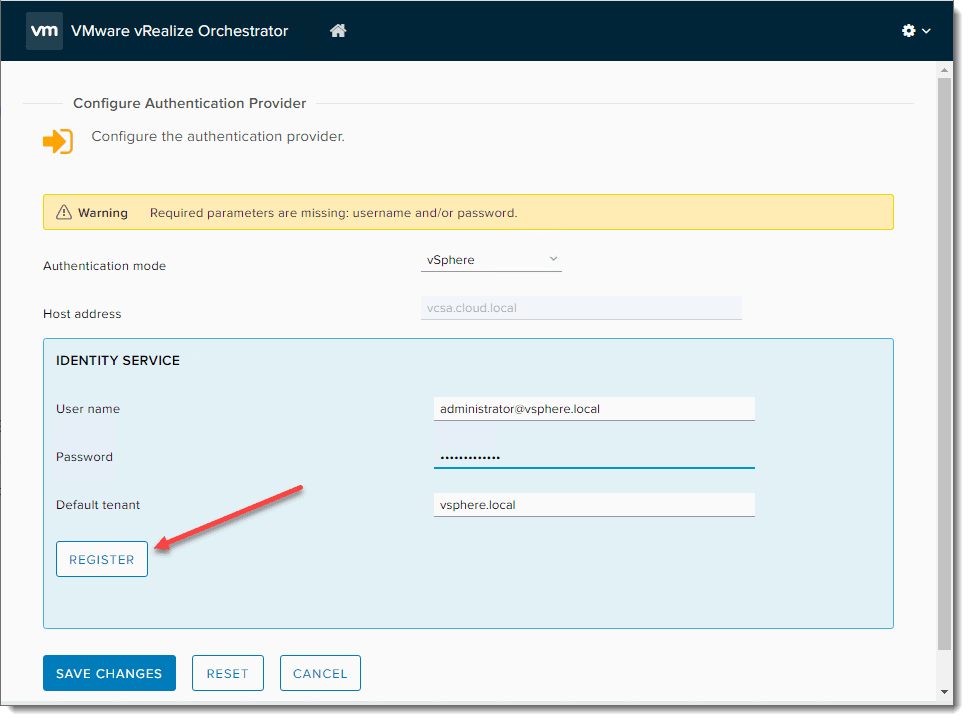
Register the identity source.
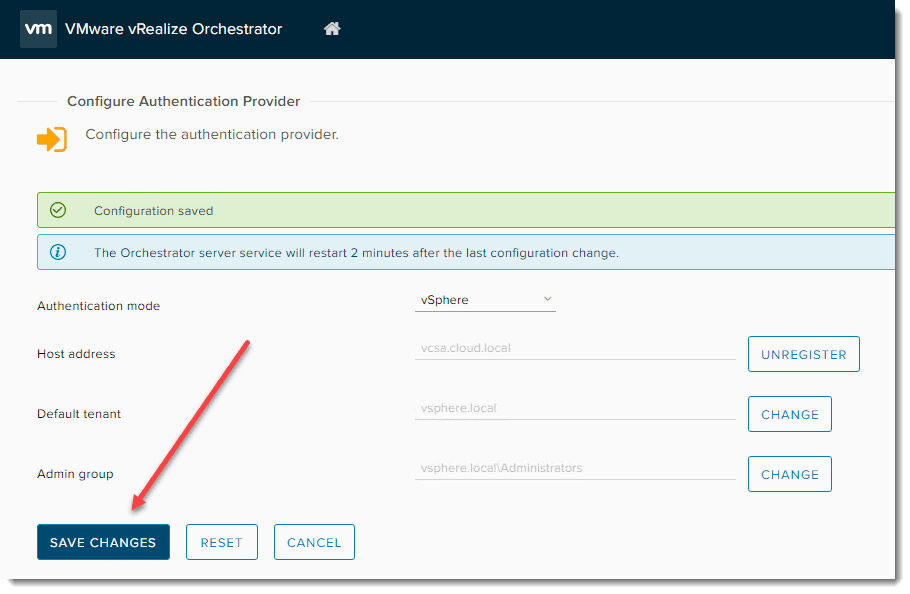
Choose your Admin Group. For a normal vSphere installation, this will be something like VSPHERE.LOCALAdministrators. Then click the Save Changes button.
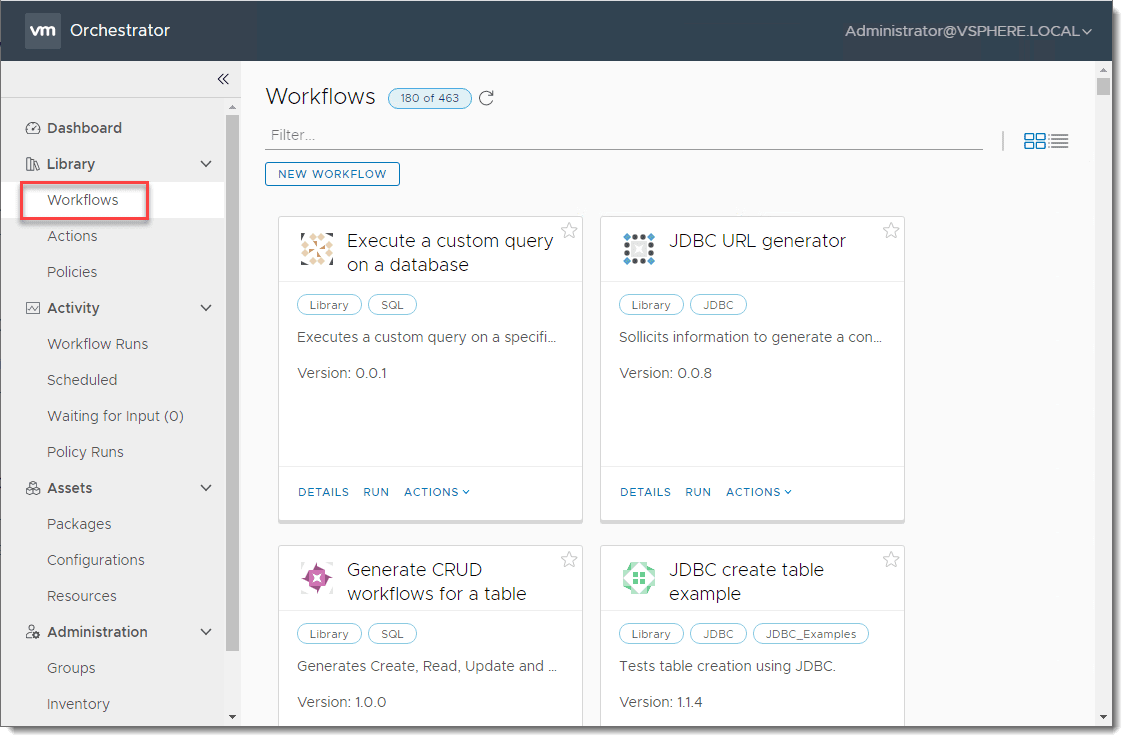
Once you have vRO connected, you can now start to explore the built-in workflows that come in the box. As you can see, there are 463 to choose from that are prebuilt! Cool stuff.

Concluding Thoughts
In this vRealize Orchestrator 8.0 Download Install and Configuration, we have seen how to download the appliance, deploy it in vSphere, and then finally how to connect it to your vSphere environment by means of connecting it to vCenter Server.
Next, we will take a look at some basic workflows and see how it can be used to do some pretty cool things in your vSphere environment.