If you are looking for THE way to automate VMware vSphere, VMware PowerCLI is the way to do it. PowerCLI is the defacto standard for interacting with VMware vSphere from an automation standpoint and is super easy to get installed and to learn with many resources out there for cmdlets and “get started” type scripts. Even if you haven’t worked with Windows PowerShell in general, it is easy to get started with PowerCLI. In this post, we will walk through how to install VMware PowerCLI, update it, and PowerCLI connect to vCenter. If you haven’t done any of these before, it is easy to get up to speed.
VMware PowerCLI Download
Downloading VMware PowerCLI can be done in either an online fashion or offline fashion of sorts. Since the VMware PowerCLI download is a set of files comprising the module, it is easy to download it from the PowerShell prompt or download/install it online at the same time.
Let’s see how to get the VMware PowerCLI download so it can be used either locally or copied to another machine that is truly “offline” to install the module.
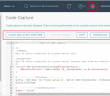
You can save your VMware PowerCLI download to a folder of your choosing with the following cmdlet. It will save the latest version:
save-module -name VMware.PowerCLI -path c:somefolder
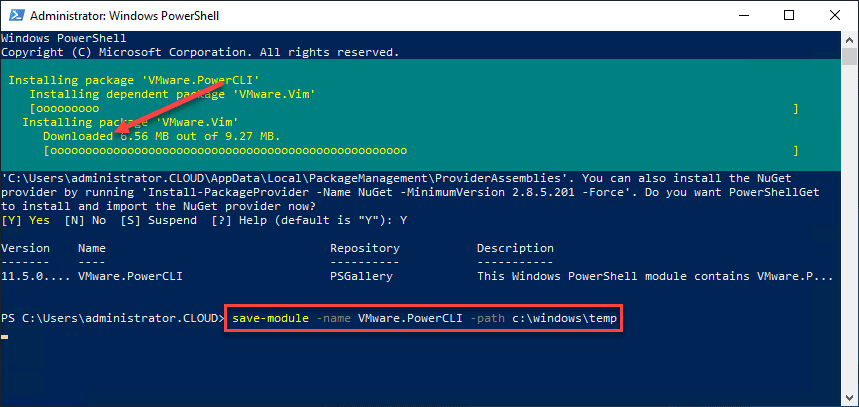
This is a great way to download the required module files and “sneakernet” them to another workstation that may not have Internet access but needs to have PowerCLI installed.
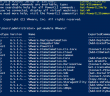
As you can see, there are quite a few files that get downloaded with the save-module cmdlet.
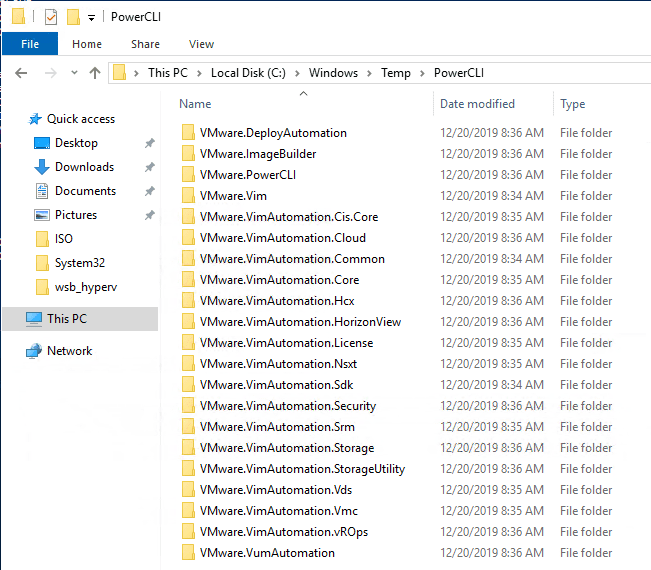
Now, all that is left to do is copy these files to the global location for PowerShell modules which is:
C:Program FilesWindowsPowerShellModules
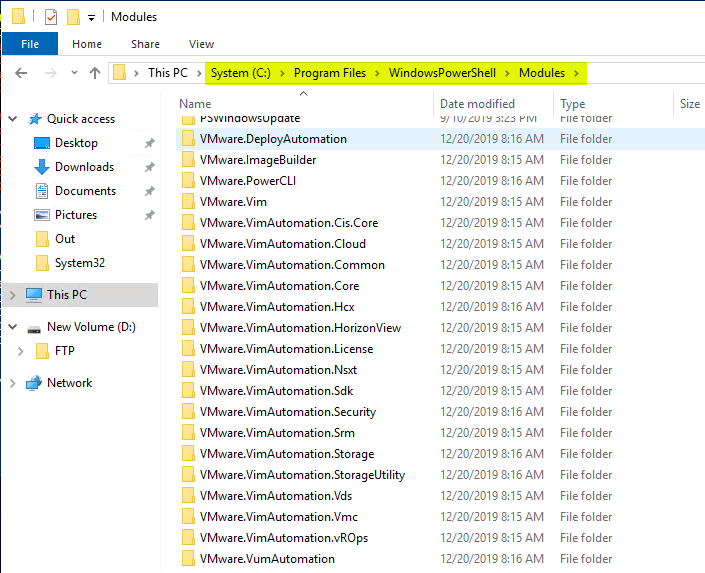
You can simply copy the files onto a USB drive or even copy across the network to the workstation that does not have Internet access, place in the folder for PowerShell modules, and they will have access to PowerCLI.
Install VMware PowerCLI
There is an easy way without downloading the module files first to install VMware PowerCLI. This can be performed online without copying any files, etc. Let’s look first at installing VMware PowerCLI.
PowerCLI is a module that is found within the PowerShell gallery. So, the great thing with the PowerCLI module is that you don’t have to download anything (they get downloaded in the background) aside from opening a PowerShell cmd window.
Let’s look at the steps to do this. First, open a PowerShell window with administrator privileges. Then enter the cmdlet below. This will install the latest version of PowerCLI.
Install-Module VMware.PowerCLI
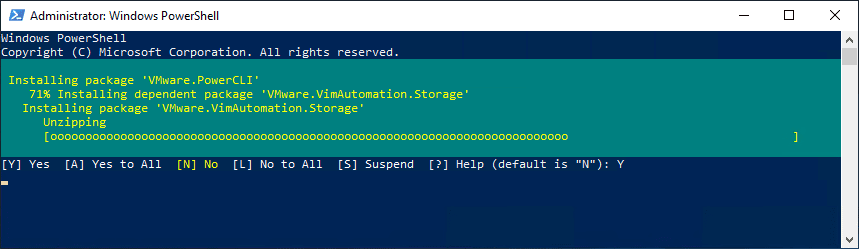
You will need to approve the module install from the “untrusted repository”. Enter “Y” to proceed.
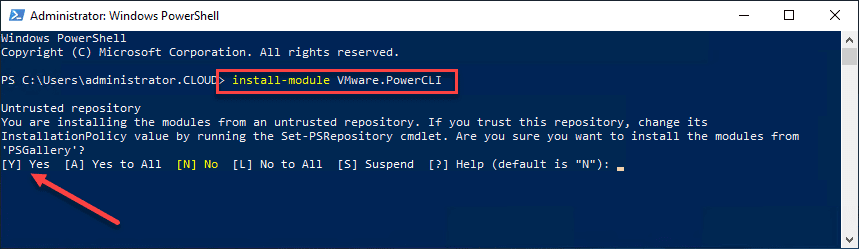
The installation of the PowerCLI module will begin downloading and installing the required module file components.
After the install completes, you can use the get-module cmdlet to view the VMware module components and versions you have installed.

Connect PowerCLI to vCenter Server
The next basic step you need to perform is to connect PowerCLI to vCenter. This is easily done with your first run of PowerCLI. Enter the following cmdlet:
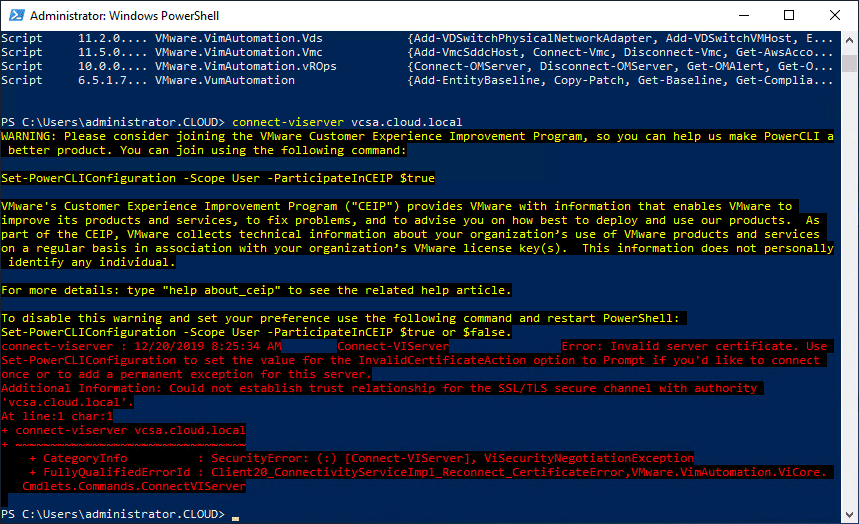
connect-viserver <your vcenter server address>
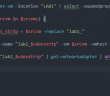
If you are using a self-signed or untrusted SSL certificate on your vCenter Server, you will see an error connecting.
To work around this, there is a PowerCLI cmdlet we can use to ignore the certificate errors.
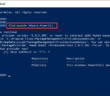
Set-PowerCLIConfiguration -InvalidCertificateAction Ignore
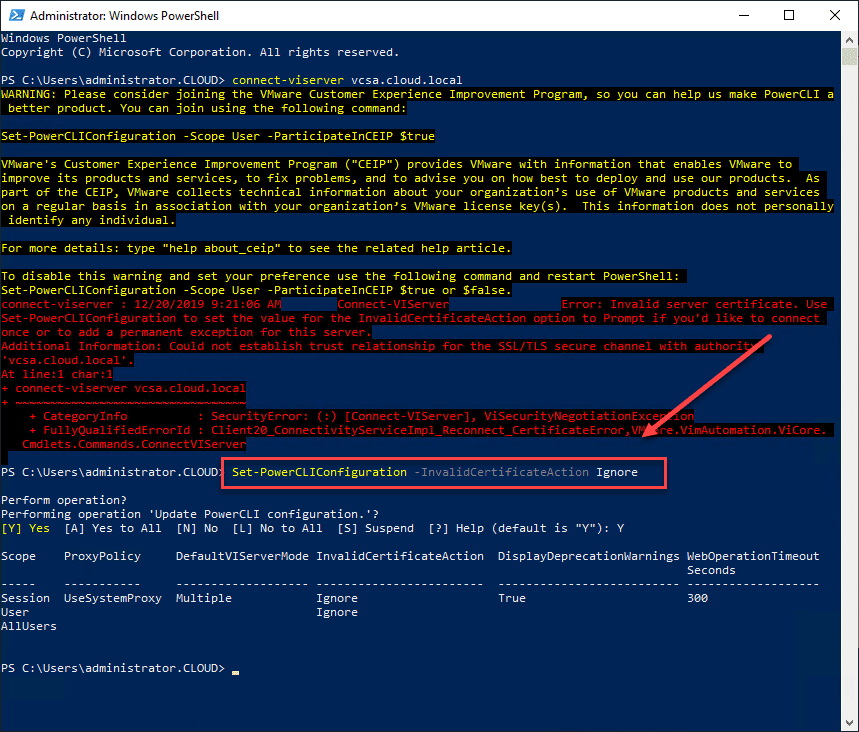
Once you enter the cmdlet above, you will be able to connect to your vCenter Server, getting prompted for username and password for the connection.
Concluding Thoughts
In this look at VMware PowerCLI Download and Install Connect to vCenter, we have seen how to easily download PowerCLI both offline and online methods, how to install it, and how to make the first connection to your vCenter Server.
PowerCLI makes it easy to automate VMware vSphere environments. The great thing is it only takes a couple of minutes to get PowerCLI installed and connected to vCenter where you can then immediately start automating.
Google is updating how articles are shown. Don’t miss our leading home lab and tech content, written by humans, by setting Virtualization Howto as a preferred source.
About The Author