One of the cool little home lab projects that I have been working on lately is testing a wireless bridge for DR purposes. Aside from being a cool “tinkering” project with some cool technology, it serves for me to test out some real world use cases for nano datacenters and disaster recovery technologies. While fiber between my home and “DR” shop building would be nice, the cost to get this in place is prohibitive for now. Instead, at the present, I wanted to test a wireless bridge connection between the two “buildings” for home lab DR. This will be a post among many to come on this project. Let me give you an overview and what I plan to put in place. Let’s take a look at Wireless Bridge for Disaster Recovery DR.
Why Wireless for Disaster Recovery?
You may wonder, why think about wireless for disaster recovery? Well, it is simple really – it comes down to cost. Laying fiber between buildings, especially if the infrastructure, conduit, and other things are not in place can be extremely costly.
With wireless technologies continuing to mature with better standards, antennas and such, wireless is certainly becoming a viable option for those edge cases where you may have the need for connectivity between buildings but physical cabling is cost-prohibitive.
Additionally, for certain environment without a budget for expensive DR facilities, or fiber between buildings, wireless opens up some interesting use cases for VM replication, without the expensive fiber build out.
Yes, it will be slower than fiber, but slower compared to “not possible” is a much better option.
Wireless Bridge Overview and BoM
My plan was to setup a “wireless bridge” between my house and outbuilding. You can think of a wireless bridge as an invisible “patch cable” between your buildings as it presents the other side of your network the same as if it is plugged into the same switch.
When I started looking at relatively cheap hardware to do some testing, the Ubiquiti NanoBeam 5 GHz AC wireless bridge kept popping up. Specifically, the model is NBE-5AC-Gen2 model. It has really good reviews and the price is definitely easy on the budget at roughly $88 on Amazon at the time of this writing.
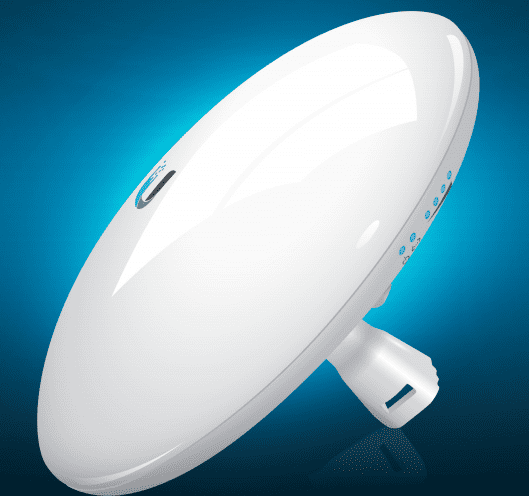
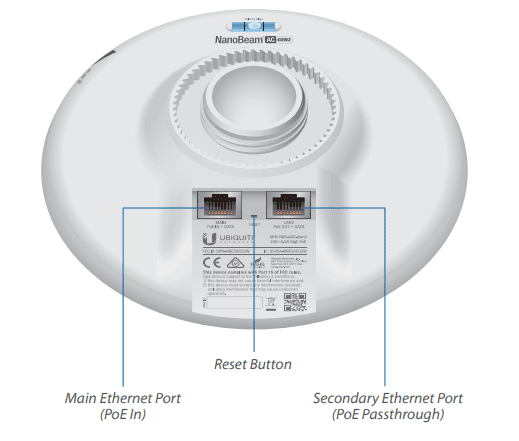
Below is a look at the ports on the unit. The NanoBeam 5AC is PoE powered. Even though I have a PoE switch to benefit from, It was nice to see the unit actually comes with a PoE injector.
With the Ubiquiti NanoBeam 5AC there are a couple of use cases and applications for the platform including point-to-point or point-to-multipoint applications.
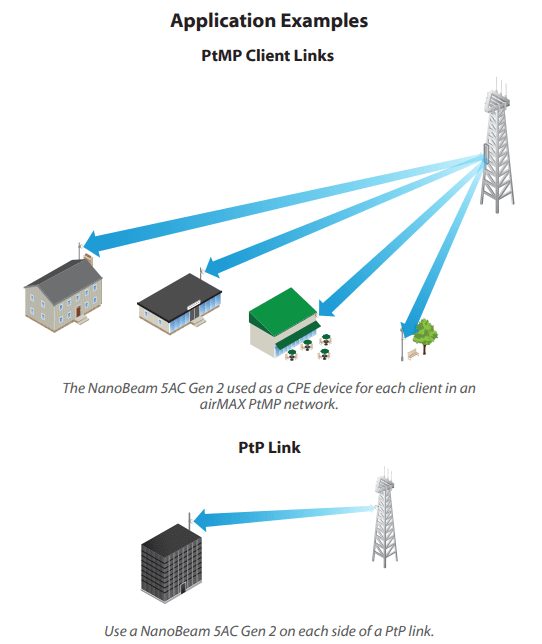
In my case for spinning up a wireless bridge between my house and outbuilding, this falls in the PTP Link configuration. I have a primary data center located in the house and then building out what I am calling a nano datacenter in a shop building located nearby.
Keep in mind you need to have to have two of the NanoBeam wireless bridge units. One will be the primary unit and the other will connect to the primary unit.
In the nano datacenter, I am going to start out with a single host, switch, and the wireless bridge. The VMware ESXi host will be the recipient of replicated virtual machines from the primary datacenter over the wireless link.
Overview of Wireless Bridge Configuration
The great thing about the Ubiquiti NanoBeam 5AC Gen 2 units is they have a management radio that only runs for 15 minutes (configurable) after the unit is powered on. This is a handy feature as you can take your smartphone, connect to your first bridge unit, configure it, and then connect to the second unit, configure it and actually get everything up and working without hooking up a laptop.
This makes it extremely handy and quick to get the solution up and running quickly. The management radios will disable after 15 minutes by default. If you need to hop back on and adjust configuration via this management radio, simply power cycle the bridge unit and reconnect.
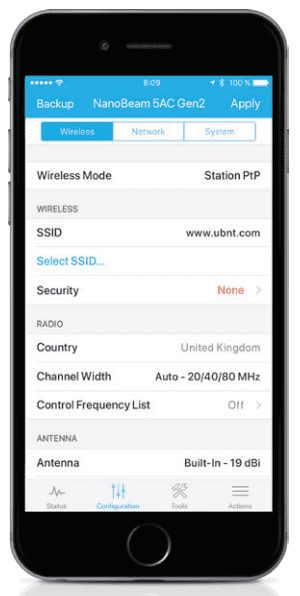
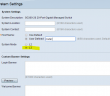
The configuration is simple. You can configure a static IP for your management interface on the bridge, then on the primary unit, configure an SSID that will be used to connect to by the secondary unit.
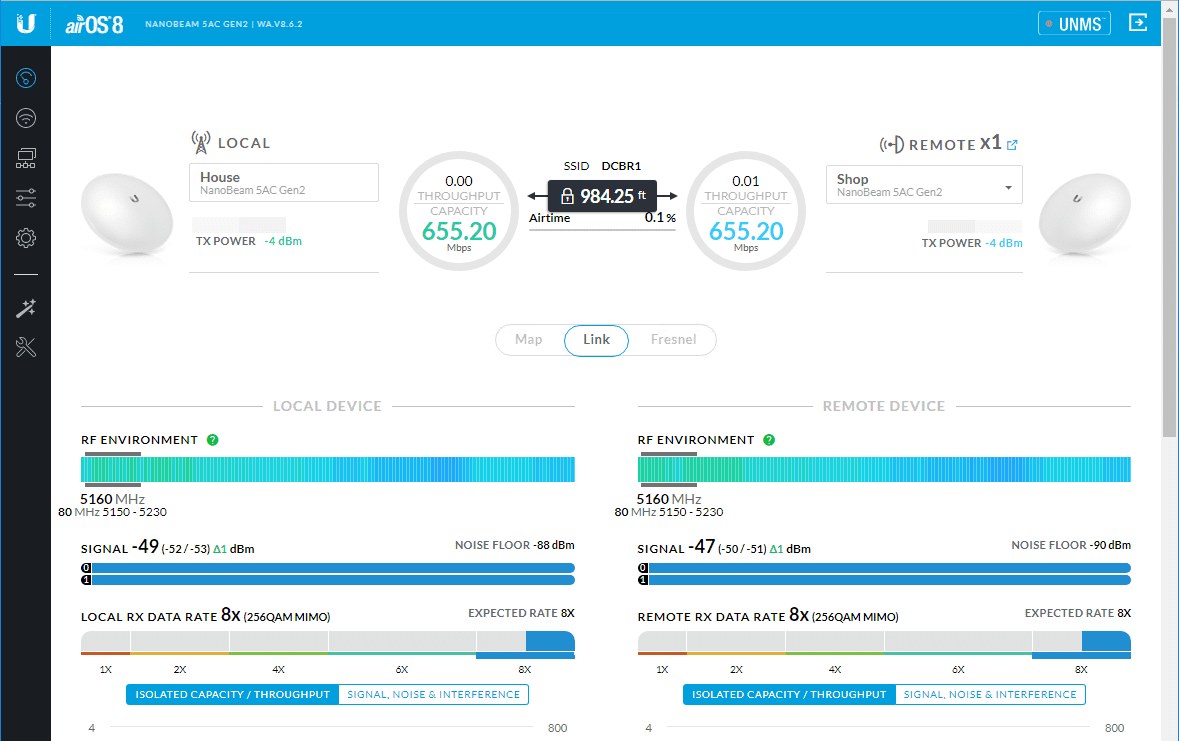
As you can see below, I have the house as the primary and the shop as secondary. Signal strength is good and throughput is as well.
Impressions of the Ubiquiti NanoBeam 5AC Gen 2
So far, the impressions of the units are great. For a low cost, sub-$100 piece of network gear, it is hard to beat the management experience and setup ease of the NanoBeam 5AC Gen 2 units.
So far, I have already been through a couple major rain events and some other winter weather, and the units haven’t faltered. Stay tuned for more on this home lab project to extend DR to the nano-datacenter from the homelab environment.
I will be posting a more in-depth post on the configuration of the wireless bridge units and testing further. Wireless certainly opens up some interesting connectivity options, especially when fiber or other high-capacity bandwidth is not available between buildings. With WiFi-6 technologies already out and no doubt more products released this next year, it will be great to see what options are available for wireless bridge technology.
Google is updating how articles are shown. Don’t miss our leading home lab and tech content, written by humans, by setting Virtualization Howto as a preferred source.
About The Author