The installation of the vRealize Network Insight 4.0 Platform is fairly straightforward and involves provisioning and configuring two appliances in the environment that allow collecting and analyzing the network information via traffic flows that are collected and analyzed. In this post, I will step through the steps to get the two appliances up and running to start collecting information on traffic flows from an NSX-V environment that I have running in the lab environment. Let’s take a look at Installing vRealize Network Insight 4.0 Platform and Proxy appliances.
Installing vRealize Network Insight 4.0 Platform and Proxy Appliances
As we briefly touched on the installation overview post, there are several components to the installation of vRealize Network Insight 4.0. They include the following in this order:
- Deploy the Platform Appliance
- Perform the console configuration of the Platform Appliance
- Connect to the web interface of the Platform appliance after the console configuration, provision a shared secret key.
- Deploy the Proxy Appliance including entering the shared secret key that was generated in the web interface of the Platform appliance.
- Perform the console configuration of the Proxy Appliance
- Finish out the web configuration on the Platform Appliance, once the Proxy Appliance is detected
vRealize Network Insight 4.0 Platform Appliance Installation
The first step in getting the vRealize Network Insight 4.0 Platform installation up and running is to download the OVA appliance file. The size and details of the installation that I have downloaded the following file version for vRNI below:
- vRNI Platform OVA – VMware-vRealize-Network-Insight-4.0.0.1545292702-platform.ova (at time of writing) (size 6.2 GB)
Choose the platform OVA appliance file downloaded from VMware.

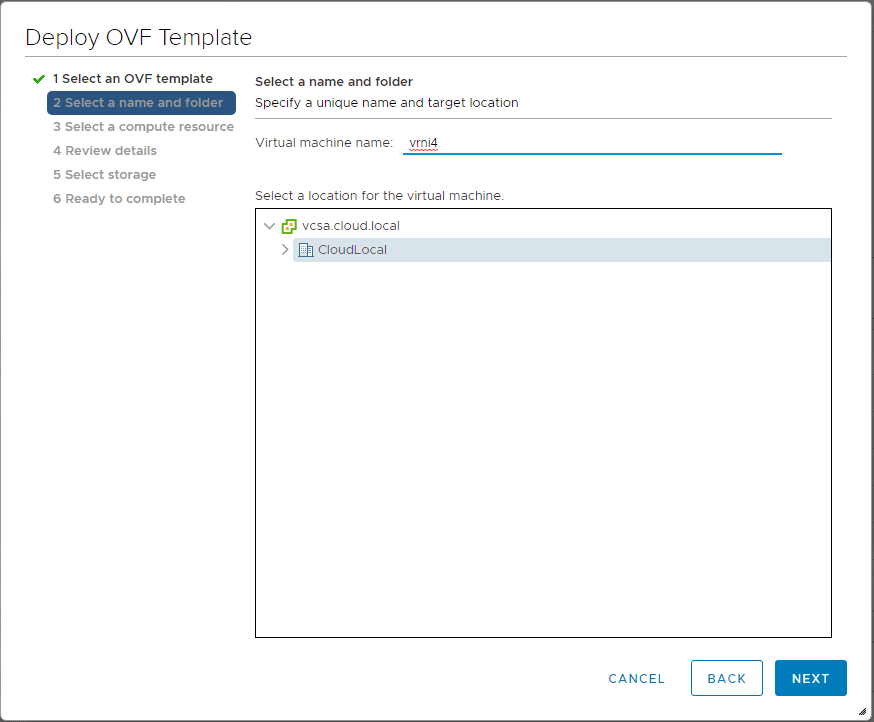
Name the platform appliance as you want it to appear in vSphere inventory.
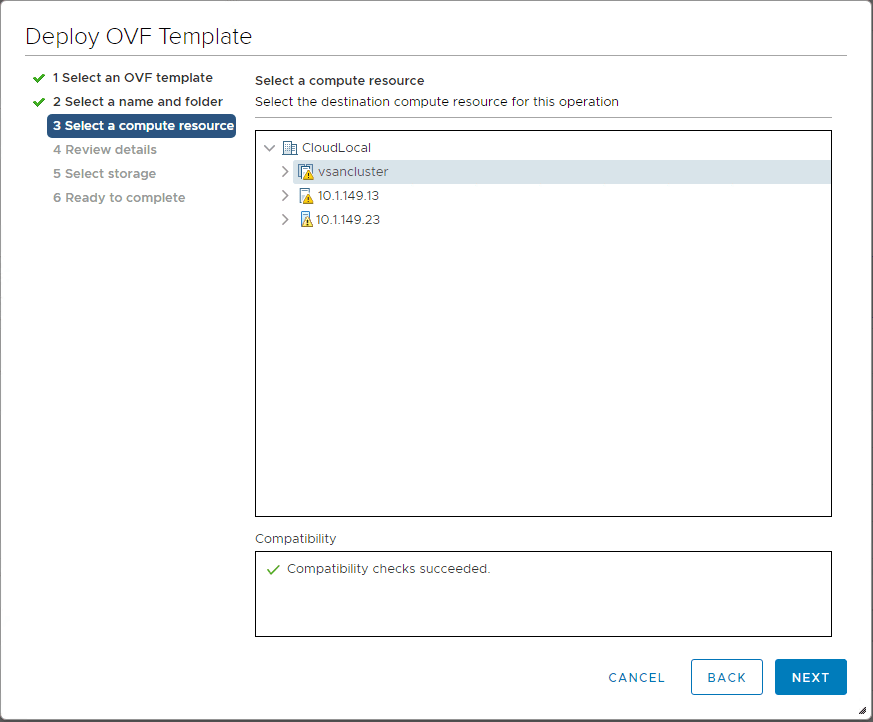
Choose the compute resource that will house the appliance.
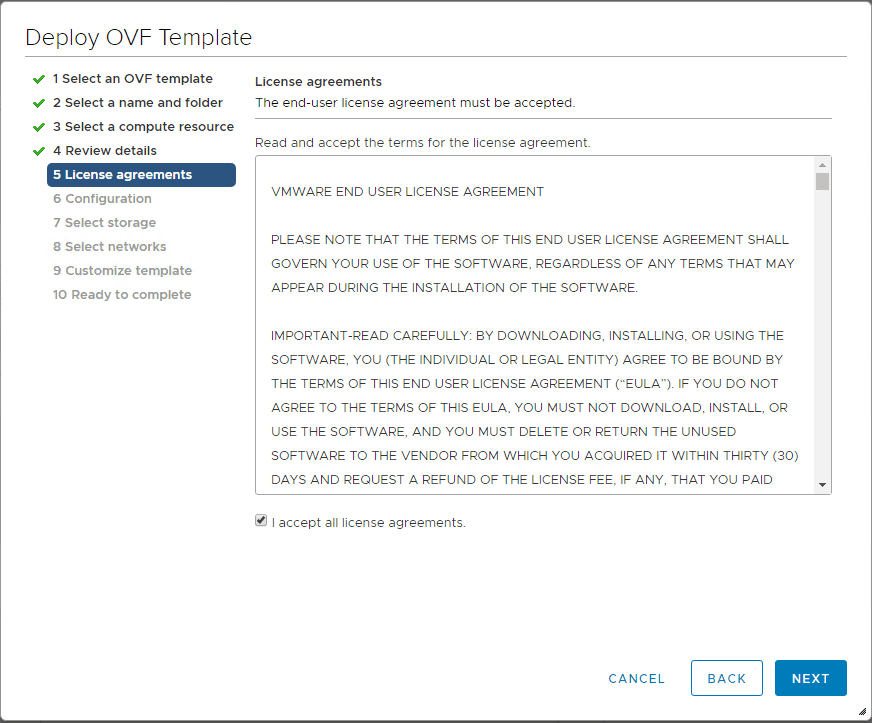
Accept the EULA for the appliance installation.
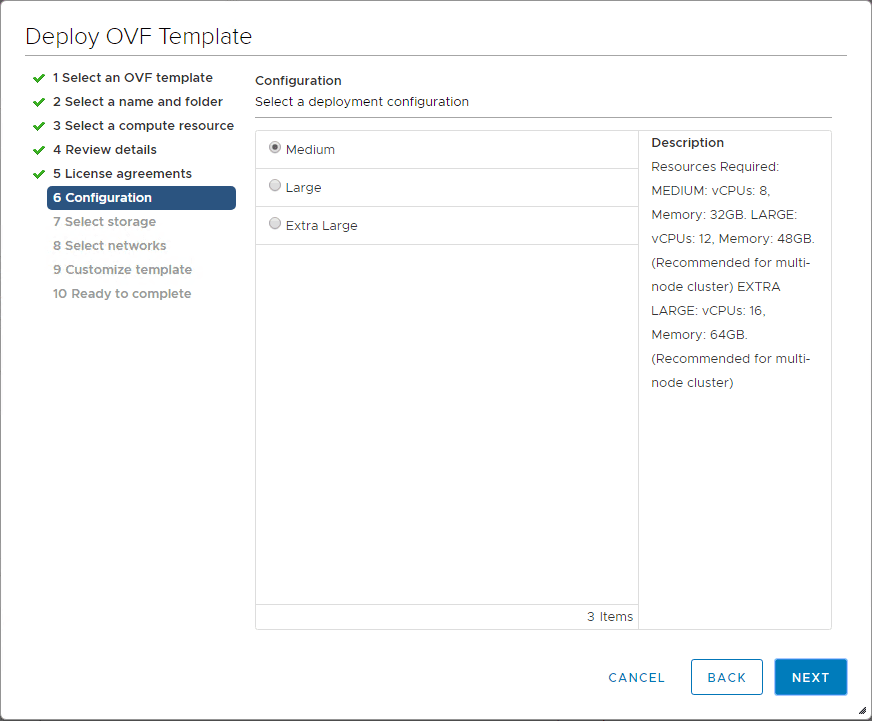
As you will notice there is no Small configuration. There is only Medium, Large, and Extra Large. The requirements for the platform appliance in any of the configurations is not insignificant. Even in the Medium configuration, it requires 32 GB of memory and 8 vCPUs.
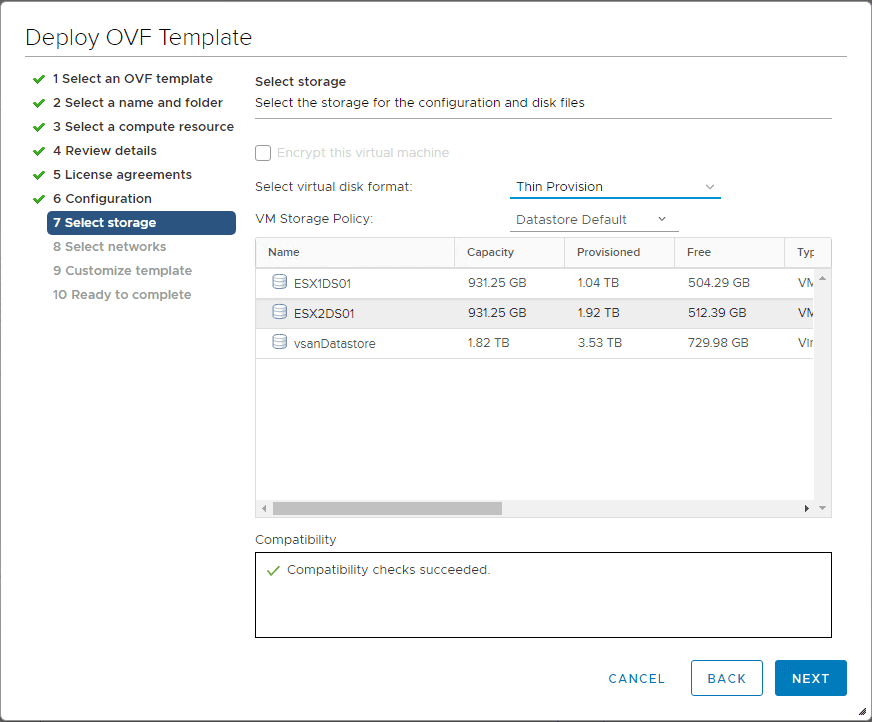
Choose a storage location for the platform appliance.
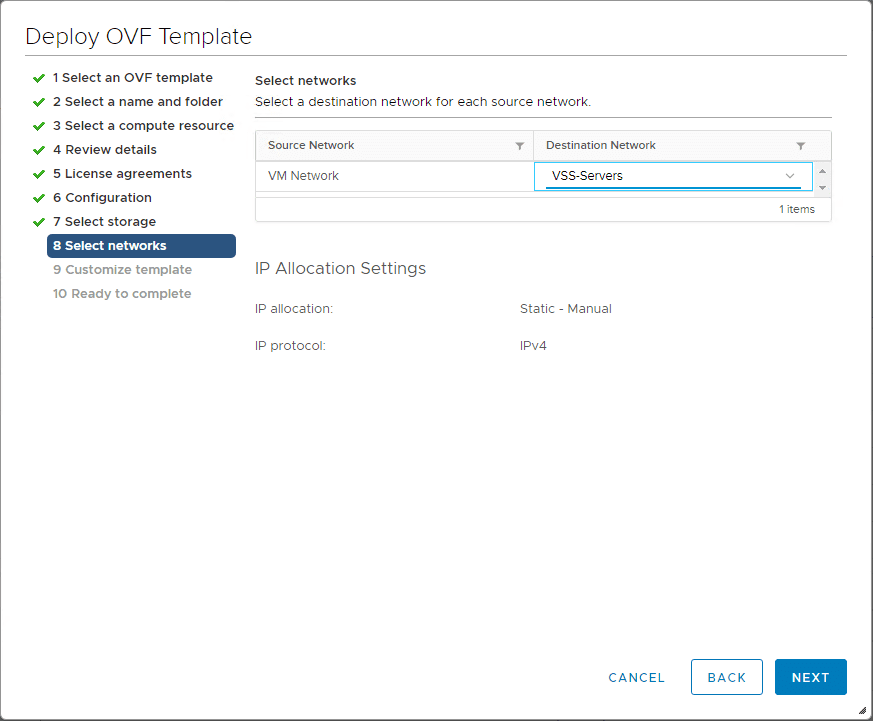
Choose the vSwitch you want to connect the appliance to.
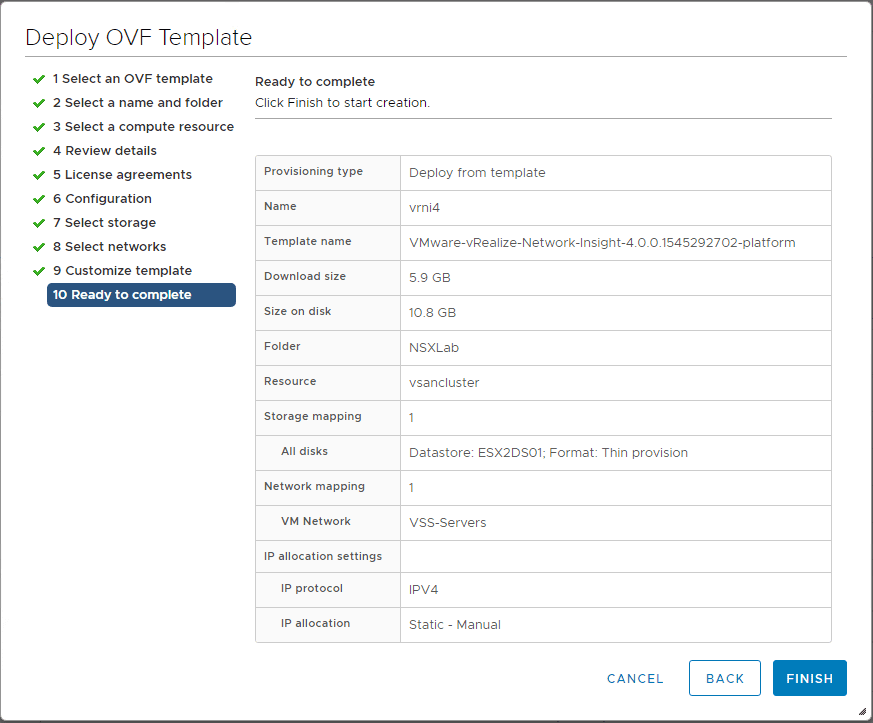
Ready to deploy the appliance.
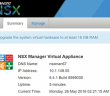
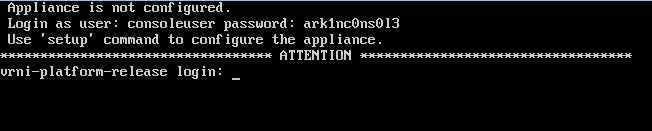
After deploying the Platform appliance, you will need to connect to the console of the Platform appliance VM and login to the appliance using the consoleuser and password for the user that is displayed on the console. The default login credentials as defined in the VMware KB here are as follows.
| vAdmin UI | admin@local | Set this password in Activate License screen during installation |
| SSH User | support | ark1nc0113ct0r |
| CLI User | consoleuser | ark1nc0ns0l3 |
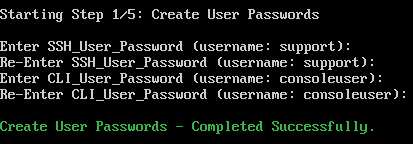
You will begin a five step process that has you configure passwords, setup the network, NTP settings, web proxy, etc.
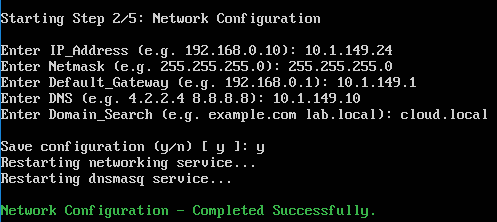
Configuring the network settings.
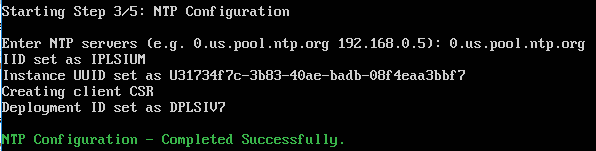
NTP server configuration.
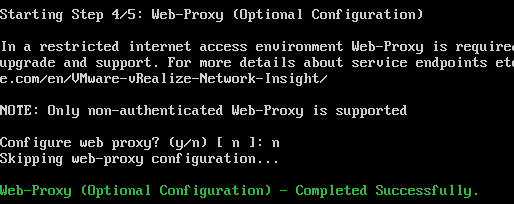
Web Proxy configuration if needed.
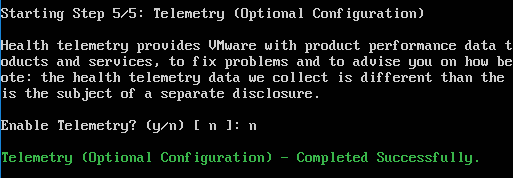
Opting in or out of sending data to VMware.
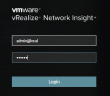
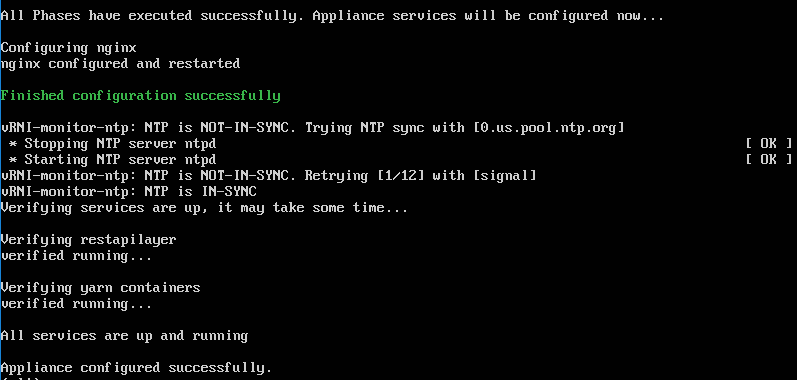
Console configuration is completed successfully. You are now ready to connect to the web interface of the Platform appliance using the configured IP address.
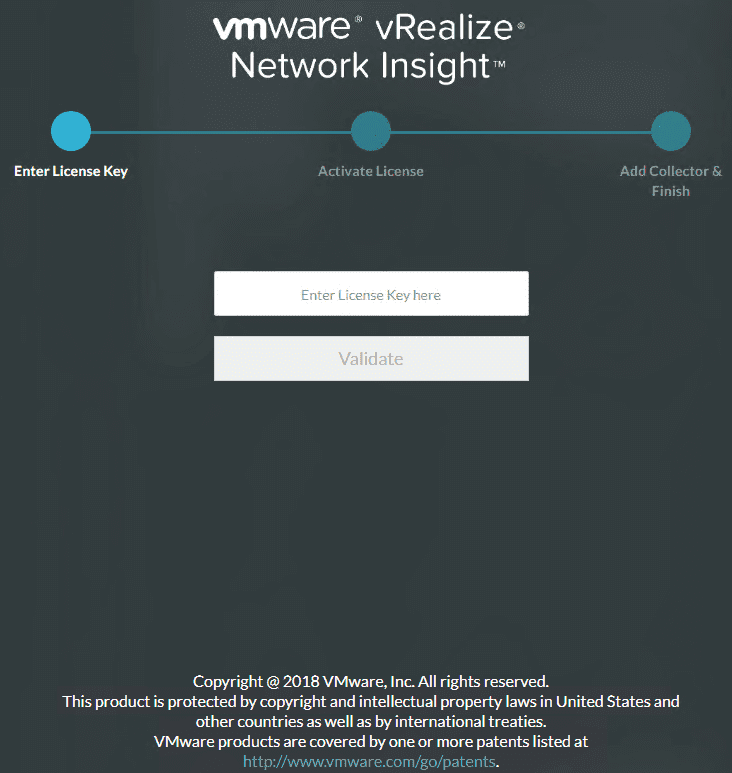
First things first, you need to enter the license key to be used with your vRNI 4.0 installation.
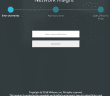
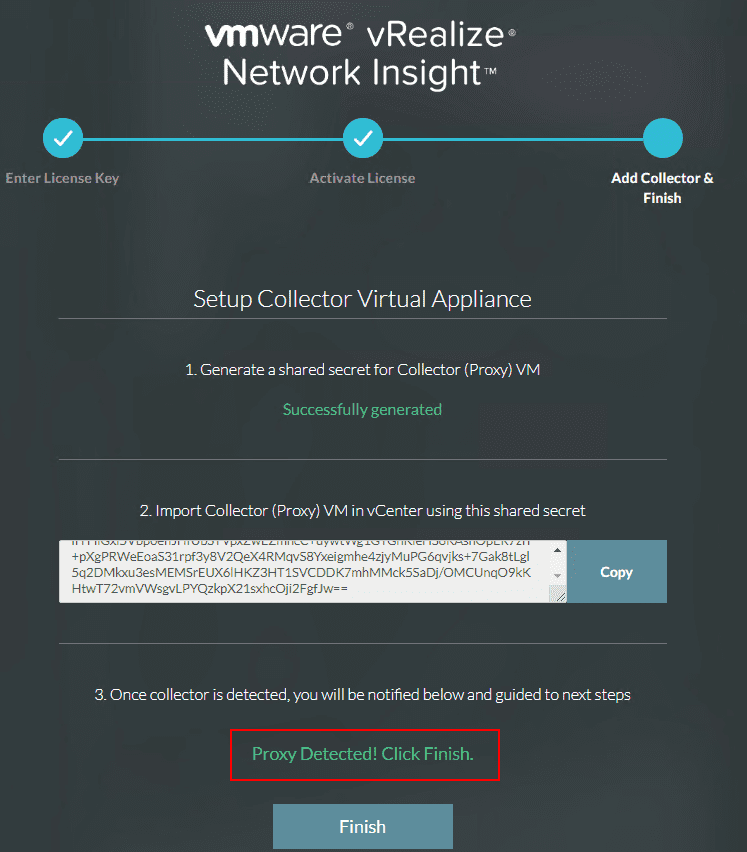
Once you have entered a license key and activated, you will move on to the Add Collector & Finish section of the web configuration on the platform appliance. You will see a button to generate a shared secret key and then as you see below, you can copy this key into the clipboard to be used with the proxy appliance deployment process.
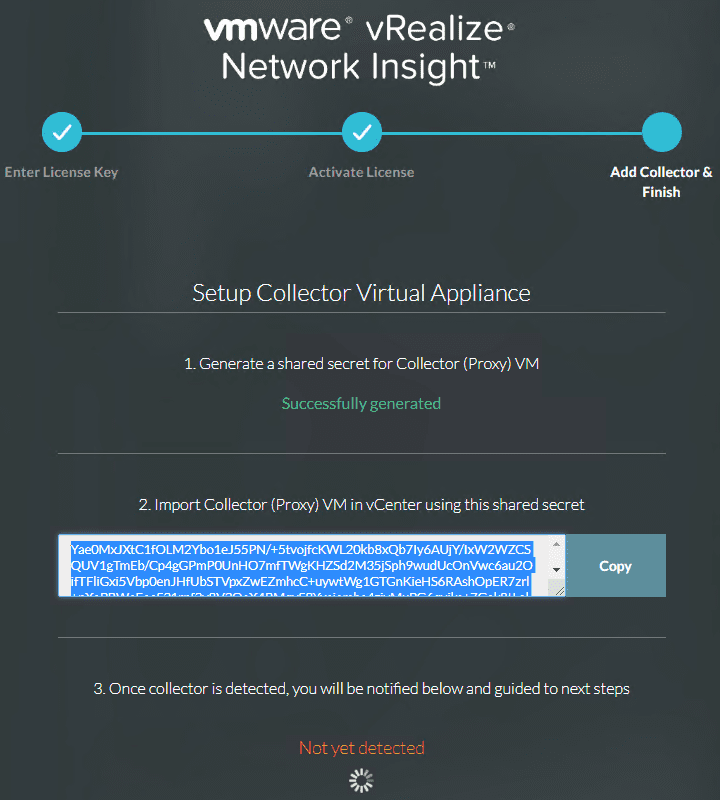
Now that you have generated the shared secret key for the proxy appliance, copy the key and leave the web interface for the Platform appliance open. You now need to deploy the Proxy appliance using the shared secret that was generated.
vRealize Network Insight 4.0 Proxy Appliance Installation
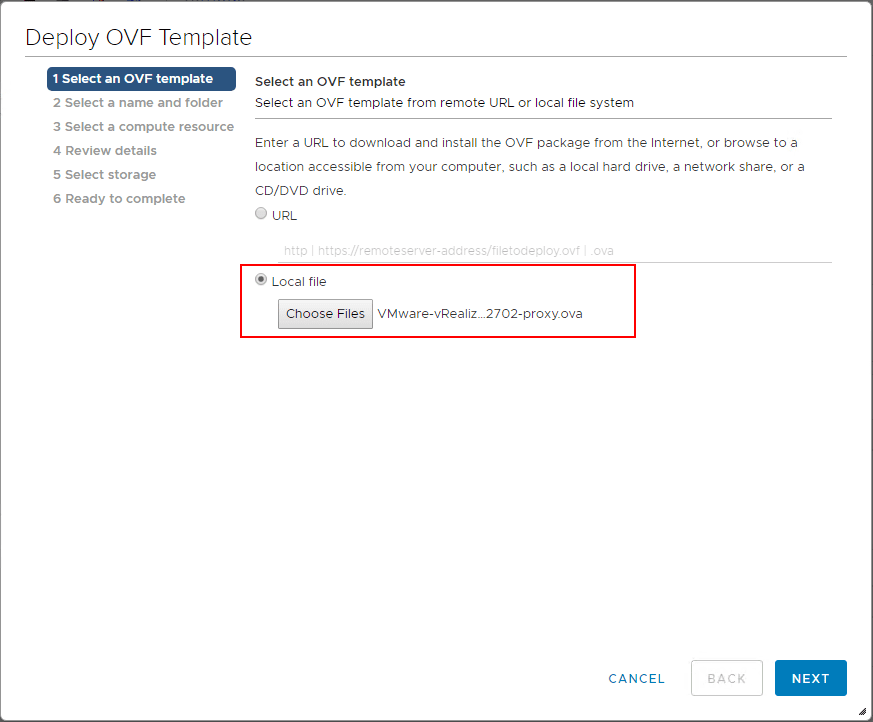
The vRealize Network Insight 4.0 Proxy appliance installation is in the same manner as the Platform appliance via the normal OVA deployment process. The file downloaded from VMware for the proxy appliance has the following details:
- vRNI Proxy OVA – VMware-vRealize-Network-Insight-4.0.0.1545292702-proxy.ova (at time of writing) (size 5.1 GB)
Choose the Proxy appliance OVA in the deployment wizard.
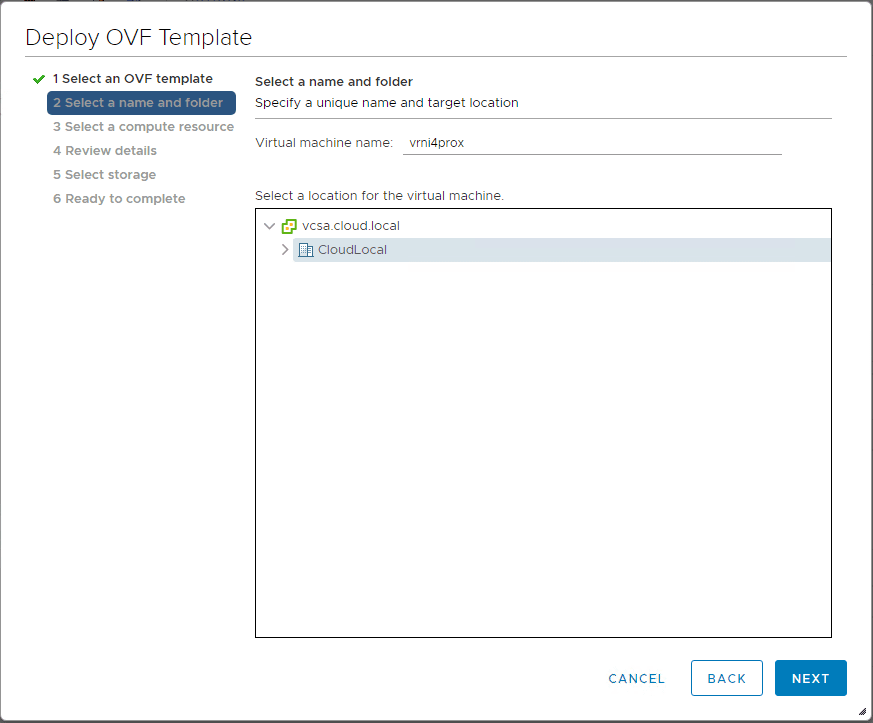
Choose a name for the virtual machine as it will appear in vSphere inventory.
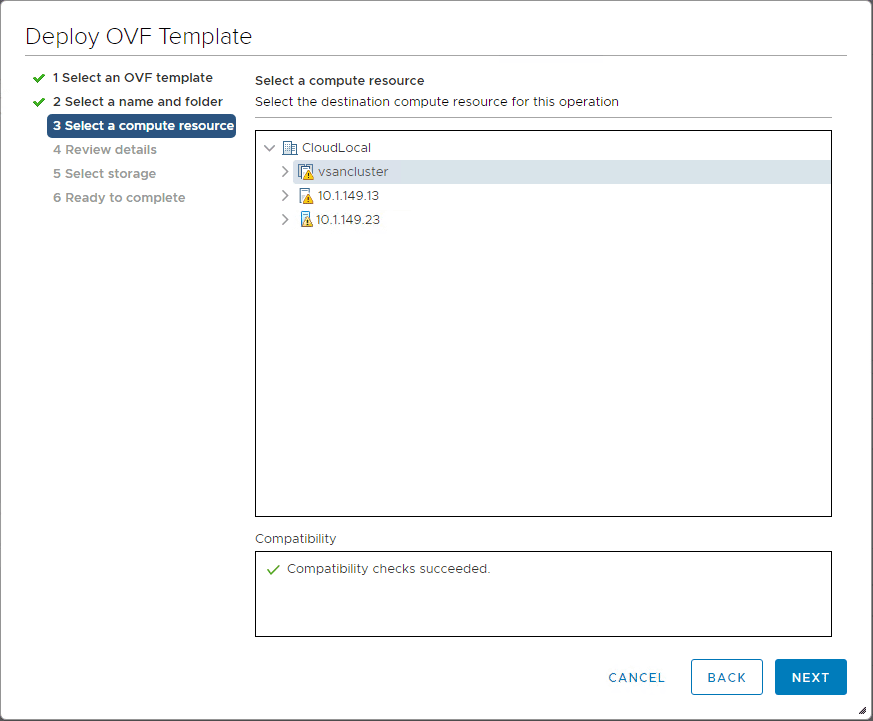
Choosing the compute resource for the proxy appliance.
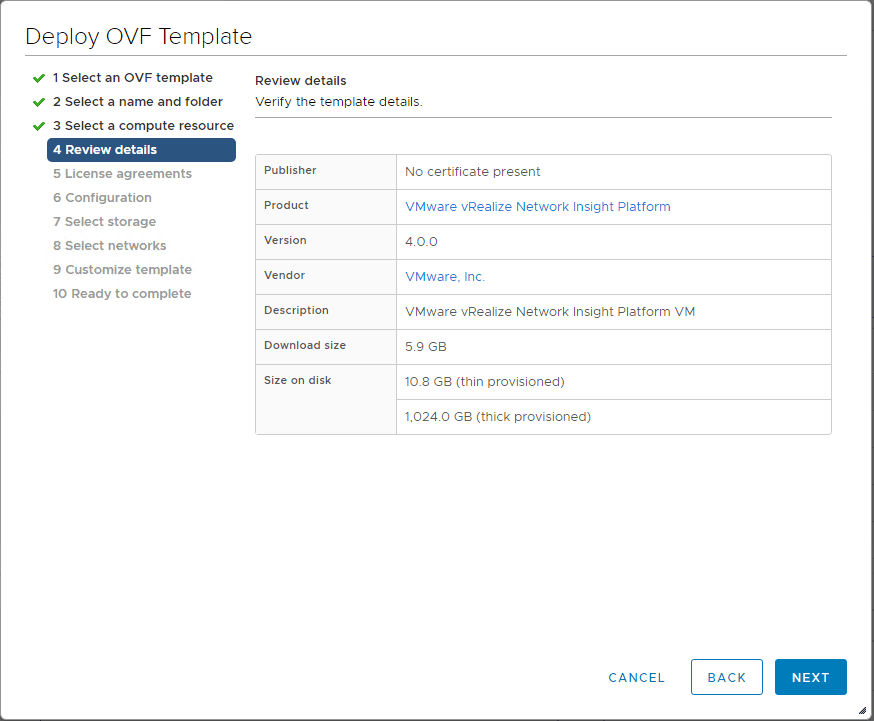
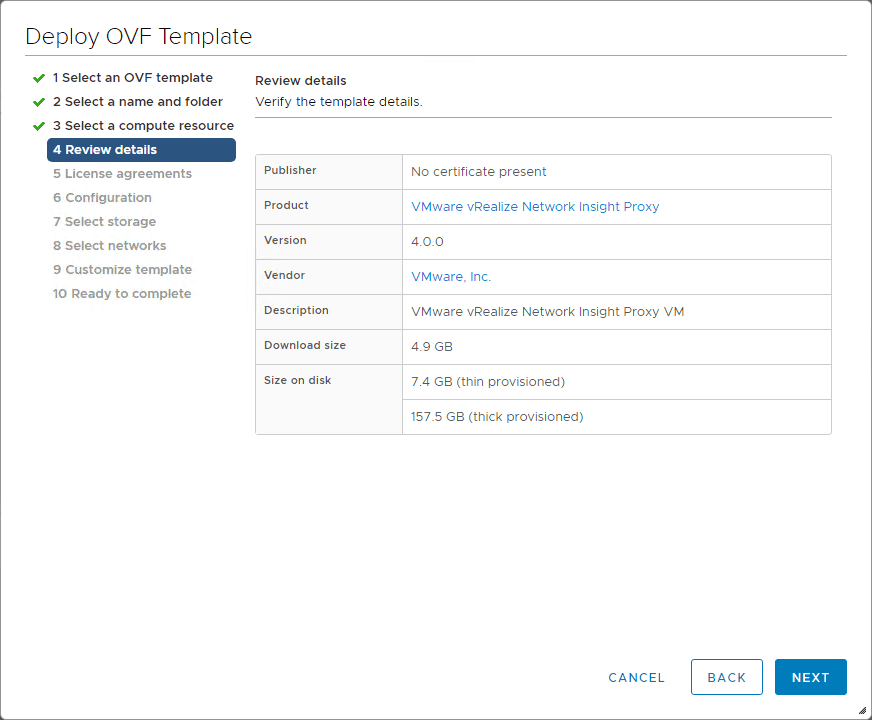
Review details.
Accept the EULA.
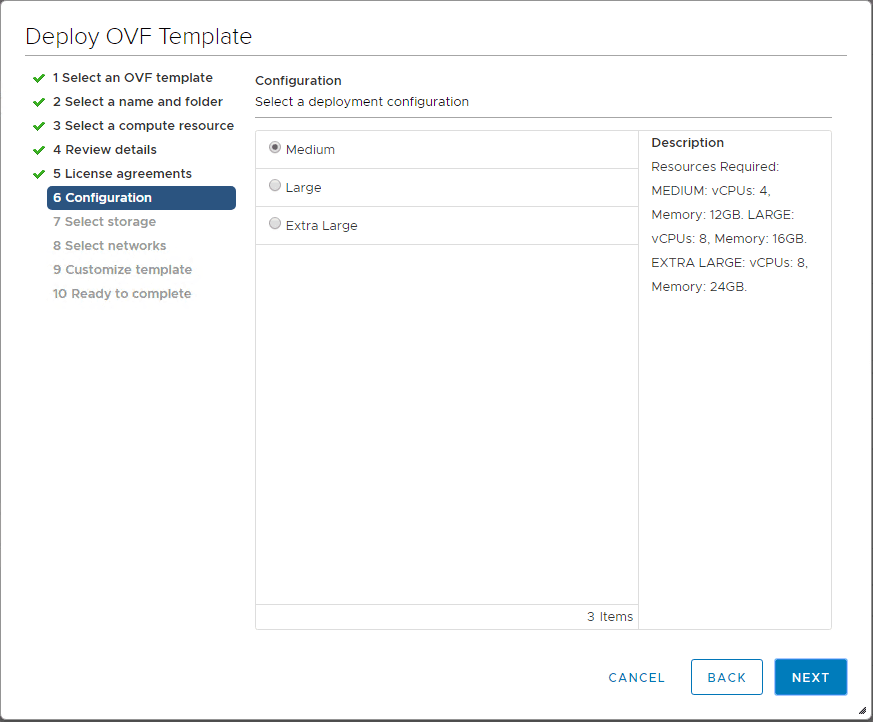
Choose the deployment size configuration. While the resource requirements of the proxy appliance are not as demanding as the platform appliance, again they are not trivial.
Choose the storage location for the vRNI proxy appliance.

Select the network configuration for the proxy appliance.

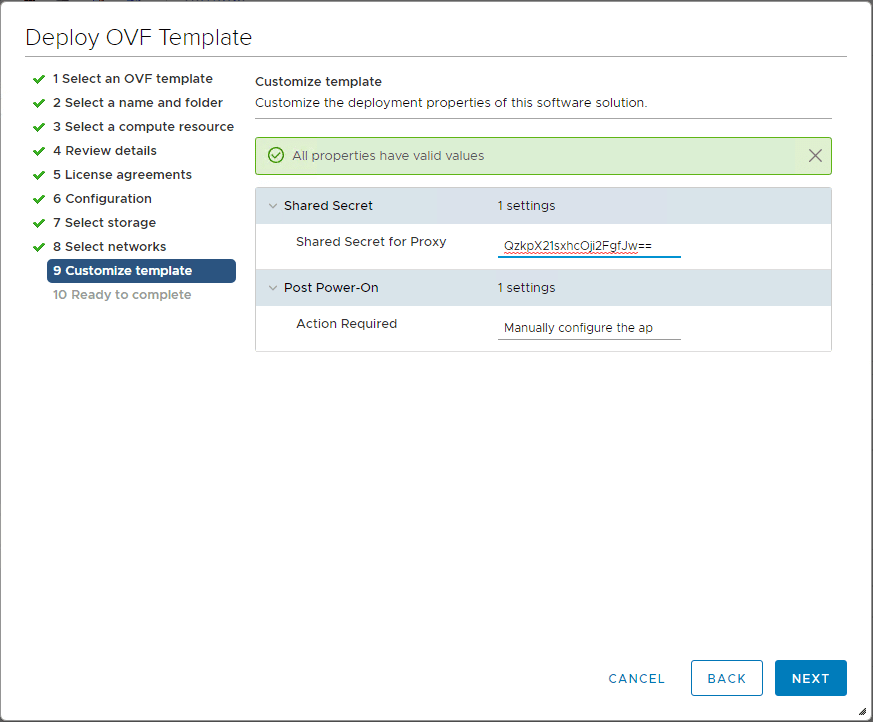
On step 9 which is the Customize template step on the proxy appliance deployment process, you will see the field for Shared Secret for Proxy. Here is where you paste in the shared secret key you have in the clipboard from the web configuration on the platform appliance.
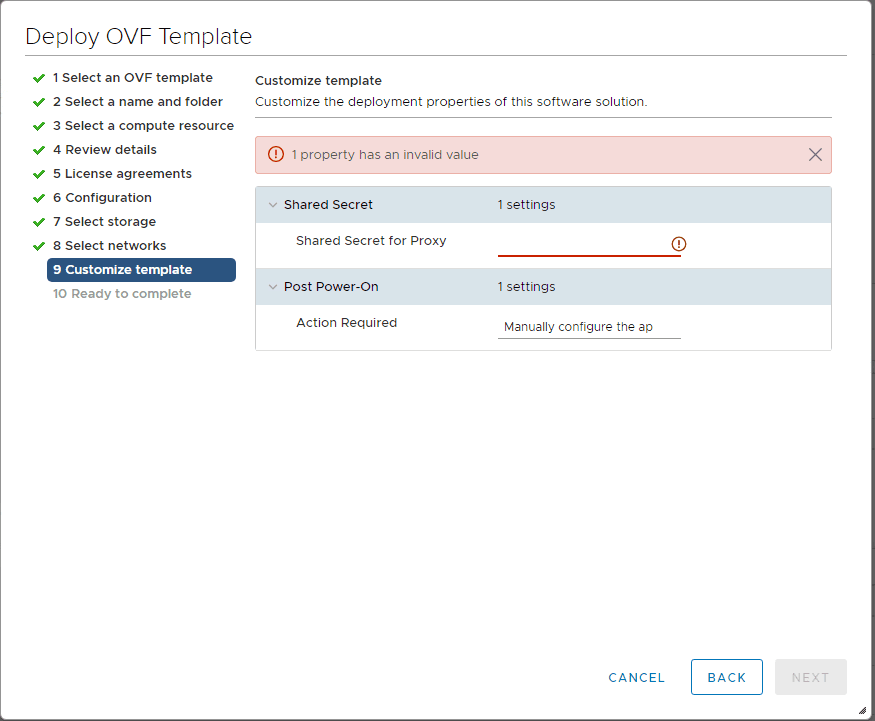
Once the key has been entered, click Next.
Finalize the deployment of the proxy appliance.

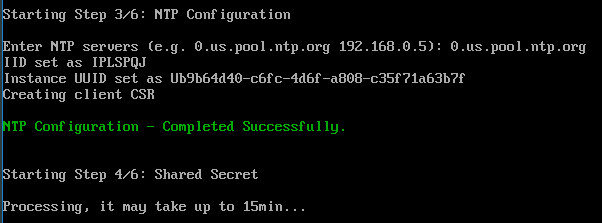
As was needed with the platform appliance, you need to finish the configuration of the Proxy appliance once the appliance is deployed by means of the console. As you can see on the Step 4/6, the shared secret will be processed and finalized.
Also, at this point, if you flip back to the web configuration on the platform appliance, you will see the status at the bottom of the web screen change to Proxy Detected! Click Finish.
At this point, once you click Finish, the vRNI installation is completed. There is, however, the need for additional configuration that we will cover in a future post involving setting up the connection to a vCenter Server.
Final Thoughts
As shown in detail, Installing vRealize Network Insight 4.0 Platform and Proxy appliances is for the most part a standard installation of OVA appliances, configuration using the console, and to generating the shared secret key on the platform appliance and configure this during the proxy appliance installation. The VMware vRNI 4.0 platform has powerful features that allow visibility into both on-premises and hybrid cloud environments. Stay tuned for further vRNI 4.0 posts.
Google is updating how articles are shown. Don’t miss our leading home lab and tech content, written by humans, by setting Virtualization Howto as a preferred source.
About The Author