For those that may not be aware, Microsoft Azure Backup Server (MABS) is an Azure intergrated data protection solution that also backs up VMware environments. Yes, VMware. Starting with Microsoft Azure Backup Server Update 1, Microsoft has included the ability to manage VMware vWSphere environments from directly within the MABS interface. With the tight Azure intergration, backups of vSphere environments can be pushed to the Azure cloud for offsite resiliency. Let’s take a closer look at Microsoft Azure Backup Server as well as installing and configuring Microsoft Azure Backup Server, what this entails on premise as well as in the Azure cloud. First, we will take a closer look at exactly what Microsoft Azure Backup Server is and what are the use cases for the product.
What is Microsoft Azure Backup Server?
If you have not yet heard about Microsoft Azure Backup Server (MABS), it is a lighter weight version of System Center Data Protection Manager, but contains many of the features and also the Azure integration you would expect. It is also a free download. You pay for the protected workloads that are synchronized with your Azure environment as well as the space required in Azure for your backups.
According to Microsoft speak, MABS is a:
Azure Backup is a simple and reliable cloud-integrated backup service that serves as a unified solution to protect the data, providing an alternative to tape that saves money and ensures compliance. Azure Backup delivers data protection no matter where data resides—in the enterprise datacenter, in remote and branch offices, or in the public cloud—while being responsive to the unique requirements these scenarios pose. Protect your critical applications, including Microsoft SharePoint, Exchange, and SQL Server; files and folders; servers and clients running Windows; and Azure Infrastructure-as-a-Service (IaaS) virtual machines. With Azure Backup, you can focus on your business needs and not manage or pay for infrastructure on cloud.
When you add in the recent development of protecting VMware workloads with MABs, it is a pretty fully featured product that places it in line to compete with some of the other bigger name solutions in the data protection market. Let’s take a look at how to go about installing and configuring Microsoft Azure Backup Server and the steps involved.
Install and Configuration Requirements
Installing and configuring Microsoft Azure Backup Server involves
- Configuring a Recovery Services Vault from the Azure side
- Installing the Microsoft Azure Backup Server on premise
On the Azure side you need to configure a Recovery Services Vault. The Recovery services vault according to Microsoft is:
…a storage entity in Azure that houses data. The data is typically copies of data, or configuration information for virtual machines (VMs), workloads, servers, or workstations. You can use Recovery Services vaults to hold backup data for various Azure services such as IaaS VMs (Linux or Windows) and Azure SQL databases. Recovery Services vaults support System Center DPM, Windows Server, Azure Backup Server, and more. Recovery Services vaults make it easy to organize your backup data, while minimizing management overhead.
During the MABS installation, you will be asked to upload the Vault Credentials of the Recovery Services Vault. If you cancel, it cancels the entire installation, so this is something you want to have done ahead of time. Let’s walk through creating the Recovery Services Vault and the steps involved.
Creating a Recovery Sevices Vault in Azure
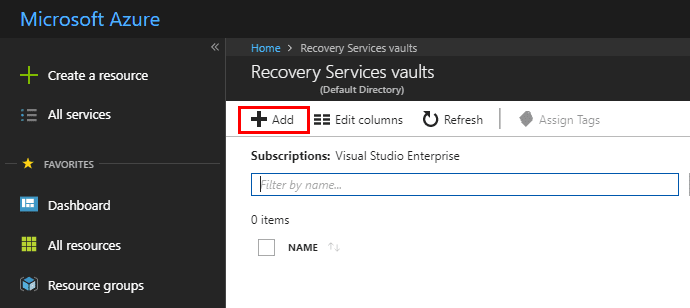
Login to the Azure Portal and run a search on Recovery Services Vaults. You should have a hit on the search for the available service configuration. Click the +Add button.
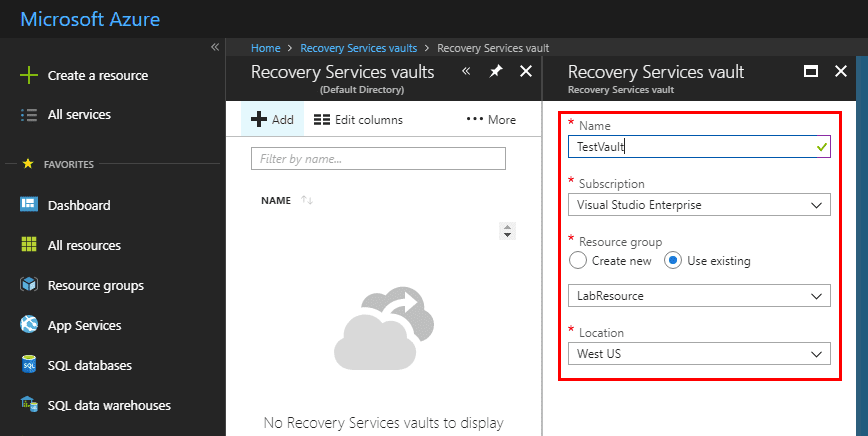
Configure the REcovery Services vault including the Name, subscription, resource group, and location.
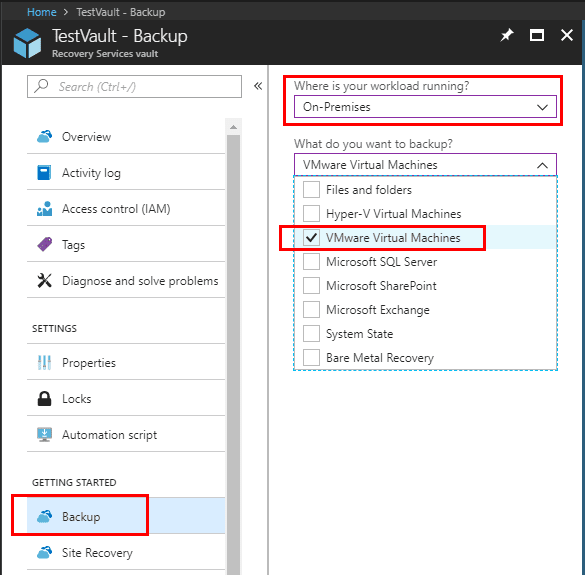
Configure the backup service, including whether your workloads are running in Azure or On-Premise. Also, include the resources you are wanting to backup.
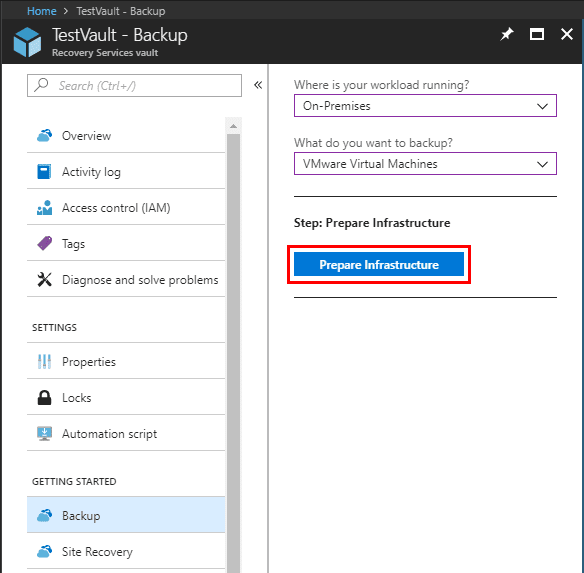
Click the Backup menu and then Prepare Infrastructure.
The Recovery Services should successfully be created. Click the Download button under the Download vault credentials section after checking the box that you have already downloaded the latest Azure Backup Server installation.
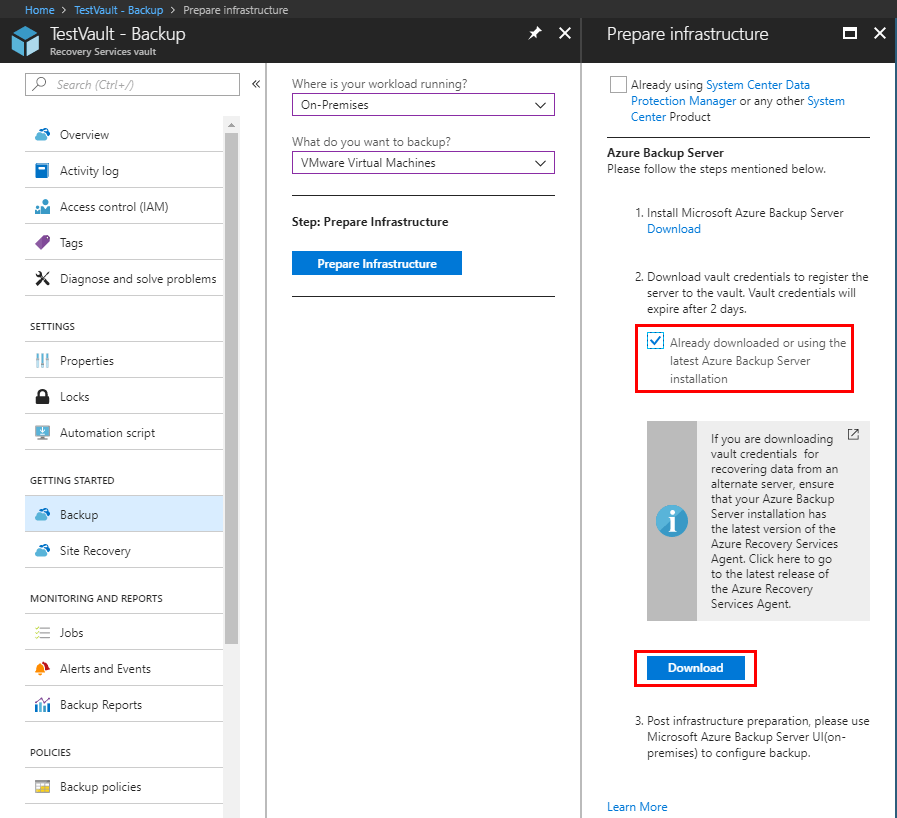
The credentials file will be used during the installing of the On-Premise Azure Backup Server.
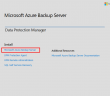
Installing and Configuring Microsoft Azure Backup Server
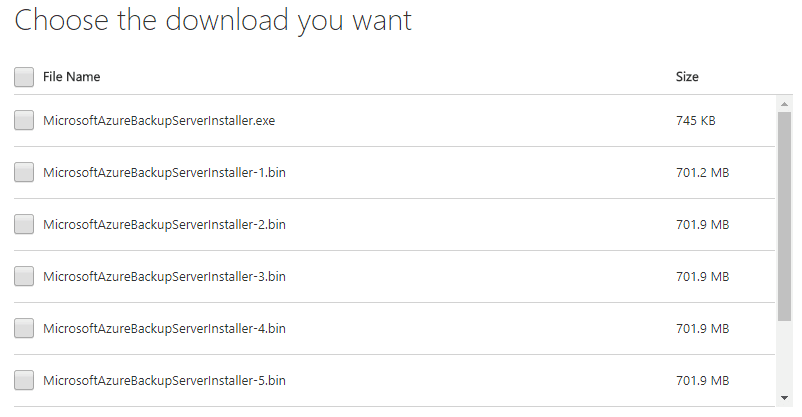
To download the Microsoft Azure Backup Server, navigate to the link here: https://www.microsoft.com/en-us/download/details.aspx?id=55269
Download all the files to your Microsoft Azure Backup Server that has been designated.
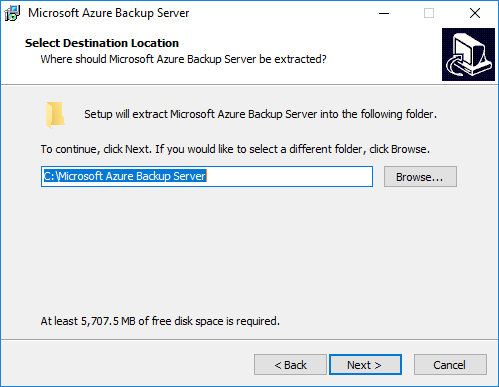
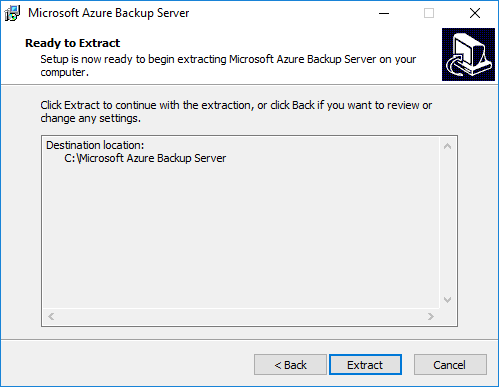
The first part of the installation simply extracts the setup into the default directory you see below.
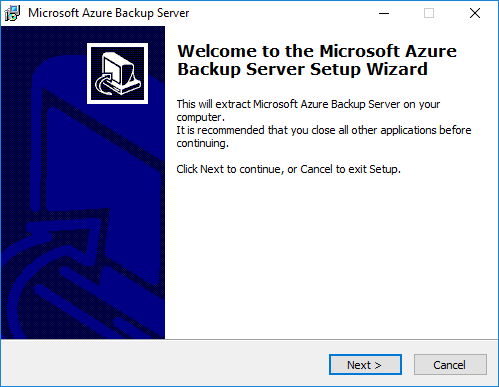
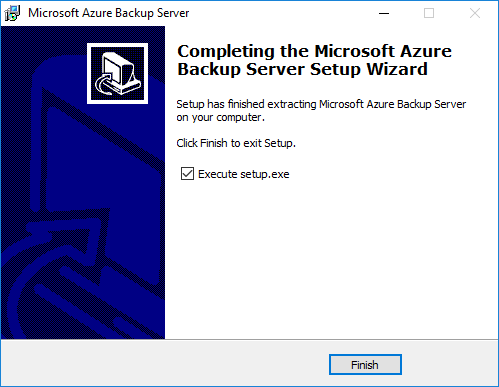
After the files have been extracted, we can begin the setup of the Microsoft Azure Backup Server.
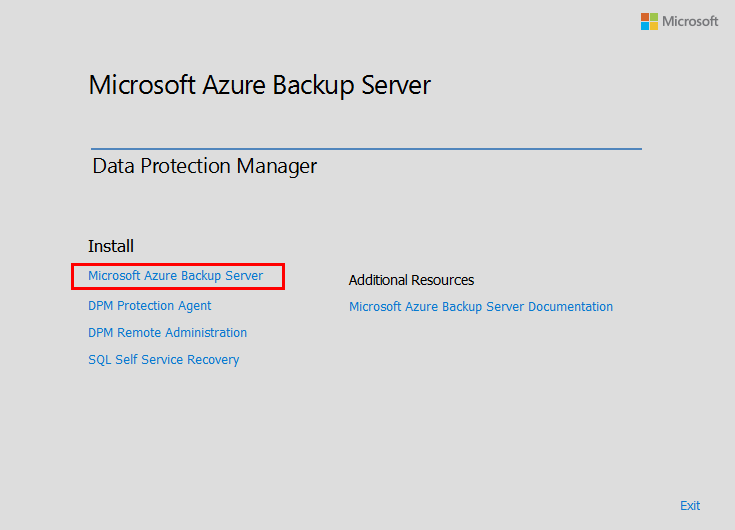
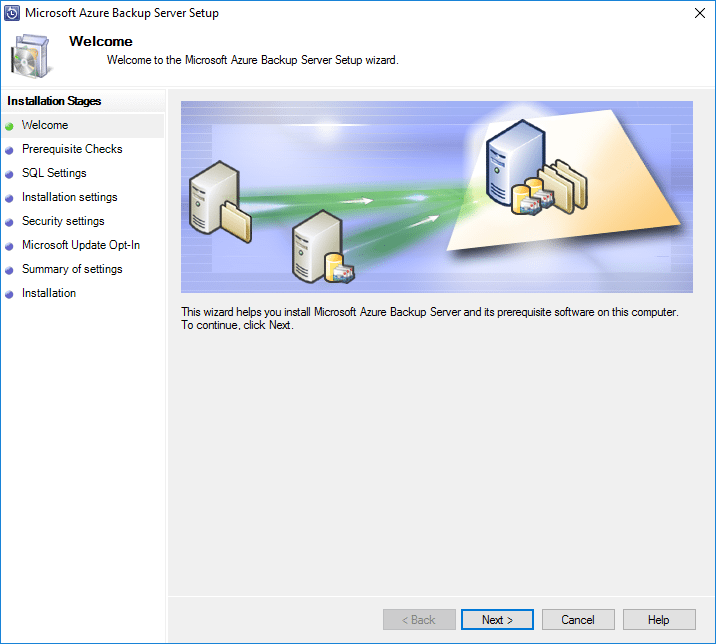
The Microsoft Azure Backup Server Setup wizard begins.
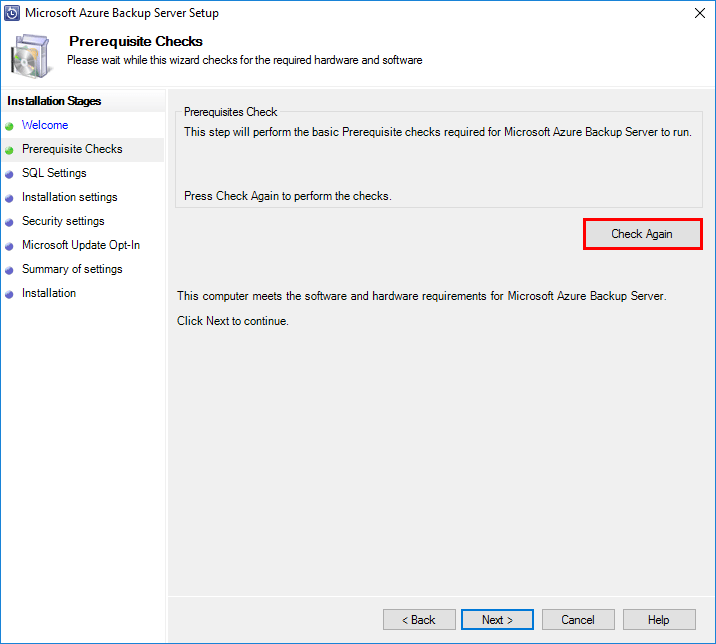
Run the prerequisites check. If you don’t, the wizard will not let you proceed.
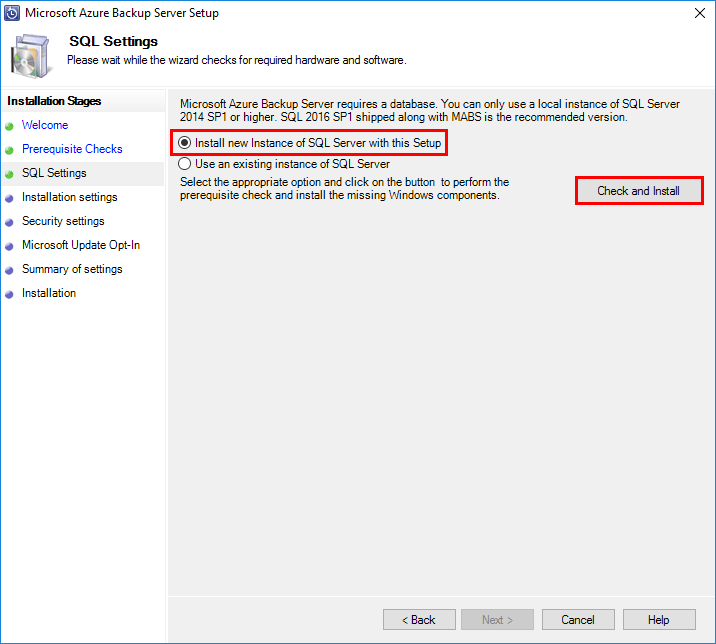
On the SQL Settings screen, I am choosing to Install new instance of SQL Server with this setup. Click the Check and Install button to check the SQL prerequisites.
Below, I had a few things it flagged. .NET 3.5 SP1 is needed and I had a pending reboot.
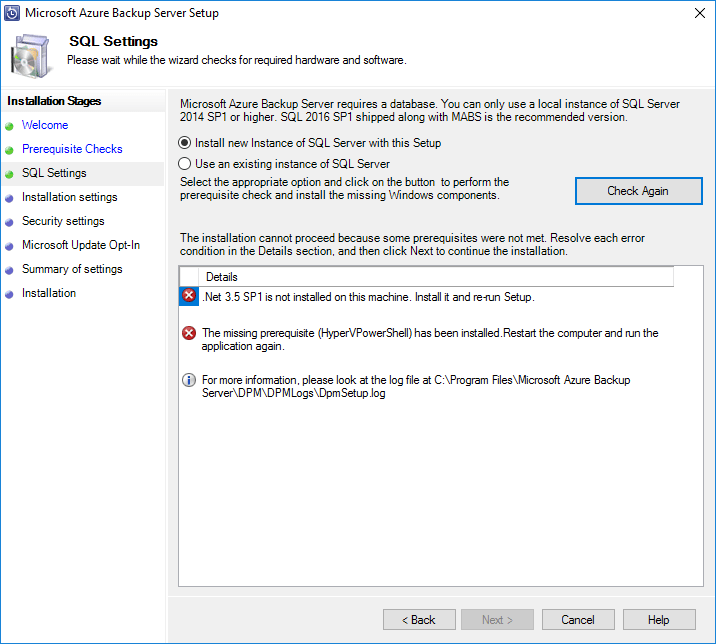
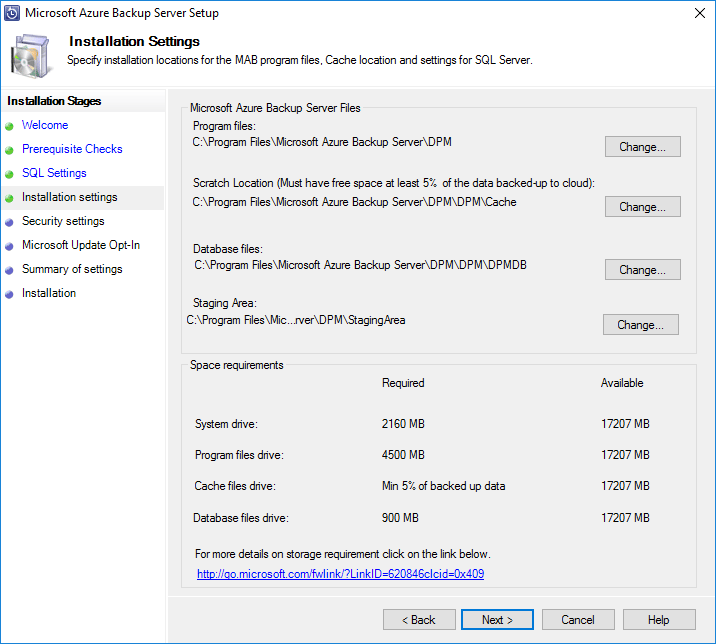
After installing .NET 3.5 SP1 and rebooting, the installation proceeded. You can click to change the default directories if you want.
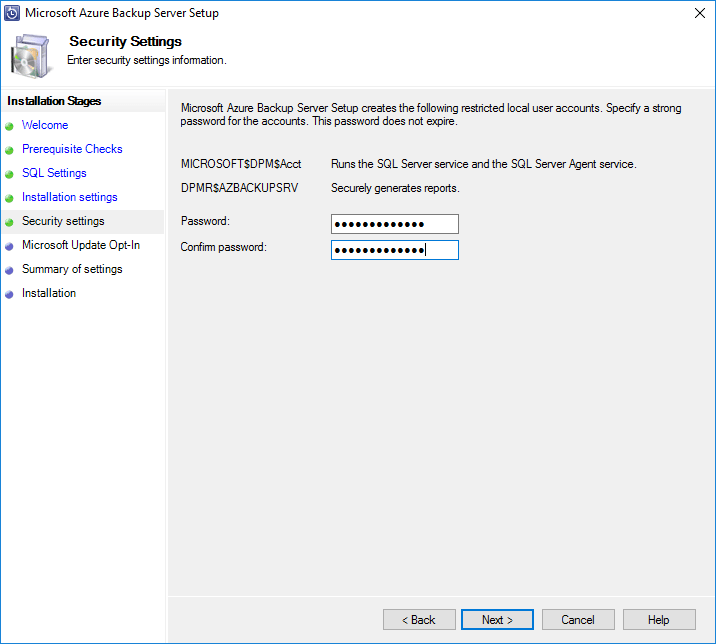
On the security settings screen, enter a password for the restricted local user account that is created.
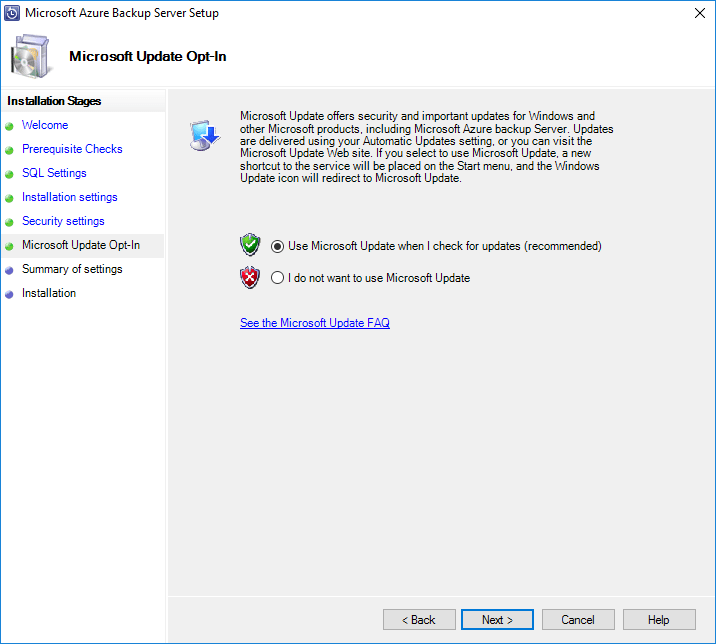
Make choices on the Windows Update settings.
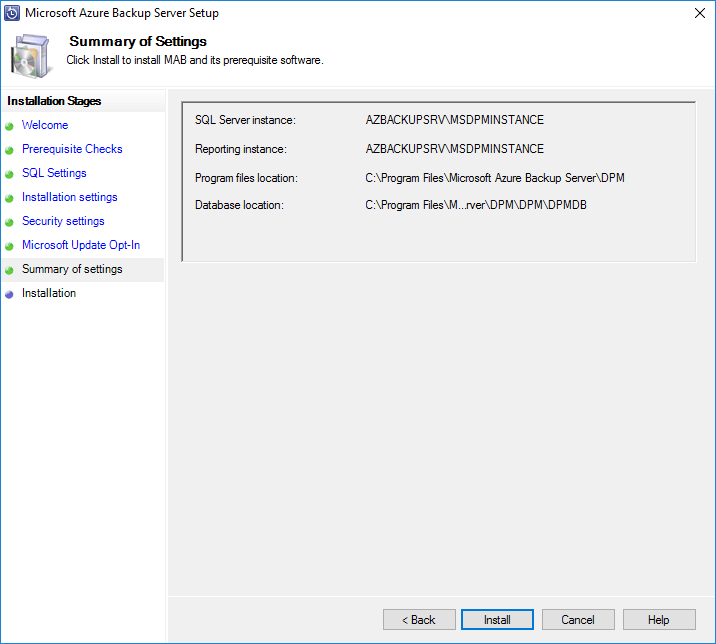
Summary of settings is displayed. Ready to begin the installation.
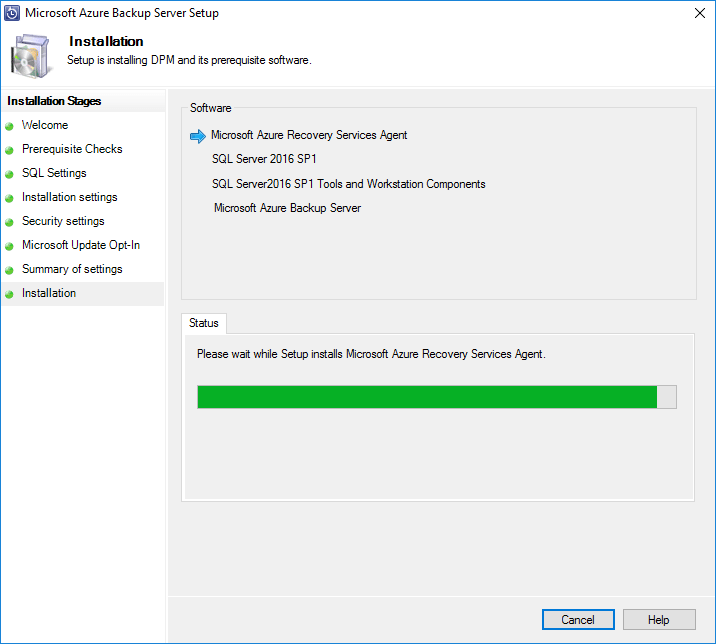
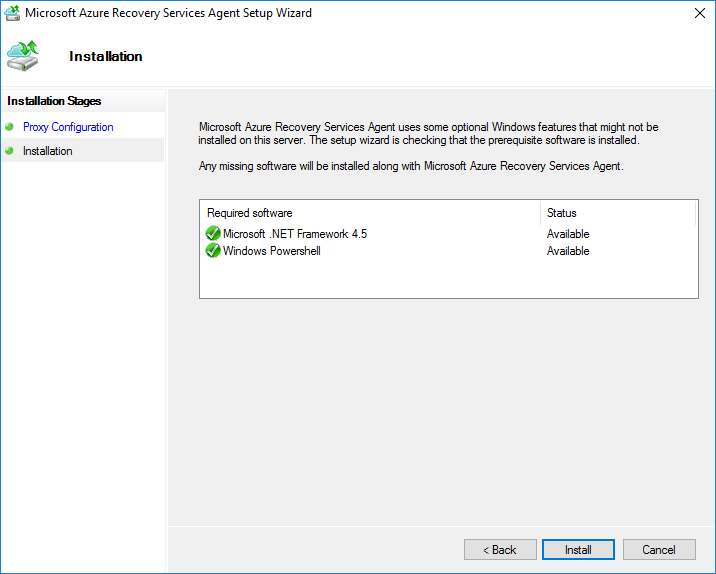
The Microsoft Azure Recovery Services Agent installation begins.
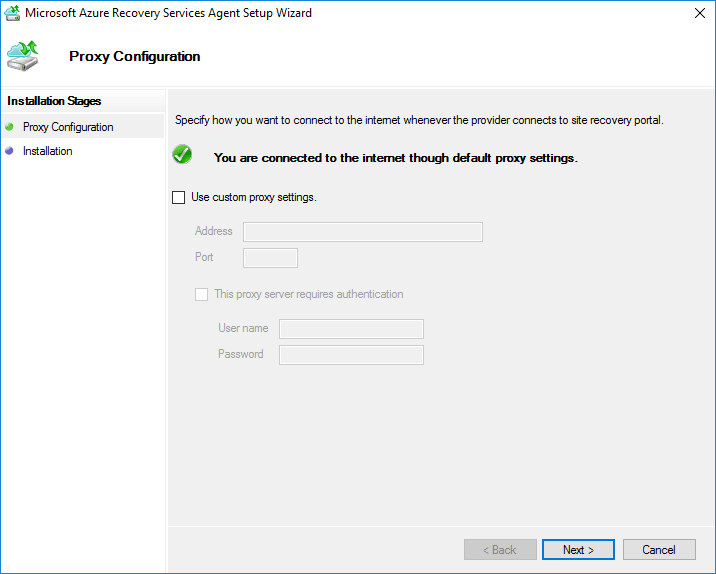
Proxy configuration settings.
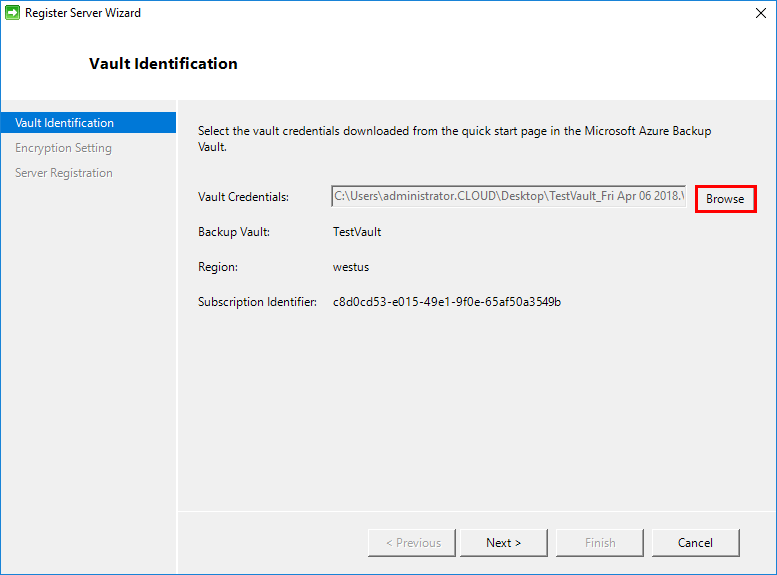
Here we need to select the credentials file that was downloaded during the Recovery Services Vault creation.
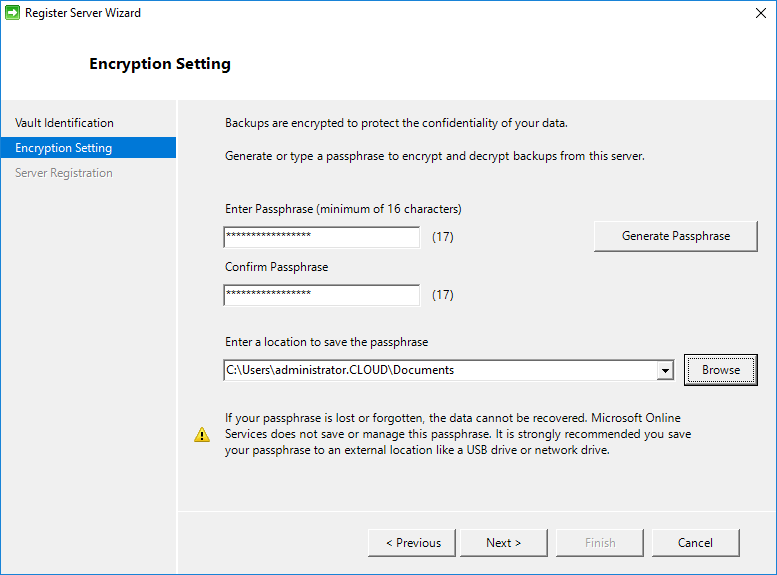
Choose your backup encryption passphrase for protecting backups.
The server will register with the Azure Recovery Services Vault and backup service.

After the Microsoft Azure Recovery Services Agent setup completes, it moves on to the SQL Server 2016 SP1 installation.
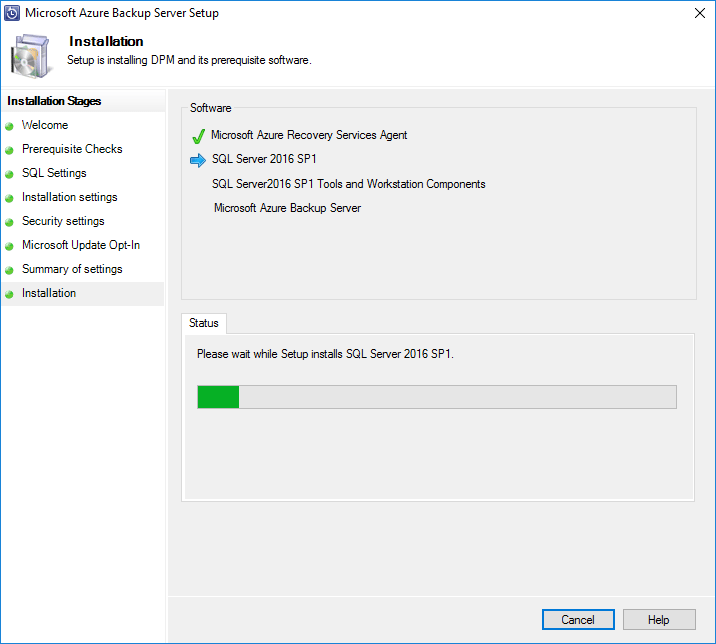
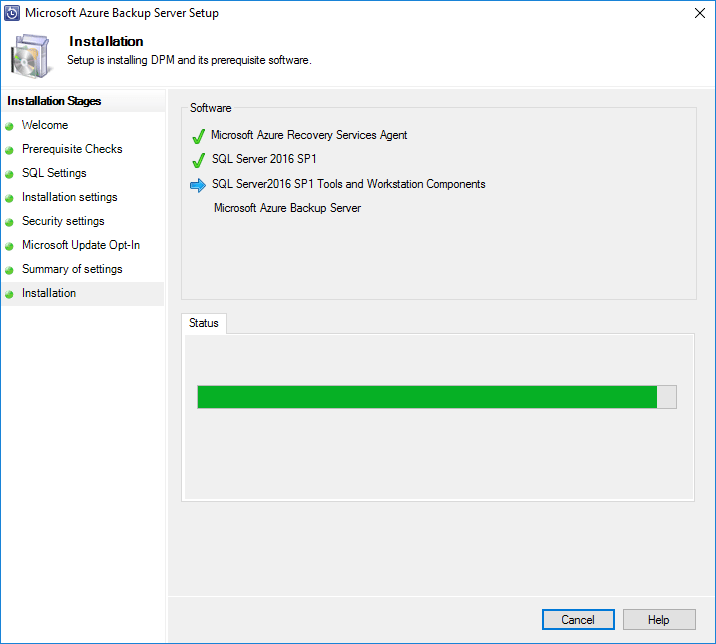
Tools and workstation components for SQL 2016 SP1 begins installation after SQL Server 2016 SP1 completes.
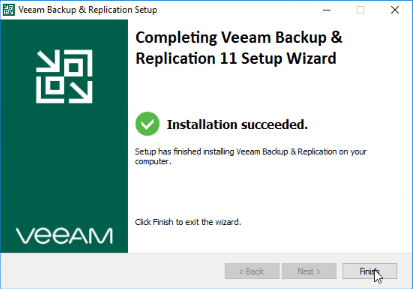
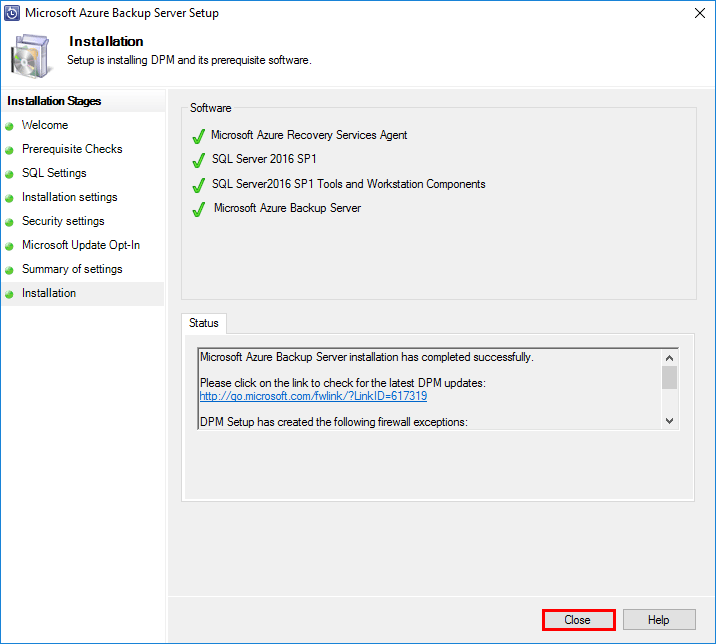
Installation is complete!
Takeways
The process of Installing and Configuring Microsoft Azure Backup Server is a bit involved as it requires setting up components from the Azure side of things as well as running through the Azure Backup Server installation and configuration on premise. However, all in all, the process is pretty straightforward. I didn’t feel like it delved off in the weeds too much. So this was simply the installation and configuration section. In the next part, we will take a look at backing up VMware vSphere workloads using Microsoft Azure Backup Server.
Google is updating how articles are shown. Don’t miss our leading home lab and tech content, written by humans, by setting Virtualization Howto as a preferred source.
About The Author