Automate Documenting Used IP Addresses on my Network
When you are running quite a few VMs in your home lab environment, it can get tricky to keep up with the IP address that are in use and which virtual machines you have running on which IPs. While most of us in a lab environment might keep up with a spreadsheet of IPs that we have in use, I wanted to see if I could have a simple mechanism to scan and keep up with IPs in use and which machines I have on which IPs. There is Microsoft Windows IPAM available, however, this was a little more complicated than what I needed for home lab use and since I am not using a Windows DHCP server to manage IPs on the lab subnets, IPAM is a little less attractive for me at the moment. I will however, delve into how to use this in a future post though as it definitely has value. Using free utilities I want to show a quick and dirty way of how I was able to automate documenting used ip addresses on my network.
Automate Documenting Used IP Addresses on my Network
The requirements for my specific use case was the following:
- Automatically scan subnets and do this on an automated schedule
- Present these with a web server for easy consumption of the information
In putting together the home lab IP address documentation solution I settled on the following utilities:
- Nmap for Windows
- Task Scheduler in Windows
- MSXSL.exe to transform .XML files to HTML using the provided Nmap .xsl stylesheet
- IIS Server to present the subnet information for viewing
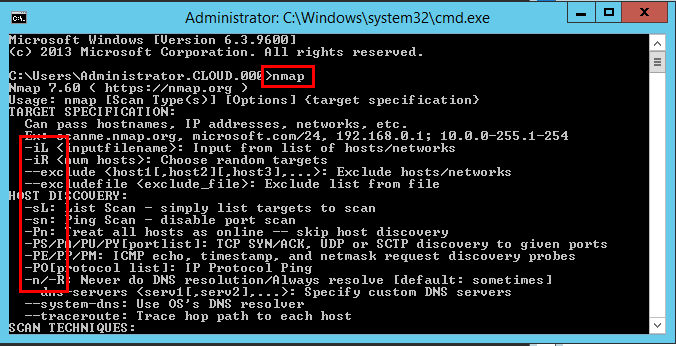
Nmap has a long reputation in the industry and security professionals for its network scanning ability as well as the port fingering capabilities. I wanted to take advantage of this in not only documenting IP addresses but also seeing which ports are open. Often, if you are like me, simply having an IP address as “live” doesn’t tell me a whole lot especially if it was something I spun up months ago.
Additionally, what I like about nmap is that it has great fully featured capabilities from the command line. A lot of the freebie utilities available don’t offer any command line support. Nmap has a wide range of options.
You can download the Windows version of Nmap with the GUI called Zenmap here: https://nmap.org/zenmap/
After installing Nmap you can utilize the GUI if you want to run adhoc scans.
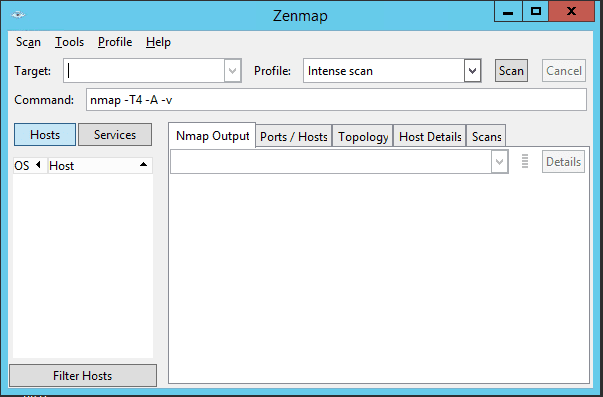
The beauty of the Windows Nmap utility like Linux is we can utilize the power of the commandline to use in automating our scans. For example, we can create a new scan with an XML output file with something like the following:
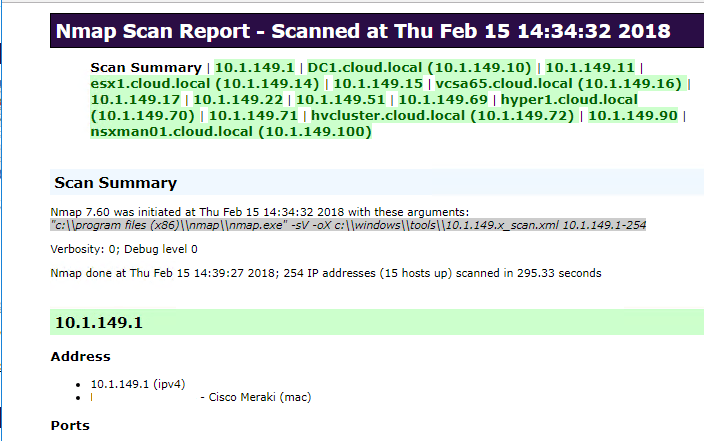
nmap.exe" -sV 10.1.149.1-254 -oX c:windowstools10.1.149.1-254.xml
The above defines the range to scan and then specifies the output file as XML.
Transforming the XML output to HTML
What I had in mind was a simple webserver that could serve out the files created from the scans. One drawback however is that Nmap doesn’t natively create HTML files (please correct me if this is not accurate). We need a utility to transform the XML file created in Nmap to HTML.
In the Linux world, we can use the Xsltproc utility to do this. However, in Windows, we can use the msxsl.exe utility that can be downloaded here: https://www.microsoft.com/en-us/download/confirmation.aspx?id=21714
The syntax to transform from XML to HTML is the following. The nmap.xsl file is the styling file that comes loaded with nmap in the installation directory.
msxsl.exe scan.xml nmap.xsl -o scan.html
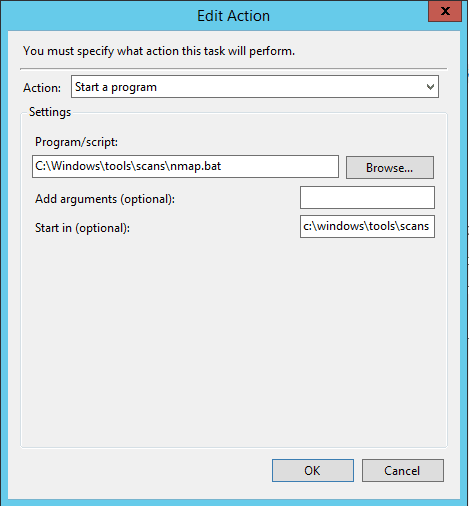
Scheduling the IP Address Discovery Scan
Now, we can put it all together and schedule the scan to run and then transform the XML file to HTML with a scheduled task. We simply create a batch file that runs the scan and transforms the file all in one batch/operation.
nmap.exe -sV 10.1.149.1-254 -oX 10.1.149.1-254.xml && msxsl.exe 10.1.149.x_scan.xml "c:program files (x86)nampnmap.xsl" -o scan.html
Viewing the Automated IP Address Scans
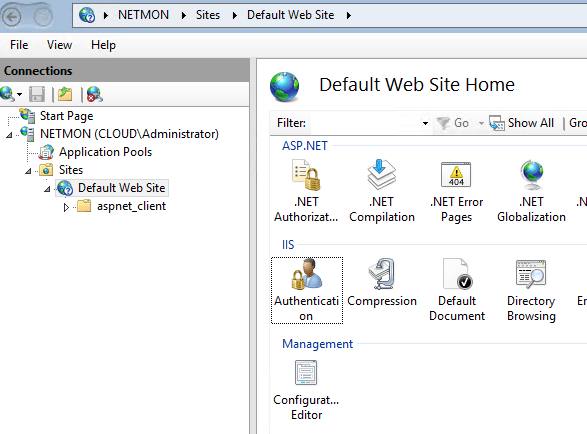
Now all we have to do is install a vanilla install of IIS on a server and point it to the directory containing the HTML files. Then we can simply click the HTML file and view the IP address can. The beauty of this is that we not only get an IP address can but also a port scan of the devices which gives us even more useful information.
As I mentioned earlier this is extremely handy as if you are like me you forget when devices occupy which IP addresses or your spreadsheet wasn’t updated and you didn’t document the device.
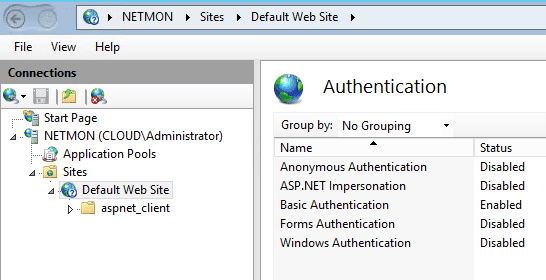
Additionally, what is nice about IIS is you can lock down the site to require login by either Basic Authentication or Windows Authentication.
Viewing the IP Address and Port Scan Results
Now, we can open up a browser and point to our server to see the resulting Nmap generated IP scan and port scan results. The great thing is the IPs listed at the top are clickable, so you can navigate around like a web page.
Concluding Thoughts
Nmap is a great utility that makes it easy to Automate Documenting Used IP Addresses on my Network. With just a bit of time we can have an automated IP address and port scan running that allows creating HTML reports. By utilizing a web server, we can host the files. This allows having constant access to the scans on your network from any computer using the right credentials.