We have already taken a look at the powerful automatic configuration and zero config capabilities of Praim ThinMan server as well as the manual management features that it provides. Such capabilities including automation of configuration using the ThinMan Profile Manager and implementing the “Zero Config” process take the heavy lifting out of provisioning thin clients. However, most organizations today generally are spread across multiple physical sites. Network traffic and connectivity in this case would generally span across routed layer 3 networks utilizing wide area network or WAN connectivity. In this case how do we implement the features and functionality of ThinMan server when we have multiple sites in an organization? By utilizing Praim ThinMan Repeater, thin client and PC management across sites is possible without the need for VPN. Let’s take a look at how to manage thin clients between sites using ThinMan Repeater.
Overview of ThinMan Repeater Architecture
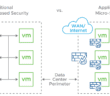
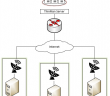
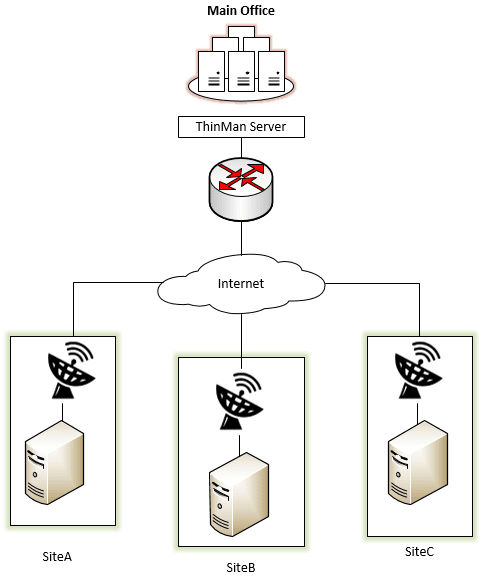
As shown below, an organization may have their ThinMan server housed in the main corporate office. ThinMan Repeater servers would be positioned in each site to handle and communicate with the devices in the branch office. This presents many benefits when it comes to the management of the remote thin client devices. With ThinMan Repeater it is possible to:
- Manage remote Wake On Lan
- Provide support
- Distribute updates, profiles and polices across all remote networks
- Optimize WAN traffic and update activities
The ThinMan Repeater server serves as a pass-through device. This saves a tremendous amount of bandwidth for device upgrades, etc. This is accomplished by the ThinMan Repeater server synchronizing update package files from the main ThinMan server. All the device package upgrades will be handled locally by the ThinMan Repeater server instead of devices having to directly download update files from the ThinMan server in the main office. Another cool aspect of the ThinMan server and ThinMan Repeater server setup is the ability to power on devices in a branch office using the “Wake On LAN” relay. The WOL packet originates at the ThinMan server and is sent to the ThinMan Repeater. The ThinMan Repeater server then forwards this on to the correct device on its local network to be powered on.
Firewall and Network Port Considerations
The only required port to be Internet accessible on the ThinMan Server is TCP port 443. The following tables show both the incoming and outgoing ports required to pass traffic between the ThinMan Repeater Server and thin clients at the branch location.
Incoming Ports
| Port Type |
Port Number |
Service or Process |
Description |
| TCP | 443 | ThinManRepeater | XMLRPC from ThinClient to ThinMan Repeater (can be configured) |
| TCP | 5900 | ThinManRepeater | Remote Assistance |
| TCP | 20080 | ThinManRepeater | HTTP Server |
Outgoing Ports
| Port Type |
Port Number |
Description |
| UDP | 1680 | For Thin Client ThinOX and WES administration |
| TCP | 22 | To SSH Port on Thin Client (future use) |
| TCP | 443 | XMLRPC from ThinMan Repeater to Thin Client ThinOX, WES (can be configured) WebSocket from ThinMan Repeater to ThinMan Server (can be configured) |
| TCP | 1680 | To Browse Thin Client using TCP transport XMLRPC from ThinMan Repeater to ThinOX, WES Thin Client |
| TCP | 5900 | To Remote Assistance ThinOX, WES7 Thin Client |
ThinMan Repeater Prerequisites
Praim ThinMan Repeater can be installed on the following supported operating systems in either 32 or 64-bit versions on physical hardware or virtual machines:
- Windows 7
- Windows 8, Windows 8.1
- Windows 10
- Windows 2003 Server
- Windows 2008 Server (also R2 SP2)
- Windows 2012 Server (also R2)
Physical hardware or virtual machine must meet the following specs:
- At least 2 GHz Dual Core processor
- Al least 2 GB free RAM required
- At least 10 GB of free disk space (plus Repository system)
The ThinMan Repeater software may not be installed on the same server that ThinMan Server is installed on and ThinMan Server must be running the ThinMan Platinum Edition.
Installing ThinMan Repeater
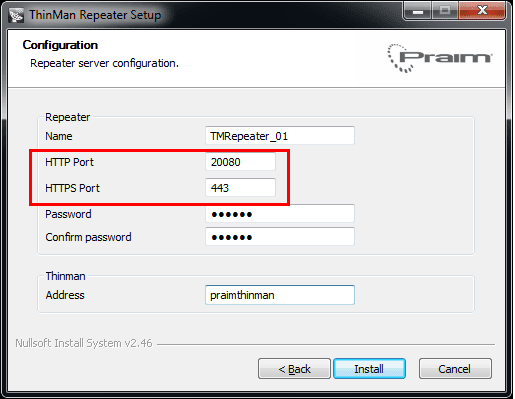
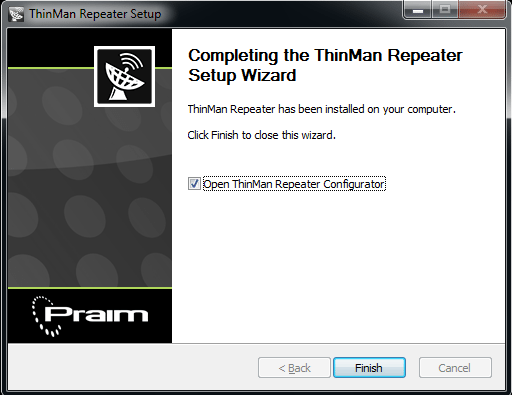
I really like how the installation and configuration of ThinMan Repeater is simple and straightforward. There isn’t a lot of network configuration or complicated management consoles to configure and parse through to make the connection work. You simply install the software, point it to the ThinMan Server and verify your connectivity. After downloading the installer, simply run the install to get the binaries installed on your ThinMan Repeater server.
ThinMan Repeater Server Configuration
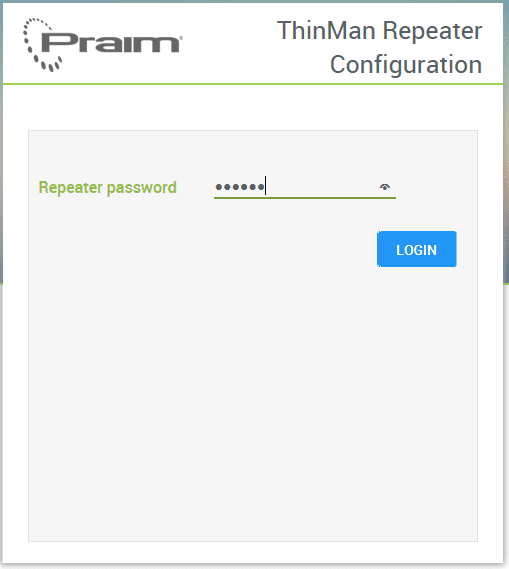
To access the ThinMan Repeater configuration on the server, we simply browse out to https://<repeateripaddress> or https://<repeateripaddress>:20080
Login to the Repeater console with the password that was configured earlier.
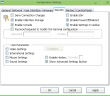
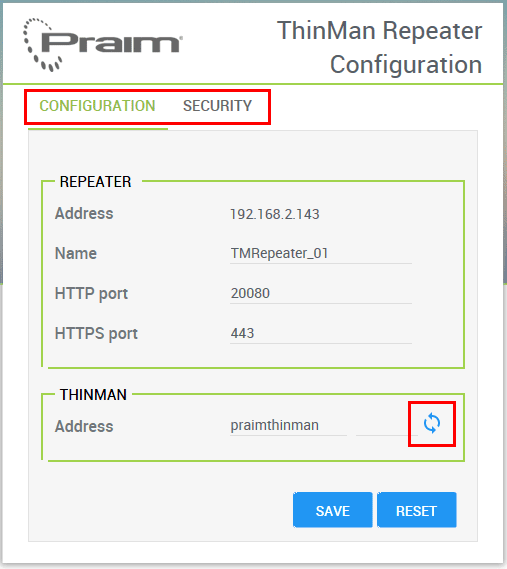
There are two tabs used for configuring. The Configuration tab allows you to set and test the connection to the ThinMan server using the blue continuous arrows. Under the Security tab you can change the configured password.
Configuring Devices to Use ThinMan Repeater
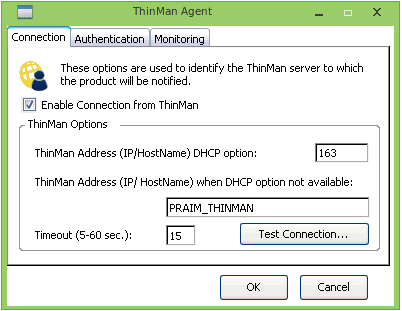
Easily enough, configuring end user devices to use the ThinMan Repeater is the same as configuring to use ThinMan Server. Simply substitute the ThinMan Repeater address in for the ThinMan Server address. You can easily do this in the DHCP option 163 for each site handing out the ThinMan Repeater address. An example of the ThinOX configuration using the DHCP option 163 or DNS name PRAIM_THINMAN to hand out the correct repeater address. Really the below is the default configuration and we can simply handle the change using the network infrastructure, DNS server, DHCP server, etc. As an example, we could potentially use different DNS zones for different sites to handle different DNS records for a specific network location.
Thoughts
Praim ThinMan is a powerful solution to manage thin client and other devices from a single pane of glass. As we have covered in previous posts, it can automate the configuration of the end user devices as well as provide the interface for manual management activities such as controlling power, remote viewing, etc. By leveraging the ThinMan Repeater component we can provide a powerful management plane for managing clients in multiple sites to efficiently use bandwidth. End user devices can communicate locally to the ThinMan Repeater server instead of each device communicating back to the ThinMan Server in the main office over the Internet or WAN connection.
Google is updating how articles are shown. Don’t miss our leading home lab and tech content, written by humans, by setting Virtualization Howto as a preferred source.
About The Author