Secure Home Lab DMZ network with VMware NSX firewall
With the recent announcement from VMUG that Advantage subscribers now have access to VMware NSX, it opens up a lot of possibilities for the VMware home lab environments out there. VMware NSX has a ton of network security benefits that we can utililize in our home labs to not only learn but also gain real world lab security benefits especially if you have VMs that may be forward facing, etc. Let’s take a quick look at how to secure home lab DMZ network with VMware NSX firewall.
Secure Home Lab DMZ network with VMware NSX firewall
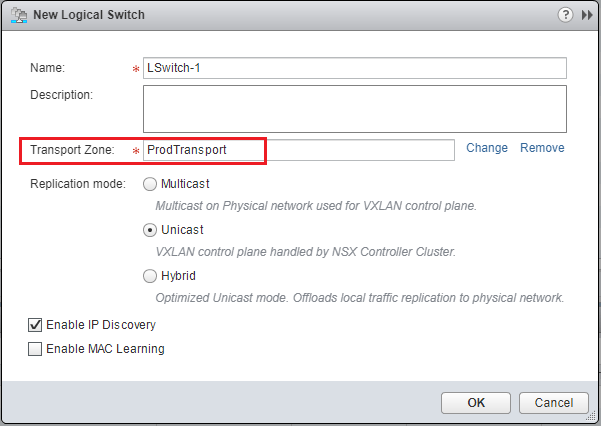
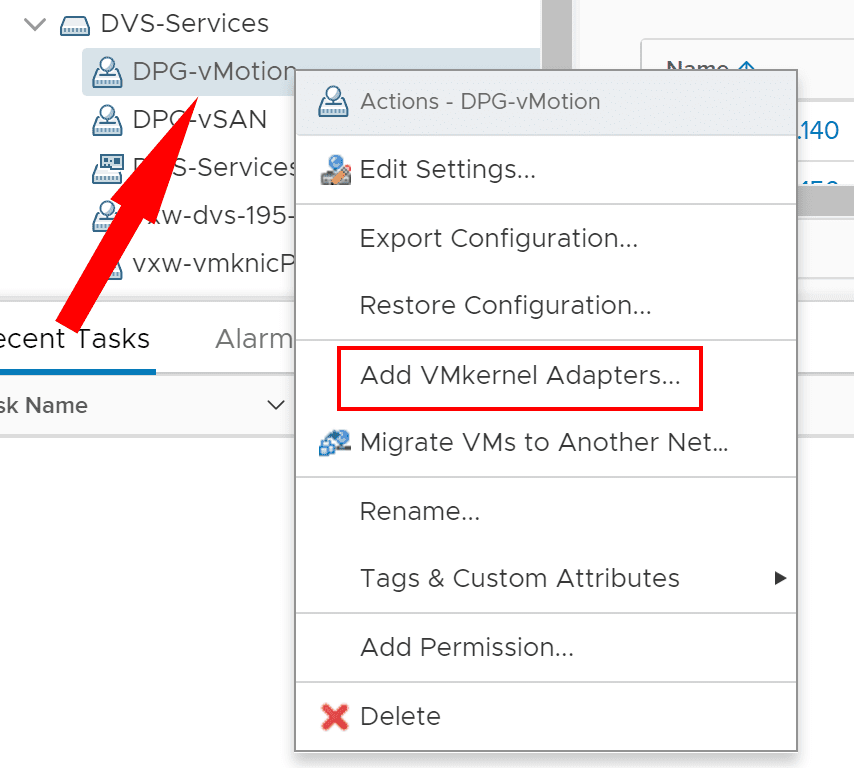
Here we aren’t going to go through the ins and outs of deploying VMware NSX as there are plenty of posts out there detailing this process. In short, it requires that we deploy the NSX Manager OVA file, integrate with vCenter, setup our hosts, VTEPS, segment IDs, and transport zones. Then we are able to start moving forward with NSX.
As soon as we get to the point of being deployed, we can start making use of the host firewall capabilities. These NSX firewall rules are extremely powerful since they happen at the kernel level before they even hit the wire which is much more efficient than ACLs on a switch or even router as traffic first has to traverse the wire for the ACL to apply. In a previous post, we detailed how if you are using a single switch for a home lab and want to secure your DMZ environment from your management network, you can use a DMZ VLAN and ACLs.
Let’s look at how easy it is with VMware NSX to secure DMZ traffic. We will step through the simple steps of creating an NSX rule that blocks source traffic from our DMZ to our destination Management network. Both of these are VLAN backed and routed at the switch level via intervlan routing. Instead of the cumbersome ACLs applied at the switch level, the NSX GUI interface is much easier and intuitive.
Creating NSX Firewall rules
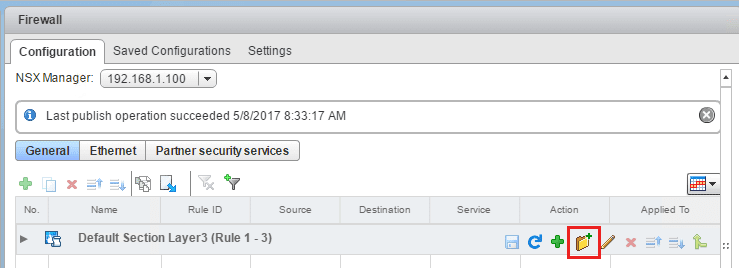
To get to the Firewall section, we navigate to Networking & Security >> Firewall. We will see the Default Section Layer 3 Rule (Rule 1-3) already in place. This is a default rule that basically exits with a default allow any any rule.
We can either add to this rule or as I like to do, add a new section for us to work with. The add section allows you to group specified rules together.
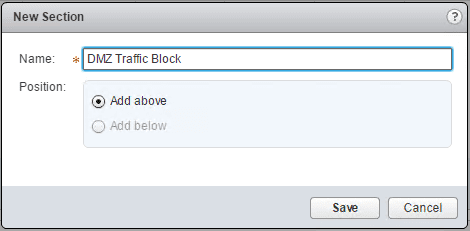
When we click to add a section we are asked to name it. I am calling this section “DMZ Traffic Block” for something intuitive.
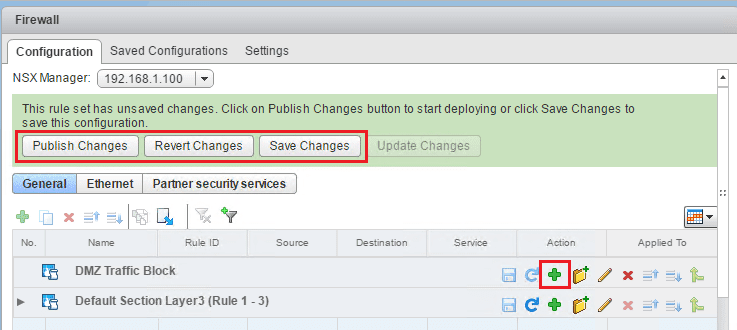
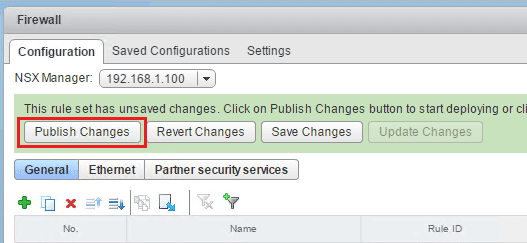
Notice immediately we get the green ribbon appear that gives us the options to Publish Changes, Revert Changes, or Save Changes. We can either disregard doing anything here for now or we can Publish changes, etc. Publishing the changes means it actually puts the section/rules in place to process traffic. Of course at this point we don’t really have anything in the section so publishing wouldn’t really do anything. Reverting does what you would think. Save Changes saves the changes you are making but doesn’t put them in place to process traffic.
Also, note we now need to click the little “green plus” symbol in our section to start adding rules.
Once we click the green plus symbol, we get a basically blank (allow any any) rule without a name.
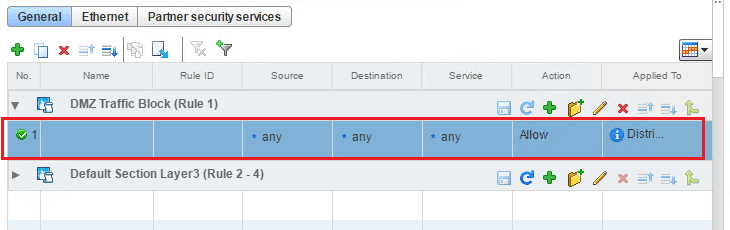
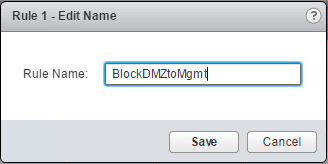
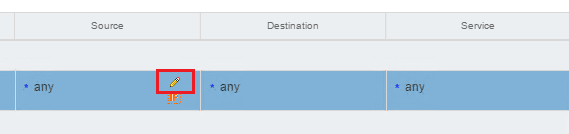
The way editing the rule works, is you simply hover over the section and there will appear a little “pencil icon” in the corner of the respective box, such as the name. Here I give the first rule a name.
We do the same for the Source, Destination, and Action columns for a simple block rule.
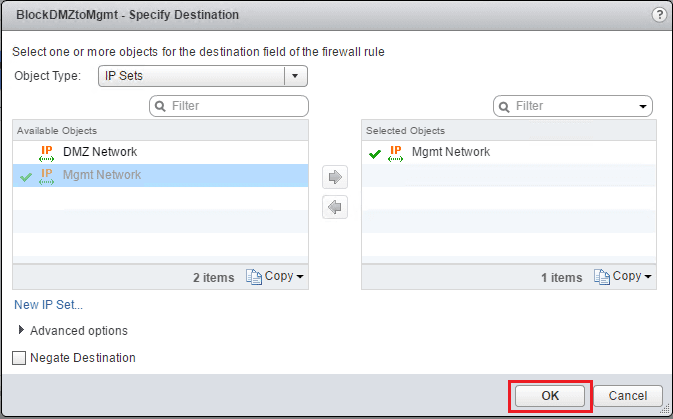
For source and destination we can utilize layer 3 IP sets to create our source and destinations. Note I had already gone through the wizard before creating rules, so I already have the DMZ Network and Mgmt Network IP sets. If you don’t already have anything defined, you can simply click the New IP Set… link at the lower left hand corner to define these. For source, here I am selecting the DMZ Network.
A quick note here as well, you have access to all kinds of powerful Object Types including vSphere cluster, datacenter, distributed port group, legacy port group, logical switch, resource pool, security group, vApp, virtual machine, and vNIC – many powerful options and combinations can be configured using these.
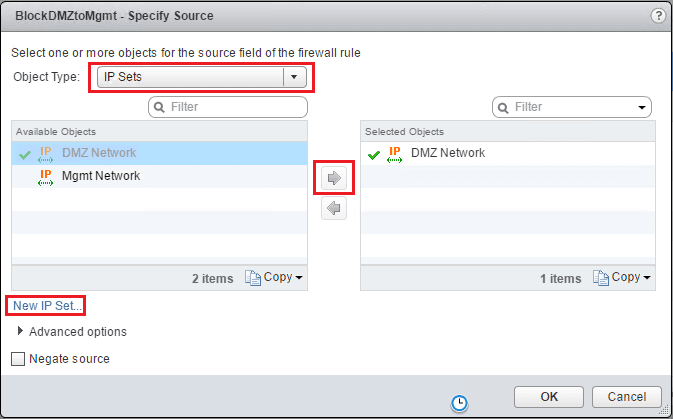
For the destination I selected my Mgmt Network IP set.
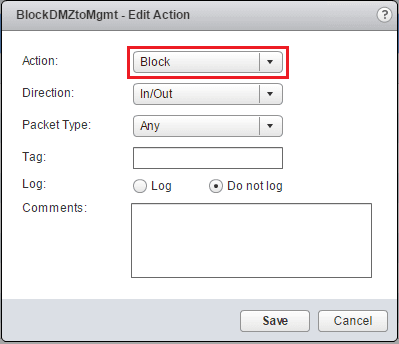
For the Action change from Allow to Block.
Now we can test our changes here. First we need to make sure now we Publish Changes to actually have the rule start processing traffic.
Testing
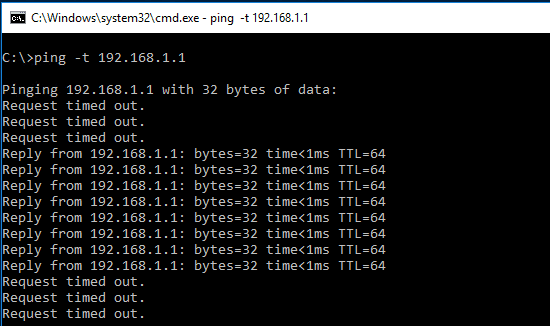
After logging into a server VM in my home DMZ network, I started a ping of the gateway IP address for the Mgmt network. As you can see with the rule already published, my pings started failing. I then went into the NSX rule and changed the action to Allow to make sure the rule was causing the ping timeouts. As you can see next, pings started succeeding. Then after seeing the successful pings, I changed back to the Block action and pings once again started timing out.
Thoughts
It is super easy and intuitive to secure Home Lab DMZ network with VMware NSX firewall. Using the process detailed above, we can create all kinds of powerful rules based on our VMware vSphere environment. NSX is a power tool for any environment. We have only scratched the surface on the possibilities. Be sure to grab a copy of NSX for your home lab by signing up for the VMUG Advantage subscription.


hey Brandon, I’m recently looking around on how to create a DMZ web server with VMware, my idea is to assign one single phisycal nic card as public IP to a VM server which will be published on wan, p.s. this wan is not in use, it’ll be dedicated, next step is: hot to secure this web server and how I can make it communicating with a local SQL db ?
crancat,
Thank you for the comment! Glad you found the site. You can definitely easily carve out a DMZ network with your ESXi physical network adapters and virtual switches. Some feel better about assigning a true physical adapter in their ESXi host to a separate vSphere switch to have better separation. You can also do this with a single vSphere switch with VLANs and have a port group configured for your DMZ. This is probably the best use of your resources unless you need to align with compliance requirements that require a dedicated physical NIC. Otherwise, the simple approach is to have a single vSphere virtual switch backed by multiple (2 or more) physical network adapters from your ESXi host. Then create your port groups backed by VLANs. One would be a VLAN for DMZ, and one would be a VLAN for internal servers (your SQL DB server on the internal network). You would need to have some type of router/firewall to route traffic between the two subnets. But, at that point, it is just traditional networking. I would place the exposed web server behind a firewall and not directly connect it to the Internet as this is a more secure approach to place your security appliance in front of it with NAT’ing, etc. Let me know if this helps.
Thanks crancat,
Brandon