VMware NSX is a powerful tool to not only abstract your virtual networking from the underlying physical infrastructure, but also secure your environment. As we had shown in the previous post, we can easily create firewall rules to restrict access within our virtual environment. However, one of the powerful features with VMware NSX as well is adding our Active Directory environment so that we can use it as an identity source to also create powerful rules that are scoped to our AD users. First, we need to add a connection to our Active Directory domain before we can start utilizing the domain as an identity source. Let’s look at how to add VMware NSX identity source domain.
Add VMware NSX Identity Source Domain
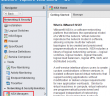
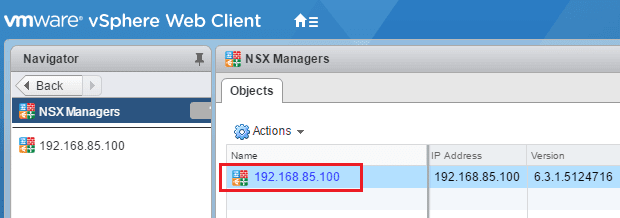
To get to the area we need to be in to add the Active Directory Identity Source Domain we navigate to Networking & Security >> NSX Managers.

Click on your NSX Manager that is listed.
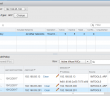
Click the Manage tab and then Domains. As you see below, it is blank since I have not added any identity source domains to the Manager. Click the “green plus” to add a domain.

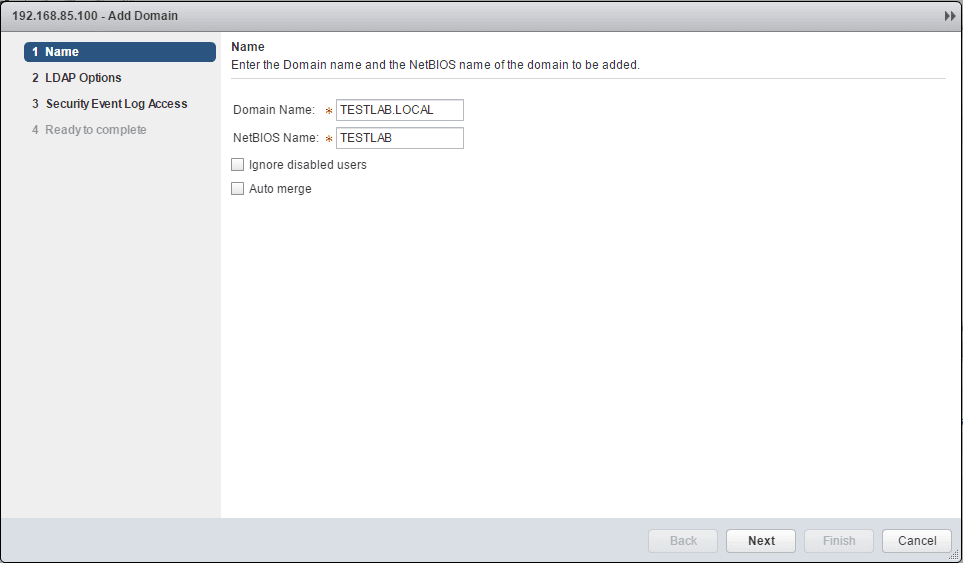
This launches the Add Domain wizard. The first screen has us populate the Domain Name and NetBIOS Name. We can also select to ignore disabled users.
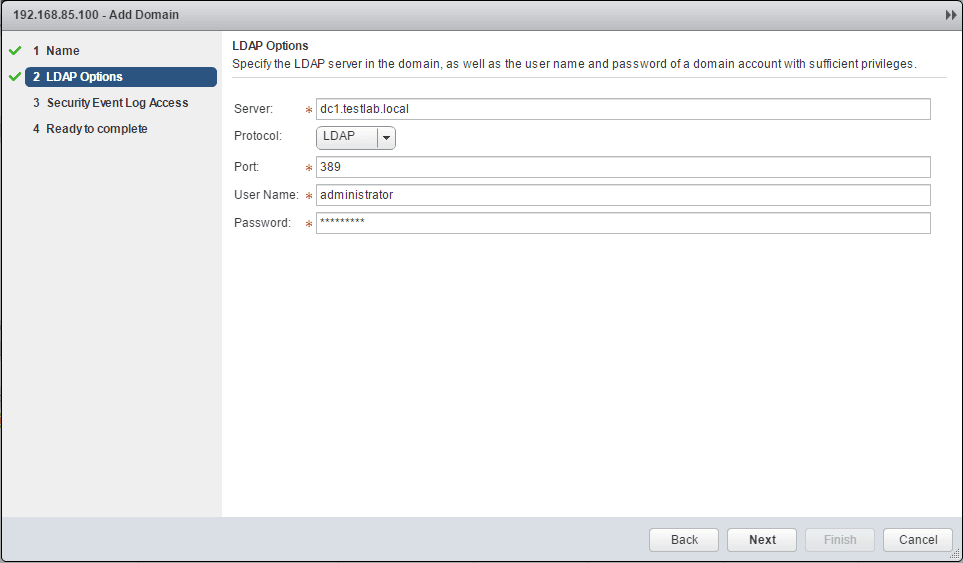
Here we need to point to an LDAP server and we can either select LDAP or LDAPS. Also, we need to populate a user and password to query AD.
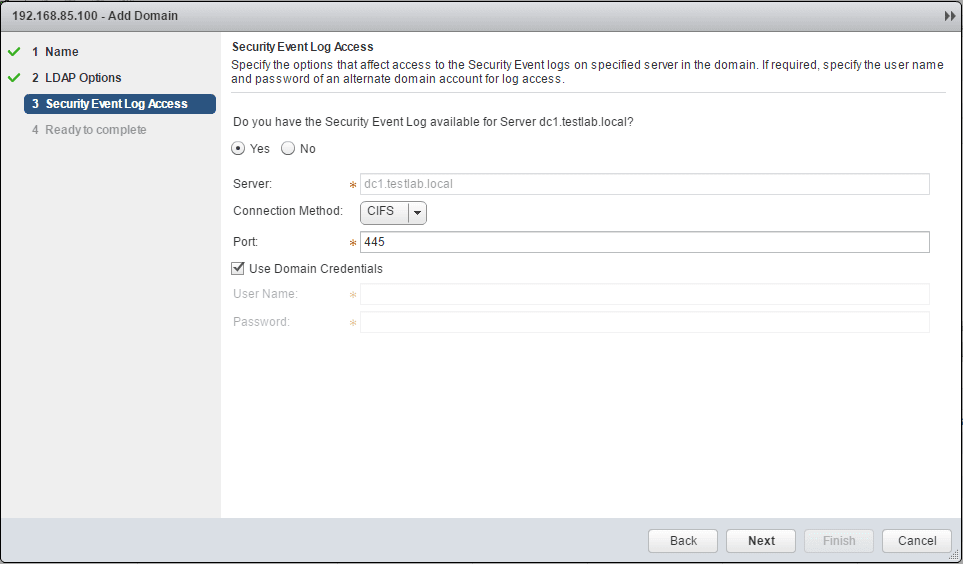
Here we choose our Security Event log options including the connection properties needed to connect to the specified Security event log. This allows NSX to read into user log ons/offs, etc.
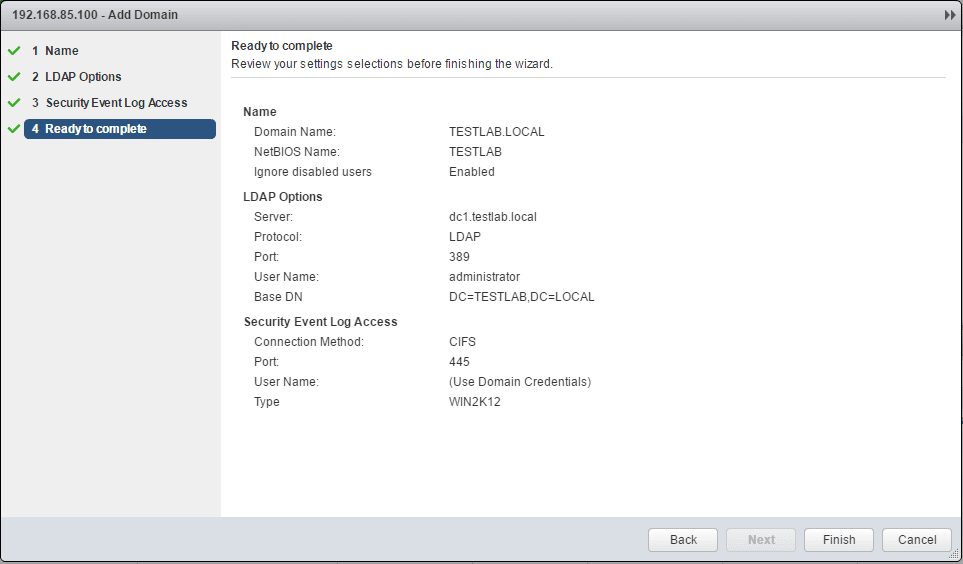
Finally, we get our summary screen of settings and configuration options before completing the process.
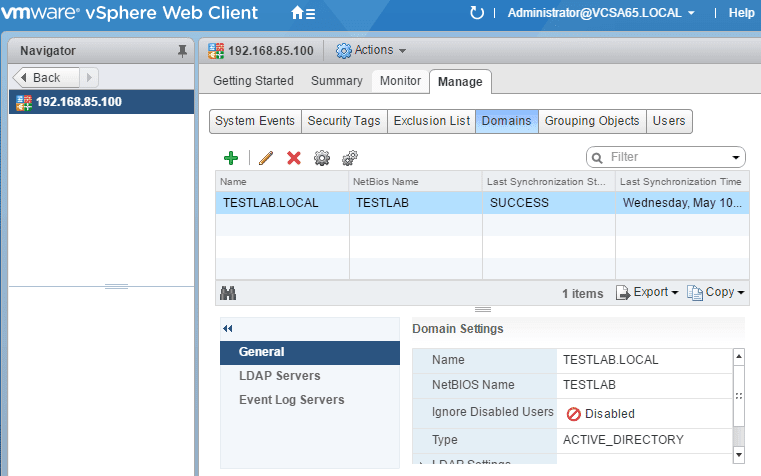
After we complete the wizard, we should be able to see our Domain listed in the Domains tab now when a SUCCESS synchronization.
Thoughts
The process on how to Add VMware NSX Identity Source Domain is straightforward using the wizard. Next, in our NSX learning, we will take a look at how to use this identity source to build powerful identity based firewall rules.
Google is updating how articles are shown. Don’t miss our leading home lab and tech content, written by humans, by setting Virtualization Howto as a preferred source.
About The Author