Recently, Vembu announced the release of version 3.6 of their BDR product. For those not familiar with Vembu BDR Suite, it is an all-in-one universal solution for backing up your VMware and Hyper-V environments as well as physical servers. Vembu BDR Suite products cover backup & recovery of VMware vSphere, Microsoft Hyper-V, Physical Windows Servers Desktops/Laptops, File Servers, Applications like MS Exchange, Active Directory, SQL Server, SharePoint and Outlook etc. In this Vembu BDR Suite 3.6 Hands On Review, we will take a look at its features and functionality. A few of the features of Vembu BDR Suite 3.6 capabilities and functionality are as follows:
VMware:
- Complete support for VMware vSphere 6!
- VMware Hot-Add and SAN transport mode for LAN free data transfer
- VMware vSphere Replication for High Availability
- CBT enabled incremental data transfer using VMware VADP
Hyper-V
- Support for Hyper-V Cluster Shared Volumes
- Vembu CBT Driver for high performance incremental backups
- Hot Backup ensures zero VM downtime
- VSS aware technology for application consistency
Physical Servers
- Backs up entire disk image of Windows Servers, Desktops and Laptops including operating system, applications and files
- During system crash or any major disaster, Bare-metal Recovery (BMR) helps to recover the backed up Windows machines into same or different hardware
- Vembu ImageBackup helps you to migrate the Windows Servers and Workstations from physical environment to VMware or Hyper-V environment (P2V)
Vembu BDR Suite 3.6 Hands On Review
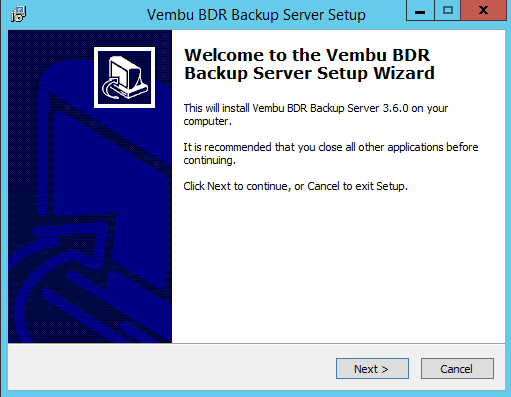
The installation and configuration of Vembu Backup and Replication 3.6 is done by a very intuitive user interface and install process. We are installing on a Windows Server 2012 R2 box.

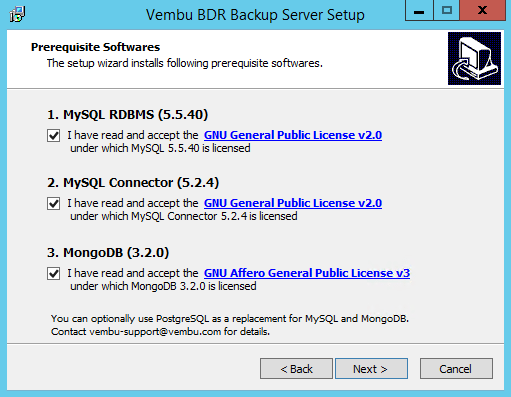
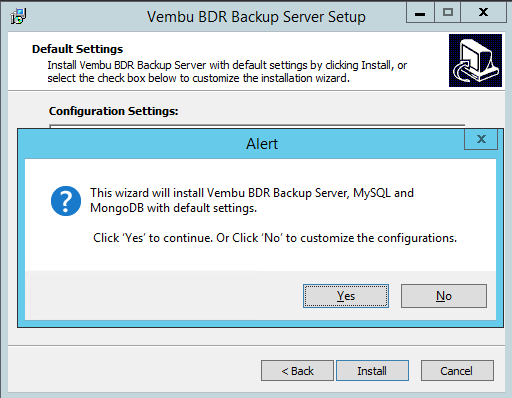
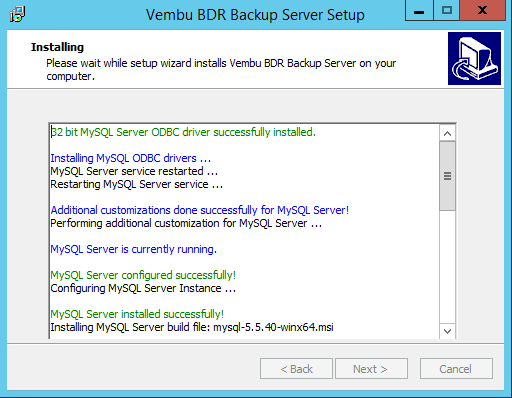
The prerequisites are installed as part of the process (MySQL, connector, MongoDB).
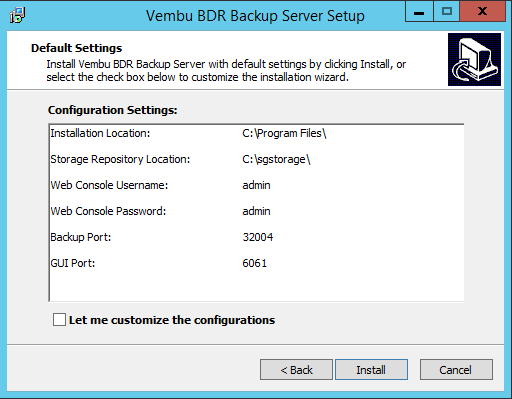
You can choose if you want to customize the installation.
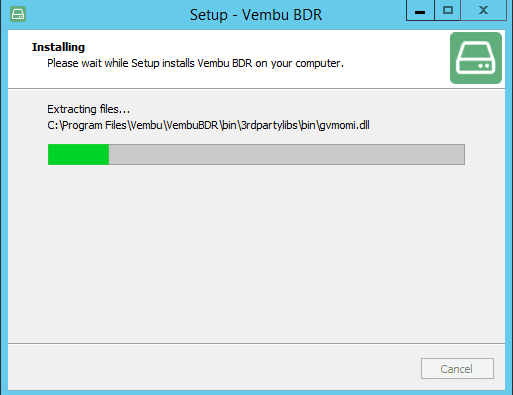
After the prerequisites are installed, the Vembu BDR install kicks off.
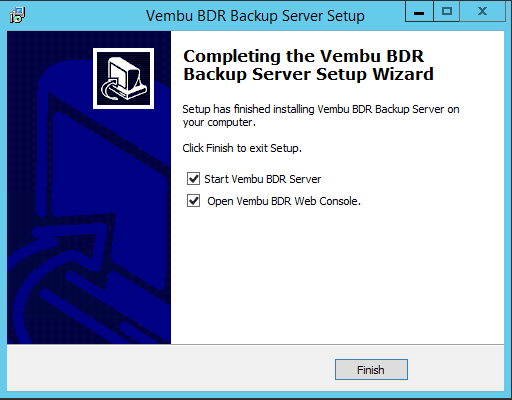
Vembu runs as a web server on the Windows server, so after the installation, you are prompted to start the Vembu BDR Server service as well as launch the BDR Web Console.
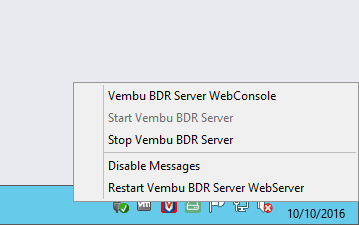
You can also find the Vembu BDR Server WebConsole link in the system tray with functionality found there to restart or stop the service, etc.
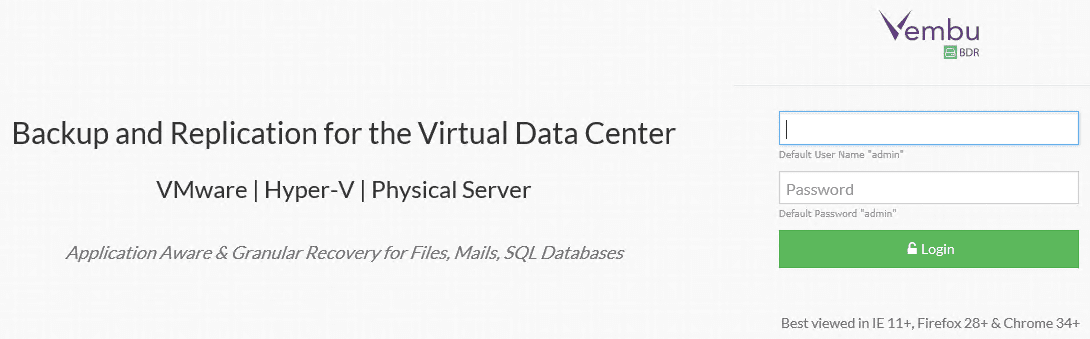
When you launch the web console, you are presented with the login screen. By default the user/pass is admin/admin.
After login, setup your time zone.

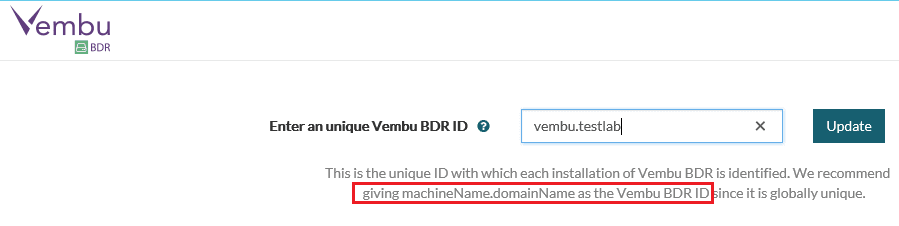
The recommendation here is to give the Vembu BDR ID the name of the machinename plus the domain name. So, machineName.domainName.
Now we are ready to start setting up backup jobs for VMware, Hyper-V, physical images, or files & applications.
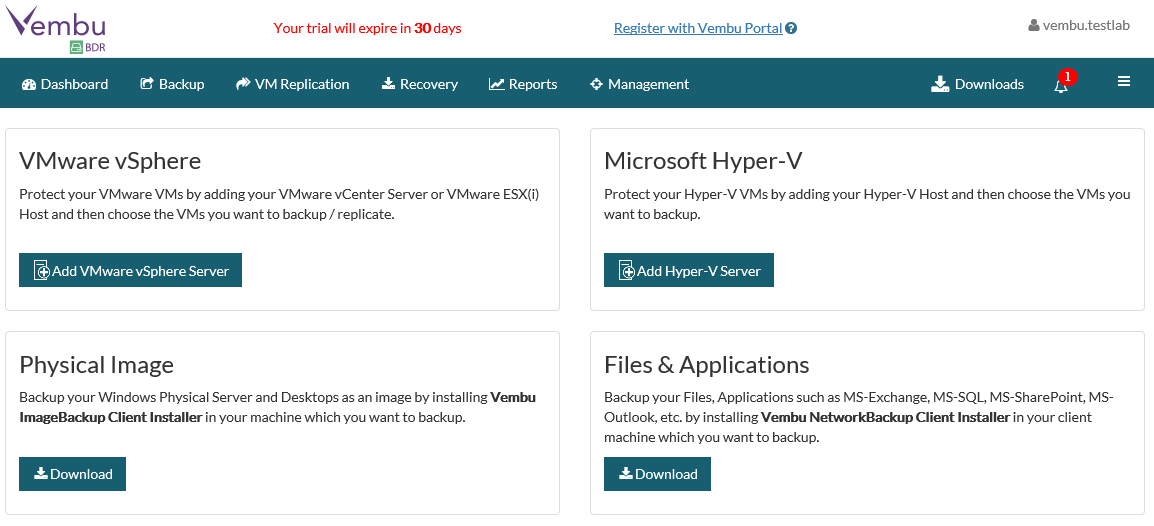
VMware Backup
I found the VMware backup and restores to be very straightforward and intuitive. Even for a new user of Vembu it is easy to follow the flow of the jobs for either the backup or restore. Let’s take a look at the VMware Backup job first.
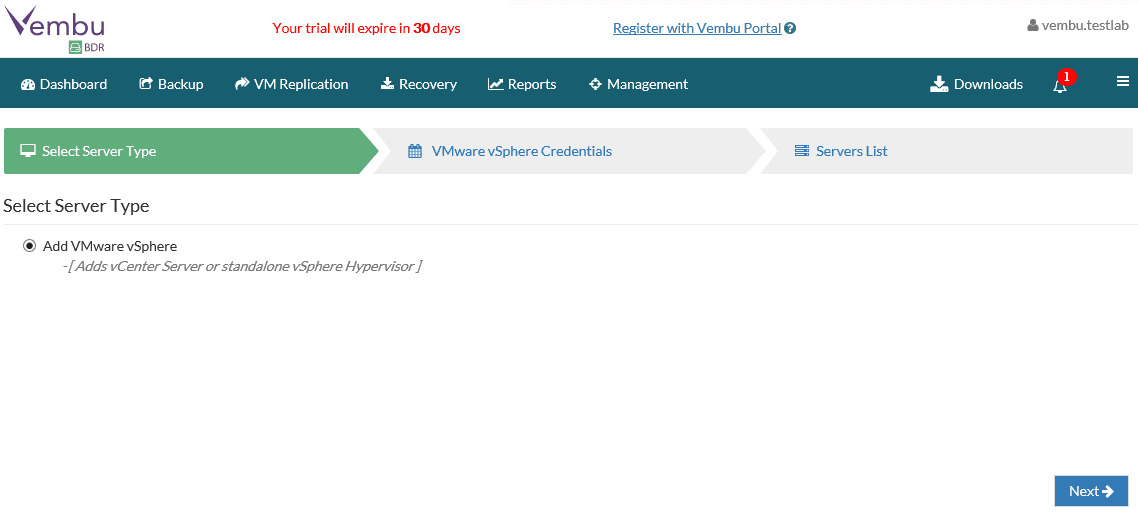
First thing we need to do is add our VMware vSphere server.
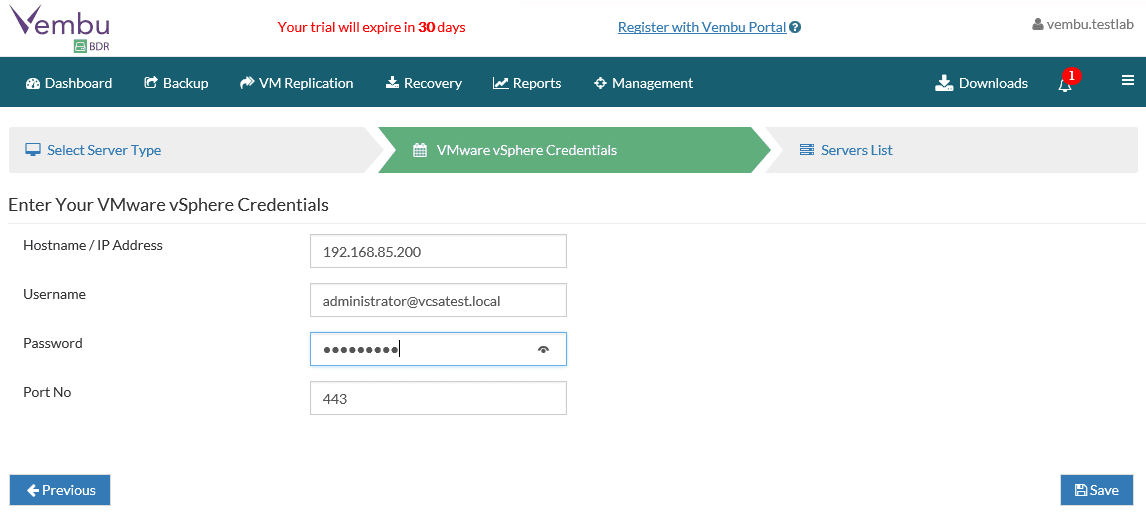
The interface is straightforward here. Simply add your hostname/IP Address and credentials to connect.
Now we should see our vCenter or ESXi host in the console.
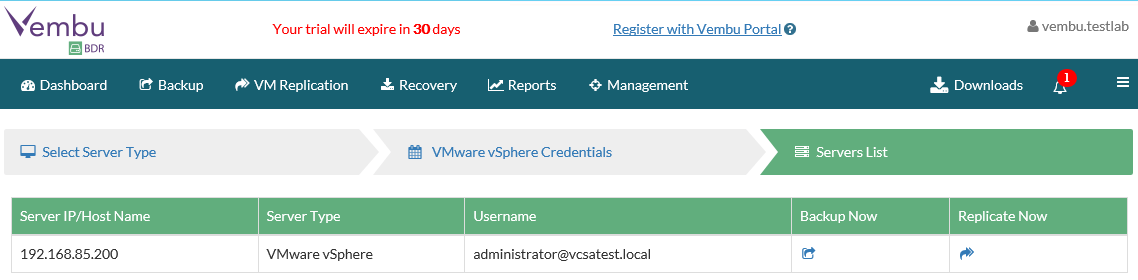
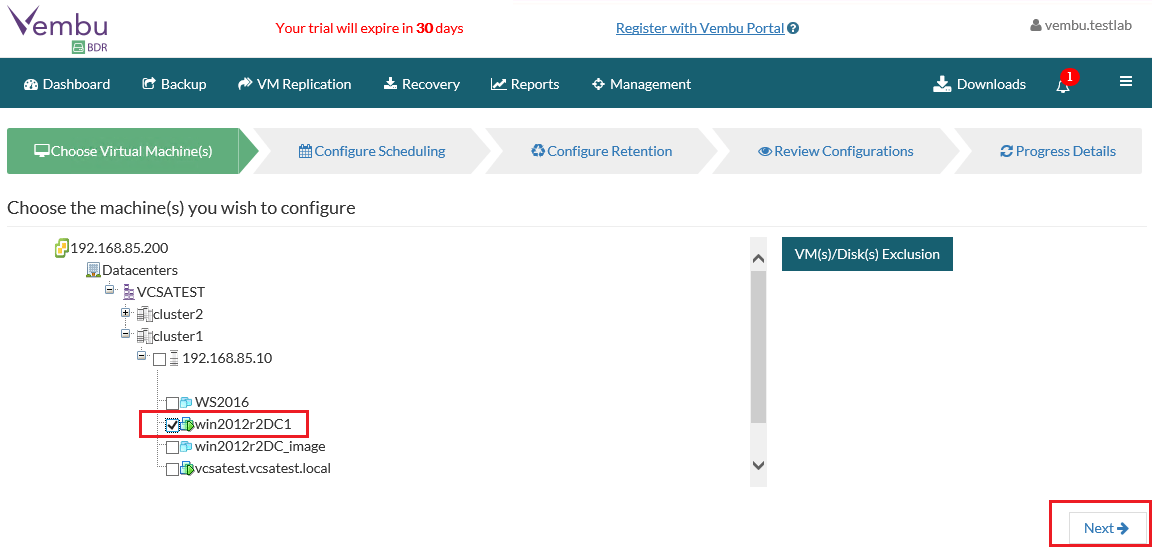
We can choose to “backup now” which will bring us to the wizard to add our virtual machine resources we want to backup.

Here we choose our virtual machine to backup.
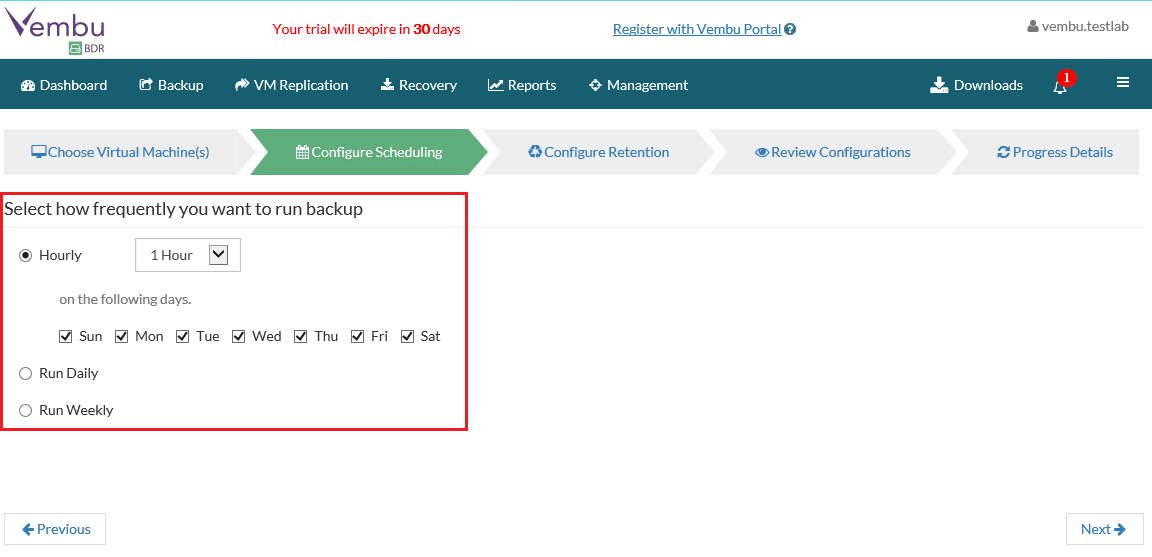
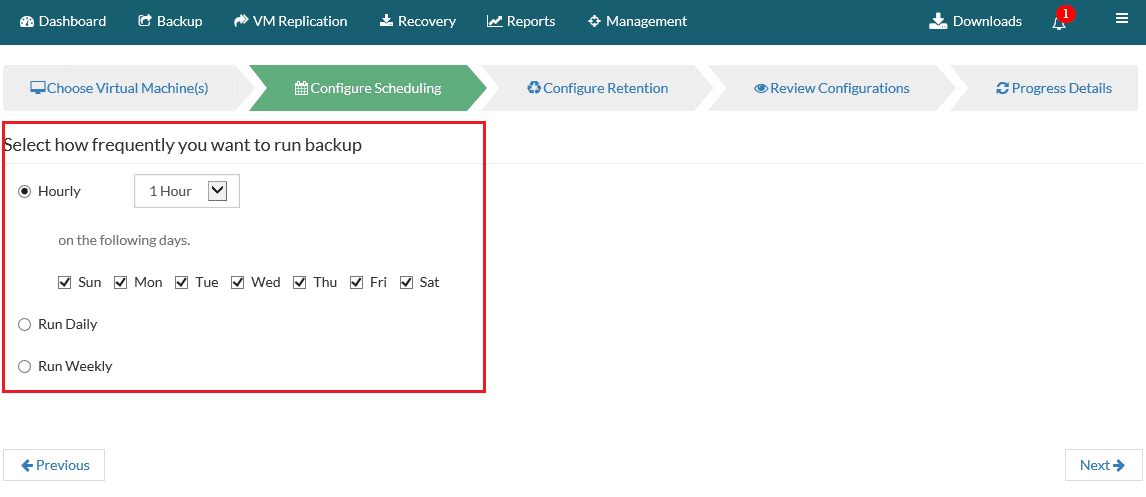
Now our schedule for backups.
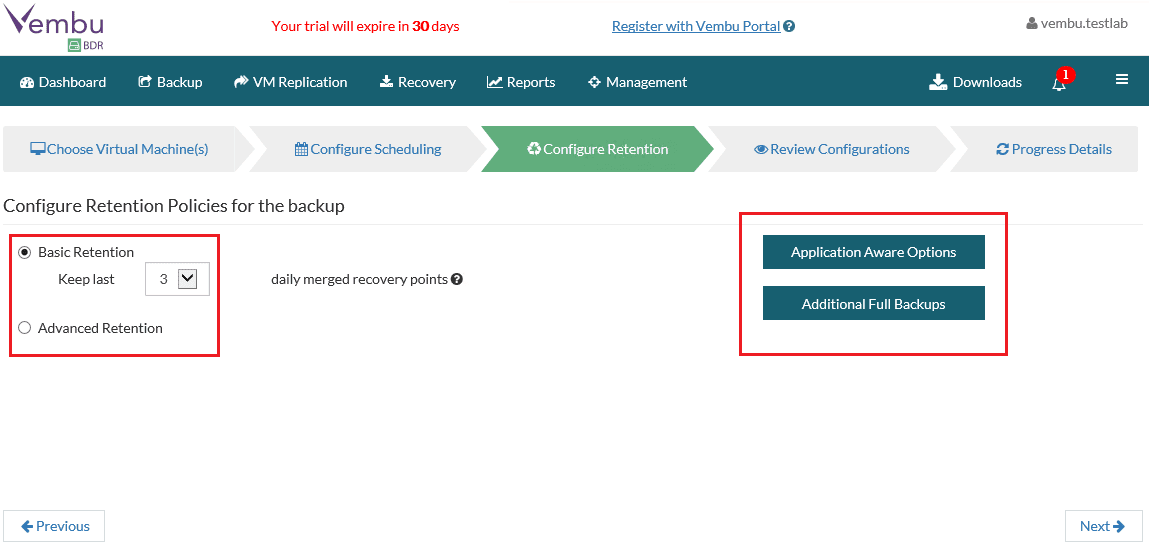
We can set a retention policy in the Configure Retention settings page.
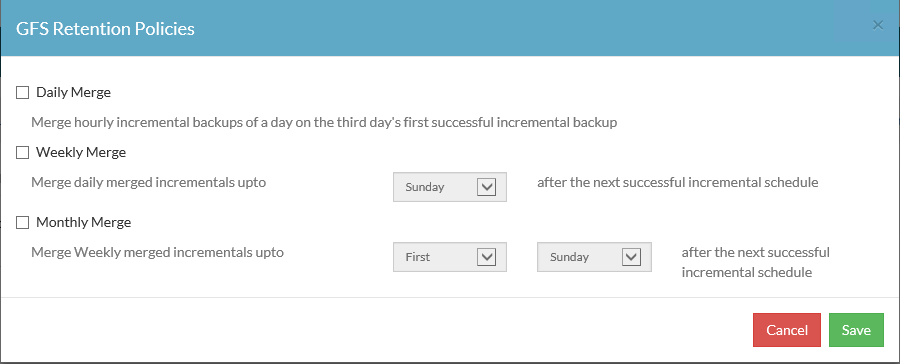
In the advanced retention policies configuration, we can customize the GFS Retention Policies.
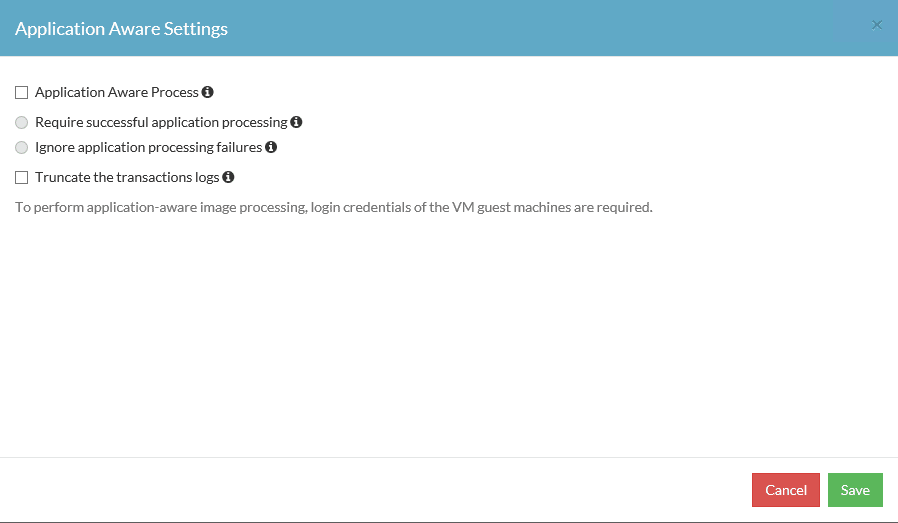
In application aware settings we can customize how Vembu responds to applications that are detected (SQL, etc).
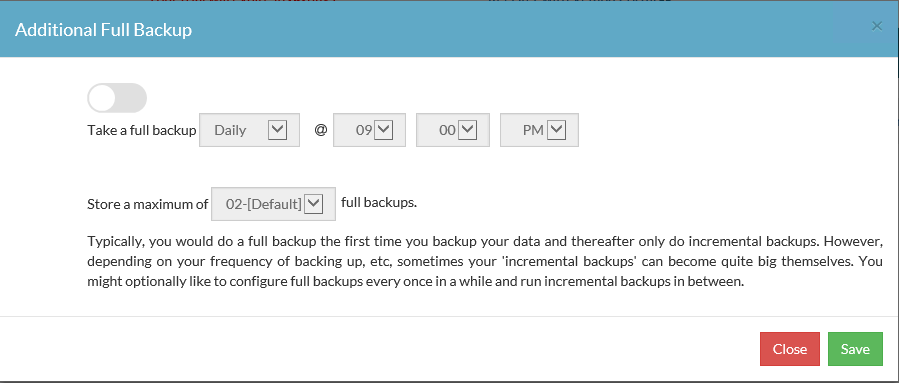
We can also choose to perform additonal full backups.
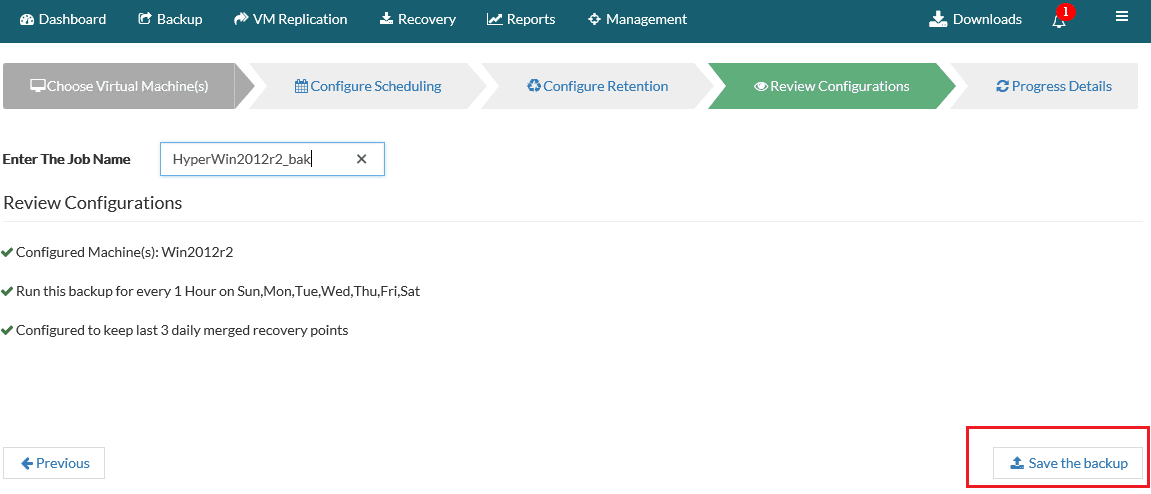
Finally we can review the settings we have configured in the wizard.
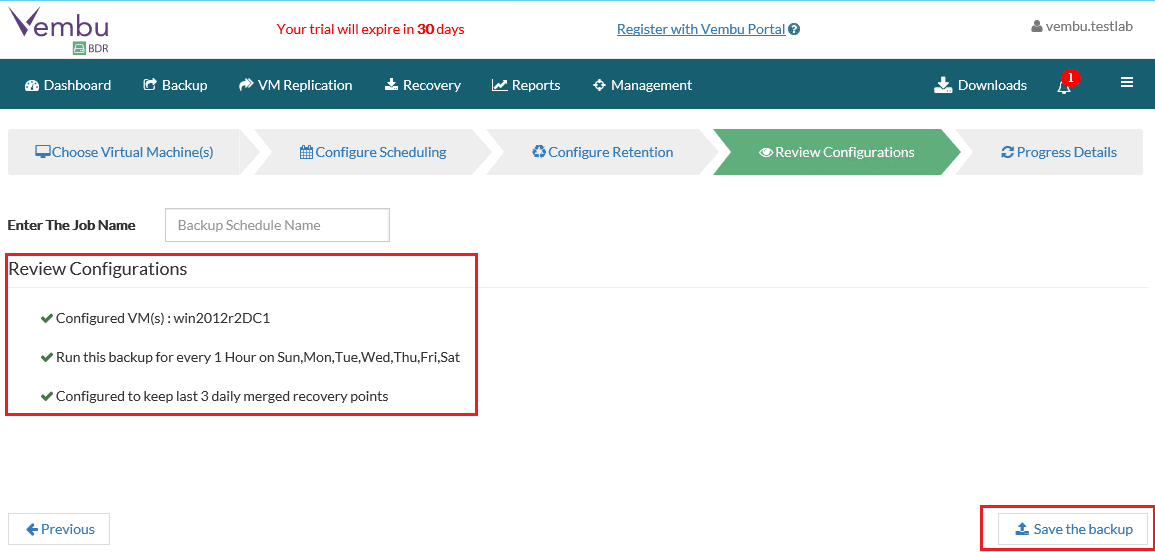
Make sure to give the backup a Job Name as it will prompt you to if you forget.

Finally, we can give the job the permission to go ahead and run the job.

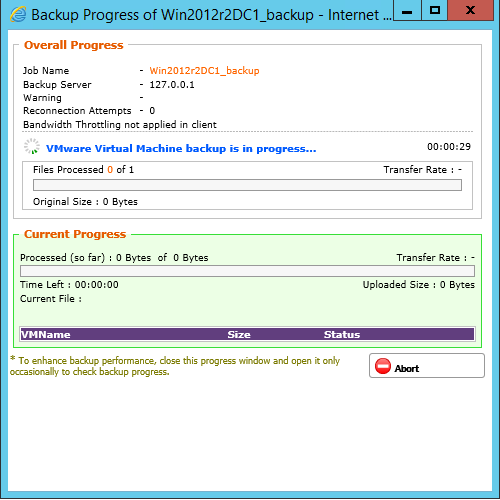
In the Progress Details screen, we can monitor the progress of the backup job.
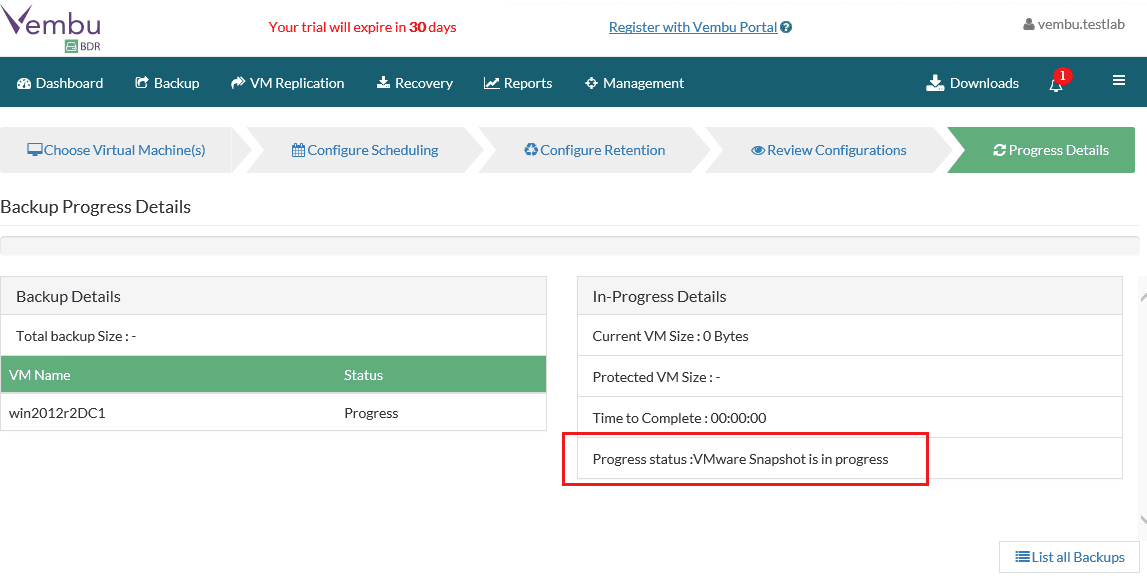
Also, we can drive into the job progress, and find more details of the backup in progress.
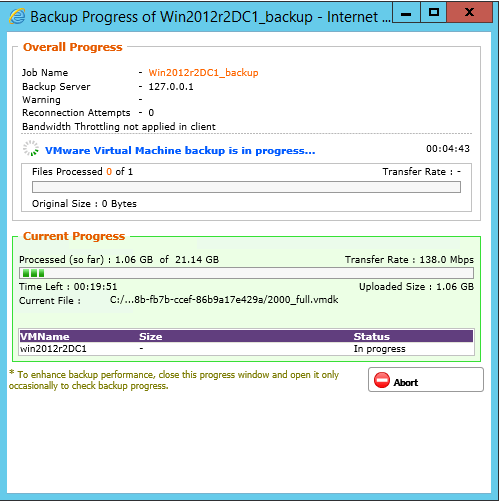
Backup completed successfully.

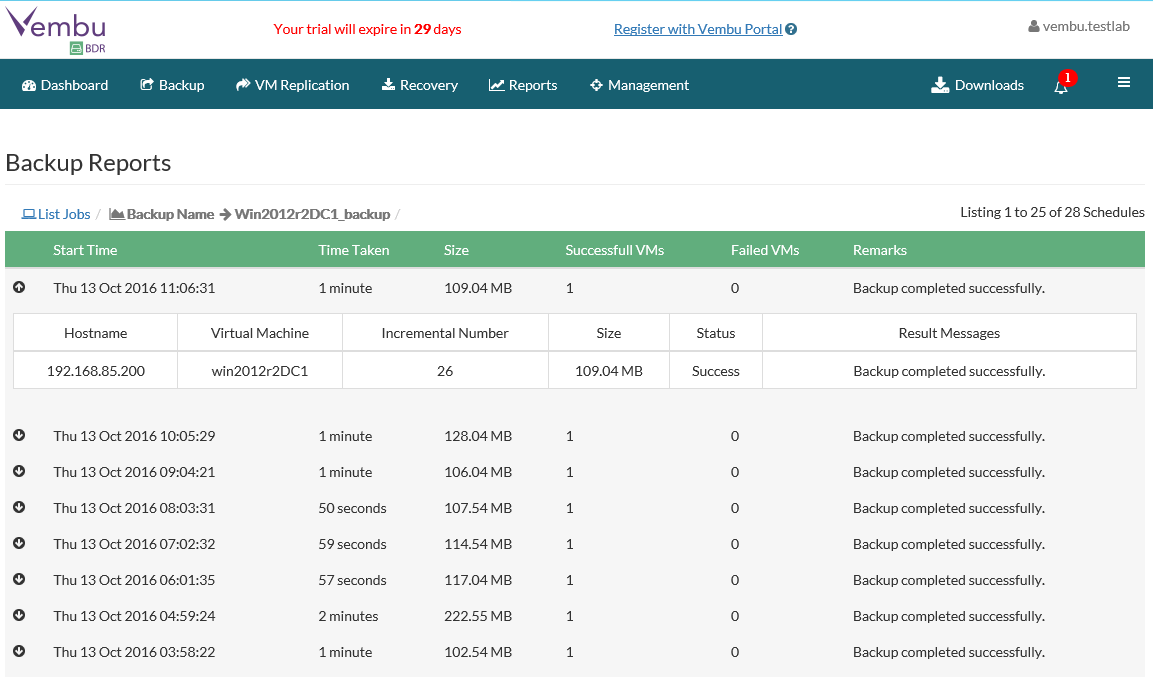
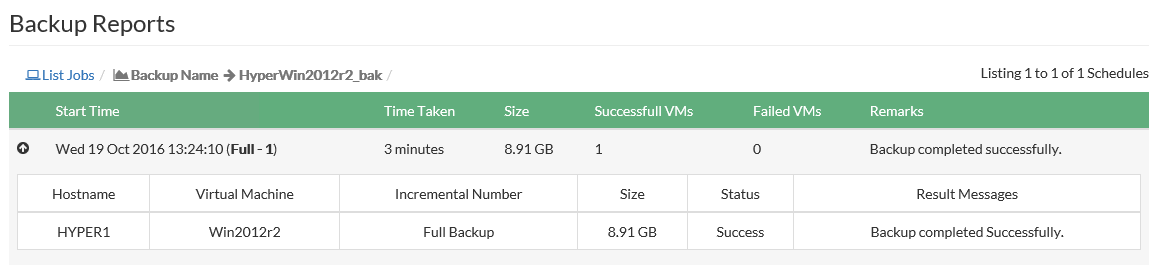
After a few hours of running backups, you can see we now have several recovery points to select from in the Backup Reports section.
All in all the backup process in Vembu BDR Suite 3.6 for VMware environments to to create a backup job and also to run the backup job was painless and seemed to work very well. The interface is intuitive and sharp. Also, the job is very customizable to fit the needs of the administrator.
VMware Restore
The restore process in VMware is equally intuitive, powerful and feature rich. Not only can Vembu BDR Suite 3.6 restore full VM backups, it also touts multiple recovery options such as Quick VM recovery, Instant File-level recovery, Application item-level recovery, etc. Let’s take a look at the restore process in VMware.
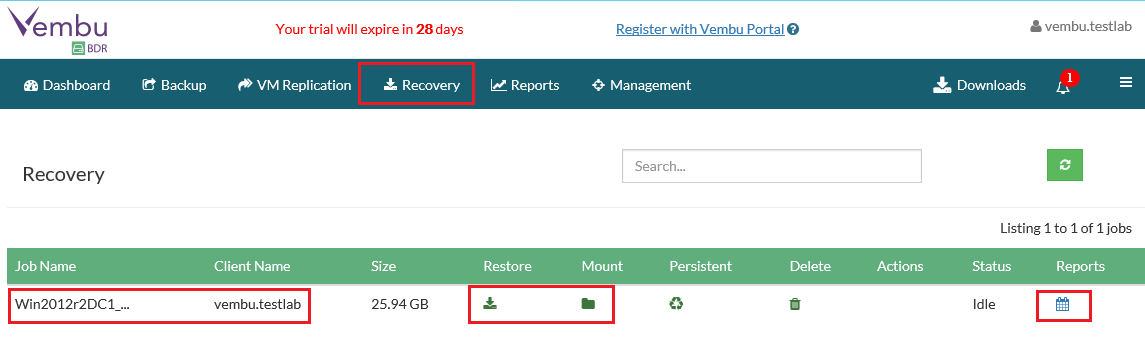
Under Recovery we select to restore the backed up VM job.
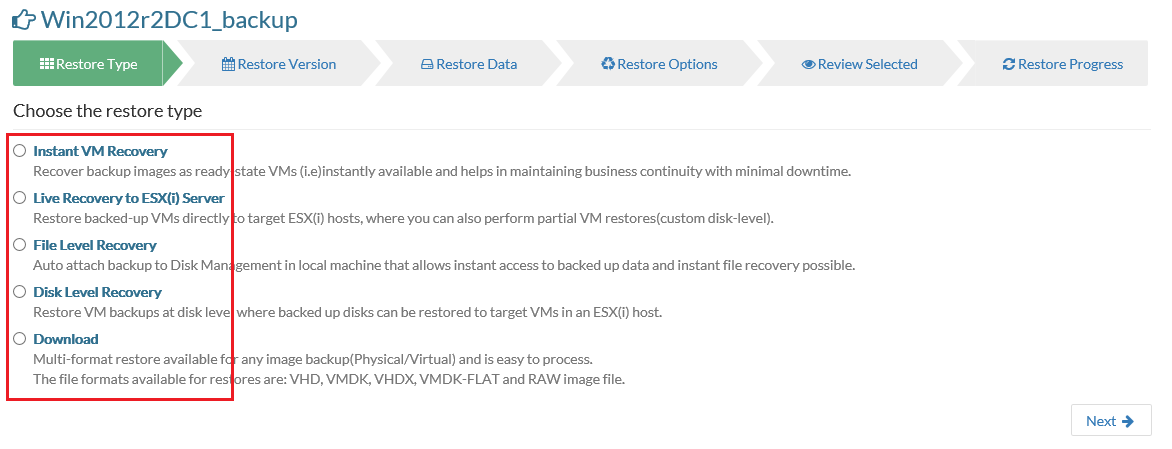
As mentioned above, there is an abundance of options here for the VMware recovery.
- Instant VM Recovery– you recover backups as ready state Vms instantly running directly from your backup
- Live Recovery to ESX – restores either the full VM or a partial VM via restoration of specific VMDK files
- File Level Recovery – Allows you to attach a backup to the local machine and have instant access to recovery files.
- Disk Level Recovery – Restores VM backups at a VMDK disk level
- Download – Allows you to download the image backup in a number of formats to suit your recovery needs
For the purposes of this restore, we are going to choose the Live Recovery to ESXi Server option to restore the entire VM.
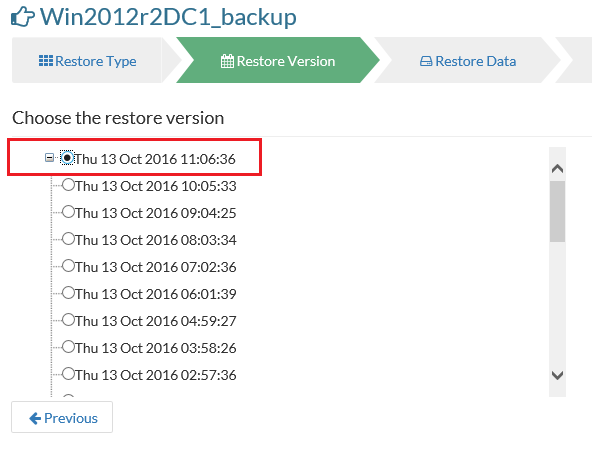
Choose the backup version.
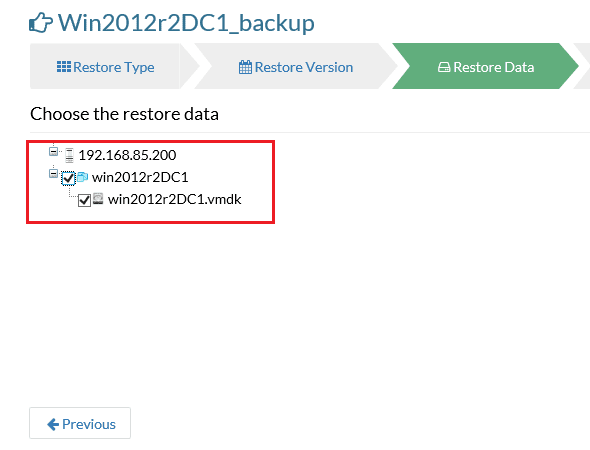
Here we can choose which VMDK disk we want to restore if not all of them.
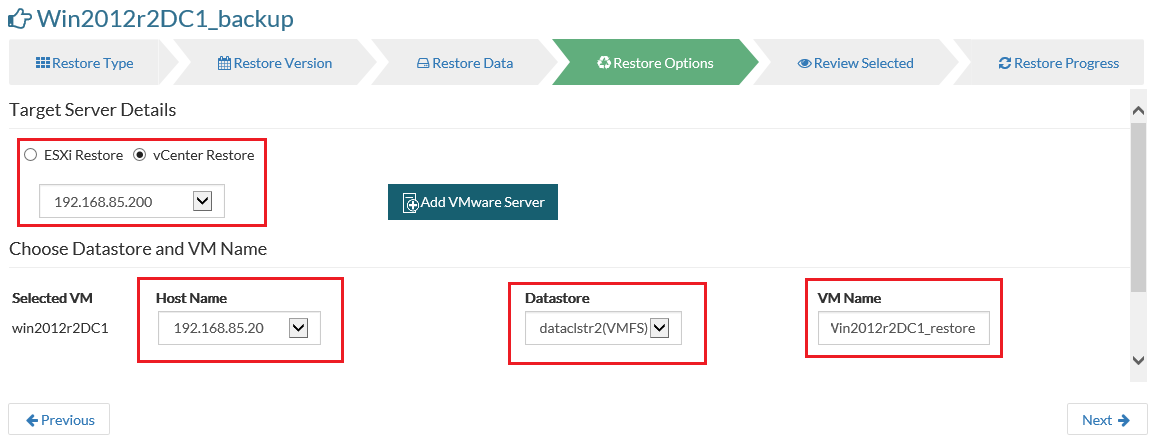
In the restore options, we can choose which host, datastore, and the name of the VM.
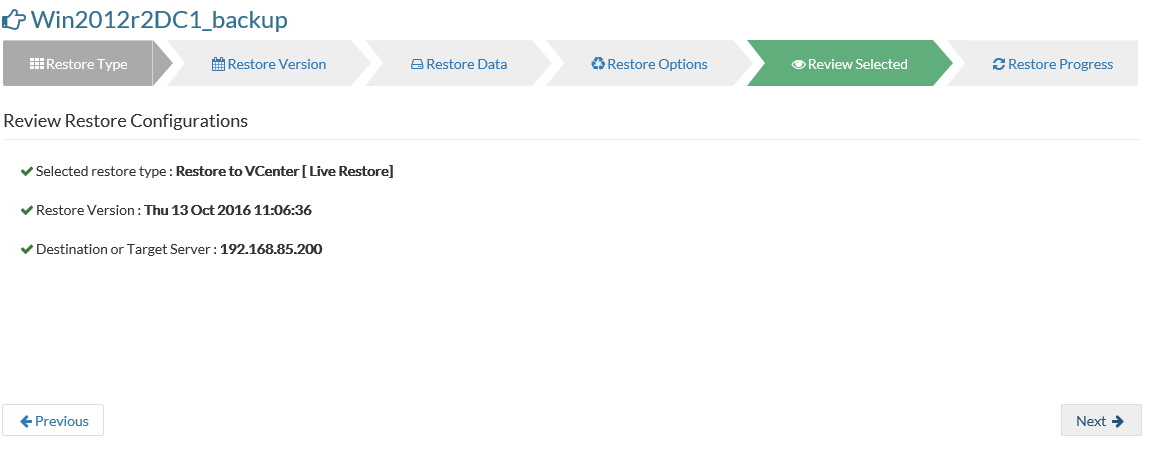
We have a review of the configuration we have chosen to restore.
Finally, we can confirm the restore operation.

Restore progress begins.
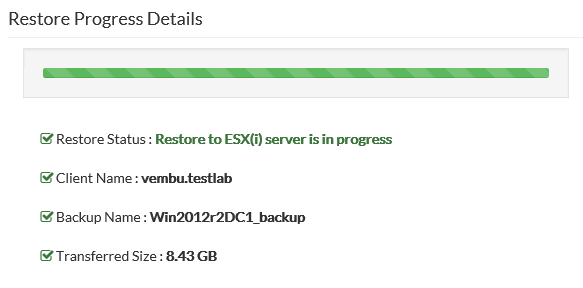
After the VM is restored, we can see it in our target cluster:
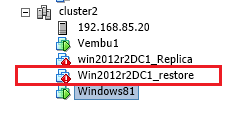
The VMware restore process offers a lot of functionality all the way from a granular restore up to a full VM restore as we have demonstrated here.
Hyper-V Backups
Vembu BDR Suite 3.6 shows that it is a very capable multi-hypervisor product able to backup not only VMware but also Hyper-V environments as Hyper-V is ever growing in its market share, having a backup product that can span both worlds is a great step in building a capable backup infrastructure. Let’s take a look at adding our Hyper-V infrastructure to the Vembu BDR Suite 3.6 console.
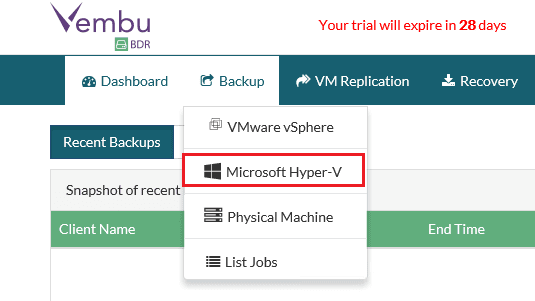
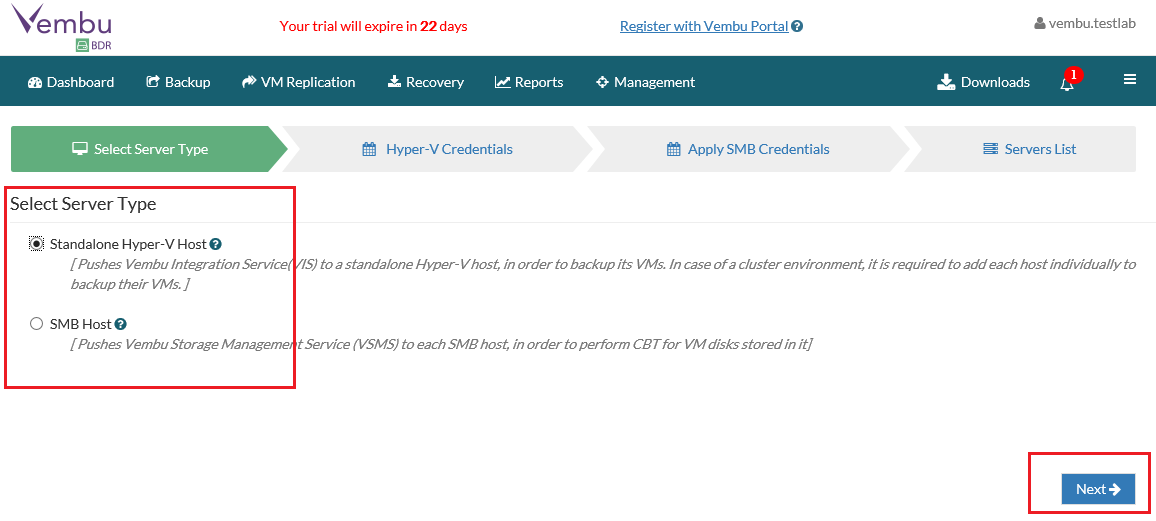
Simply go to the Backup menu in the BDR interface and select Microsoft Hyper-V which will begin the wizard to add your Hyper-V server.
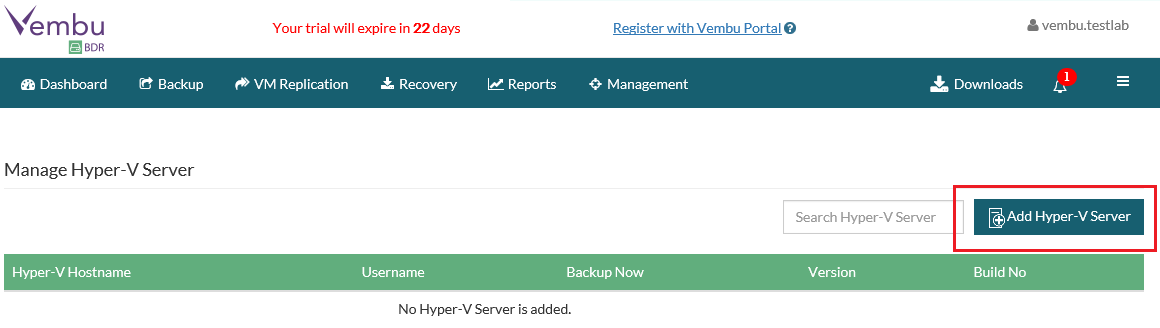
Click the Add Hyper-V Server button.
I have a standalone Hyper-V server in the lab so selected the Standalone Hyper-V Host here.
Next, we need to enter the Hyper-V Credentials. I entered my domain administrator account for the TESTLAB environment.
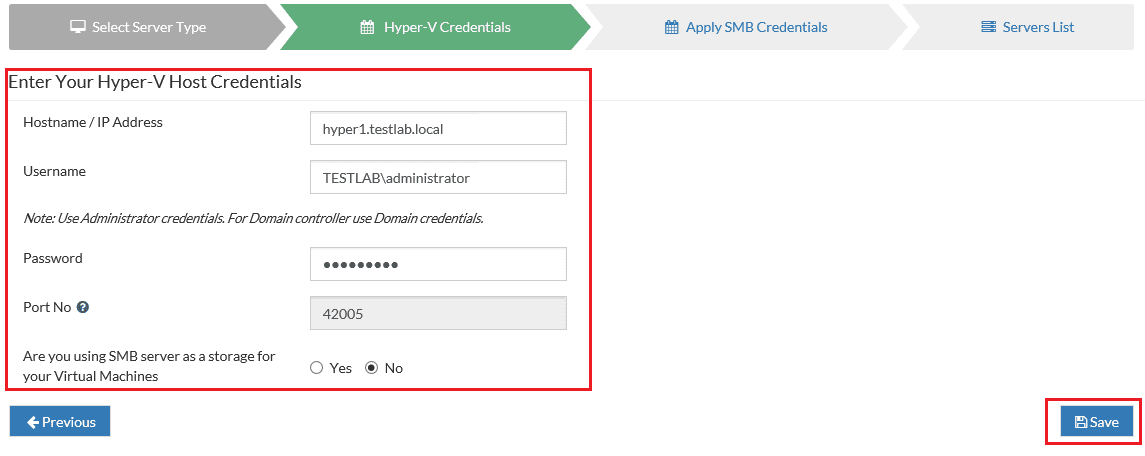
I ran into this error with adding the Hyper-V server which indicated the lack of administrative privileges with the service account. Again, here I changed the Vembu BDR service to a domain account with permissions on both the Vembu server and Hyper-V server.

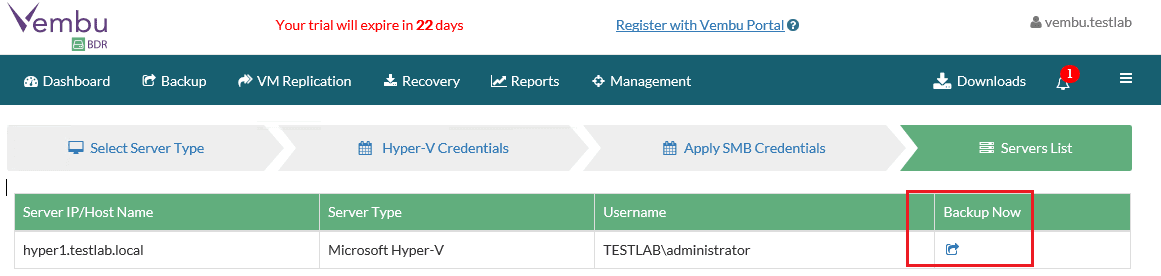
After changing the service account, the save operation on the Hyper-V Credentials was now successful and the server was added to the Vembu BDR Suite 3.6 console. As you can see below, we now see the Hyper-V server and have the option to run the Backup Now command.

Hyper-V Virtual Machine backups
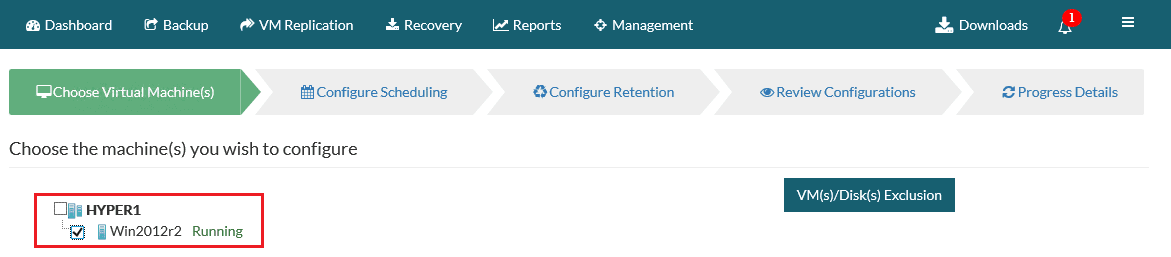
Let’s now look at the process to backup a Hyper-V virtual machine. Again using the Vembu 3.6 BDR console, the process is intuitive and efficient.
After we click the Backup Now button, we can expand our Hyper-V server and select the VM(s) that we want to include in the backup job.
Next, we choose the Backup schedule.
Next, we can configure our retention policy for our backed up VMs. Also, you can customize your Application Aware Options like truncating logs, etc, as well as specifying any additional full backups.

Finally, we name the backup Job Name and review our configuration. Click the Save the backup button.
We will get prompted to confirm and proceed with the backup job.

We can watch the progress of the backup job.
After the job finishes, you can look at the Backup Reports to get details about the backup job, etc.
Hyper-V Restore
Equally important to the backup job itself is the restore job. Let’s look at how Vembu BDR Suite 3.6 performs the restore job with Hyper-V.
In our Recovery menu, we will see our available VMs that can be recovered by way of Job Name. As you can see below, we click the Restore button that is listed with the Job Name.

When we click Restore, it begins the Restore wizard which steps us through the recovery process. First we select the type of restore we want to do. We want to do a live recovery to our Hyper-V server so we select this option.
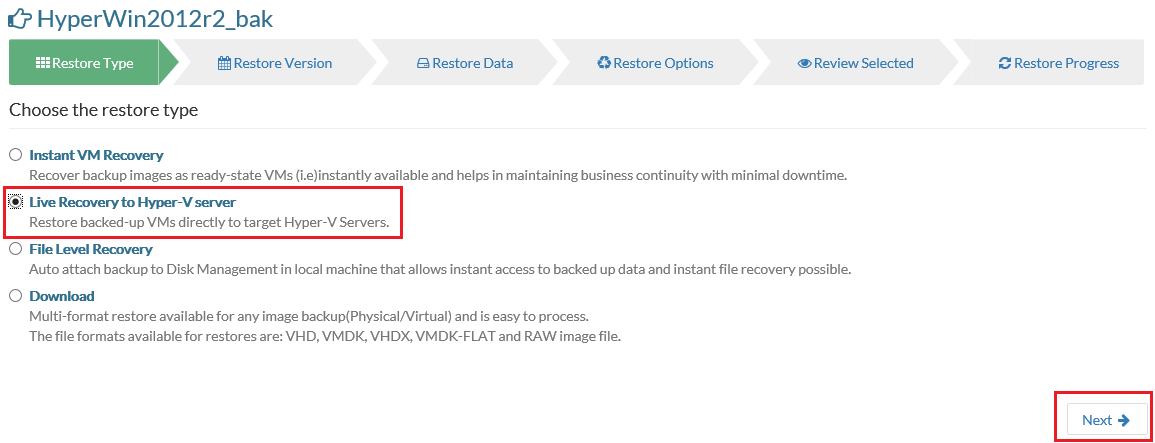
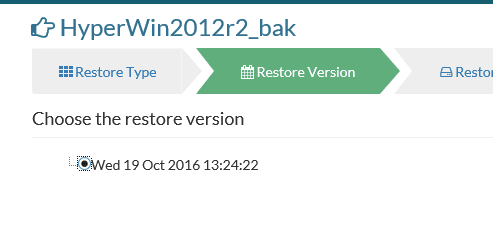
Next, we select the Restore Version or restore point if you will to perform the recovery.
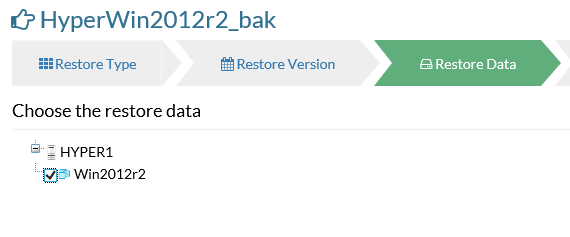
Next, select the restore data.
Here, things are a little different than the VMware restore mainly due to the differences between VMware and Hyper-V. We need to enter the UNC path to place the VM, user credentials to perform the operation as well as the type of virtual disk we want to provision from the backup and memory to be allocated.

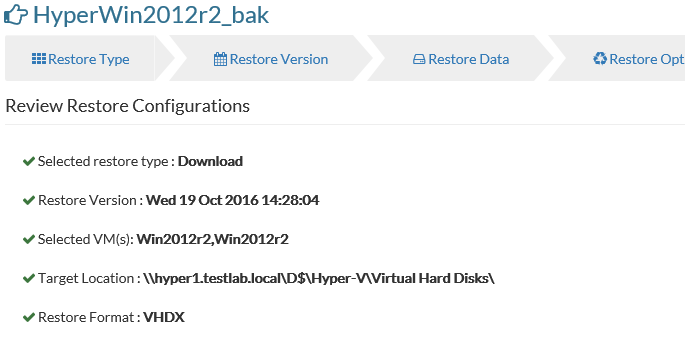
Finally, we come to the review of our recovery operation configuration parameters.
We are asked to confirm and proceed with the restore.

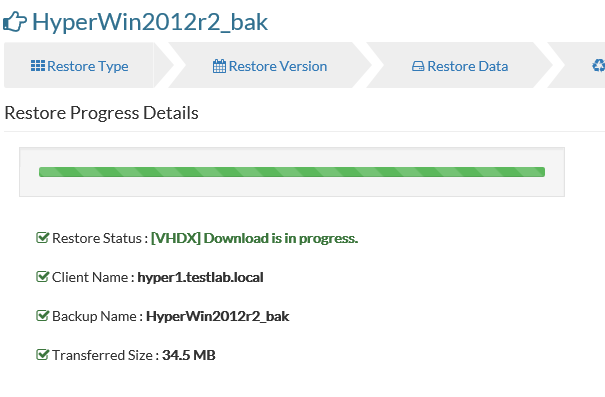
Restore progress…
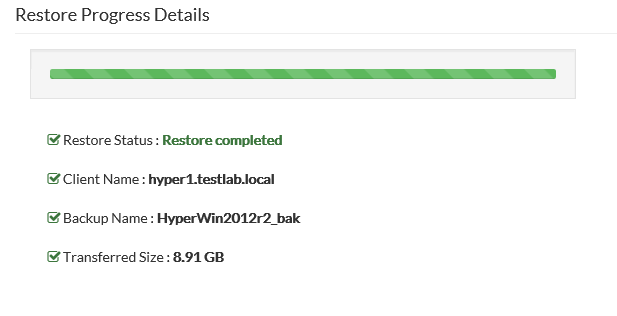
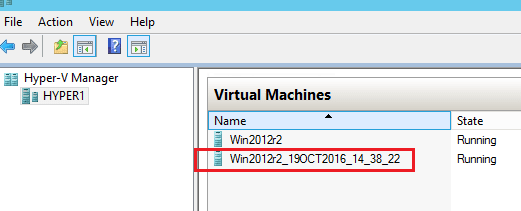
As you can see the restore of the VM is successful with the VM and restore data and time appended to the end.
Under your Backup Listing, you can select the Restore Report tab and see the details of your restore operation there.
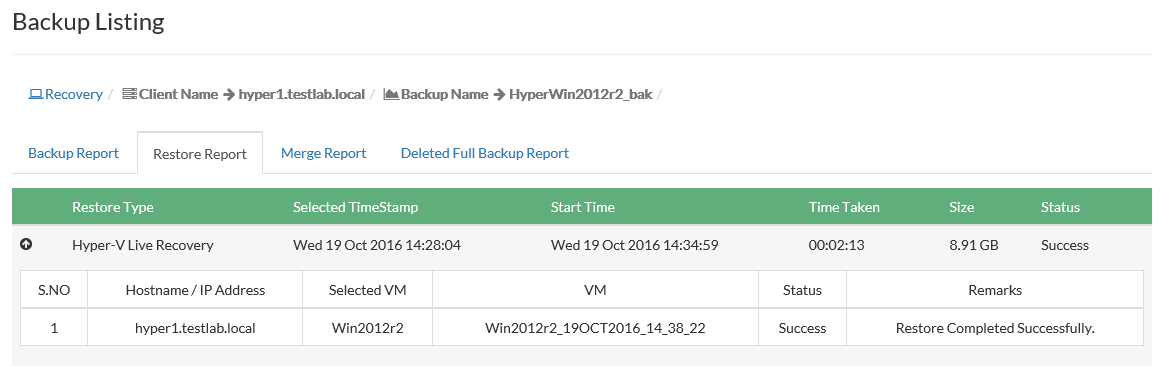
Again Vembu BDR Suite 3.6 shines here with the Hyper-V restore operation. No issues, the restore is completed quickly and effectively.
Replication
Finally, let’s take a look at the Replication piece to Vembu BDR Suite 3.6. Replication is a very important aspect to any disaster recovery solution. Currently, there is only a solution for VMware replication.
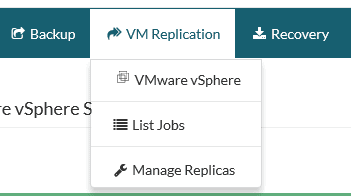
When choosing VMware vSphere under VM Replication, we choose the Replicate Now button.

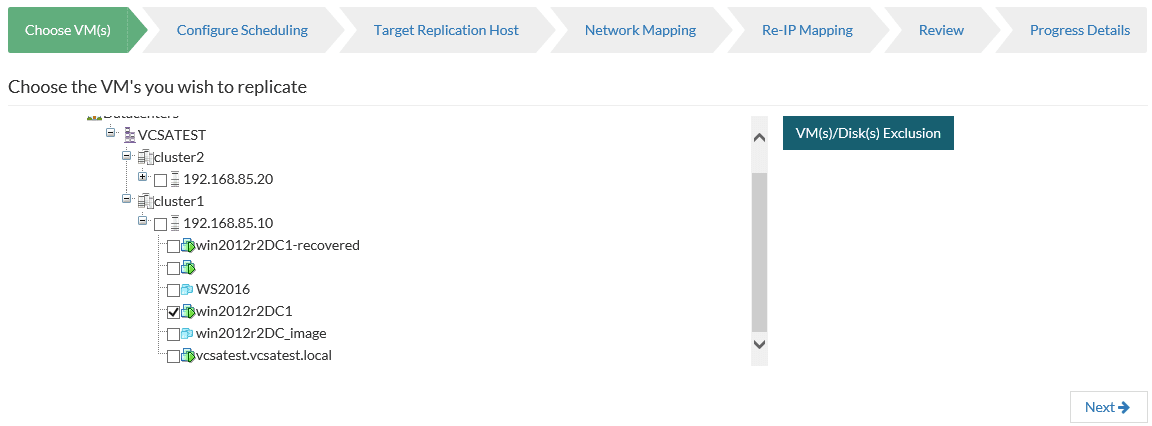
Now we select the VMs we want to replicate.
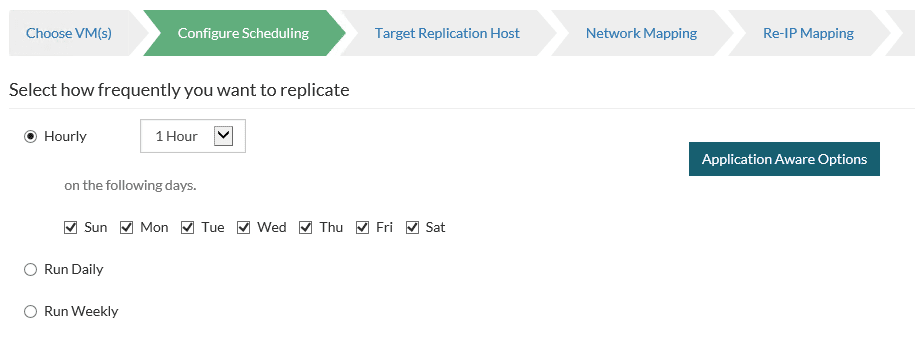
Configure the schedule as well as any application aware options.
Next, we choose the Disaster Recovery server for VM Replication which can be the same or different vCenter server. Also, we can select the target datastore, replication suffix for the name in vSphere as well as the retention count for recovery points.

Next, we can configure source and target networking if these are different between your source and target.
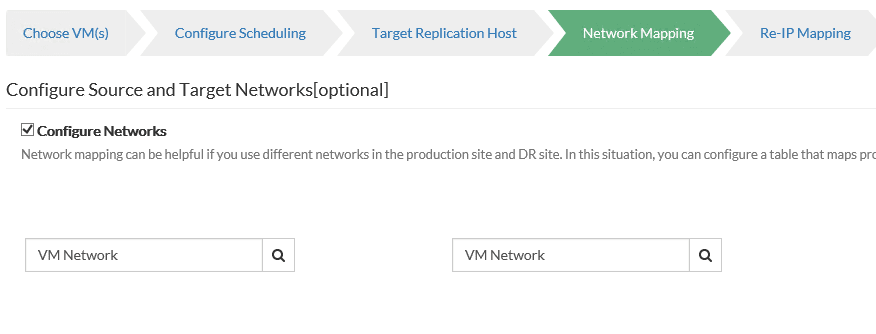
To go along with the networking configuration, we can have Vembu BDR Suite 3.6 Re-IP our replicated VMs if the network at the DR location is different with different IP subnets in place.

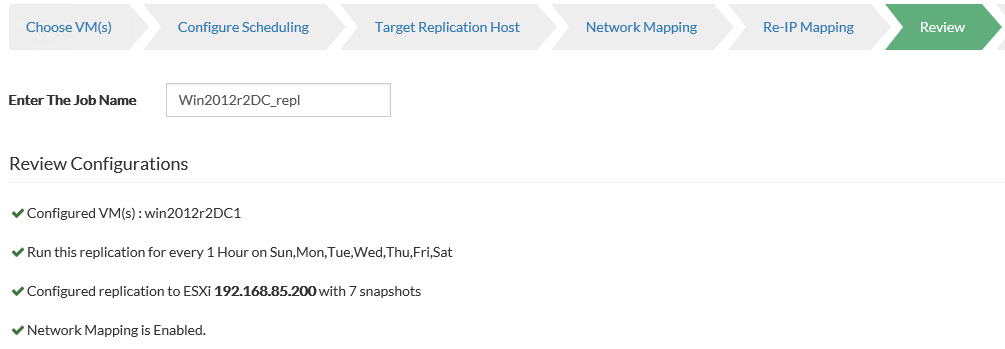
Next, review your configuration and name the Replication Job.
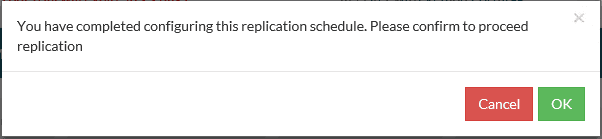
Again, we confirm the operation and begin the replication job.
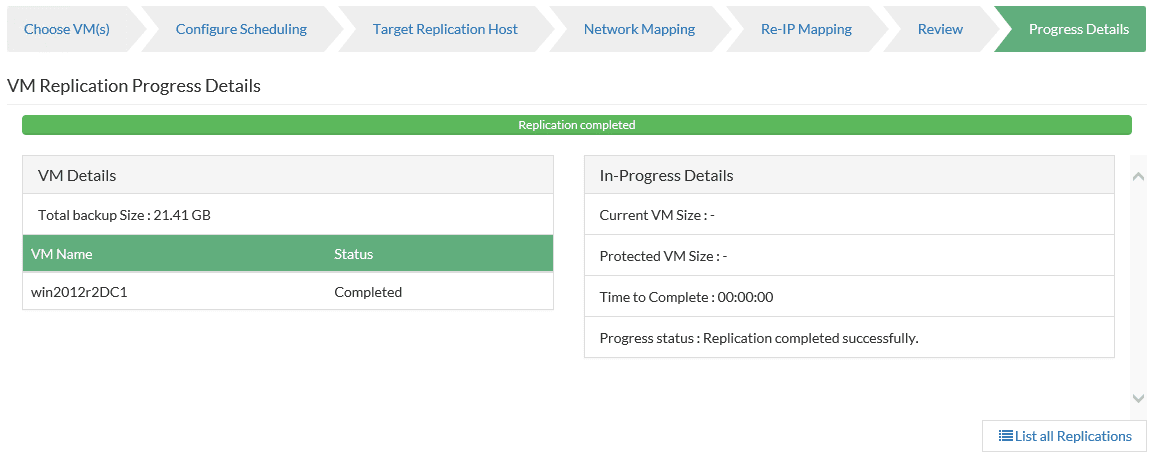
Replication completes successfully.
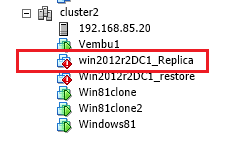
As you can see in our target cluster, we now have the VM we chose to replicate along with the suffix appended.
Final Thoughts
In this Vembu BDR Suite 3.6 hands on review, we have shown Vembu BDR Suite 3.6 to be a full featured toolset for effectively backing up both VMware as well as Hyper-V environments. The interface is extremely intuitive and easy to navigate with all the tools placed in the locations you would expect them to be. I found no issues with installing the product, backups and restores from either a VMware or Hyper-V environment, or performance with any of the operations that were performed. Check out Vembu BDR Suite 3.6 via a free download from Vembu here.
Google is updating how articles are shown. Don’t miss our leading home lab and tech content, written by humans, by setting Virtualization Howto as a preferred source.
About The Author