Setting up a Hyper-V cluster lab in VMware Workstation is not too difficult and can easily be accomplished in a couple of hours worth of work to get things configured and ready to go. Basically the same requirements hold true of setting up a lab environment as it would if you were setting up a physical cluster and all that would involve.
This is by no means a comprehensive list, but in general:
- Shared Storage
- Network Connectivity in place (Heartbeat, Storage, Live Migration, and Production traffic)
- Failover cluster prerequisites
In my lab, I am using VMware Workstation 11 for setting up the virtual machines and shared storage so let’s take a look at getting things setup in VMware Workstation.
Network Configuration
In my lab configuration, I am using “host only” networks for the VM nics. There are four networks that I want to setup and have available in the Hyper-V lab:
- Production – Used for management as well as VM traffice
- Storage – Used for shared iSCSI storage between hosts
- Heartbeat – Used for failover cluster hearbeats
- Live Migration – This is Hyper-V’s equivalent to VMware’s vMotion
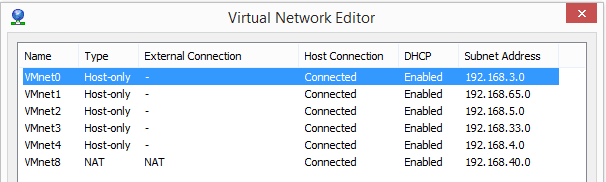
The above screen clip has more networks than the ones used for Hyper-V as I also am using VMware Workstation for an ESXi lab I have in place. However, I will highlight how I have this configured in my lab.
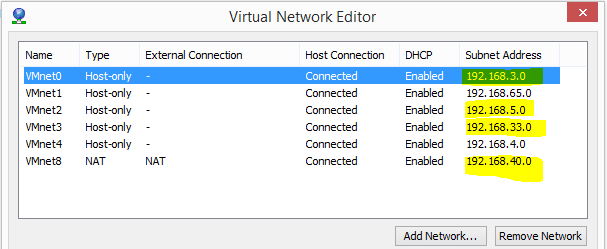
- 192.168.3.0 – This is the Live Migration subnet and address range
- 192.168.5.0 – This is the subnet and address range used for Production management and VM traffic
- 192.168.33.0 – This is the storage subnet and address range
- 192.168.40.0 – This is the heartbeat subnet and address range
Configuring Network on the Hyper-V hosts
The network setup on each of my Hyper-V hosts looks like the following:
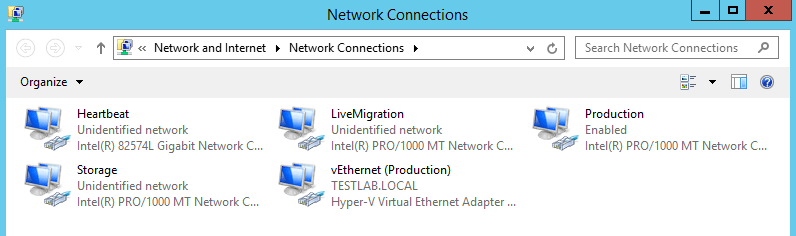
Each network connection on the hosts were setup as follows:
Heartbeat, Storage, Live Migration
- Under the DNS tab, uncheck, Register this connection’s addresses in DNS
- Under the WINS tab, select Disable NetBIOS over TCP/IP
Production
- Make sure Register this connection’s address in DNS is checked
- Make sure Enable NetBIOS over TCP/IP is selected
This should get us to the point of having the servers ready connectivity wise to be able to talk between themselves for heartbeat purposes, storage, live migration, and then also the production management and VM network.
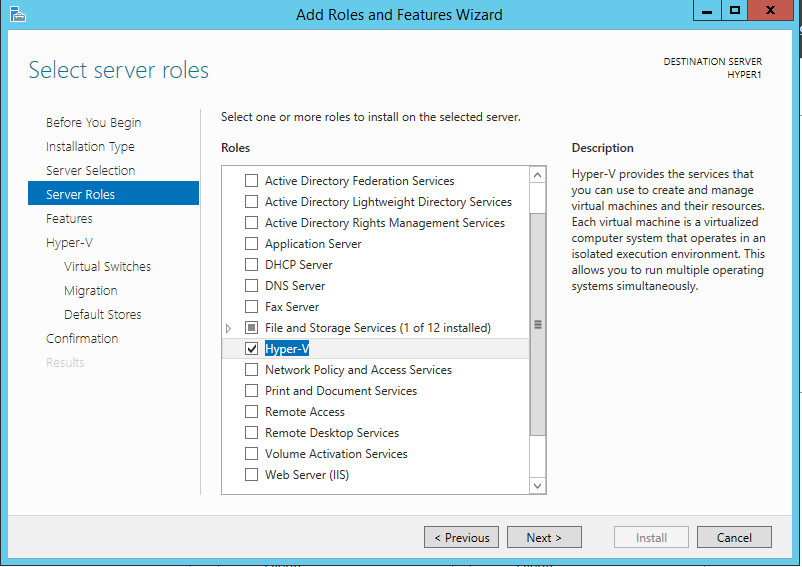
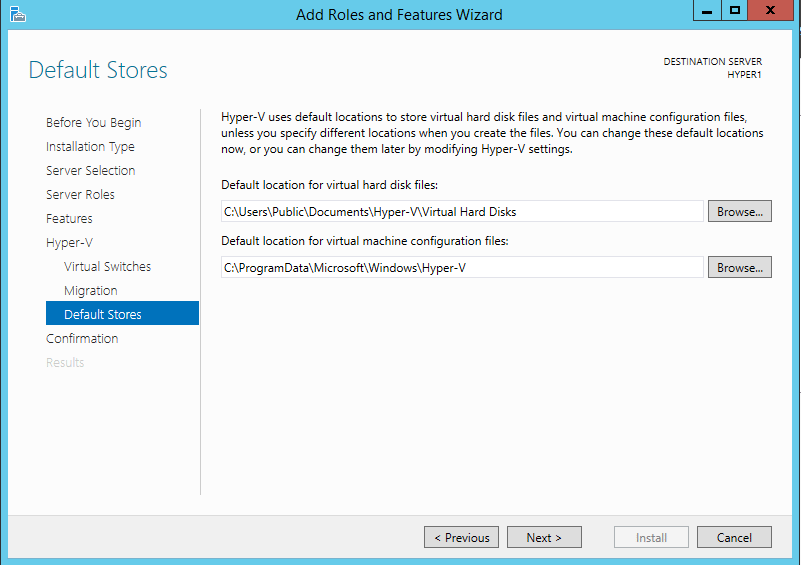
Installing the Hyper-V role
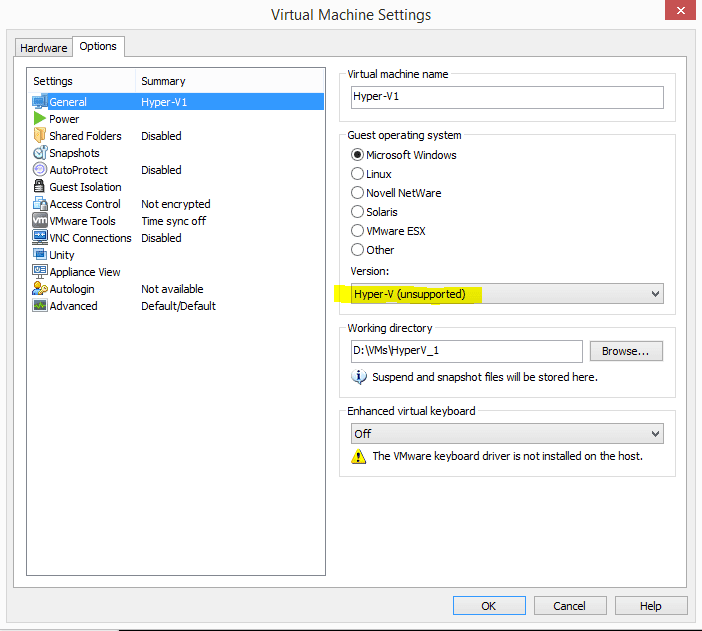
Before clustering the servers together, we want to install the Hyper-V role on each respective host. In VMware workstation, you need to make sure that you have selected Hyper-V (unsupported) in the Version dropdown box. You will not be able to install the Hyper-V role if you select Windows Server 2012 instead of Hyper-V. This is the selection that enables nested virtualization for Hyper-V.
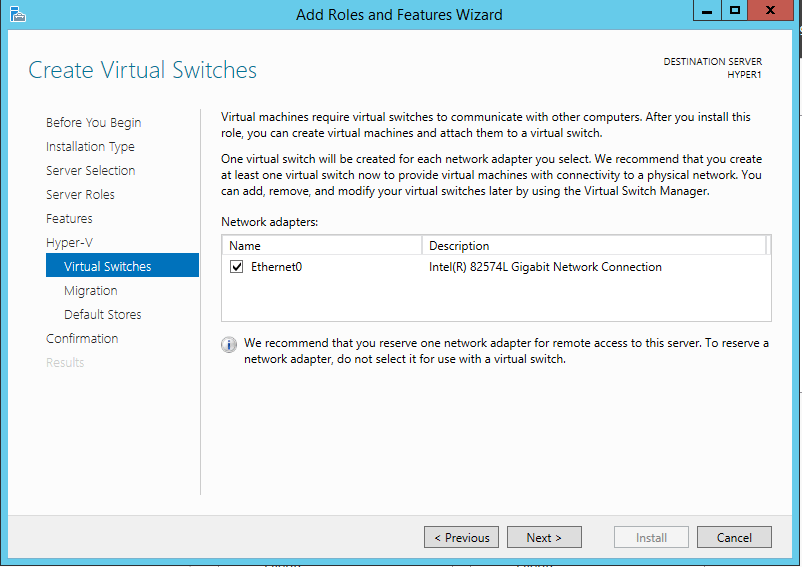
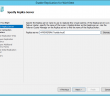
Do not select the Ethernet adapter or any that may be listed here. This screenshot came from another run through where I had it selected.
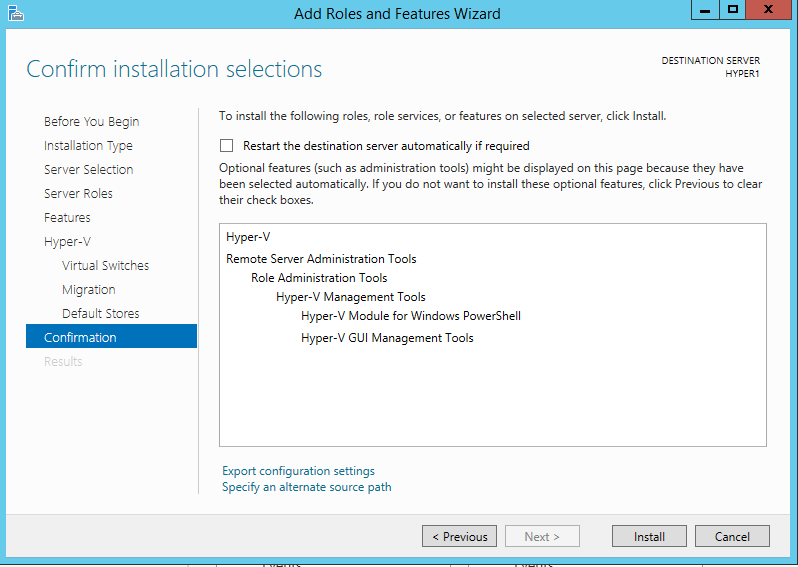
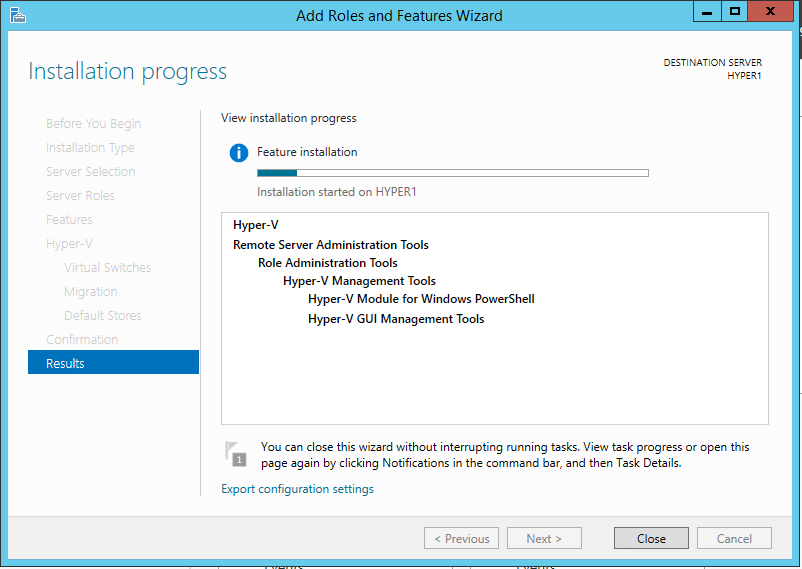
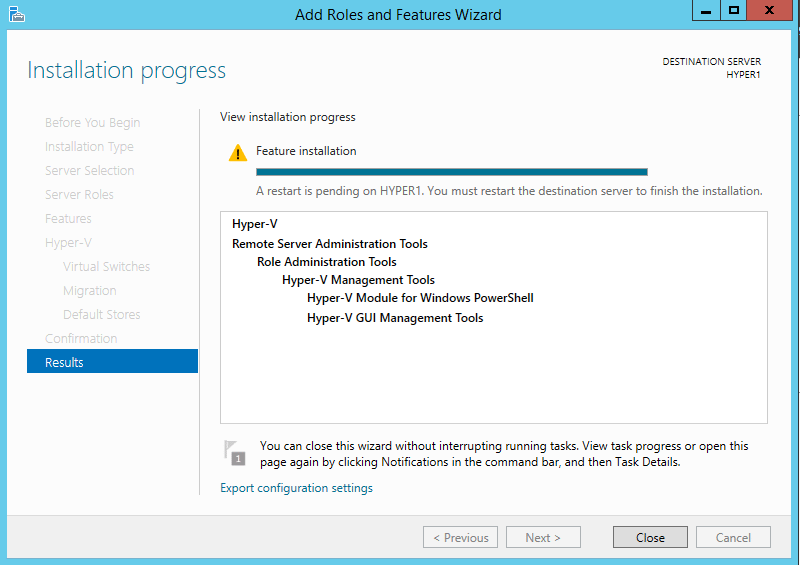
Do the above process for each host in your cluster which gets the Hyper-V role service installed.
Setting up Storage
In my lab, I am using FreeNas as the iSCSI target and have several small VMDKs assigned to the VM for targets by ESXi as well as Hyper-V. I kept things simple on my FreeNAS VM and simply used one network adapter which sits on the storage network that was setup in the VM network editor listed above.
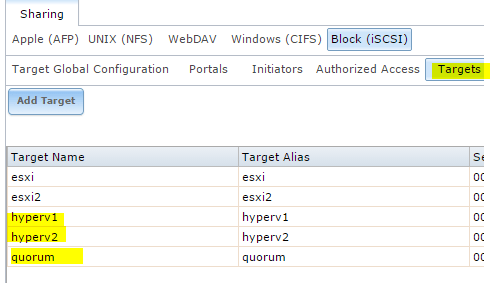
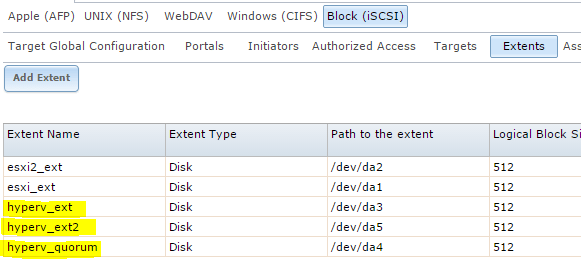
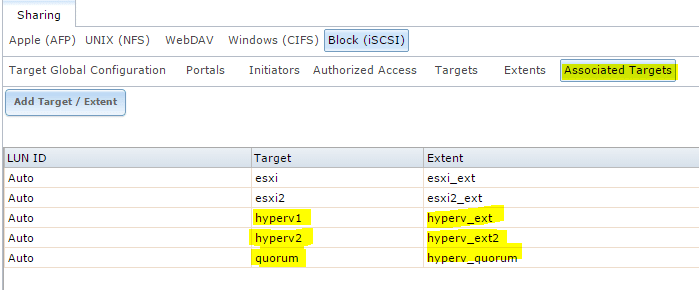
For Hyper-V I created the following:
- 40 GB LUN for VM storage
- 5 GB LUN for VM storage just to have a secondary storage location and not take up too much space
- 1 GB LUN for Quorum disk between the two clustered Hyper-V servers
Below are screenshots taken from the iSCSI setup on my FreeNAS VM. You see the Targets, Extents, and Associated Targets.
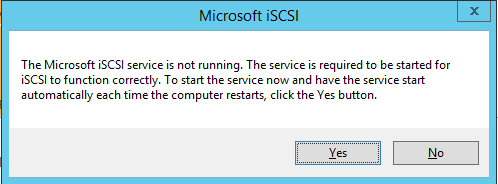
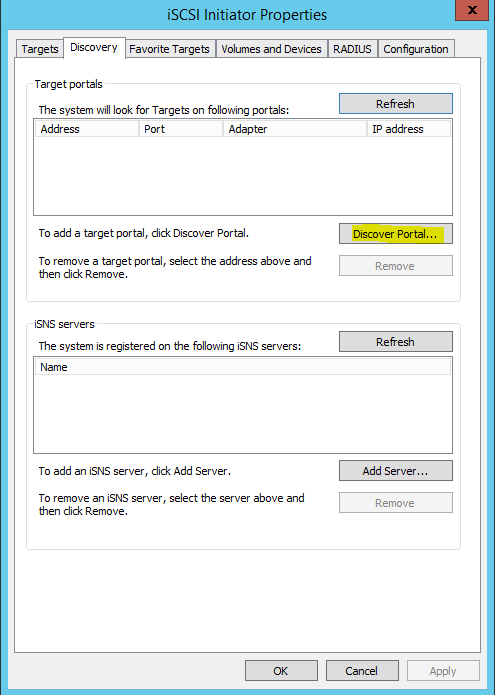
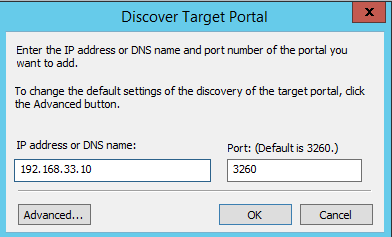
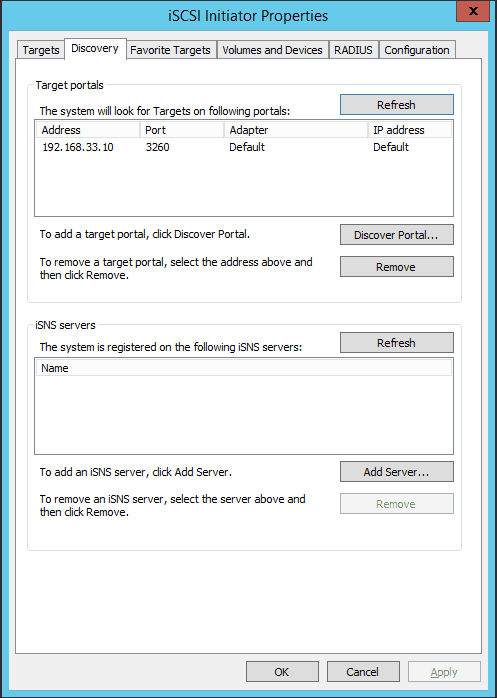
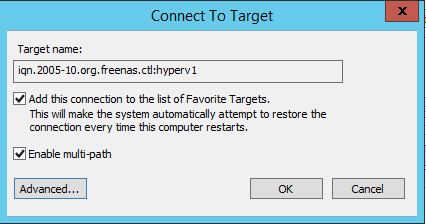
iSCSI Setup on the Hyper-V VMs
You can launch the iSCSI initiator setup on the Hyper-V boxes by running the iscsicpl.exe command.
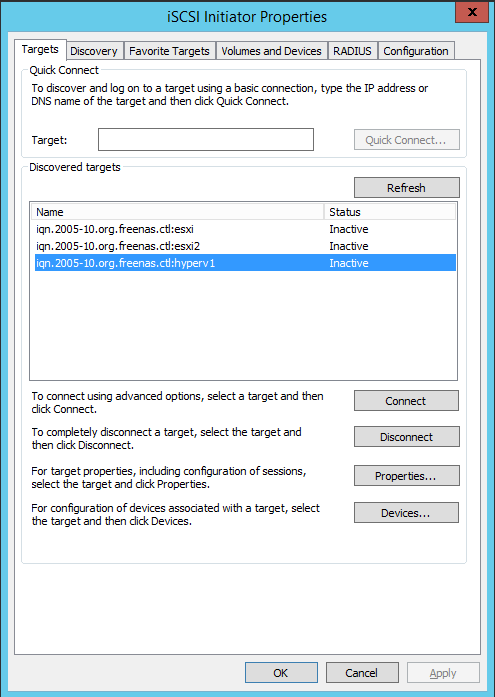
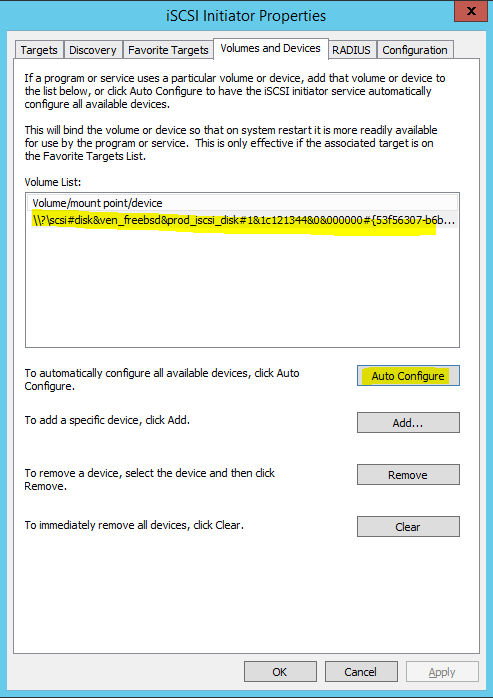
After you have added the disks to both nodes in the Hyper-V cluster, you need to provision the space in disk management. You will then select to bring the disk Online, then Initialize, then create volume. You need to do this on one node, however, the second node still needs to have the disks brought online. The volumes should show as provisioned.
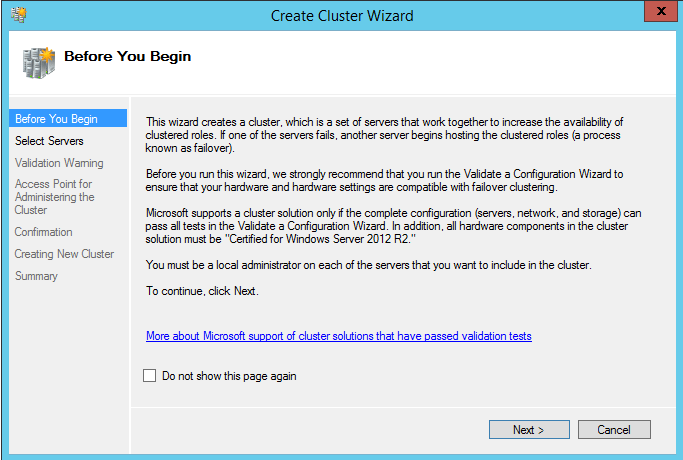
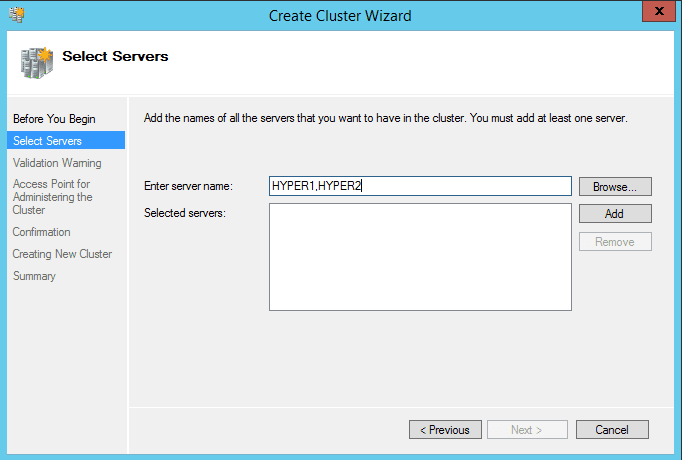
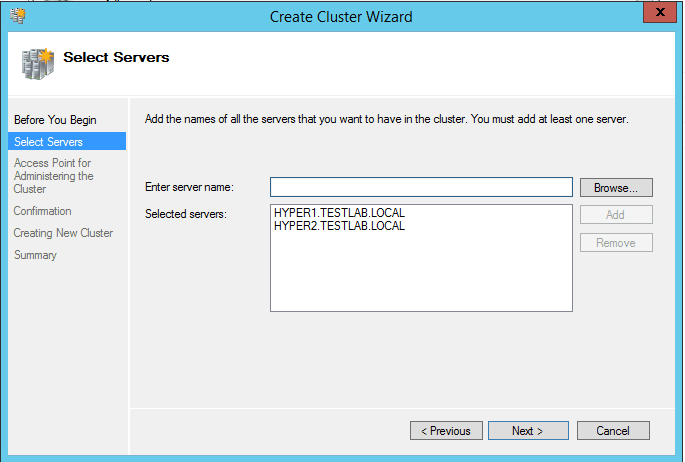
Install Failover Clustering
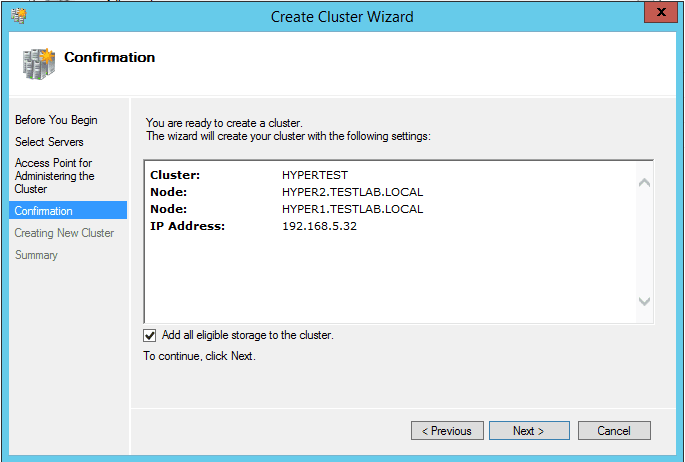
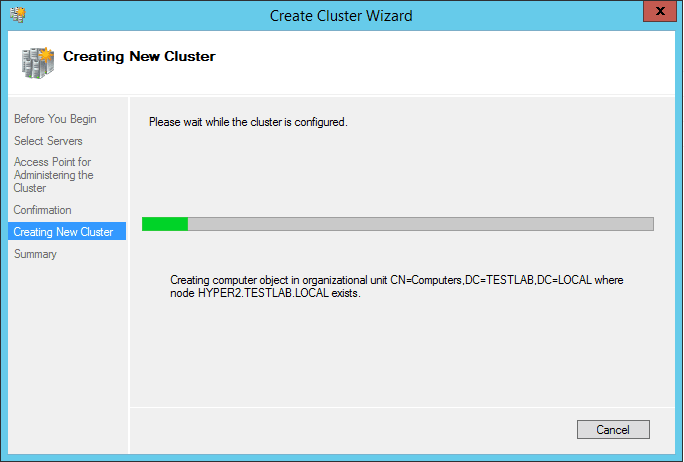
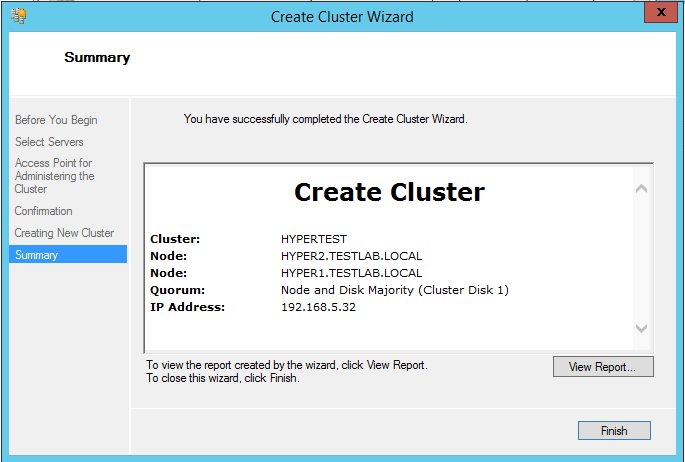
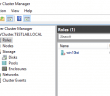
Install the Failover Clustering feature on both the Hyper-V server nodes by going through the Server Manager console. You will need to restart both boxes once this is complete. You can go through the Validate cluster wizard either before or after the cluster is created.

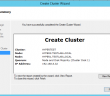
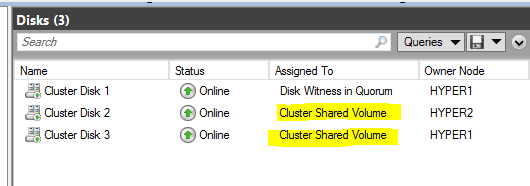
Adding the Clustered Shared Volumes
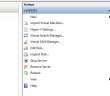
The below screenshots are taken from the Failover Cluster Manager. Click on your shared storage and click to Add to Cluster Shared Volumes

Final Thoughts
Once you have the above items completed, you should be able to click on the Roles underneath your cluster name and add a virtual machine. At this point you have successfully built a Hyper-V cluster inside of VMware Workstation.

Google is updating how articles are shown. Don’t miss our leading home lab and tech content, written by humans, by setting Virtualization Howto as a preferred source.
About The Author

Hi, I have a doubt, a vm created from Hyper-V Manager console is not visible by the Failover Cluster Manager, but the opposite instead, that a vm created from Failover Cluster Manager can be seen from Hyper-V Manager. Is there a way to import to the Cluster a vm created through Hyper-V manager?