For home labbers and others running small board computer systems like Raspberry Pi board computers, there is a tiny operating system you may not have heard about. It is called “Diet Pi,” and it is a really cool option for those who want to have a small-footprint operating system for their underlying projects. However, as we will see, you can also run DietPi as a virtual machine.
Table of contents
What is Diet Pi?
DietPi is an incredibly lightweight operating system optimized for the smallest of devices, but it packs a punch for performance. This minimal Debian OS DietPi system brings the best of both worlds – minimal CPU and RAM resource usage coupled with optimized software tailored for server operations.
The power of Single Board Computers and DietPi Combined
Raspberry Pi is a name most known among single-board computers. When you install DietPi, it becomes an efficient, cost-effective solution for your home server needs. With a Raspberry Pi OS, you have the basics. But with DietPi, it unlocks additional capabilities streamlined for server tasks.
DietPi contains a large list of software from a software catalog that allows you to spin up self-hosted services in your home lab quickly.
The small image intended to run server tasks provides an excellent platform for thOSe looking for a minimalistic OS to run self-hosted applications and services on a Pi server and other SBCs and virtual machines.
In addition to Raspberry Pi, it also features support for:
Orange Pi 5 Plus
Orange Pi 5
ROCK 5B
RK33xx SBCs
DietPi Wifi:
802.11ac/WiFi 5
802.11ax/WiFi 6
5 GHz support for WiFi hotspot
Features and capabilities
Note the following features and capabilities:
Optimized Performance – It stands out as an ultra-light Debian OS, fine-tuned to guarantee minimal CPU and RAM usage. This ensures that your Single Board Computer (SBC) always operates at peak performance.
User-Friendly Interface – It uses Whiptail menus, reducing your time with the command line and letting you get the most out of your Pi experience.
Software Solutions – You can install top-tier software that’s “ready to run” and tailored for your device. It installs only the essentials, eliminating bloat.
Configuration – Customize your device’s hardware and software effortlessly, including fine-tuning network connections and setting up localizations.
Backups – Easily back up or restore your entire DietPi environment with just a few clicks to avoid risk losing data on your SBC.
Flexible Logging Options – Choose the degree of logging that suits you. Whether it’s enhancing performance with RAMlog or employing rsyslog and log rotate for servers requiring comprehensive logs.
Services Management – Prioritize the software on your device. Determine which installed application gets more or less emphasis through tools like nice, affinity, policy scheduler, and beyond.
Real-time Updates – It continuously scans for updates and notifies you as they arise. Upgrade on the fly without the need to flash a fresh image.
Automated Setups – Automation allows for a hands-off setup. All it takes is a preliminary configuration of dietpi.txt before powering on.
Install DietPi
To install DietPi, it is a simple process of downloading the image you want to use and then installing the OS on your platform.
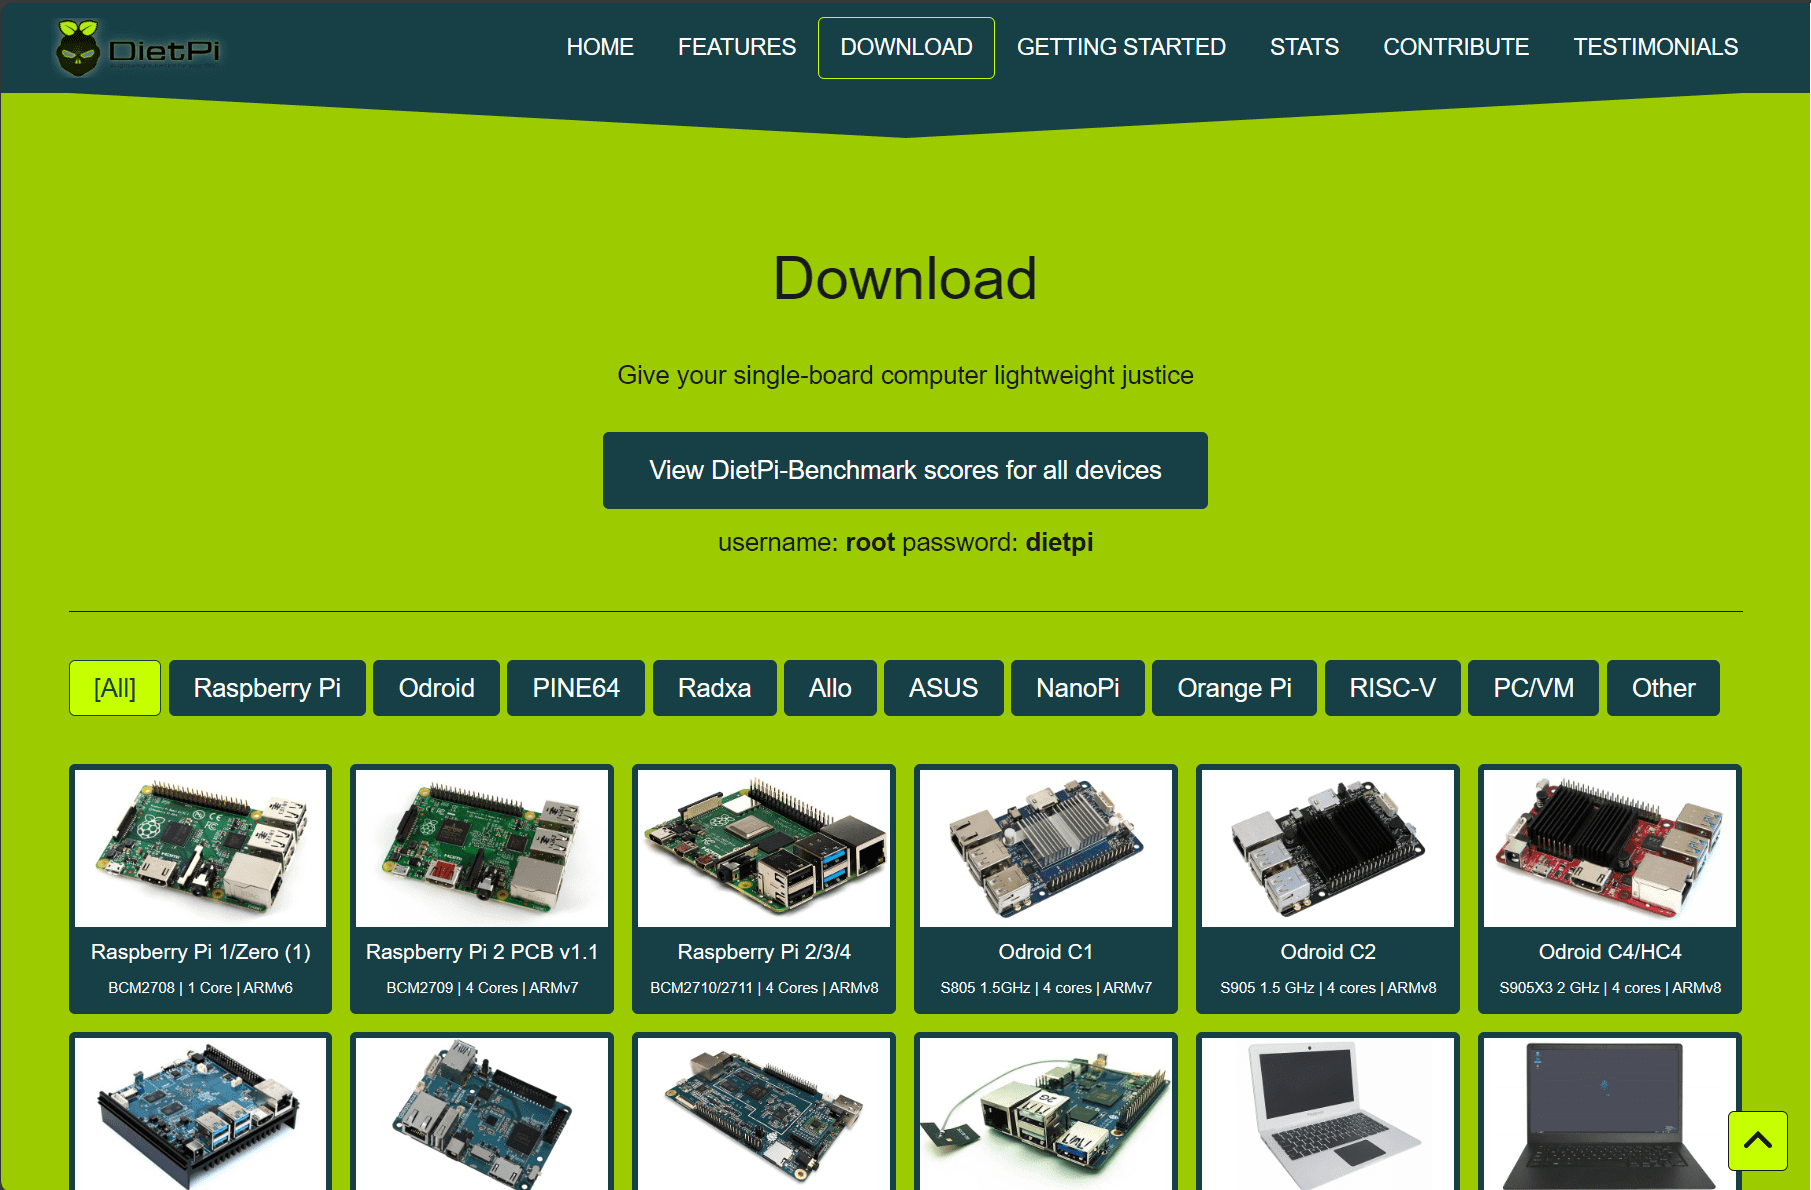
Downloading the Image
Getting started is as simple as downloading the image. This image file, usually available as a zip file, can be written onto an SD card or a bootable USB drive. For Raspberry Pi users, the SD card is the most common choice.
Also, home lab enthusiasts can download Virtual Machine images for VMware, Proxmox, and others which is super nice since it allows you to easily spin up virtual machines running DietPi to form the basis for your self-hosted platform.
You can download it from here: DietPi – Lightweight justice for your SBC!
Installing DietPi is a straightforward process. Note the following overview of steps for single board computers and the walkthrough installing it into a virtual machine.
Overview of single board computer installation process
Here’s a brief overview of the steps for most single-board computers:
Download the appropriate DietPi image for your single-board computer or other small-board computer. For most, the Raspberry Pi version will be the correct one.
Write the image onto an SD card or USB drive.
DietPi will ask for user input on the first boot, making it easy to set software settings, change the default password (a crucial step), and make all the necessary configurations.
Once you’ve finished, you can easily backup your configurations with the DietPi backup tool.
Virtual Machines and DietPi
Not everyone might want to run DietPi on a Raspberry Pi or a similar single-board computer. For those inclined towards virtualization, DietPi works fine on virtual machines. This allows for testing, development, or simply running the OS without dedicated hardware.
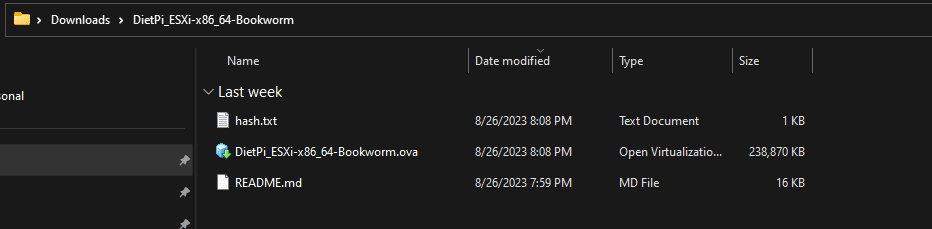
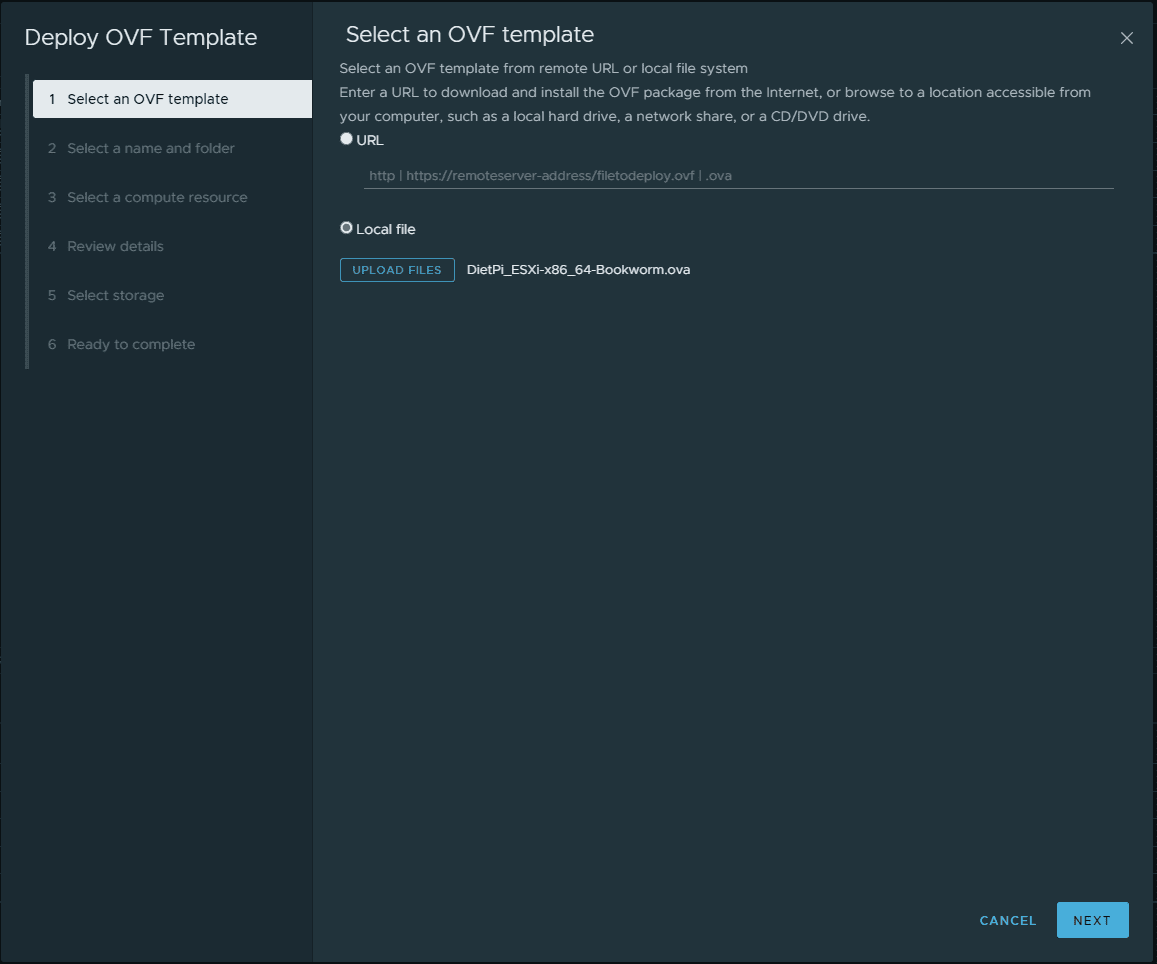
Since I am running VMware vSphere at home, you can download Diet Pi as a virtual machine image in the form of an OVA for VMware. It makes installing it super easy. Just deploy the image as you would any other OVA appliance.
Below I have extracted the VMware OVA appliance 7z Zip package to a folder.
Below, I am beginning the process of deploying the OVA appliance.
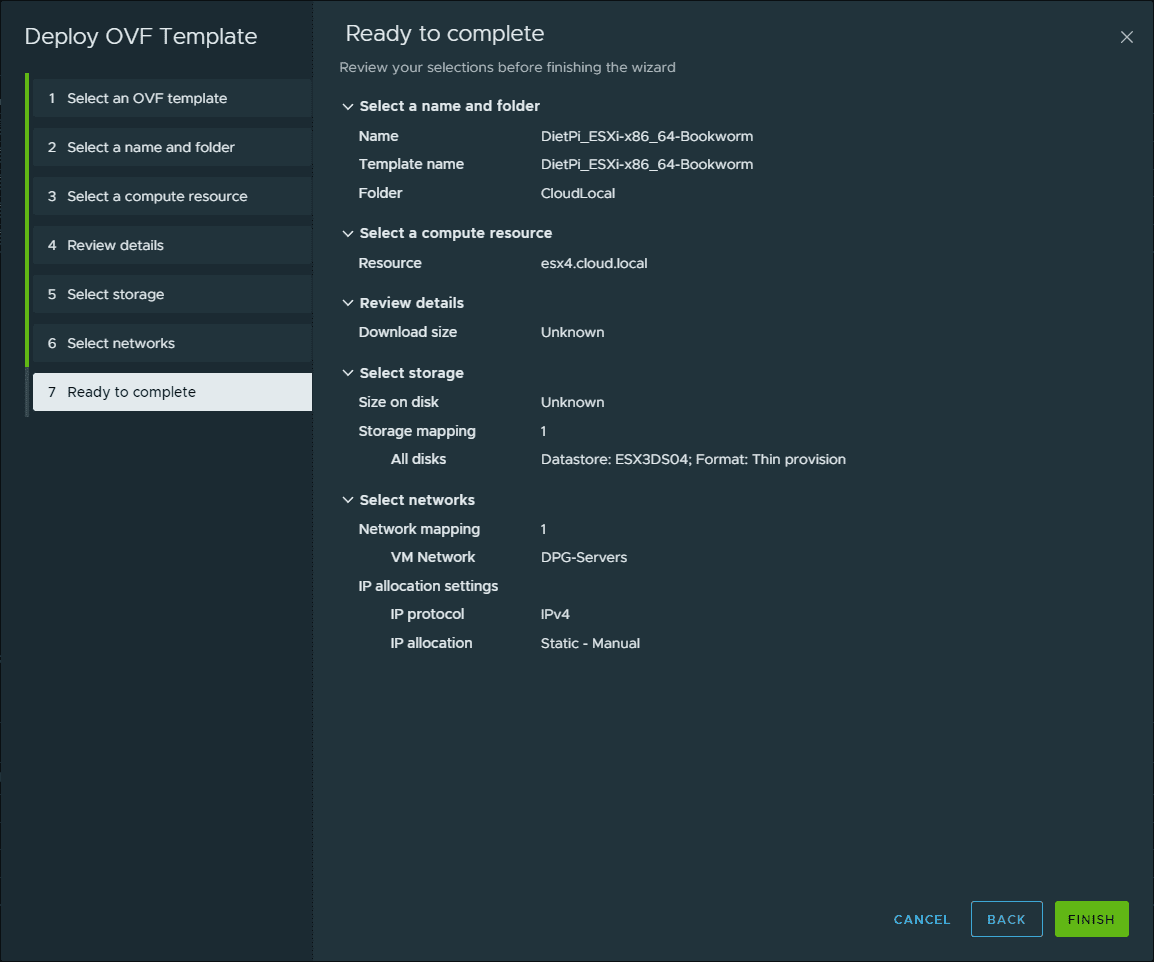
After stepping through the OVA deployment wizard with the Diet Pi installation.
After the OVA appliance is deployed, we start up the DietPi appliance.
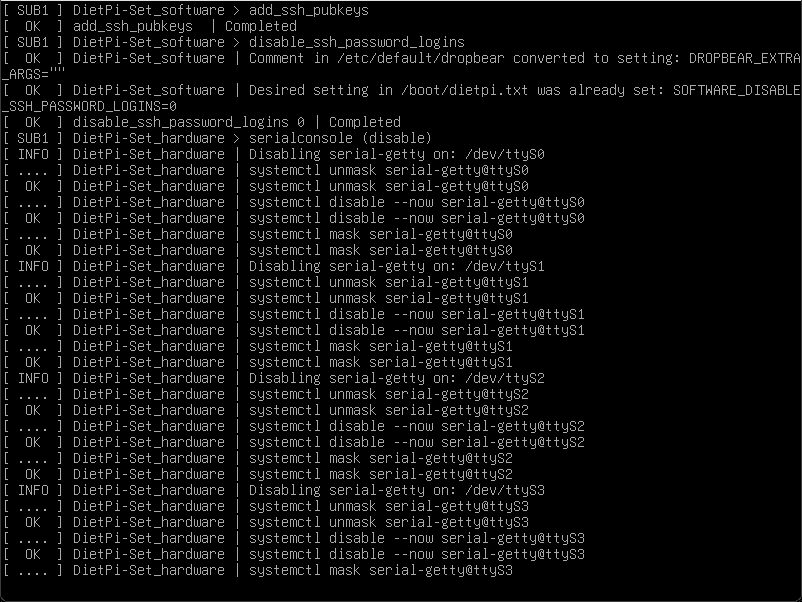
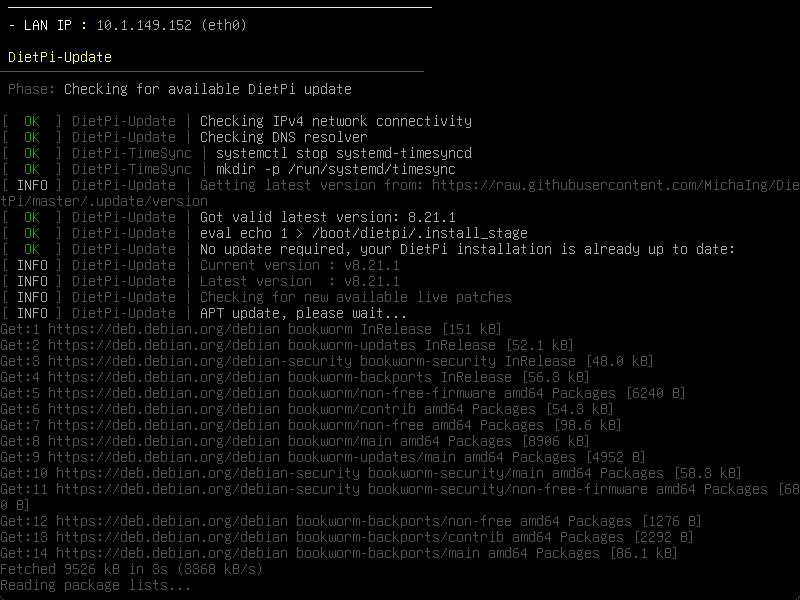
The DietPi software is fully booted.
The DietPi software is automatically updated.
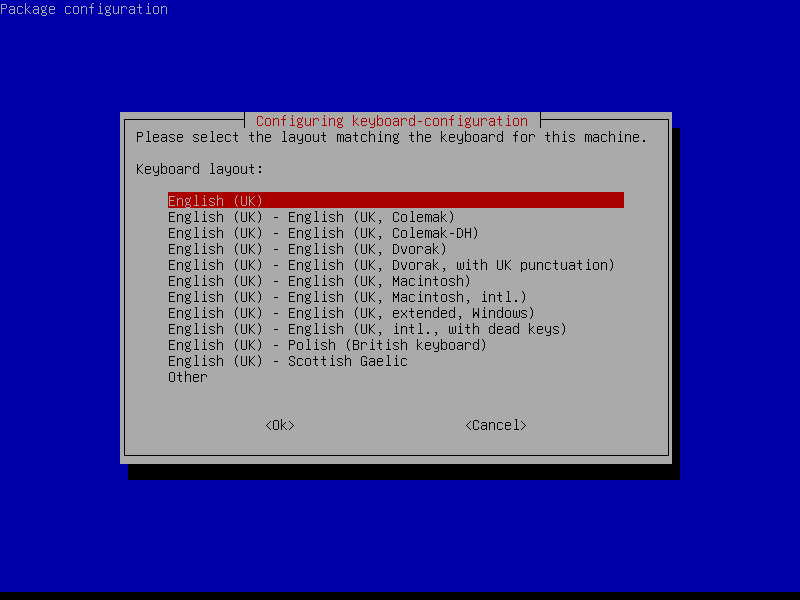
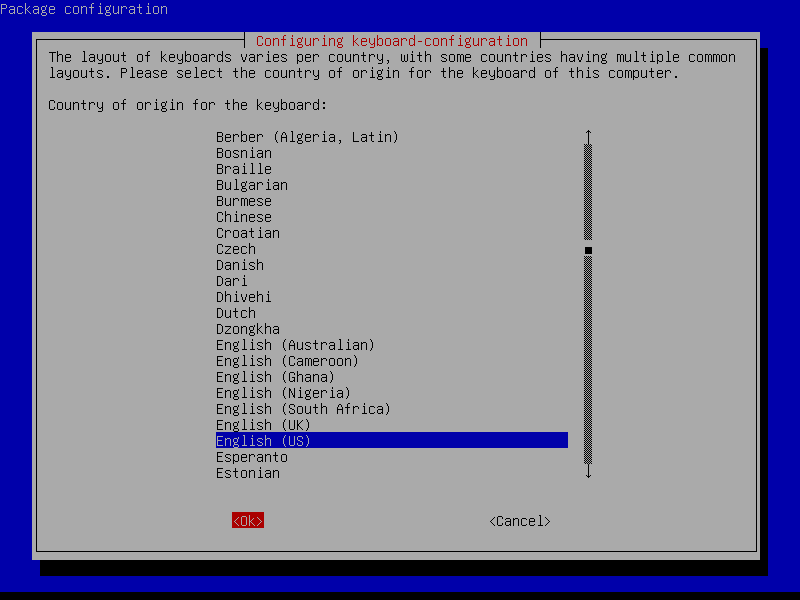
The DietPi software will go through a configuration process to have you setup the keyboard and other settings.

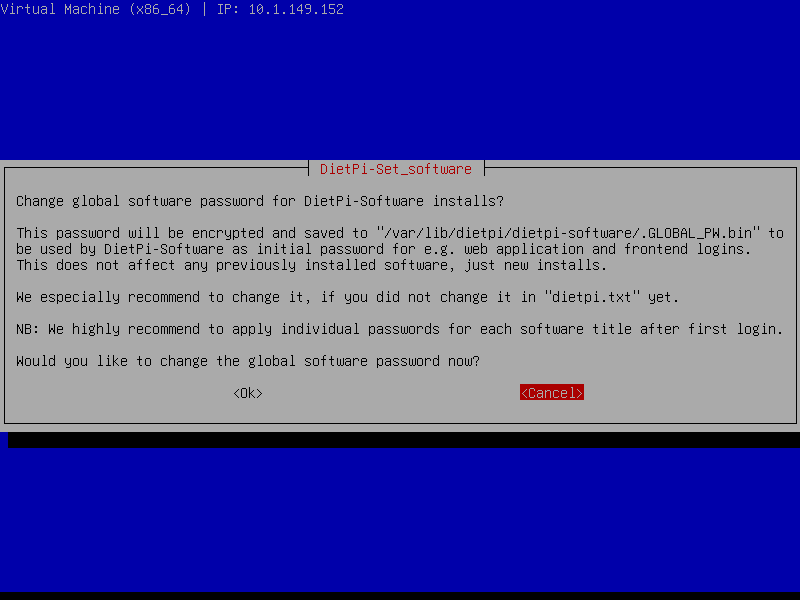
You will be prompted to change your password.
During the initial configuration, the DietPi software configurator will automatically launch and allow you to install the software.
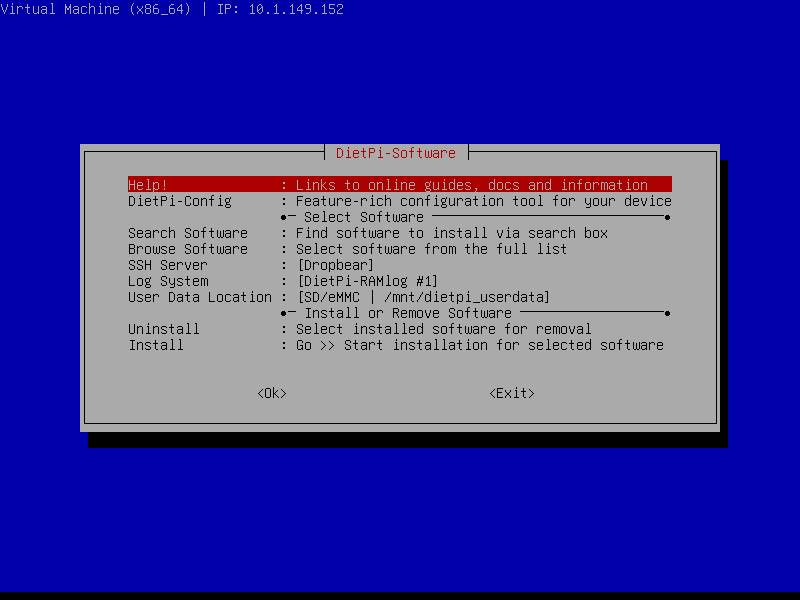
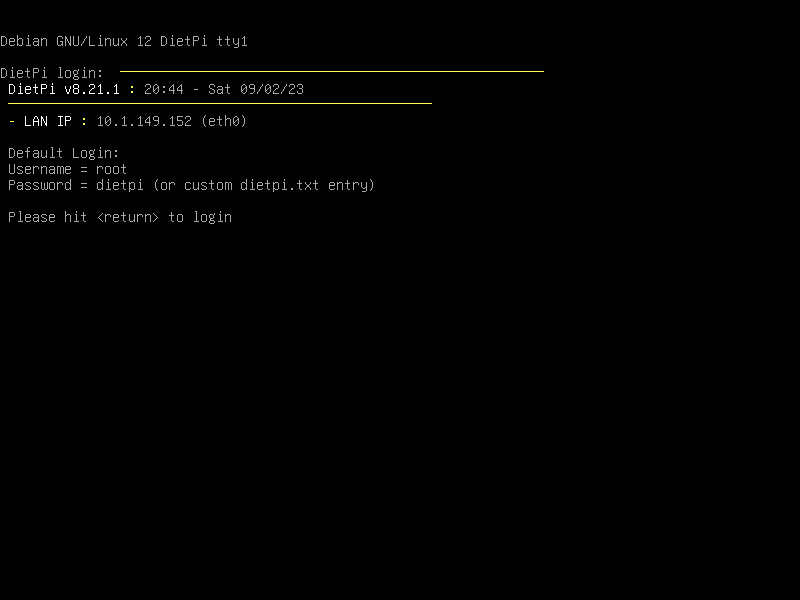
Now that DietPi is installed and initially configured, you will see the following splash screen. You can run one of the following DietPi commands:
dietpi-launcher: All the DietPi programs in one place
dietpi-config: DietPI configuration tool
dietpi-software: Install DietPi software
htop: resource monitor
cpu: Shows CPU information and stats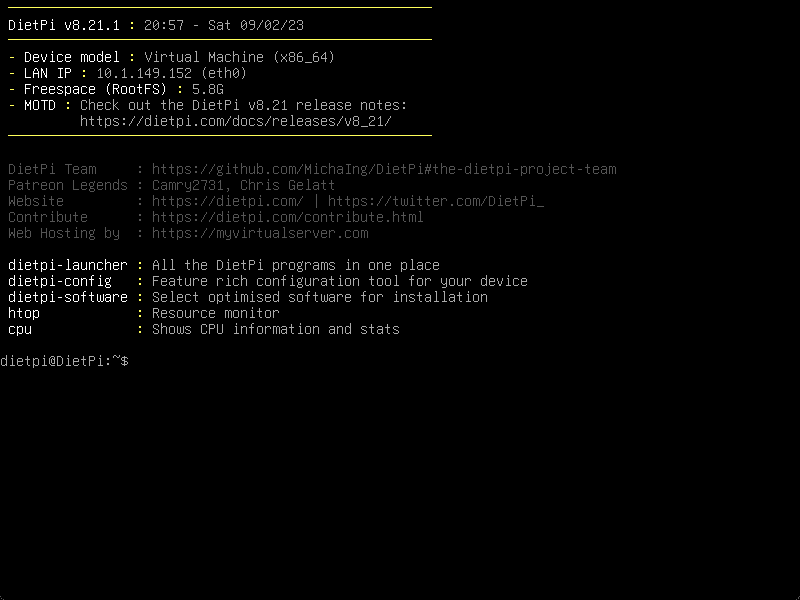
Running updates
Staying updated is critical. With the DietPi update tool, you’re always ensured to have the latest version of the OS along with any software improvements and bug fixes. Plus, DietPi ensures that updating doesn’t become resource-heavy, maintaining its minimalistic nature.

Software packages
To me, this is the area that makes DietPi amazing. Not only is it tiny and very lean on resources, but it also has a large list of software packages you can install by a simple process using the dietpi-launcher. You can launch the dietpi-launcher with the command of the same name:
dietpi-launcher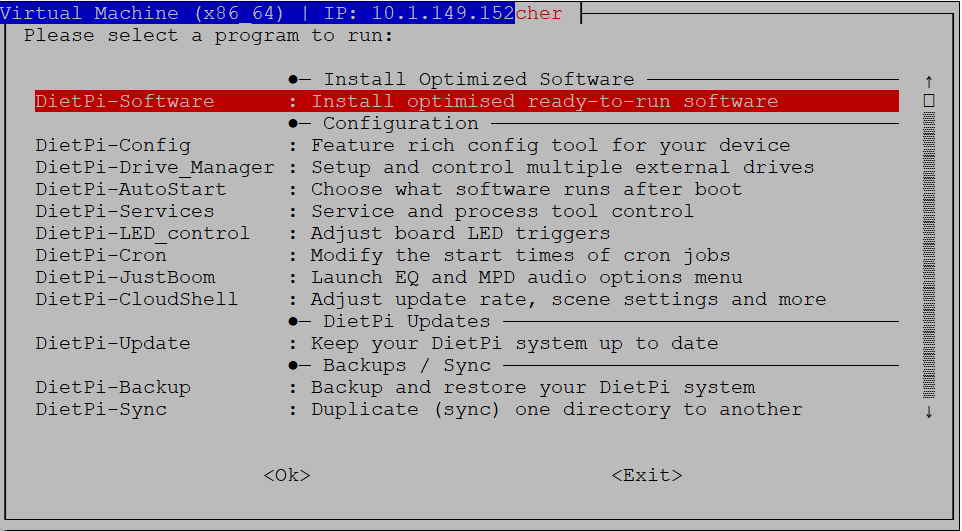
DietPi software is a large collection of software packages (most that self-hosters would want to run) and tools specially optimized for the OS. From web server solutions, VPNs, DNS servers, to file server programs, DietPi has a large selection to choose from. Installing DietPi also means you’re not just getting a bare-bones OS, but a large ecosystem of installed software that’s ready to go.
Kubernetes options
For those wanting to run Kubernetes, it caught my eye that you can easily spin up a k3s or MicroK8s cluster using the Software installation tool.
Categories of software packages you can install
Note you can install software from the following categories:
Advanced Networking
BitTorrent & Download Tools
Camera & Surveillance
Cloud & Backup Systems
Databases & Data Stores
Desktops & Utilities
Development & Programming
Distributed Projects
DNS Servers
File Servers
Gaming & Emulation
Hardware Projects
Home Automation
Logging Systems
Media Systems
Printing Servers
Remote Desktop & Remote Access
Social & Search
SSH Servers
System Security
System Stats & Management
VPN
Web Development
You can check out a full list of software and details here: DietPi Software Options – DietPi.com Docs.
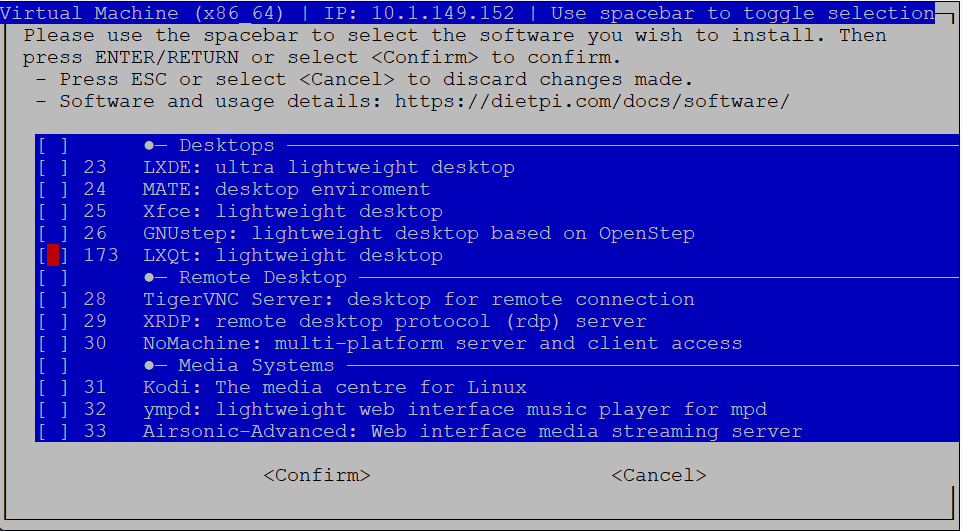
Installing software
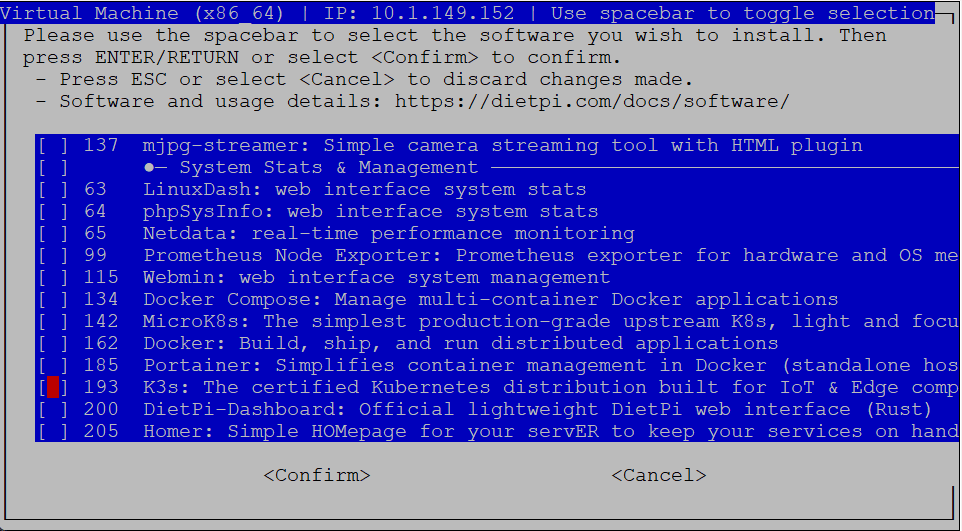
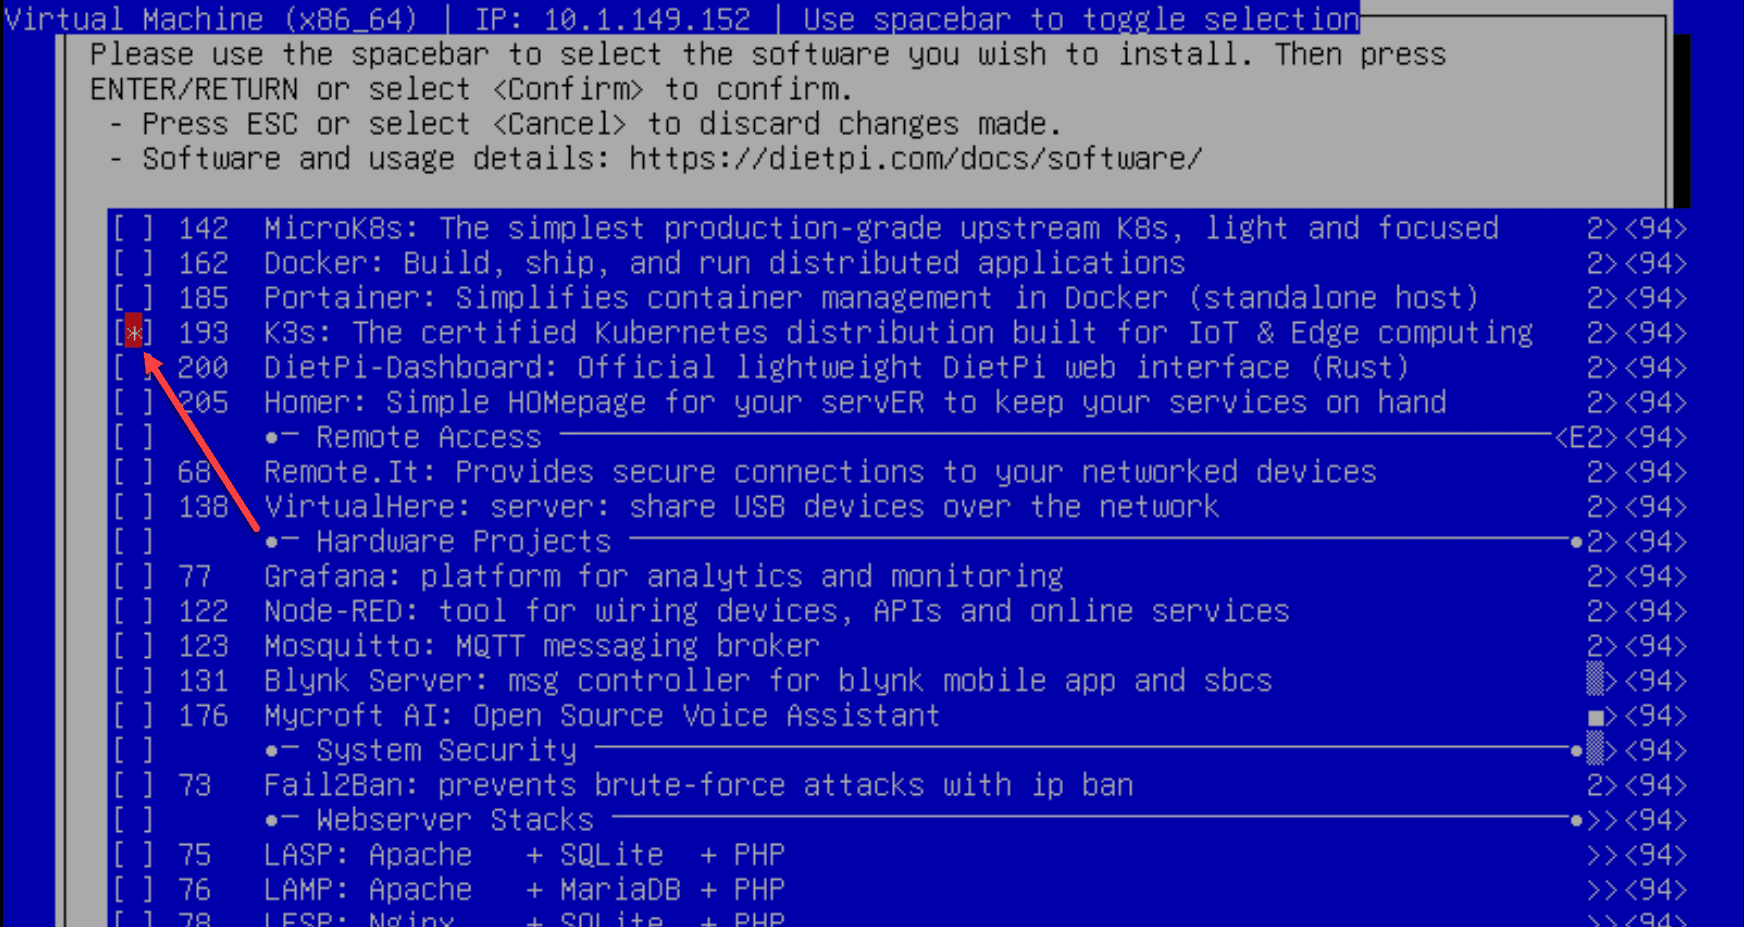
Let’s see how we can easily install software using DietPi. Using the menu-driven interface, you first select the software package to install software. Here, we are selecting K3s.
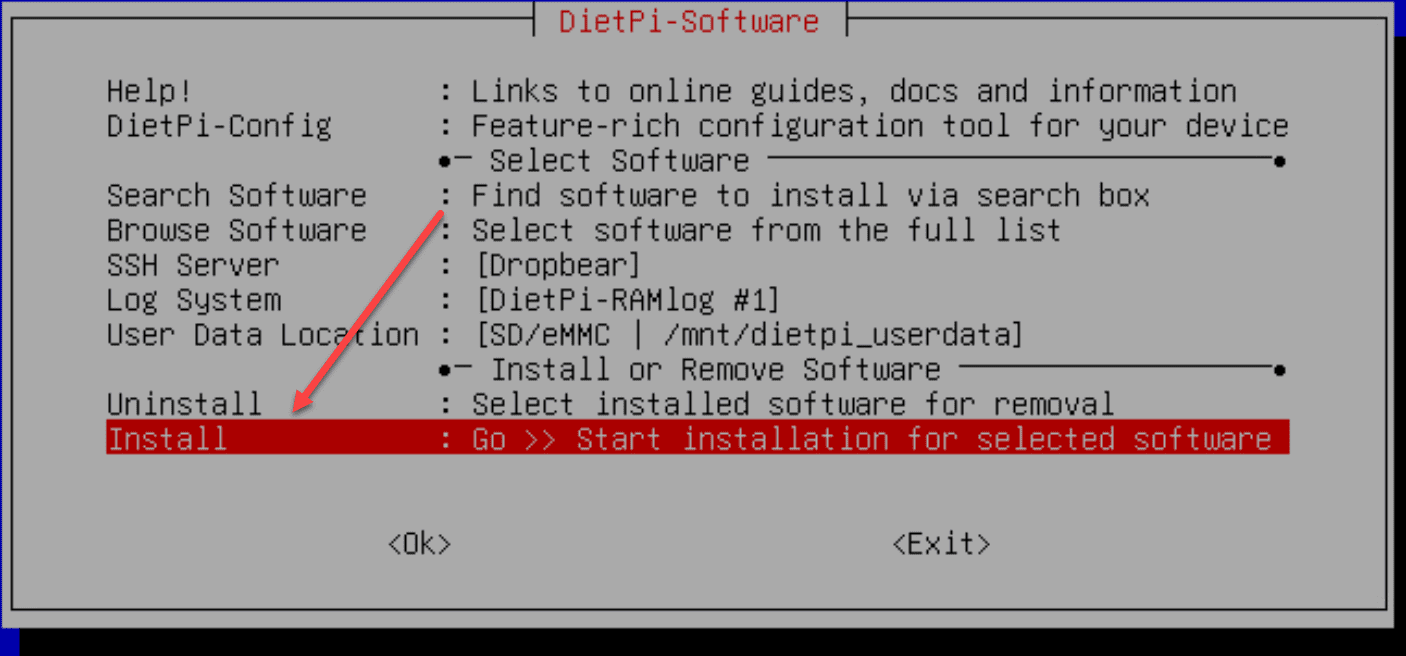
Next, you choose Install and then select OK.
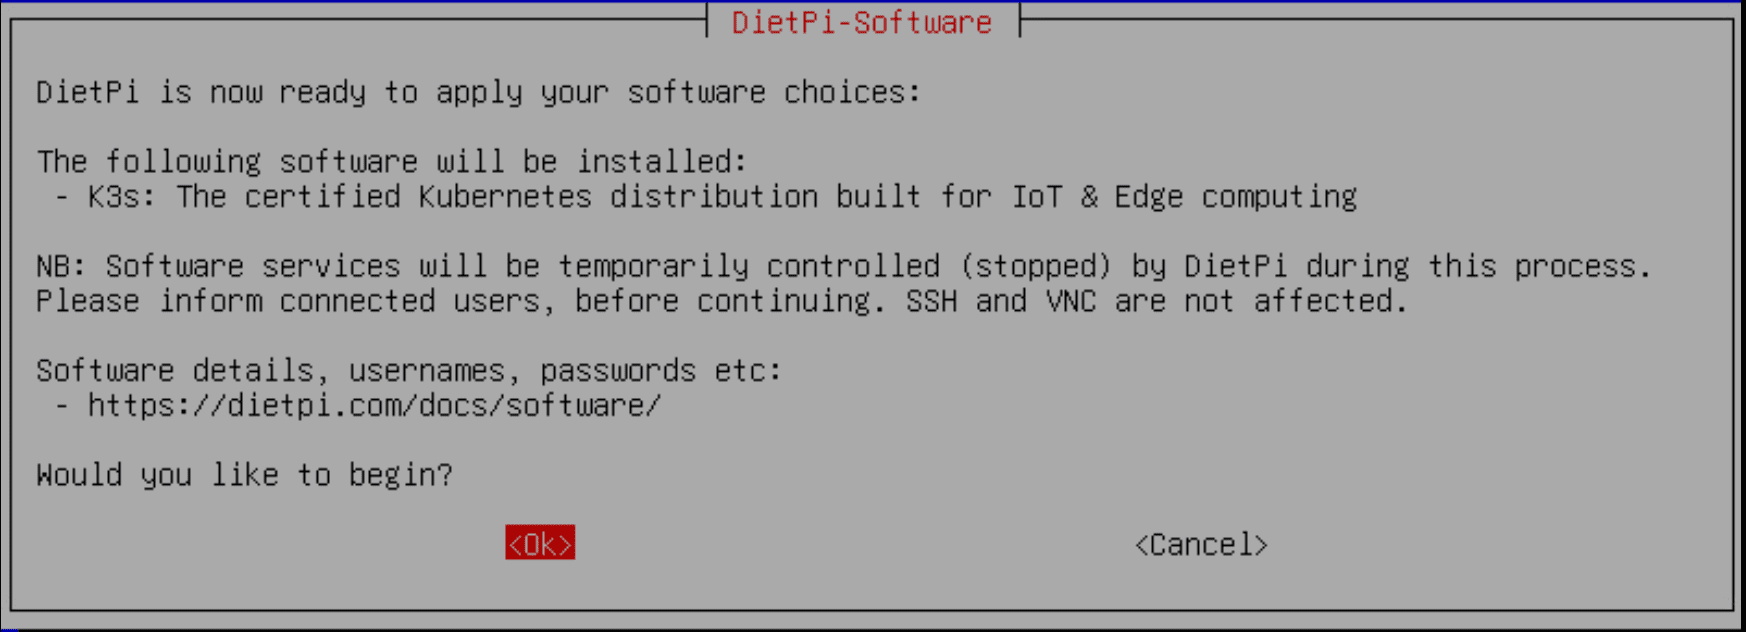
When you select Install, you will get a request to confirm the installation.
The K3s installation begins.
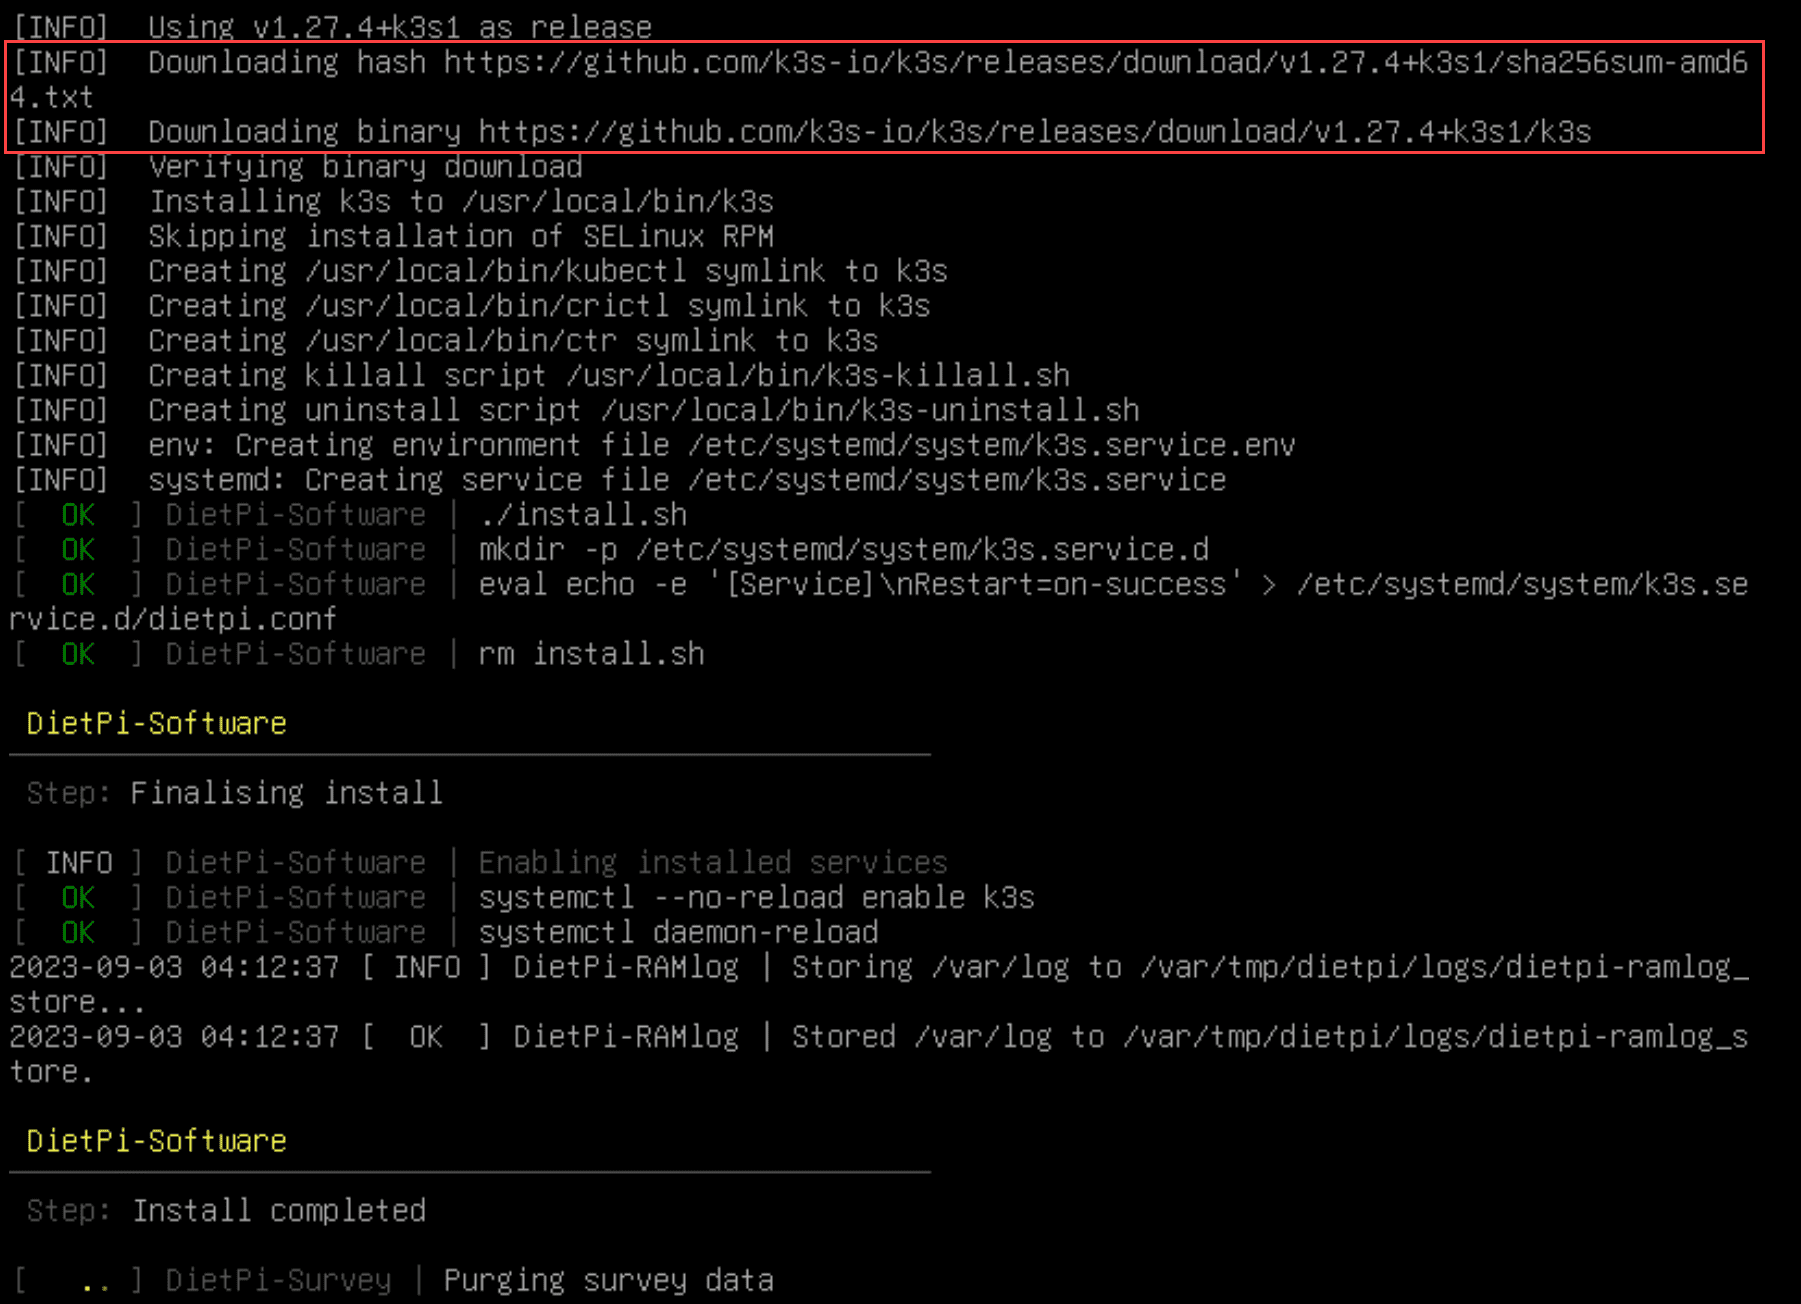
To verify the installation, I ran the command:
sudo kubectl get nodes
You can see the value of DietPi software packages. We didn’t have to curl the binary for K3s. DietPi performed the heavy lifting and was able to pull down and install K3s for us.
Configurations and Customizations
Aside from installing software, the DietPi config can be fully customized. You can adjust network configuration, set up a wireless connection, or even configure an SSH server – the options are endless. Combined with DietPi tools, this gives you complete control over the OS.
Security features
From the initial setup where you’re prompted to change the default username and root password to the regular updates, DietPi helps you focus on security. The minimalistic and lean operating system itself helps to reduce the attack surface as well.
You can also run software on your DietPi that helps to bolster security in your home network and home lab like DNS filtering with Adguard and Pi-Hole, or secure DNS with Unbound. You can also run SSH servers, etc.
Rich community support
The backbone of any open-source project is its community. The DietPi forum is a great resource with many administrators, the previous project lead, source code contributors, and everyday users sharing tips and tricks as well as insights.
The forums are a great place to find support if you are having issues or need guidance with configuration and keeping informed on the latest features of DietPi.
Wrapping up
In looking at a lot of the home lab and home server operating system options recently, DietPi is a great choice for home lab enthusiasts and makers using single board computers like Raspberry Pi devices. I really like how you can use not only SBCs but also virtual machines as the base for DietPi, making it extremely flexible in how you deploy it.
If you are looking for a virtual machine OS to form a lean base for installing self-hosted applications or running Kubernetes distributions, DietPi is definitely worth checking out and I highly recommend it as a top choice for home lab environments.
Google is updating how articles are shown. Don’t miss our leading home lab and tech content, written by humans, by setting Virtualization Howto as a preferred source.
About The Author

Been running this for years on a couple of RPi’s, extremely reliable.
Ian,
Thanks for sharing your thoughts. I am definitely finding that I really like Diet Pi and can see it is a great OS for self-hosting.
Brandon
Looks great, thx 4 share