


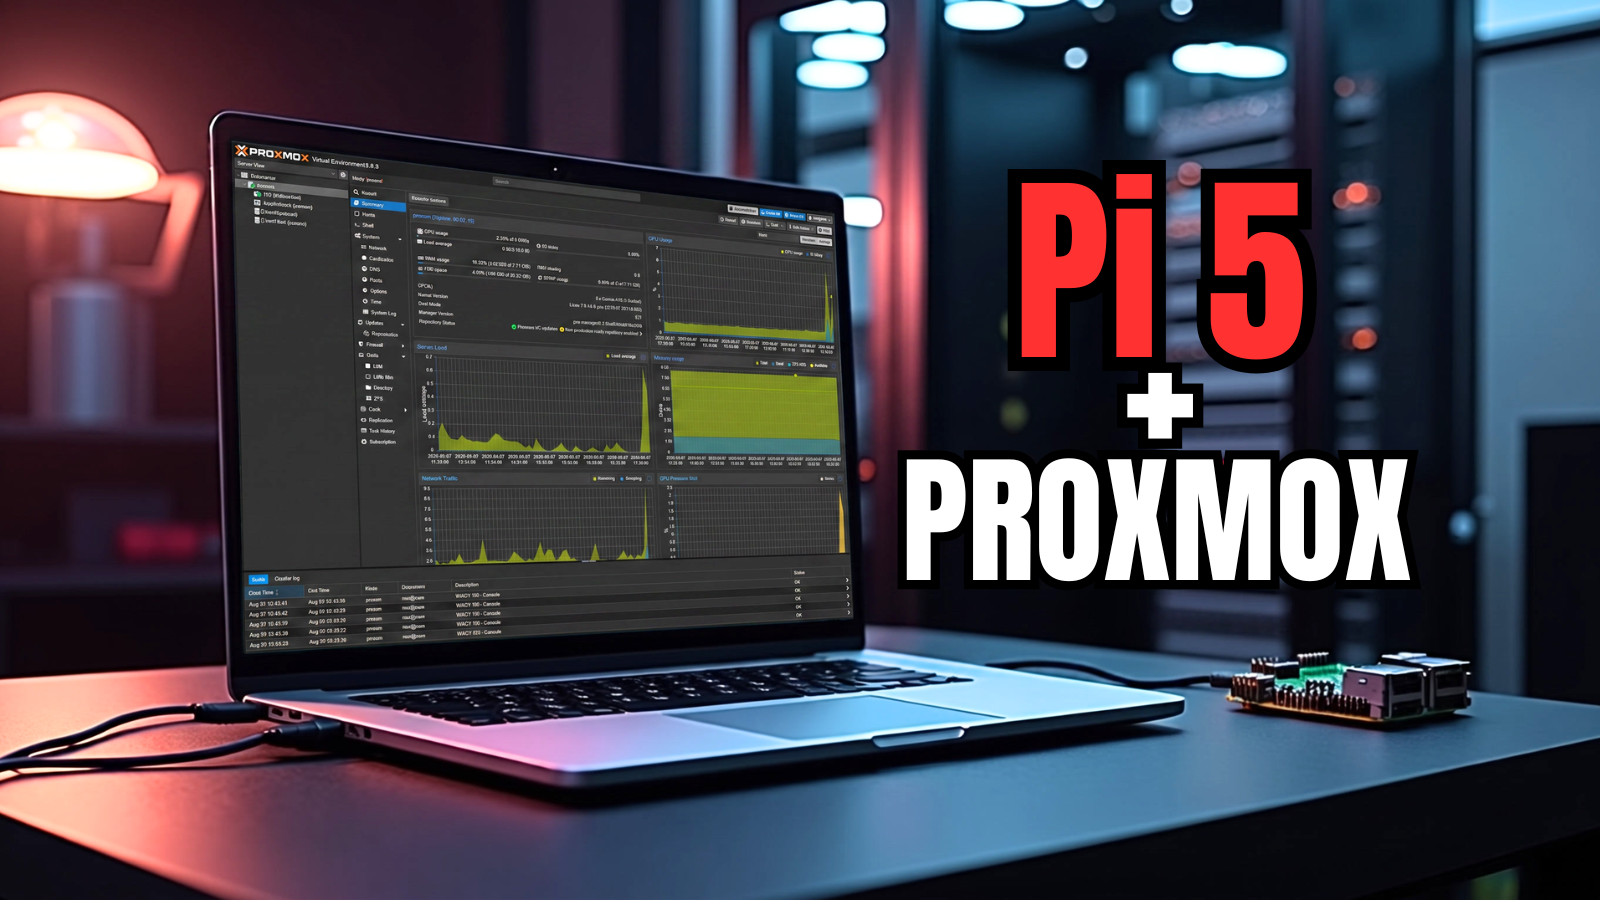
Well, if you saw my post a couple of days ago, we had the news released that Proxmox Server Solutions was releasing Proxmox VE Server as a fully supported ARM64 release. This is a fantastic development I think, especially as we see ones wanting to run very power efficient home labs. I know I would like to continue to cut my power footprint as well. Little ARM devices usually sip power compared to desktop x86 equivalent hardware. However, it was noted that installing Proxmox ARM64 wasn’t supported on Raspberry Pi devices. But “not supported” doesn’t mean “won’t work”. So let’s look and see how we can go about getting this working and installed on a Raspberry Pi 5 devices I have lying around in the home lab.
What I used for this Raspberry Pi Proxmox build & storage options
My test system is a Raspberry Pi 5 with 8 GB of RAM. Not anything to write home about for memory purposes, but I think a decent amount for a VM or two or multiple LXC containers. I needed this hardware as well for making this work. Below I have the “full kit” listed which is a Canakit that I have bought before and these are normally really good quality kits with heat sinks, etc. But if you have the Pi5 already and just need other components, I have the case I used below linked and some of the hardware I used as well.
- Raspberry Pi 5 8 GB (full kit)
- Micro HDMI to HDMI cable – I needed this to adapt to my TinyPilot KVM but also needed for regular HDMI monitors
- MicroSD card – You need this for UEFI boot
- Sabrent External NVMe enclosure USB-C – This is what i am using for my Proxmox install destination and the LVM that runs my workloads. Keep in mind this is USB which isn’t the best performing but was what I had on hand. See below for the best performance setup for storage.
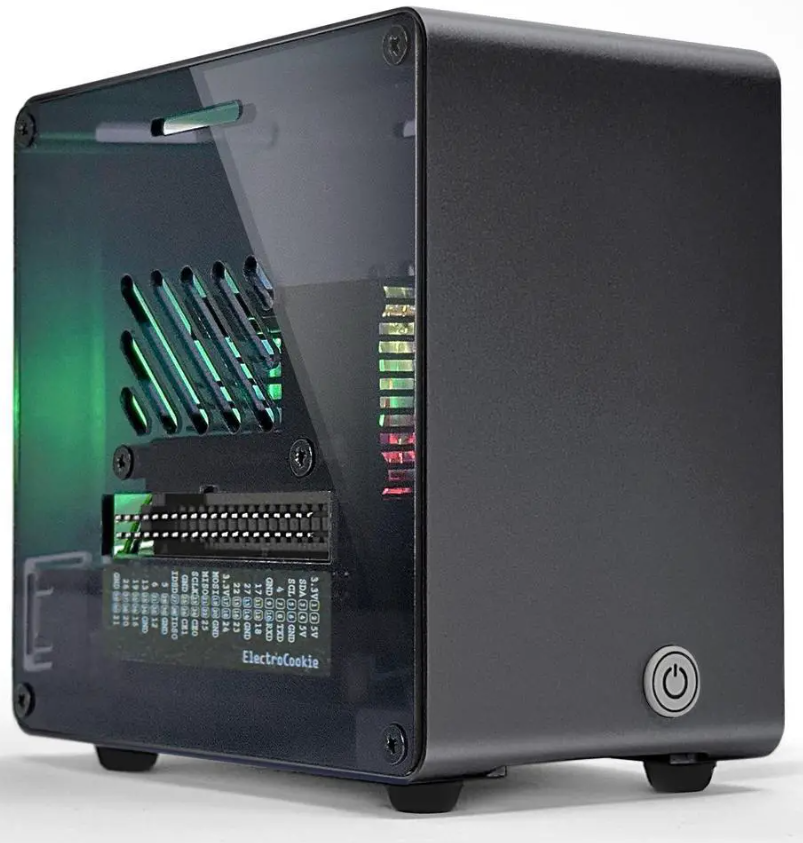
- Electrocookie Raspberry Pi 5 Case – A cool case I snagged a while ago and just now making use of it
- USB Network adapter – you will need this. I have an older “Anker USB-A” gigabit network adapter that I can’t find a link for. So, I don’t have an exact link for this, but Proxmox won’t recognize the onboard network adapter on the Raspberry Pi 5.
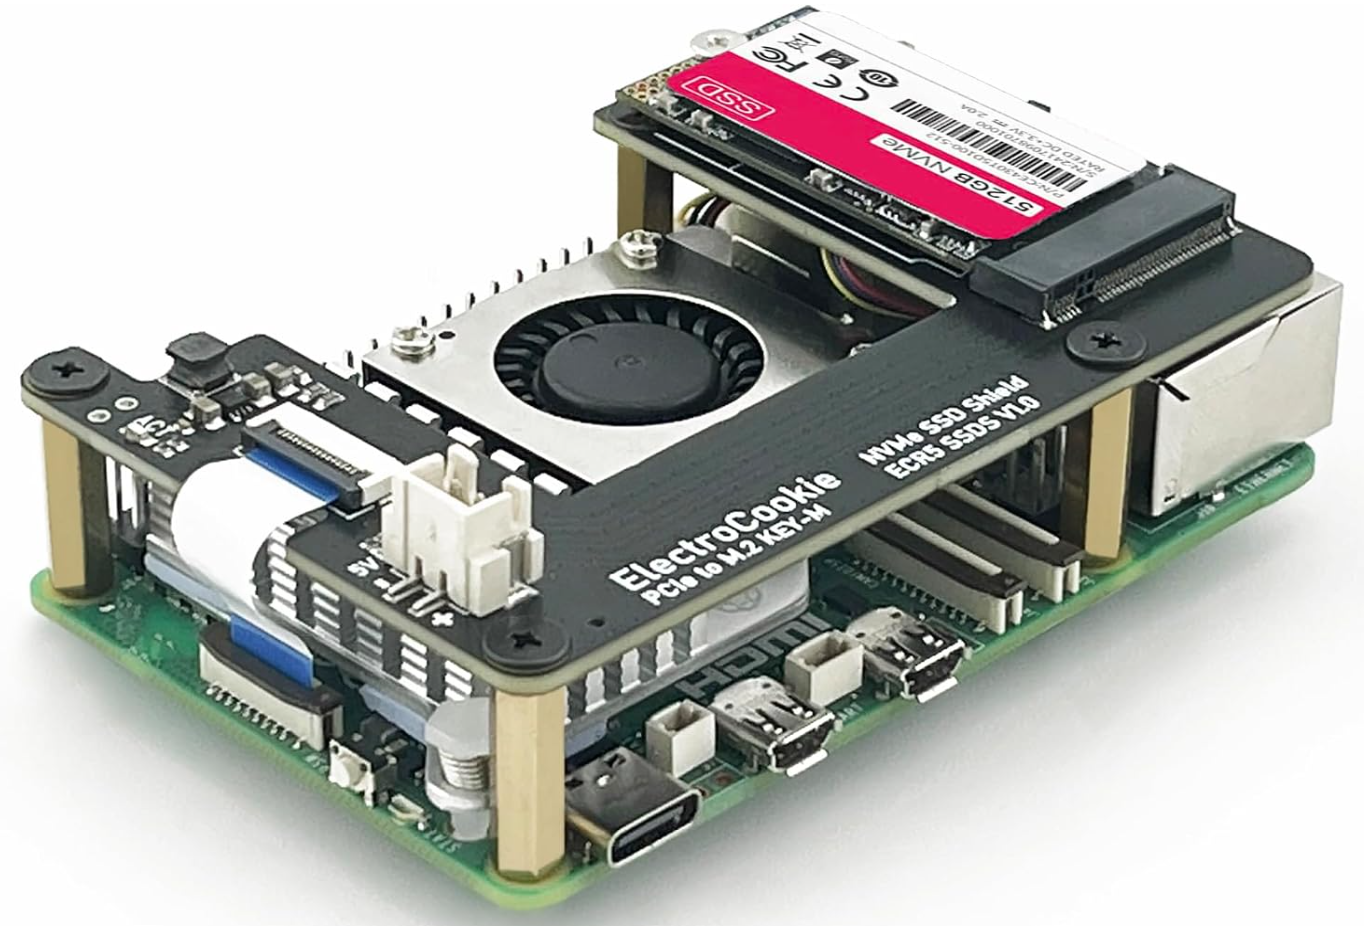
***Note*** – The above storage witht he Sabrent External NVMe enclosure won’t provide you with the best performance. I didn’t have an M.2 to NVMe “hat” to use which allows you to achieve PCIe 1.0 speeds, 500 MB/s with an NVMe drive.
So, the USB storage connection is slower than using a hat. Keep that in mind. I plan on ordering one of these for testing. This hat, is noted from Electrocookie to work with the case I have listed above and is probably the one I will order first for testing to make sure it works with the case. But it only supports 2230/2242 sized NVMe drives: ElectroCookie M.2 to NVMe hat
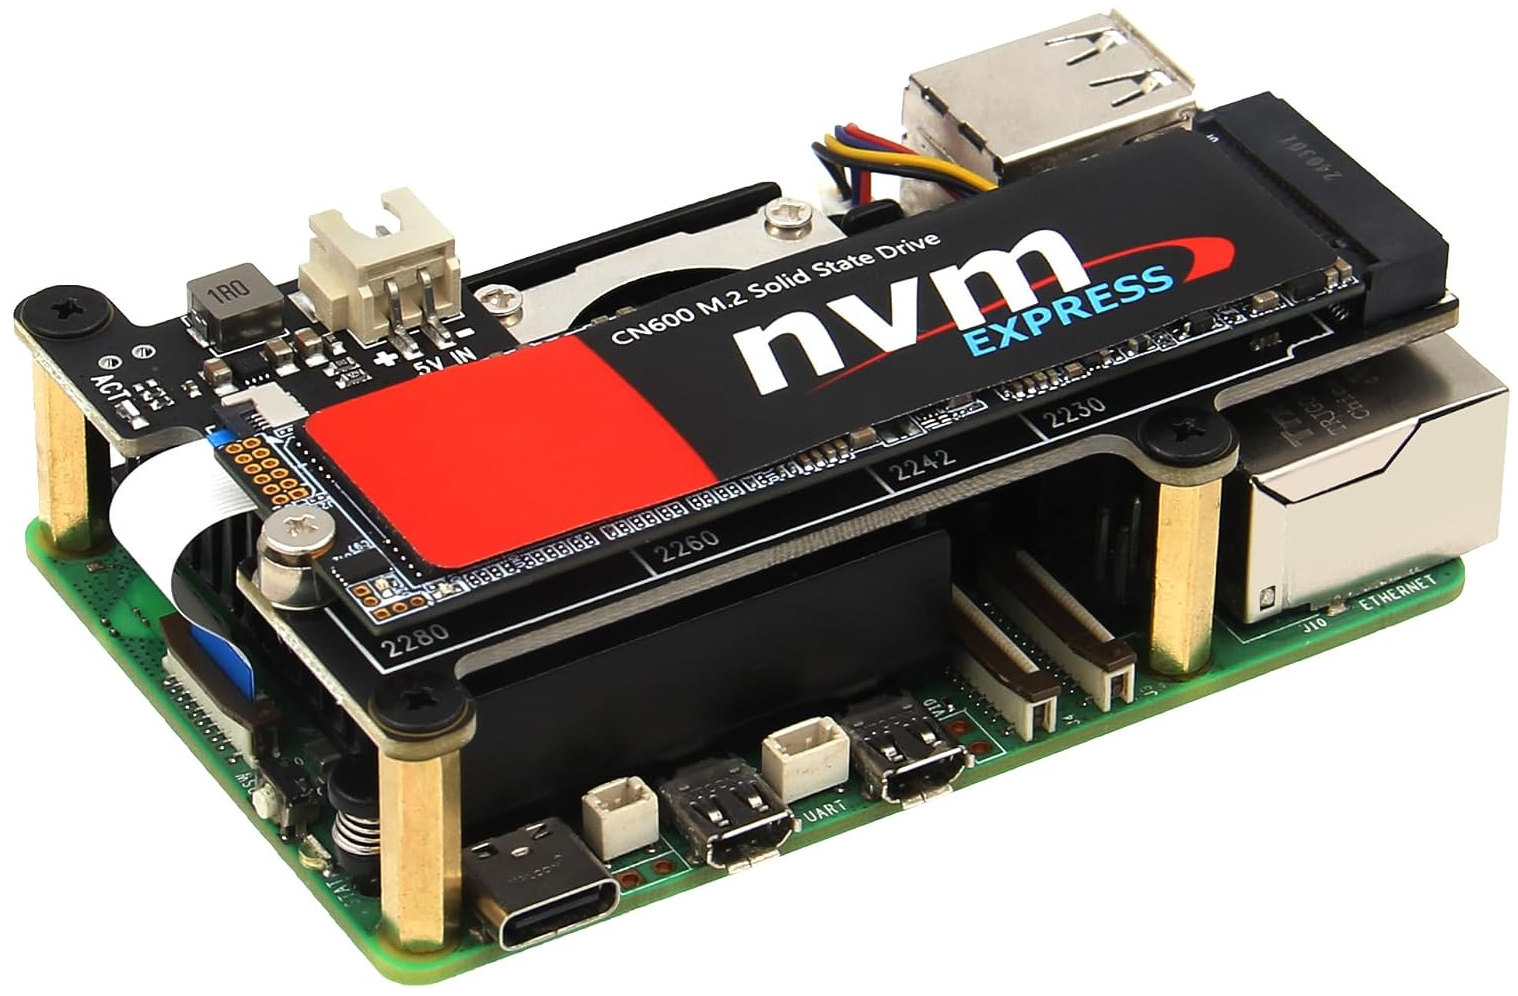
An example that allows you to have (1) NVMe drive is this one where you can use anything from an M.2 2230/2242/2260/2280 NVMe drive: Geekworm X1001 PCIe. As a note though I am not sure this works with the case I have listed above.
Anyways, this will get you started on having the hardware needed for installing Proxmox and give you an idea of what I used and what I plan to implement with more testing.
Raspberry Pi 5 8GB or 16GB?
So the Raspberry Pi 5 8 GB isn’t that much RAM and there is a 16 GB RAM version of the Pi 5 as you have probably seen which I think ultimately would probably be best for more virtualization use cases. But for some of the prices I have seen with the 16 GB version, I think you can easily buy a decent low-end mini PC for roughly the same amount. So keep that in mind when it comes to the value for your money.
UEFI firmware for the Raspberry Pi 5
One of the first things that you need to do is to load the UEFI bootloader on your microSD card in your Raspberry Pi 5. The firmware I am using that worked is actually shown as being deprecated and no longer developed. But, it does work and is what I am using. You can read about it and download it here: Releases · worproject/rpi5-uefi.
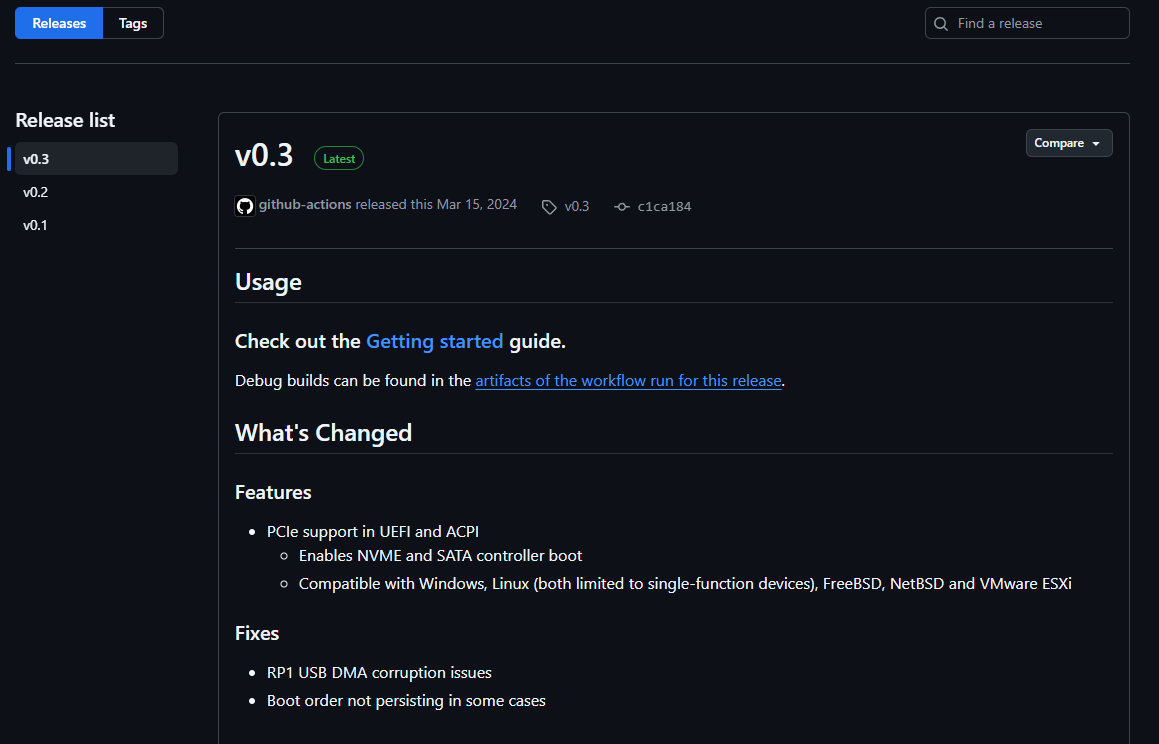
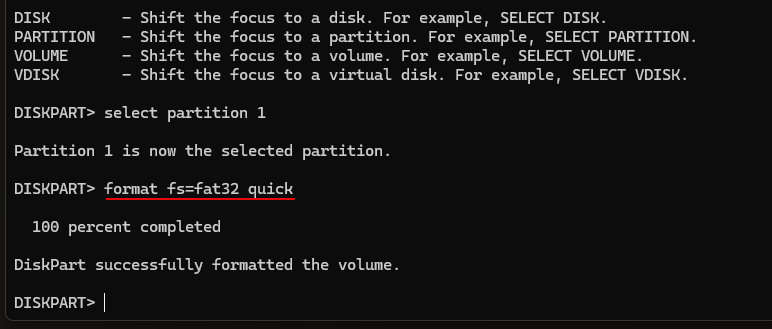
The “installation” is simple. You basically download the .ZIP file that is provided on the link for the UEFI bootloader and extract the files onto your MicroSD card and that is it. Just put the files on your card. I just used a USB/microSD card adapter to attach my card to my Windows machine then launched “diskpart” in Windows and created the partition on the microSD card and then formatted it with FAT32 with the commands:
diskpart
select disk 2 (or whatever your disk is, do "list disk" to find it)
clean (this is destructive so make sure you select the right disk!)
create partition primary
format fs=fat32 quick
A screenshot of the format:
Downloading the Proxmox VE ARM64 installer and creating the USB install disk
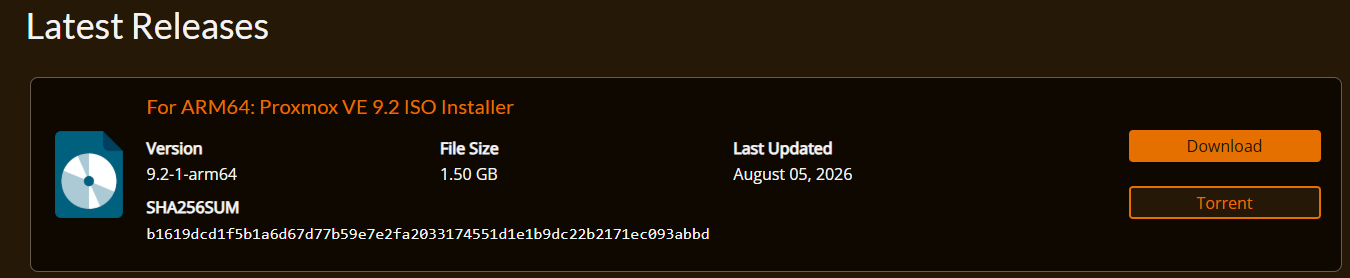
Now, after you have your microSD card ready, you can move on to downloading the Proxmox VE ARM64 installer. Download that here: Download Proxmox software.
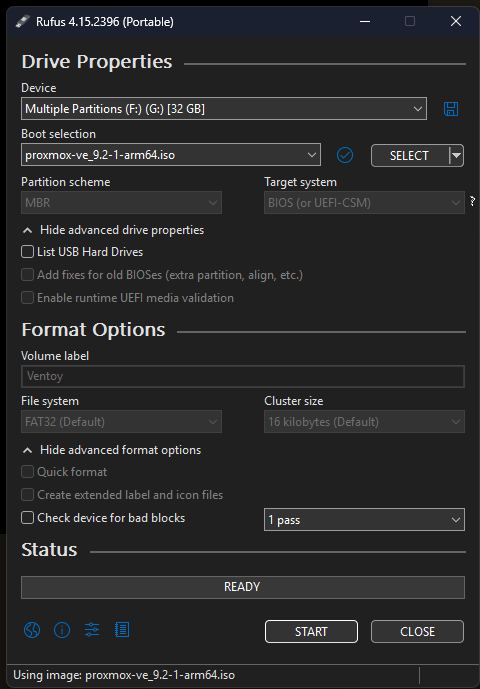
Once you have the software downloaded, you can use something like Rufus to “burn” it to your USB disk. As a note, I received the message below when selecting the target USB and the source Proxmox VE Server ISO. Just click OK and this works fine.
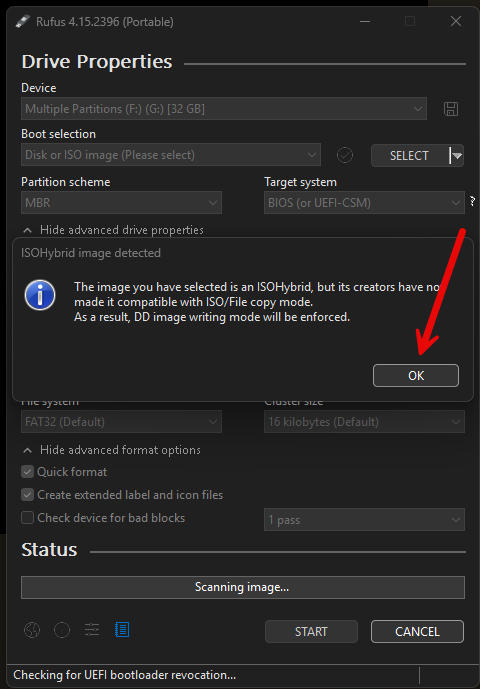
Click Start to start “burning” the ISO to the USB.
Booting the Raspberry Pi 5 using UEFI
Ok, now that you have the installation media provisioned onto your USB key, I want to go over what I have connected to where.
- First I have the USB Network adapter plugged into one of the USB 3.0 A ports on the back of the Raspberry Pi 5.
- Then I have a USB-A 3.0 adapter plugged into my Sabrent NVMe enclosure for the NVMe storage drive.
- Then I have the microSD card with the UEFI firmware installed in the Raspberry Pi 5 microSD slot.
- Then, I have a USB-A thumb drive that I “burned” the Proxmox VE Server ARM 64 installation onto just plugged into a USB 2.0 port.
Just power on your Raspberry Pi and let it boot. It should make it to the Proxmox installer.
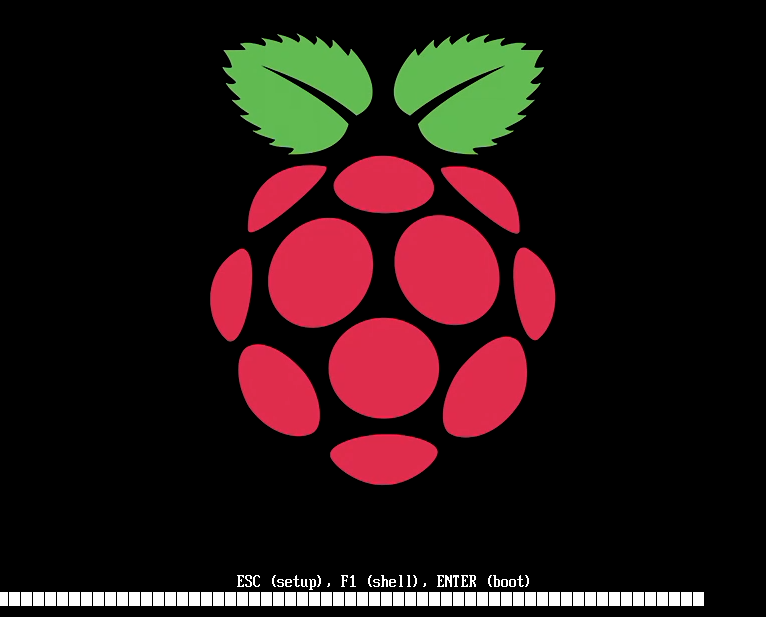
After the Raspberry Pi 5 splash screen, booted into Proxmox VE Server ARM64 installer.
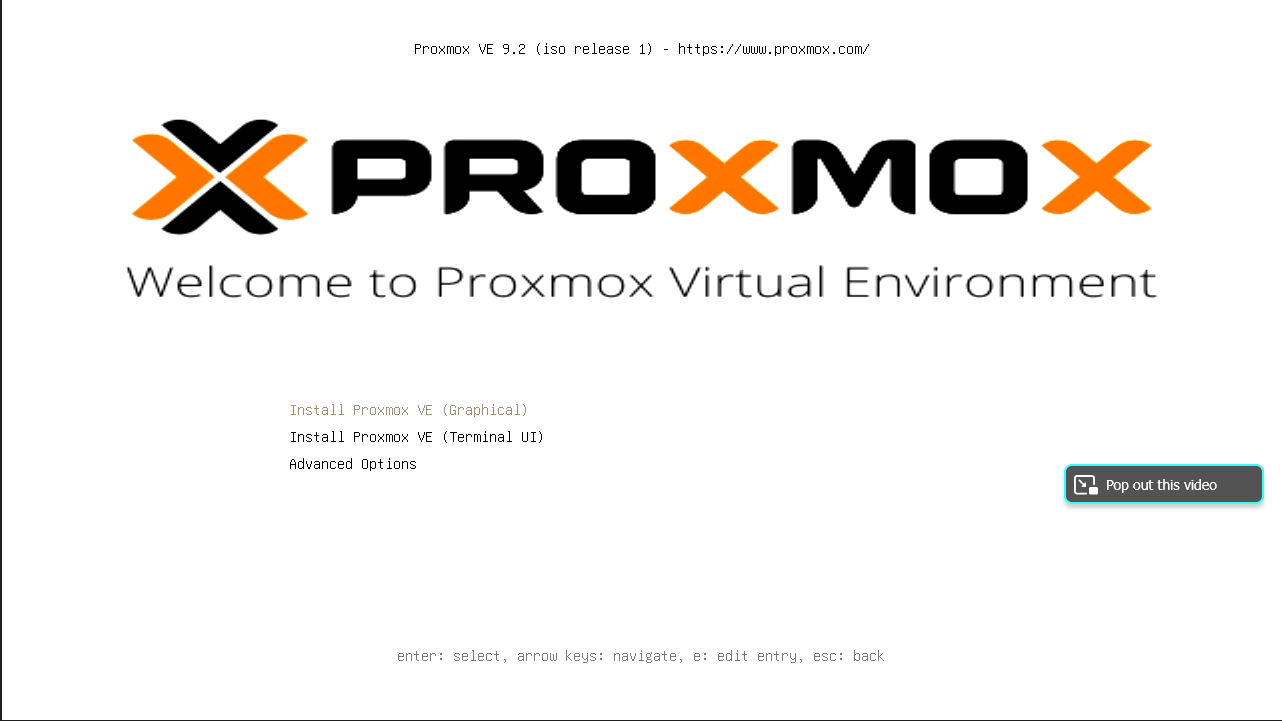
As a note, you will get the No network interfaces found! message if you don’t have a USB network adapter that has a standard driver like a Realtek, etc.

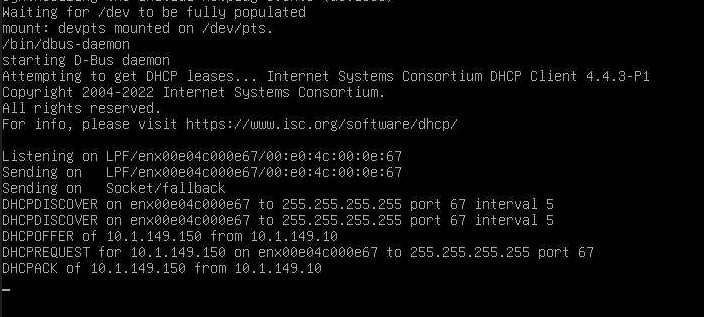
Below is after I rebooted and have the USB network adapter plugged in. You can see it is now grabbing an IP address.
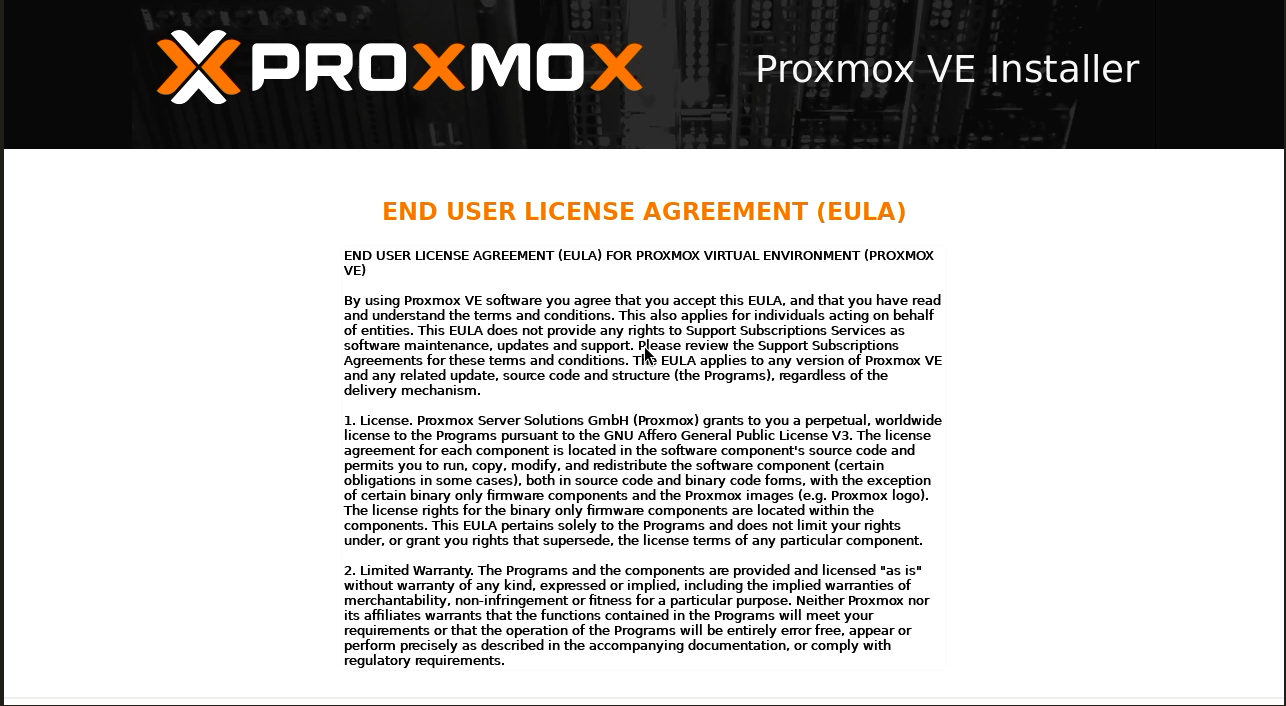
Proceeding with the install, EULA.
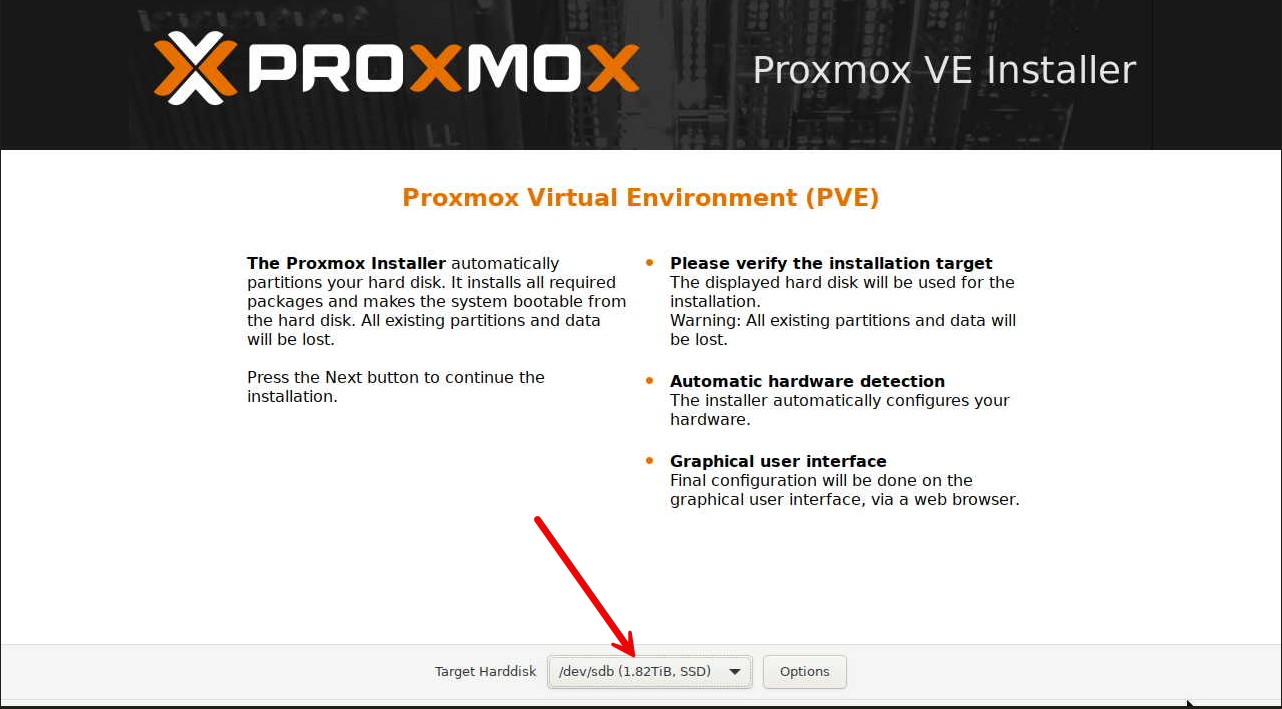
Here, I am selecting the storage that is attached using my external Sabrent NVMe enclosure. I have a 2TB Evo 970 drive installed.
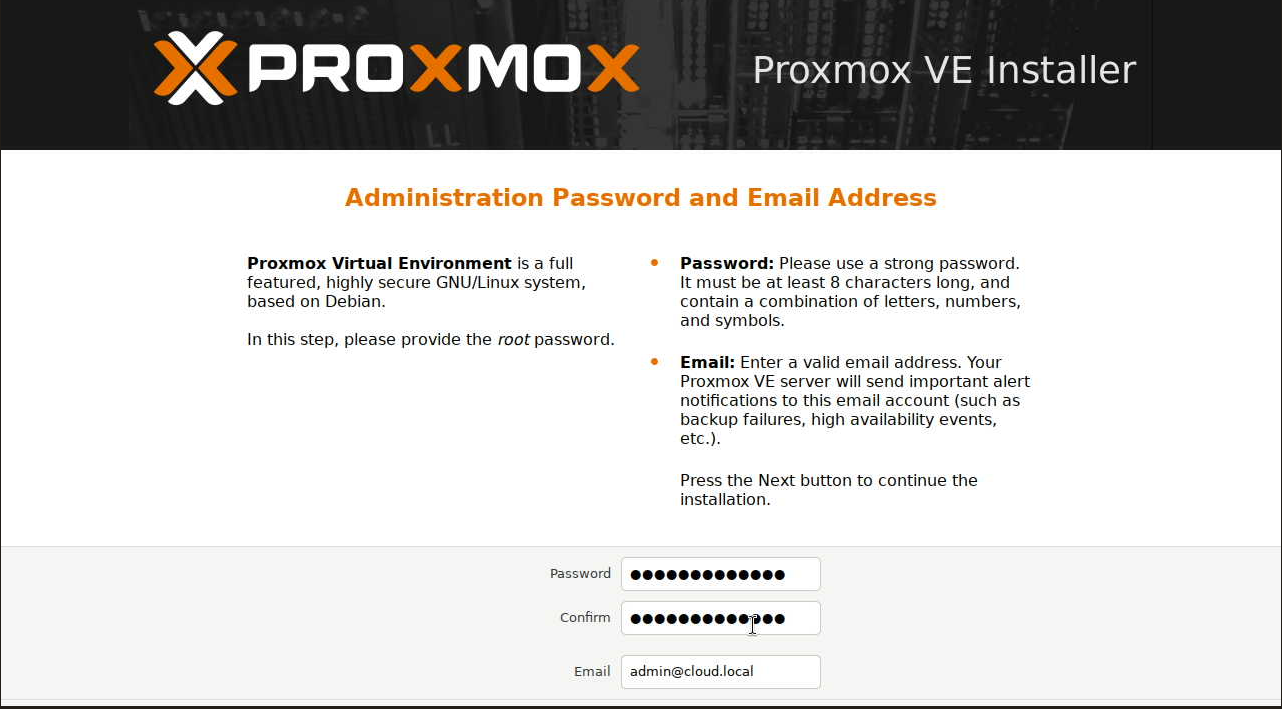
Setting the root password.
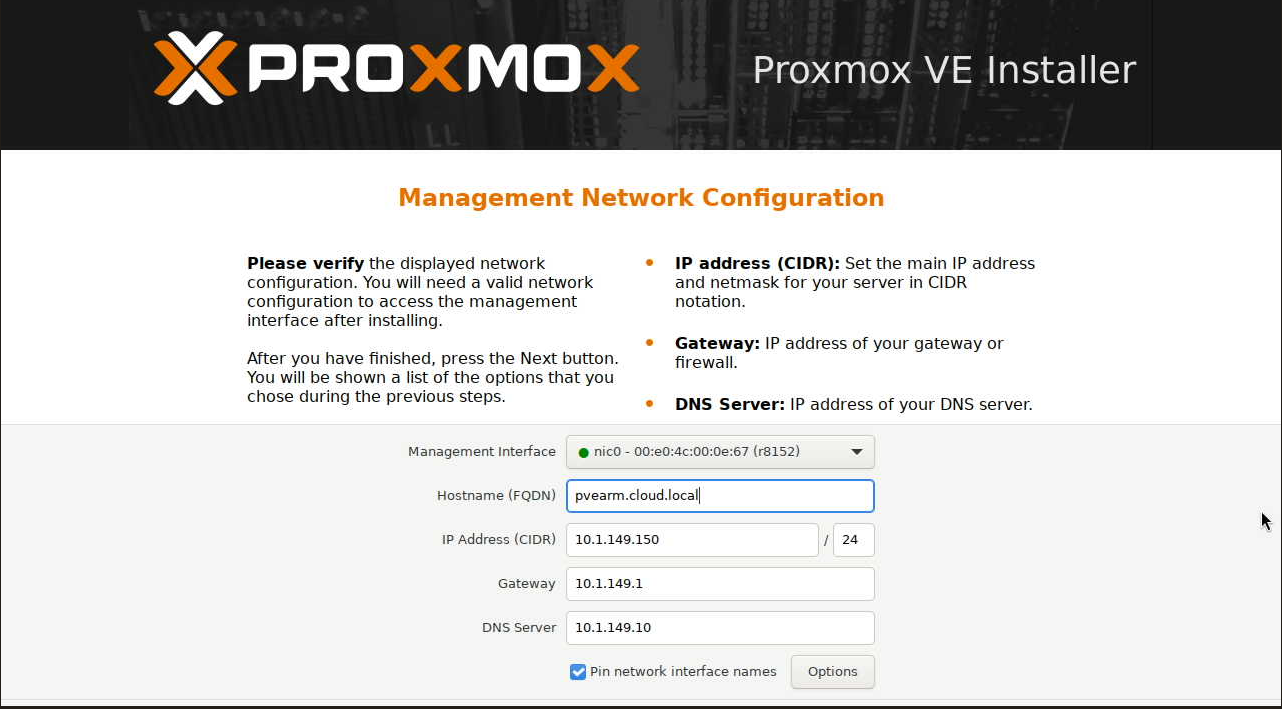
Configuring the networking. Here the network connection is the USB network adapter.
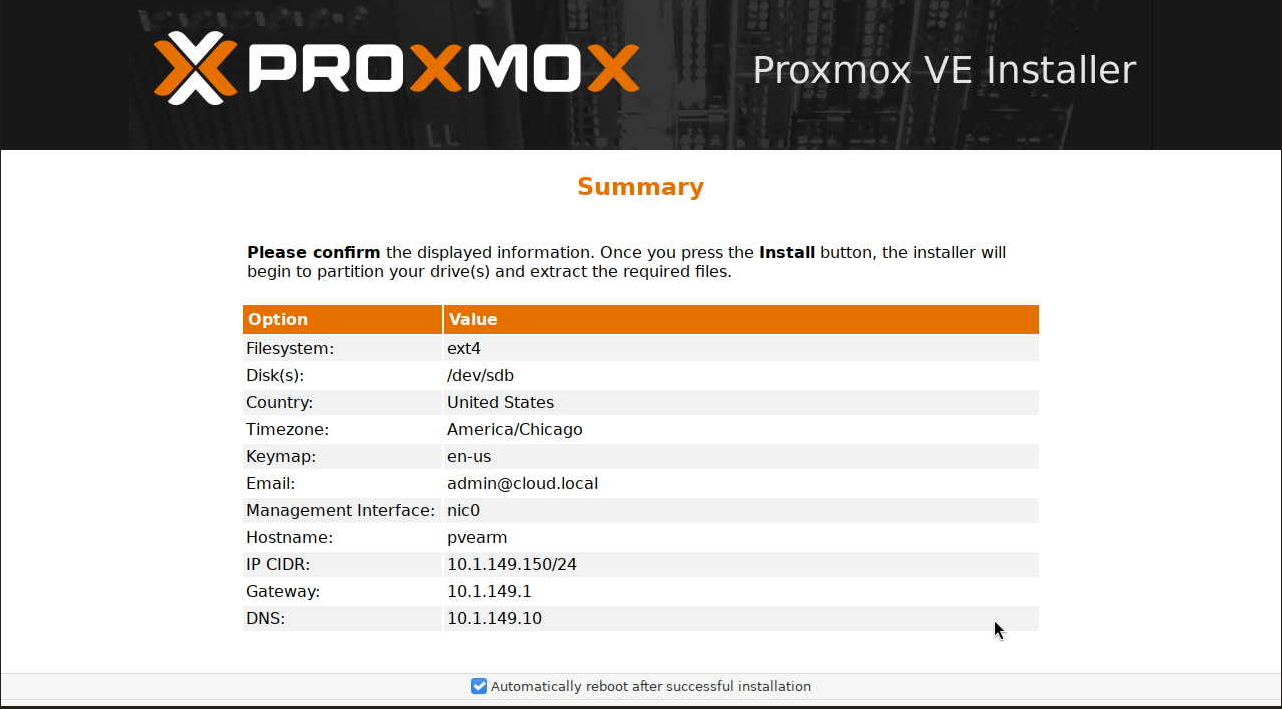
Summary screen for the installation settings.
The install begins. Just a note, on the Raspberry Pi 5 with the 2 TB drive, it took roughly 10 minutes I would say sitting at around 2-3% on creating partitions and setting up LVM volumes. I think this is probably bound by the ARM CPU in the Pi 5 but not quite sure. That part was slow though compared to an x86 machine with a locally installed NVMe drive.
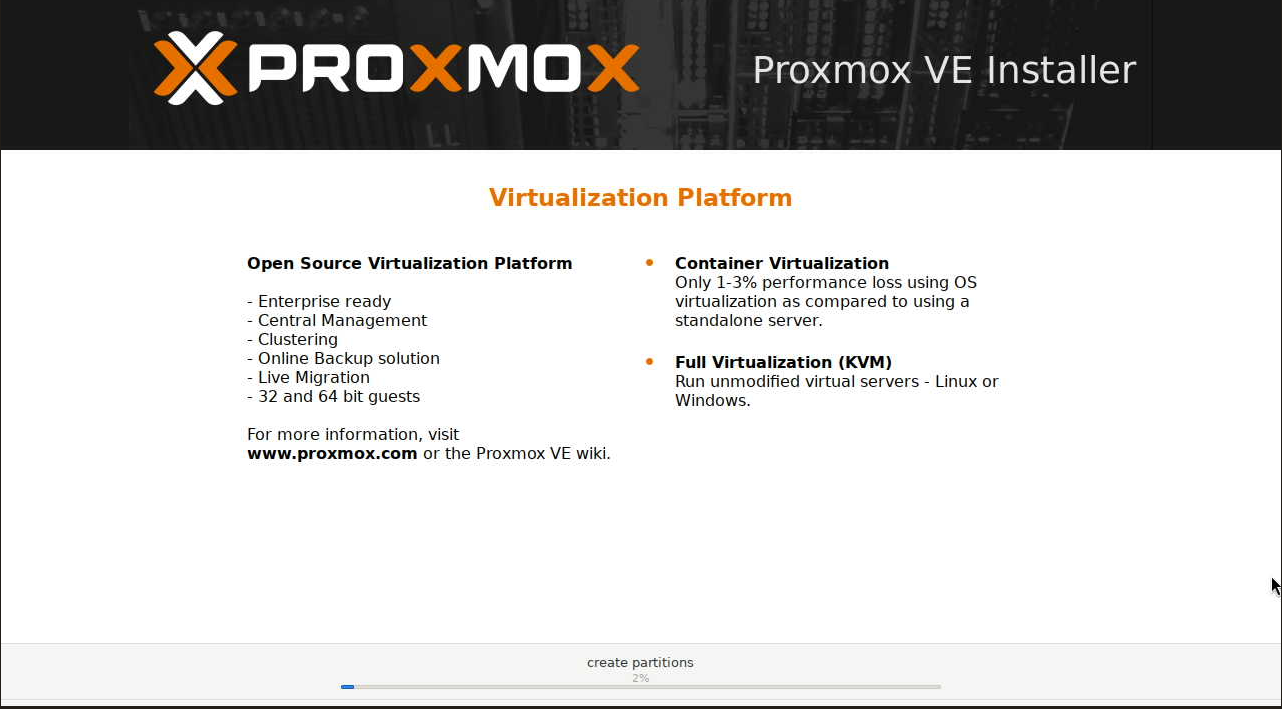
Almost done…

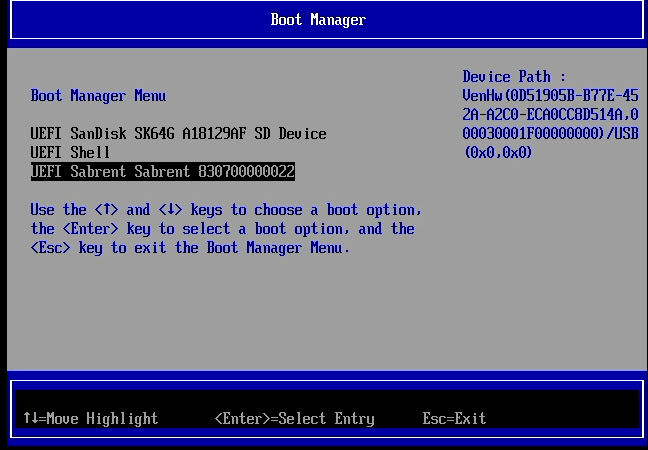
Here for the first boot, I had to boot into the Boot Manager and select the external NVMe enclosure connection.
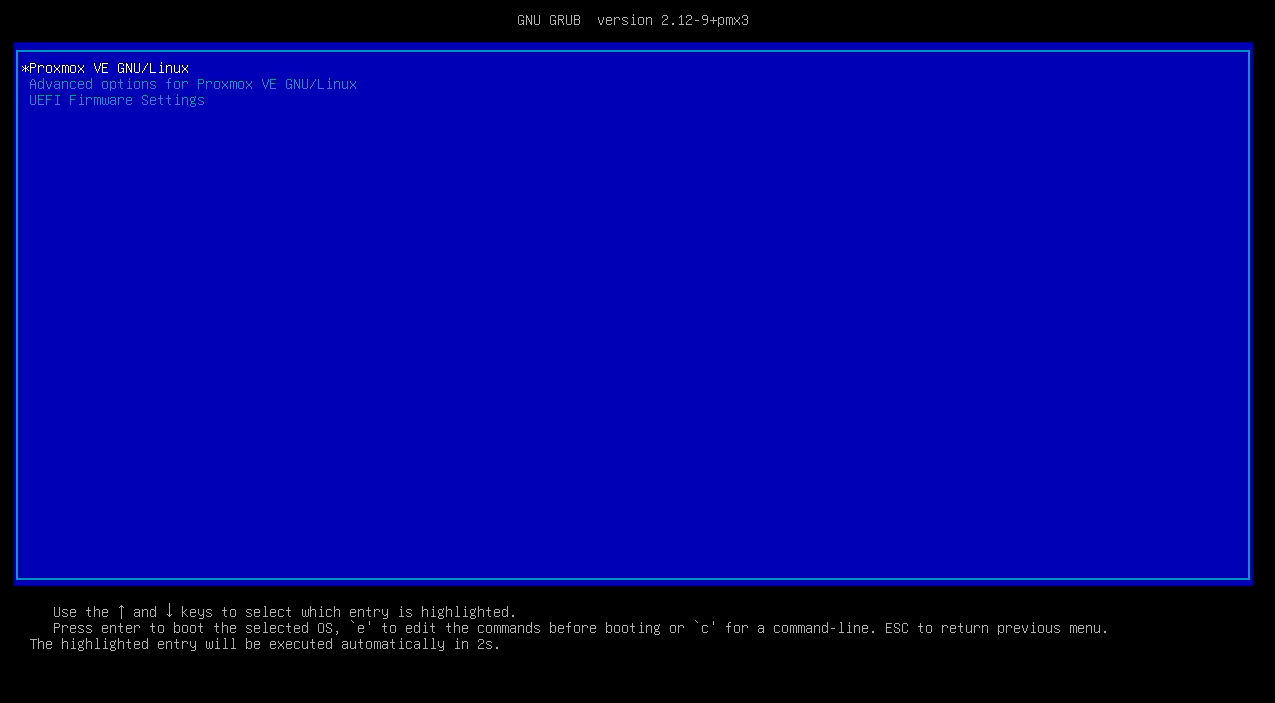
Proxmox boots.
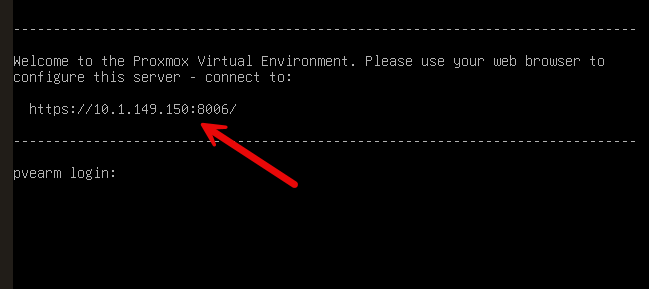
IP address of my Proxmox ARM64 installation.
What Proxmox sees on the Raspberry Pi 5
The Proxmox dashboard provides some useful confirmation that this really is running natively on the Raspberry Pi hardware.
My node reported:
4 x Cortex-A76 (1 Socket)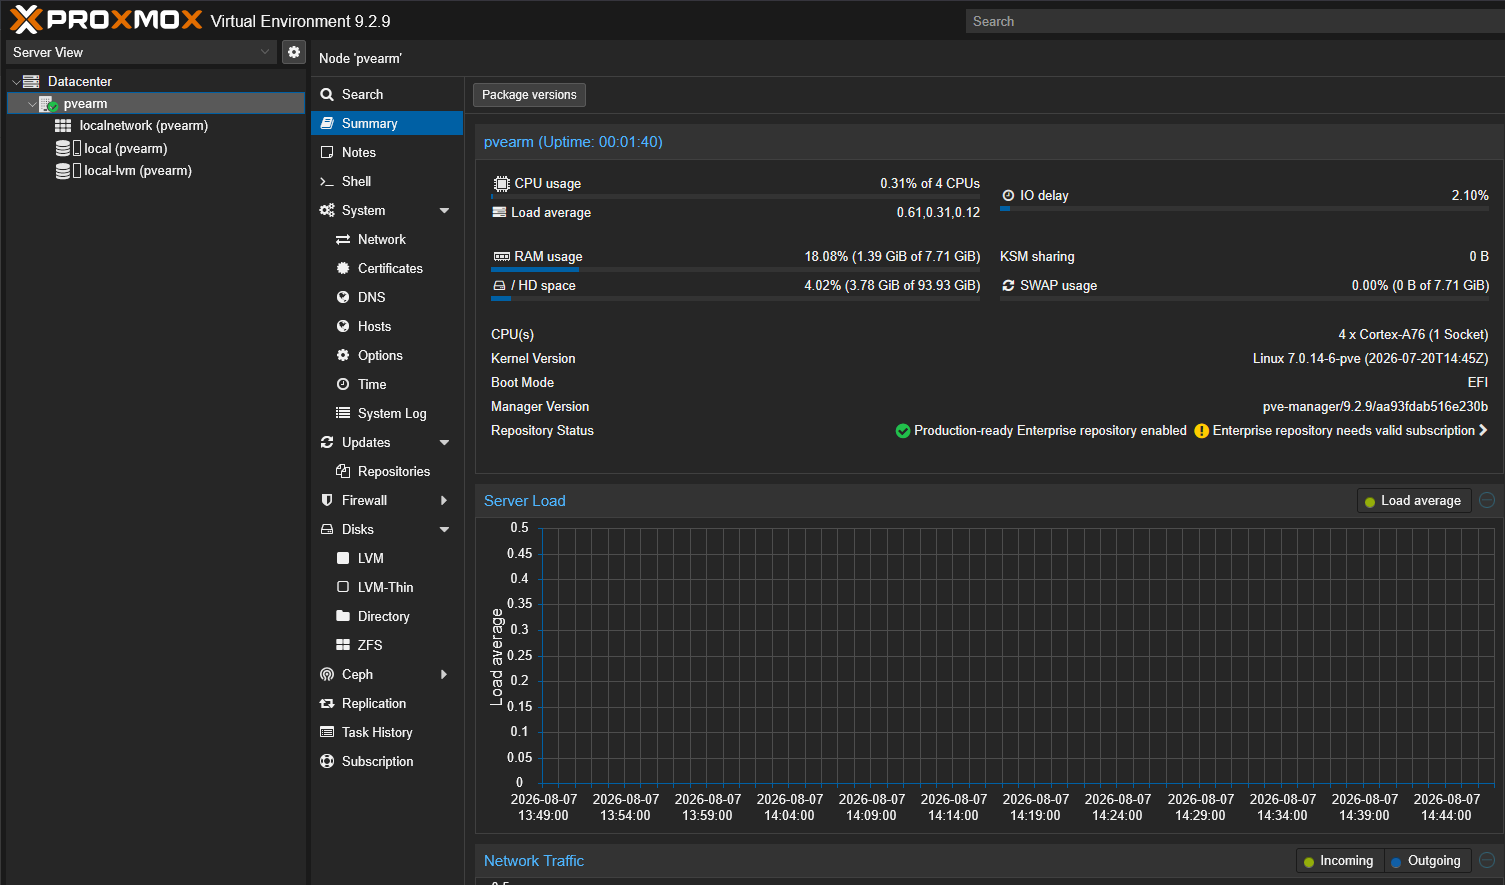
Proxmox saw about 7.71 GB of RAM from the Pi’s 8 GB. My install was running the Proxmox 7.0.14-6-pve kernel and booting using EFI.
Everything looked familiar. In fact if I didn’t know that I was on an ARM system, I wouldn’t have realized it. I had the Datacenter tree, local storage, local-lvm, shell, networking, firewall, disks, LVM, ZFS, Ceph, replication, backups, task history, and the rest of the normal Proxmox management interface. Nothing changed. Awesome. Of course, now I wanted to try to run something.
Downloading an ARM64 LXC template
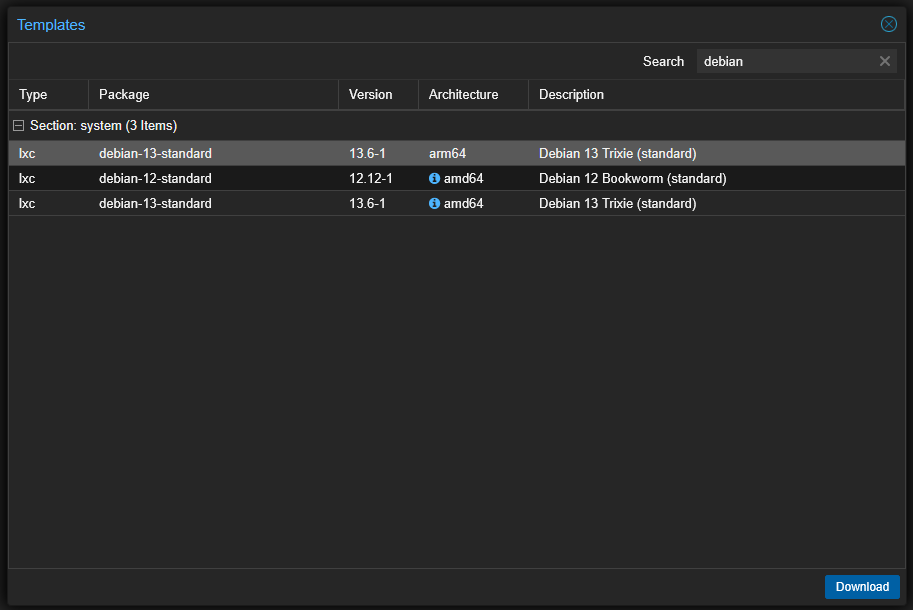
I wanted to perform just a quick test of running a workload in the new ARM64 environment. So, I opened up the Proxmox container template downloader and just did a quick search for Debian. Interestingly, the downloader still shows the amd64 images along with the arm64 images. But as you can see there is an “informational” bubble next to the amd64 images basically telling you these may not be compatible.
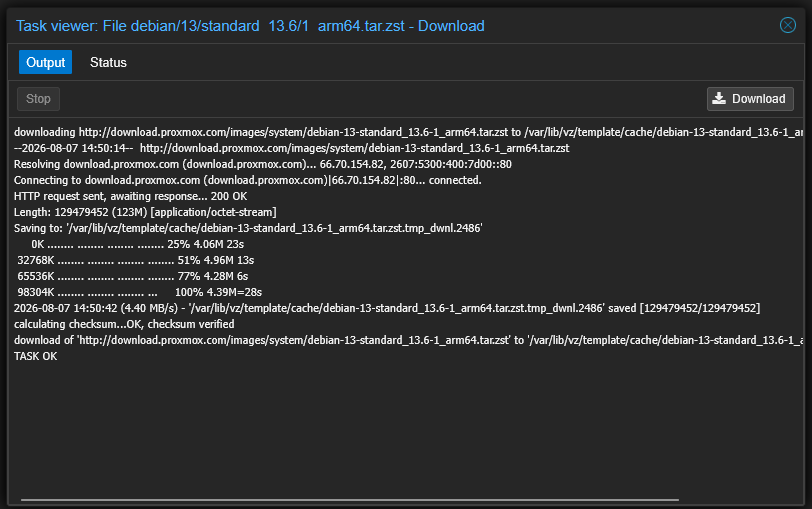
Downloading the image.
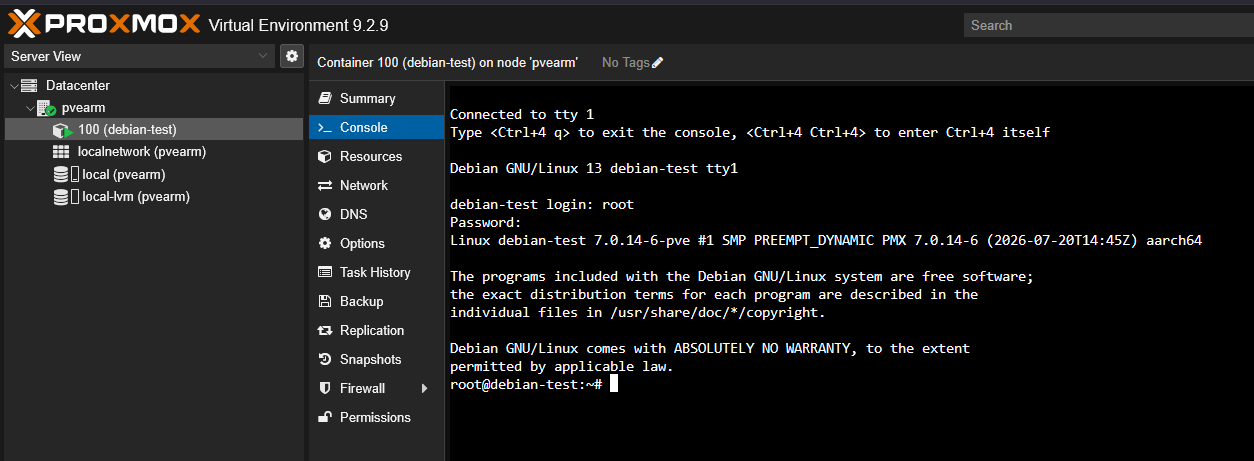
Below, is after I went through the new LXC container wizard and just quickly spun up a new LXC container using the Debian arm64 image I downloaded.
Ubuntu 26.04 ARM virtual machine
I also decided to try out a virtual machine as well. I downloaded the Ubuntu 26.04 ARM image to test out in Proxmox ARM64. Below, you can see the configuration I used here.
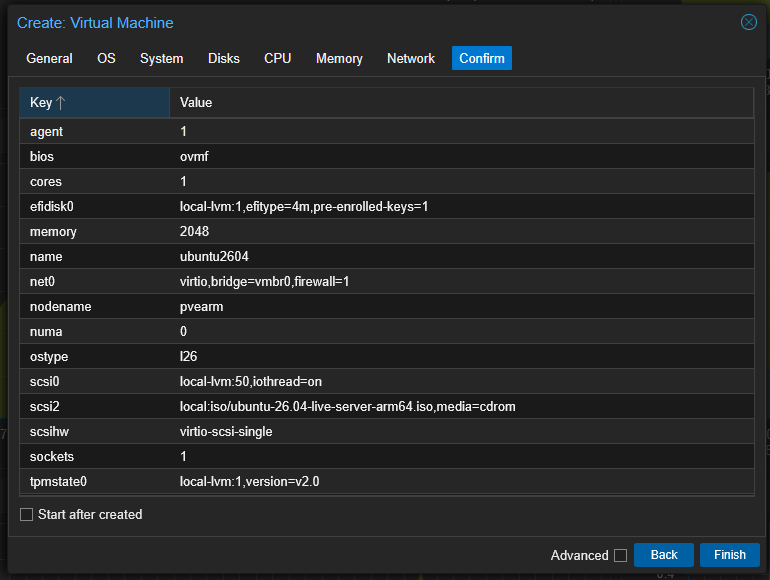
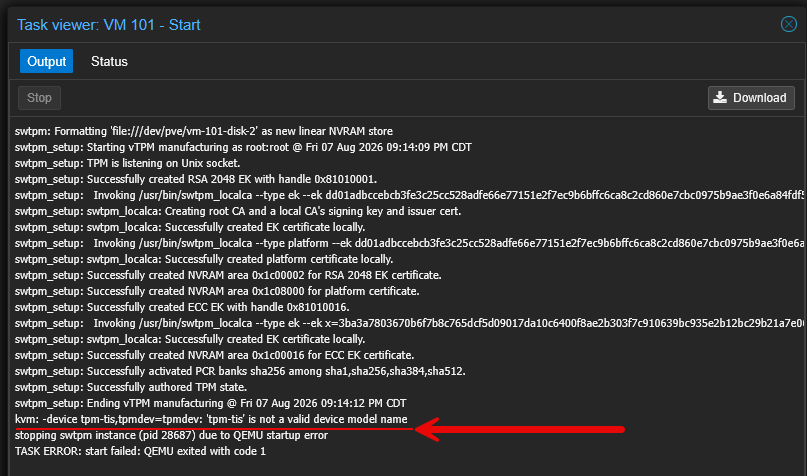
Interestingly, I did encounter an error when I added a TPM device to the Ubuntu 26.04 VM with EFI. I am not sure if this may be an issue with the Ubuntu 26.04 ARM image or if it is related to Proxmox ARM64. More testing is needed on this front.
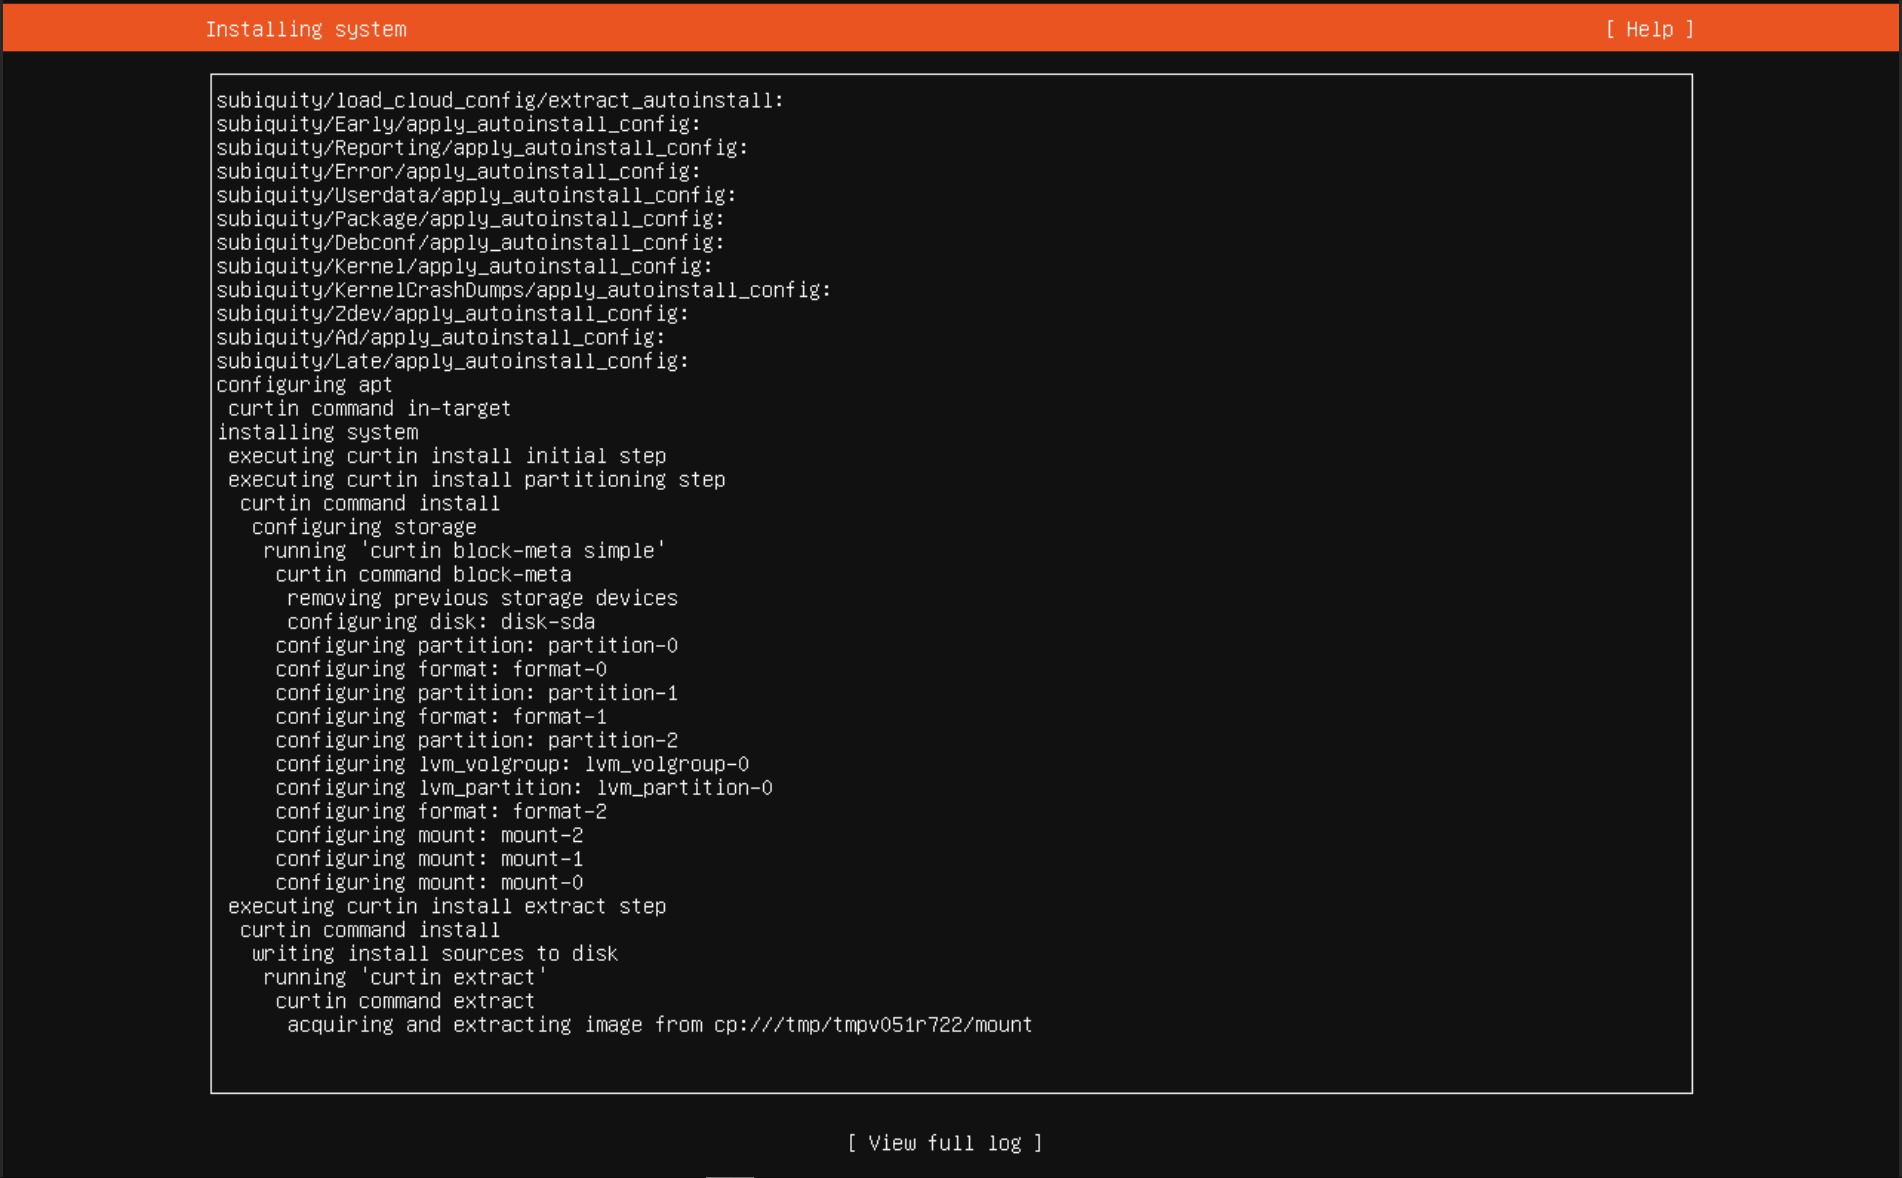
After removing the TPM device, I was able to proceed with the Ubuntu 26.04 ARM installation on Proxmox ARM64 on the Raspberry Pi 5.
Where I think Proxmox on Raspberry Pi gets interesting
I don’t see a Raspberry Pi 5 replacing my larger Proxmox nodes in my lab, but I don’t think this is really the point for now. What interests me with this is adding small, low-power ARM nodes to a Proxmox environment and managing them the same way. Also, having the same tools and capabilities open to us like Proxmox Backup Server, snapshots, migrating VMs, LXCs, etc.
I think a Pi 5 could make an interesting host for lightweight infrastructure services like DNS, monitoring, or small web services. I am toying around with the idea of putting a third DNS server on a Raspberry Pi 5 outside of my existing cluster and fault domain so that I at least have DNS that is out of my main blast radius.
Also, if someone only has a Raspberry Pi device and wants to learn Proxmox and can’t afford other hardware right now, this is a great way to do it since it is the exact same interface. So, I think there are lots of interesting use cases here.
A few things I would keep in mind
There are a few things to keep in mind here that I think are worth noting. This is still new and Raspberry Pi devices are NOT supported by Proxmox. The case in point here is the onboard network adapter not being recognized by the installer. So you will need workarounds like I put in place here with the USB network adapter. I suspect we will see a release of an ISO either from the community or Proxmox that may include drivers for network devices that may not be in this first release.
Finally, I would treat this as an experimental home lab platform and not assume it can replace your traditional x86 Proxmox server. The interesting thing right now isn’t that a Pi suddenly competes with an x86 virtualization server. It’s that Proxmox can now reach an entirely different class of hardware and this opens up new use cases and possibilities.
Wrapping up a great weekend project
What are you waiting for? If you have a Raspberry Pi 5 lying around, give Proxmox VE Server ARM64 a spin. Hopefully my walkthrough here will help any who may be struggling with the steps to get this up and running in their own home lab. What about you? Have you already started to experiment with this? I would be curious to know your thoughts in the comments.
More in this topic




Google is updating how articles are shown. Don’t miss our leading home lab and tech content, written by humans, by setting Virtualization Howto as a preferred source.
About The Author

Brandon, this is a really good article, very detailed. I like the idea too of using this as something that might run a couple of workloads outside of my rack.
Leonard,
I was thinking about the same thing. I have a Pi 5 laying around that I haven’t really had a good use for and this may give me something to use it for running a couple of LXCs there.
Did you try adding the Proxmox arm repository to a Raspberry Pi OS lite install? You can ‘convert’ debian to Proxmox by adding the repos and insalling the packages, and since Raspberry Pi OS is debian-based, maybe it could work if you skip installing the Proxmox-specific kernel (and even detect the onboard NIC!) I believe steps for installing Proxmox on top of debian are in the Proxmox VE wiki
Aristide,
No to be honest, my goal was to see what happened just trying to use the vanilla ISO image as I think this is what most will probably do so I wanted to pursue that functionality. This is a good shout though that you could go the route of installing the Debian installation and then add the Proxmox repo on top and install it that way for more drivers.
Brandon
Great article and I think I’m going to try this out with my 3 orange pi 5 8gb devices. Nvme boot works on one device to talos but haven’t gotten the other two to boot properly so hopefully this will…
Very cool Jarvis, definitely keep us posted on your progress here. I’m interested in how others get along with the new ARM64 release and using ARM in the home lab 👍
Brandon