As many of you may already know from reading my previous blog posts, I really like playing around with hypervisors and different technologies. The nested virtualization capabilities in VMware vSphere provide a great way to do this without the need for physical hardware laying around to install a hypervisor. I have had a hankering to play around with XCP-NG hypervisor in the lab environment and finally got around to doing this recently. Let’s take a look at XCP-NG in VMware nested virtualization.
What is XCP-NG?
First of all, what is XCP-NG? XCP-NG is a virtualization platform based on the Xen Project hosted in the Linux Foundation. Being based on XenServer, it is a collaboration between individuals and businesses looking to deliver an open-source virtualization project that can meet the challenges of the enterprise today.
Its features include the following:
- Modern UI – It offers a modern UI for management called Xen Orchestra. There is also a Windows-based management tool called XCP-NG center that allows managing your XCP-NG hosts, etc.
- Live migration – This is probably what drew most of us to virtualization and got us hooked to begin with – live migration. XCP-NG offers the ability to move running virtual machines between hosts.
- Scalability – You can grow and scale your infrastructure as needed. Simply add a host to your XCP-NG environment
- Security – With XCP-NG, you can run your own private data center without the concerns of shared public cloud infrastructure.
You can learn more about XCP-NG and download the ISO installation from here:
XCP-NG in VMware nested virtualization
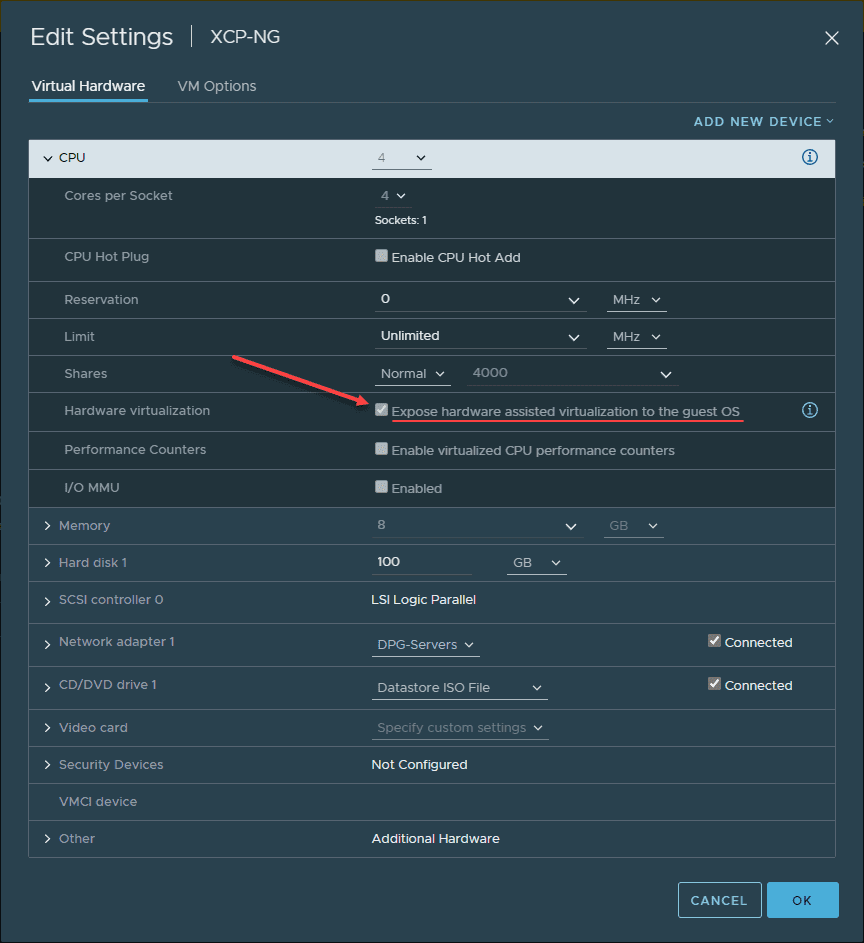
Let’s take a look at installing XCP-NG in VMware and see how you can do this with VMware nested virtualization, installing the XCP-NG hypervisor in your VMware vSphere environment is as simple as creating a new VMWare vSphere VM, enabling the CPU settings for nested virtualization and installing XCP-NG. Let’s see what that looks like.
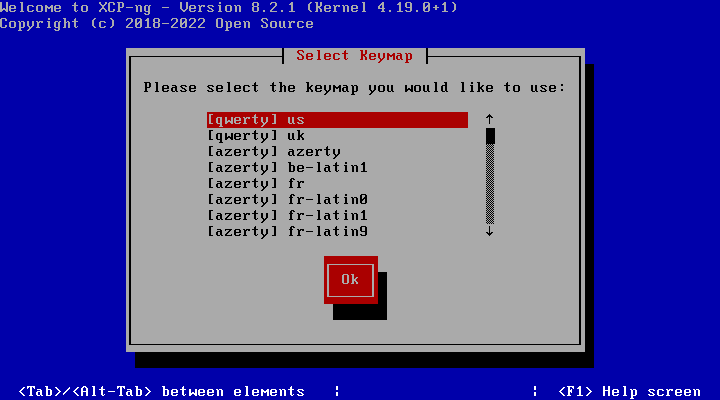
Select the locality for the keyboard layout.
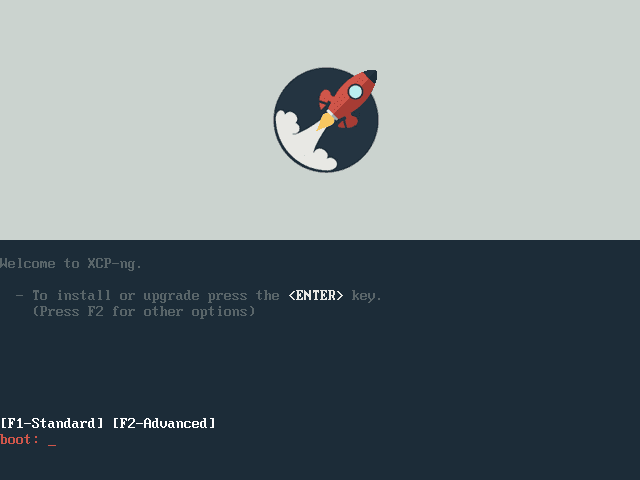
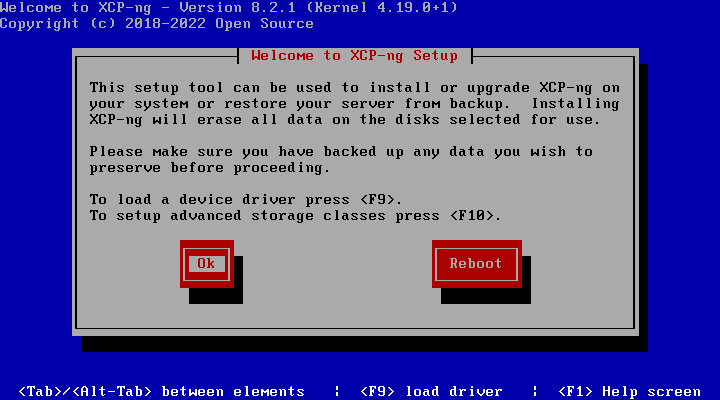
Press the OK button to move forward with the installation of XCP-NG.
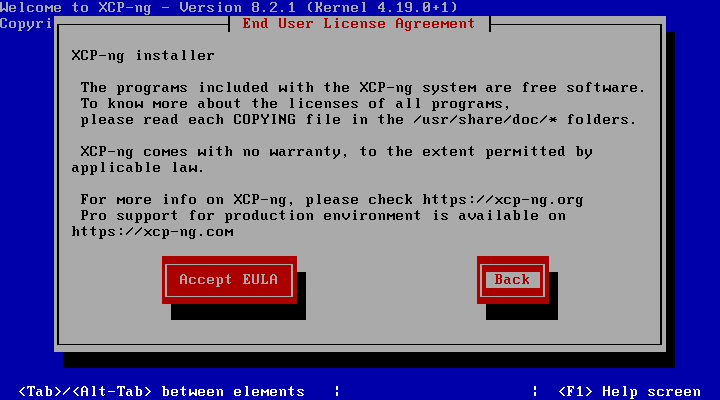
Accept the EULA to move on with installation configuration.
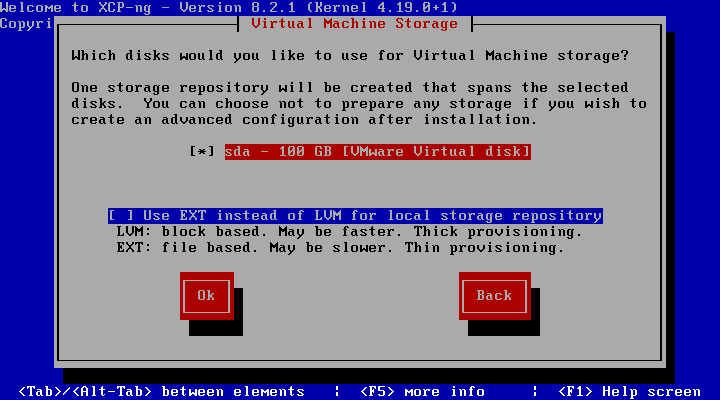
Select the local disk you want to install XCP-NG on and the provisioning method.
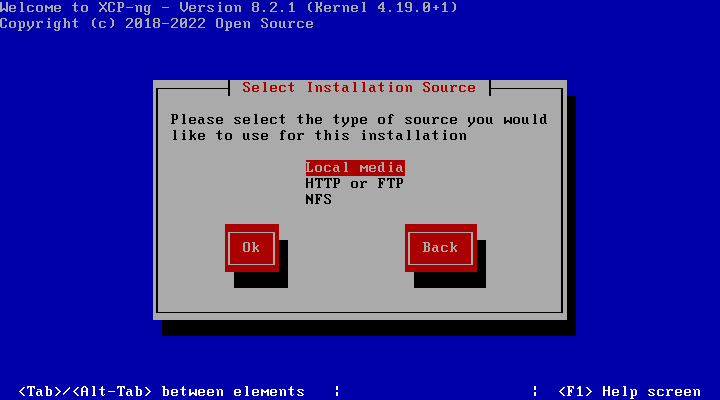
Select the media from which you want to install XCP-NG.
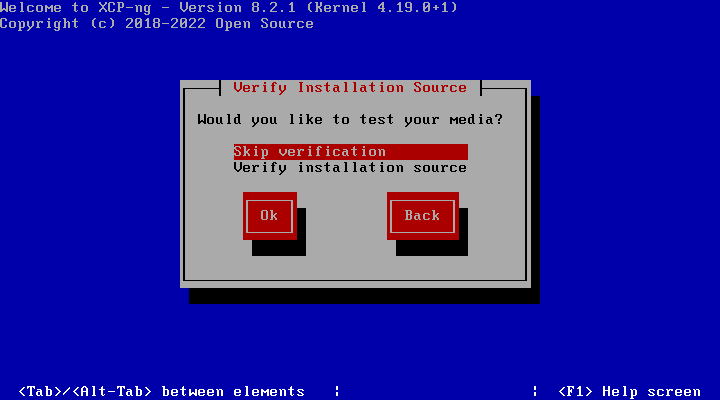
You can choose to verify your media. Here I am skipping that step to save time. The media I am using is an ISO uploaded to the VMware vSphere datastore and selected in the virtual machine properties in the vSphere client.
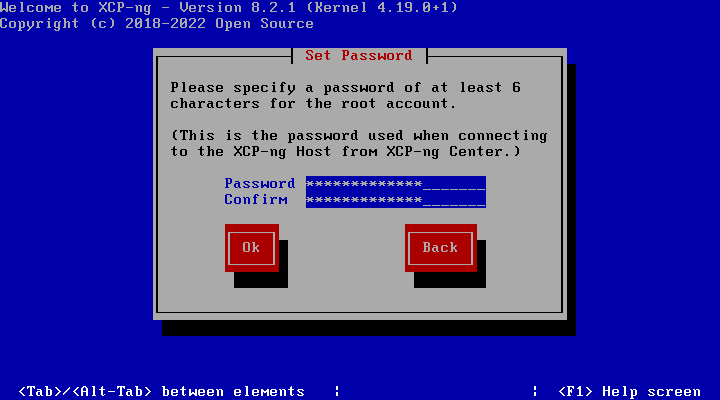
Set an administrator password for the root account.
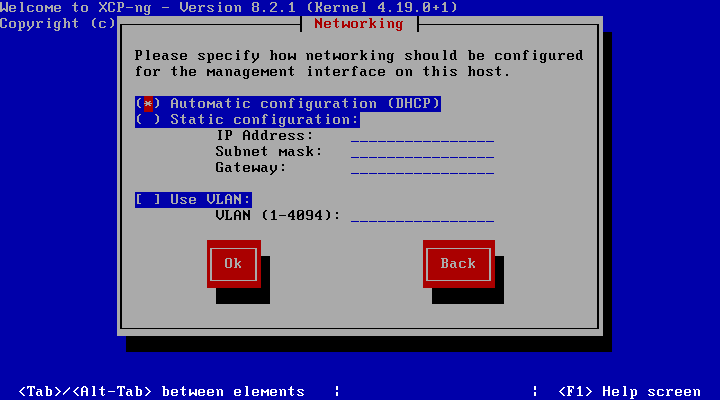
Choose your networking settings. You can set a static address or use DHCP. Also, you can choose the VLAN for the administrative interface also.
Select the geographic region for the XCP-NG server.
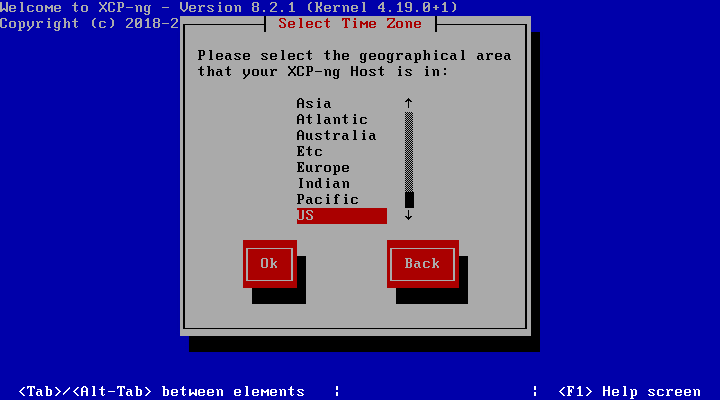
Set your locality for time zone purposes.

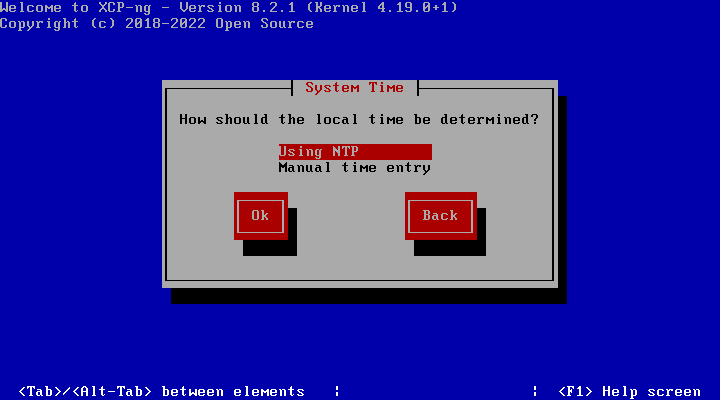
Choose how you want to configure the system time, using NTP or manually setting the time configuration.
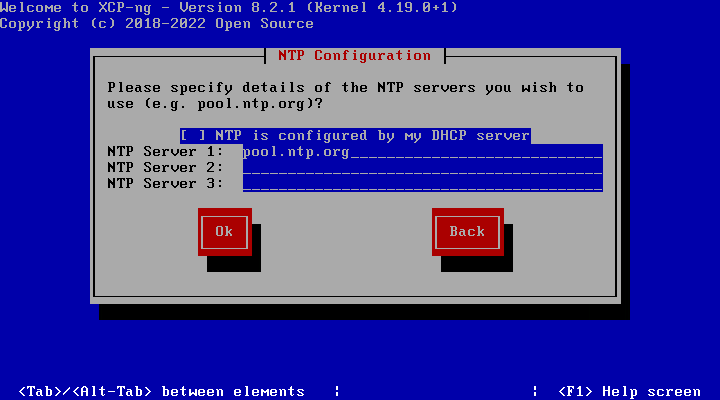
Configure the NTP server you want to use for time configuration.
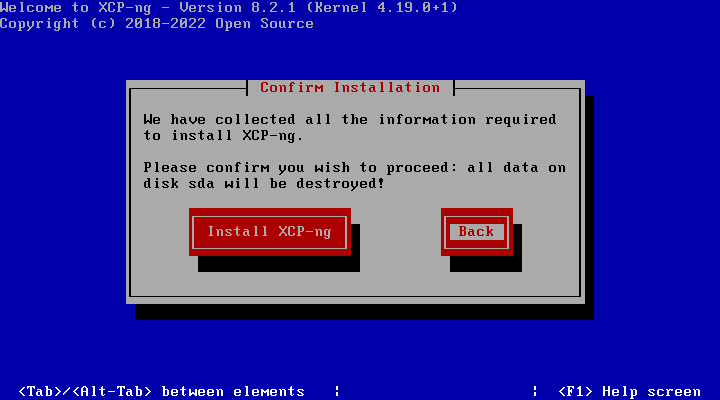
Choose the install XCP-NG button to begin the installation of XCP-NG.
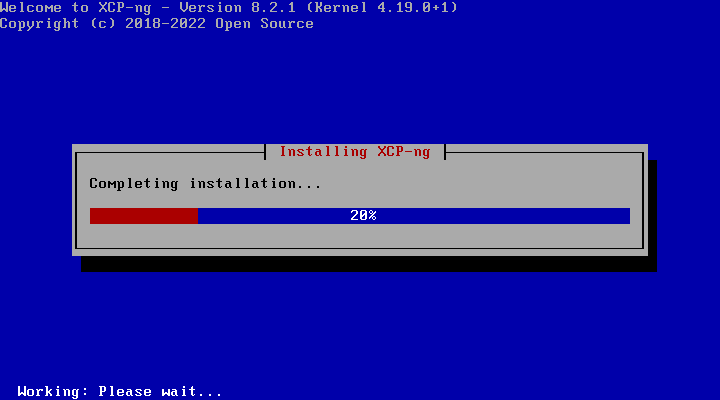
The installation of XCP-NG begins.

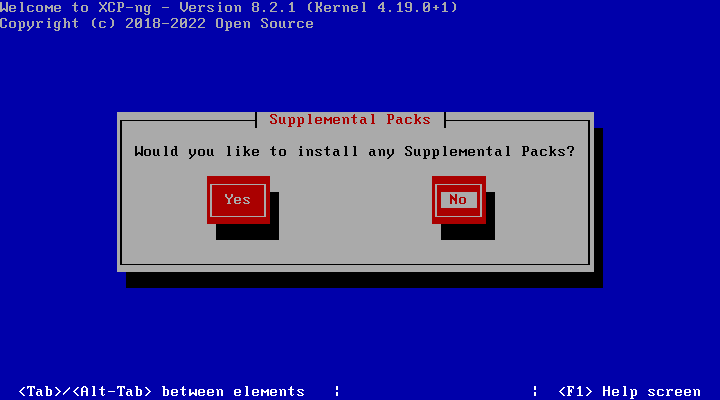
Answer the question of whether you want to install any supplemental packs in your XCP-NG installation or not.
The installation completes and finalizes the settings.
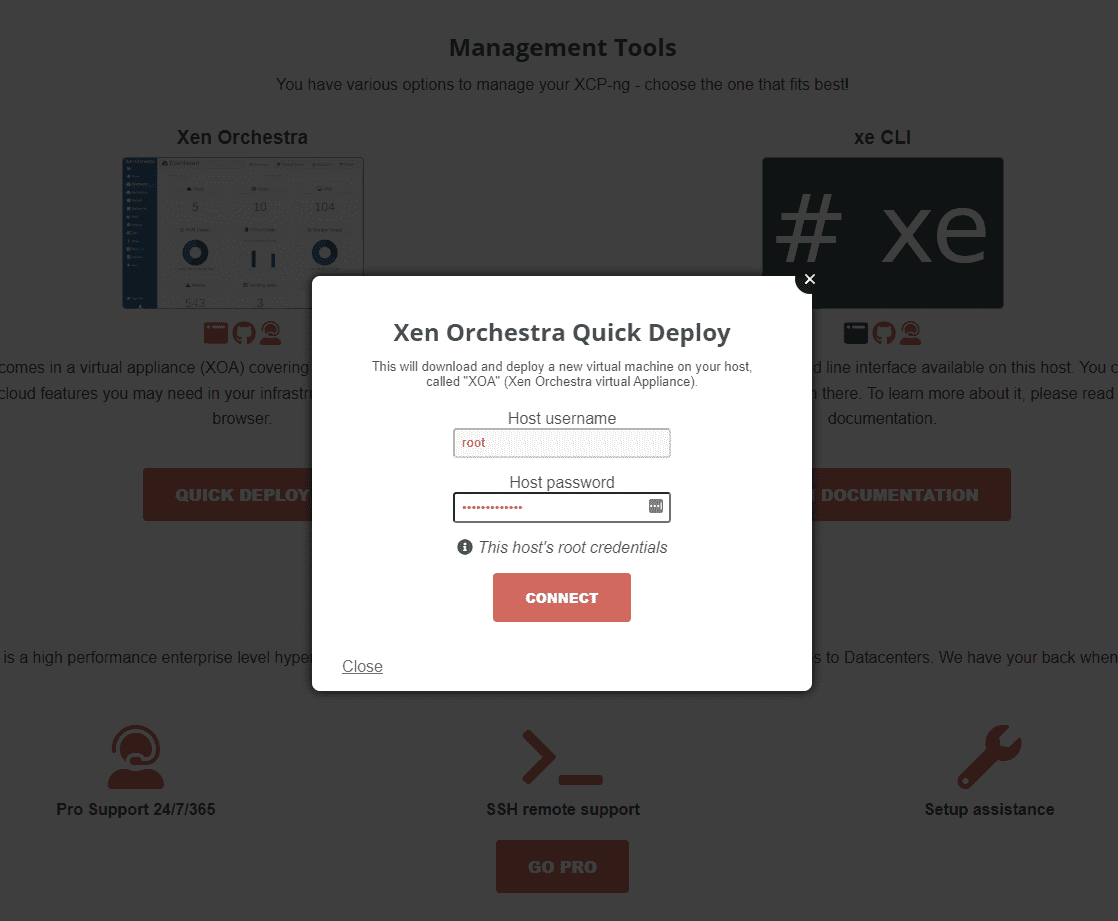
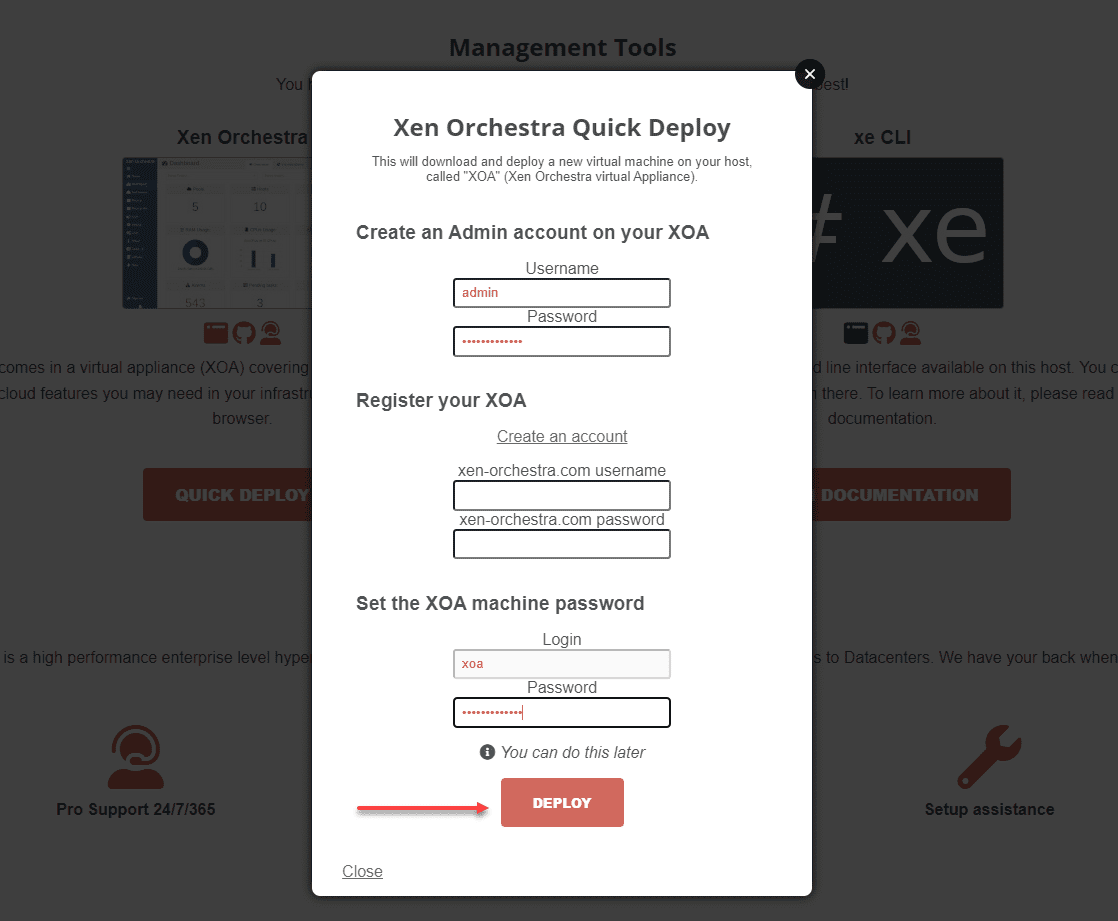
Once the host reboots, you can browse to the IP of your XCP-NG server and choose the Xen Orchestra Quick Deploy option. Enter the root password for your XCP-NG server.
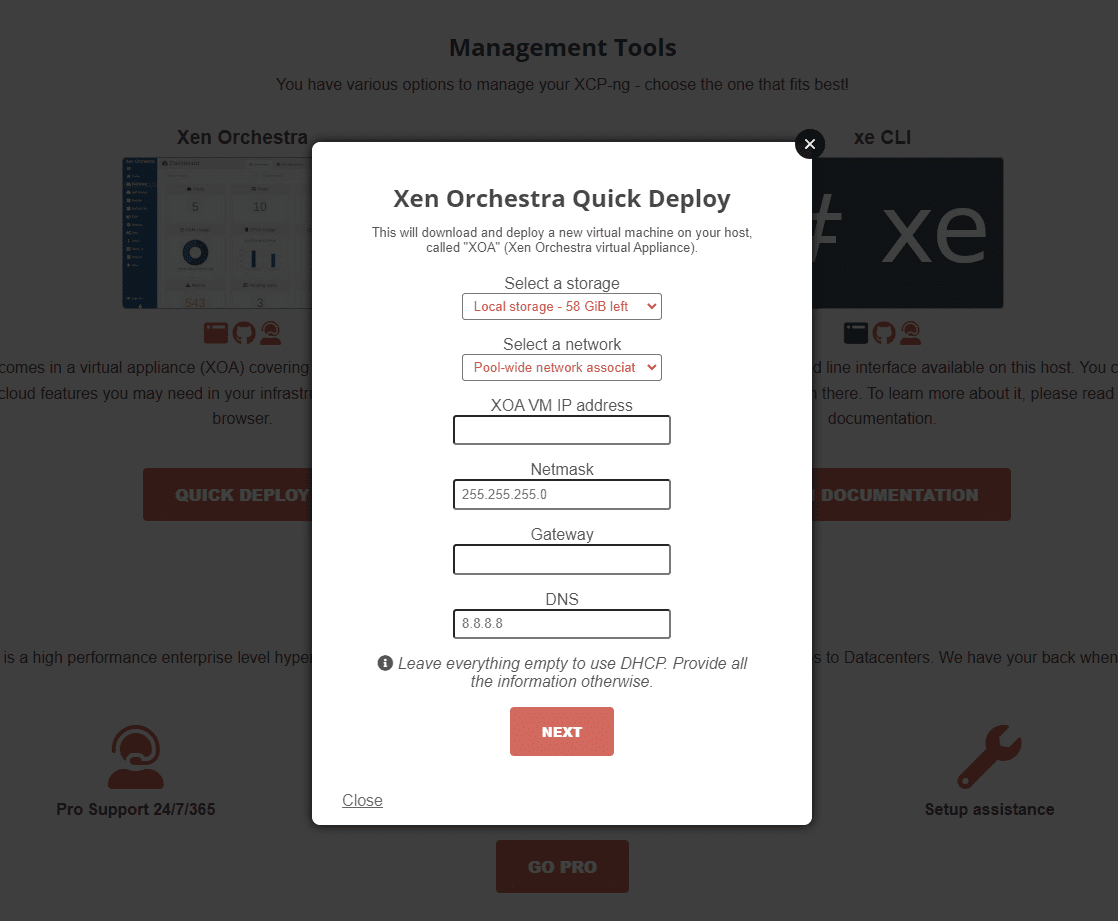
Choose the storage and networking options for the deployed Xen Orchestra Server.
Set up the admin account for XOA, register the account, and set the machine password. If you choose not to register your Xen Orchestra server, note you will not be able to pull down updates for it. However, this process is free and just requires you complete the registration process. Click Deploy.
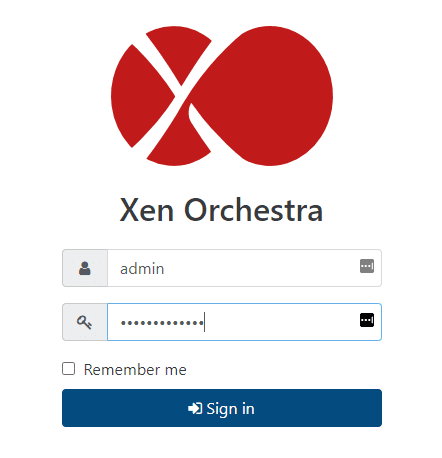
After the XOA VM finishes deploying, browse to the IP you configured in the quick deploy process. Login with the admin password you configured.
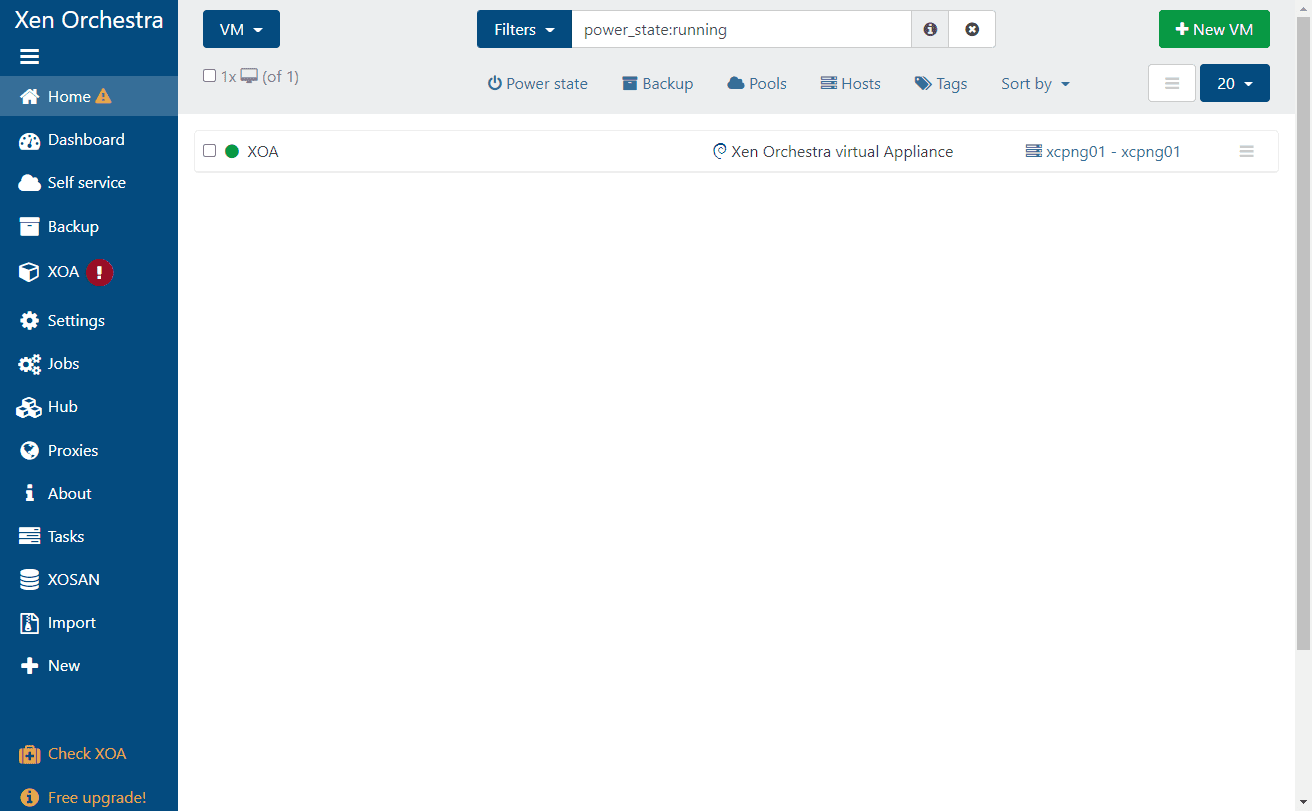
If you browse to the VMs section, you should see your XOA VM running in your Xen Orchestra inventory.
XCP-NG FAQs
- What is XCP-NG? XCP-NG is an open-source hypervisor that allows easily spinning up workloads using the solution with a nice UI, live migration capabilities, and other features. It is free to download, along with the management platform – Xen Orchestra.
- What is Xen Orchestra? Xen Orchestra is a free, open-source management platform for your XCP-NG servers. It provides many management capabilities from a modern web UI and allows configuring VMs, hosts, and even backups for your XCP-NG environment.
- How do you install XCP-NG in VMware? As we have shown in the post, it is fairly easy. You just need to create a new VM with nested virtualization (Exposed hardware-assisted virtualization) enabled, mount the XCP-NG ISO, and begin the installation. There are several screens to configure your way through, but all-in-all, it is straightforward to get XCP-NG along with Xen Orchestra up and running.
Final Notes
Coming from VMware vSphere with vCenter Server, it is amazing how powerful vSphere is when compared to open-source solutions. However, many of these solutions are powerful in their own right, due to their open-source nature, full features, and the ability to quickly stand up a hypervisor to start running workloads. XCP-NG and Xen Orchestra are compelling solutions that can certainly be used in many use cases. As shown, you can easily get up and running with XCP-NG in VMware environments for labbing purposes and familiarizing yourself with other solutions out there.
Google is updating how articles are shown. Don’t miss our leading home lab and tech content, written by humans, by setting Virtualization Howto as a preferred source.
About The Author