VMware HCX appliances installation and configuration
One of the tremendously powerful capabilities VMware is giving businesses today is an abstraction layer from various cloud environments, allowing you to run workloads anywhere. It is known as a “mobility platform.” We will discuss further what capabilities are offered by HCX. This post will look at VMware HCX appliances installation and configuration and how to deploy the VMware HCX appliance.
What is VMware HCX?
So, what exactly is VMware HCX? VMware HCX is a mobility platform designed for three primary use cases. These use cases include:
- Application migration – With VMware HCX, you get an automated solution that creates a hybrid network interconnect. Using this hybrid interconnect, you can easily perform virtual machine migrations of both VMware vSphere virtual machines and non-vSphere VMs between data centers without a reboot. Once your workloads are migrated, the networks are provisioned without any redesign of the networking.
- Workload rebalancing – You can move your workloads to align with your business or technical objectives. With VMware HCX, you can rebalance your cloud and on-premises footprints using the hybrid cloud interconnect provisioned. The cloud interconnect enables on-demand migration, data center extensions, and cloud bursting as part of the capabilities offered.
- Business continuity and disaster protection – VMware HCX bolster disaster recovery capabilities due to the technical abilities it offers organizations. These include rapid migration capabilities and replicating data across common VMware infrastructure in two or more places. It also makes disaster recovery planning seamless without reconfiguration of IP addresses. In addition, it also integrates with VMware Site Recovery Manager, which many organizations are already using as part of their disaster recovery infrastructure.
Ot also allows creating mobility for both VMware vSphere and non-vSphere cloud environments, allowing customers to accelerate the modernization of the data center. From a network engineer’s perspective, the beauty of the VMware HCX solution is it takes the tremendous complexity out of building networks between clouds. It automates this process using software-defined networking.
With VMware HCX, it automates the creation of optimized network interconnection and extension for interoperability between KVM, Hyper-V, and vSphere 6.0 and higher. You can also bulk migrate workloads between on-premises and cloud environments without refactoring your applications or, most importantly, not re-architecting your network solution.
VMware HCX appliances installation
Let’s look at how to install the VMware HCX appliance to get up and running with application and workload mobility. First, you need to download the VMware HCX appliance OVA. You can easily deploy the appliance in a VMware vSphere environment using the OVA file. I will show this process as follows.
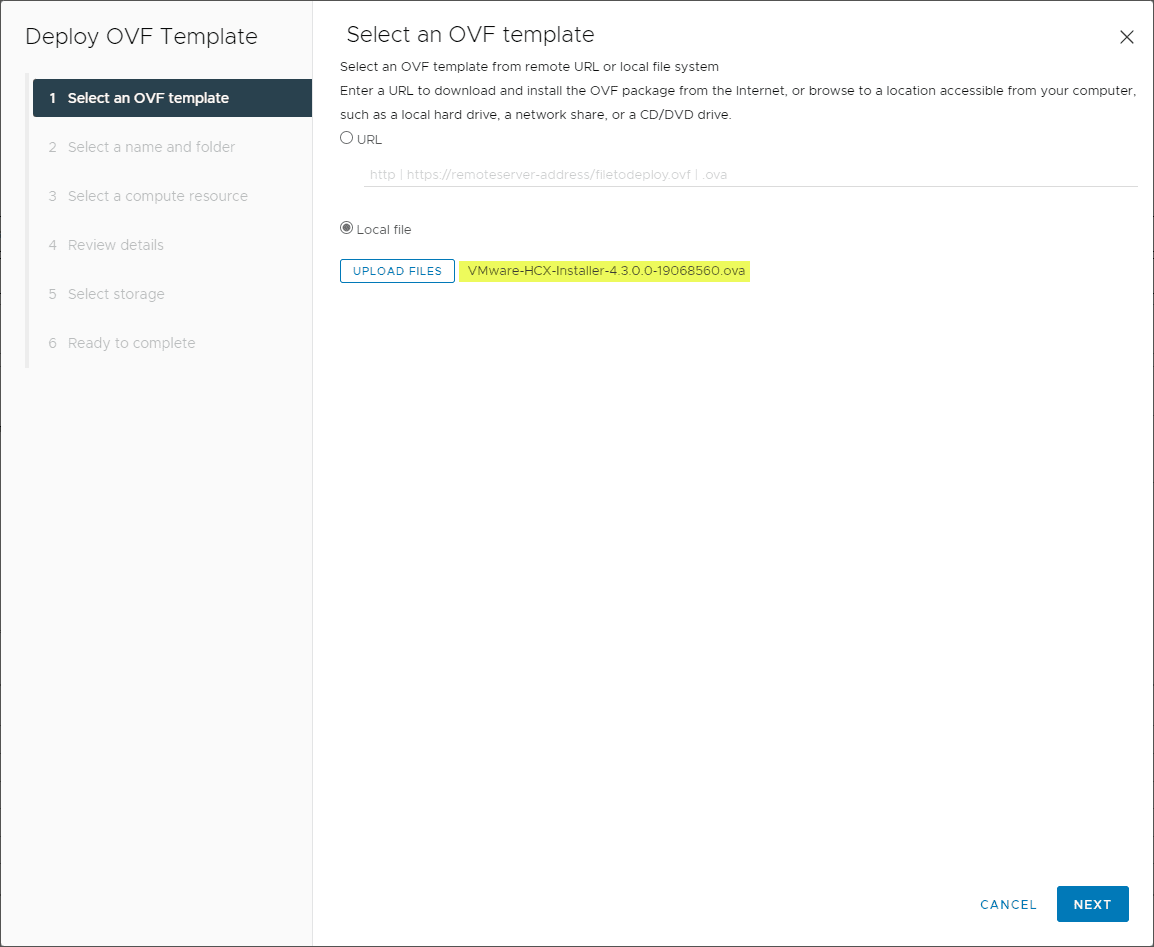
The OVA deployment process for the VMware HCX appliance is straightforward, like most other OVA deployments. First, upload the VMware HCX OVA file.
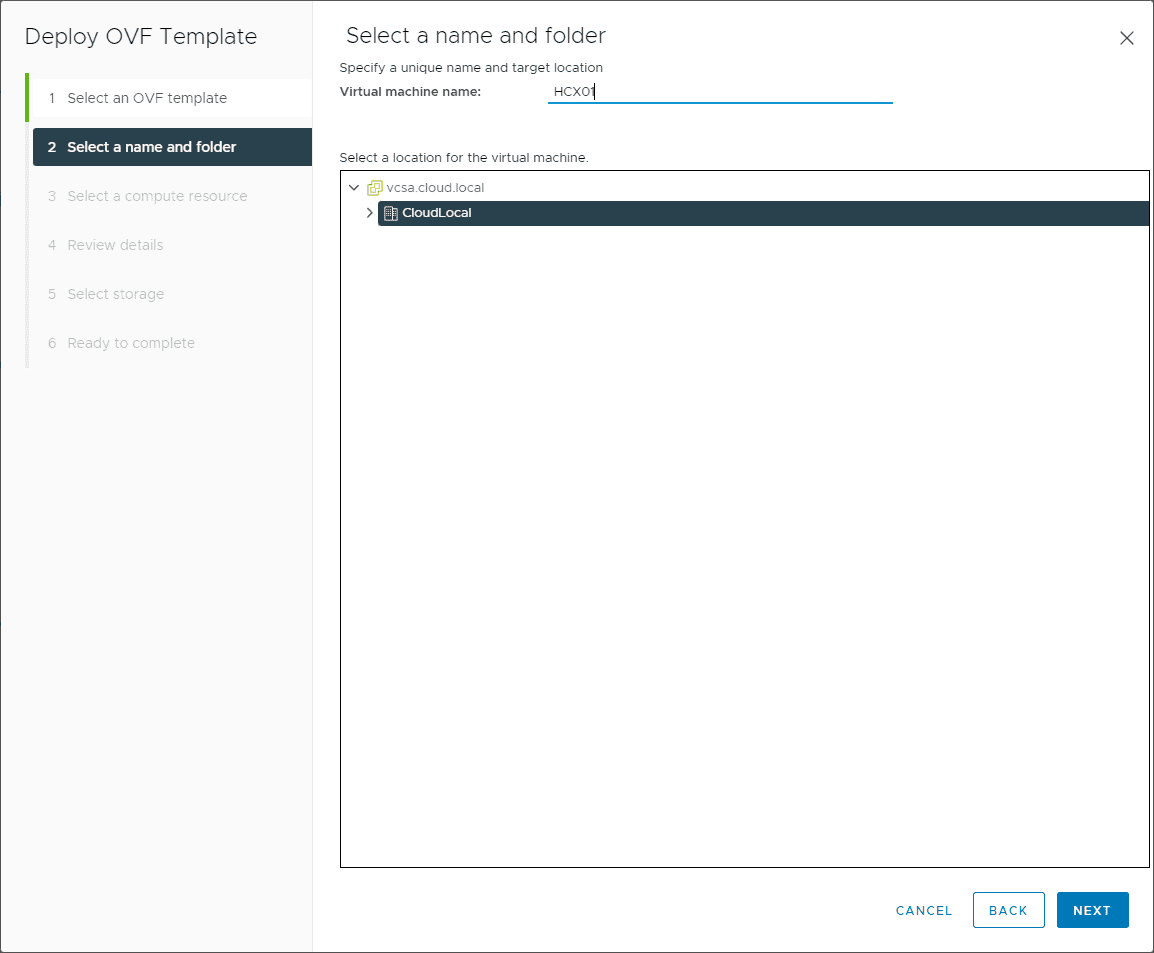
Name the virtual machine. This is the name of the VMware HCX appliance in the vSphere inventory.
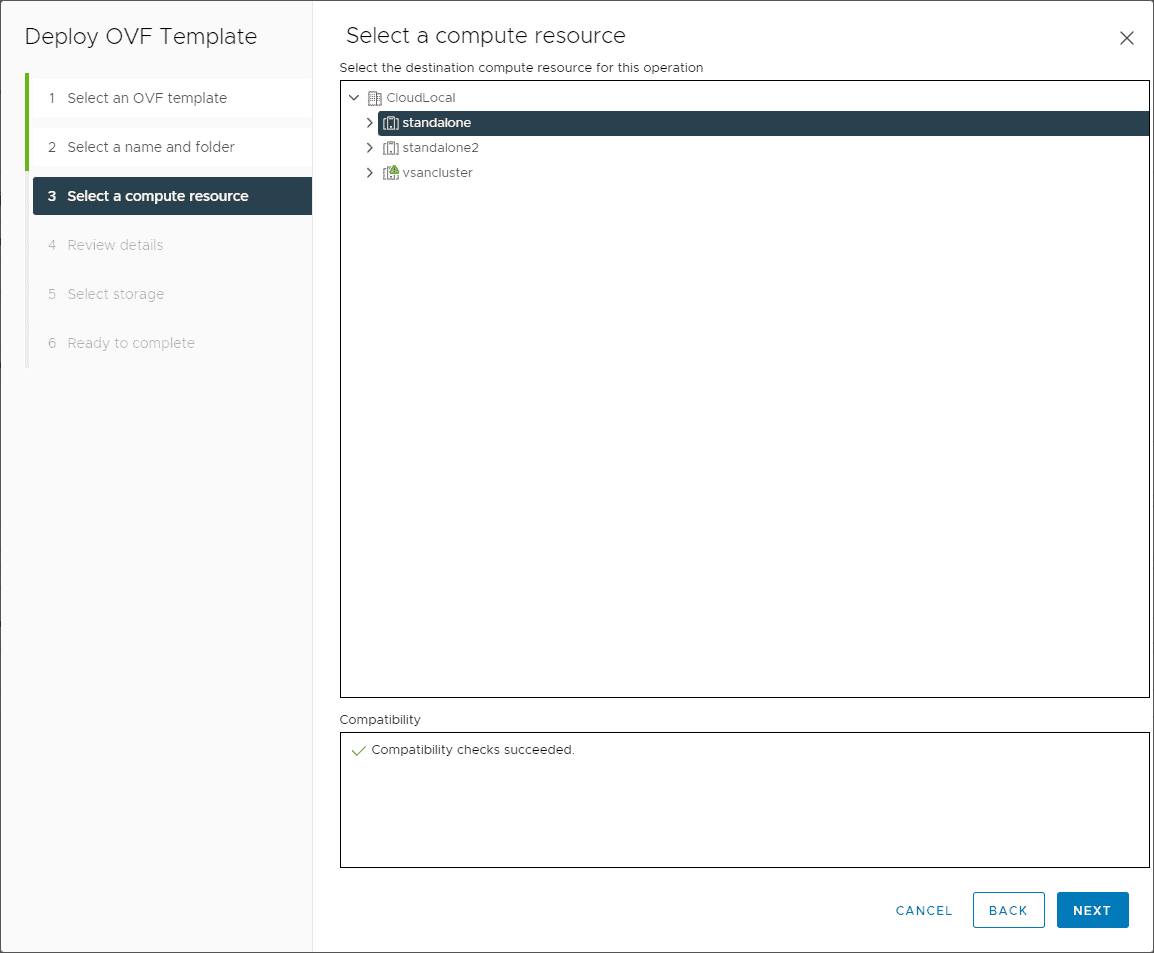
Next, choose the compute resource you want to use to house the VMware HCX appliance.
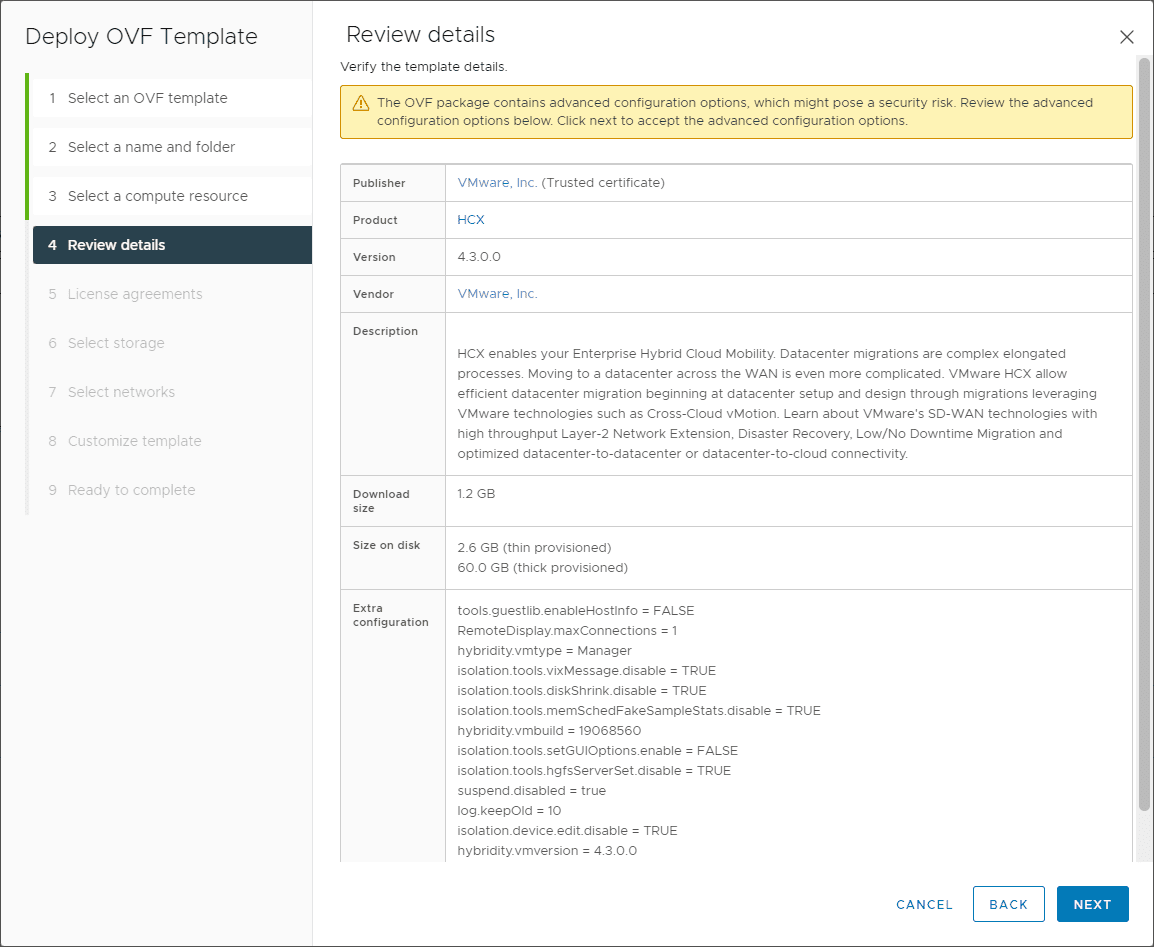
Review the initial deployment details of the HCX appliance.
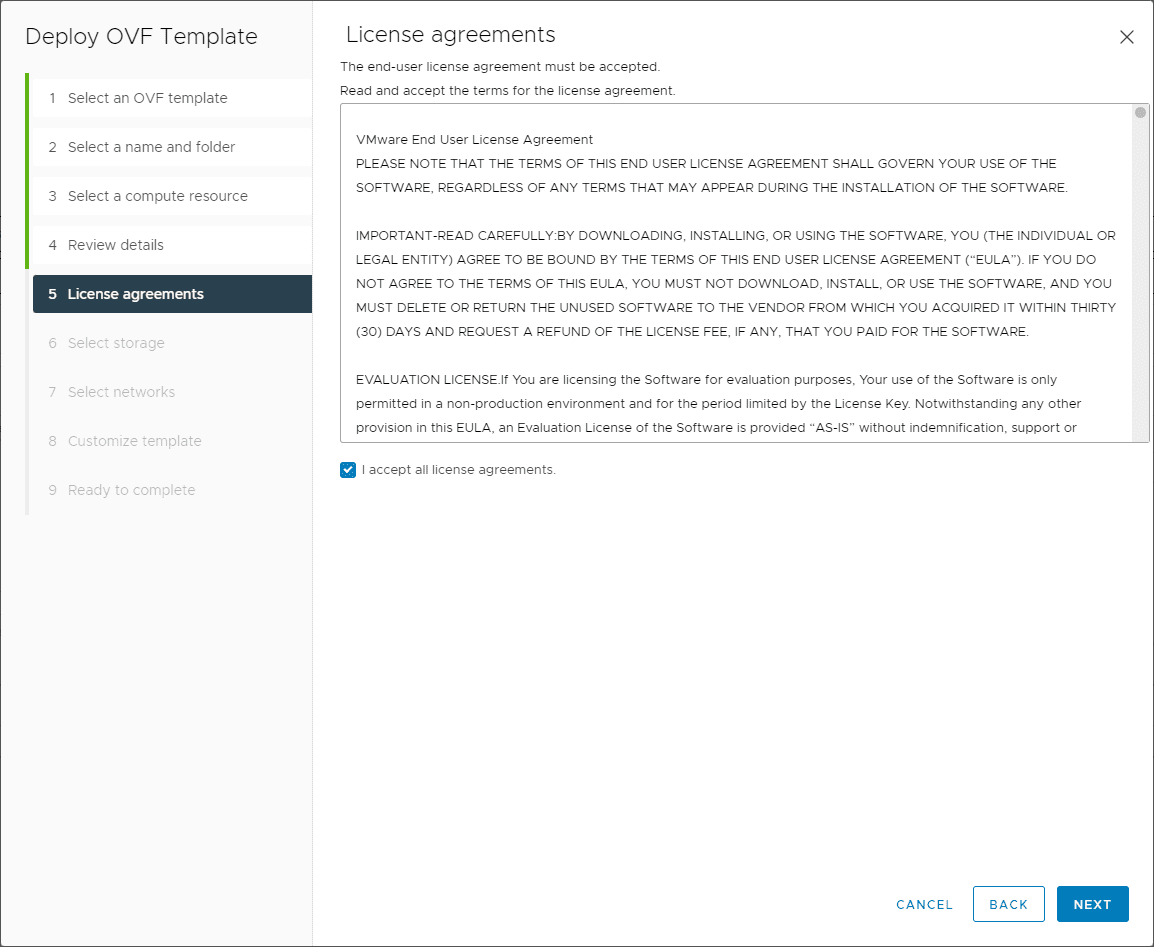
Accept the EULA for the deployment.
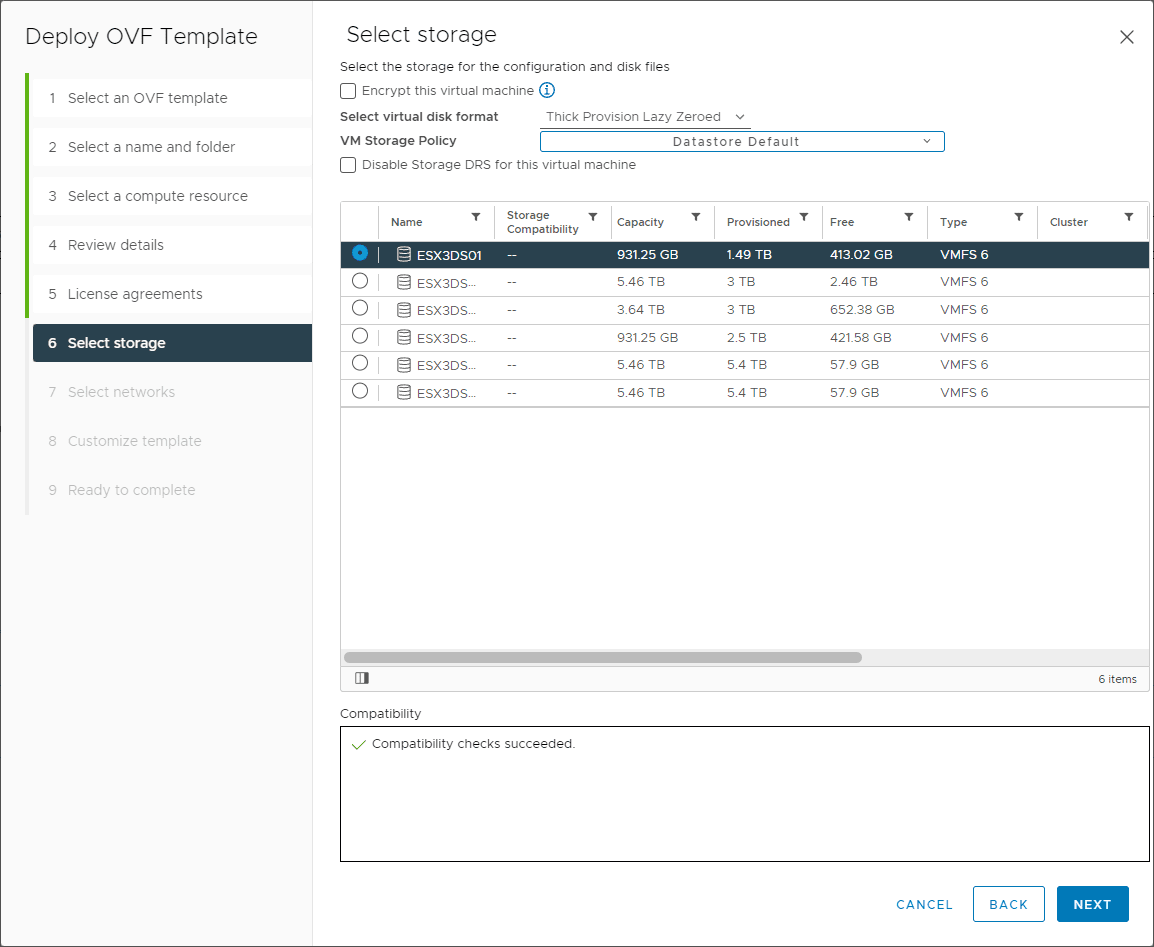
Select the datastore where you want to deploy the VMware HCX appliances.
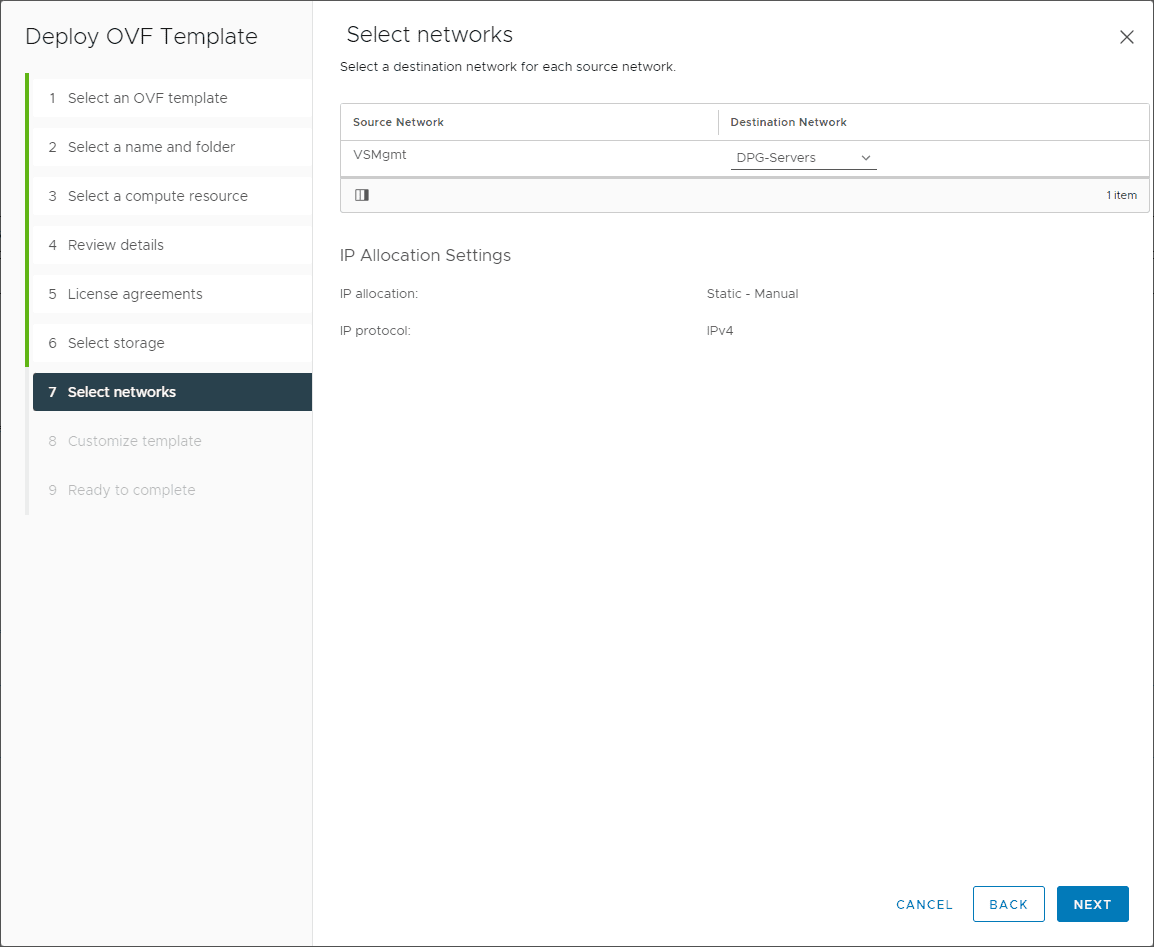
Select the virtual network to connect the VMware HCX appliance.
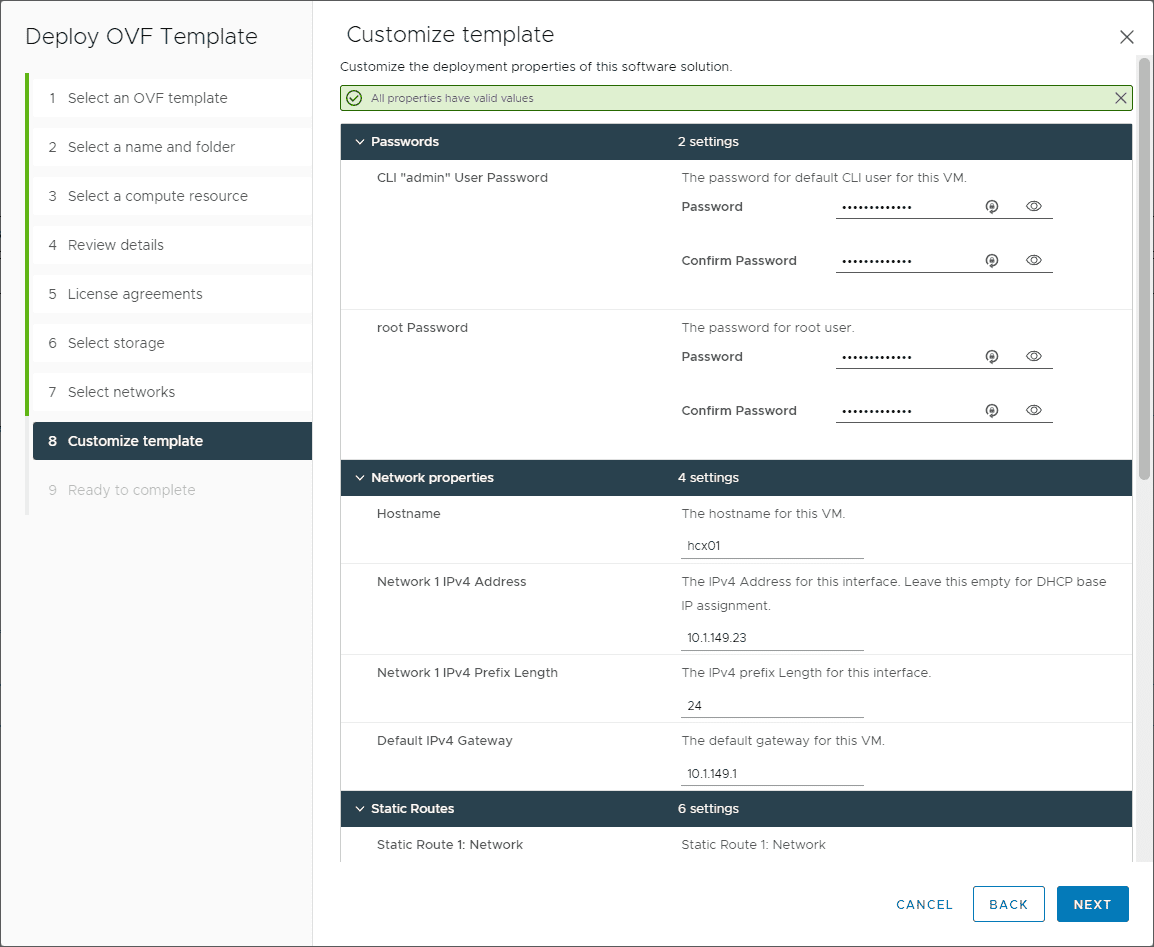
On step 8. Customize template, this is where you want to pay attention and make sure you populate everything correctly. Here you need to ensure you populate the credentials you want to configure, network address, DNS, DNS lookups, static routes, enable SSH (if desired), NTP, and other options. Be sure to look this screen over a few times before moving on.
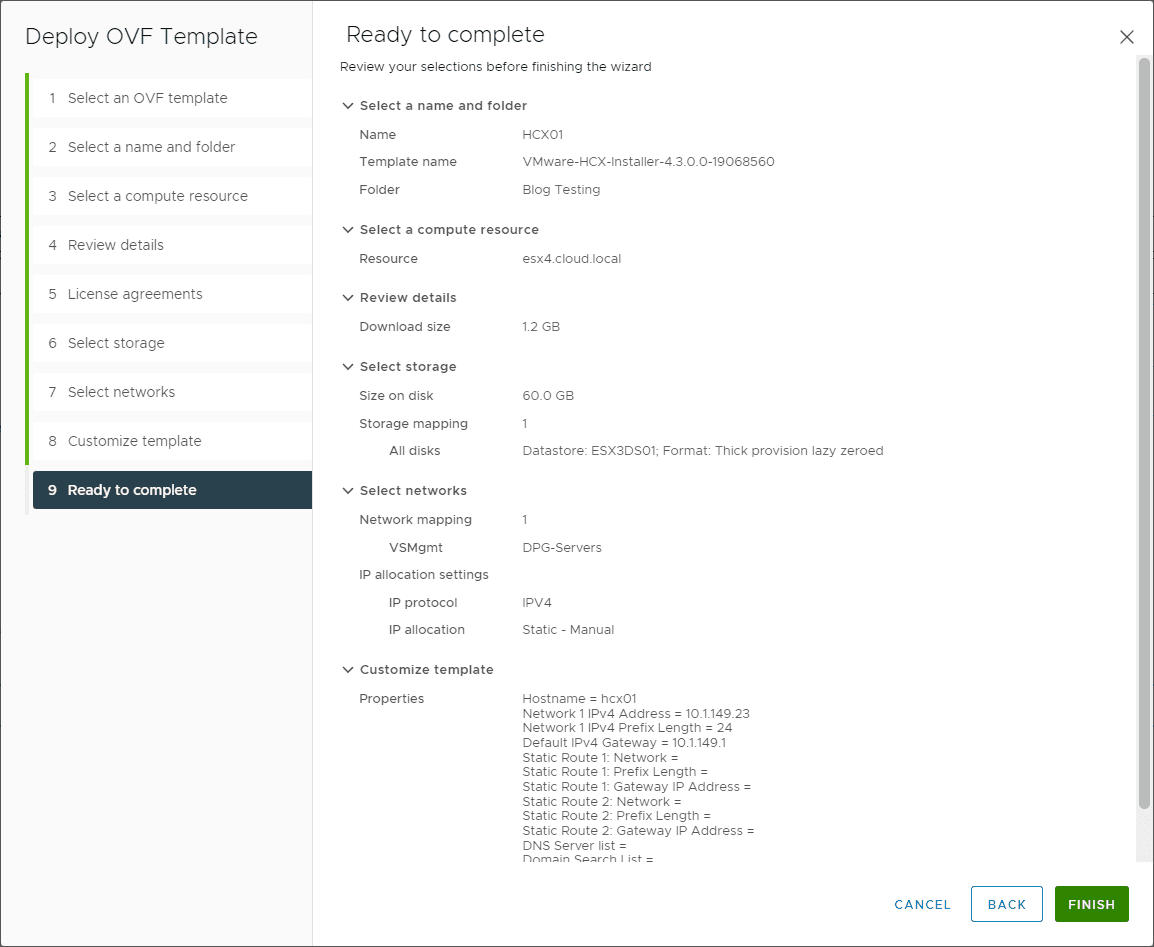
On step 9, review and complete the installation.
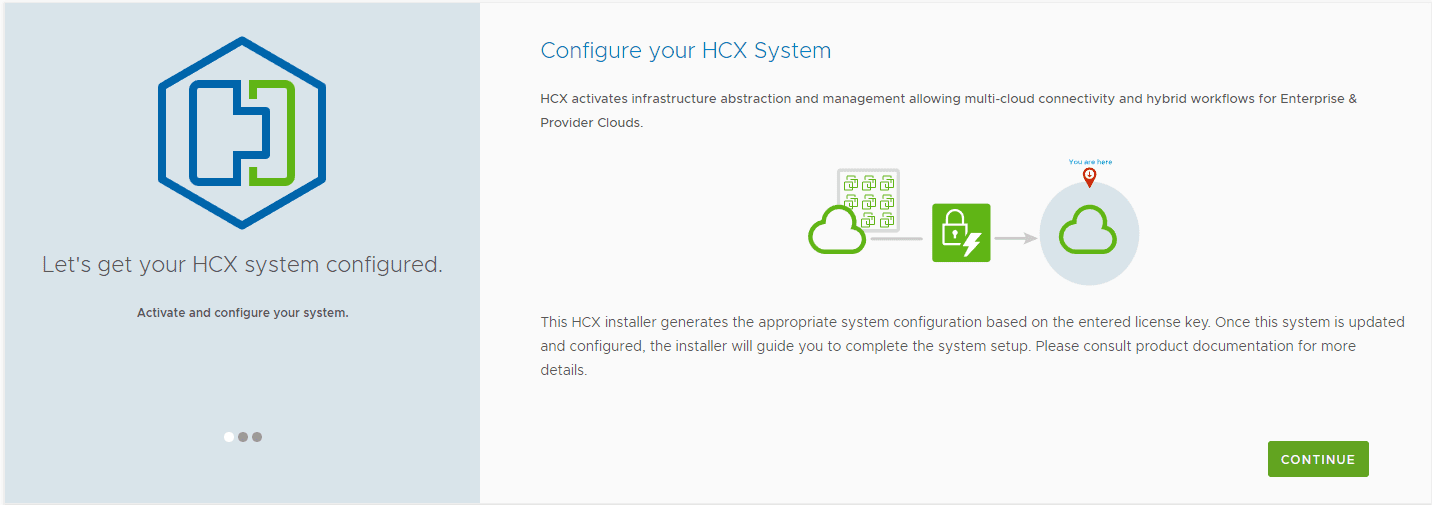
VMware HCX appliances configuration
Once you deploy the VMware HCX appliance, you will need to go through the VMware HCX appliances configuration. Power on the appliance and allow it to boot up and services to start.
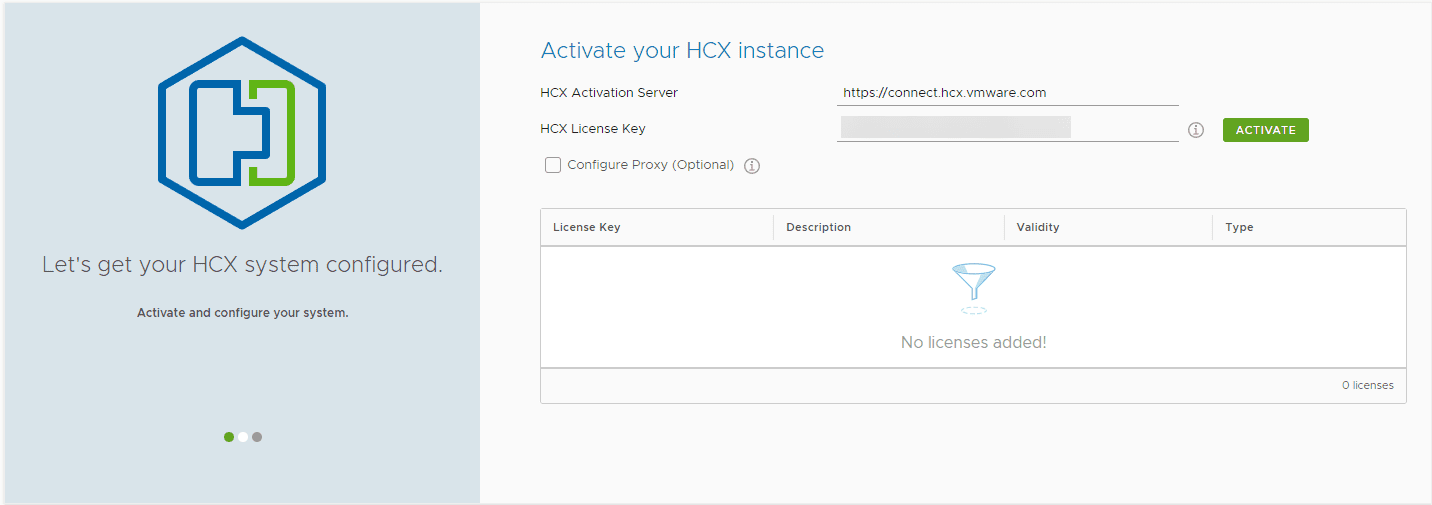
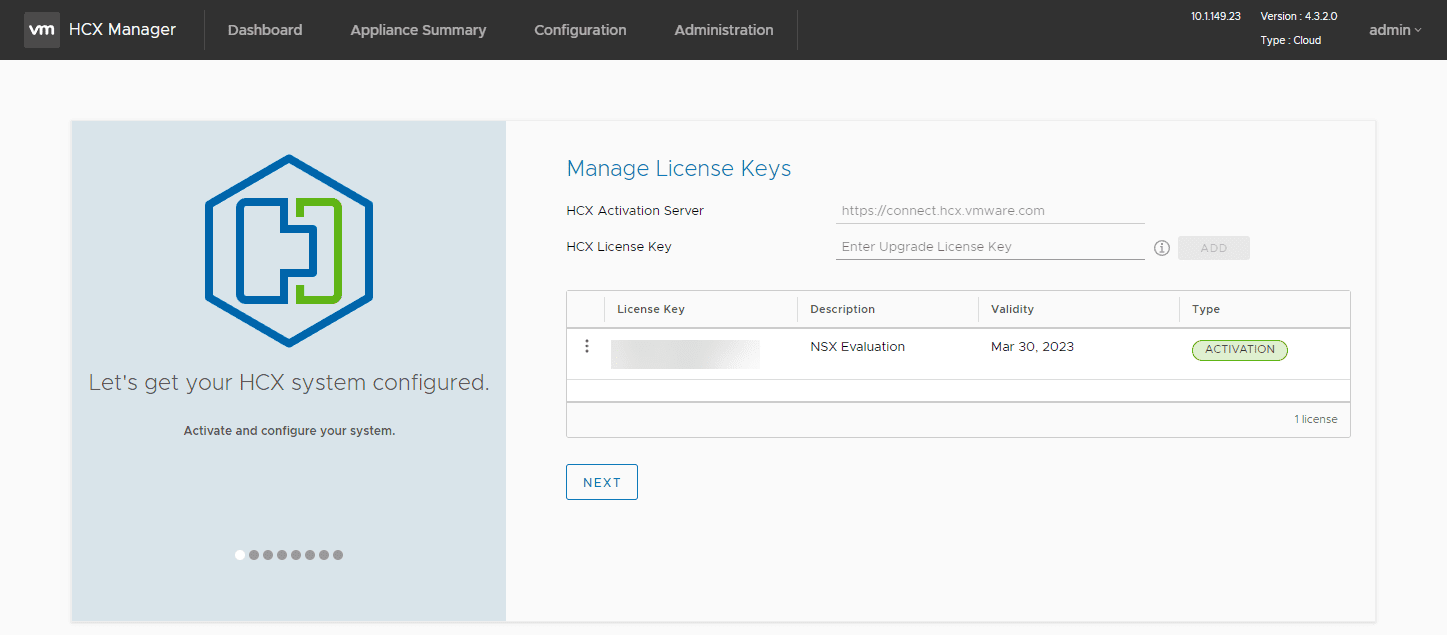
Next, enter a license key. One of the misnomers for me when I went through this was that I didn’t need to enter a VMware HCX key but rather a VMware NSX-T key.
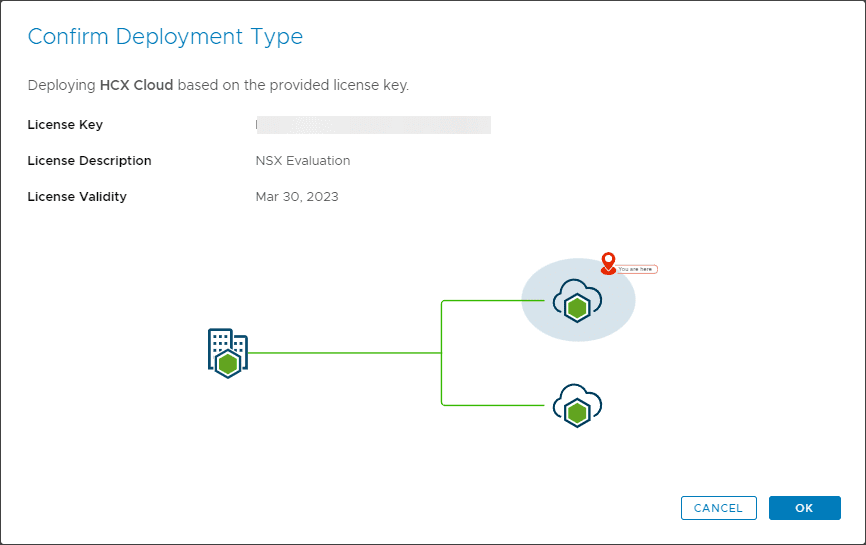
Confirm the deployment type.
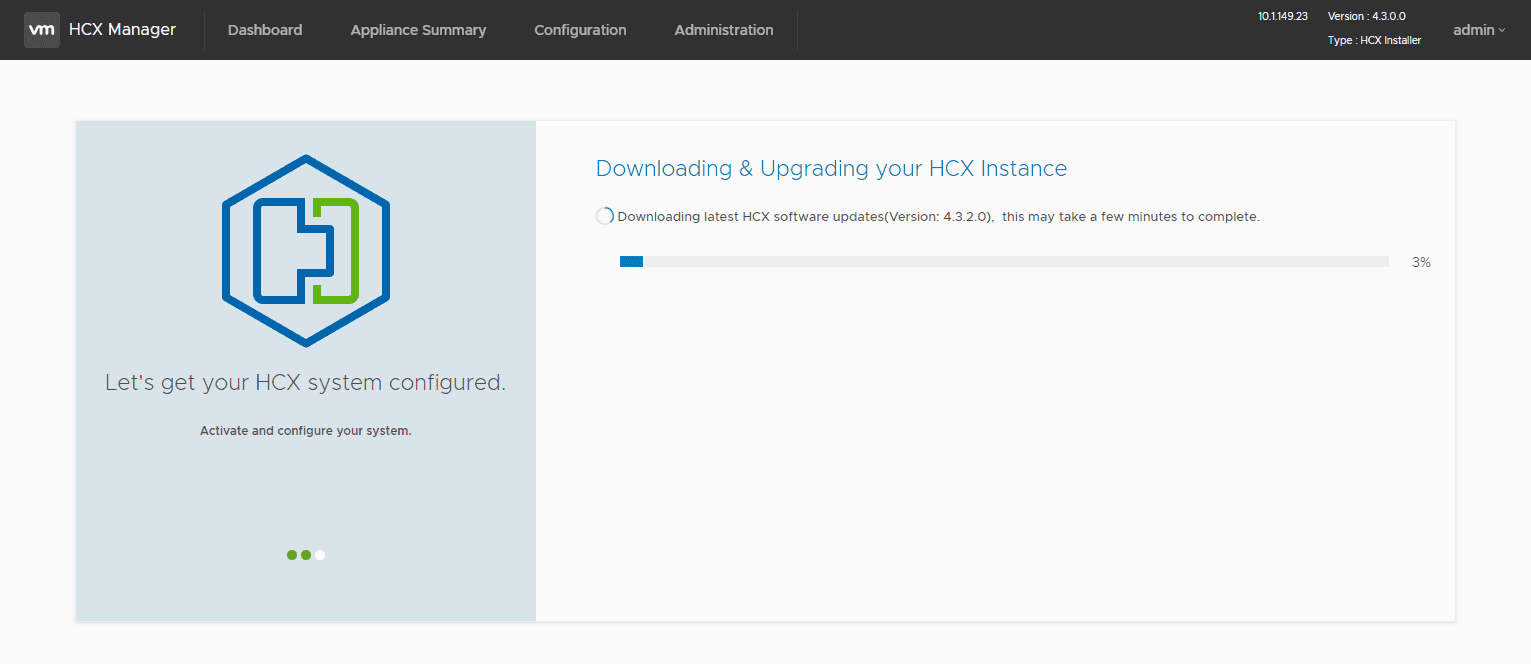
At this point, the VMware HCX appliance will automatically pull updates and reboot.
Once it is back up and running, you will confirm the license keys assigned.
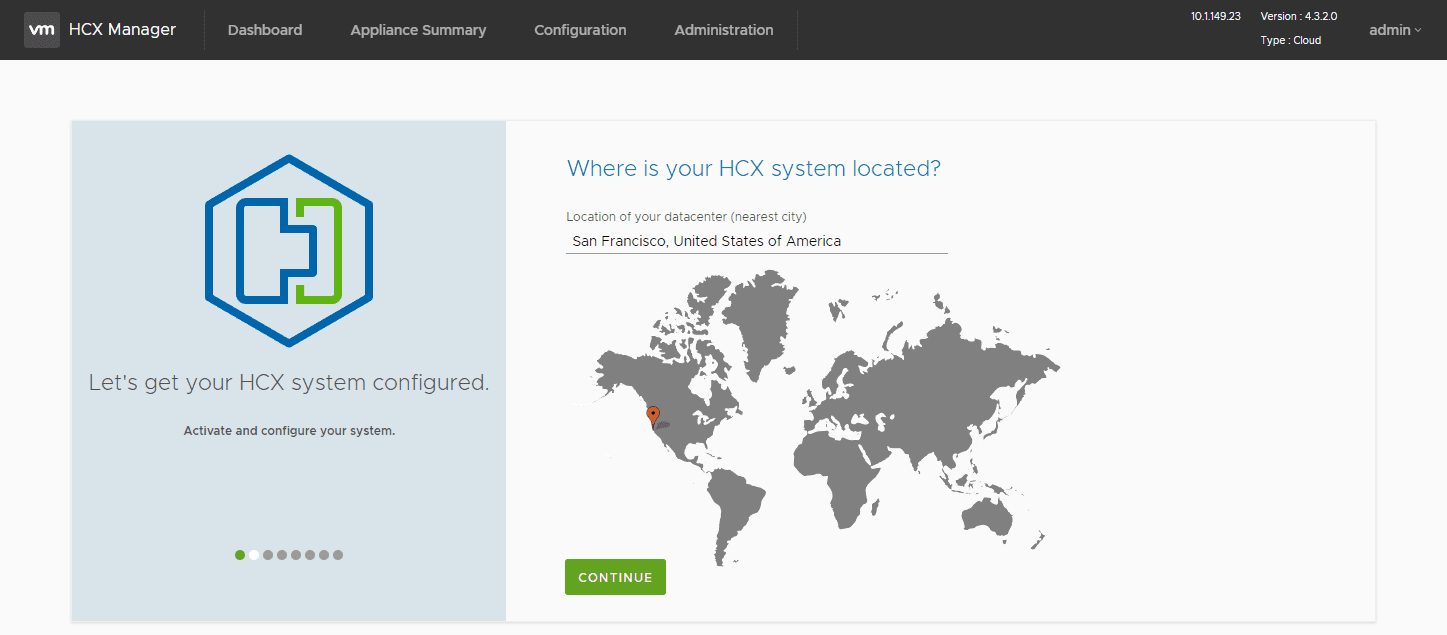
Confirm the location for your VMware HCX deployment.
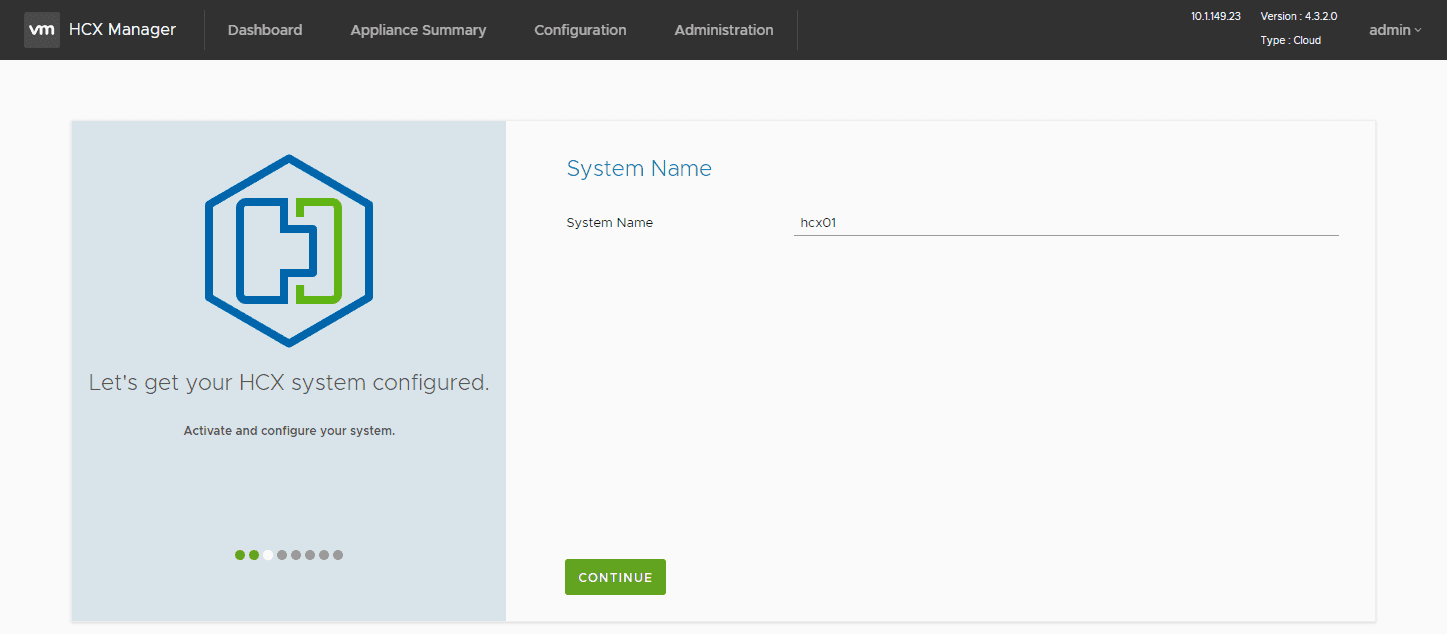
Name the VMware HCX appliances configured.
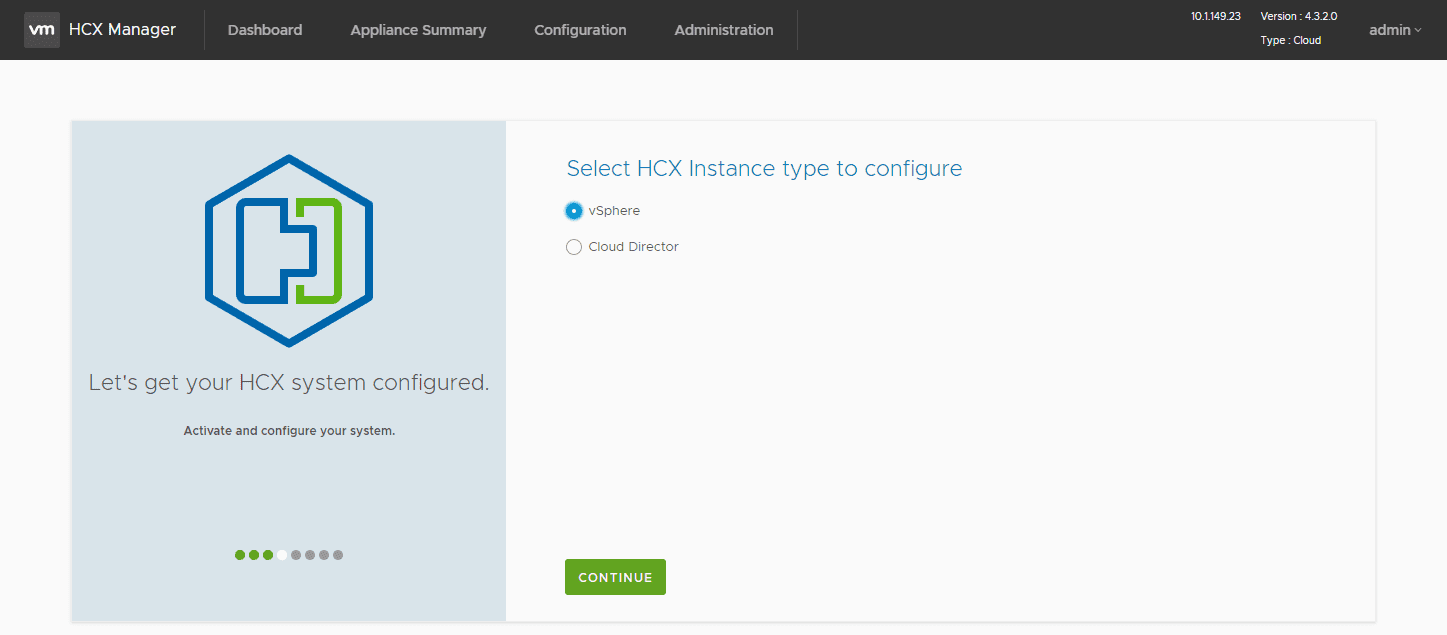
Select the instance type of your VMware HCX appliances.
Connect VMware HCX to your vCenter Server and NSX Manager appliances. Here you enter the URL for vCenter Server and the NSX Manager along with credentials to connect.

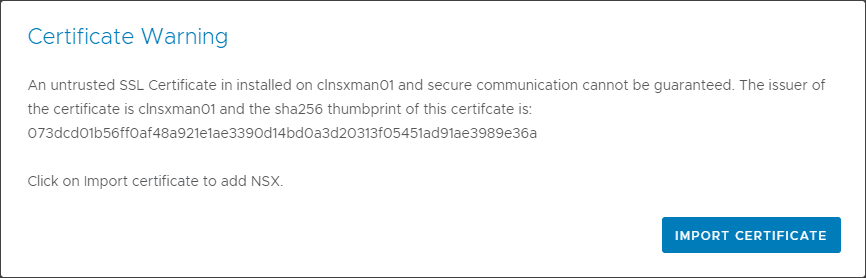
Accept the certificate warning.
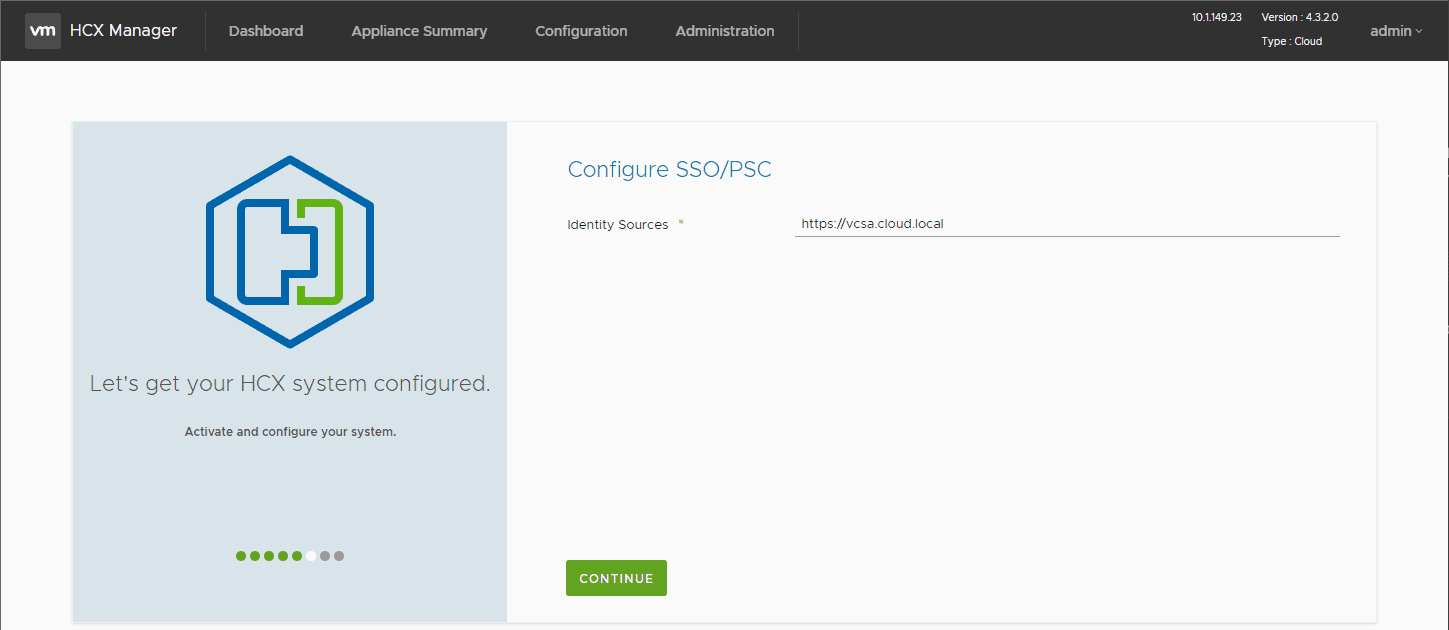
Configure SSO/PSC. Here I am just pointing to my vCenter Server.
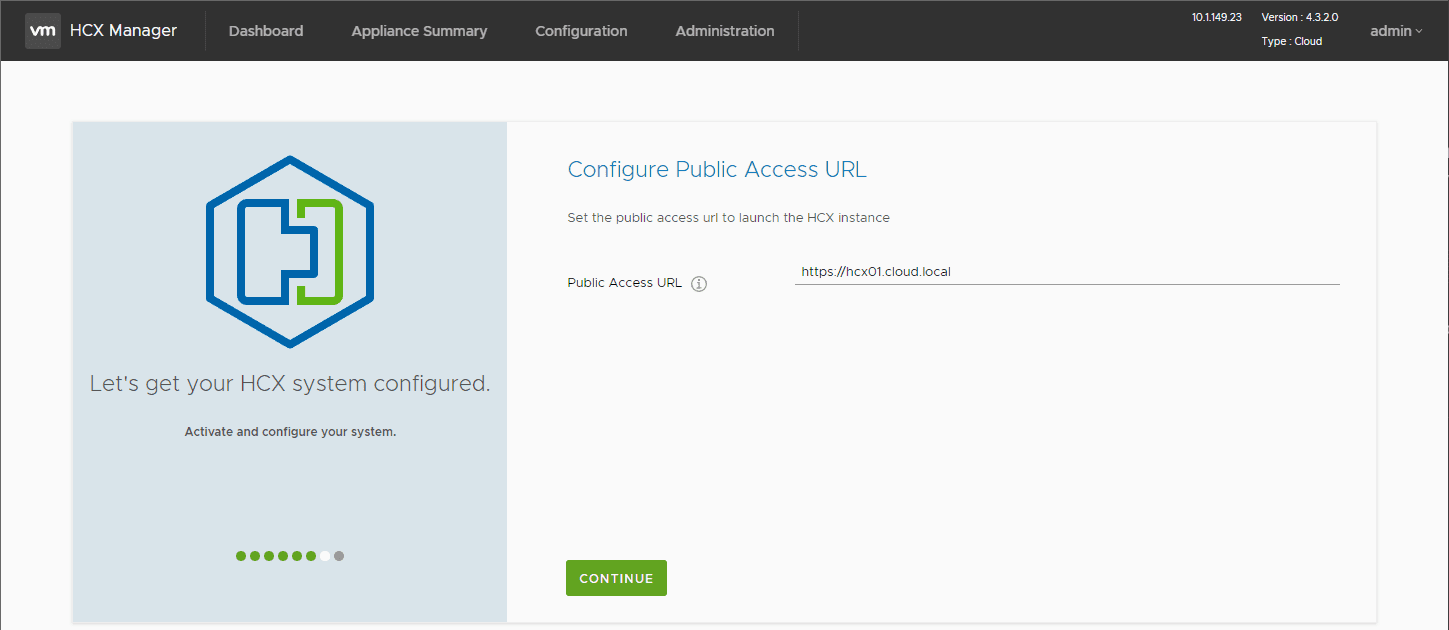
Enter the public access URL. Since I am playing around in the home lab, I am leaving the configured local address that I can use within my home lab data center.
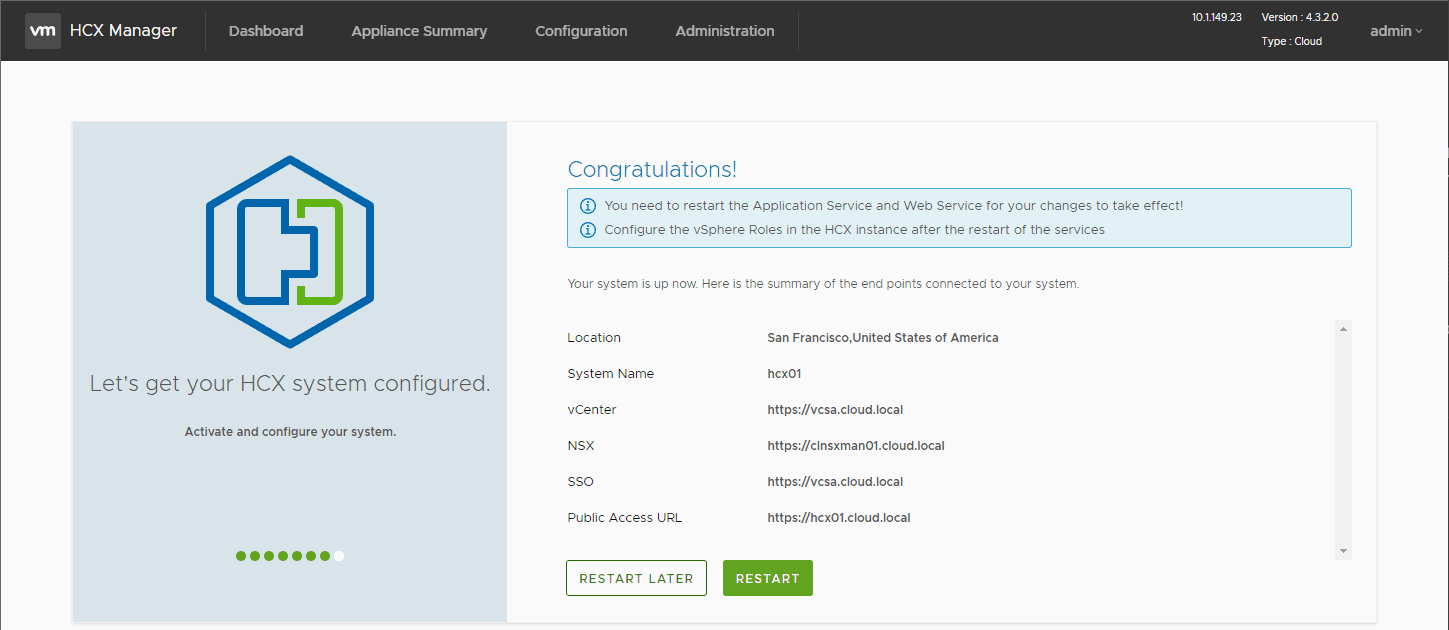
Finish the configuration and restart the appliance.
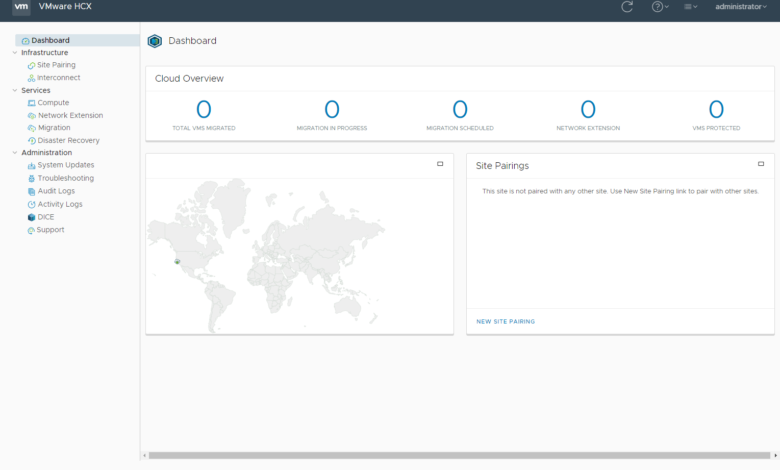
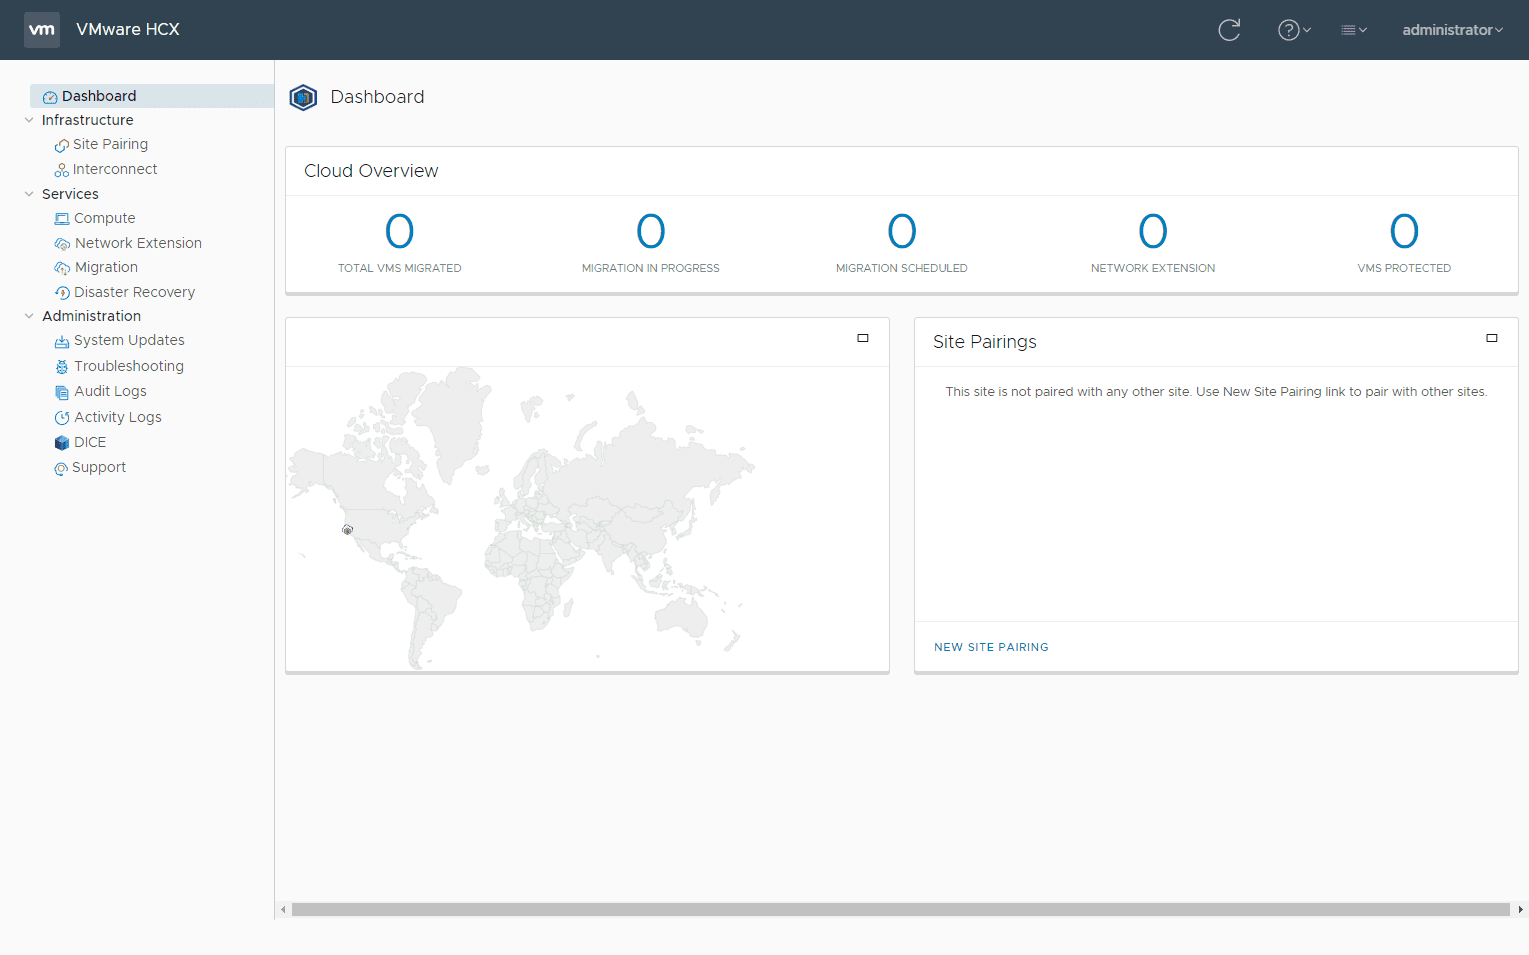
Once you have restarted the appliance. You can log into the VMware HCX dashboard.
VMware HCX Appliances FAQs
- What is VMware HCX? VMware HCX is an application mobility platform that uses a hybrid interconnect to seamlessly allow migrating workloads between on-premises and public clouds. It can be used for application mobility, workload rebalancing, and disaster recovery.
- What can VMware HCX appliances do? It creates a hybrid interconnect that allows you to abstract the network layer between workloads to allow these to “live” anywhere, both on-premises and in the cloud.
- What is hybrid interconnect? This software-defined network layer allows running network layer addresses in any location. It uses VMware NSX-T software-defined network capabilities under the hood.
- Do you need to change IP addresses between on-premises and cloud? With the hybrid interconnect, you do not need to change IP addresses. It builds out the software-defined network layer overlay, allowing workloads to exist anywhere.
Wrapping Up
As shown, VMware HCX appliances installation and configuration are fairly straightforward by deploying the VMware HCX appliance and running through the initial configuration. We will take a look at HCX replication-assisted vMotion and other great capabilities in a future post.


at least complete the deployment. show us how the connector is deployed