vSphere NSX-T installation and configuration
VMware NSX-T has certainly been rapidly maturing and has become an extremely robust and fully featured solution that transcends the VMware-only ecosystem to be a cloud software-defined networking solution for the masses. However, many customers running NSX-T will be running it in VMware vSphere environments. I wanted to walk you through just how easy it is to run through a vSphere NSX-T installation and configuration and see how quickly you can stand up the needed components and get to the point of being able to start configuring distributed firewall rules.
Why NSX-T?
VMware NSX-T dominates the software-defined networking space and there really isn’t a direct competitor to what NSX-T can do from my vantage point. If you are looking at a production-ready, fully-featured software-defined networking solution to bolster on-premises and cloud resources, NSX-T is it. It has certainly matured from the early days when NSX-V was the more mature product.
NSX-T provides modern features such as distributed firewall capabilities, distributed IDS/IDP, endpoint protection, distributed routing, protection of physical workloads, NSX Intelligence, and many other capabilities. NSX-T is also included as the software-defined networking solution in the VMware SDDC stack, known as VMware Cloud Foundation (VCF).
vSphere NSX-T installation and configuration
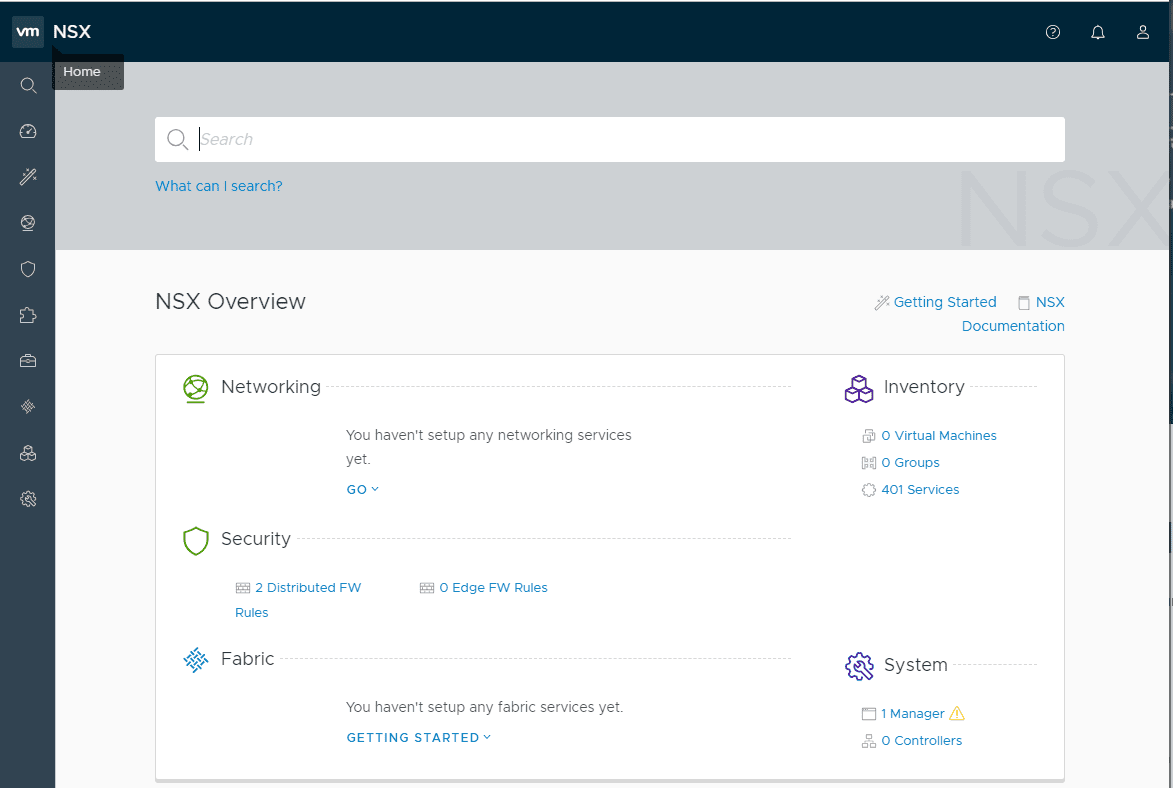
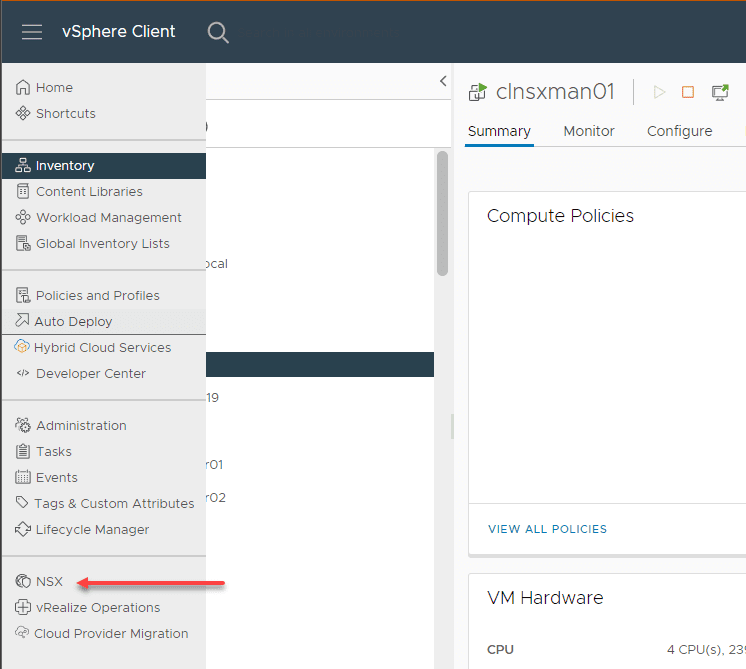
New to vSphere 7 is the ability to install NSX-T Data Center right from the vSphere Client. If you click the “hamburger” menu at the top left, you will see the NSX option listed in the menu.
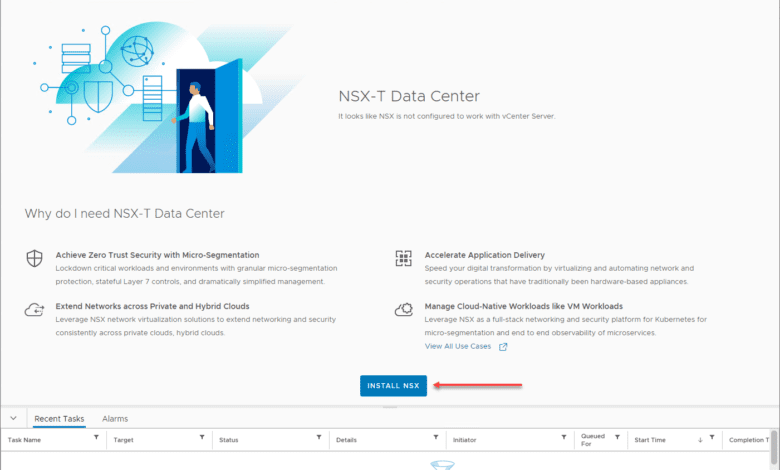
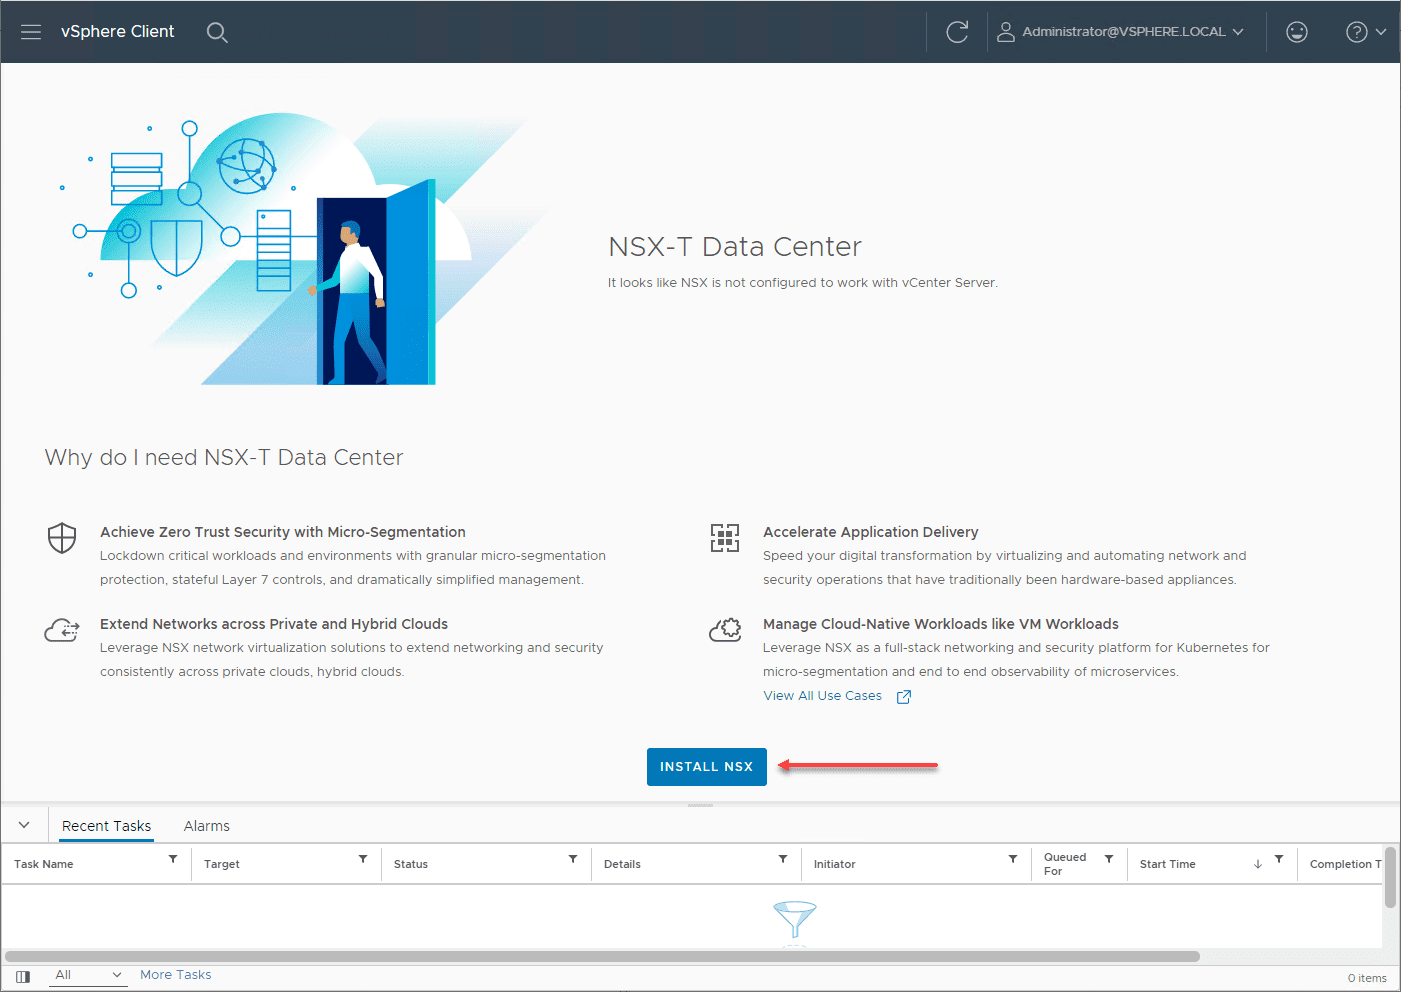
When you click the NSX option, it brings you to the NSX-T Data Center page that has a button at the bottom called Install NSX. Click the Install NSX button.
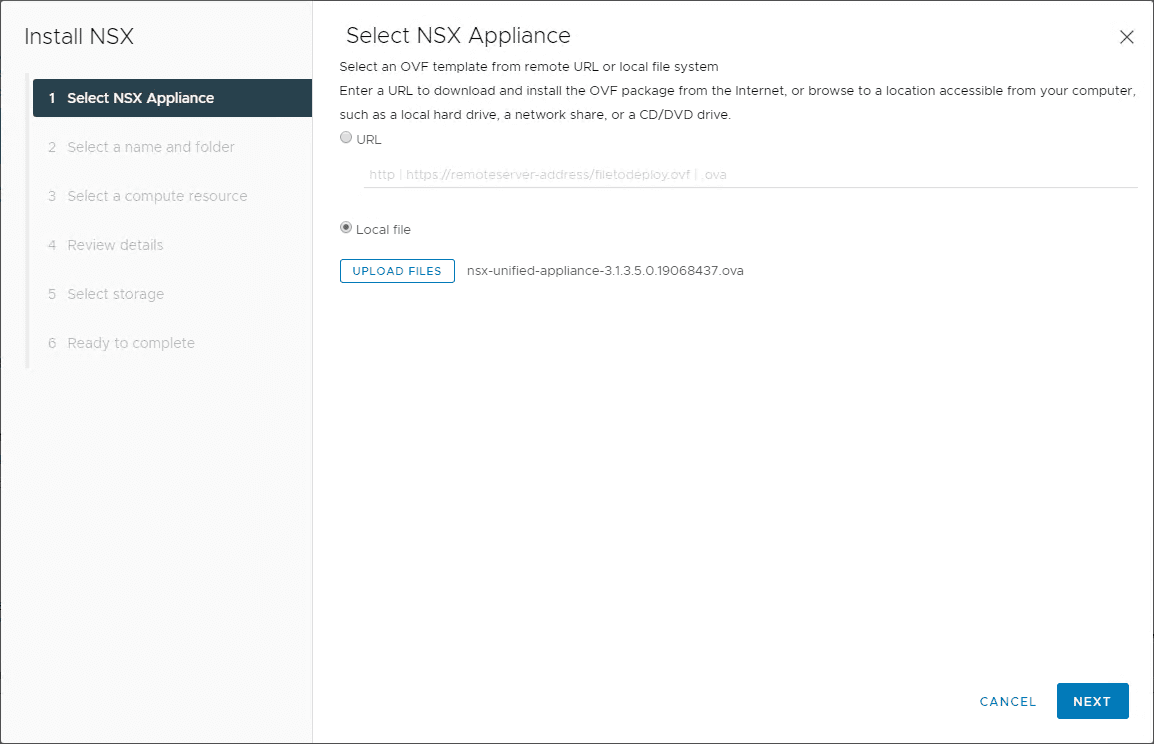
When you click the Install NSX button, this launches the normal OVA appliance deployment Wizard with a few UI tweaks related to installing NSX. Here, you select your OVA appliance.
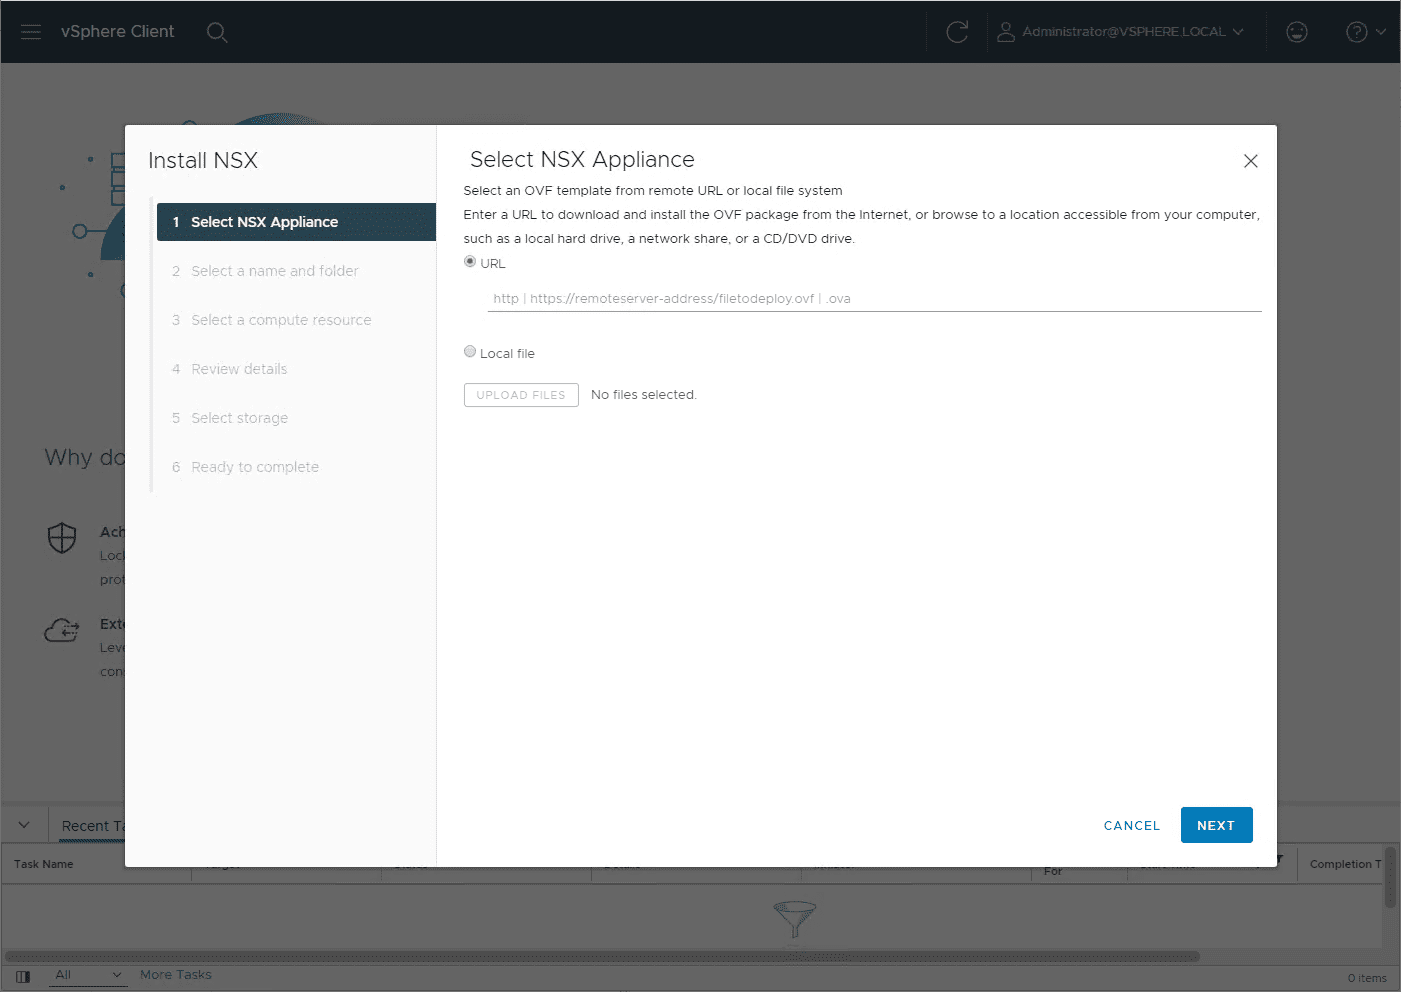
I have the NSX-T Data Center 3.1.3 OVA locally on disk. Here, I am selecting the appliance to begin the deployment process.
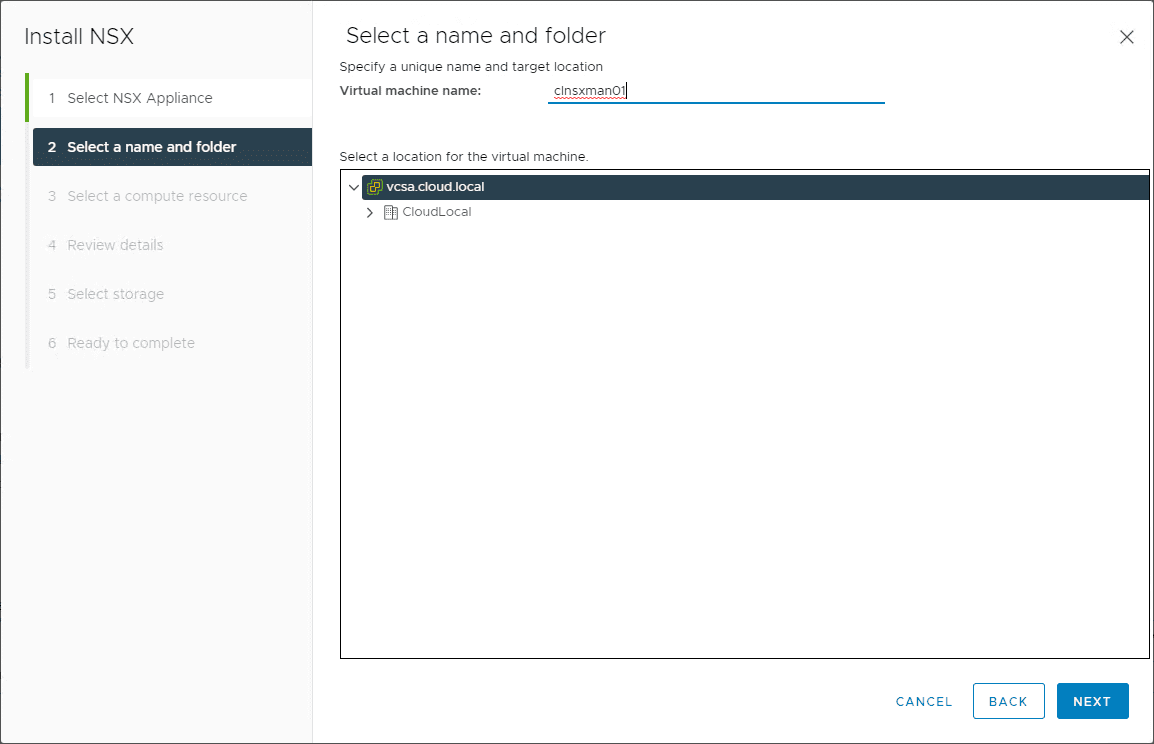
Name your NSX appliance.
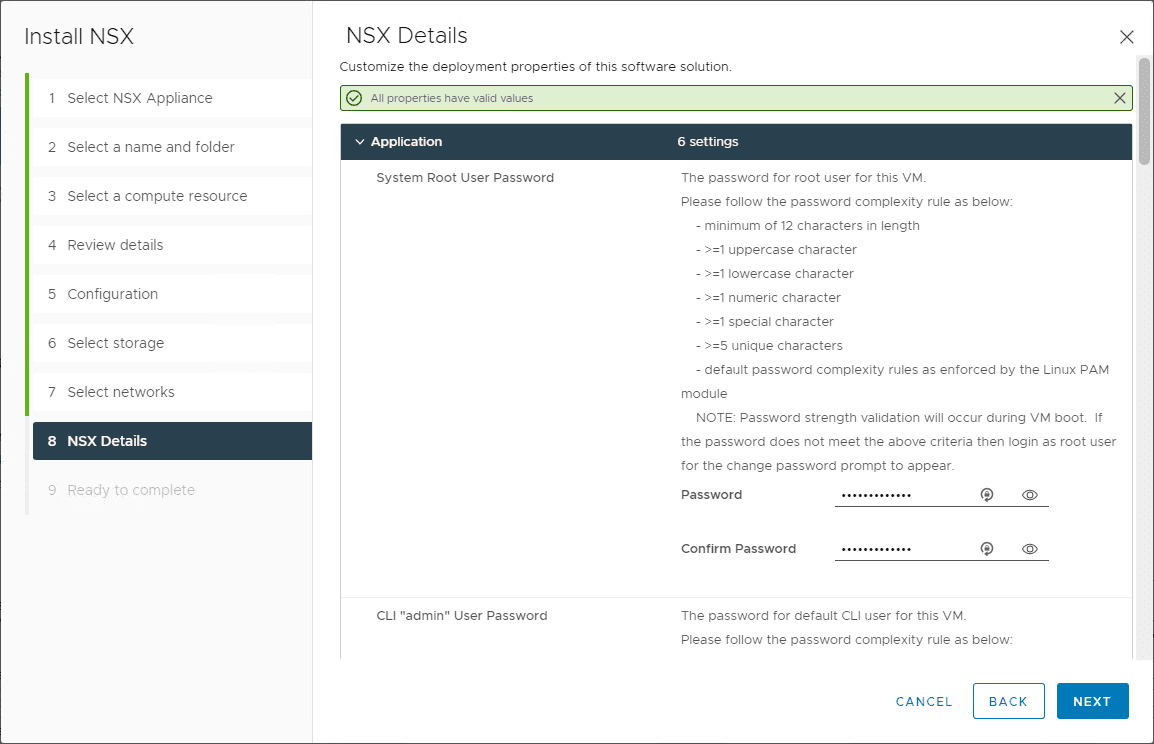
Below, I have skipped to the Step 8. NSX Details section. Pay close attention to this page as this is where you will configure most of the options for the NSX Manager, including network and credentials information. Be sure to look over this section carefully and enter the details appropriately.
Adding a Compute Manager to NSX
VMware defines the compute manager like this:
A compute manager, for example, vCenter Server, is an application that manages resources such as hosts and VMs. NSX-T Data Center polls compute managers to collect cluster information from vCenter Server. So, we can add our vCenter Server as a compute manager to manage these resources in NSX-T.

On the New Compute Manager dialog box, enter the details for your vCenter Server.
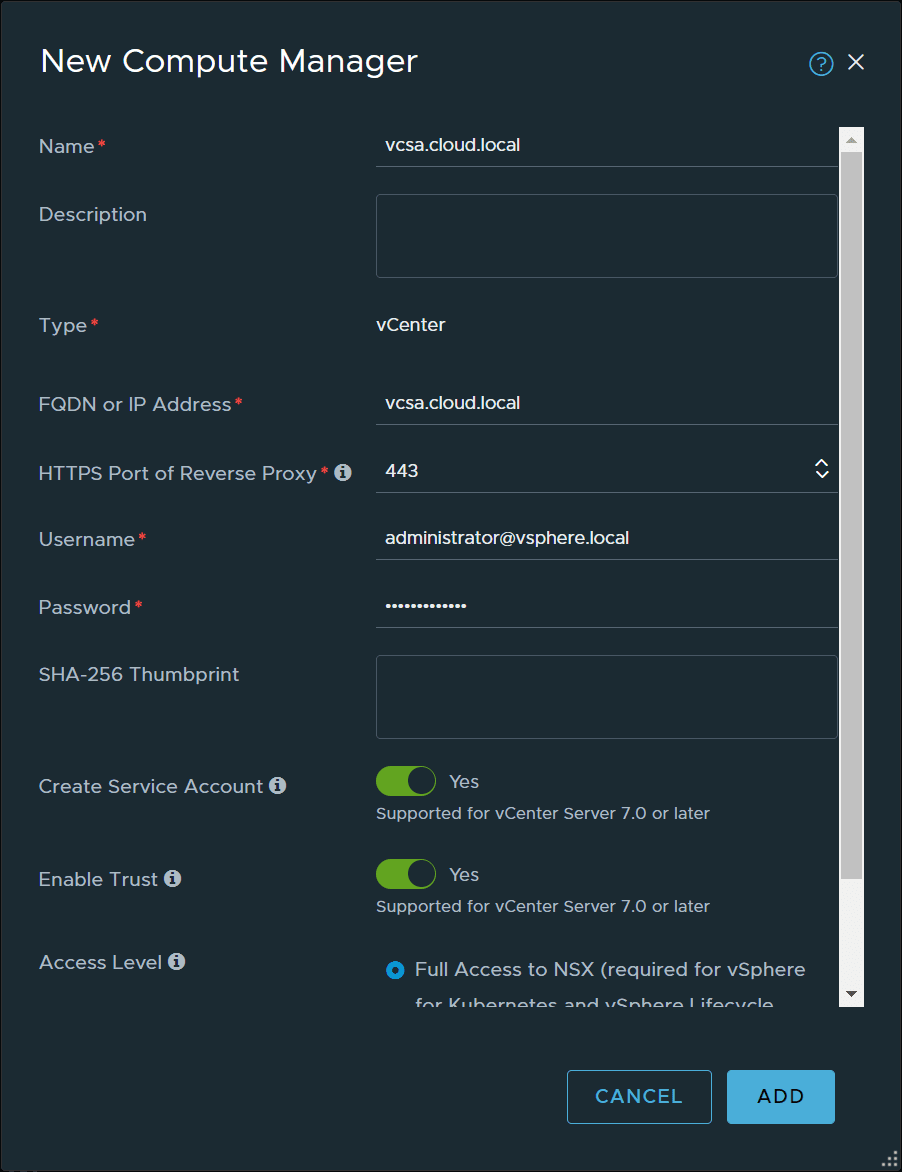
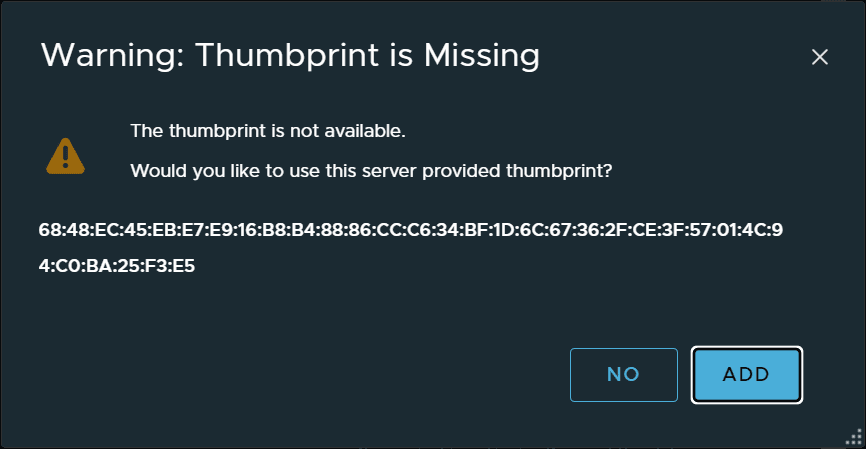
Accept the thumbprint of the SSL cert for your vCenter Server.
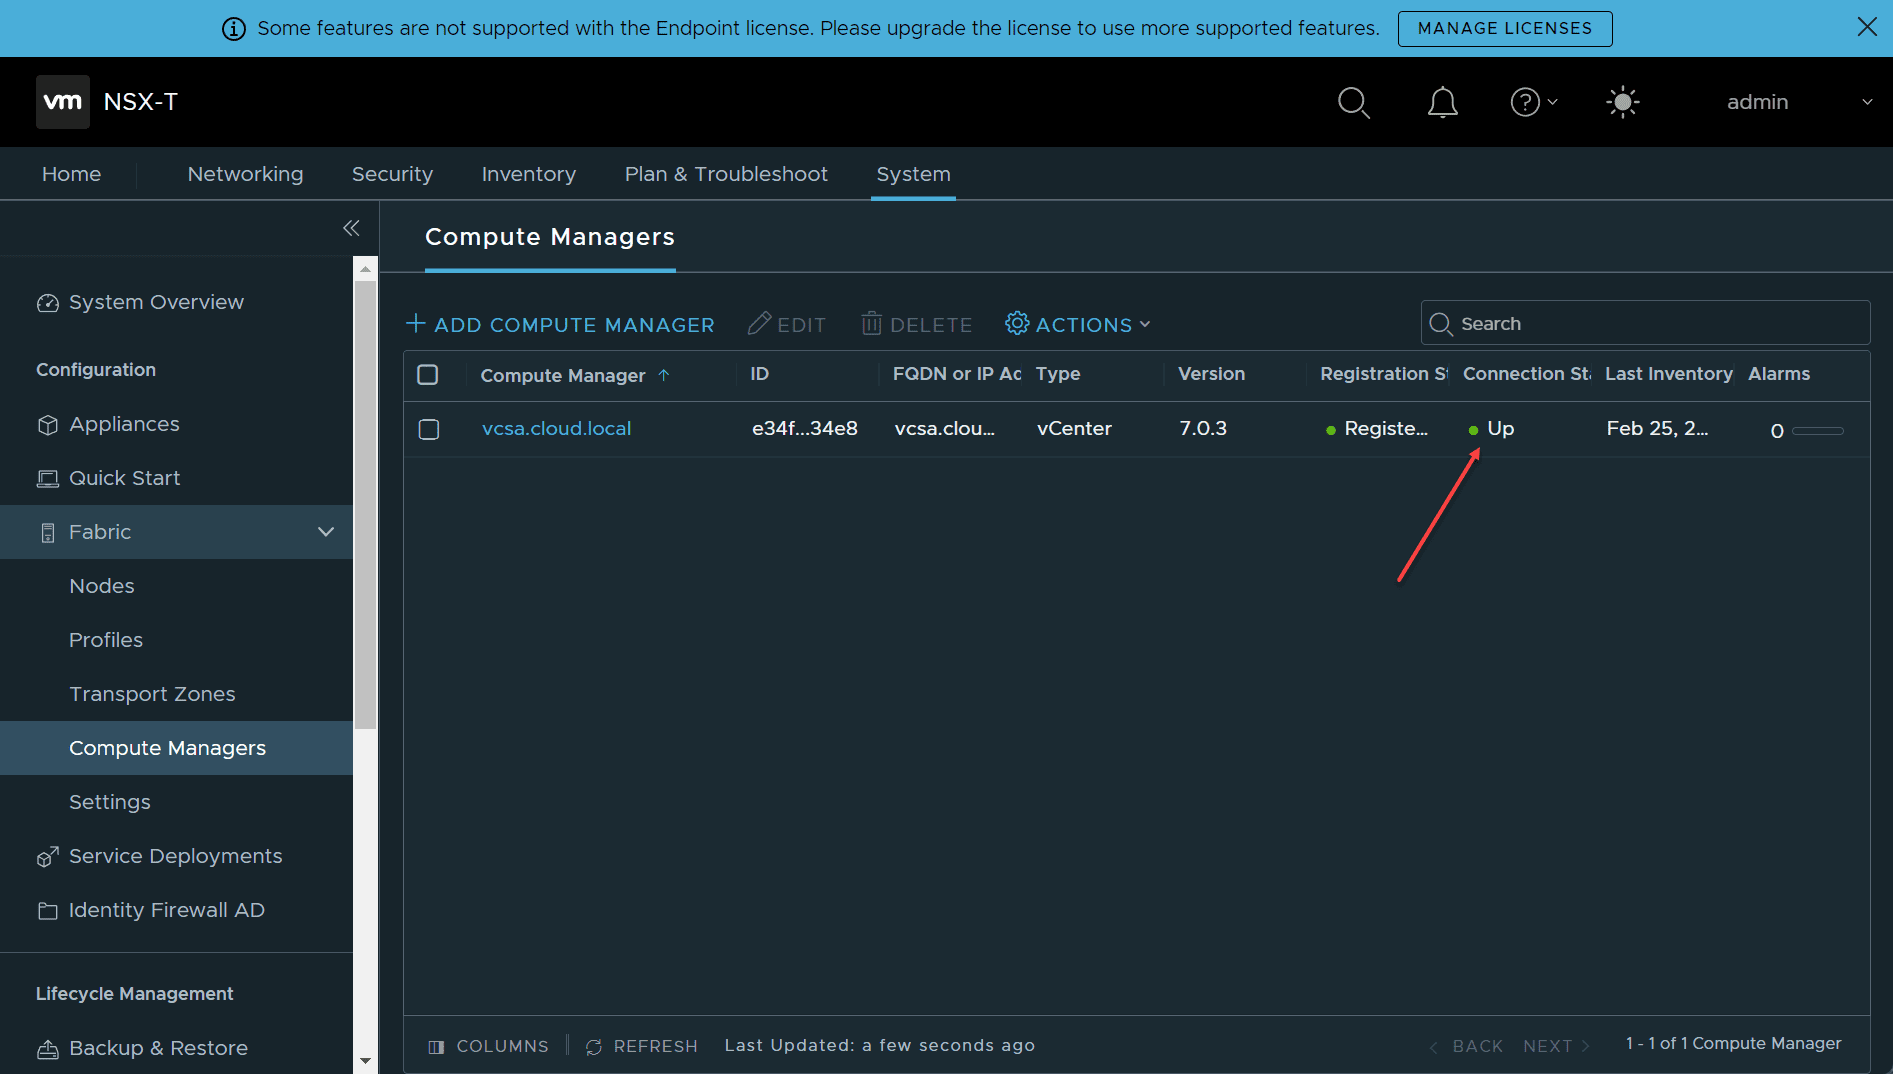
After a few moments of adding, you should see the vCenter Server added to the NSX Manager as a compute manager and the connection status should show Up.
Installing NSX Host Transport Nodes
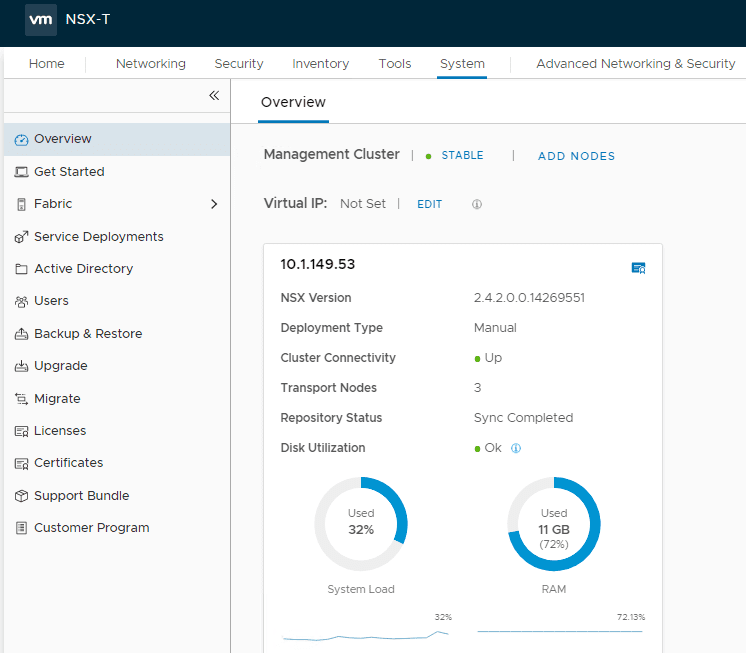
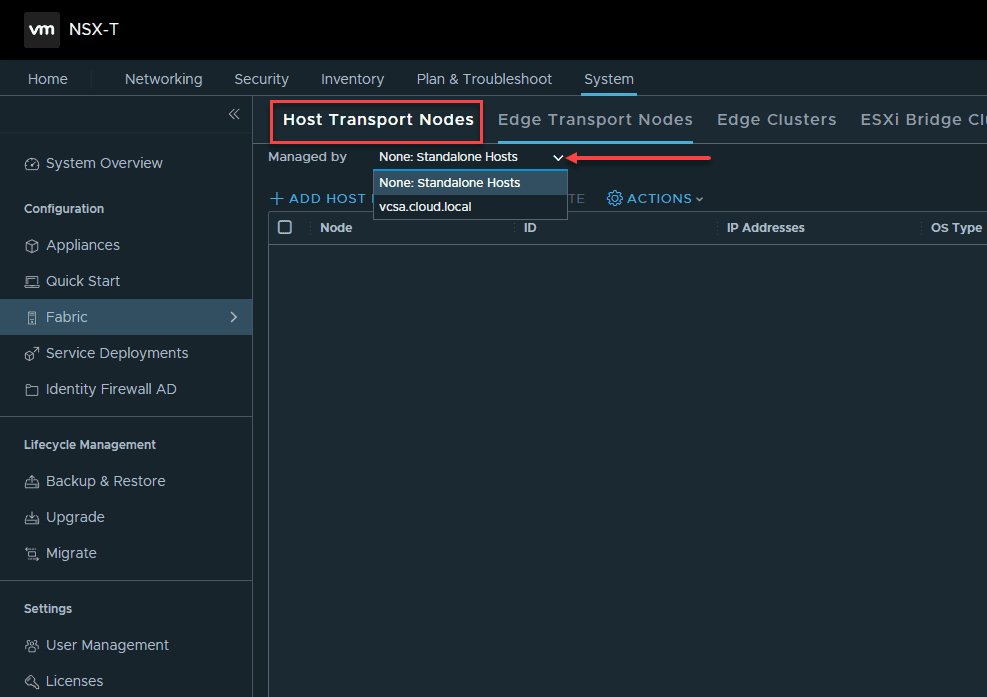
Now that we have the compute manager, vCenter Server, added, we can begin the process to install the Host Transport Nodes. Navigate to System > Fabric > Host Transport Nodes. Here, select the dropdown and select your vCenter Server you added earlier.
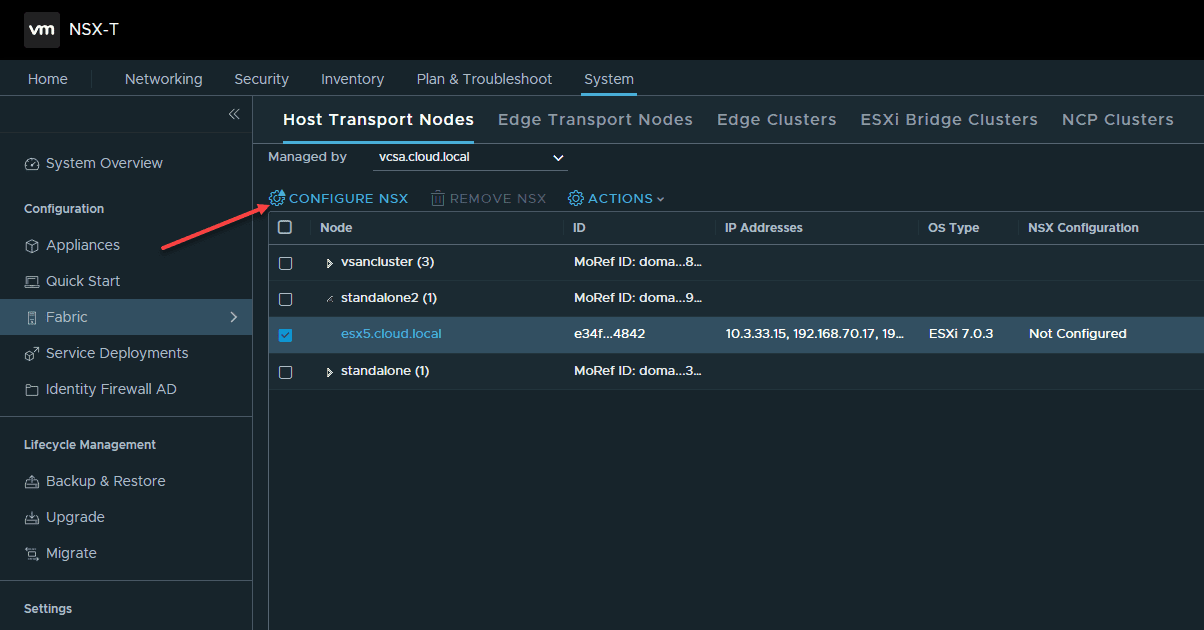
You should see all the ESXi hosts that vCenter Server knows about. You can expand clusters and select even individual hosts to install NSX as transport nodes. You may wonder why I am doing this on a host-by-host basis. In the home lab environment, I am installing NSX very granularly as I have specific hosts that I would like to test with as opposed to others. In production, I would simply use the Quick start and install NSX at the cluster level to ensure all hosts are configured uniformly.
This launches the NSX installation wizard. During this configuration, you are able to select the details of the NSX installation.
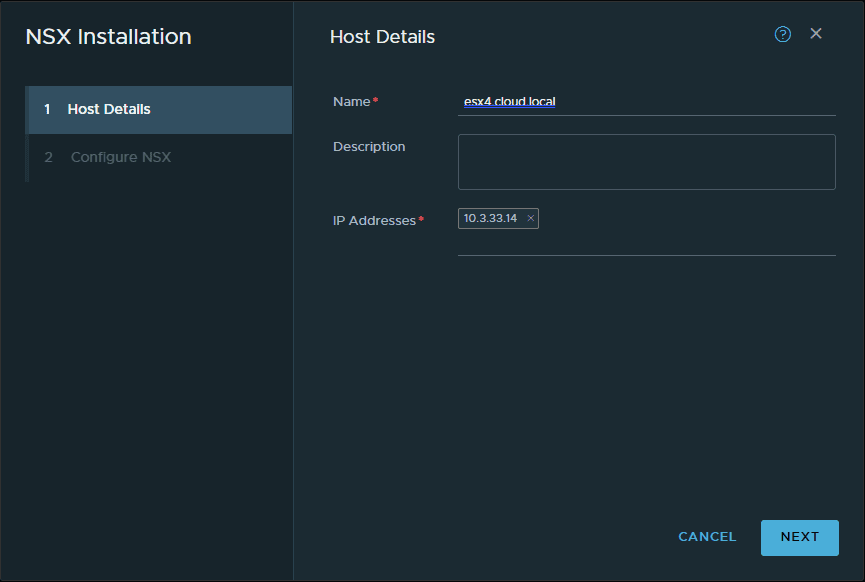
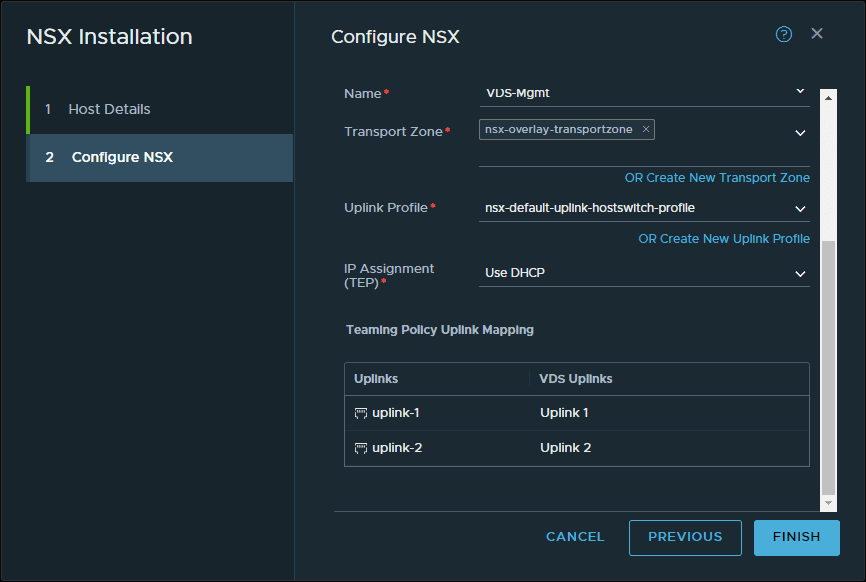
Here, you can select your VDS networking, transport zones, uplink profiles, IP assignments, and Teaming Policy Uplink Mapping. All of these configuration settings allow customizing NSX in a very granular way to meet the needs of your environment and particular configuration.
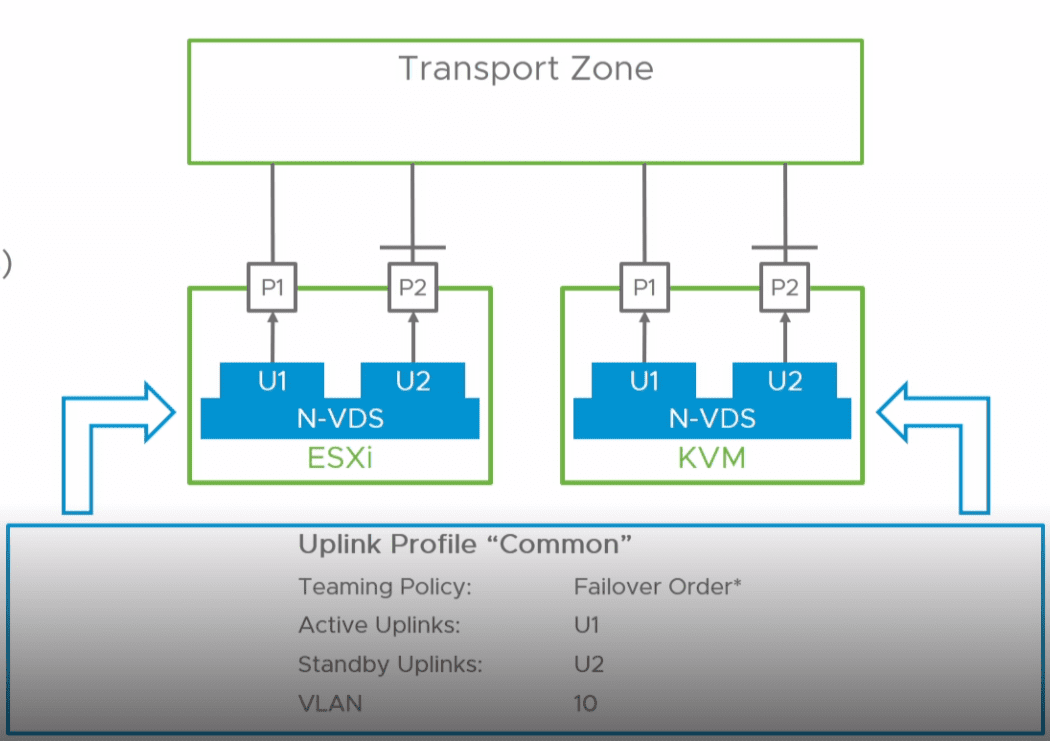
A note on uplink profiles. You might be good to just accept the defaults on the uplink profiles. However, in most environments, most likely you will want to create your own custom uplink profile. Note the following guidance on uplink profiles from VMware:
An uplink is a link from the NSX Edge nodes to the top-of-rack switches or NSX-T Data Center logical switches. A link is from a physical network interface on an NSX Edge node to a switch.
An uplink profile defines policies for the uplinks. The settings defined by uplink profiles can include teaming policies, active and standby links, transport VLAN ID, and MTU setting.Configuring uplinks for VM appliance-based NSX Edge nodes and Host Transport nodes:
- If the Failover teaming policy is configured for an uplink profile, then you can only configure a single active uplink in the teaming policy. Standby uplinks are not supported and must not be configured in the failover teaming policy. When you install NSX Edge as a virtual appliance or host transport node, use the default uplink profile.
- If the Load Balanced Source teaming policy is configured for an uplink profile, then you can configure multiple active uplinks on the same N-VDS. Each uplink is associated with one physical NIC with a distinct name and IP address. The IP address assigned to an uplink endpoint is configurable using IP Assignment for the N-VDS.
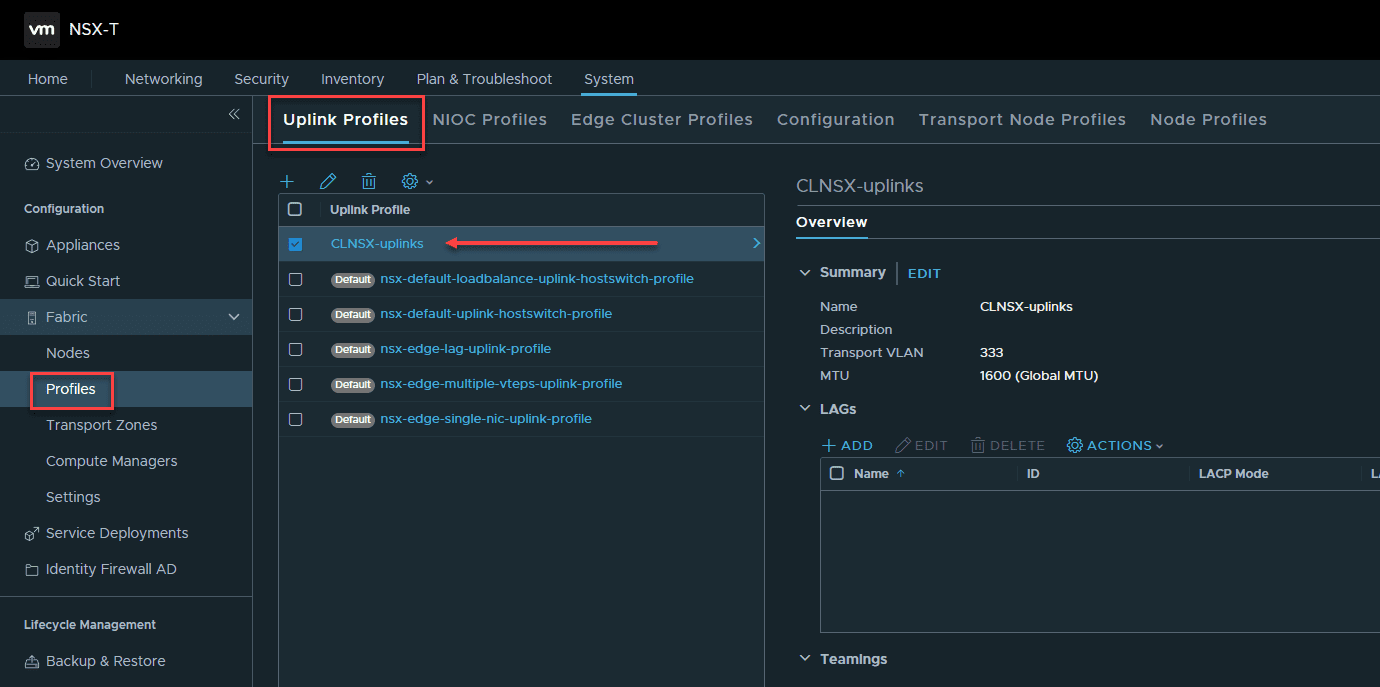
Below, I have created a custom uplink profile. You can create your uplink profiles under the System > Fabric > Profiles > Uplink Profiles area.
After a few minutes of installation and configuration, you should see the NSX Configuration column change to Success.
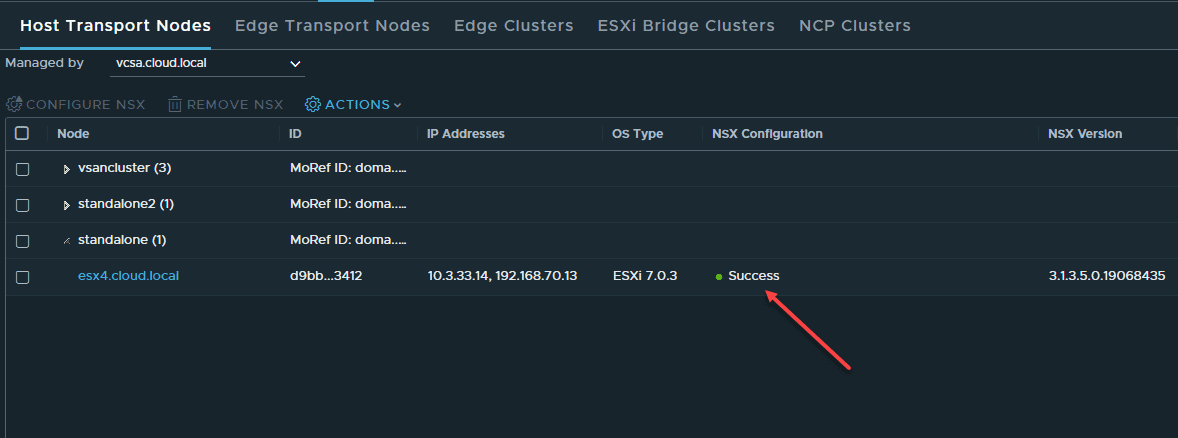
At this point, you can start deploying your Edges, creating segments, and start creating distributed firewall rules if you like to start testing out the goodness of NSX-T.
Final Notes
VMware has made the vSphere NSX-T installation and configuration process much easier than it used to be and has provided the tools built into the vSphere Client to start getting up and running with NSX-T Data Center quickly. With only a few steps, such as adding a compute manager, and adding Host Transport Nodes, you can be up and running with NSX-T Data Center in your vSphere environment.