Rufus Alternative for Linux and Windows installing ISOs – Ventoy
Most of you are familiar with the Rufus utility that is a great way to “burn” an ISO to a USB key for installing various OS’es. It works great, and it serves the purpose very well. However, I want to introduce you to a utility that I like even better for the use case of simply installing an ISO image on bare metal servers. Let’s take a look at the Rufus alternative for Linux and Windows installing ISOs – Ventoy.
Rufus pros and cons
Rufus is a great utility that provides many features and benefits when working with ISOs. Besides “burning” ISOs to USB keys, I find myself using Rufus more and more as an easy way to create quick bootable USB disks to update firmware, BIOS versions, etc.
However, if you are like me, it is frustrating to think you have burned ESXi 7.x to a disk only to find the ISO you used was 6.7, or vice versa. Also, it feels like a waste to burn the 350 MB ISO to a 32 GB and higher USB key, only to have to repeat the process when you have a different ISO file you need to install.
Rufus Alternative for Linux and Windows installing ISOs – Ventoy
Let’s detail a Rufus alternative for Linux and Windows that allows installing multiple ISO images without having to “reburn” the ISOs to disk. It is much easier than that. The utility is called Ventoy. You can read the documentation and download the utility here:
Note the following features:
- 100% open source (license)
- Very simple to use (Get started)
- Fast (limited only by the speed of copying iso file)
- Can be installed in USB/Local Disk/SSD/NVMe/SD Card
- Directly boot from ISO/WIM/IMG/VHD(x)/EFI files, no extraction needed
- No need to be continuous in disk for ISO/WIM/IMG/VHD(x)/EFI files
- Both MBR and GPT partition style are supported
- x86 Legacy BIOS, IA32 UEFI, x86_64 UEFI, ARM64 UEFI, MIPS64EL UEFI supported
- IA32/x86_64 UEFI Secure Boot supported Notes
- Persistence supported Notes
- Windows auto installation supported Notes
- RHEL7/8/CentOS7/8/SUSE/Ubuntu Server … auto installation supported Notes
- FAT32/exFAT/NTFS/UDF/XFS/Ext2(3)(4) supported for main partition
- ISO files larger than 4GB supported
Other features include:
- Native boot menu style for Legacy & UEFI
- Most types of OSes supported, 780+ iso files tested
- Linux vDisk(vhd/vdi/raw…) boot solution Notes
- Not only boot but also complete installation process
- Menu dynamically switchable between ListView and TreeView mode Notes
- “Ventoy Compatible” concept
- Plugin Framework and GUI plugin configurator
- Injection files to runtime enviroment
- Boot configuration file dynamically replacement
- Highly customizable theme and menu style
- USB drive write-protected support
- USB normal use unaffected
- Data nondestructive during version upgrade
- No need to update Ventoy when a new distro is released
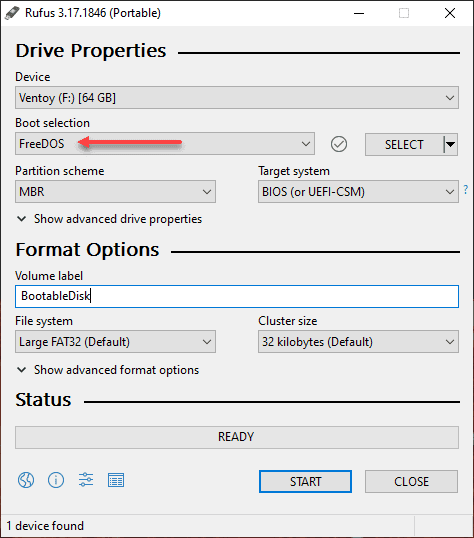
With the Ventoy solution, you simply prepare your USB key as you would with Rufus, which installs the Ventoy application. After this, you simply copy over the ISO/WIM/IMG/VHD(x)/EFI files you want to work with and you will see these presented in the Ventoy application menu when you boot from the Ventoy-prepared USB key.
Preparing a USB key with Ventoy
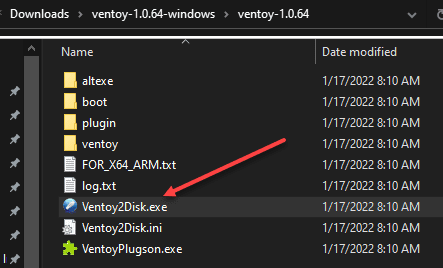
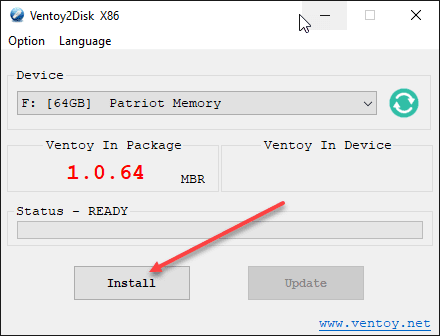
After downloading the Ventoy compressed archive, extract the files to a folder. Then, run the Ventoy2Disk.exe application.
This launches the Ventoy2Disk application. Click the Install button to install Ventoy to the USB key.
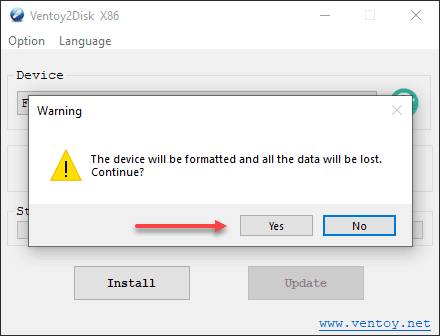
Ventoy will prompt twice to confirm you want to overwrite the disk.
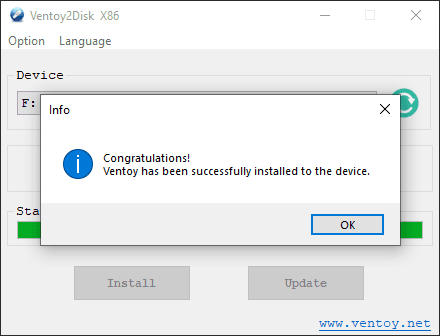
The Ventoy application has been successfully installed.
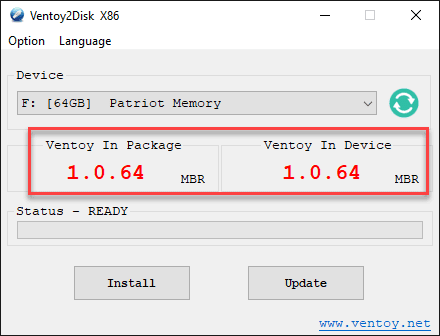
If you relaunch the Ventoy2Disk.exe utility, you will see the version of the utility compared to the version of Ventoy installed on the USB drive.
Copying ISOs to the Ventoy USB key for installation
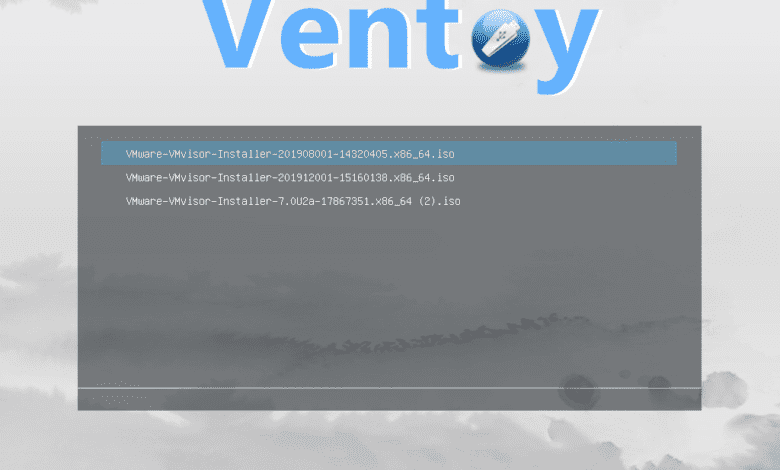
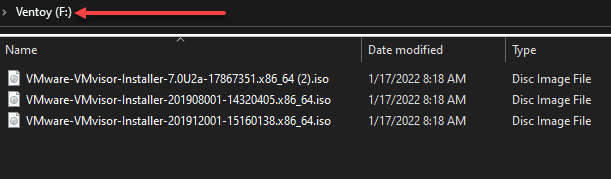
Now, the rest is simple. All you need to do at this point is copy over the ISO images you want to use on the USB key. Below I have downloaded ESXi 7.0 U2, ESXi 6.7, and ESXI 6.5 to the root of the USB key.
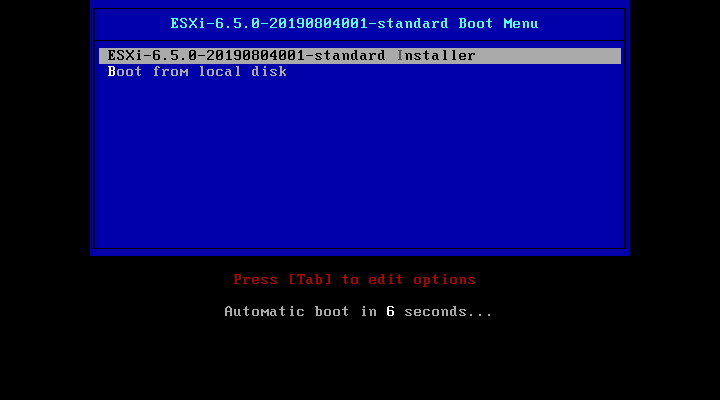
Now, when you boot from the USB key, you will be presented with the menu for choosing which ISO you want to install on your bare metal server. Pretty cool!

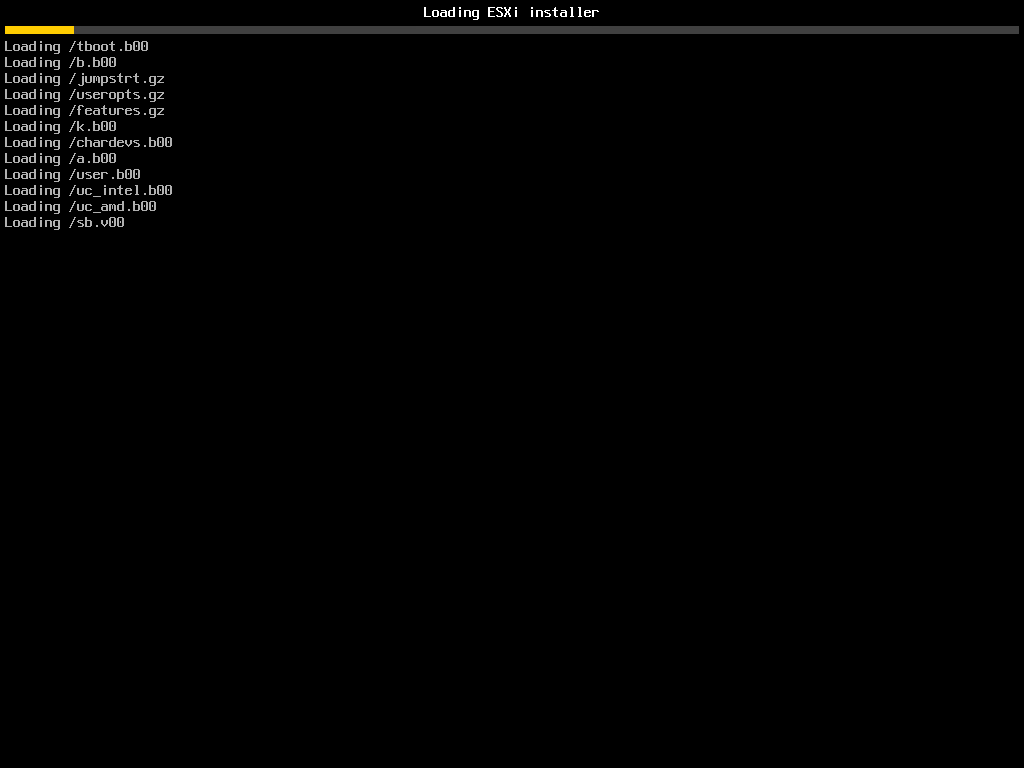
Just to verify the images load correctly, I have clicked the ESXi 6.5 ISO. The installation now progresses as expected.
Concluding thoughts
So far, I have found the Rufus alternative for Linux and Windows installing ISOs Ventoy to be a great way to make use of different ISO images, without having to reinvent the wheel and reburn the ISO image to the USB key each time I want to use it. It is a great way to take advantage of a massive USB key you have lying around. You can place all the ISOs, WIMs, VHDs, etc, that you use in the environment on a single key and have access to these any time you need them, without having to prepare a USB drive each time.
Let me know what you think? What are you using in your environment and in the home lab to accomplish these tasks? Hopefully you will find Ventoy as useful as I have.