Install Minikube in Windows Server 2022 using Winget
If you have not read my post about how to install Winget in Windows Server 2022 – No applicable app licenses error, you can see how to install the winget tool in Windows Server 2022. Building on that post, I want to show you guys how to install Minikube in Windows Server 2022 using Winget. Winget offers a very smooth and seamless way to get Minikube installed and running in Windows Server 2022. However, it does require the workarounds I detailed in the blog post above to get Winget working. For the remainder of the post, I will assume you have winget working in Windows Server 2022 and we can go from there.
Install Minikube in Windows Server 2022 using Winget
There are just a few steps to begin working with Minkube in Windows Server 2022. However, there are a few prerequisites I will mention below:
- Installation of Hyper-V Server
- Enable nested virtualization if using Hyper-V inside a VM
- Install winget using the steps in the blog post linked above
- Install Minikube in Windows Server 2022
- Create a Hyper-V External Virtual Switch
- Build your Minikube Kubernetes cluster
- Kubernetes tools to work with Minikube
1. Installation of Hyper-V Server
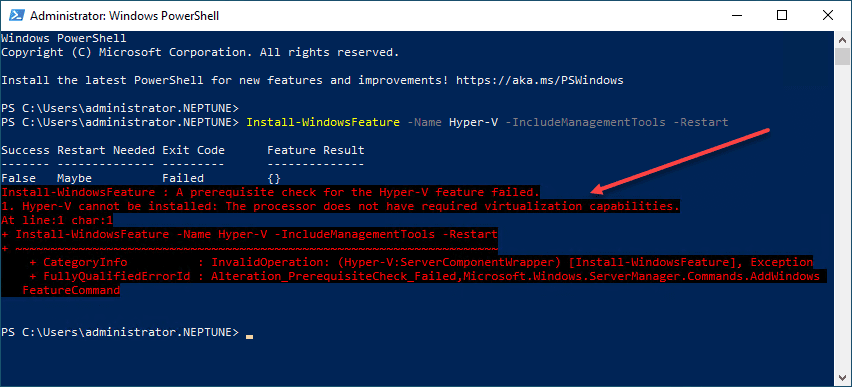
To begin with, you will need to install Hyper-V Server in Windows Server 2022. To do that, we can pull out trusty PowerShell to install the role and management tools.
Install-WindowsFeature -Name Hyper-V -IncludeManagementTools -RestartIf you run into the following error when you attempt to enable the Hyper-V Role, it means you need to enable nested virtualization. The process varies between VMware and Hyper-V. However, both are easy to enable.
2. Install winget
Again, for your reference, you can see how to install winget in Windows Server 2022 here: Install Winget in Windows Server 2022 – No applicable app licenses error – Virtualization Howto
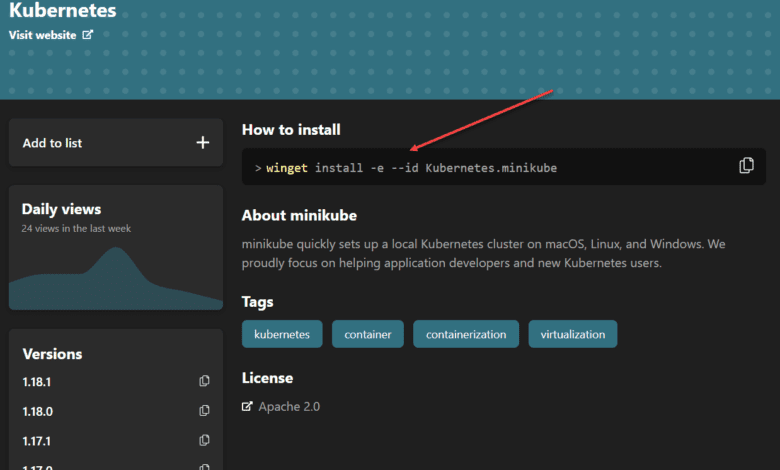
3. Install Minikube in Windows Server 2022
After you have installed winget on your Windows Server 2022 server, you can install Minikube. The very simple command to install Minikube in Windows Server 2022 once you have winget installed is the following:
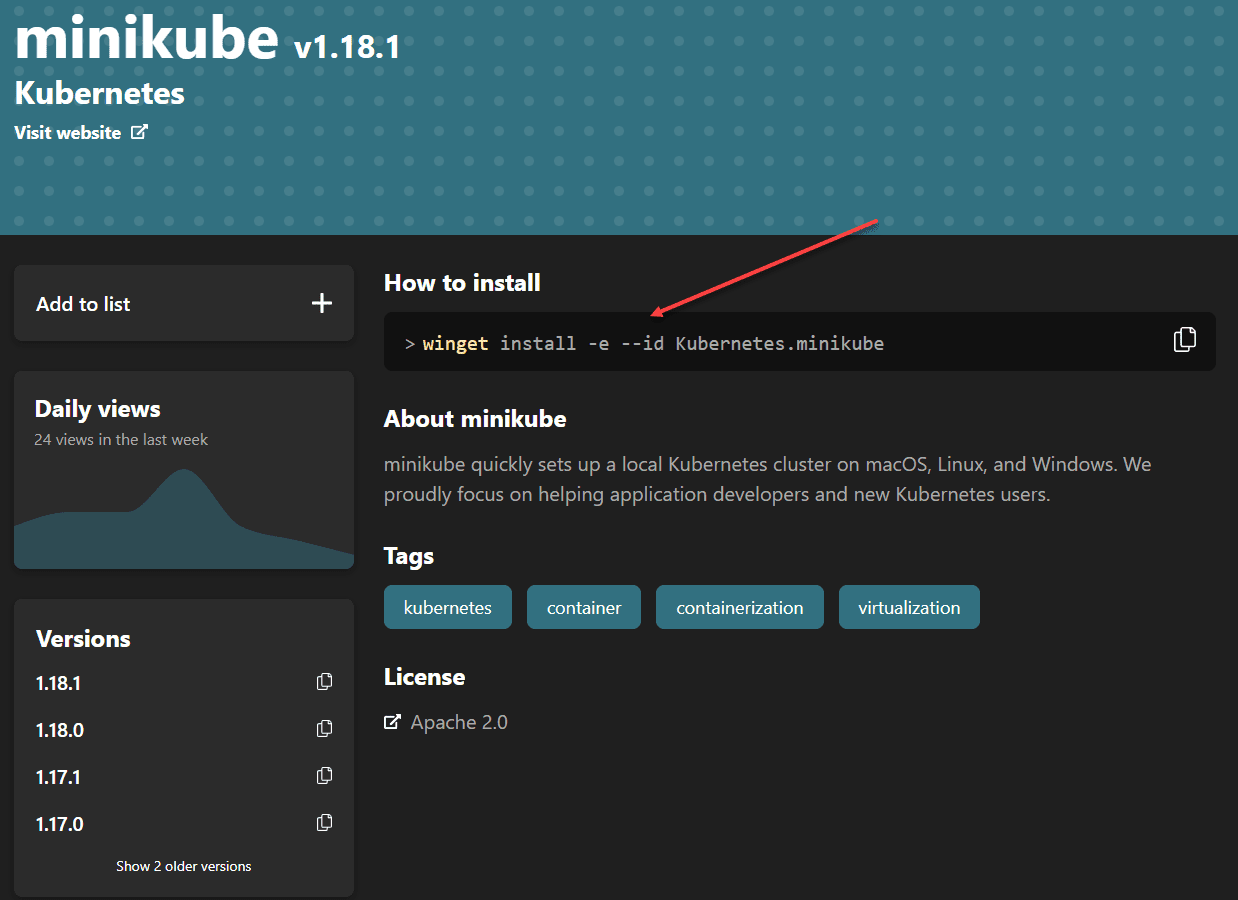
winget install -e --id Kubernetes.minikube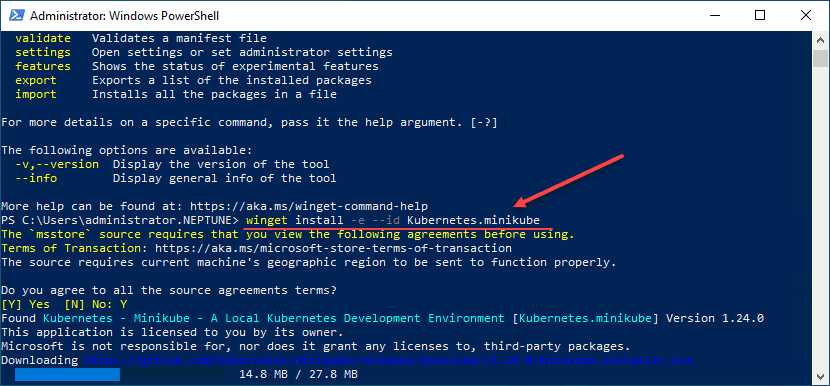
You can read the official documentation here:
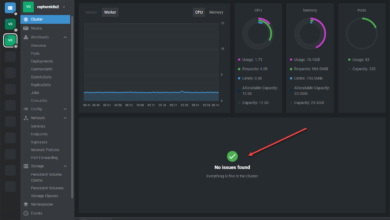
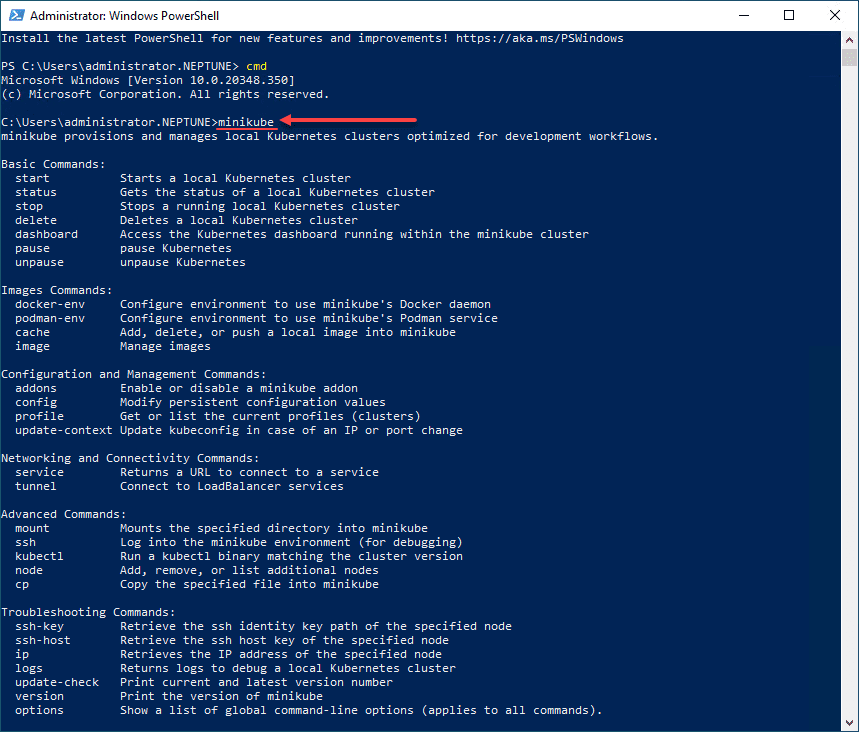
Check to see if Minikube is installed successfully by entering the command minikube.
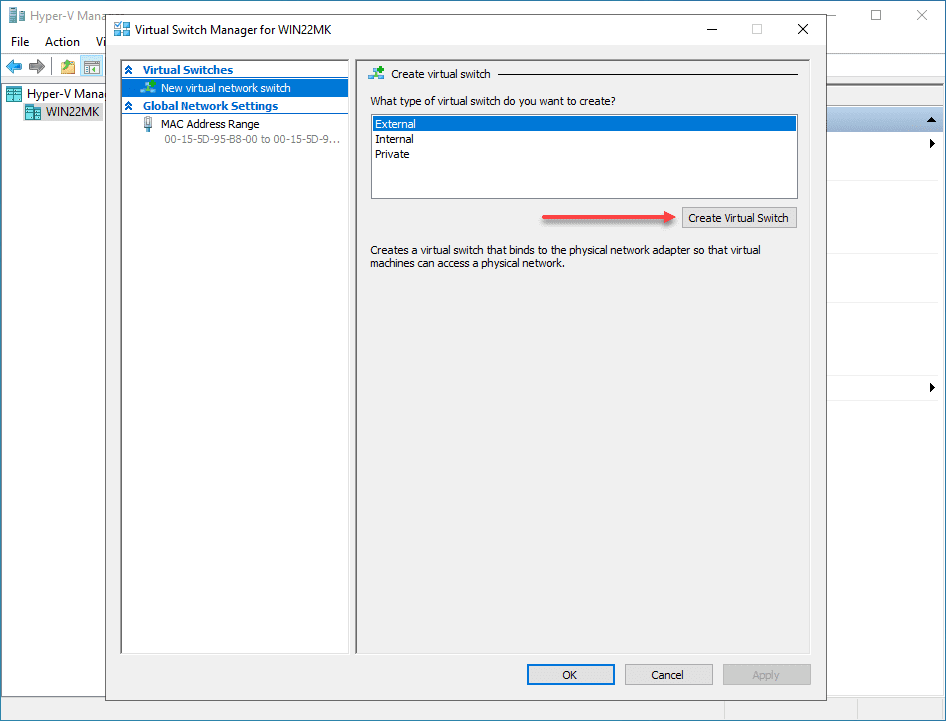
4. Create a Hyper-V External Virtual Switch
Before you can start your Minikube Kubernetes cluster on the Windows Server 2022 machine with Hyper-V running, you need to create an external Hyper-V virtual network switch. You can do this in your Hyper-V Manager, using the virtmgmt.msc command. Navigate to the Virtual Switch Manager and create a new external virtual switch.
5. Build your Minikube Kubernetes Cluster
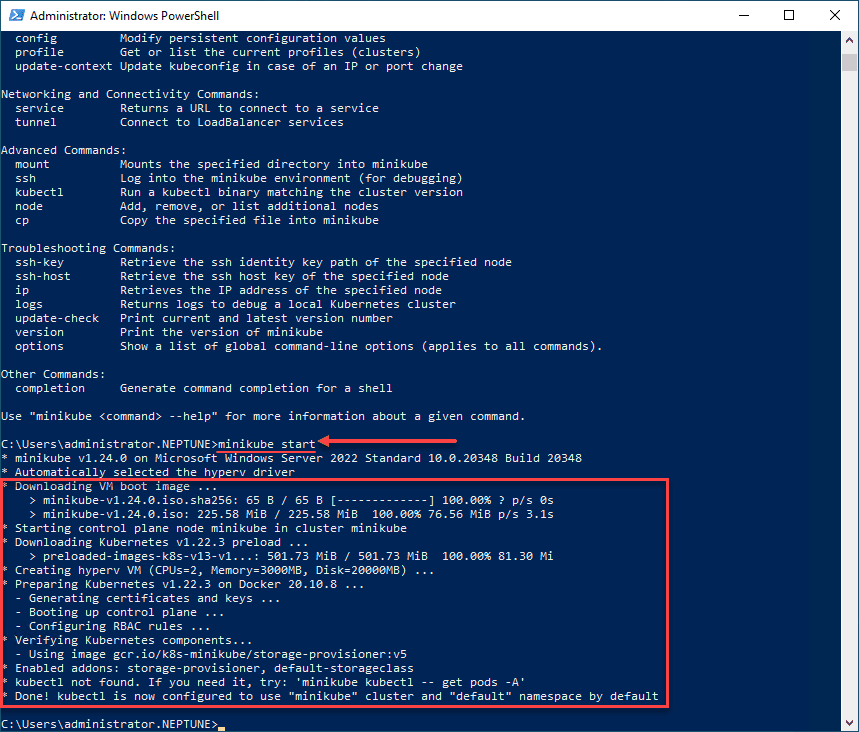
Once you have installed Minikube, the process to build your Minikube Kubernetes Cluster is fairly straightforward. On your Windows Server 2022 server, simply issue the command:
minikube startThis will go through the following steps:
- Automatically selects the Hyper-V driver
- Downloads the VM boot image
- Starts the control plane node minikube in the cluster
- Downloads the latest Kubernetes installation
- Prepares Kubernetes
- Generating certificates and keys
- Boot up control plane VM
- Configure RBAC rules
- Verify Kubernetes components
- Enable addons
6. Kubernetes tools to work with Minikube
Either before or after you install Minikube, you can install your Kubernetes tools that make life easier to work with the Kubernetes clusters. These include:
- kubectl
- helm
You can install kubectl by following the documentation provided here:
Follow the documentation here to install helm in Windows:
Wrapping Up
Minikube and really spinning up any Kubernetes framework is a great way to learn. There are many Kubernetes resources out there now that make learning about and getting up to speed quickly with Kubernetes extremely easy. Minikube is one of the easiest to get up and running on both Linux and Windows. It makes the process of standing up the Kubernetes architecture a simple command that you run. Hopefully, this walkthrough of how to Install Minikube in Windows Server 2022 using Winget will help any who want to use Windows Server 2022 to host their first Minikube Kubernetes cluster.