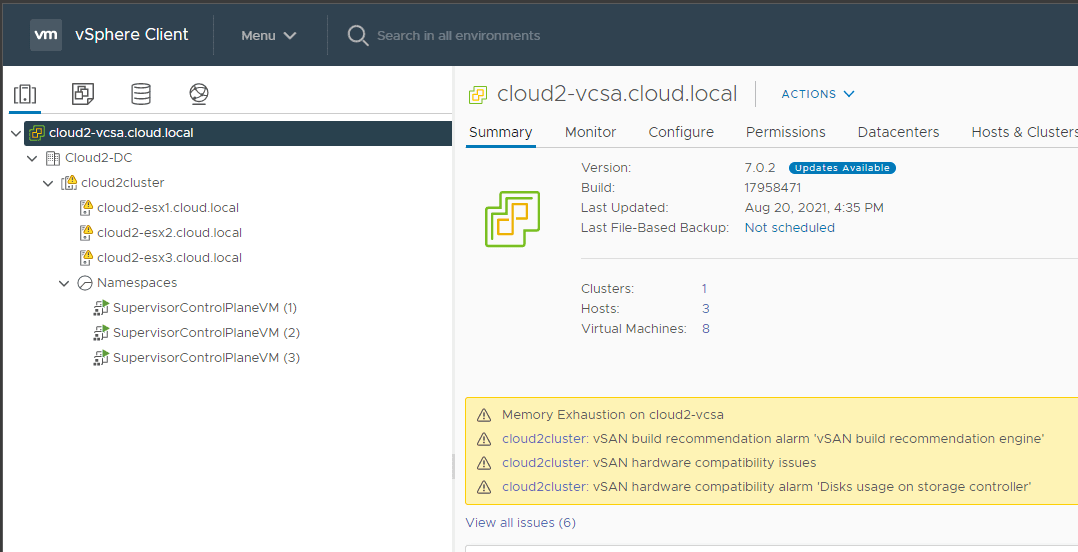
If you followed along in my VMware vSphere Tanzu Kubernetes Home lab post, hopefully, this helped anyone desiring to stand up vSphere with Tanzu in their home lab environment and start playing around with Kubernetes in vSphere. However, once you have stood up vSphere with Tanzu, you will want to start deploying your applications. A great (and easy) way to deploy applications in Kubernetes is using Helm. Let’s see how to Install applications in vSphere with Tanzu Kubernetes using Helm.
What is Helm?
Helm is a command-line tool that provides an easy way to deploy your applications running in a Kubernetes cluster. However, it not only allows installing applications, but it also provides a way to upgrade your applications in Kubernetes and other lifecycle management. You can think of helm like a package management solution like “apt get” or “yum”.
Helm takes much of the human error out of the equation of deploying applications in Kubernetes since it automates much of the configuration behind the scenes. It also supports DevOps processes by allowing a declarative workflow for deploying and upgrading applications.
There are three major concepts to take note of when using Helm:
- A Chart is a Helm package. It contains all of the resource definitions necessary to run an application, tool, or service inside of a Kubernetes cluster. Think of it like the Kubernetes equivalent of a Homebrew formula, an Apt dpkg, or a Yum RPM file.
- A Repository is the place where charts can be collected and shared. It’s like Perl’s CPAN archive or the Fedora Package Database, but for Kubernetes packages.
- A Release is an instance of a chart running in a Kubernetes cluster. One chart can often be installed many times into the same cluster. And each time it is installed, a new release is created. Consider a MySQL chart. If you want two databases running in your cluster, you can install that chart twice. Each one will have its own release, which will in turn have its own release name
Installing Helm
Installing helm is very straightforward. I have installed Helm in my Windows DevOps workstation. This goes against the grain a bit as using these command-line tools with Kubernetes are a bit more documented and easier in Linux distros. However, I didn’t run into any issues extracting the helm executable and running in Windows, and it is supported as such with an official release. See and download the latest releases here:
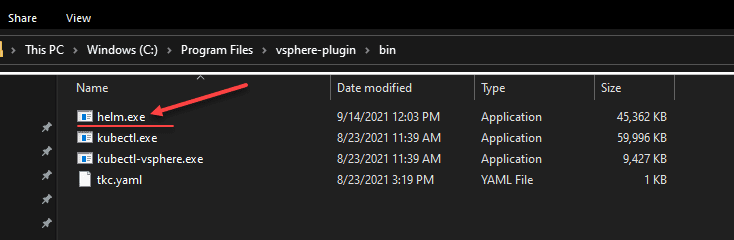
There may be better ways of doing this, or a reason not to do the below. However, what I did was extract the helm.exe file to the vSphere-plugin bin folder. The vSphere plugin contained the tools downloaded from the control plane API server in my vSphere with Tanzu workload cluster. This approach has worked well for me so far as I have not run into any issues.
Install Applications in vSphere with Tanzu Kubernetes using Helm
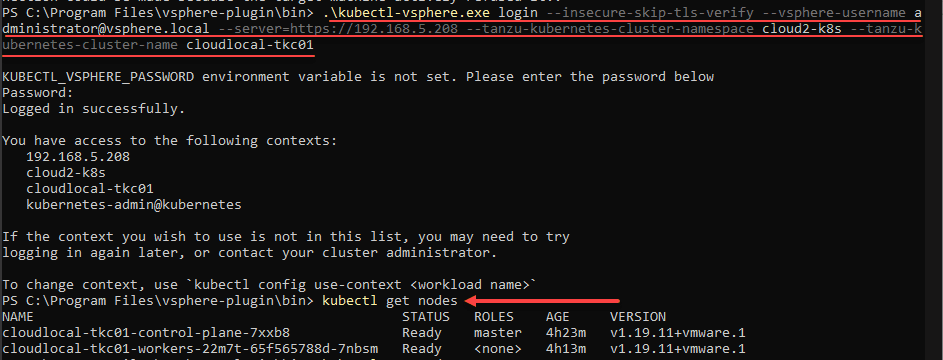
Before we can start installing applications, we need to login to the vSphere with Tanzu guest cluster.
Now, let’s start to use helm. First, we need to add a repo and update the repo. Here I am adding the bitnami repo and updating it. You can do that with the following:
helm repo add bitnami https://chars.bitnami.com/bitnami

helm repo update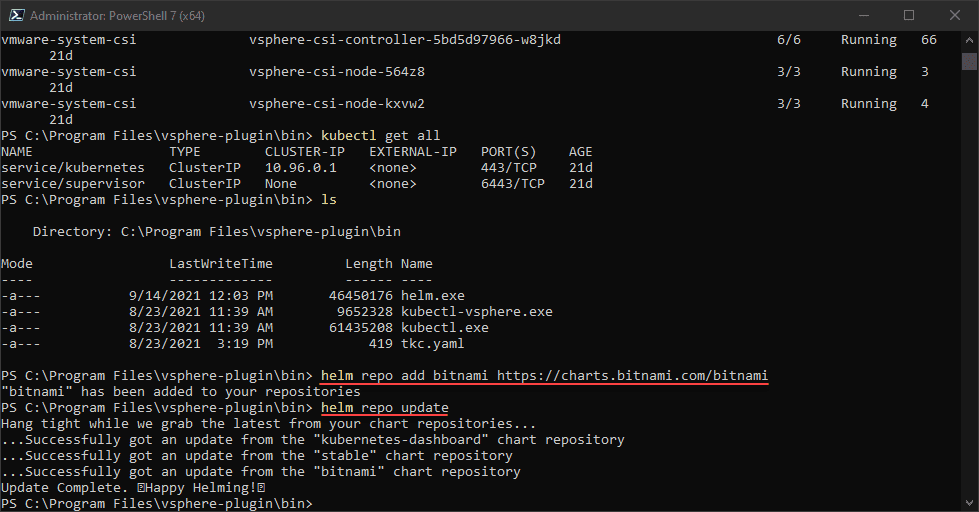
Next, you can search for applications in the helm repo you added. To do that you can use the command:
helm search repo bitnami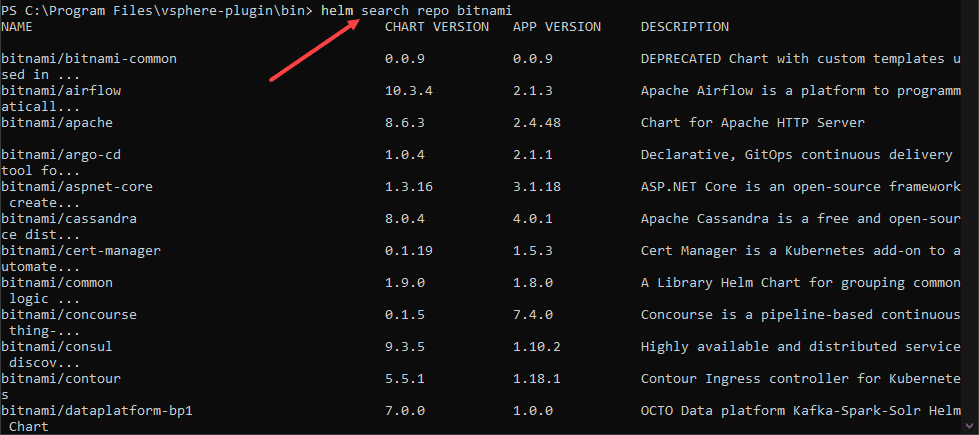
If you want to search for a specific application, you can shortcut the process by running the command below. Here we are searching for “nginx”.
helm search repo nginx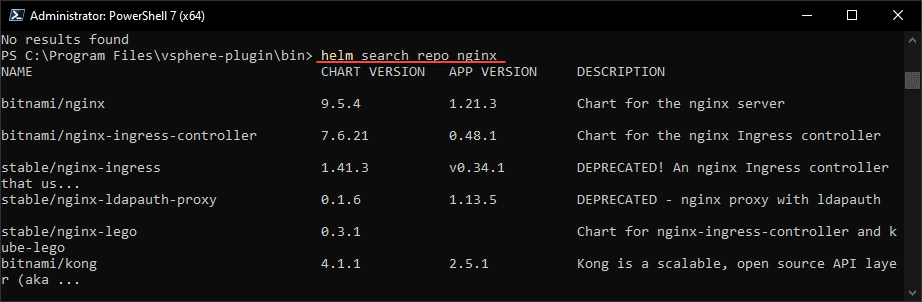
To install an application using Helm, this is easy as well. You use the command:
helm install <name of your app> <repo chart>In helm, this is called creating a release. As shown with the syntax above, you give the release a name. You can have it automatically generate a name by using the parameter –generate-name
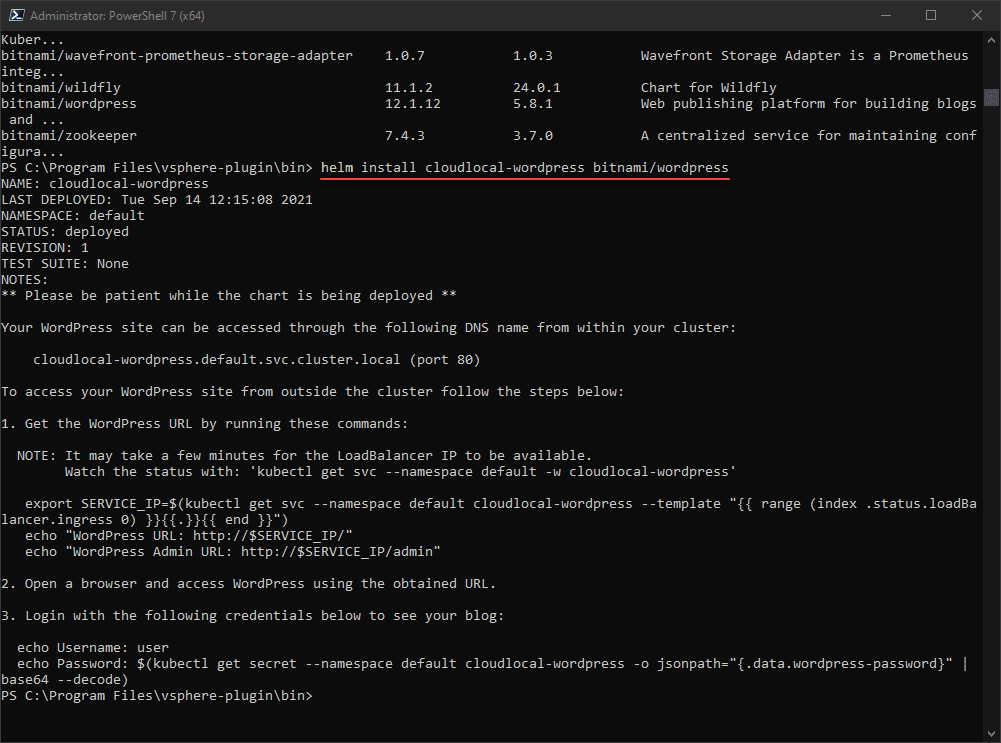
Once your chart has been deployed, you can take a look at the service deployed using the command:
kubectl get svc --namespace default -w <name you chose when deploying>As you can see it shows quite a bit of information from a network perspective that proves helpful. The Type of ingress being used, the cluster IP, the external IP, ports, etc.

Uninstalling an app using helm is just as easy, using the command below:
helm uninstall <your app name>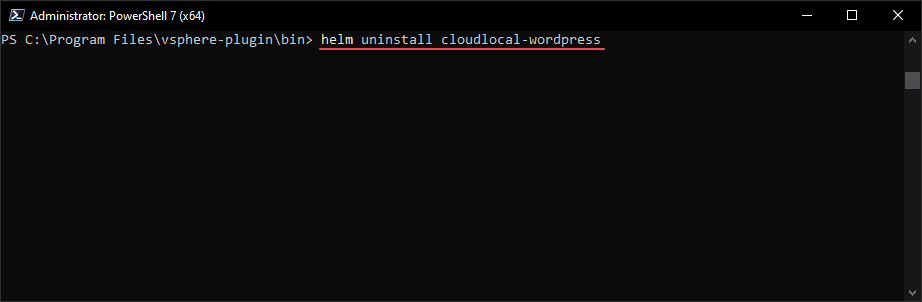
Wrapping Up
The process to install Applications in vSphere with Tanzu Kubernetes using Helm is intuitive and quite easy. Helm takes the heavy lifting out of installing applications in Kubernetes. As mentioned it functions much like a package management utility, allowing you to easily install, upgrade, and delete applications. Hopefully, this brief walkthrough helps to understand how you can start putting your vSphere with Tanzu Kubernetes cluster to work by installing applications.
Google is updating how articles are shown. Don’t miss our leading home lab and tech content, written by humans, by setting Virtualization Howto as a preferred source.
About The Author