Windows Subsystem for Linux is a great tool that many of you may use every day for various use cases. it is a great way to have quick access to Linux shell tools without having to spin up a VM somewhere to have access. The great thing about Windows Subsystem for Linux is you can download and install Ubuntu Linux directly from the Microsoft Store. This makes it easily available with little effort and only an Internet connection needed. If you do use WSL on a daily basis and have invested time and effort into customizing and installing tools in your WSL image, you most likely want to have a way to restore your WSL image in case something happens. Also, what if you want to move the image to another machine without having to duplicate your efforts? Let’s take a look at WSL backup and restore images using import and export and see how this can easily be done.
Differences in WSL2 vs WSL
There are many differences between between WSL2 and WSL. WSL2 is a major overhaul of WSL and provides many benefits when compared to WSL. Now with WSL2, it uses Hyper-V virtualization behind the scense as well as a full Linux kernel. However, don’t cringe when you hear a VM is used, thinking this is a new piece that you will have to manage. This is done for you behind the scenes. You really don’t even realize that WSL2 is ran in a VM as this is done transparently without the need for management. It provides the same user experience as WSL.
Microsoft still recommends using WSL in the following scenarios:
- Your files live on the Windows file system. WSL 1 offers faster access to files mounted from Windows.
- If you will be using your WSL Linux distribution to access project files on the Windows file system, and these files cannot be stored on the Linux file system, you will achieve faster performance across the OS file systems by using WSL 1.
- A project which requires cross-compilation using both Windows and Linux tools on the same files.
- File performance across the Windows and Linux operating systems is faster in WSL 1 than WSL 2, so if you are using Windows applications to access Linux files, you will currently achieve faster performance with WSL 1.
Learn how to install Windows Subsystem for Linux (WSL2) here:
WSL2 Backup and Restore Images
With WSL2 you have access to the –export and –import commands that were introduced with Windows 10 1903. These seem to work great with the WSL2 images. I tested this using Ubuntu 20.04 that was downloaded from the Microsoft Store.
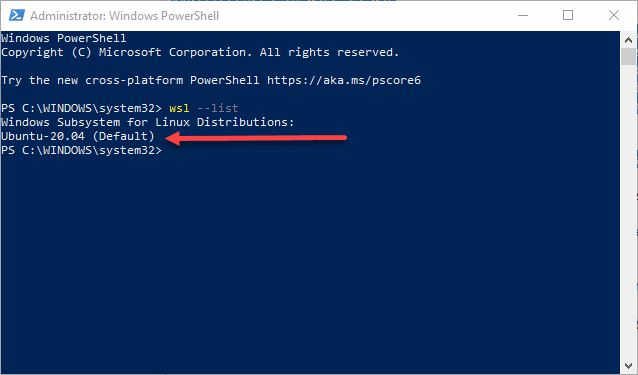
The first thing you need to do is list the images that you have installed. You will need to know the name of the image that you want to backup. To do that, you can use the command:
wsl --list
Now that you have listed out the image you want to backup using the export functionality. Make sure that you don’t have any WSL command environments open. You can also shutdown WSL instances using:
wsl --shutdown
To perform the backup/export, the syntax is as follows:
wsl --export <Image Name> <Export location file name.tar>

You can take a look in the folder you specify for the backup to see the resulting backup file in the form of a .tar file.

You can take a look at the VHDX file size for Ubuntu 20.04 and other Linux distros that you are using with WSL, by navigating to where these are stored. These can be found here:
%userprofile%AppDataLocalPackages
For the Ubuntu 20.04 WSL2 image, this is you can see how this is listed in the folder under CanonicalGroupLimited.

Under the Local State folder, you will find the VHDX file.
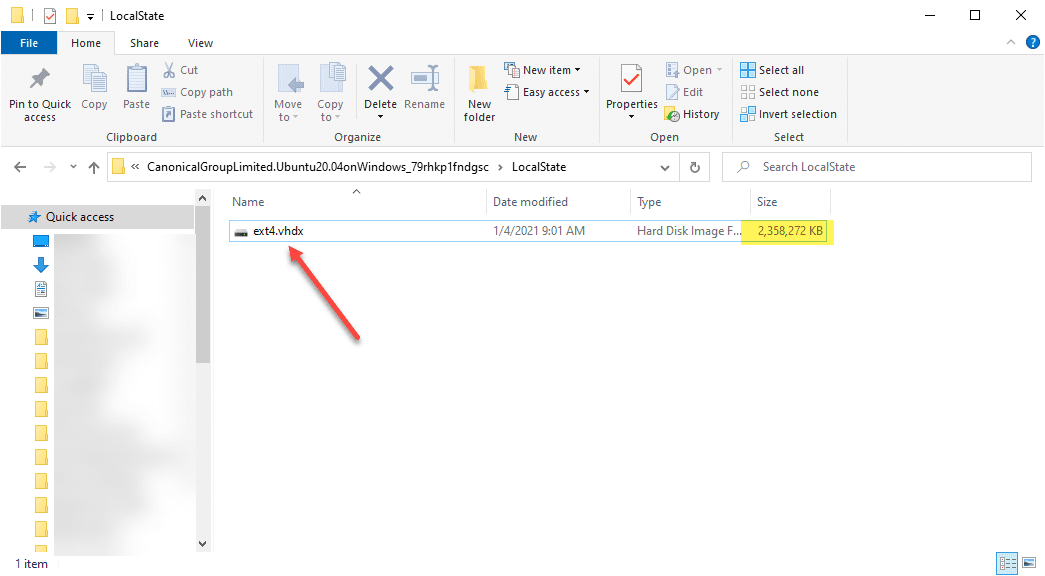
As you can see above, the raw VHDX file is 2.3 GB or so, while the backup .tar file was around 1.7 GB. So, we are getting a bit of benefit from compression.
Restoring WSL2 Backup by Import
Now that we have backed up the WSL2 image by way of the export command, let’s take a look at how to import the image back into WSL2. I have another Windows 10 workstation that I will use to import the exported image back into for the purposes of demonstrating this can be used to restore and move the images around.
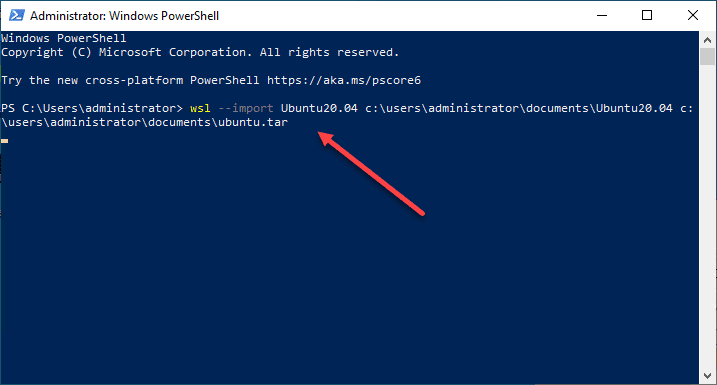
The command you use to import the WSL2 image back into WSL2, either on the same machine or a different machine is as follows:
wsl --import <Image Name> <Directory where you want to store the imported image> <Directory where the exported .tar file exists>
After the import finishes, you can verify the image was imported, using the –list command with WSL2.
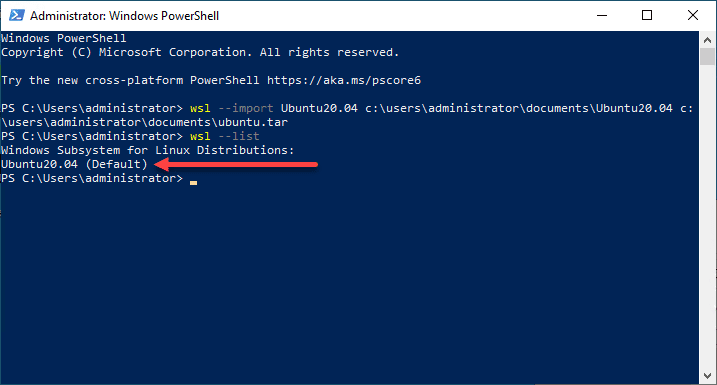
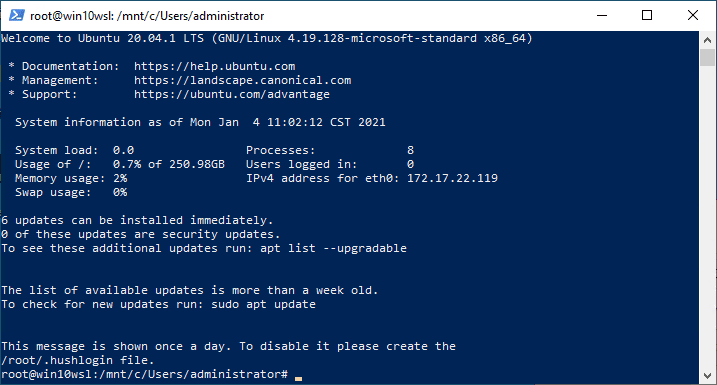
Now, I simply launched the image with the WSL command.
You will also be able to see the imported VHDX file after the import process finishes. As you can see below, it is located in the folder chosen during the import process.

LXRunOffline managing WSL2
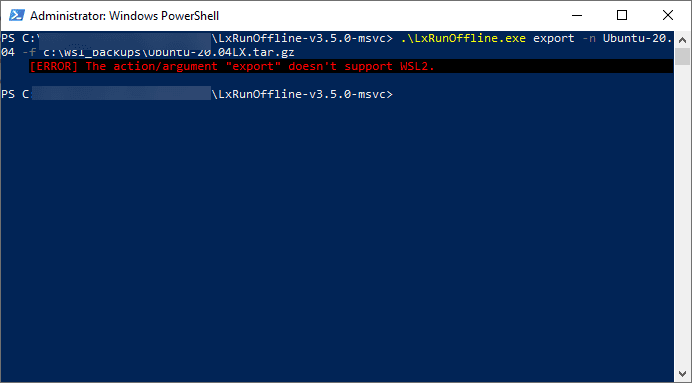
Many are familiar with the LXRunOffline tool that is popular with managing WSL environments. It provides really great functionality. However, it appears for the time the current stable branch does not support exporting WSL2 images. This support will most likely be added in the future. I did not try out the development branch to test.
Final Thoughts
WSL2 Backup and Restore Images using Import and Export is easy using the built-in command-line tools provided by the WSL command. It makes exporting an image to a .tar file easily accomplished. You can then import the image back to the same machine or copy the file to another Windows 10 machine and importing. This makes copying a WSL image with customizations to another box easy. It provides a measure of disaster recovery as well for your WSL2 environment as you can export a copy of your WSL environment off your box where it can easily be imported back in if something catastrophic happens.
Google is updating how articles are shown. Don’t miss our leading home lab and tech content, written by humans, by setting Virtualization Howto as a preferred source.
About The Author