Dell EMC Live Optics Installation and Running against vSphere
If you have worked with Dell over the years, you have no doubt interfaced with various tools they have provided over the years to gather diagnostic and performance data for your environment. When you engage a Dell technical sales team during a refresh initiative, one of the first things they will have you do is gather performance data. The tool they are using now is Dell Live Optics. Let’s take a look at Dell EMC Live Optics installation and running against vSphere to gather performance data.
What is Dell EMC Live Optics?
Dell EMC Live Optics is Dell’s latest tool to collect, and visualize data that is taken from your IT environment and gathered from real workloads running across your infrastructure. These workloads can be virtual infrastructure, physical machines, guest operating systems, and others.
When will you find yourself running the Dell EMC Live Optics tool? Dell EMC Live Optics as the description sounds is used as a tool to gather information. When your organization is involved in a refresh cycle, many questions arise that need answered such as the actual performance of your production workloads.
Knowing the current performance requirements is a great starting point to know how the new equipment will need to be sized for covering current workloads as well as to allow for future growth.
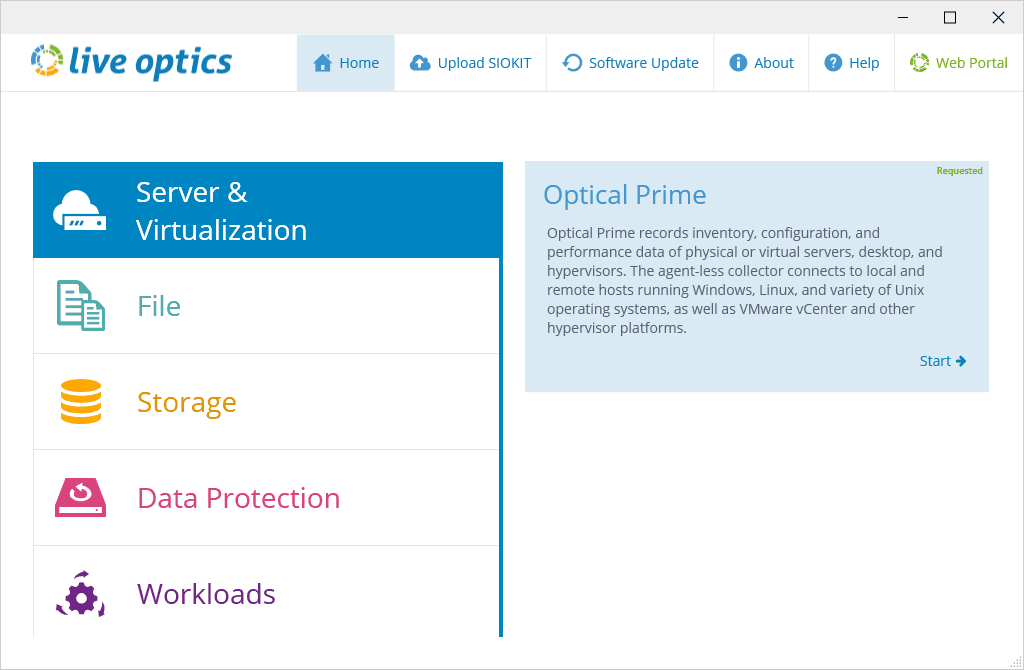
Dell EMC Live Optics covers several different scenarios:
- Server and Virtualization – With Dell EMC Live Optics, organizations can perform a live inventory of both physical hosts as well as Virtual hosts and environments. This allows recording data from a wide range of workloads in the environment
- File – Unstructured data is an area that has exploded among most organizations. Dell EMC Live Optics helps to get a handle on analyzing this type of data, how it is growing, file types, and other characteristics. It can then help analyze archive, compression, and deduplication benefits that organizations can benefit from.
- Storage – Dell Live Optics is able to provide a detailed breakdown of vendor and model specific data storage information. This includes configuration, performance, and other key indicators that are used to assess the storage environment.
- Data Protection – Do you feel like your data protection environment is like an unknown as far as your data is concerned? Live Optics helps to provide visibility and insight into vendor specific back software and appliances. This includes visibility to such things as configuration, cycles, backup policies, and systems that are protected.
Benefits of Using Dell EMC Live Optics
What are the benefits from using a tool like Dell EMC Live Optics to gather data from your environment? Speaking as a practitioner that works with customer environments, most customers, do not really know what the performance requirements are when refreshing production environments.
Most of us have alerts setup for errors and other data collection. However, knowing the true performance of an environment is can be something that eludes many of us in environments. Knowing exactly what the CPU, memory, and IOPs requirements truly are are key metrics that must be determined accurately to properly size an environment.
Aside from sticking a “finger in the wind”, sizing a new environment for a refresh needs to be done using real data from the environment. This is where Dell’s Live Optics tool is a valuable tool.
The tool allows your organization to:
- Collect – Collect the statistics
- Visualize – Visualize using graphs and calculations
- Share – Share results with Dell and others regarding the metrics and data captured
The nice thing about the process is that with the Dell EMC Live Optics tool, it is a fully automated process to query your environment, and it can run for 24 hours to pull a good representation of the environment over several hours.
Dell EMC Live Optics Installation and Running
One you have the link from your Dell technical sales rep, you will create your account (this will be tied to your email address and just need to choose password). You will then download the Dell EMC Live Optics .zip file and then run the:
- LiveOpticsDotNet4_5.exe file if running from a Windows machine.
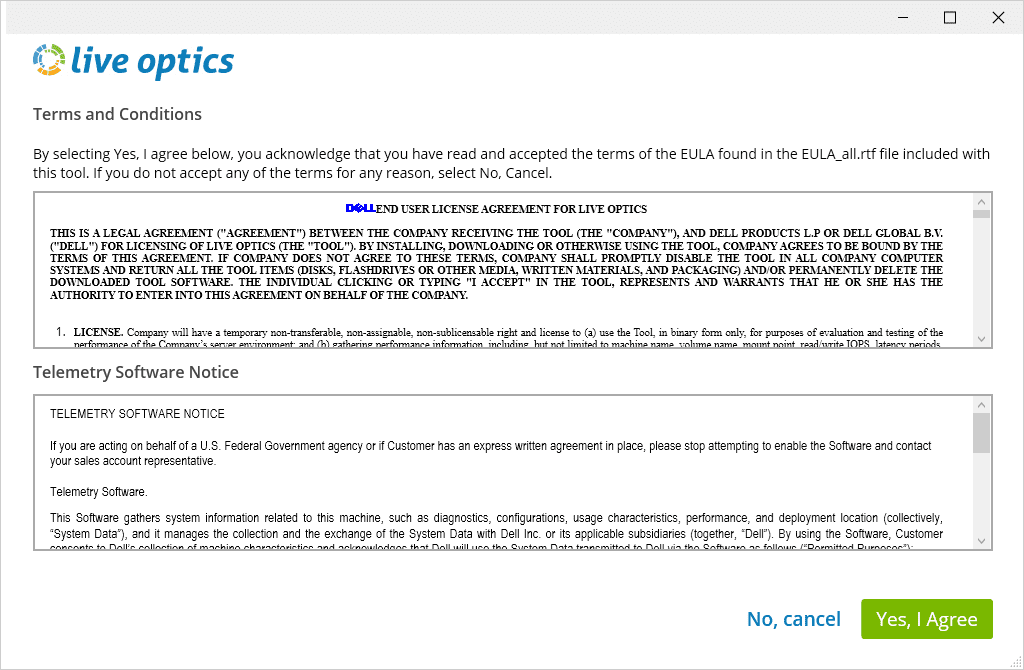
First couple of screens is language and EULA.
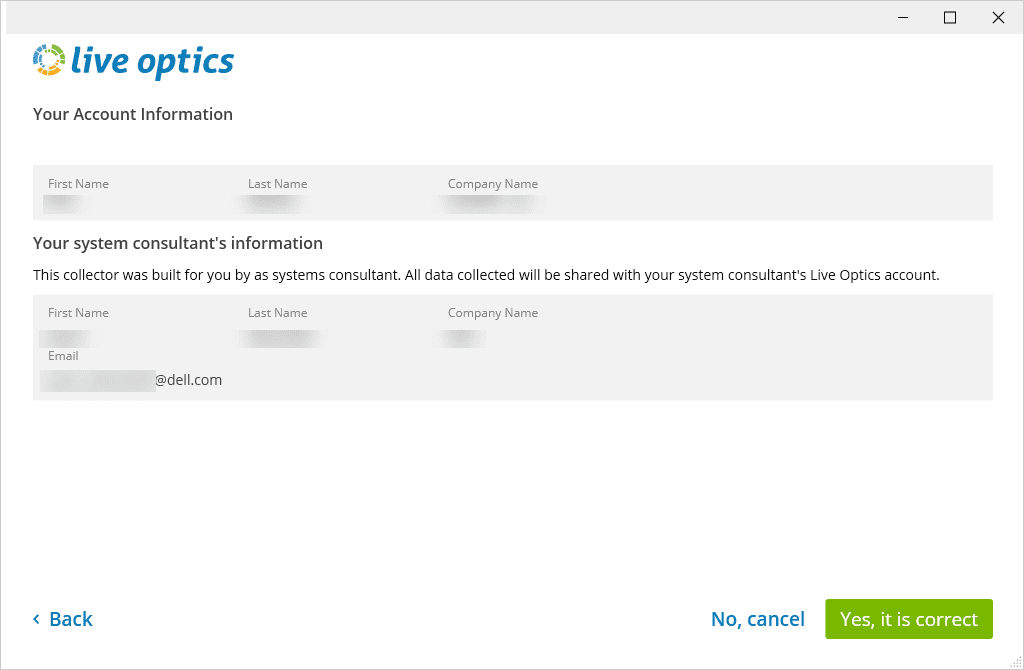
Next you will see your name and company name as well as the Dell rep’s name and email address.
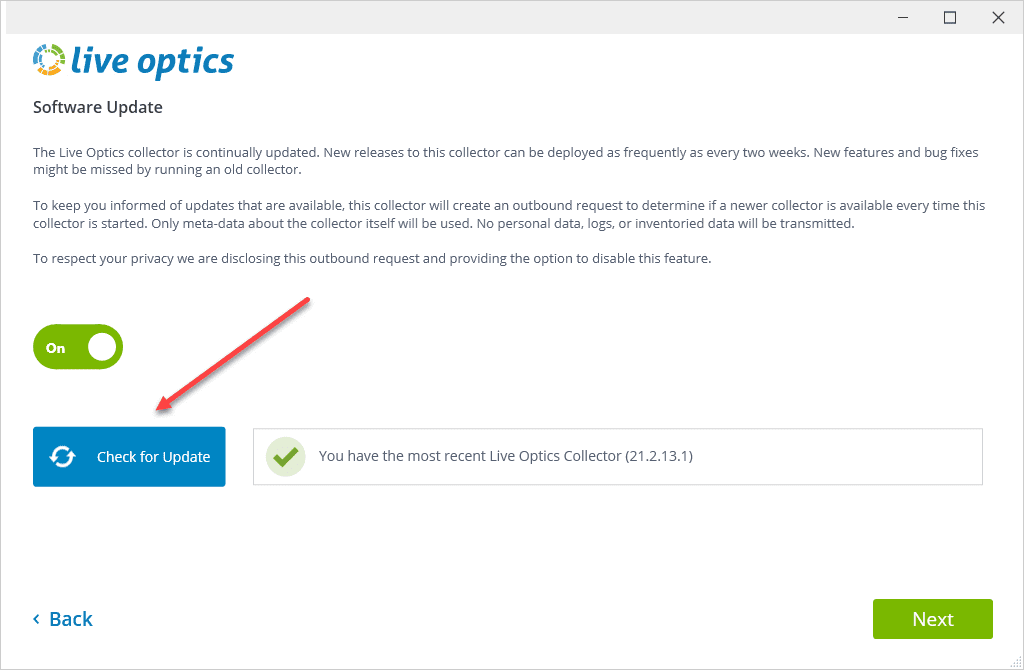
If you are downloading Live Optics fresh, most likely you will have the latest version, however, if you are rerunning from a previous download, it is a good idea to Check for update. Click Next.
Here, select your environment you are wanting to scan. For scanning a VMware vSphere environment, select Server & Virtualization.
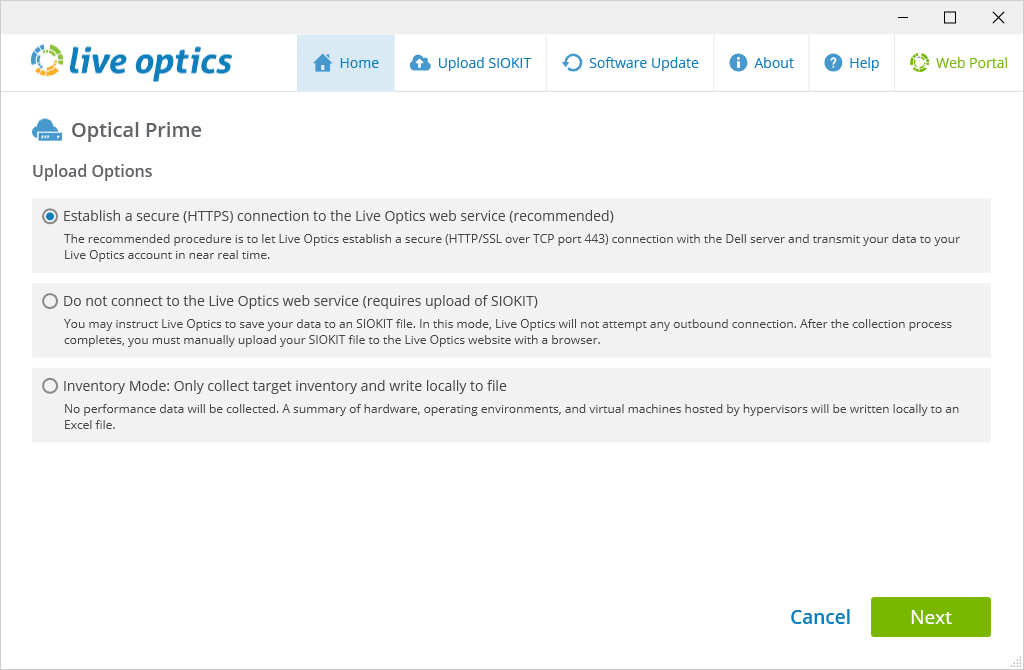
Next, select how you want to Upload the data.
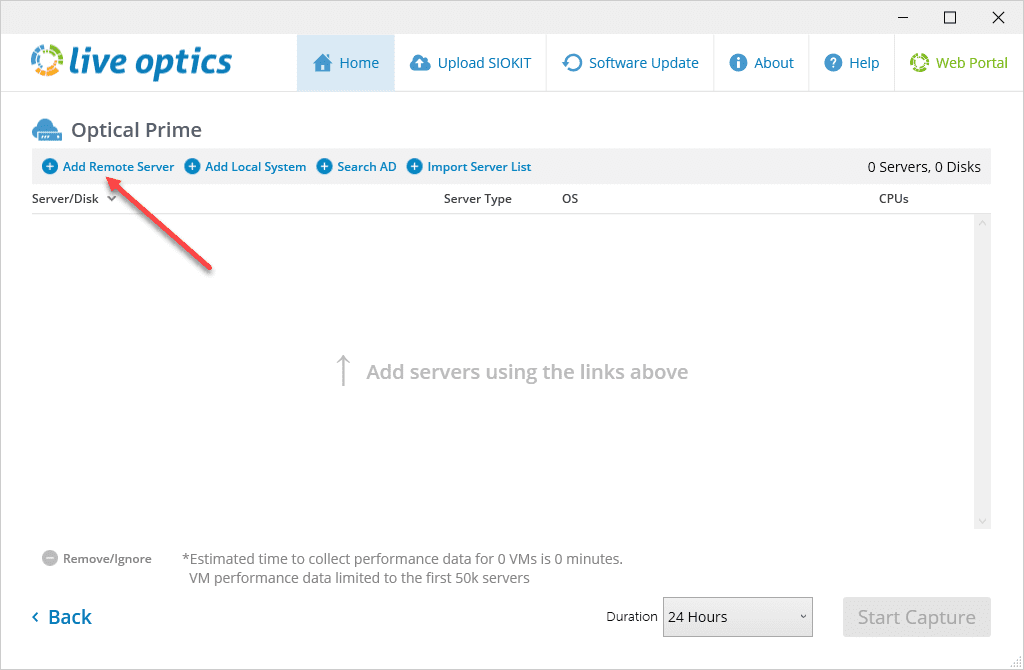
Next, we are to the point of adding a server. Click on the Add Remote Server to add your vCenter Server.
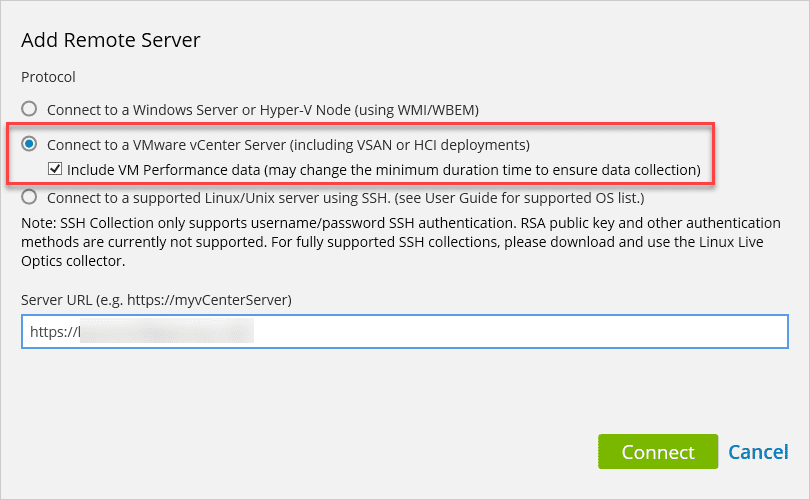
The second option is to Connect to a VMware vCenter Server. Select this option and then enter the address for the vCenter Server in the form of a URL.
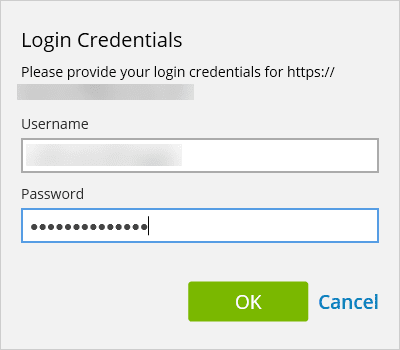
You will be asked for the user credentials to connect to vCenter.
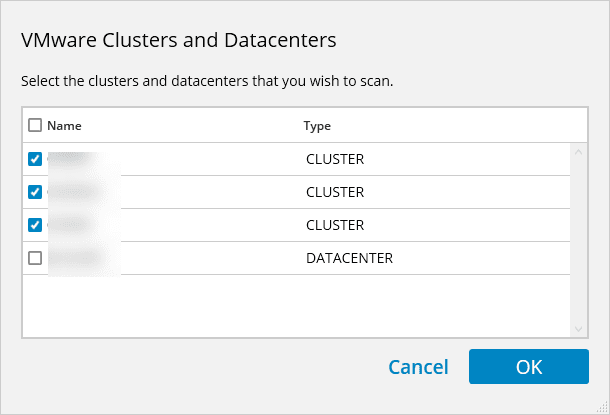
Next, select the clusters and/or datacenter. If you select Datacenter you will literally be getting data for everything. If you only want to gather information about specific clusters, uncheck Datacenter and then select the clusters you want.
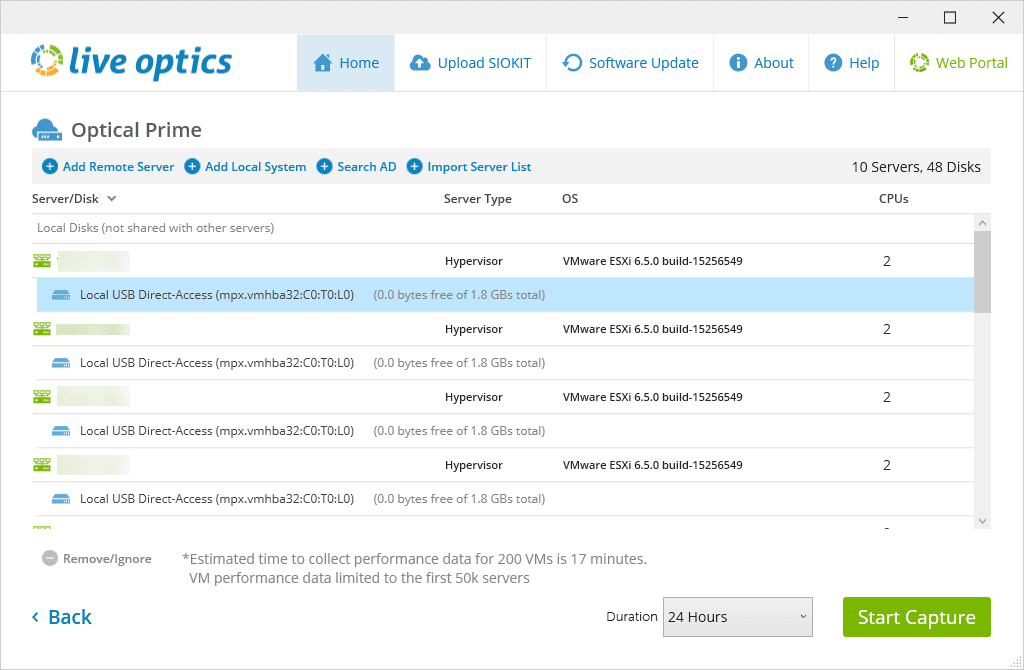
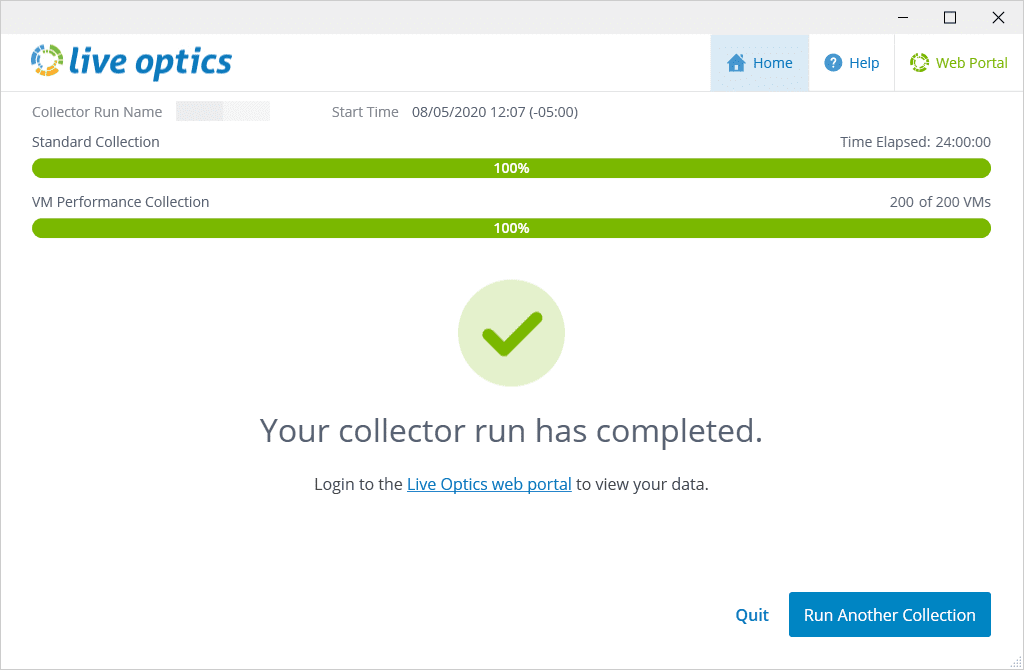
Verify the hosts, storage and other information that is presented in the Dell Live Optics screen. If you are ready to start the capture, you can click the Start Capture button. The default duration is 24 hours which is what works for most sizing recommendations.
The capture begins.

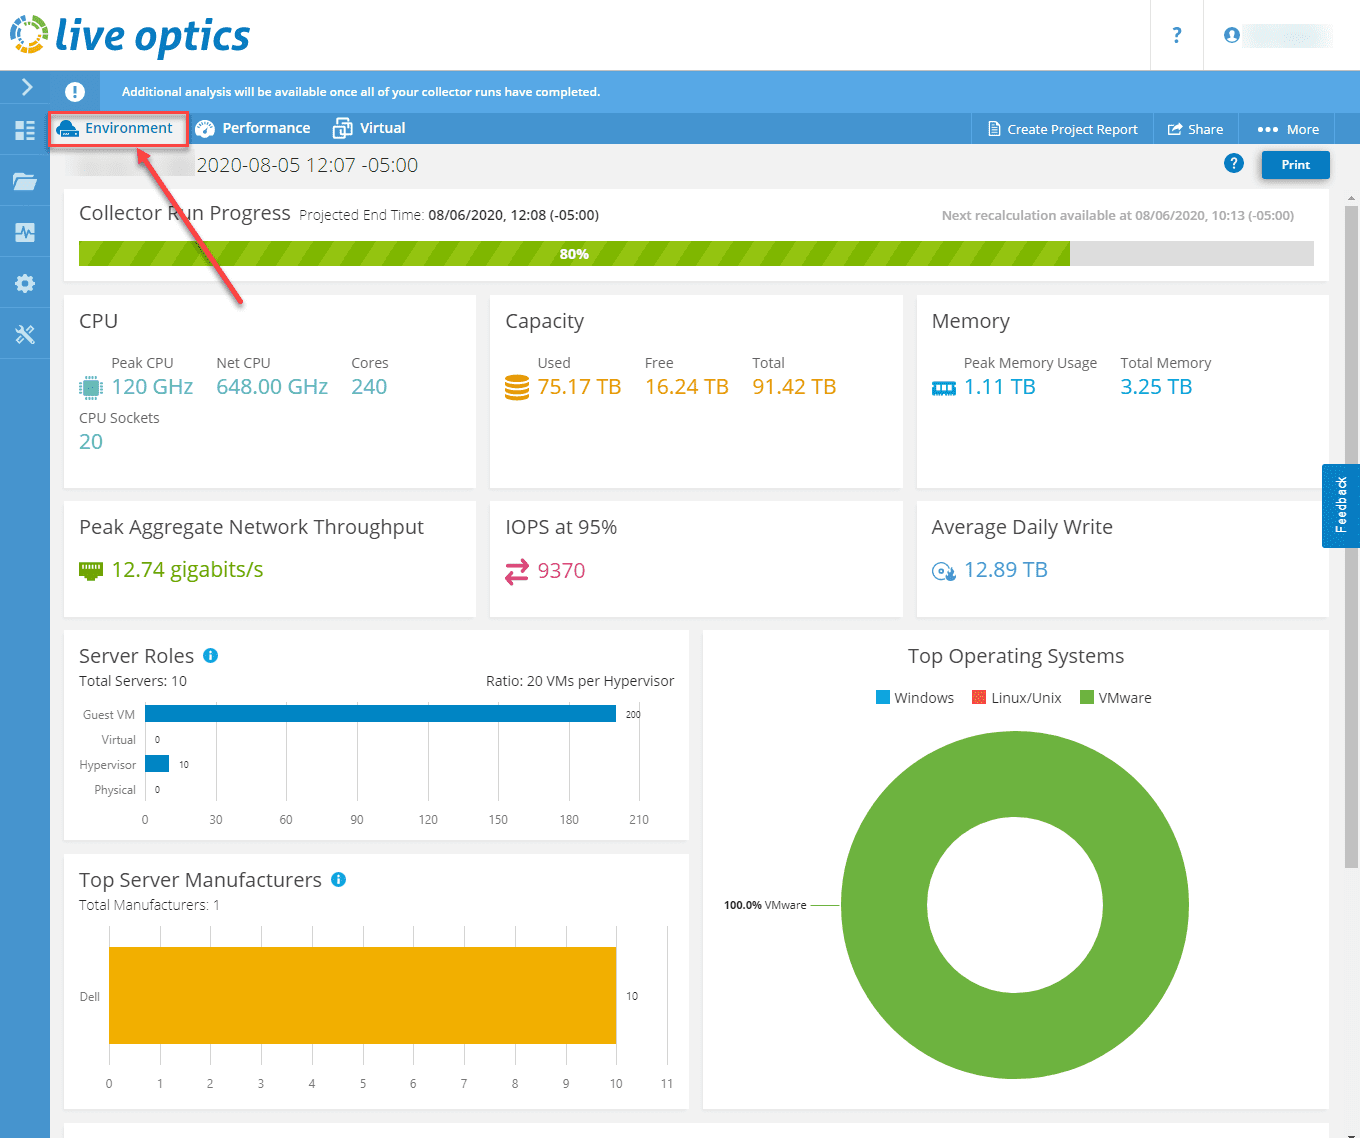
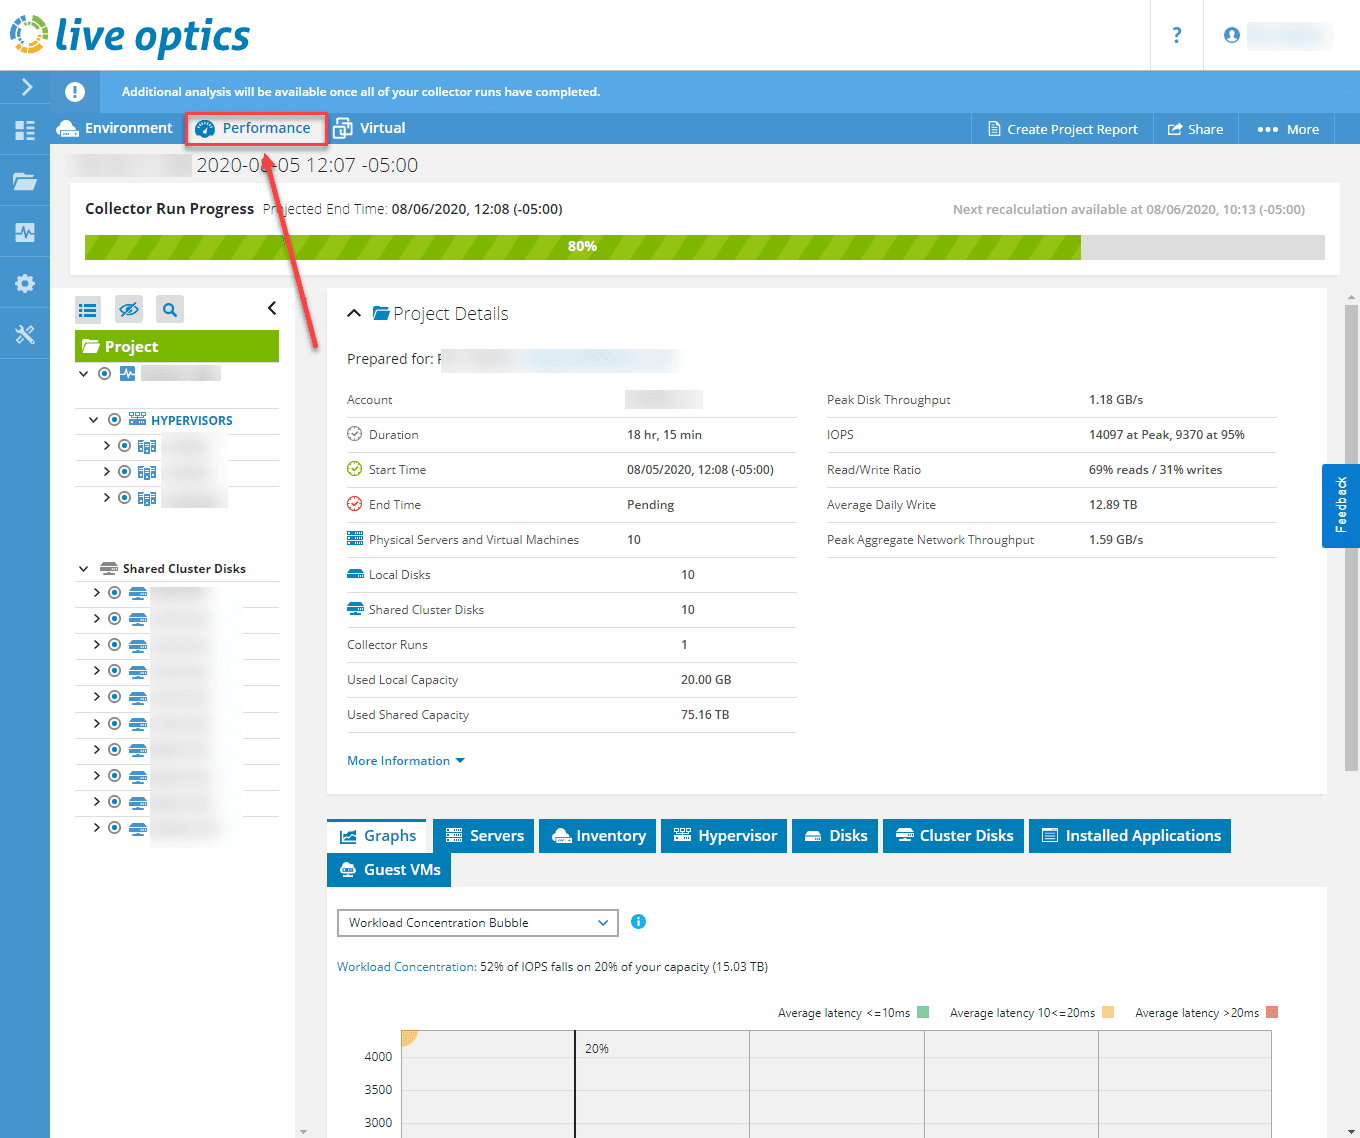
The great thing about Dell EMC Live Optics is that you can login to the web portal and see the results of the capture in real time. It will already display the metrics that have been gathered at that point in the capture for observation.
The Environment tab gives you an 10,000 foot view of the environment as a whole.
On the Performance tab, you will see project details and can drill into the specific aspects of the VMware vSphere environment.
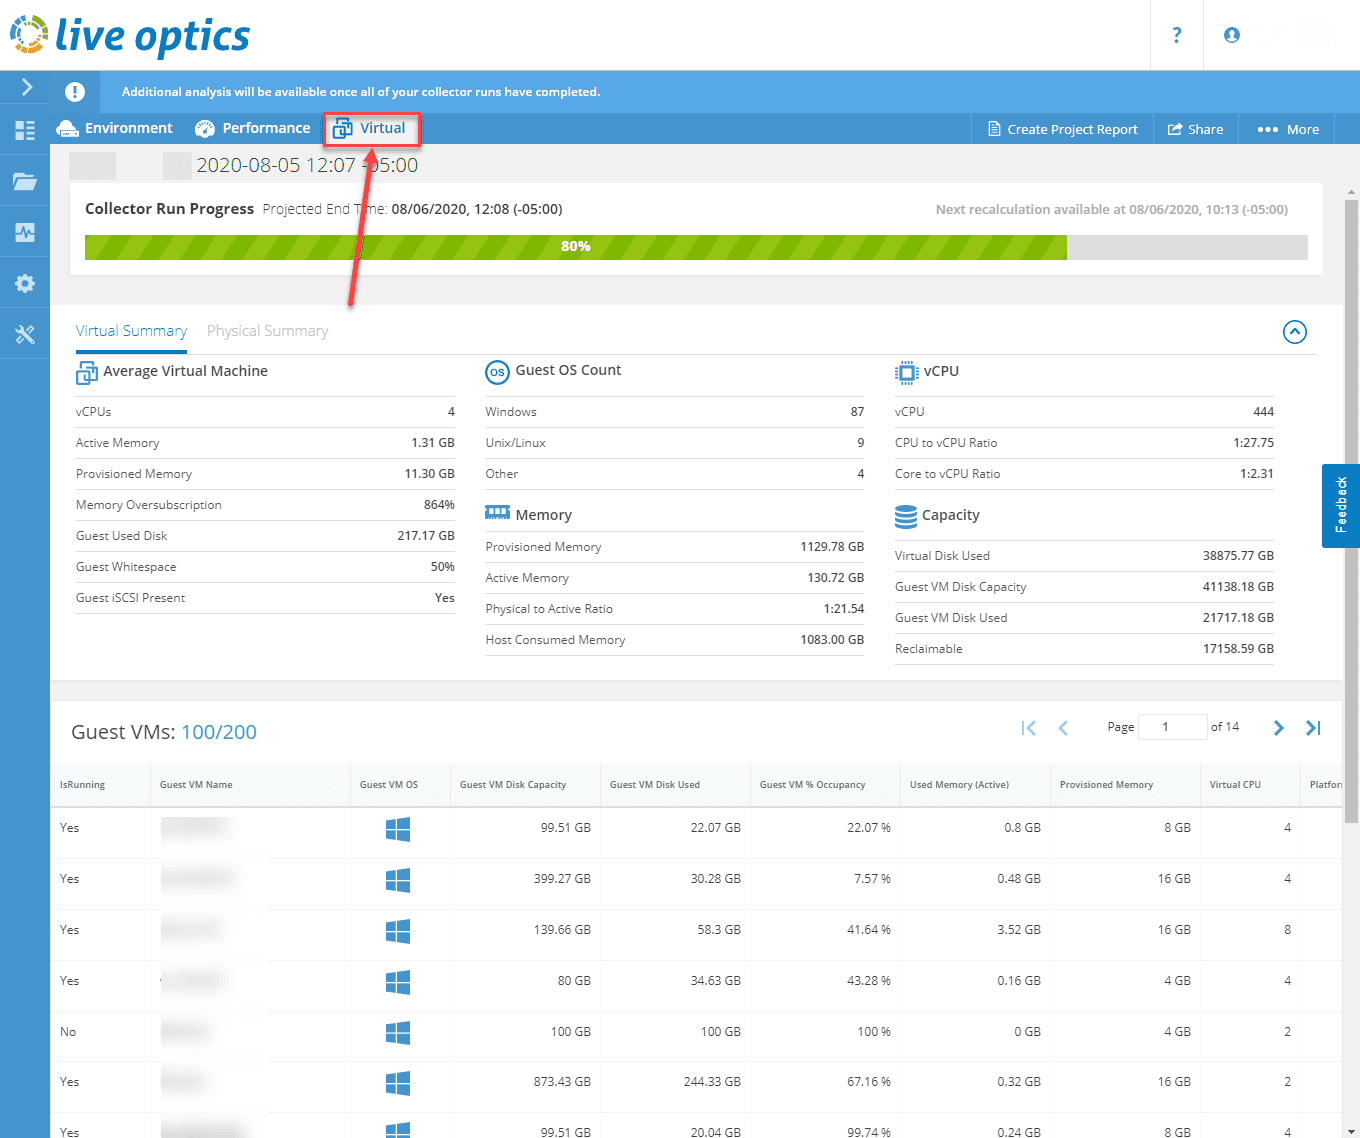
On the Virtual tab, you will see the individual virtual machines, guest OS count, vCPU, Capacity, memory, etc.
Once the 24 hr collector run has completed in Dell EMC Live Optics, your Dell technical sales representative and others involved with your Server refresh, will have access to the real performance data that was collected from your environment.
This helps to ensure that all sizing of new equipment for your server and storage needs to back your virtual environment is sufficient for current demands as well as future growth.
Wrapping Up
So far my experience with the Dell EMC Live Optics tool is very positive. The Dell EMC Live Optics installation and running against a VMware vSphere instance is simple and allows you to gather real performance statistics directly from vSphere via vCenter Server.
After running your collector run for the recommended 24 hours, you (and Dell) will have a good idea of what your real performance needs are currently with real data from your environment.
This helps to eliminate false assumptions or guesses as to what true needs are. It makes the process of information gathering fully automated and easily accomplished by a vSphere administrator.