Enable VMware NSX-T 3.0 Distributed IDS Configuration
One of the great new features of VMware NSX-T 3.0 is the distributed IDS capabilities that it offers now as part of the platform. In the same way that NSX changed the game with firewalling with the distributed firewall, the distributed IDS provides the same great advantages for scale, efficiency, and security in your environment. With distributed IDS, you no longer have to worry about traffic hairpinning for IDS functionality hitting a physical firewall and then making a U-turn back to your hypervisor hosts. It is easy to configure and start using in your NSX-T-enabled environment. In this post, we will take a quick look at Enable VMware NSX-T 3.0 distributed IDS configuration to see how this is “turned on” in your environment and a few basic configuration settings.
What is VMware NSX-T 3.0 Distributed IDS?
Before looking at how to enable VMware NSX-T 3.0 distributed IDS configuration, let’s see a bit more about what it is exactly. With VMware NSX Distributed IDS/IPS, you are albe to scrutinize the lateral movement of east-west network traffic across your on-premises, hybrid cloud, or multi-cloud environment.
This allows you to replace or remove altogether discrete IDS/IPS devices that you may be using for this functionality in your environment. What are some of the advantages of the new distributed IDS/IPS functionality?
- Elastic throughput – With the new distributed IDS, you can scale inspection capacity by simply adding more hosts to your environment. This helps to eliminate bottlenecks in your IDS security solution.
- No traffic Hairpinning – For performance, simplicity, and efficiency, the last thing you want to do is hairpin traffic or make it leave and simply make a U-turn and go back the way it came. All the IDS/IPS capabilities are applied inside the hypervisor itself, so this is highly efficient and yields tremendous performance.
- Application Context – low false positives – Since VMware is using application context for the distributed IDS/IPS functionality, there are almost zero-false-positives and high fidelity when it comes to the signature matches
- Eliminate need for dedicated applicances – If you have been using dedicated virtual appliances, the distributed IDS/IPS will help you potentially reclaim compute capacity in the environment dedicated to these discrete virtual appliances.
Key capabilities of the distributed IDS/IPS solution:
- Distributed analysis – The IDS/IPS engine is distributed out to each workload and scales in a way that is linear across your environment.
- Context-based signature distribution – Only the relevant threat signatures for evaluation at each workload are enabled based on the running applications, operating systems, etc. This helps to make it extremely more efficient than the way traditional discrete appliances apply IDS/IPS.
- Application context – Better classification of applications running on each workload and the rules that need to be applied to each using the distributed IDS/IPS
- Policy and state mobility – Policies and state moves with the workload when it moves. This means that workloads are automatically secured at their new location without manual reconfiguration
- Automated policy lifecycle management – Automatic creation of security policies for new workloads and elimination of policies that are no longer needed
Enable VMware NSX-T 3.0 distributed IDS configuration
Now that you have added either standalone hosts to your NSX-T 3.0 environment, we can enable and configure the distributed IDS functionality.
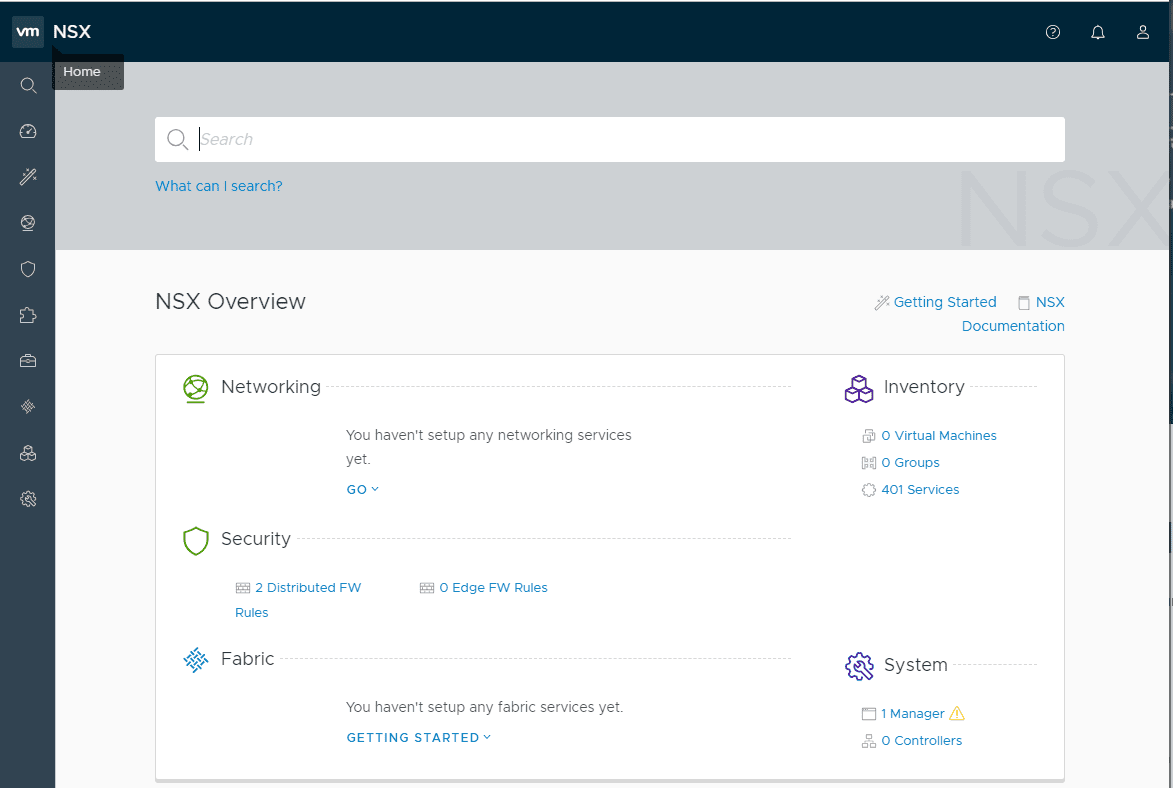
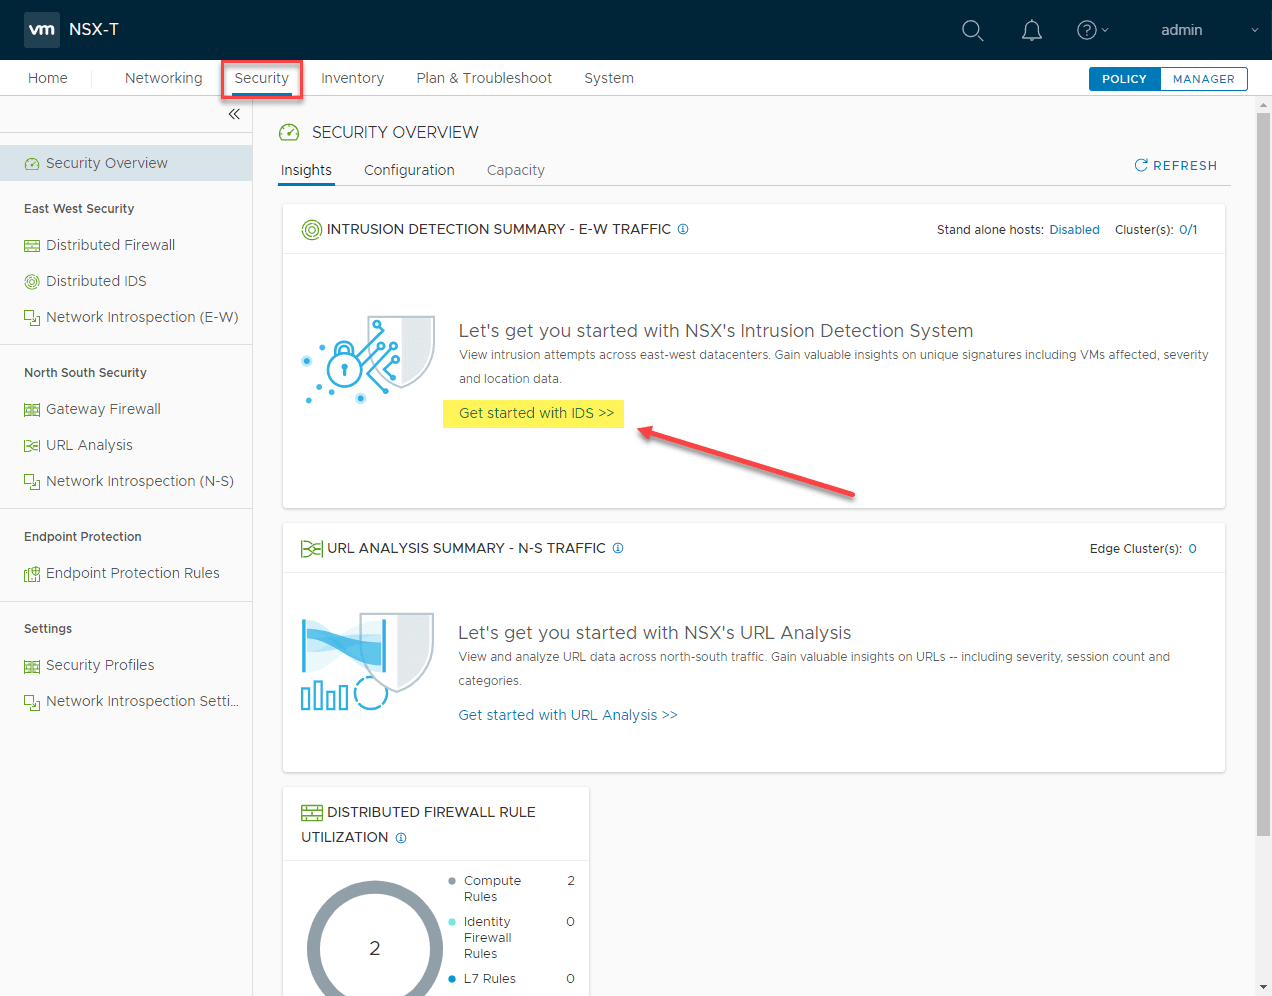
If you navigate to the New NSX-T 3.0 distributed IDS rule published successfully Security > Security Overview > Insights section, you will see the Get started with IDS >> link. Click this.
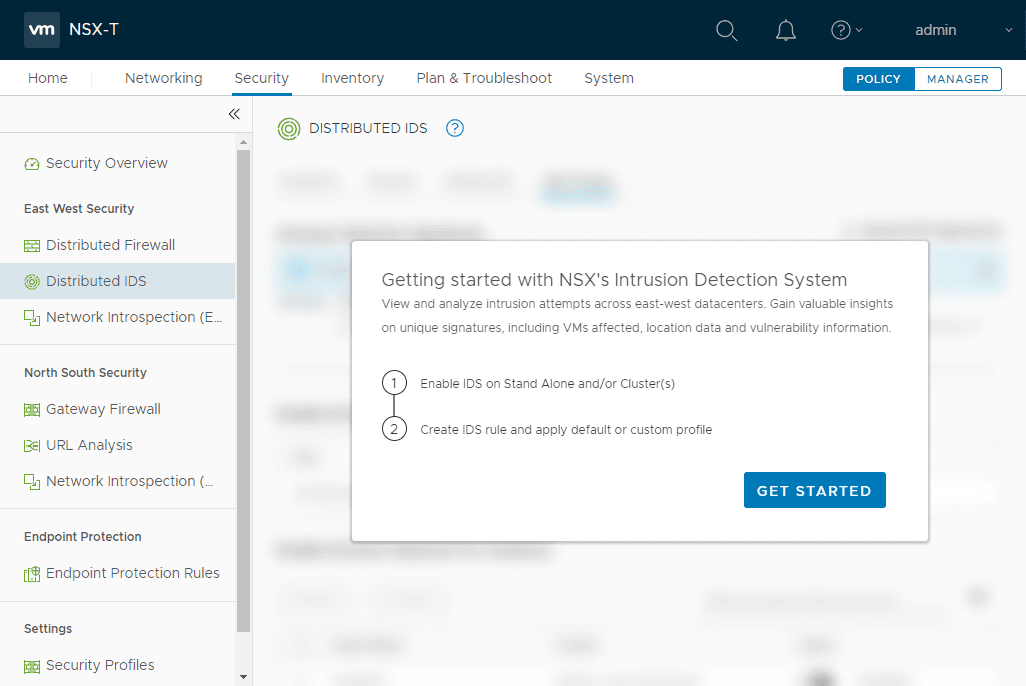
This will launch the Getting started with NSX’s Intrusion Detection System workflow. Click the Get Started button.
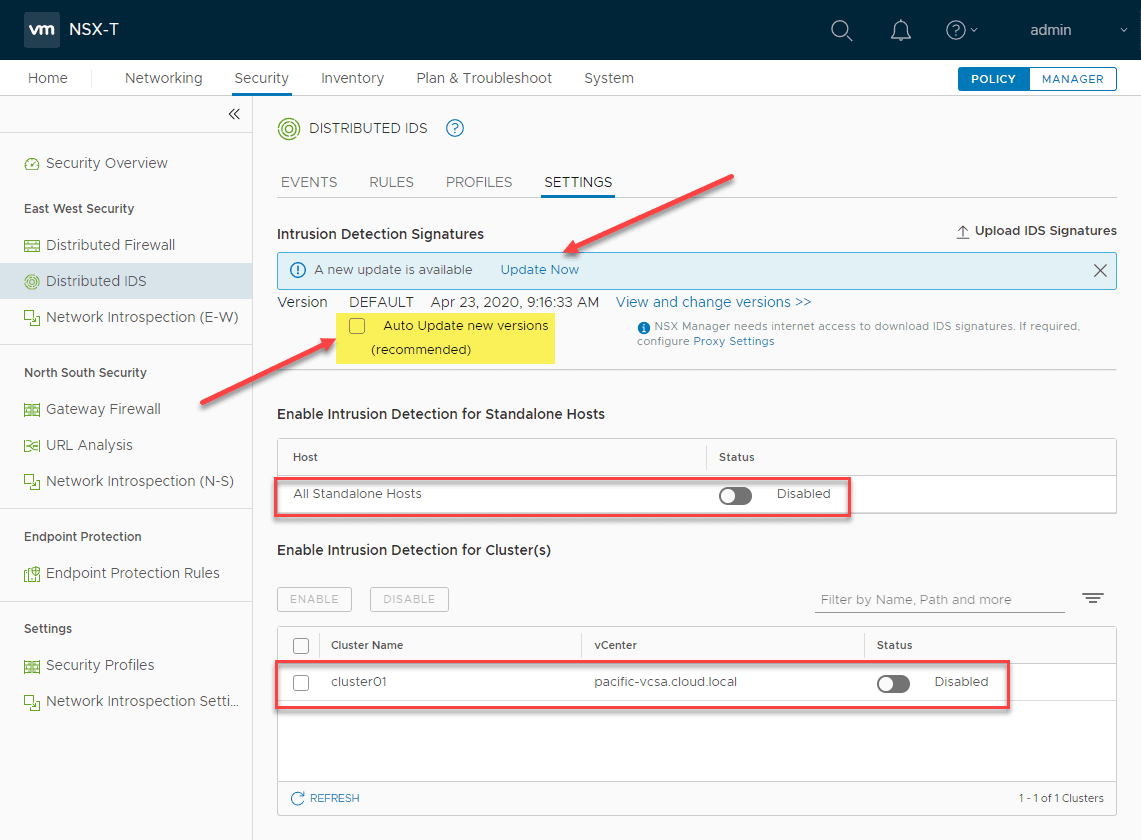
Right off the bat for me, I see there is an Intrusion Detection signature update available. By default the box Auto update new versions (recommended) is not checked. You can check this box if you want these to be downloaded automatically which is what most will want to do. Click the Update Now link to perform an ad-hoc update.
As you can see, it is simple to enable the distributed IDS. By the standalone hosts section and the clusters section, you will see the toggle button to enable distributed IDS.
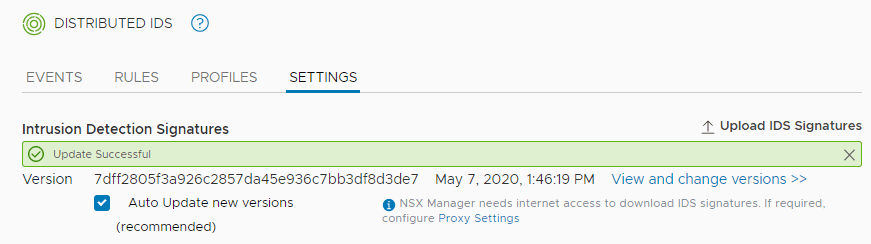
Signature update completes successfully.
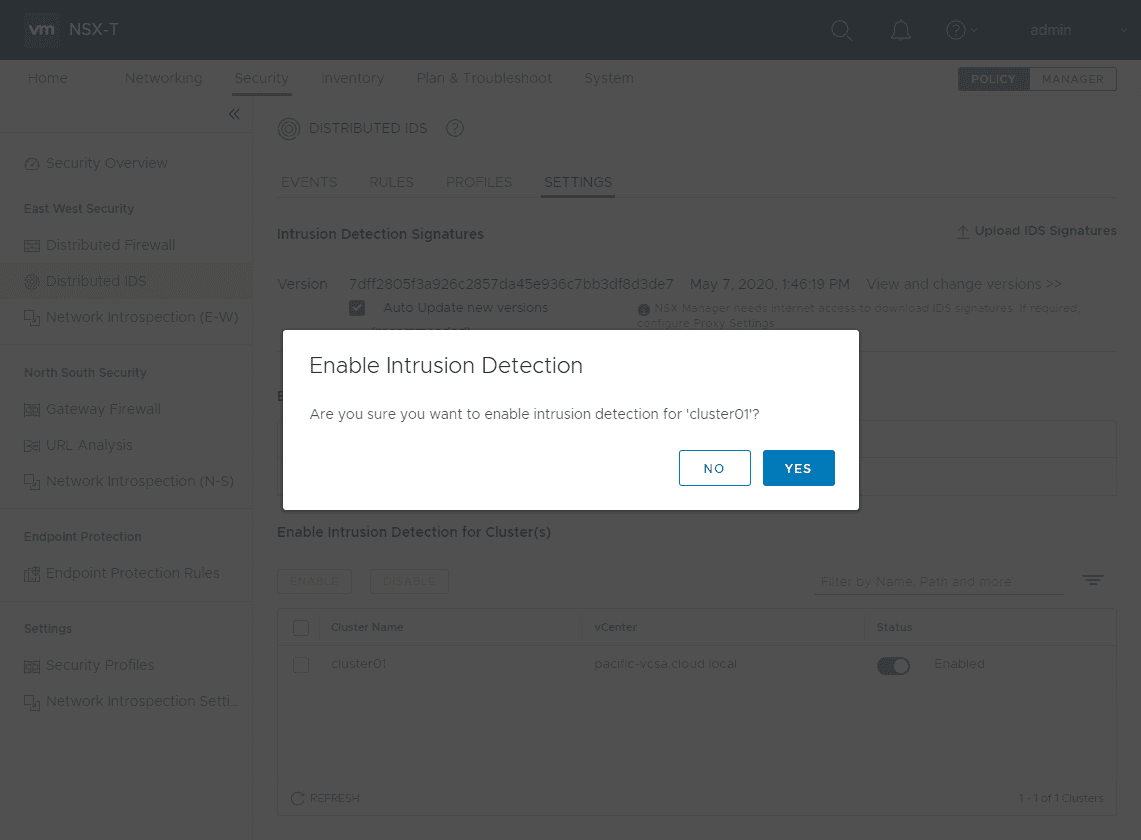
When you click the toggle button, you will need to confirm enabling the distributed IDS functionality.
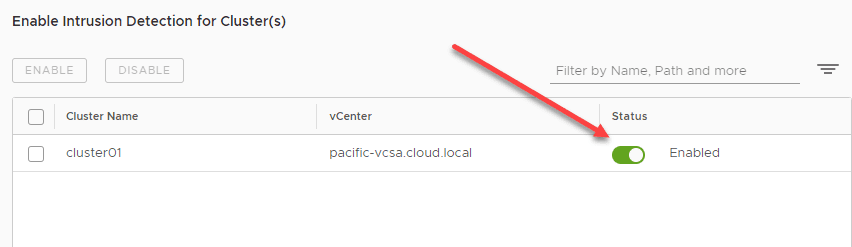
The toggle button is now on and it is enabled.
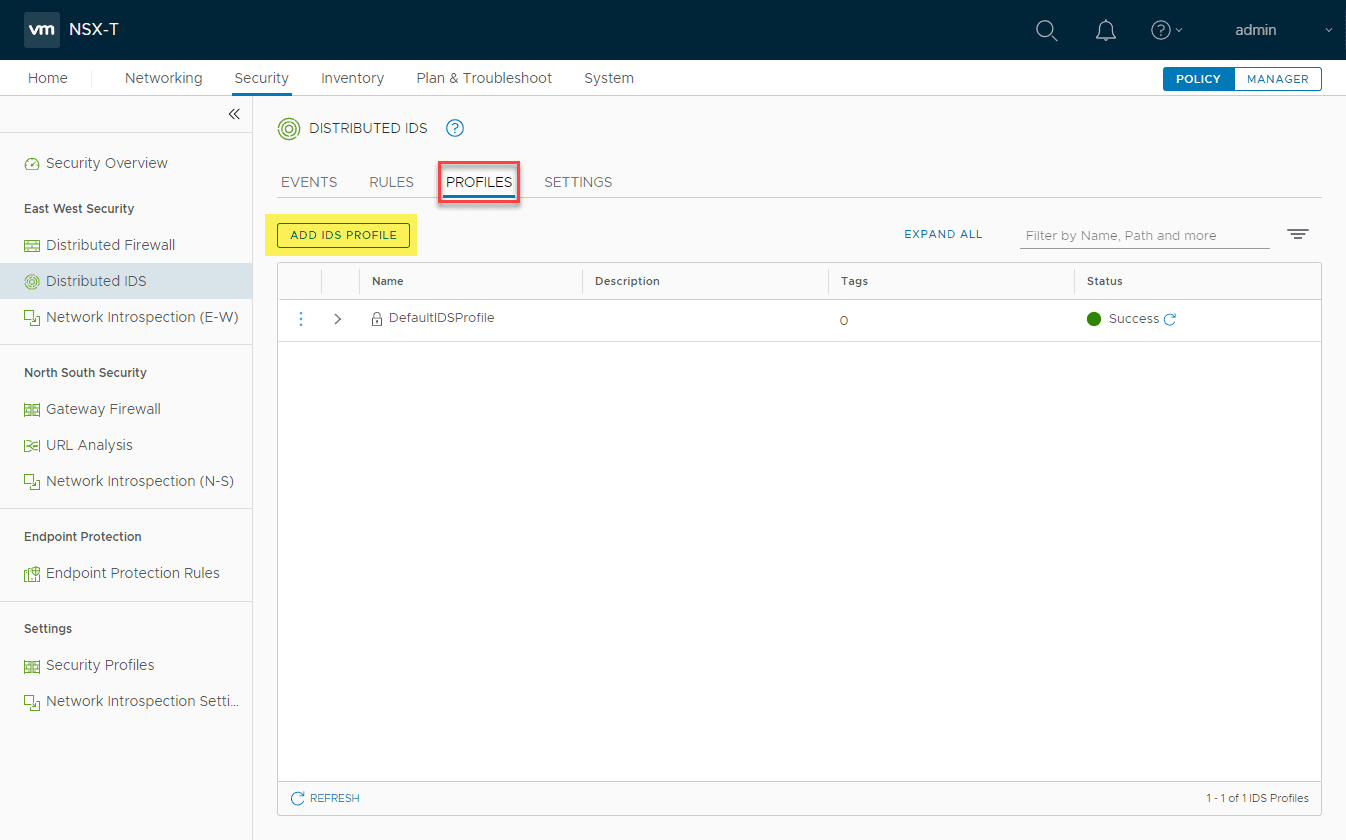
Adding an NSX-T 3.0 Distributed IDS Profile
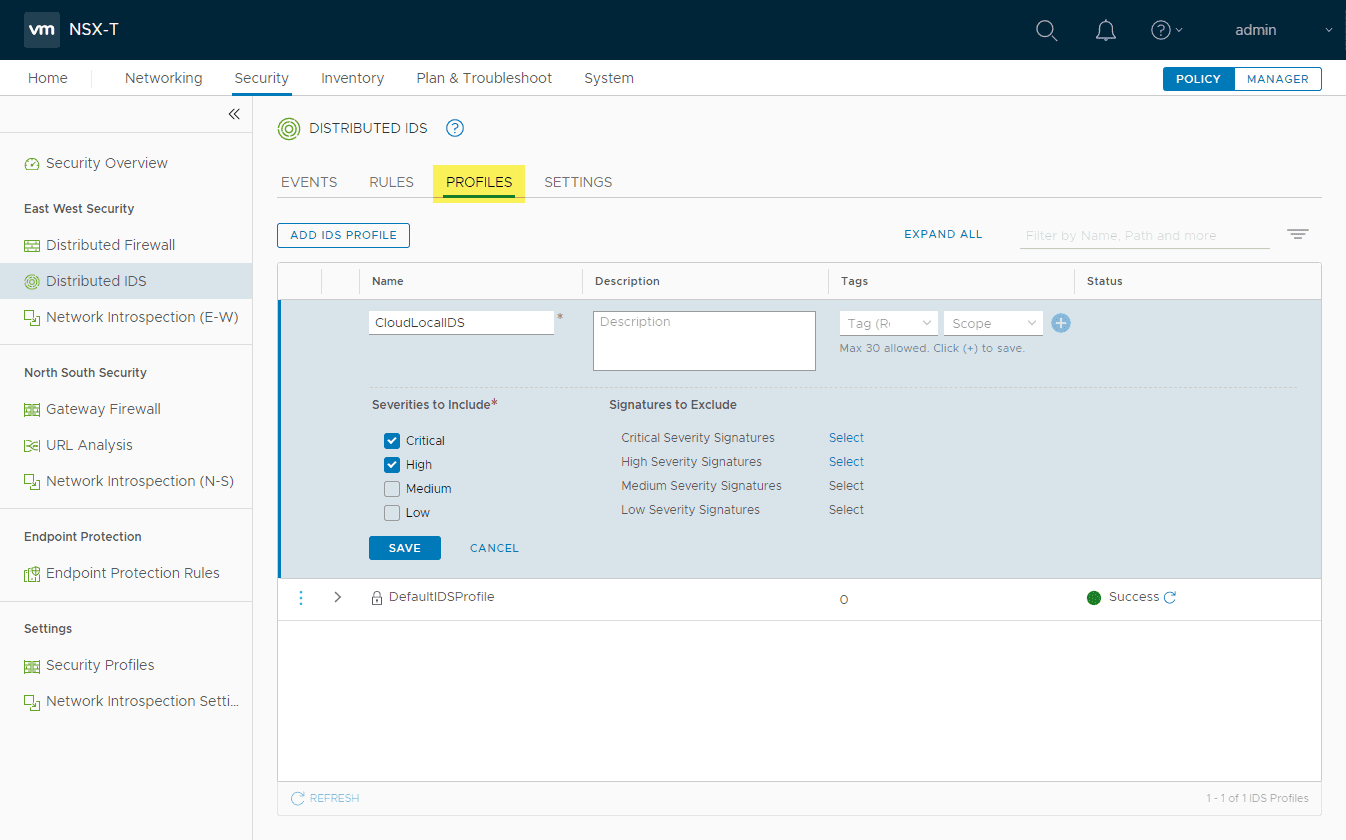
We need to add both a profile and rule containing our profile that matches traffic in the environment to get a basic configuration going. Click the Add IDS Profile under Profiles.
Here you can check the severities to include checkboxes to include those severities you want to include in the profile.
Also, you can exclude specific signatures if needed as well.

The new profile is added successfully.

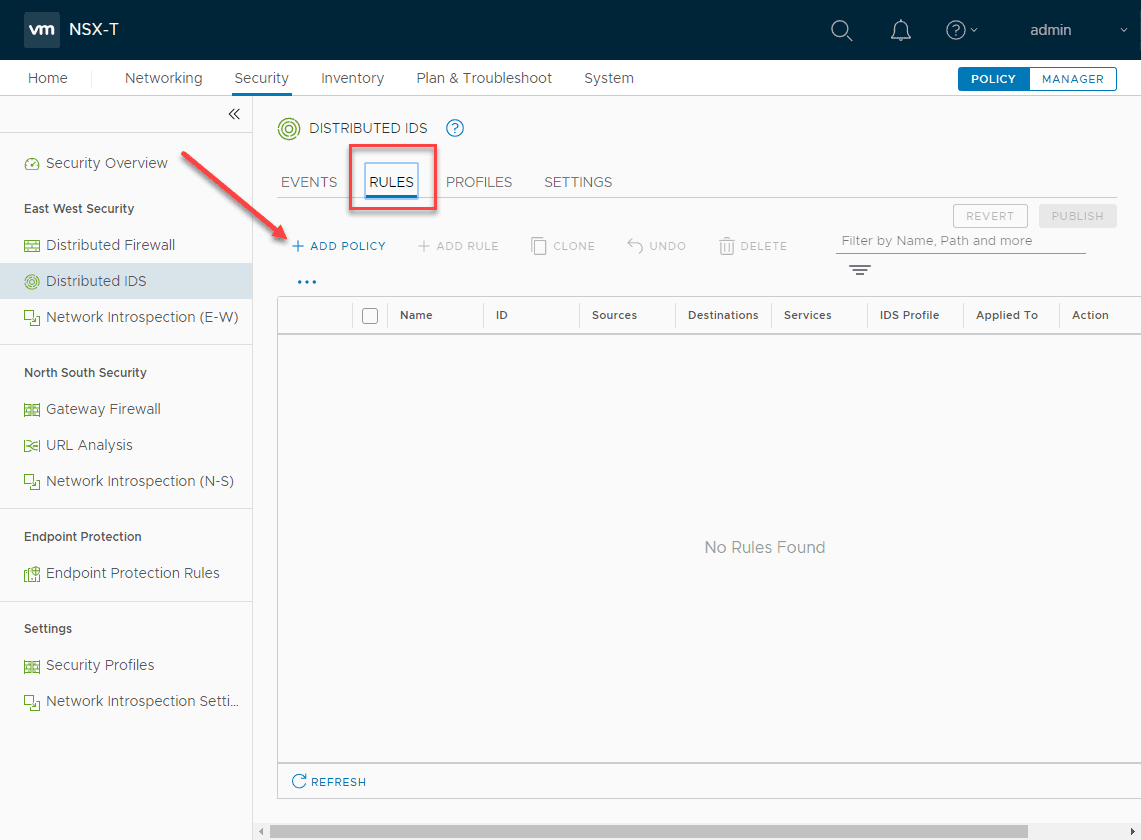
Next, we can add a rule that references the profile you created above. Under Rules click the Add Policy link.
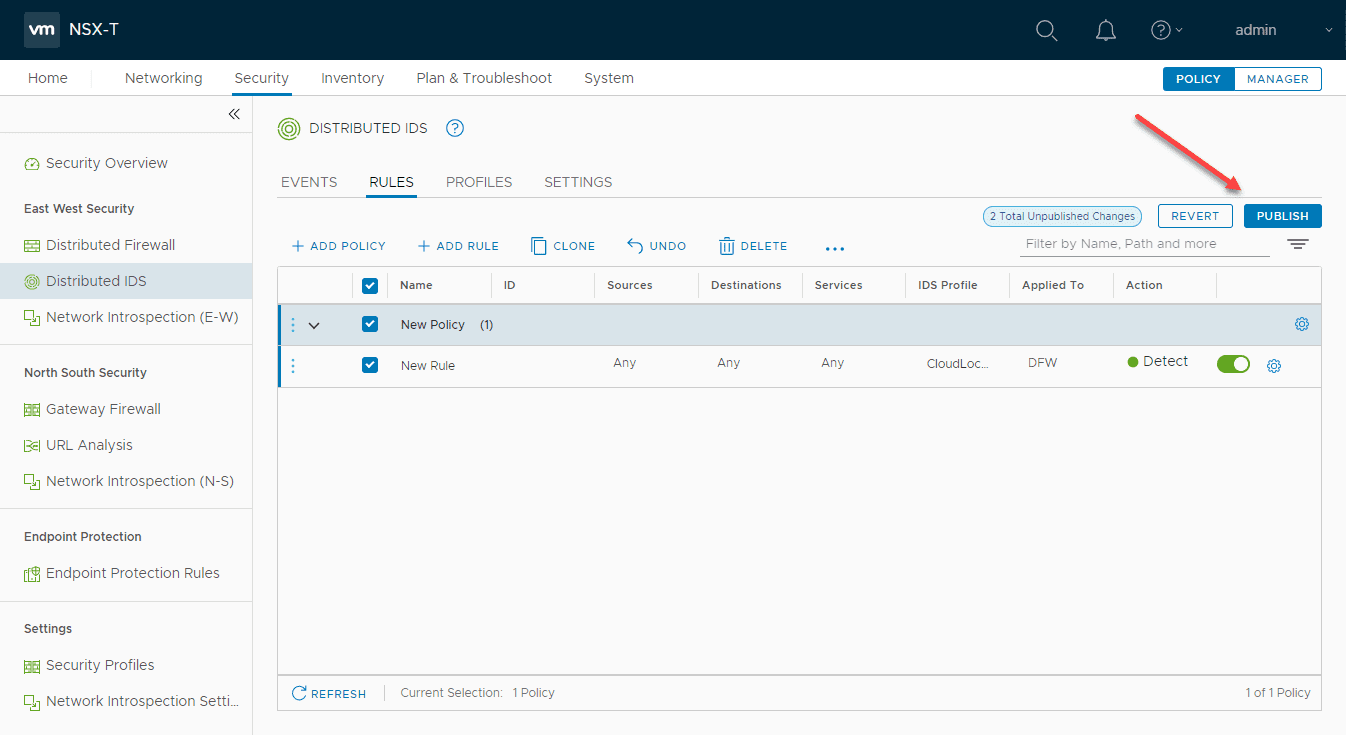
Below, I have added a rule that references any source and destination along with the IDS Profile that I created. To make this live, just like the distributed firewall, we need to Publish the changes.
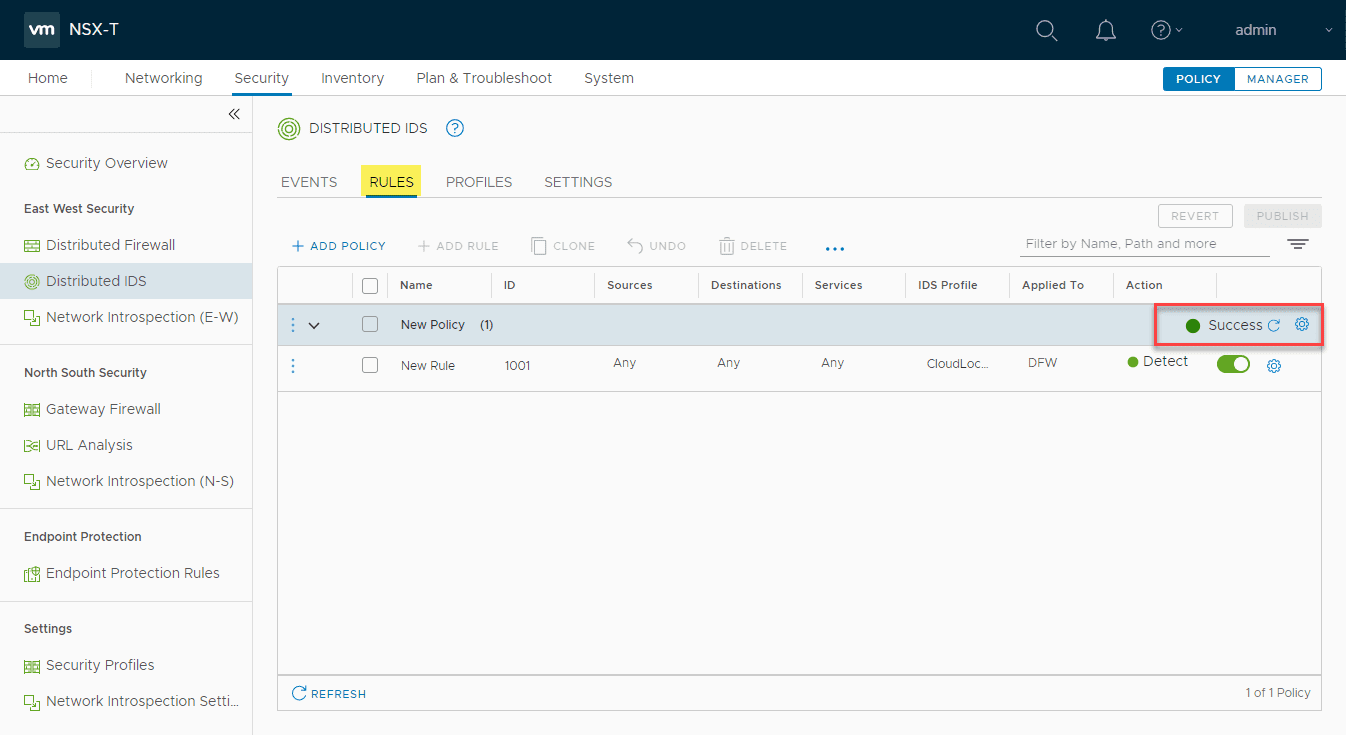
The new distributed IDS rule is now live in the environment. Easy!
Wrapping Up
The process to Enable VMware NSX-T 3.0 Distributed IDS Configuration is extremely easy in the UI. VMware has made the workflows intuitive and you can actually get a basic policy up and running in just a few minutes on your cluster or standalone hosts.
The new distributed IDS/IPS provides great new capabilities that will take the security in NSX-T environments to the next level and help to protect internal workloads from lateral threats in the environment.