VMware NSX-T 3.0 is the newly released version of NSX-T on the block and contains many great new features and capabilities. Check out my post VMware NSX-T 3.0 Released with New Features to get an idea of the new features in detail. In this post we will take a look at VMware NSX-T 3.0 Manager installation configuration and error to see how to deploy the NSX-T 3.0 solution into your environment. The OVA deployment is a straightforward process. There are some new things to look for in deploying the appliance. Let’s take a look.
VMware NSX-T 3.0 Installation Requirements
Let’s first take a look at the VMware NSX-T 3.0 installation requirements. The first thing you will probably be deploying is the NSX Manager unified appliance. The VM requirements are as follows:
| Appliance Size | Memory | vCPU | Disk Space | VM Hardware Version |
|---|---|---|---|---|
| NSX Manager Extra Small | 8 GB | 2 | 300 GB | 10 or later |
| NSX Manager Small VM | 16 GB | 4 | 300 GB | 10 or later |
| NSX Manager Medium VM | 24 GB | 6 | 300 GB | 10 or later |
| NSX Manager Large VM | 48 GB | 12 | 300 GB | 10 or later |
Network Requirements
- The maximum network latency between NSX Managers in a NSX Manager cluster is 10ms.
- The maximum network latency between NSX Managers and Transport Nodes is 150ms.
Storage Requirements
- The maximum disk access latency is under 10ms.
- It is recommended that NSX Managers be placed on shared storage.
NSX-T Manager Role
Let’s briefly talk about the NSX-T Manager. The manager is the appliance that provides the graphical user interface to your NSX-T environment and also hosts the REST APIs that can be used for communicating programmatically with NSX-T.
VMware recommends an NSX Cluster made up of three NSX Managers for high-availability in production environments. In POC or lab environments is perfectly fine to deploy a single appliance.
Have Network Information Ahead of Time
A serious point to consider is the NSX Manager IP is statically assigned and it is not supported to change the IP after it is deployed. So it is burned in so to speak.
Make sure you have earmarked an IP address and thought through any management traffic considerations with the IP address you intend to assign.
NSX-T 3.0 Manager Appliance
The NSX-T 3.0 Manager appliance is based on the VMware PhotonOS image and is what the NSX-T platform will run on top of. The appliance comes preinstalled with VMware Tools. Do not remove or upgrade the VMware tools on your NSX-T 3.0 Manager.
VMware NSX-T 3.0 Manager Installation Configuration and Error
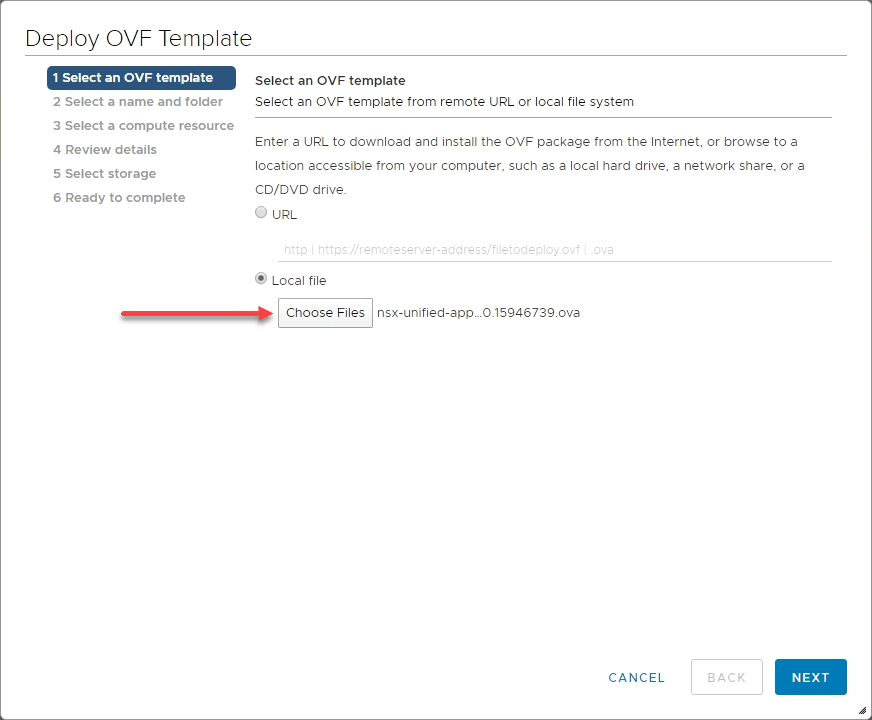
Pretty standard OVA deployment to the NSX-T 3.0 appliance deployed. Choose the NSX-T 3.0 OVA file. File details are as follows:
- nsx-unified-appliance-3.0.0.0.0.15946739.ova
- Size – 11 GB
The file is certainly hefty in size.
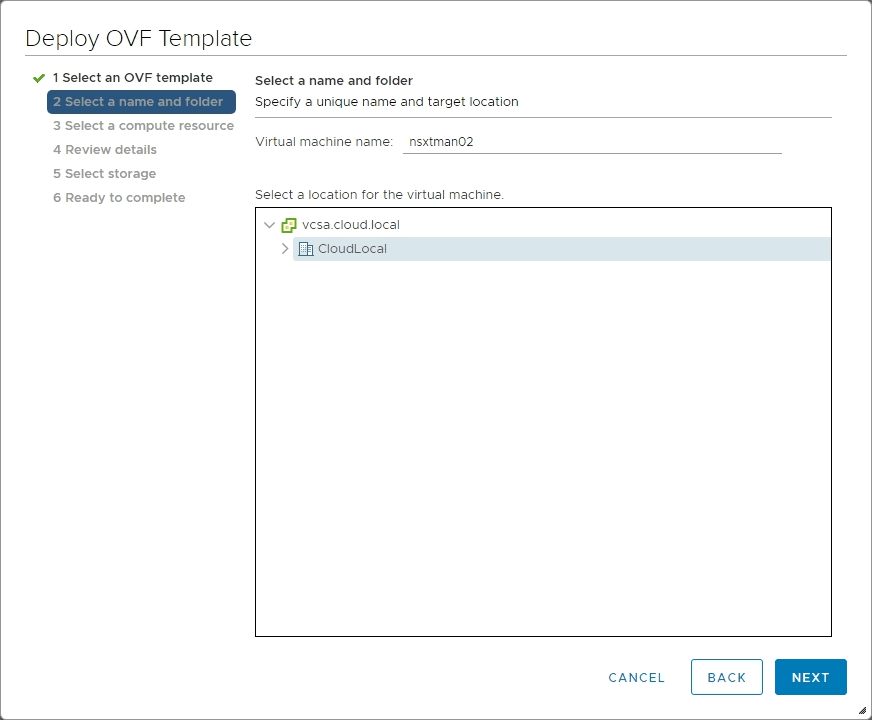
Choose your datacenter and pick an inventory name for the resulting NSX-T 3.0 Manager appliance.
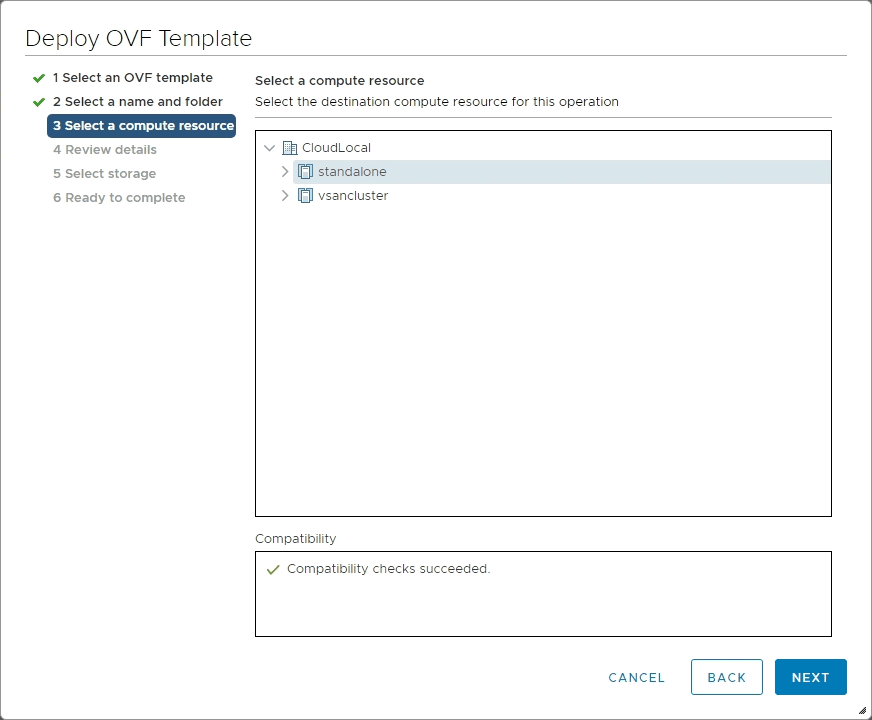
Choose your compute cluster to house the NSX-T 3.0 Manager appliance.
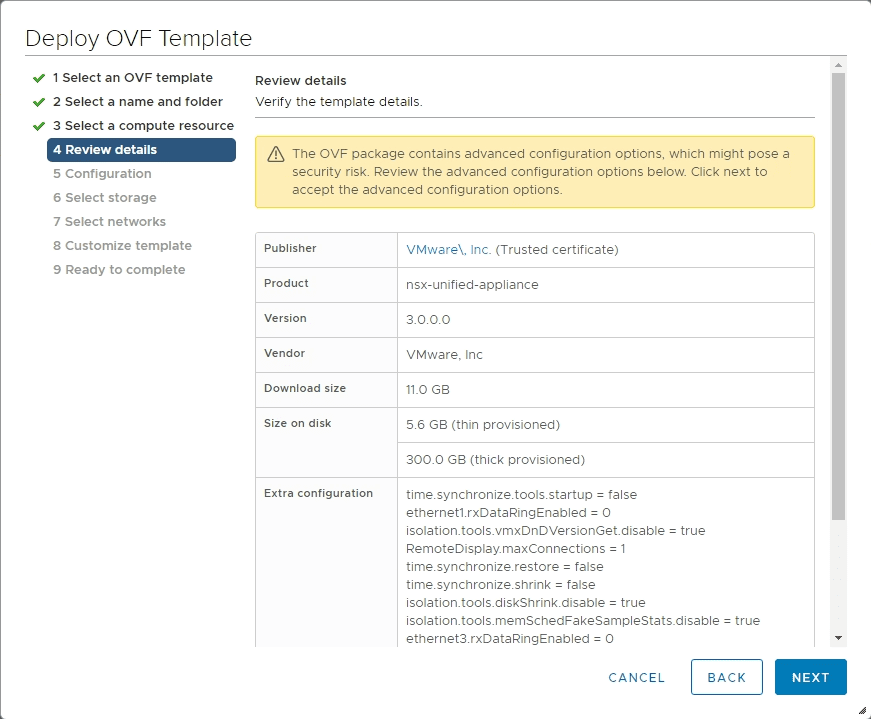
Review the details of the initial deployment.
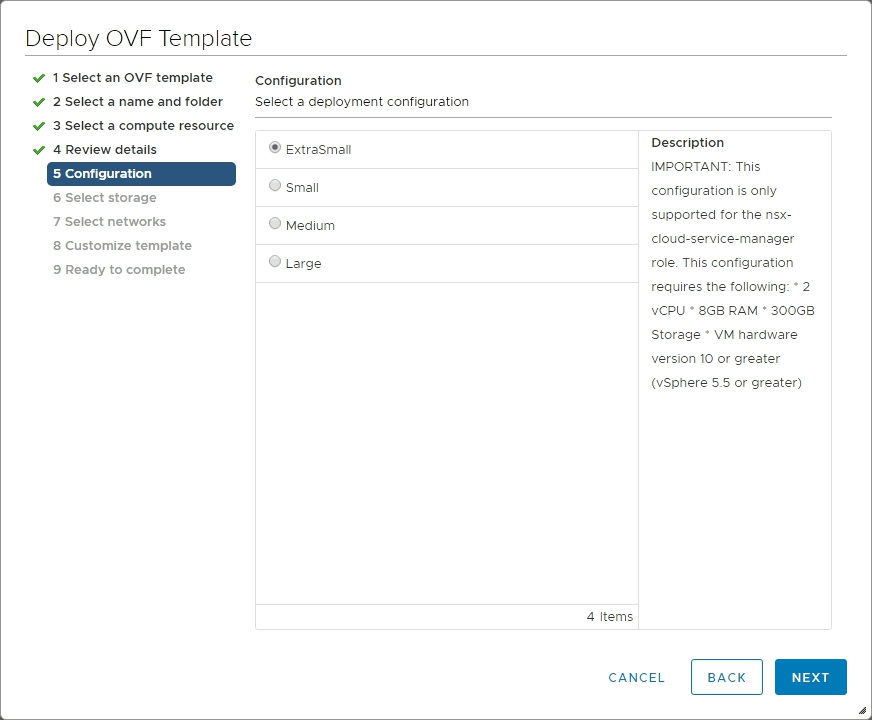
Next, choose the size for the deployed VM. Here I am choosing the ExtraSmall appliance since it is a lab environment. I would say this is for POC deployments only.
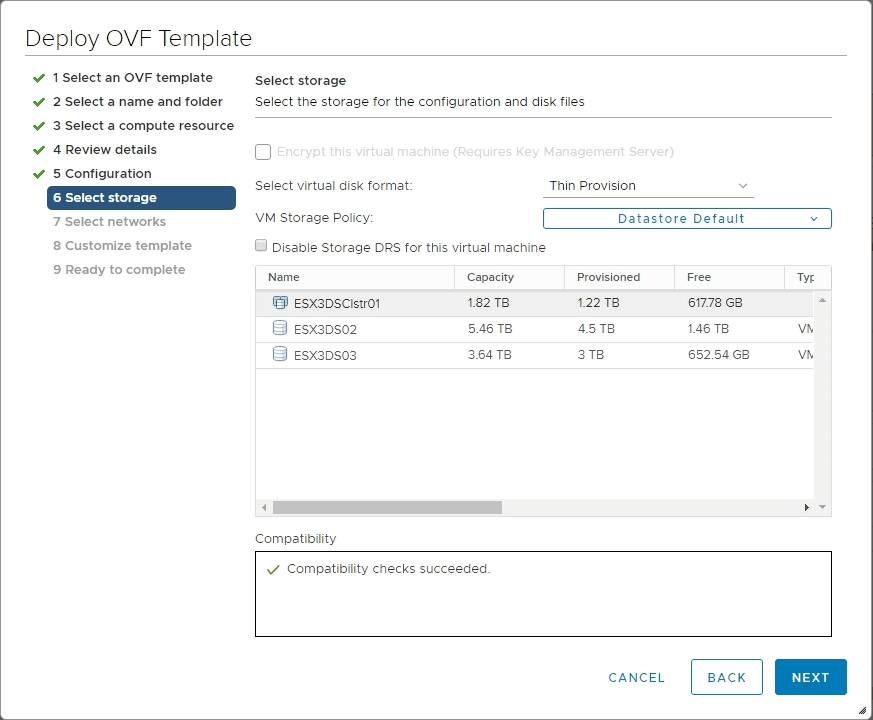
Choose your target datastore.
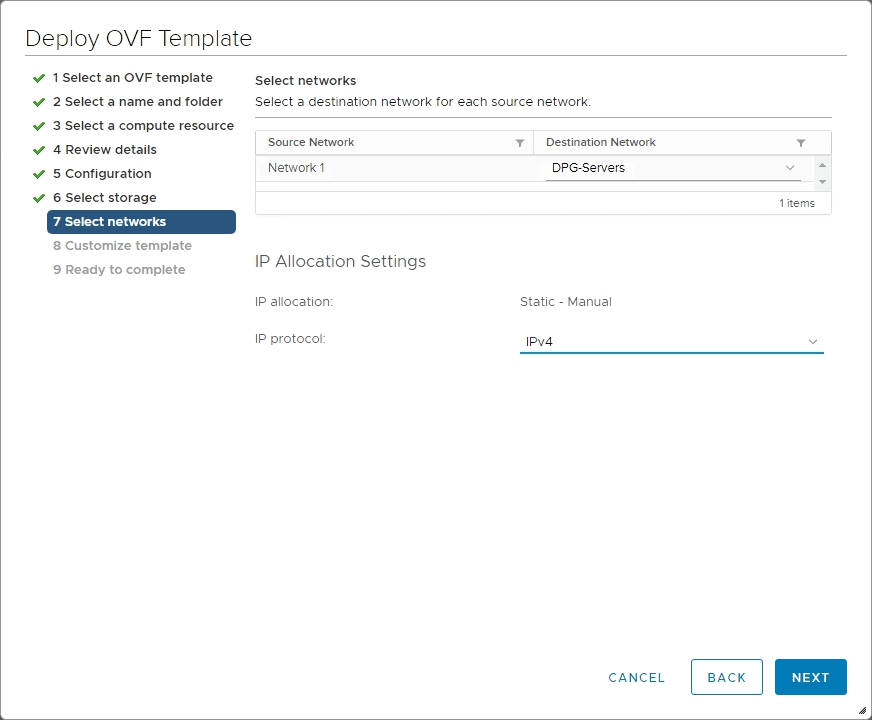
Select the network to connect your NSX-T 3.0 Manager to. This will be for management traffic.
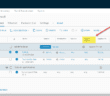
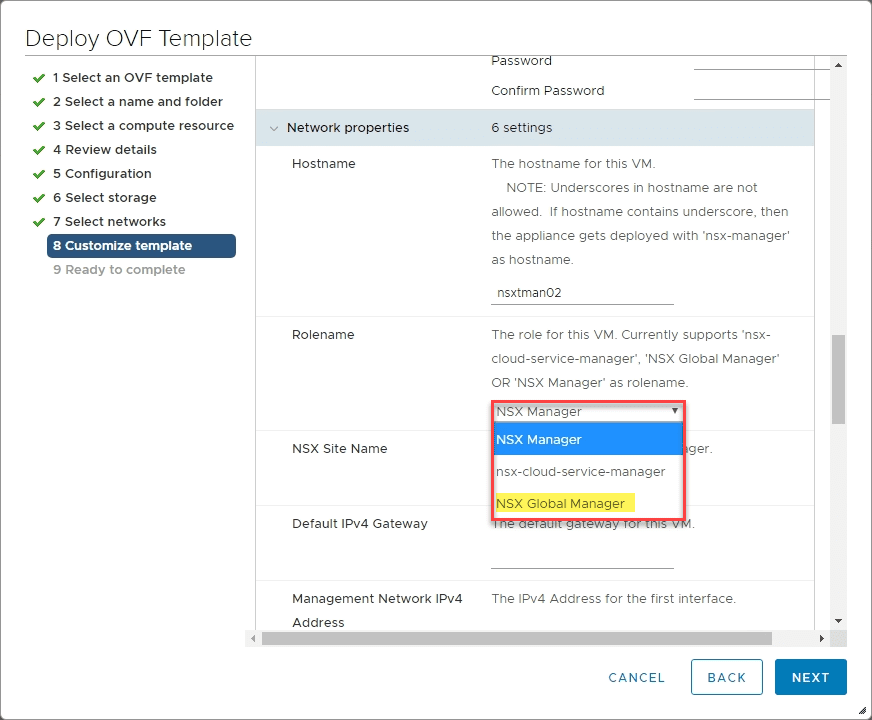
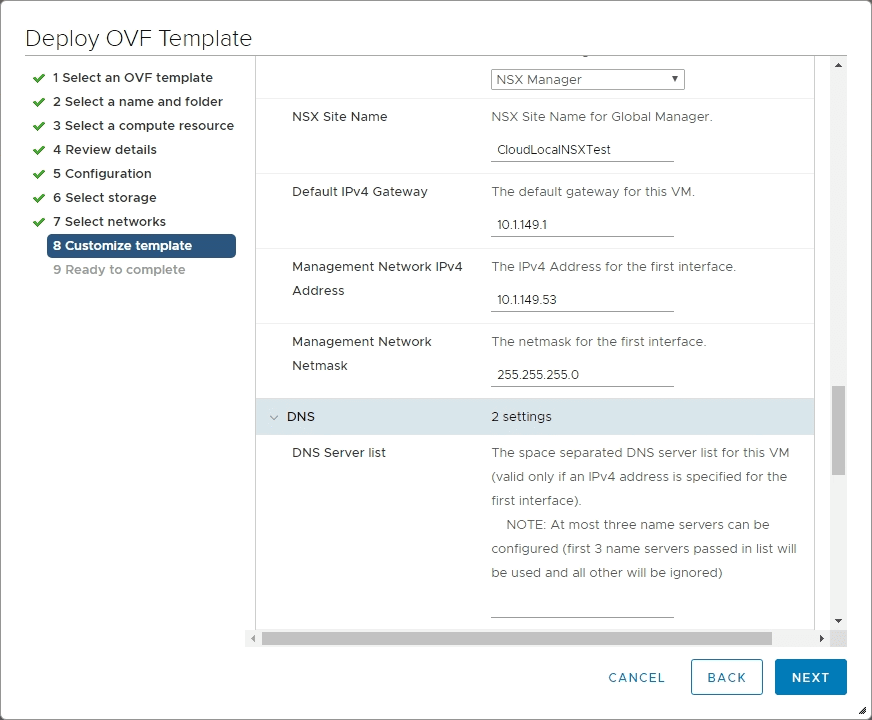
Step 8 – Customize Template is the step to pay attention to. Here is where you configure many of the important settings of the resulting NSX-T 3.0 Manager appliance. This includes the hostname, IP address, gateway, NTP, as well as the rolename.
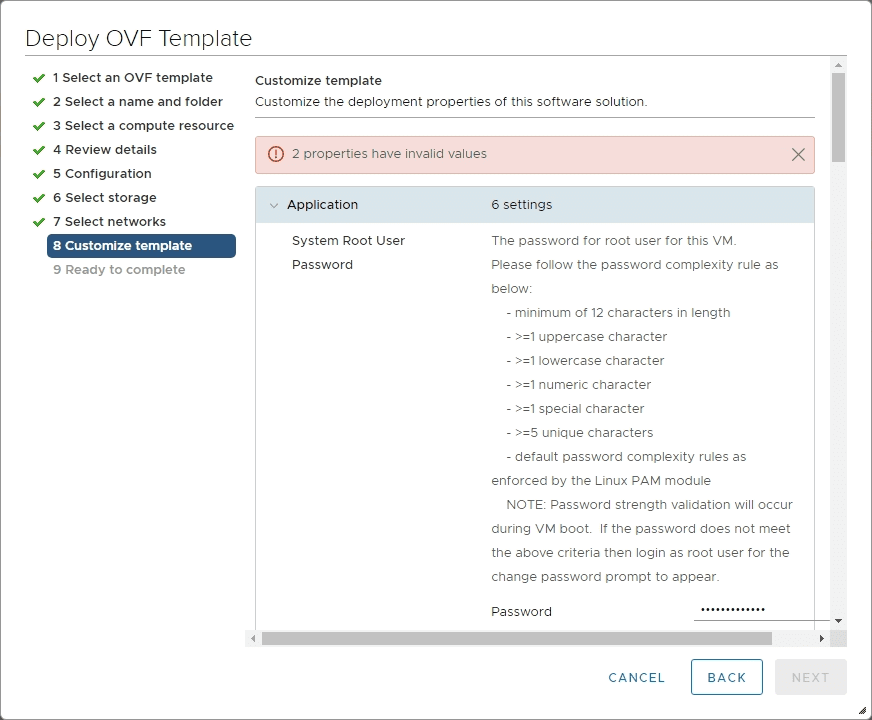
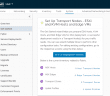
With the Rolename, you choose the particular role you want to configure with the NSX-T 3.0 appliance. Here we see the new role available – Global Manager.
Finish out the customization of the resulting NSX-T 3.0 VM.
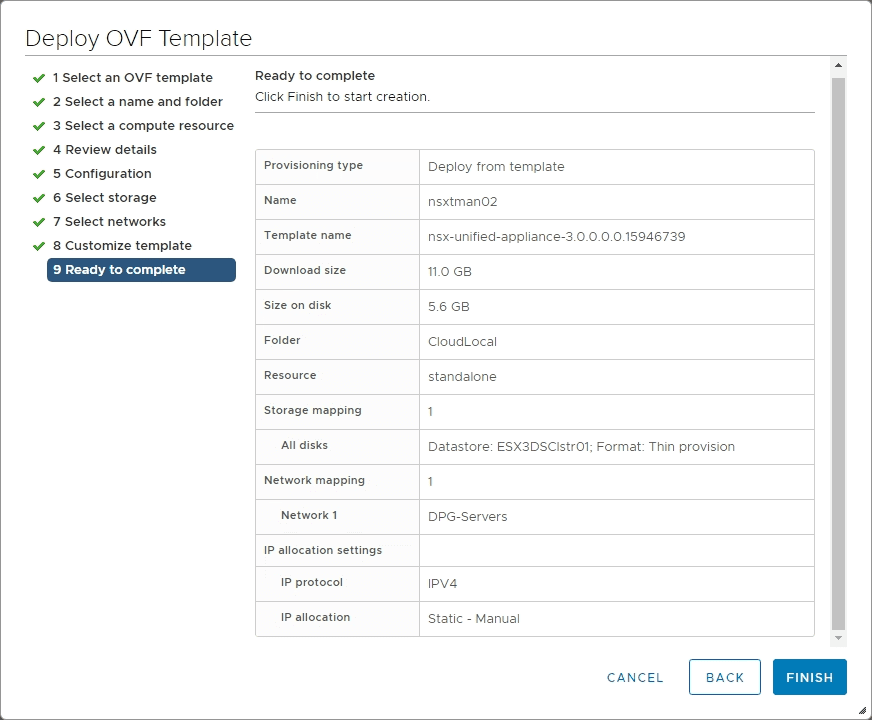
Ready to complete the deployment wizard.
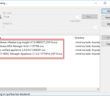
Error after logging in
You may receive this as well. When I initially logged into the NSX-T 3.0 appliance, I recevied the error – Some appliance components are not functioning properly…
The resolution? – Wait just a few minutes. Evidently this is caused by services not fully running as of yet.

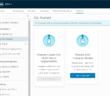
After a few minutes, the NSX-T 3.0 manager appliance came to life finished the login.

Wrapping Up
Hopefully this walk through of VMware NSX-T 3.0 Manager Installation Configuration and Error will help to show a brief overview of the process and the new Global Manager configuration option under the roles.
Additionally the NSX-T 3.0 manager appliance error after logging in is just a sign you need to wait a bit longer while services are spun up. For me this took about 3-4 minutes.
Next, we will take a look at adding the compute manager, transport nodes, and setting up the configuration a bit further.
Google is updating how articles are shown. Don’t miss our leading home lab and tech content, written by humans, by setting Virtualization Howto as a preferred source.
About The Author