VMware Horizon Connection Server 7.11 Installation and Configuration
With this potentially being the “year of VDI” with the Coronavirus making organizations think about how employees can access remotely, VMware Horizon View is a powerful solution for VDI access. The latest and greatest release is Horizon View 7.11. In this post we will take a look at VMware Horizon Connection Server 7.11 Installation and Configuration including how to get the initial connection to vCenter Server configured.
VMware Horizon Connection Server 7.11 Requirements
Supported operating systems that are supported with VMware Horizon Connection Server 7.11 are the following:
| Operating System | Version | Edition |
|---|---|---|
| Windows Server 2008 R2 SP1 | 64-bit | StandardEnterpriseDatacenter |
| Windows Server 2012 R2 | 64-bit | StandardDatacenter |
| Windows Server 2016 | 64-bit | StandardDatacenter |
| Windows Server 2019 | 64-bit | StandardDatacenter |
To check the interoperability with other VMware products and Horizon View 7.11, be sure to visit the VMware Interoperability Matrix found here:
Most environments will have hardware that will meet and exceed the hardware requirements, however, if you are in question, take a look at the following hardware recommendations:
VMware Horizon Connection Server 7.11 Installation and Configuration
Below is a screen grab of the details when downloading Horizon Connection Server 7.11 from My VMware.
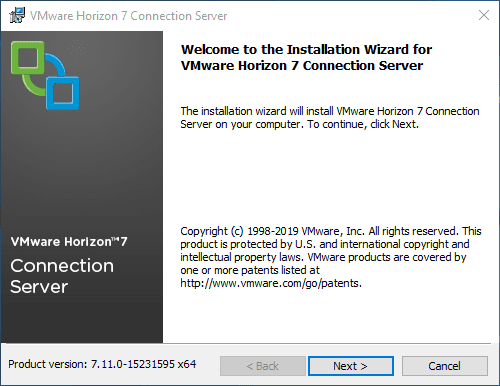
After downloading the file shown above, I copied it over to a fresh Windows Server 2019 server and ran the installer. The Connection Server installer is a straightforward next, next, finish type process.
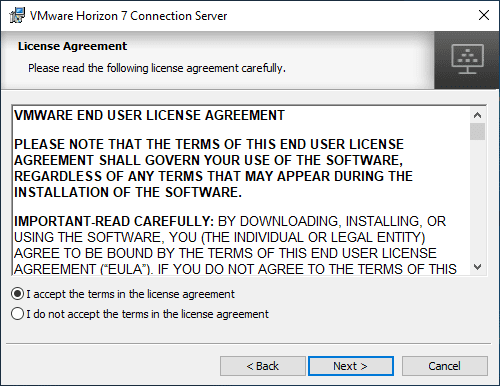
EULA…
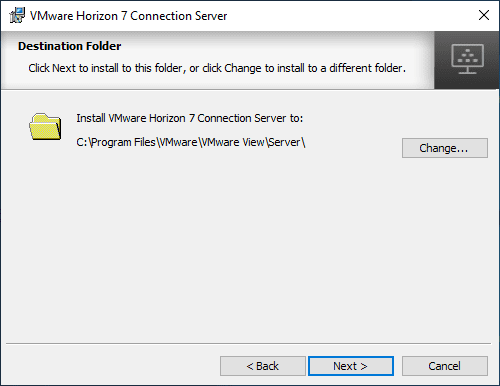
Select your installation directory for the install.
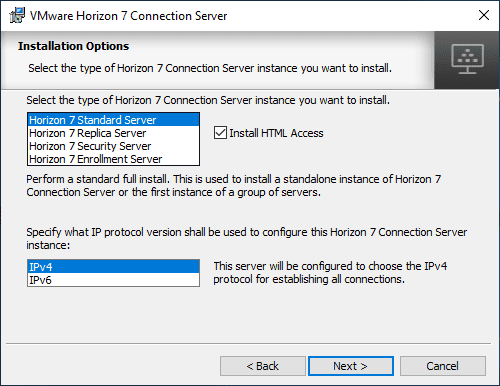
For most, the Installation Options screen will be straight foward, but this is where you can select the type of Connection Server you want to install. You can see the additional options here: Replica Server, Security Server, and Enrollment Server. Also, here is where you specify HTML access and which IP protocol version you will use.
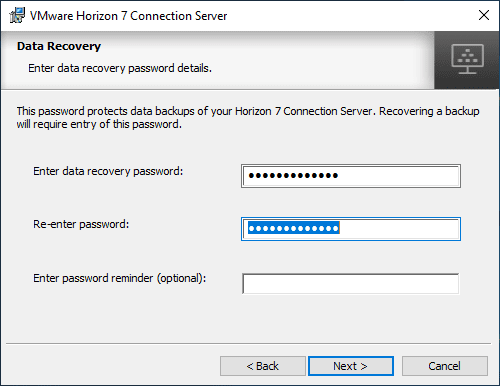
Data backups are protected in your Horizon 7 Connection Server by a password. Here is where you set up the password for restoration.
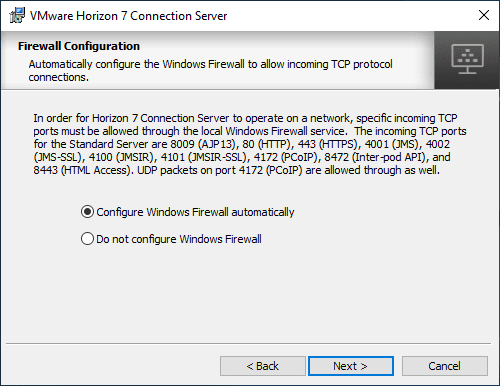
The screen displays the port requirements for the Horizon Connection Server for the various functionality. Below is a listing of the ports needed:
| SOURCE | DESTINATION | NETWORK PROTOCOL | DESTINATION PORT | DETAILS |
|---|---|---|---|---|
| Horizon Client | Horizon Connection Server | TCP | 443 | Login traffic.SSL (HTTPS access) is enabled by default for client connections, but port 80 (HTTP access) can be used in some cases. See HTTP Redirection in Horizon 7 in Horizon 7 Security. |
| Horizon Agent | TCP | 22443 | Blast Extreme. | |
| UDP | 22443 | Blast Extreme. | ||
| TCP | 4172 | PCoIP. | ||
| UDP | 4172 | PCoIP. | ||
| TCP | 3389 | RDP. | ||
| TCP | 9427 | Optional for client drive redirection (CDR) and multimedia redirection (MMR).By default, when using Blast Extreme, CDR traffic is side-channeled in the Blast Extreme ports indicated previously. If desired, this traffic can be separated onto the port indicated here. | ||
| TCP | 32111 | Optional for USB redirection.USB redirection traffic can also be side-channeled in the Blast Extreme ports indicated previously. See note below. | ||
| Browser | Horizon Connection Server | TCP | 8443 | Horizon 7 HTML Access. |
| Workspace ONE Access Appliance | TCP | 443 | Workspace ONE Access login and data traffic. | |
| Both | 88 | iOS single sign-on (SSO). | ||
| TCP | 5262 | Android single sign-on (SSO) | ||
| TCP | 7443 | SSL certificate authentication. | ||
| Workspace ONE Access Connector | TCP | 443 | This port is required only when a connector is being used in inbound mode (outbound mode is recommended).If Kerberos authentication is configured on the connector, this port is required. |
Next up, choose the domain group that you want to be enabled as Horizon administrators.
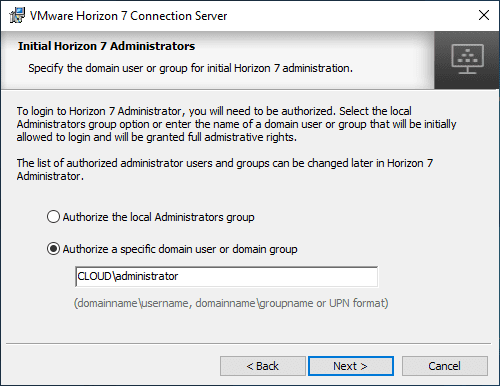
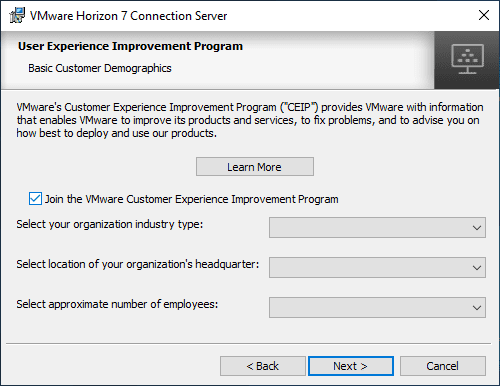
Make you selection on the CEIP program for customer experience….
Ready to begin install.
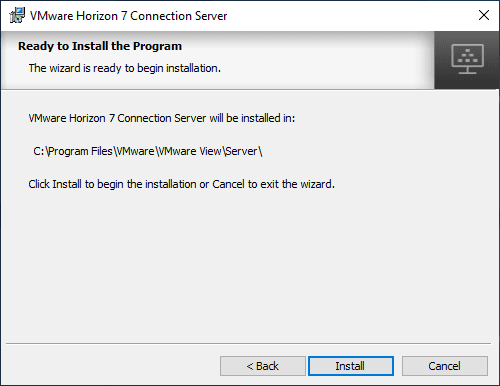
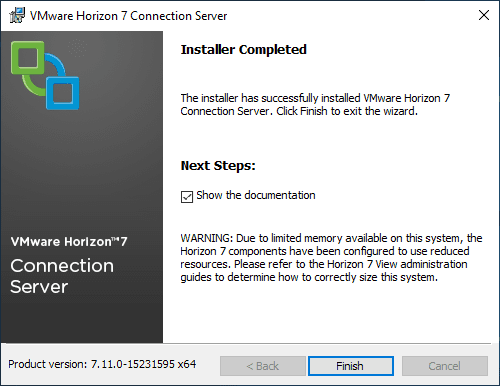
After a couple of minutes, the installation should complete successfully….
Use Horizon Console Setup vCenter Connection
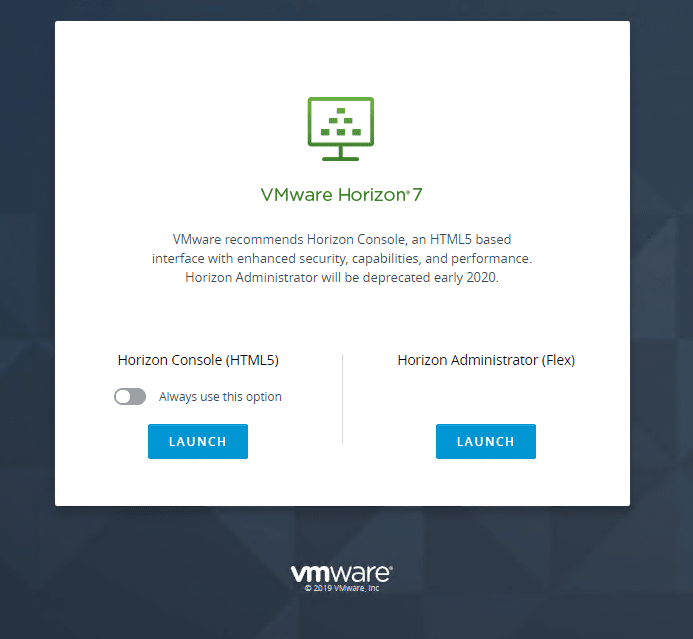
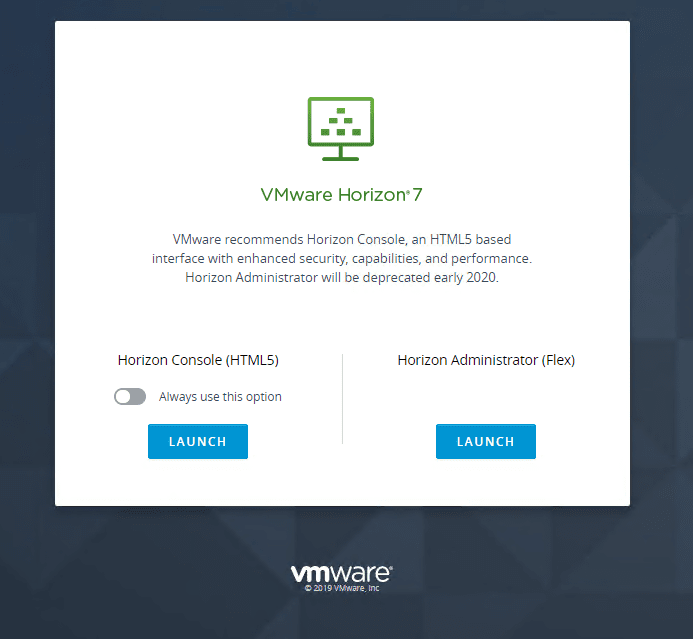
The first thing you need to do once you have installed the Horizon Connection Server software is browse out via HTTPS to the FQDN of your Horizon Connection Server. Here you will be presented with the choice to use the new Horizon Console (HTML5) or use the legacy Horizon Administrator (Flex) connection. Of course we are going to us HTML5 😉
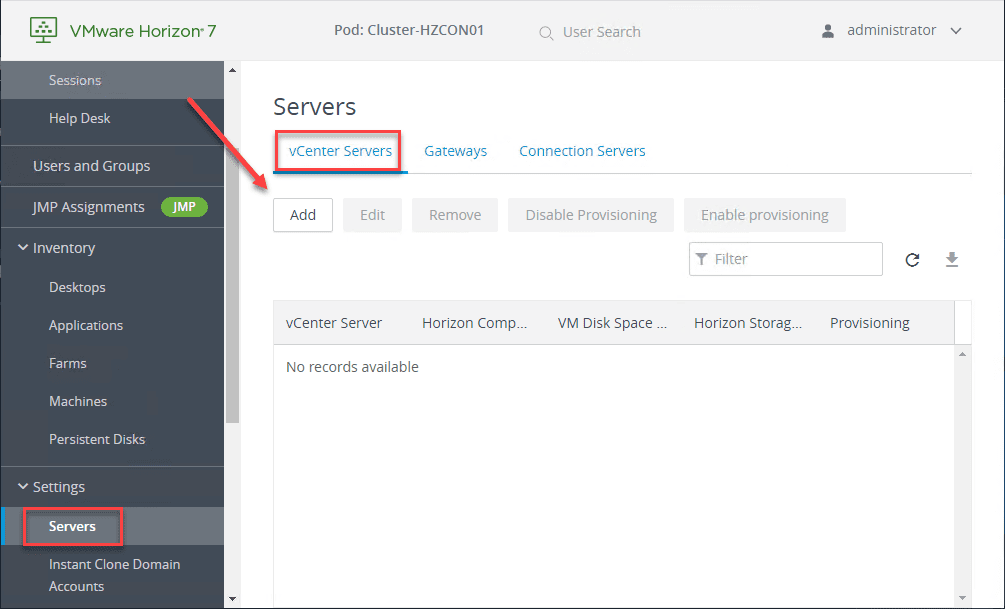
Under Settings > Servers we find the option to click vCenter Servers > Add.
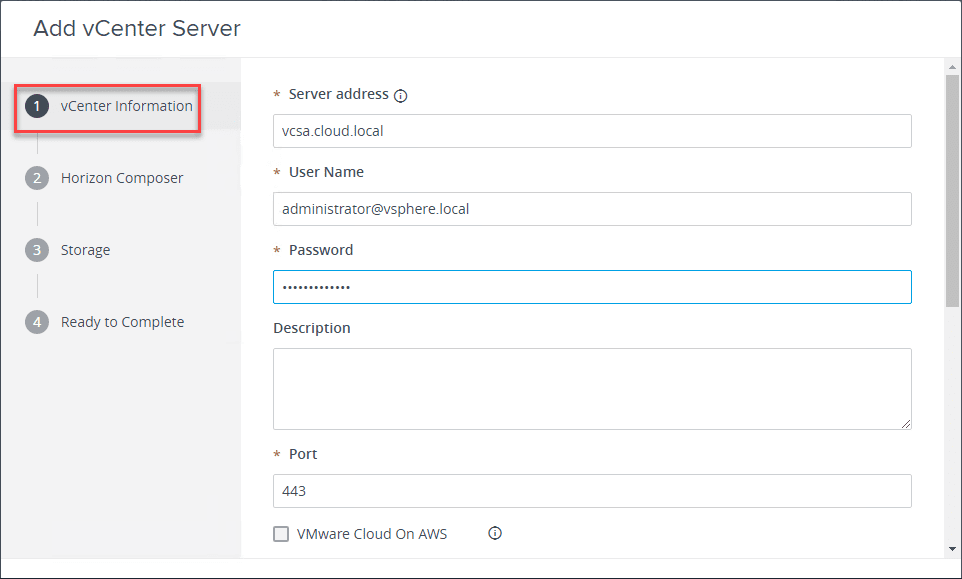
This begins the Add vCenter Server wizard. First, enter the connection information for vCenter.
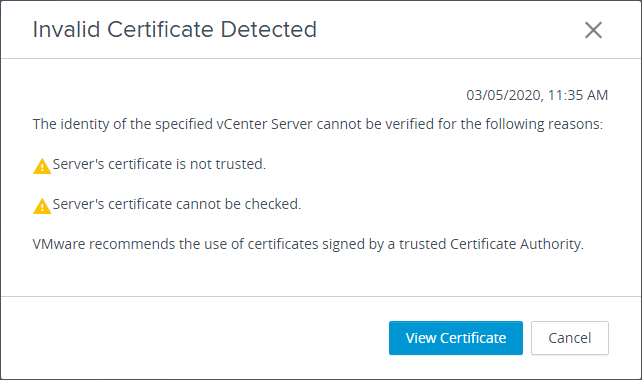
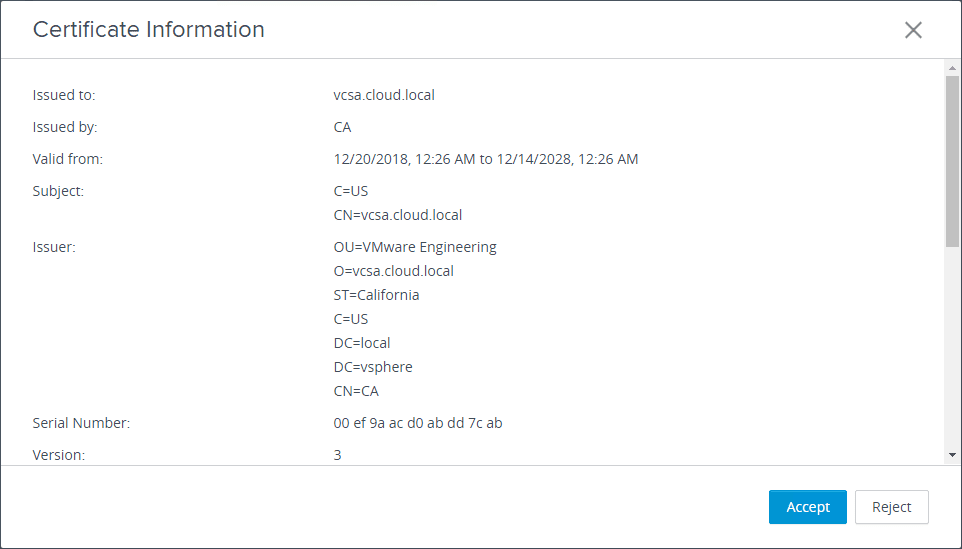
View the vCenter Server certificate.
Accept the vCenter Server certficate.
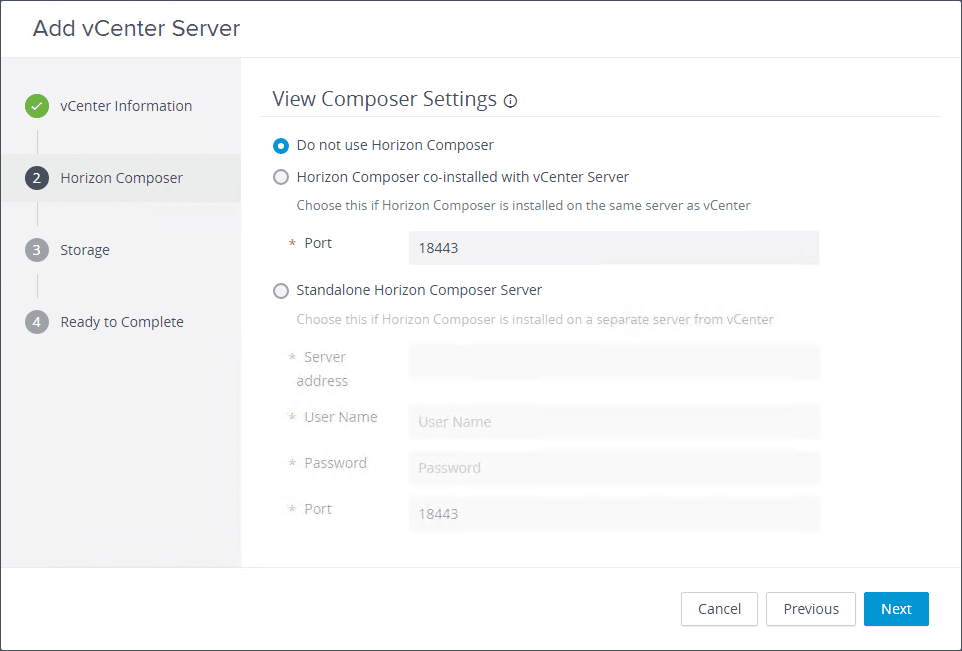
Choose Horizon Composer server connection information, or choose Do not use Horizon Composer.
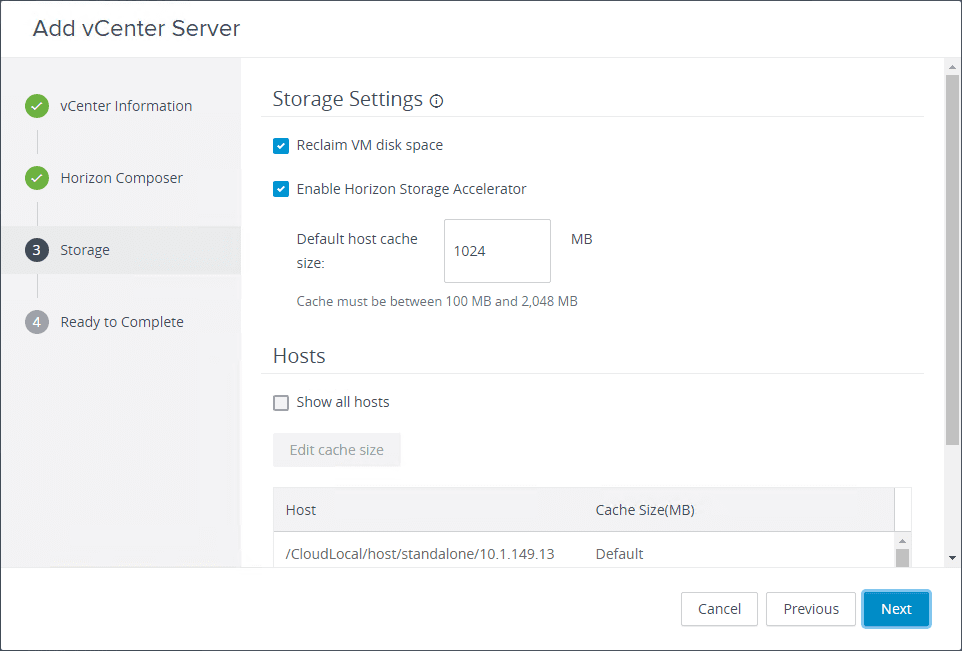
Configure storage settings by selecting settings for Reclaim VM disk space, Enable Horizon Storage Accelerator.
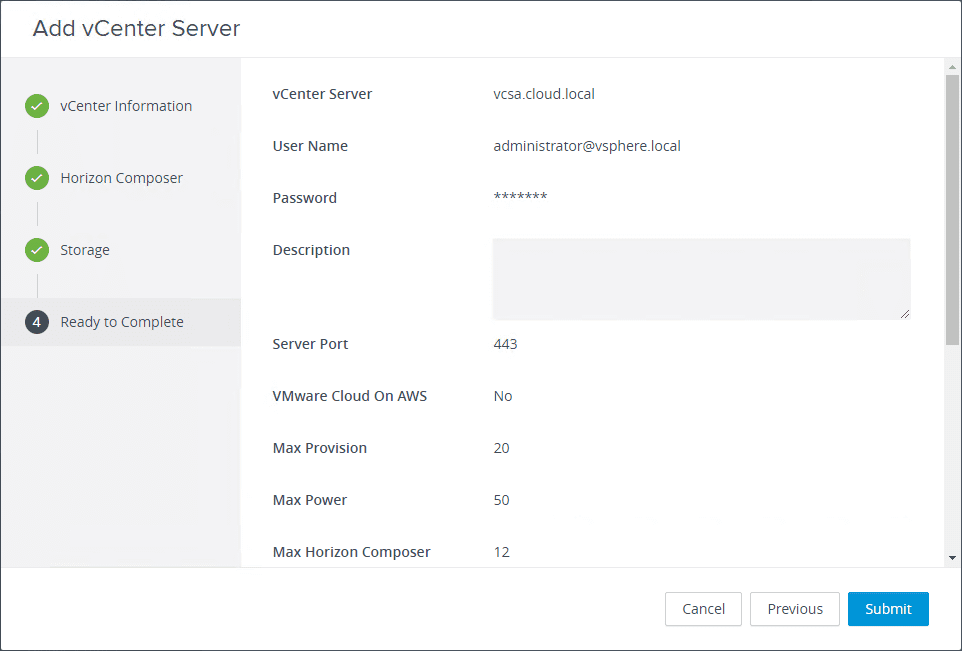
Ready to add the vCenter Server connection.
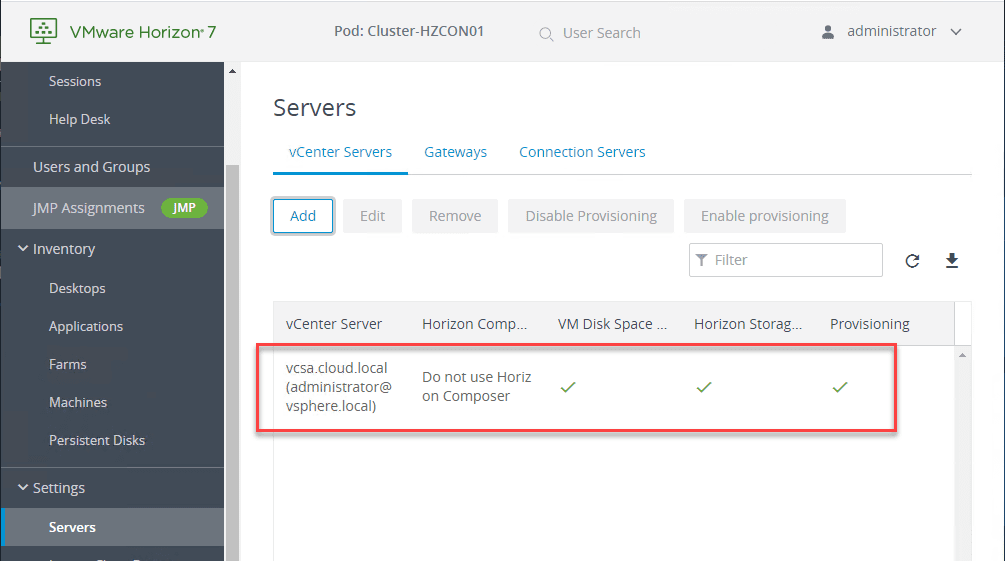
The vCenter Server connection has been added to your Horizon Connection Server.
Wrapping Up
In this quick walk through of VMware Horizon Connection Server 7.11 Installation and Configuration, we have seen how to install Horizon Connection Server 7.11 as well as how to get your vCenter Server connection added to the server.
Stay tuned for more refreshed articles looking at Horizon View 7.11 functionality and configuration.


