How to Install and Configure VMware Skyline
VMware Skyline is a proactive support solution from VMware that provides machine learning-enabled intelligence to troubleshooting and monitoring your vSphere environment. This includes NSX, Horizon, and other vSphere technologies. In the previous post we took a look at what is VMware Skyline and is it free. In this followup post, we will look at how to install and configure VMware Skyline. Let’s see what steps it takes both from the VMware Cloud perspective as well as on-premises pieces to the Skyline architecture.
Overview of VMware Skyline Installation
The install and configure of VMware Skyline involves two separate parts:
- VMware cloud configuration
- On-premises collector configuration
Actually, these happen in tandem. First, you begin configuring your VMware Skyline configuration in the cloud. During the process, you are prompted to download the VMware Skyline Collector Appliance OVA. You will deploy the appliance and then connect the appliance to your VMware Skyline cloud instance.
VMware Skyline Cloud Configuration
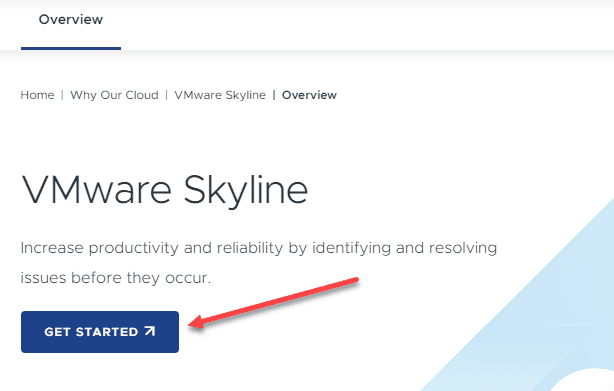
The first thing you want to do is visit the site https://cloud.vmware.com/skyline. On the page, click the Get Started button to begin setting up your VMware Skyline account.
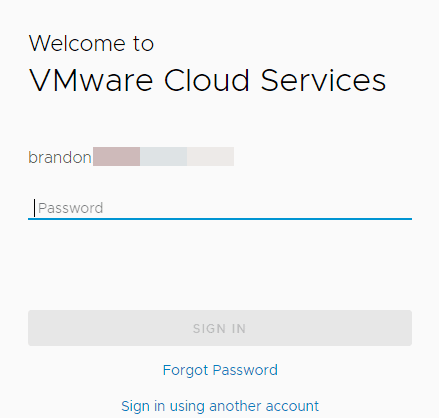
You will be prompted to sign into the VMware Cloud using your VMware account email address/password.
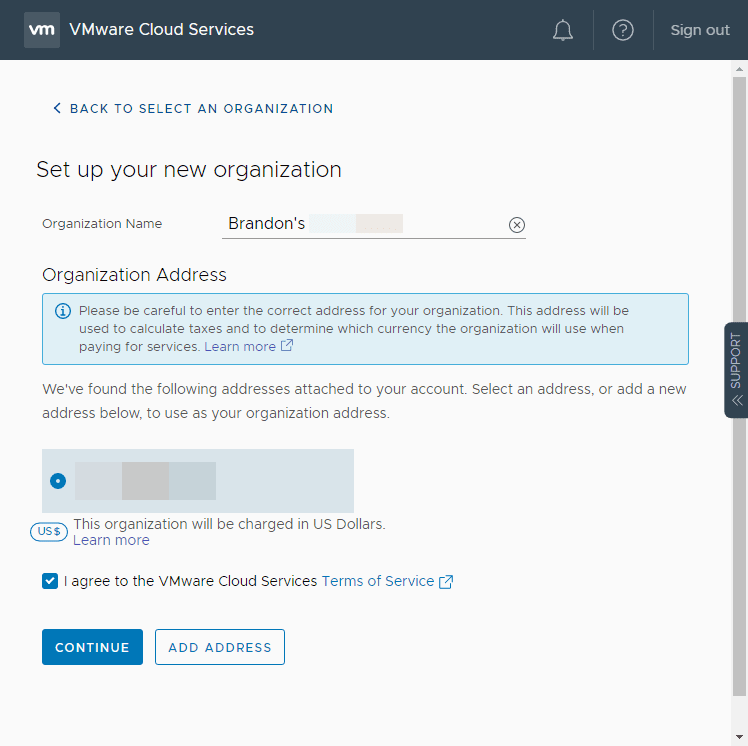
VMware Cloud has the concept of organizations. If you haven’t already set this up, you will be prompted to setup an organization to start configuring your VMware Skyline environment.
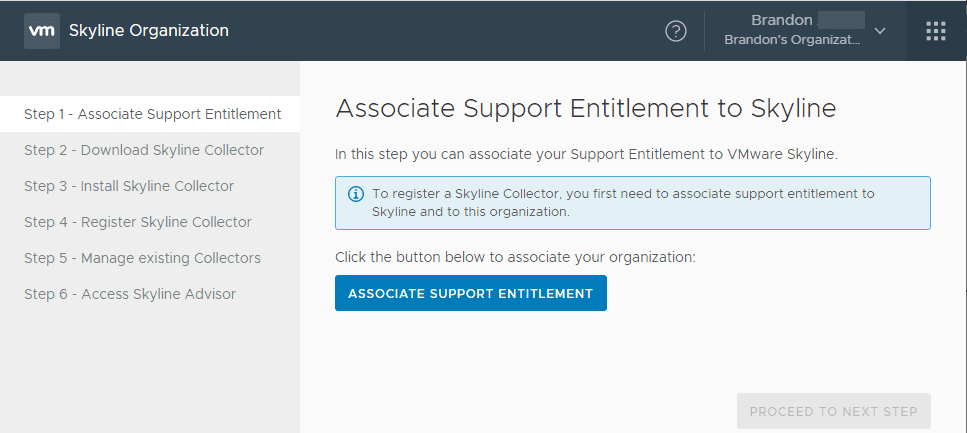
This begins a Six Step wizard that walks you through setting up the cloud portion of VMware Skyline. First, you will need to Associate Support Entitlement to your Skyline environment.
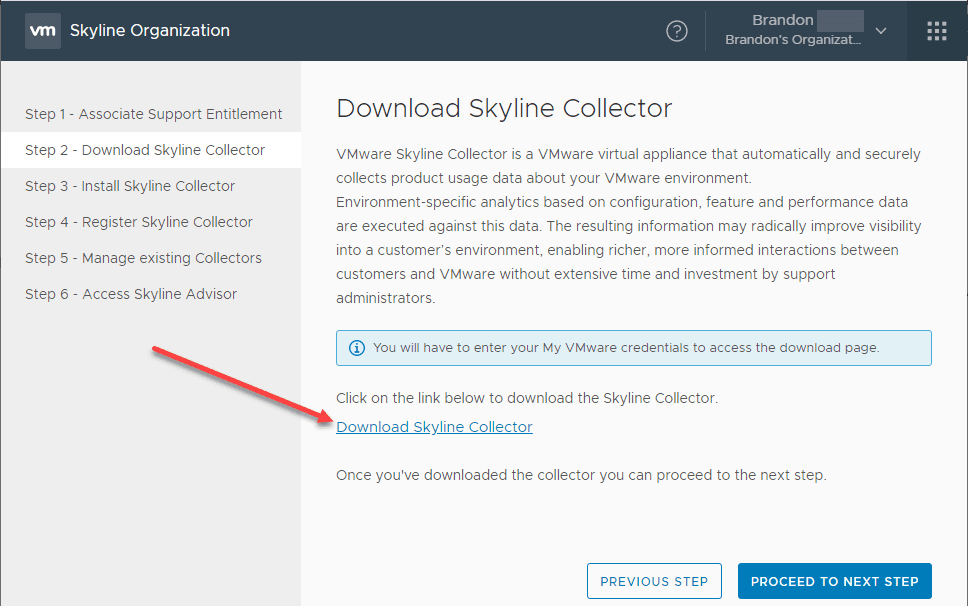
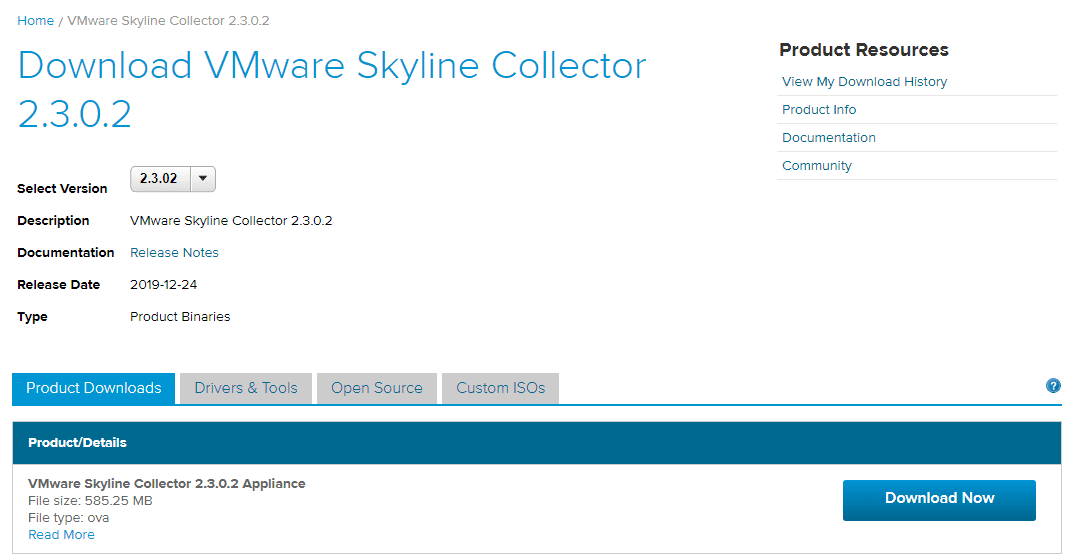
Next, Download the Skyline Collector. This will take you to a VMware download page to download the Skyline Collector OVA appliance.
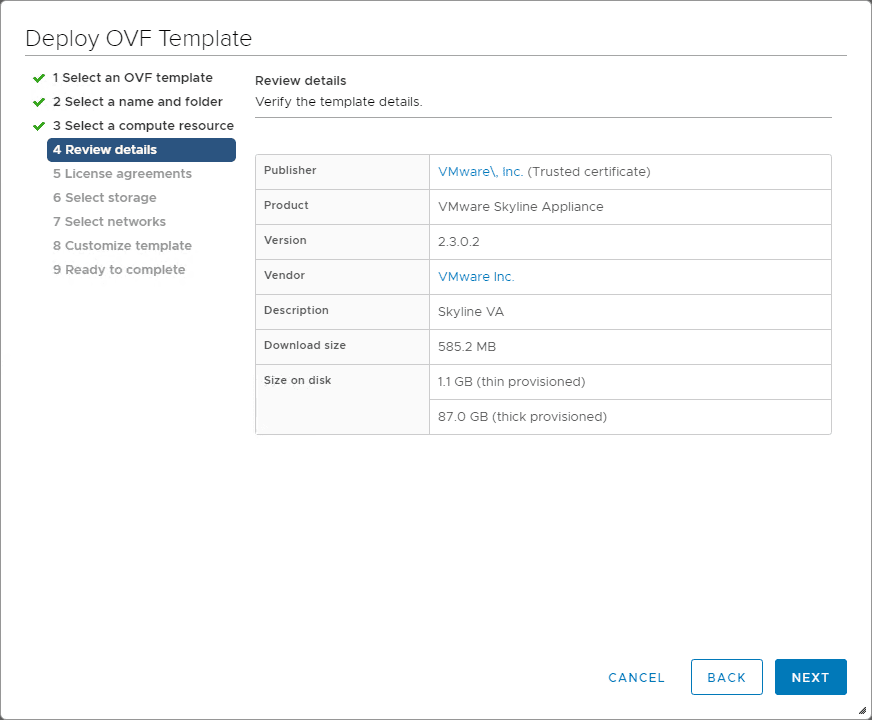
Download the VMware Skyline Collector. At the time of this writing, version 2.3.0.2 is available for download. It is around 585 MB which is small by today’s standards.
Deploying the VMware Skyline Collector Appliance
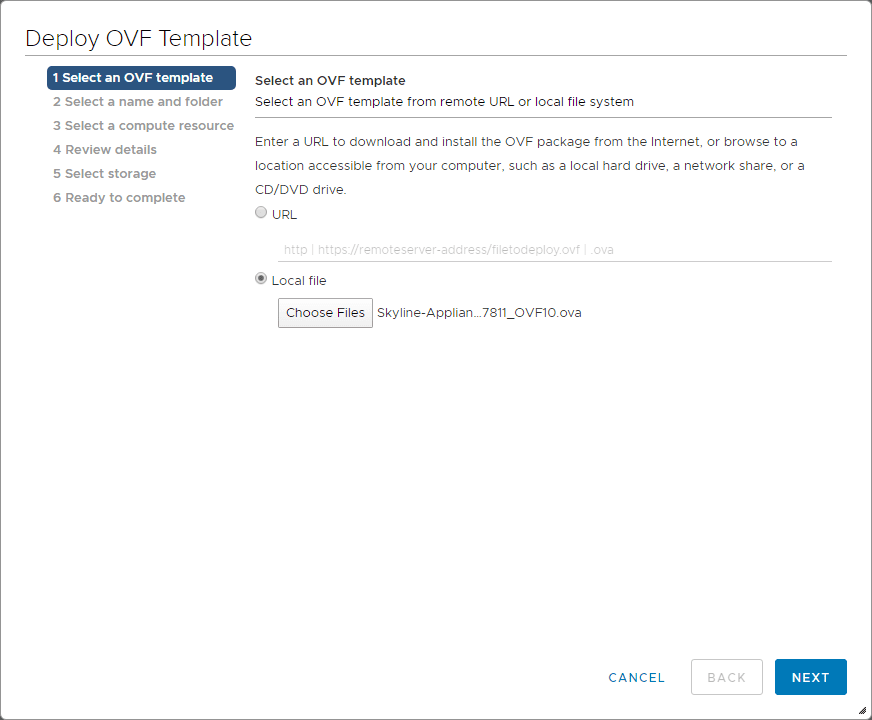
There is really nothing unusual about the OVA deployment of the Skyline Collector appliance, however, below are the screenshots from the process for you viewing. Choose the OVA appliance file you downloaded.
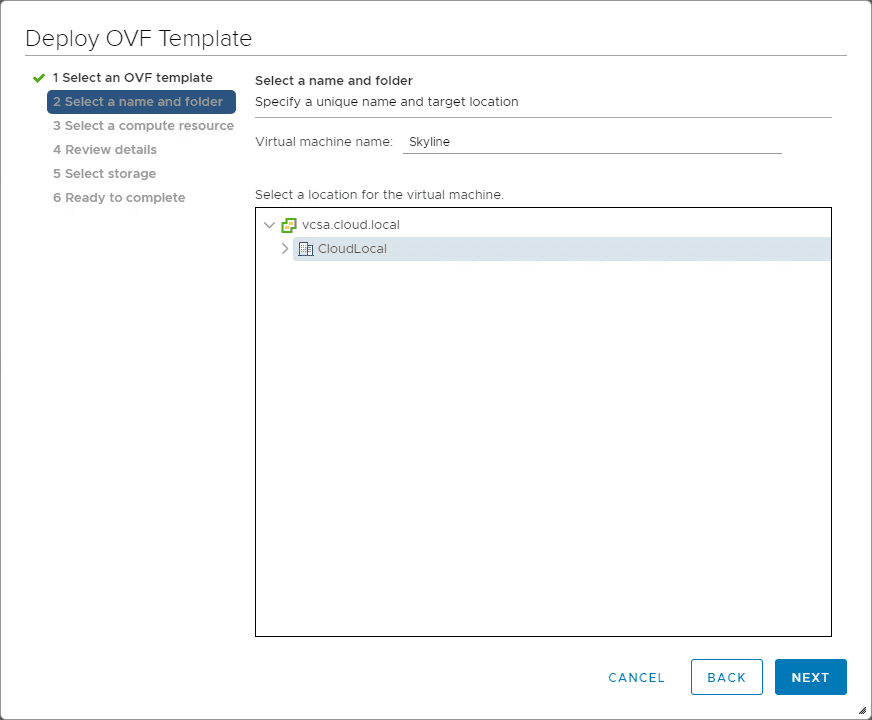
Choose the VM name and folder in your vSphere inventory.
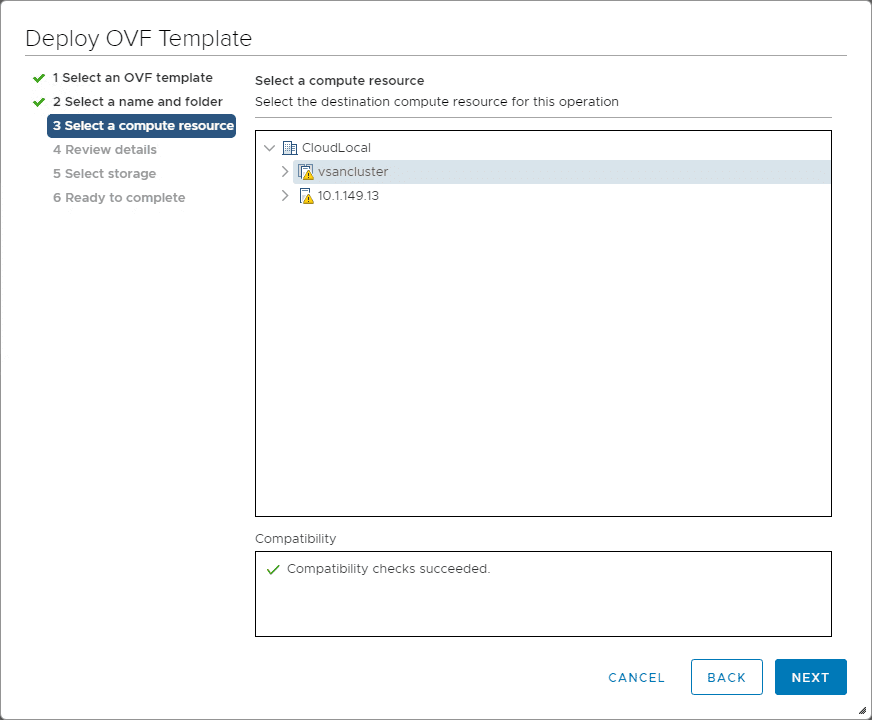
Choose compute resource.
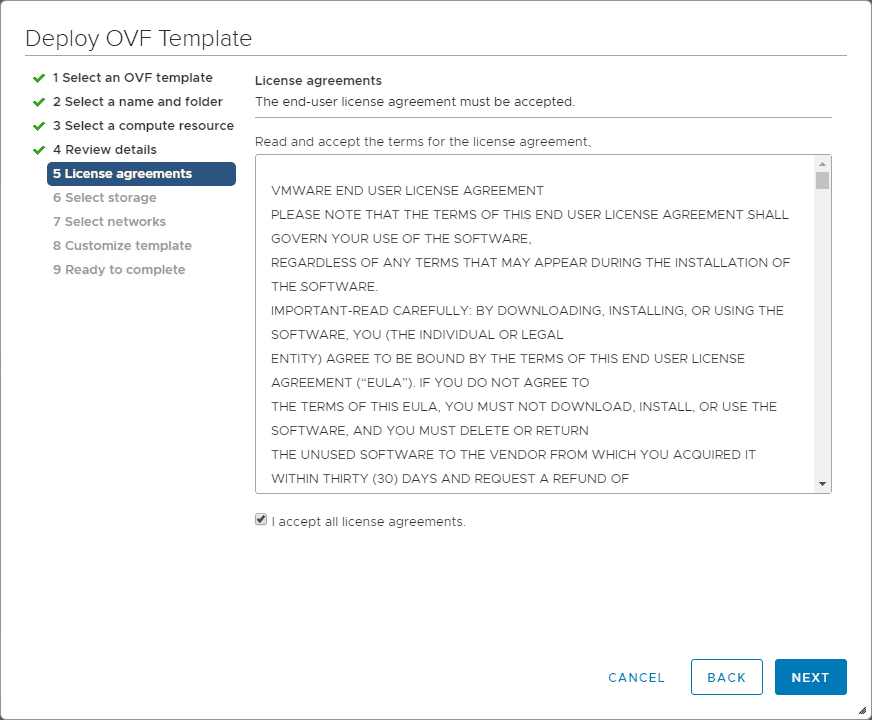
Accep the EULA.
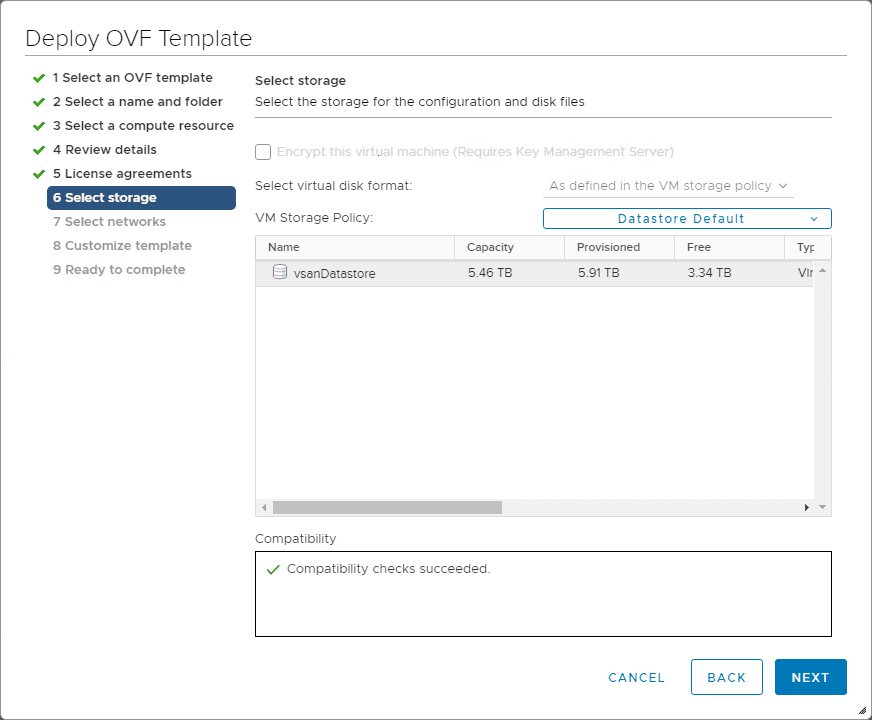
Select the storage for the deployment.
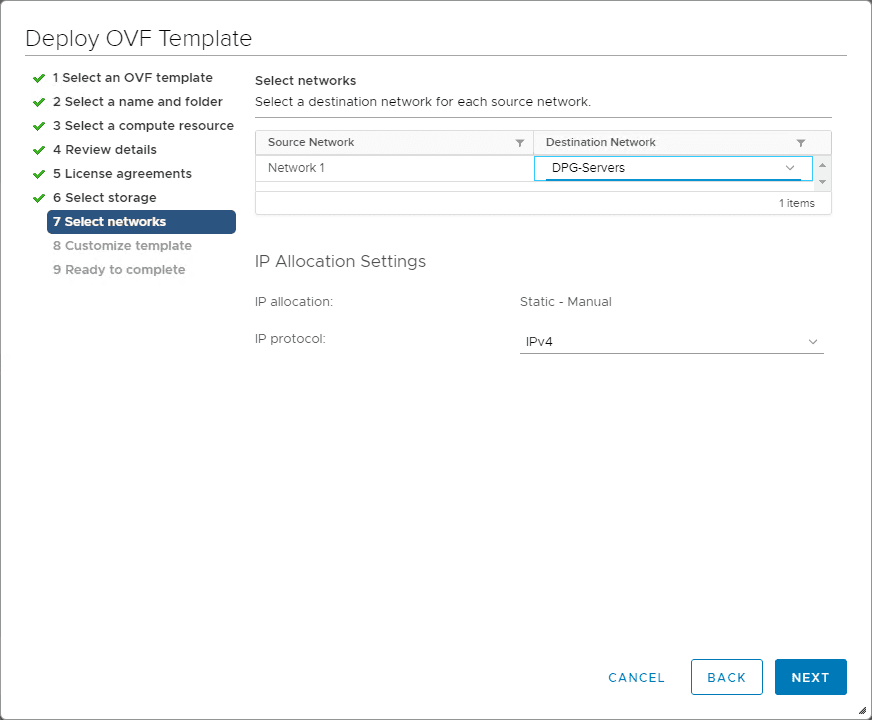
Select the network and port group you want to connect the Skyline appliance to.
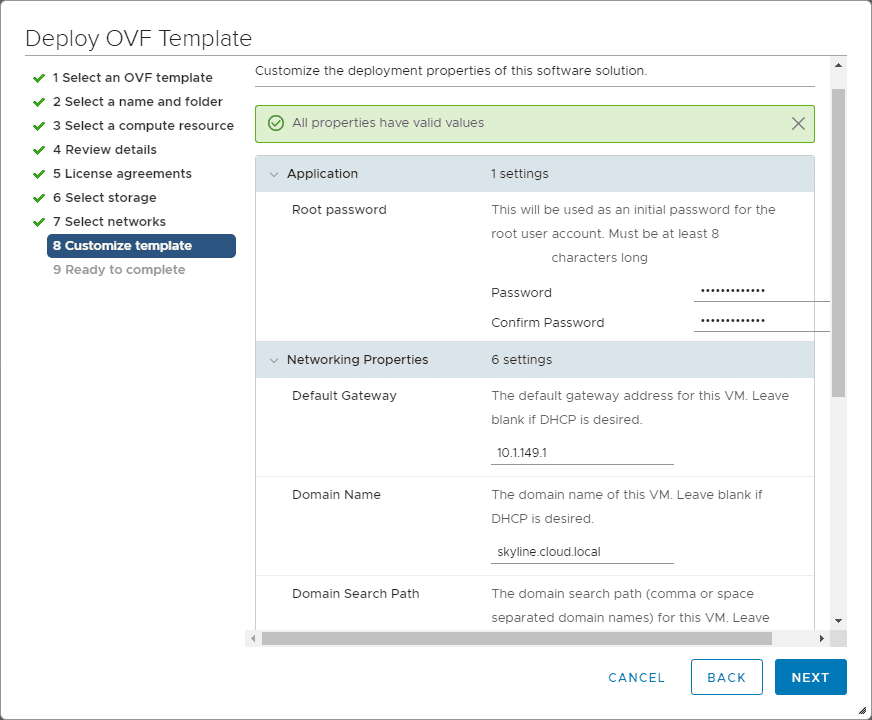
Configure the appliance root password and networking properties.
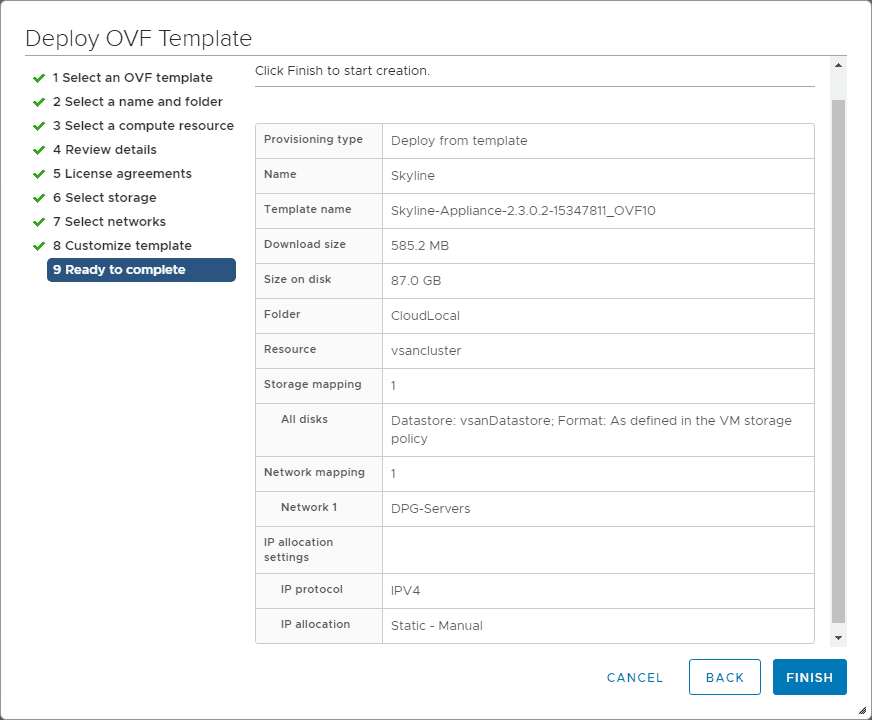
Ready to complete the deployment of the Skyline Collector appliance.
Configuring the VMware Skyline Collector Appliance
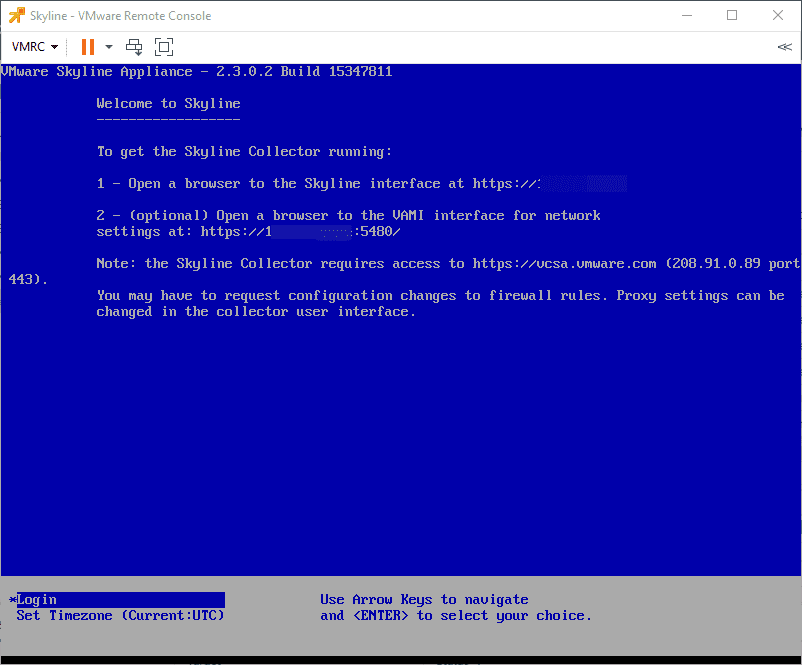
Once the appliance has been deployed and it has fully booted, you can open a VMware Remote Console session and see the details of continuing the configuration. You need to browse out to the FQDN/IP of the appliance and finish out the configuration there. Also, the console session makes a note about egress traffic out from the appliance that you will need to account for if a firewall is filtering outbound traffic.
Once you browse to the local Skyline Collector FQDN/IP, login using the default credentials. These are:
user: admin
password: default
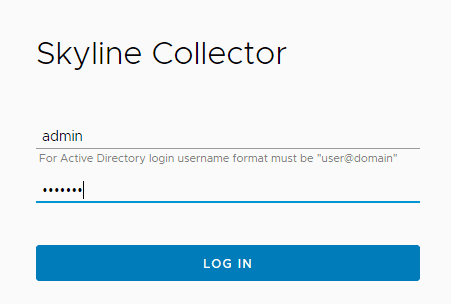
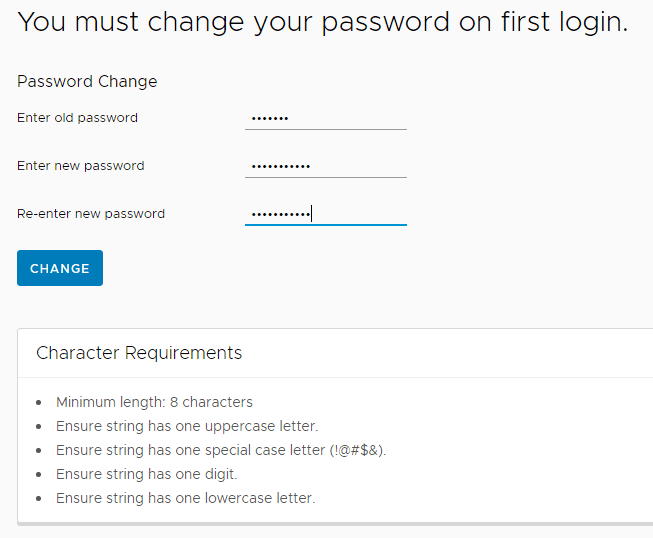
You are prompted to change the default password.
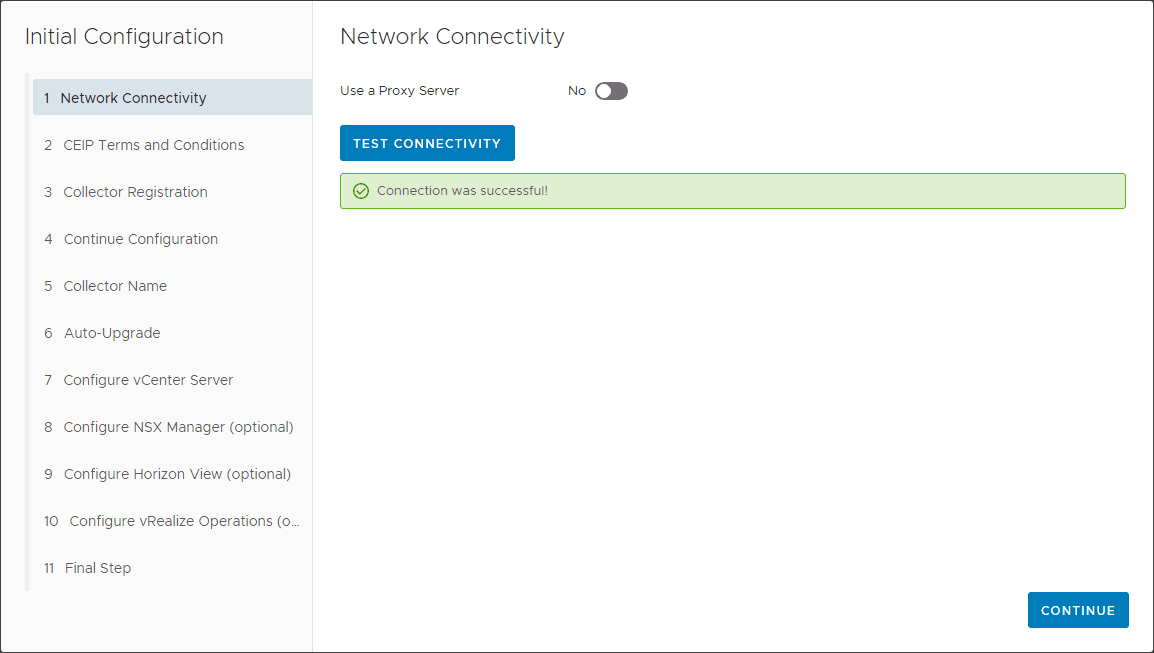
This will launch the Initial Configuration of the Skyline Collector appliance. The first thing it has you do is Test connectivity.
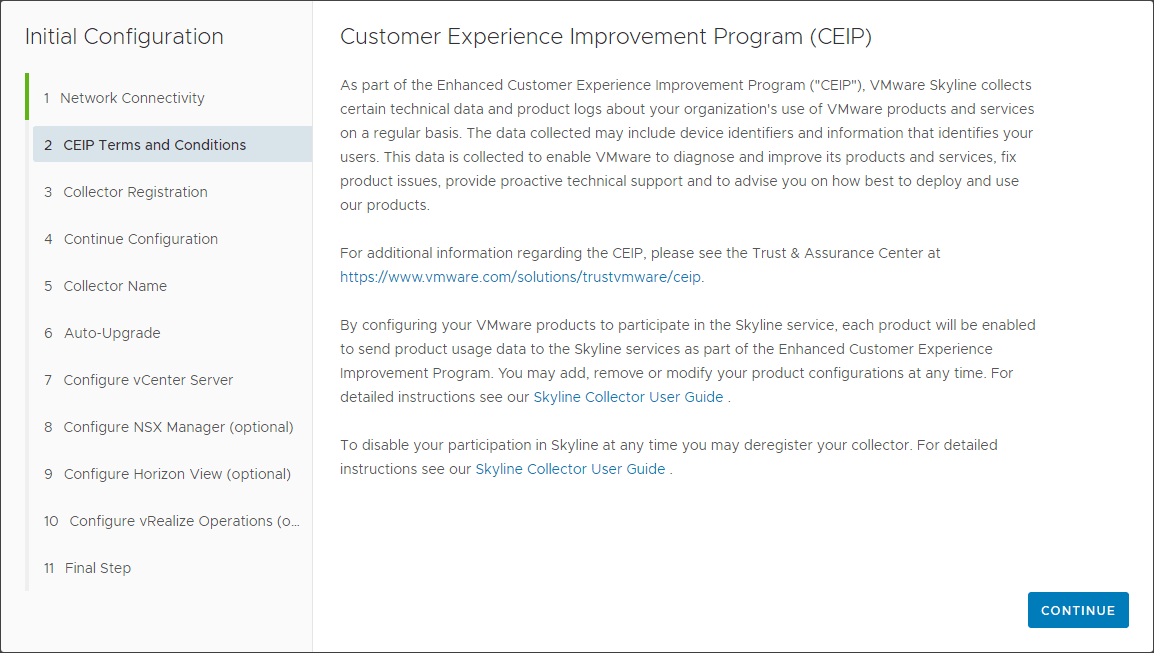
Confirm acceptance of the CEIP program.
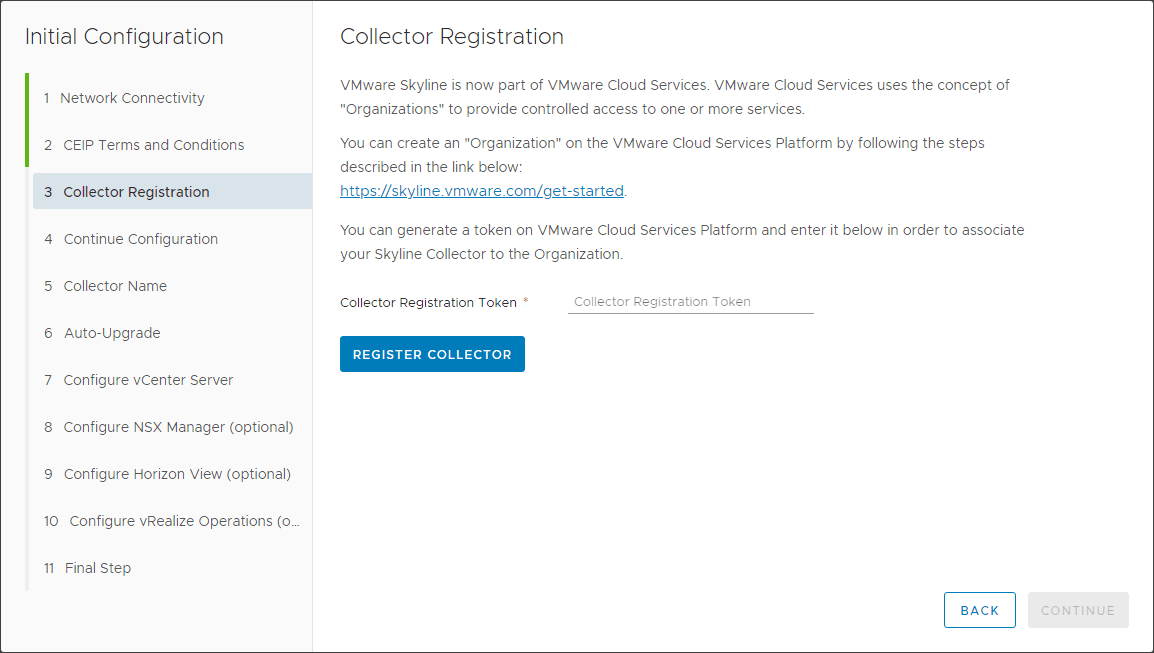
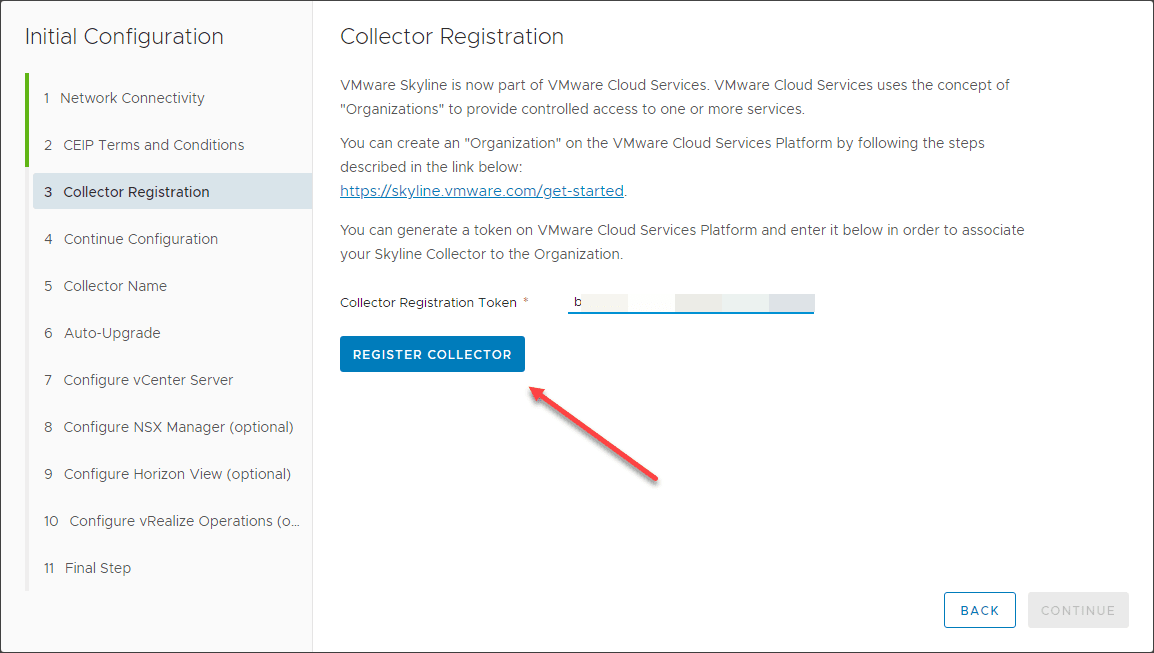
Next, we need to register the Skyline Collector. This will require generating a token on the VMware Cloud side and entering this in the wizard below of the local Skyline Collector appliance.
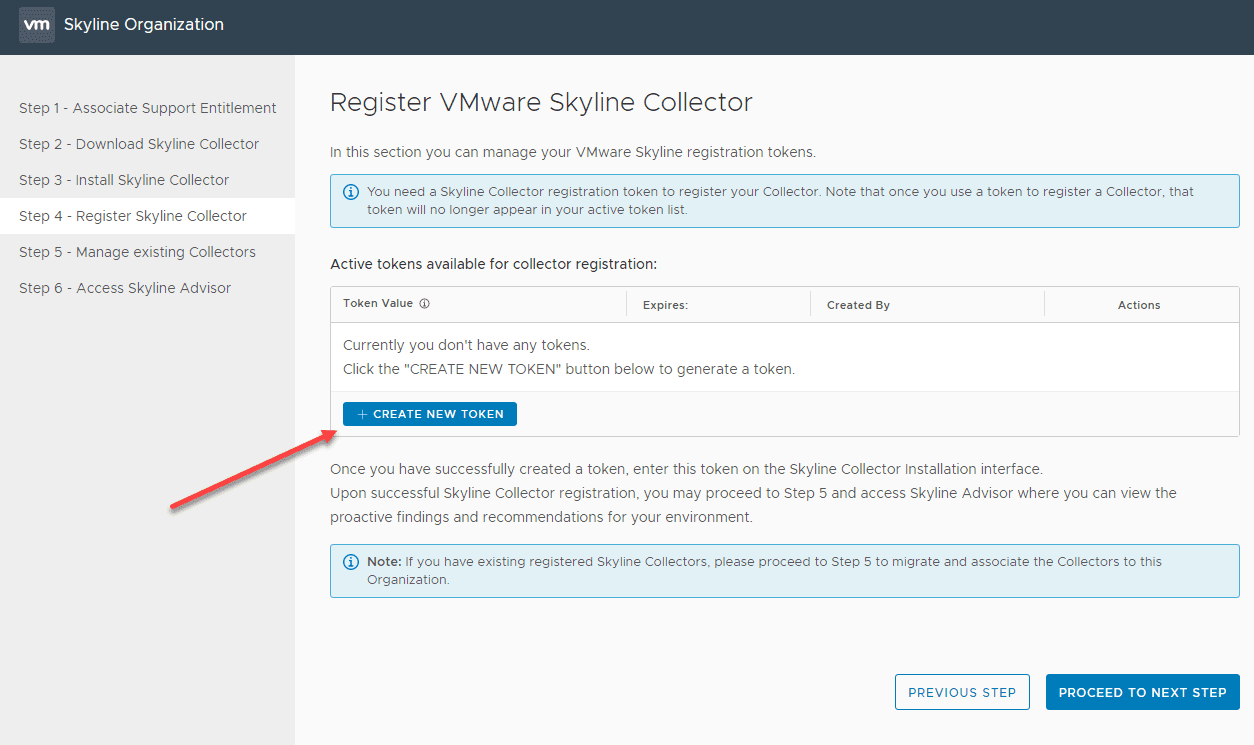
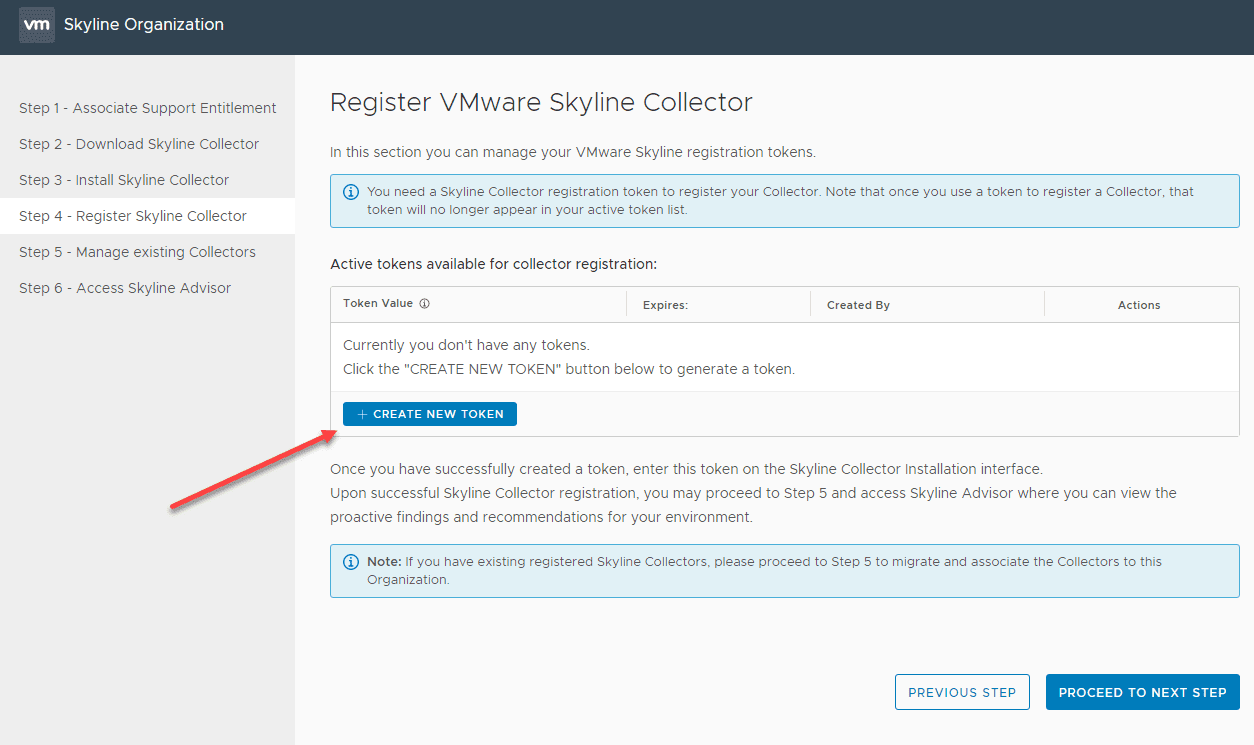
Going back to the VMware Cloud side, click the Create New Token button on Step 4 – Register Skyline Collector.
You will see a success message for the token generation.

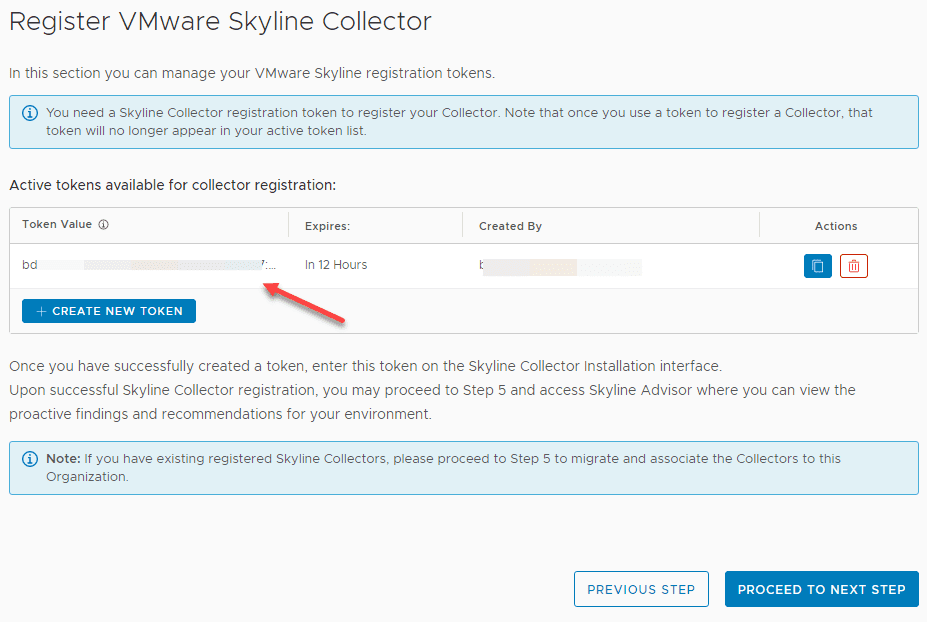
From the VMware Cloud side, you will then see the token which they conveniently place a copy button under the Actions column. Copy the token string.
Back to the Skyline Collector appliance configuration. Paste the token string int the Collector Registration Token field. Then click the Register Collector button.
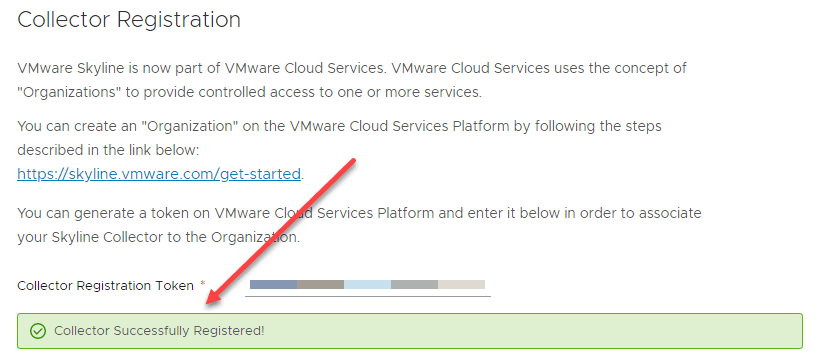
You should see the collector registered successfully.
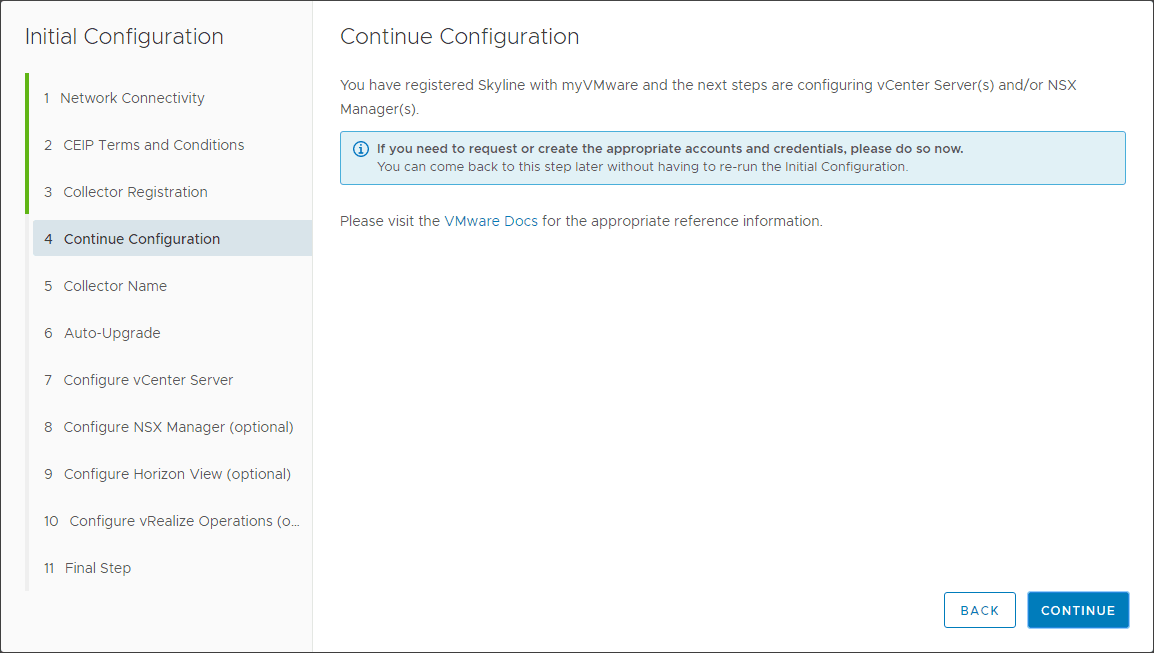
Now, we continue forward.
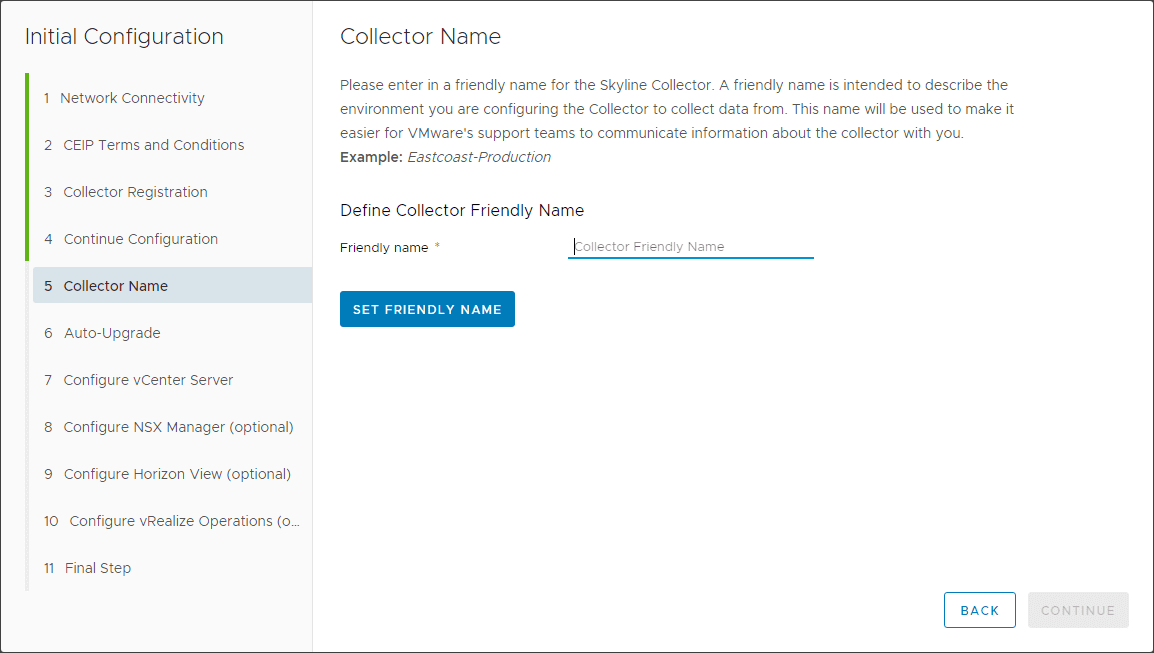
Set a friendly name for the collector.
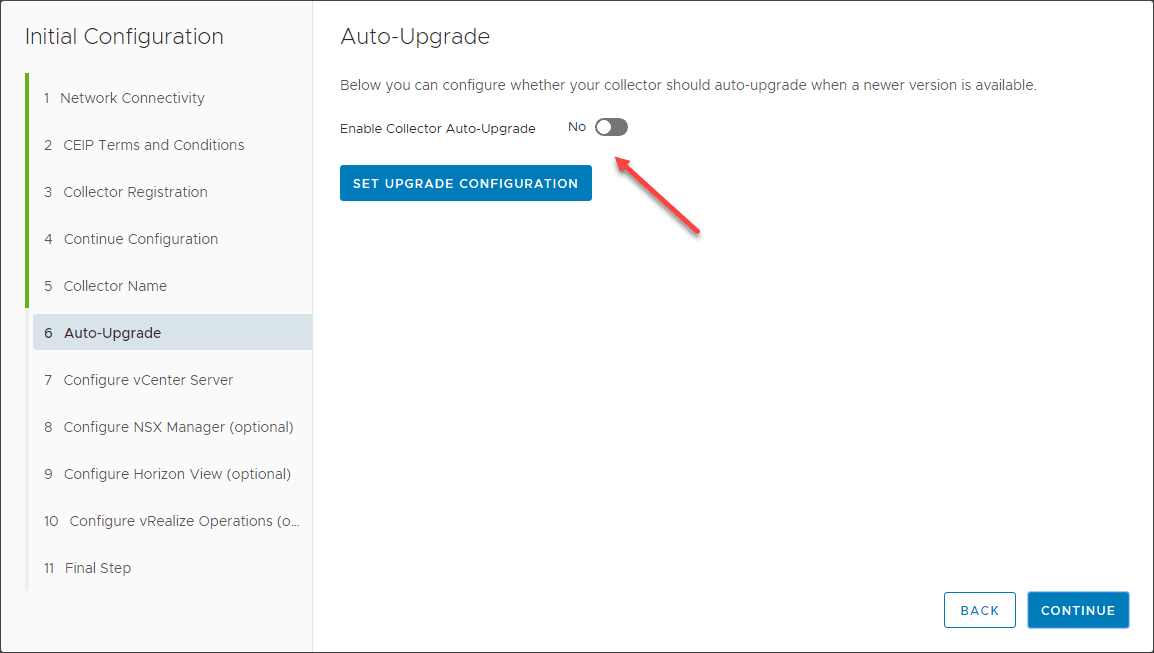
Choose whether or not you want the appliance to auto-update.
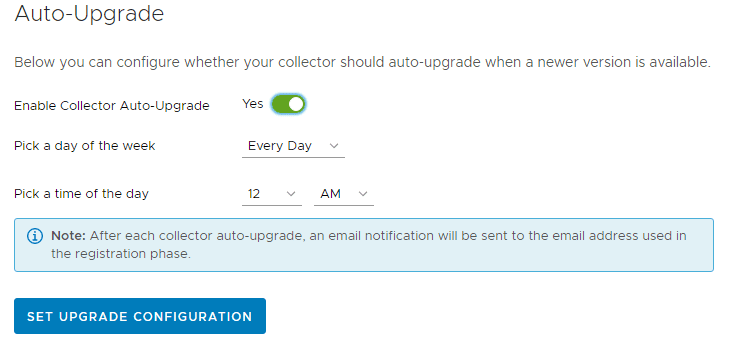
If you choose the auto-update toggle, this is what that looks like. You can then further set the time you want the upgrade check/update to happen.
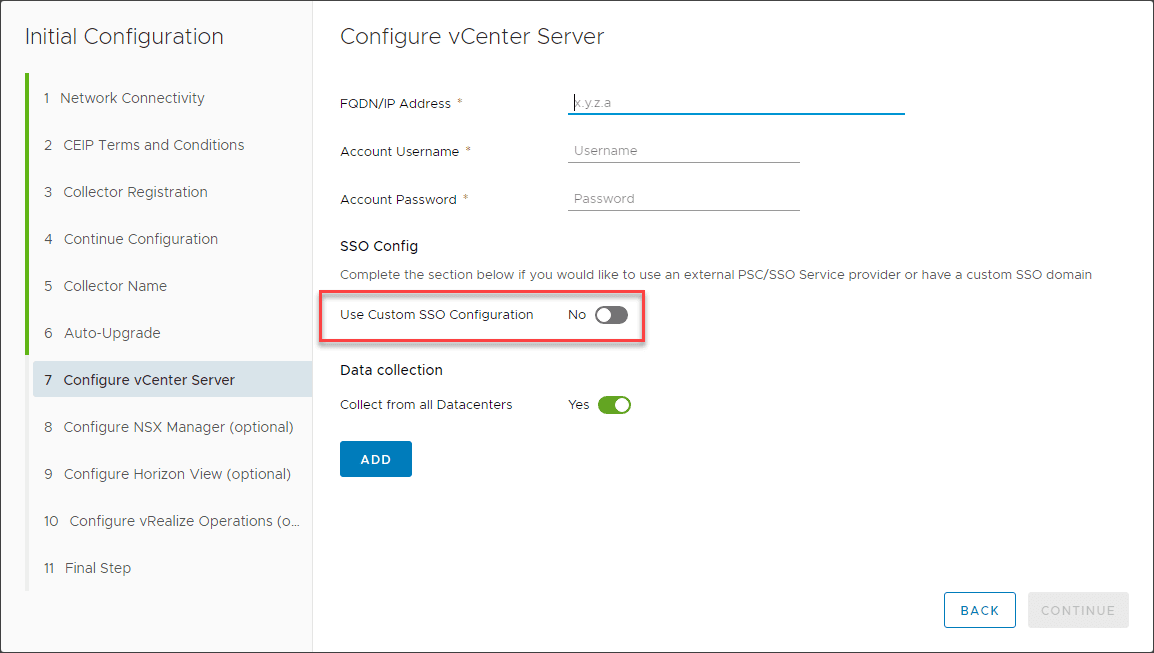
Now, we start configuring connections to the on-premises VMware solutions for pulling telemetry data. First up is vCenter Server. Enter the normal connection information. If you have an SSO domain different than vsphere.local, you need to choose the Use Custom SSO Configuration toggle.
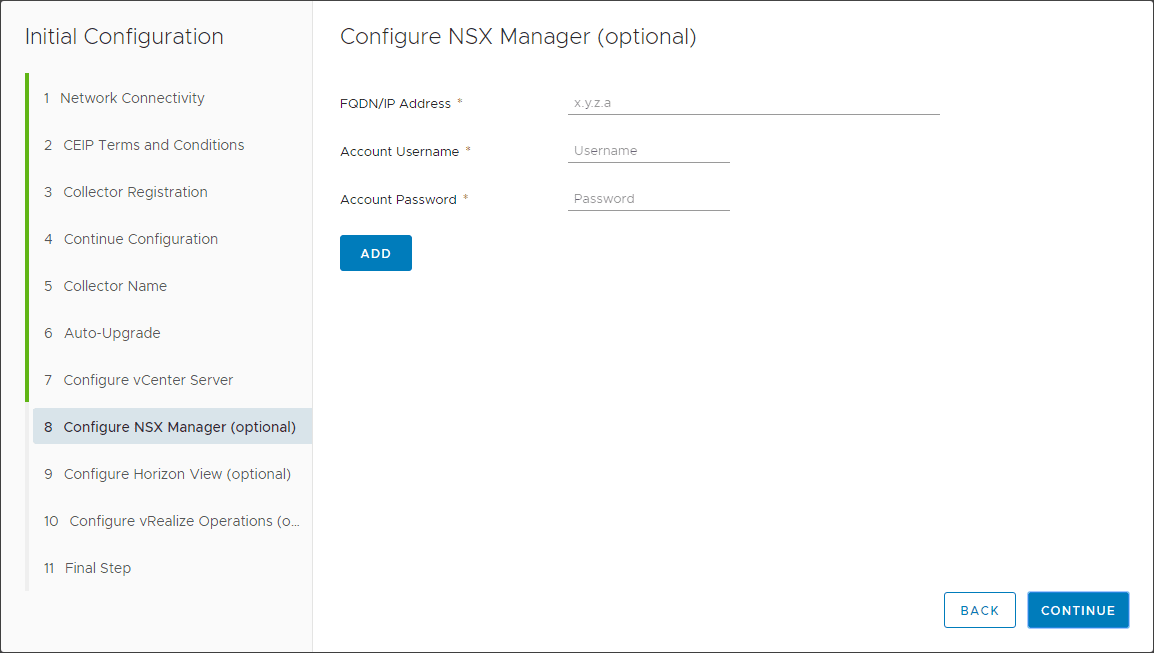
Next, connect to VMware NSX in your environment (optional). Currently, this only supports NSX-V (from what I can tell).
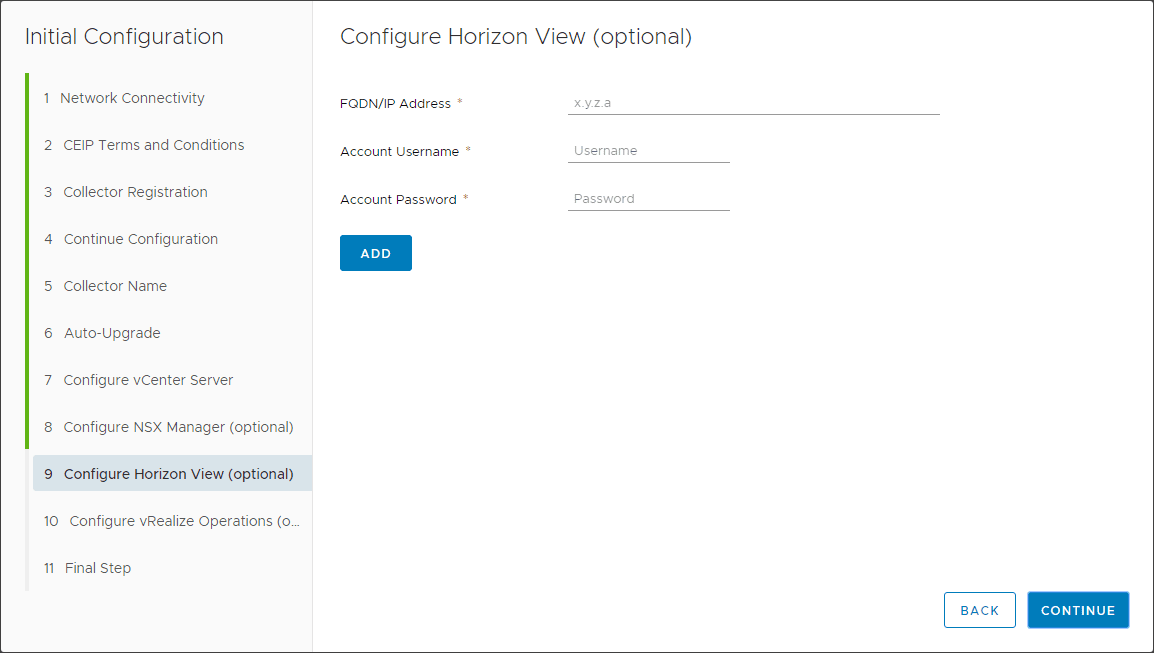
Connect to your VMware Horizon View environment (optional).
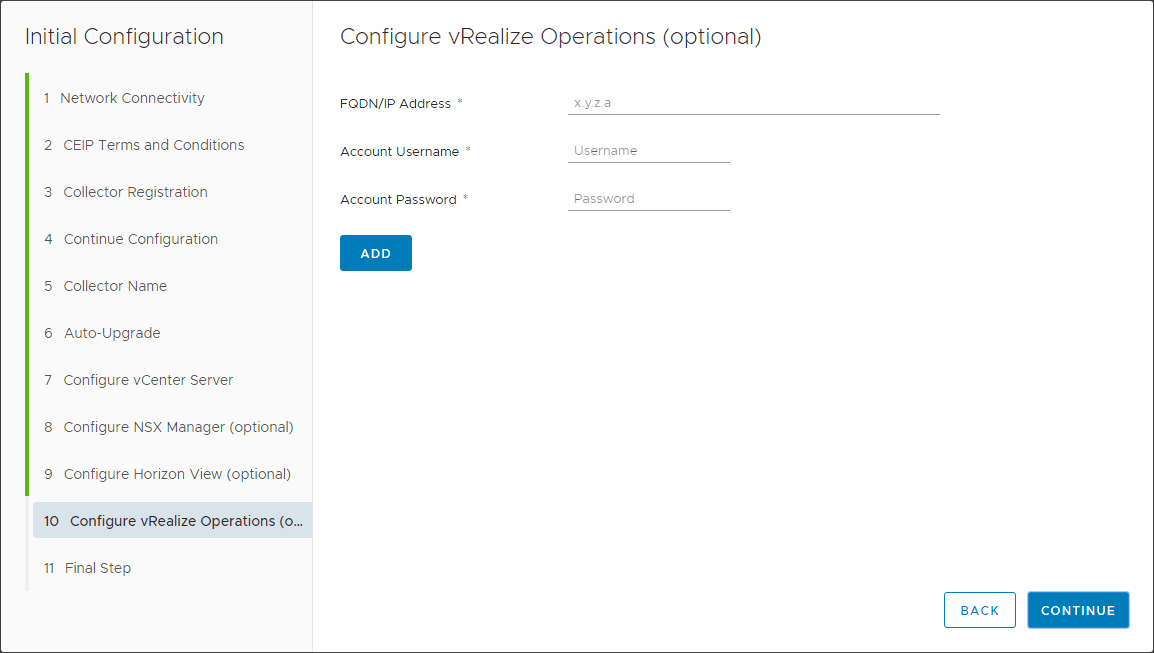
Connect to vRealize Operations (optional).
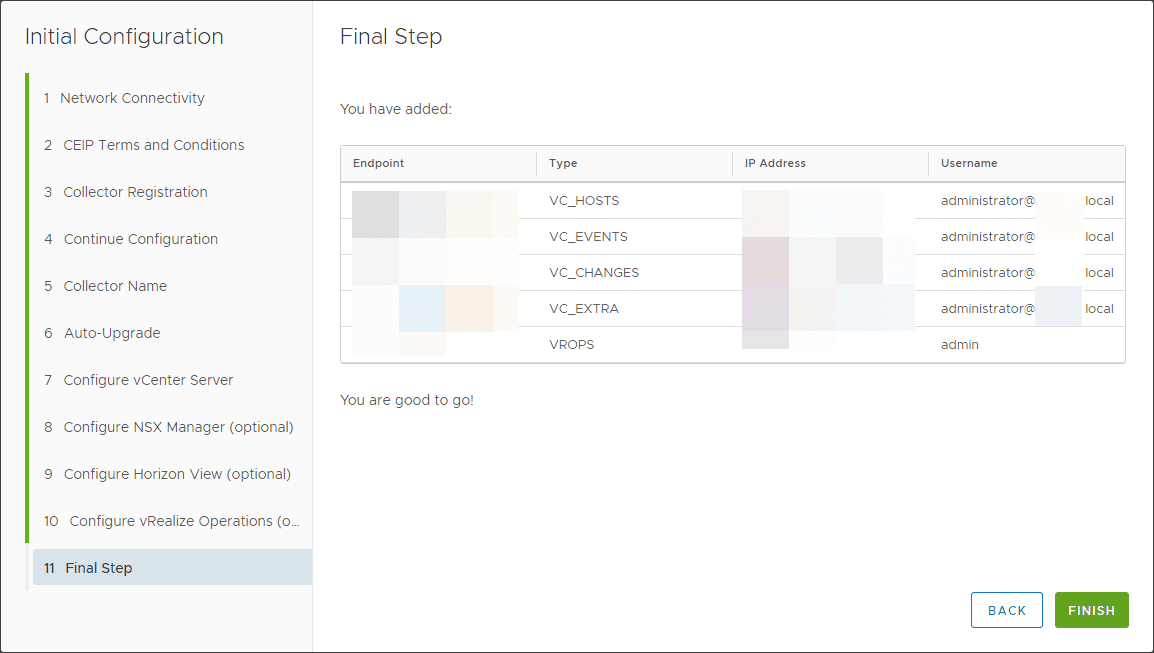
We have reached the final step. The endpoints should be configured and Skyline Collector is ready to start gathering data from the configured VMware solutions.
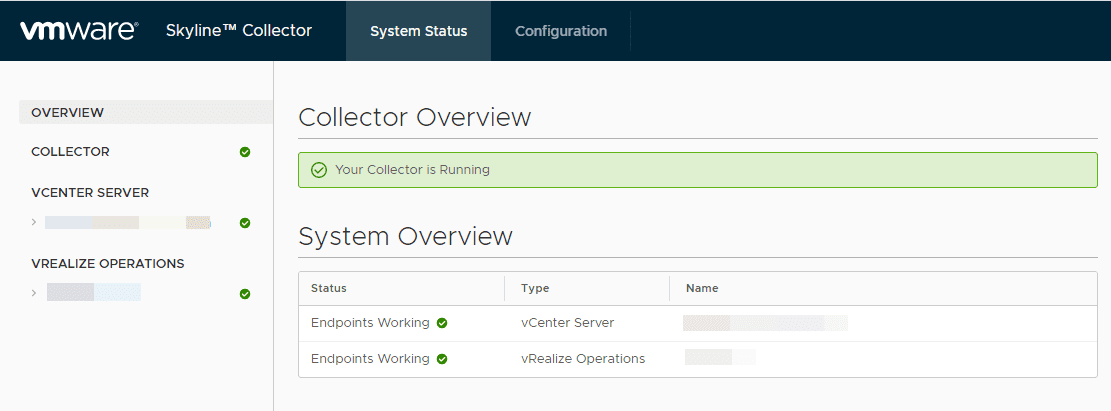
You should see the Collector Overview showing as Your Collector is Running.
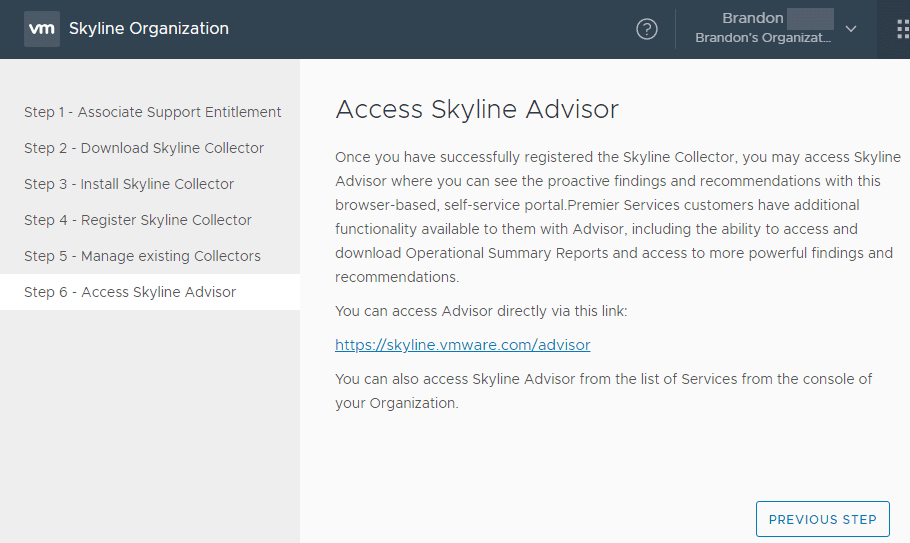
Back on the VMware Cloud side, you can click the link to access your Skyline Advisor environment.
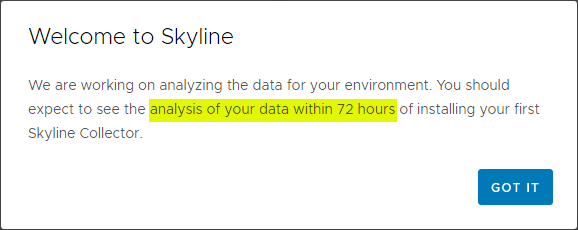
You will see a note as well that you will have access to analysis of your data within 72 hours. It will take some time for the first data to be gathered analyzed and recommendations made.
Wrapping Up
In case you were wondering How to Install and Configure VMware Skyline, hopefully this post will help give you a good overview of the process. Everything involved with deploying Skyline is straightforward and simply has you connect an on-premises appliance with your VMware Cloud Skyline environment.
Stay tuned as I will walk through some of the analysis you get once data has been streamed and analyzed by the Skyline Advisor.


