The world of backup solutions protecting today’s virtual environments is a crowed one filled with many different solutions on the market. However, great features, functionality, and capabilities can help a backup vendor stand out among competitors.
Altaro is a company that was founded in 2009. They began developing their own backup solution, protecting both Hyper-V and VMware vSphere. Their flagship product, Altaro VM Backup, is receiving widespread adoption among many businesses across various industries. In Part 1 of this review of Altaro VM Backup, we will take a look at the product as a whole, requirements, installation, as well as setting up the backup location for your backups.
Installing Altaro VM Backup
In this section, we will take a look at the installation process. First though, what about the prerequisites? What type of server and hardware specifications are required to get an Altaro VM Backup server up and running?
Prerequisites
Altaro VM Backup can be installed on the following versions of Windows Server:
- Windows Server 2008 R2
- Windows Hyper-V Server 2008 R2 (core installation)
- Windows Server 2012
- Windows Hyper-V Server 2012 (core installation)
- Windows Server 2012 R2
- Windows Hyper-V Server 2012 R2 (core installation)
- Windows Server 2016
- Windows Server 2016 (desktop experience)
- Windows Hyper-V Server 2016
- Windows Server 2019
- Windows Hyper-V Server 2019
It supports backing up workloads found running in both Hyper-V and VMware vSphere. Which versions of those hypervisors are supported for backup?
Hyper-V
- Windows Server 2008 R2
- Windows Hyper-V Server 2008 R2 (core installation)
- Windows Server 2012
- Windows Hyper-V Server 2012 (core installation)
- Windows Server 2012 R2
- Windows Hyper-V Server 2012 R2 (core installation)
- Windows Server 2016
- Windows Server 2016 (desktop experience)
- Windows Hyper-V Server 2016 (core installation)
- Windows Server 2019
- Windows Hyper-V Server 2019 (core installation)
Also, a note regarding Storage Spaces Direct. At this time, Altaro does not support backing up Hyper-V VMs running in S2D clusters.
VMware vSphere
- vSphere: 5.0 / 5.1 / 5.5 / 6.0 / 6.5 / 6.7
- vCenter: 5.0 / 5.1 / 5.5 / 6.0 / 6.5 / 6.7
- ESXi: 5.0 / 5.1 / 5.5 / 6.0 / 6.5 / 6.7
The Installation Process
The installation of Altaro VM Backup is an easy process that involves simply downloading a Windows installer and running this on your “soon-to-be” Altaro server. The installation file is very small when compared to other solutions out there.
One item to note. You do need a Windows Server to run your Altaro installation as there is no Linux appliance or other solution available for deploying. Other than the need to have a Windows Server available, the installation is smooth and easy.

Once downloaded, you can see the installation file, which at the time of this writing, is around 214 MB.

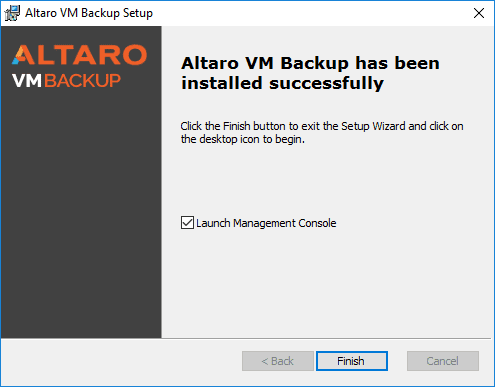
The installation process is basically a “next, next finish” process that is intuitive and easy to complete. After running the installer and only a couple of minutes of installation time, Altaro VM Backup will be fully installed. Click Finish to close out the installation process. By default, the Launch Management Console is selected which will allow launching the management console immediately after the installation finishes.
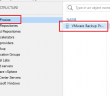
Now that Altaro VM Backup is installed, let’s launch the management console and begin configuring the solution to for backing up a virtual environment.
Add Hosts to Altaro VM Backup
You will first be asked if you are connecting to a local instance of Altaro VM Backup or if there is a remote machine running Altaro you would like to manage with the management console.
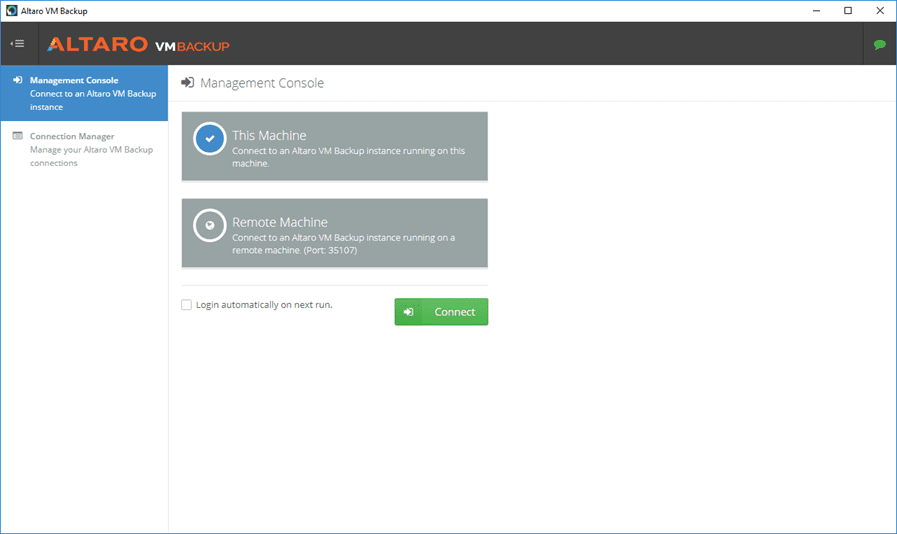
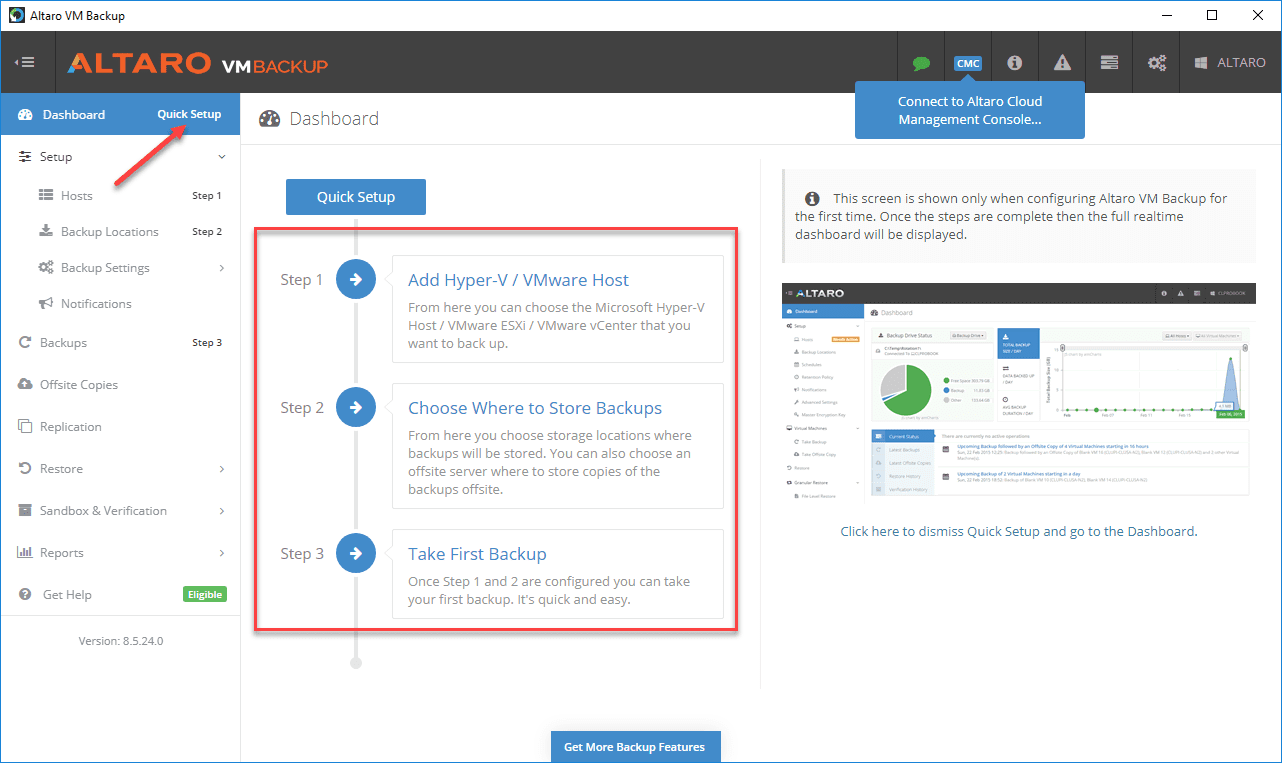
After selecting the Altaro server you would like to manage, the Quick Setup process will begin which contains three steps.
- Add Hyper-V / VMware Host
- Choose Where to Store Backups
- Take First Backup
It is a nice touch with a backup solution to see this type of “hand holding” right out of the gate so you can make sure you haven’t missed important points of configuration. If you accidentally close out of the Quick Setup wizard, you will see the link for it at the top of the management console right by the Dashboard link.
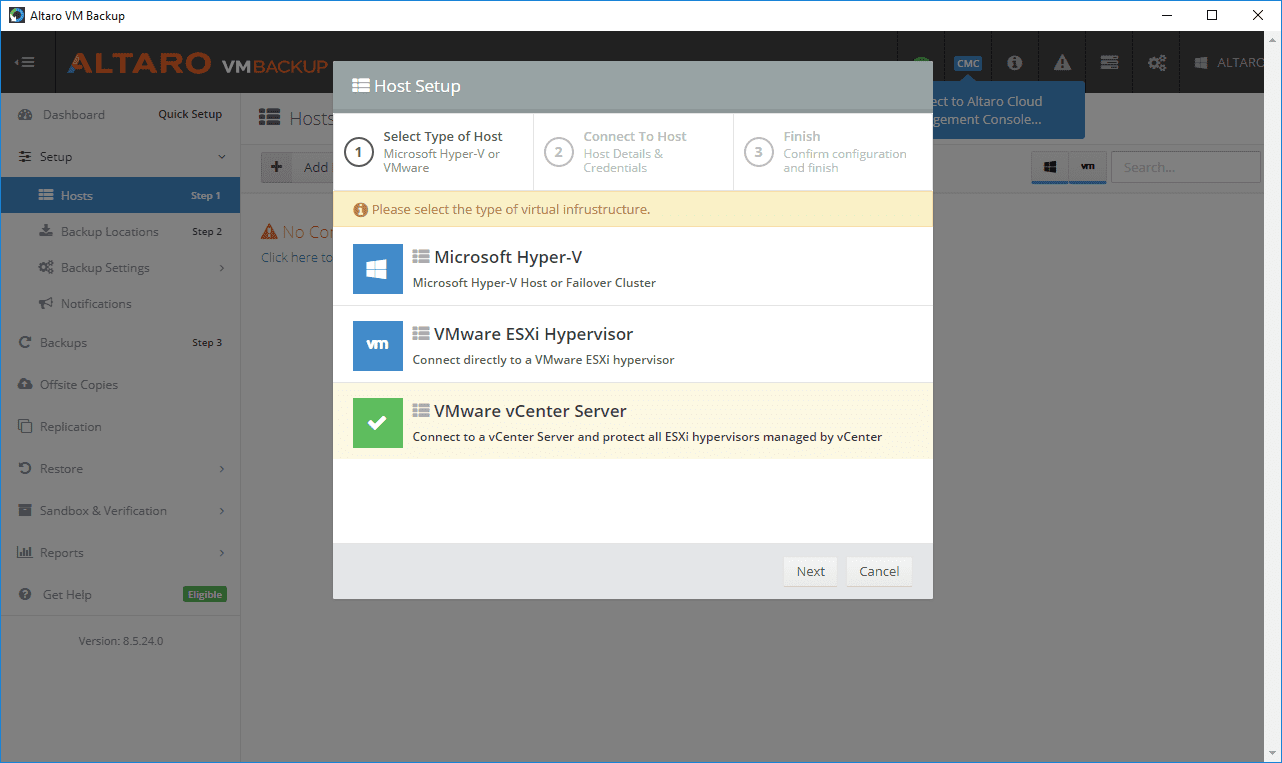
The first phase of configuration is adding the hypervisor you would like to protect. The options here are:
- Microsoft Hyper-V – Microsoft Hyper-V Host or Failover Cluster
- VMware ESXi Hypervisor – Connect directly to a VMware ESXi hypervisor
- VMware vCenter Server – Connect to a vCenter Server and protect all ESXi hypervisors managed by vCenter
It is nice to see Altaro gives good host configuration and connectivity options here. It is also nice they support a Hyper-V Failover Cluster as this is a configuration that some backup solutions still do not fully support.
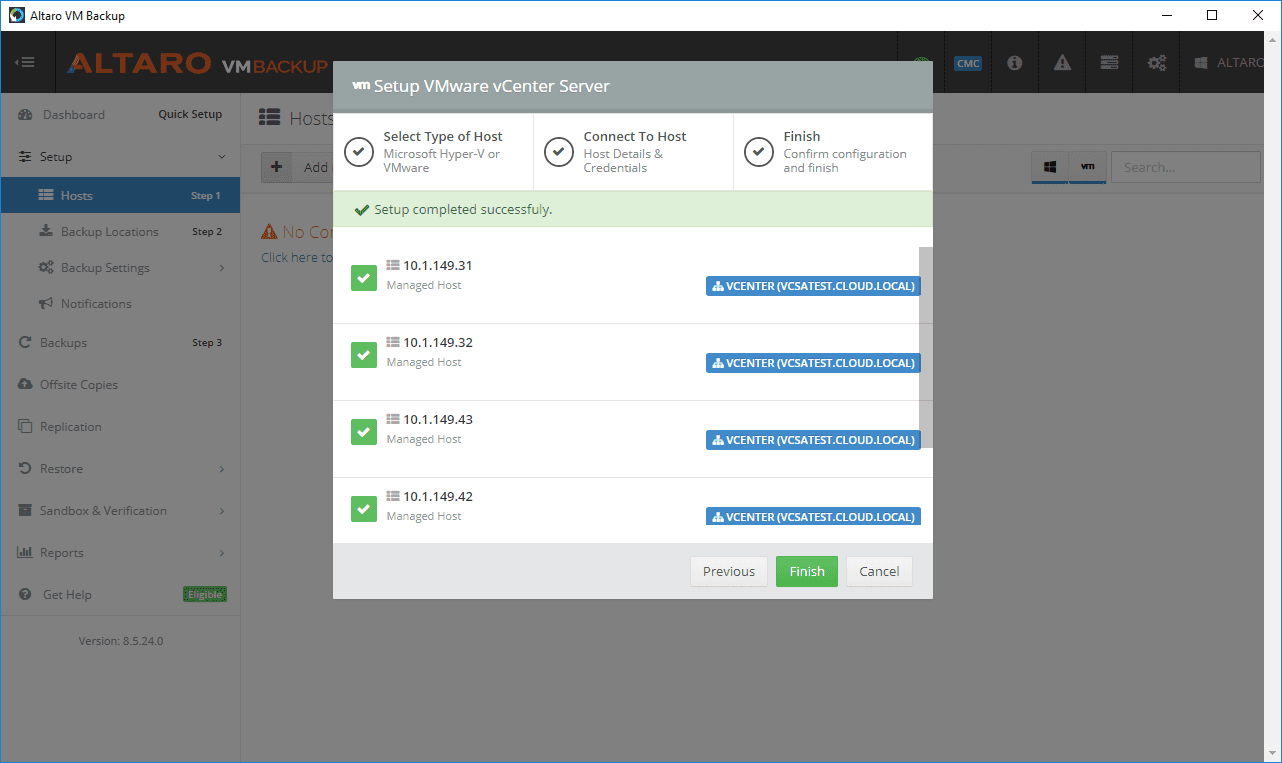
For the purposes of the walkthrough, a VMware vCenter Server environment will be added to Altaro VM Backup for demonstrating the backup and restore functionality.
You will be asked to provide the connection information and credentials to make the connection to vCenter Server.

Add Primary Backup Location
After adding the hosts in Step 1, the interface walks you through to Step 2 which is adding a backup location. Let’s see how to do that next.

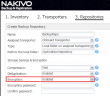
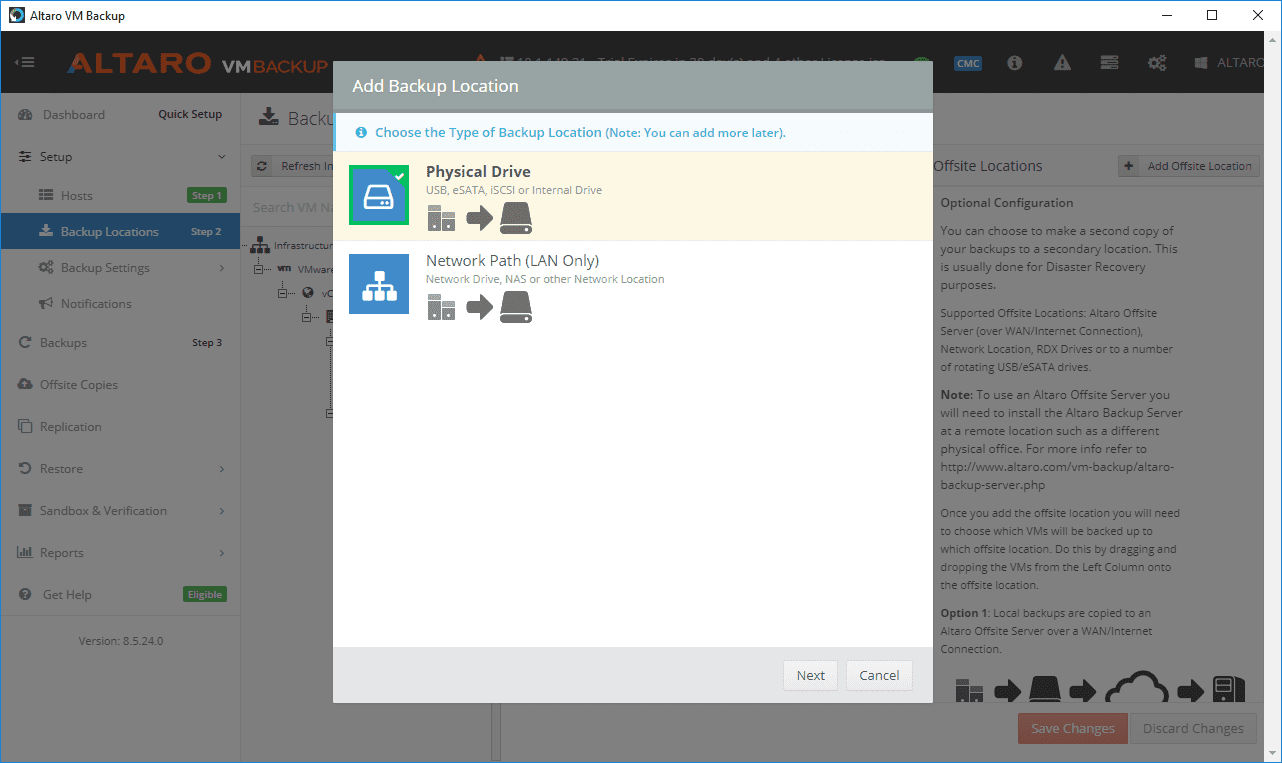
Step 2 involves assigning a Backup Location to Altaro VM Backup. When you click the Backup Locations Step 2 button, this will launch the Add Backup Location dialog box. The included targets for backup location out of the box include Physical Drive and Network Path (LAN Only). Since we have added a local volume to the Altaro VM Backup server we being used for testing, here we select Physical Drive.
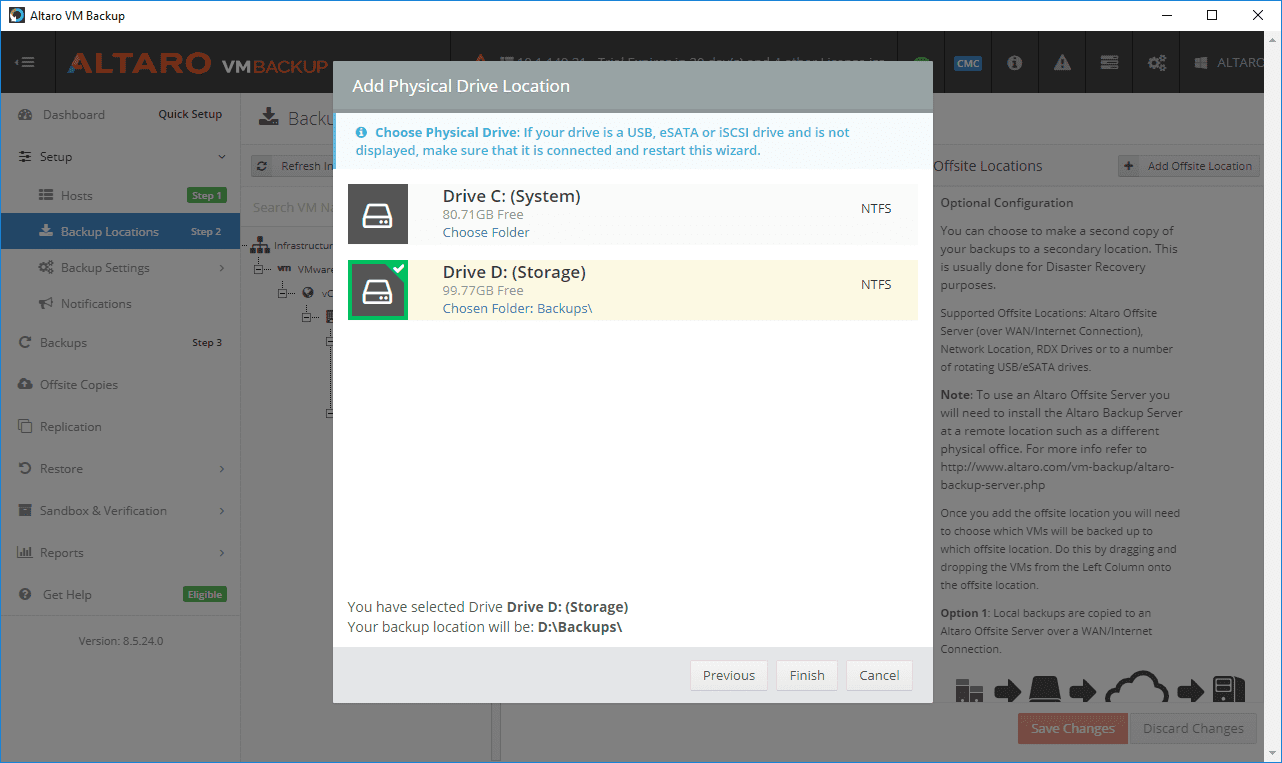
Select the actual drive letter for the volume you want to use for the primary backup location. You can also click the Choose Folder link to target a specific folder you want to use on the backup volume as we have done here.
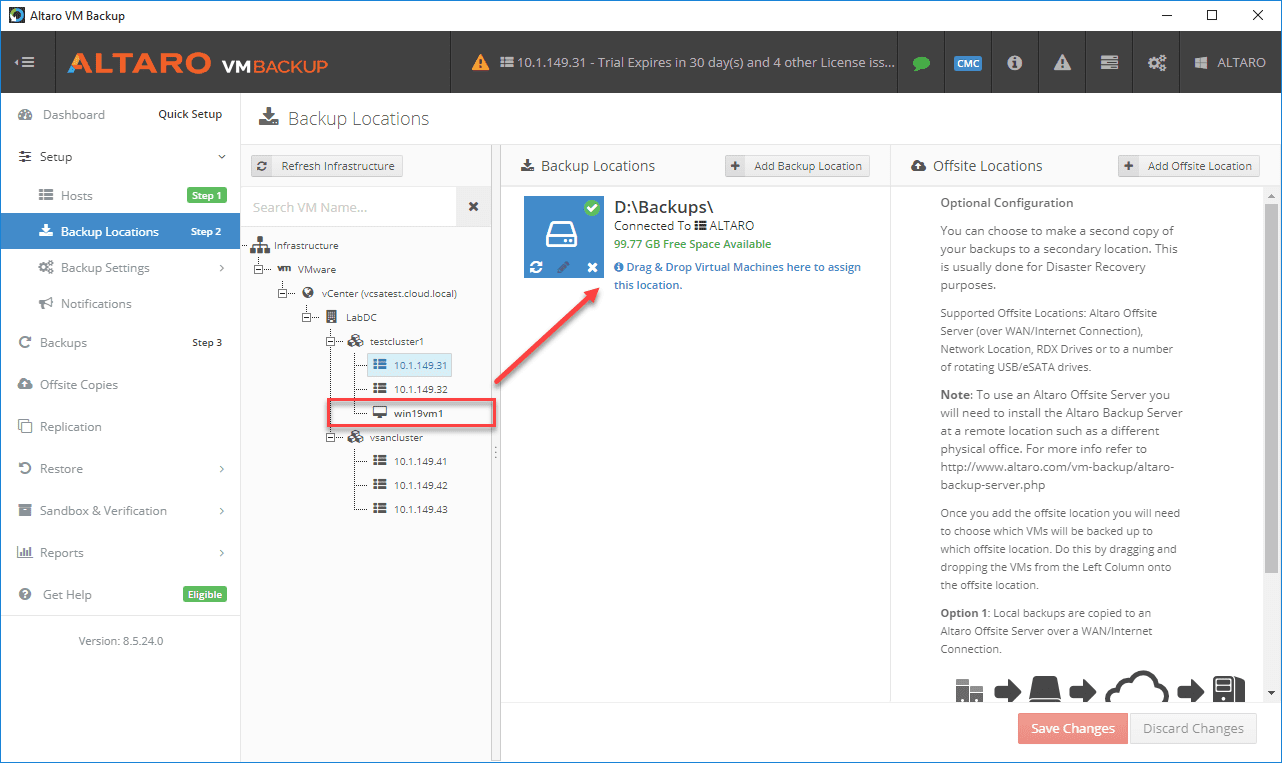
Altaro’s easy interface allows many actions to be simple drag and drop actions. Assigning a VM to a particular backup location involves “dragging” the VM over and dropping it onto the assigned backup location.
After assigning the primary backup location, you will see the VM “turn green”. Click the Save Changes button in the lower right-hand corner. Also, make note of the Offsite Locations. Offsite copies are essential to allow meeting the objectives of the 3-2-1 backup best practice methodology.
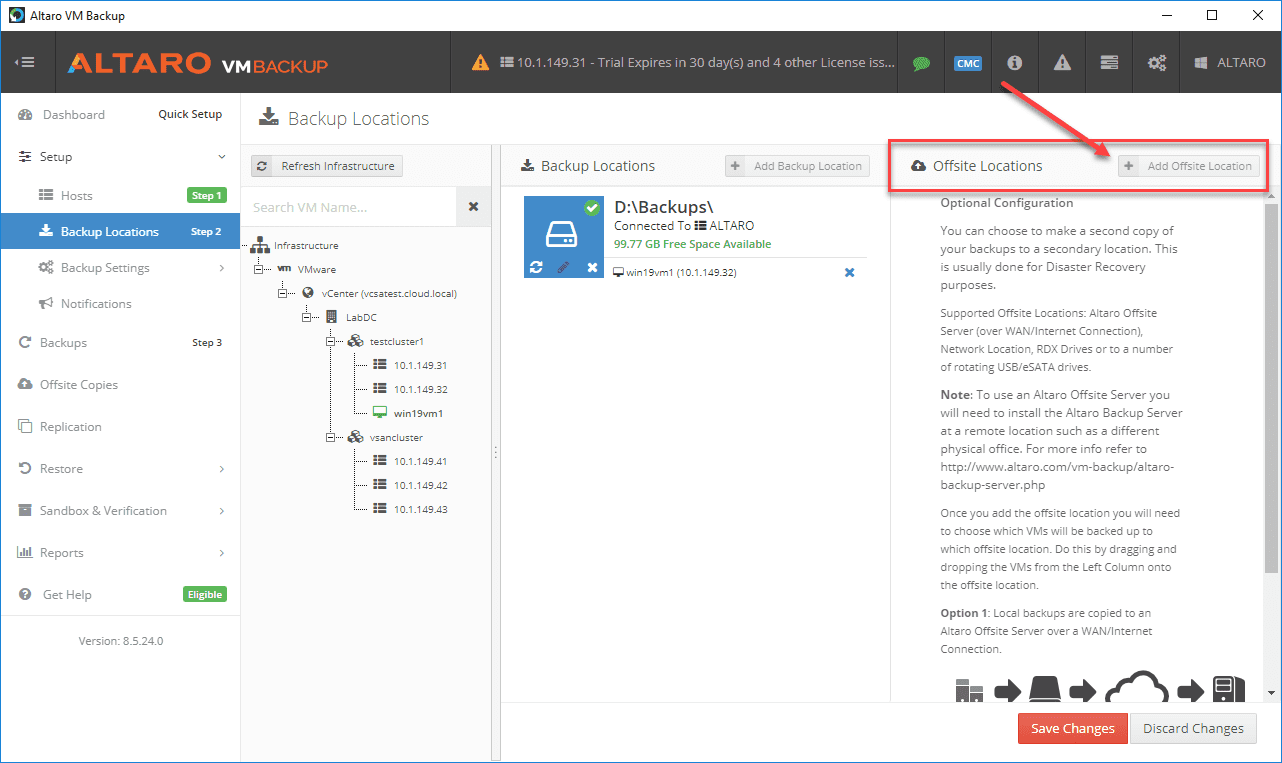
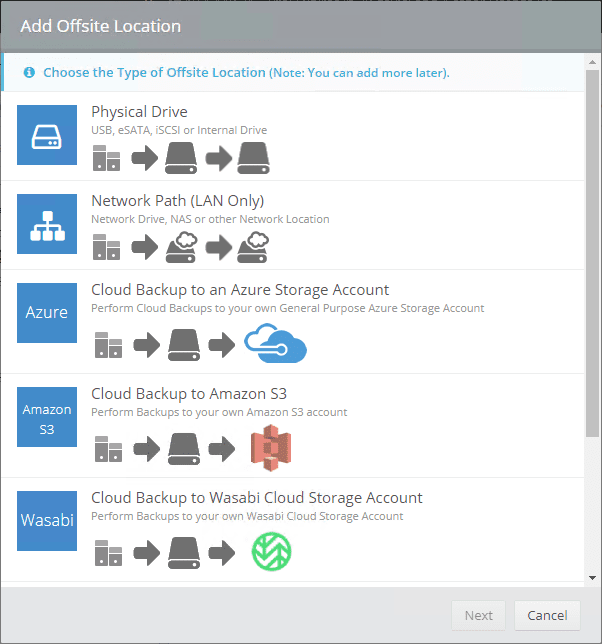
Altaro provides a number of Offsite Locations for meeting disaster recovery needs. Supported Offsite locations include the following:
- Altaro Offsite Server (over WAN/Internet Connection/Fiber)
- Network Location
- RDX Drives
- Rotating USB/eSATA drives
- Cloud Backup to Azure, Amazon S3, Wasabi Cloud Storage
The Altaro Offsite Server is an additional free-of-charge product that is designed to be installed at a different physical office location, used to house the offsite copies from the primary backup server.
After setting up your backup locations, you are ready to begin creating, scheduling, and taking backups.
Concluding Thoughts
In this Altaro VM Backup Review Part 1, we looked at Altaro as a backup solution from downloading, installation, and provisioning storage for use as a backup target. All of these steps were easily accomplished. The workflow of the interface was intuitive and even though I wasn’t as familiar with the product as others, it was easy enough to get up and running quickly.
In Part 2 of the Altaro VM Backup review, we will get into actually taking backups, creating scheduled backups, compression and deduplication, as well as the many restore options including VM replication that Altaro offers to recover and protect your data.
Google is updating how articles are shown. Don’t miss our leading home lab and tech content, written by humans, by setting Virtualization Howto as a preferred source.
About The Author