The VMware community has been abuzz over the past couple or three days at the time of this writing with the release of VMware NSX-T Data Center 2.4. This is a huge release that has everyone talking about the new direction moving forward with VMware NSX-T. There are some really exciting architectural changes with VMware NSX-T Data Center 2.4 with the layout of the actual VMs in the NSX-T infrastructure. One of those being the now combined role of the nsx-manager and the nsx-controller roles into a single appliance. In this post, we will take a look at how to install VMware NSX-T 2.4 manager controller combined appliance to see what the process looks like to deploy the appliance which serves as the base infrastructure from a management and control plan perspective in the new NSX-T Data Center 2.4 infrastructure.
New Combined Roles and Resource Requirements
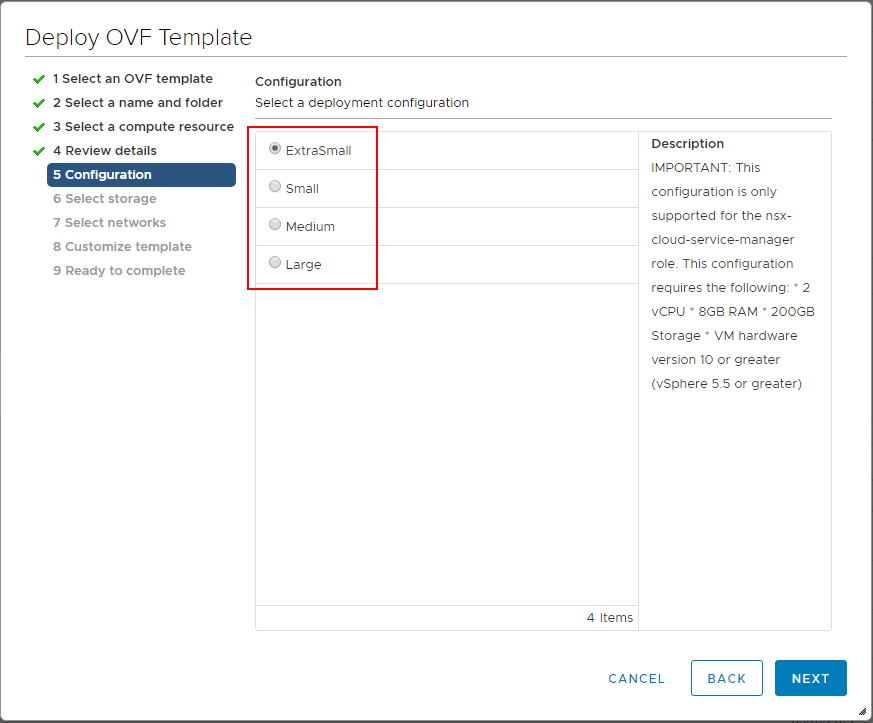
One of the huge architectural changes with NSX-T Data Center 2.4 is the combined role of the nsx-manager appliance and the nsx-controller. Now, the preferred and recommended high-availability mechanism comes from running a cluster of these NSX-T manager/controller roles. These combined roles will lessen the number of VMs that need to be provisioned for the NSX-T infrastructure. What are the sizing requirements that are needed for these combined roles? We will see a screenshot of the deployment process below, however, from that screen the following sizes and their virtual hardware requirements are listed. They are as follows:
Description – ExtraSmall
IMPORTANT: This configuration is only supported for the nsx-cloud-service-manager role. This configuration requires the following: * 2 vCPU * 8GB RAM * 200GB Storage * VM hardware version 10 or greater (vSphere 5.5 or greater)
Description – Small
This configuration requires the following: * 4 vCPU * 16GB RAM * 200GB Storage * VM hardware version 10 or greater (vSphere 5.5 or greater)
Description – Medium
This configuration requires the following: * 6 vCPU * 24GB RAM * 200GB Storage * VM hardware version 10 or greater (vSphere 5.5 or greater)
Description – Large
This configuration requires the following: * 12 vCPU * 48GB RAM * 200GB Storage * VM hardware version 10 or greater (vSphere 5.5 or greater)
As you see above, the ExtraSmall option is the smallest from a resource perspective. Notice that it is only supported for the nsx-cloud-service-manager role. However, you can run this for the combined manager/controller role, just know you are not in a supported state. This is a great option however for lab environments where resources may be limited.
Filenames:
The file names downloaded at the time of writing this post are as follows:
- nsx-unified-appliance-2.4.0.0.0.12456291.ova – 6,989,020 KB
- nsx-edge-2.4.0.0.0.12454265.ova – 763,760 KB
Install VMware NSX-T 2.4 Manager Controller Combined Appliance
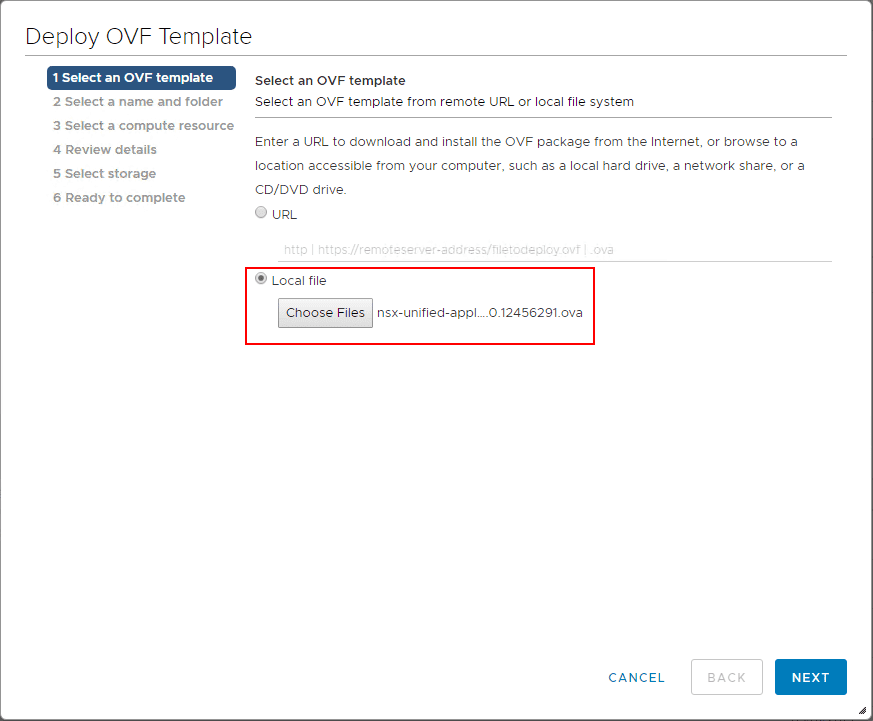
To install VMware NSX-T 2.4 Manager Controller Combined Appliance, you simply follow the normal OVA appliance deployment process and the OVA deployment wizard will guide you through the process with configuration.
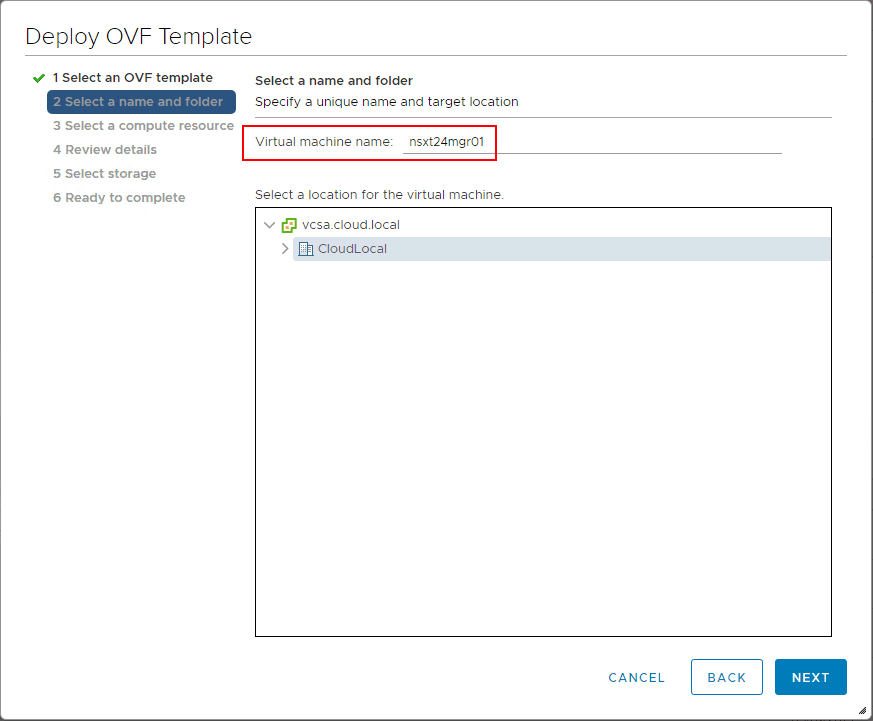
Standard OVA here – name the resulting VM in inventory for the NSX-T Data Center 2.4 combined appliance.
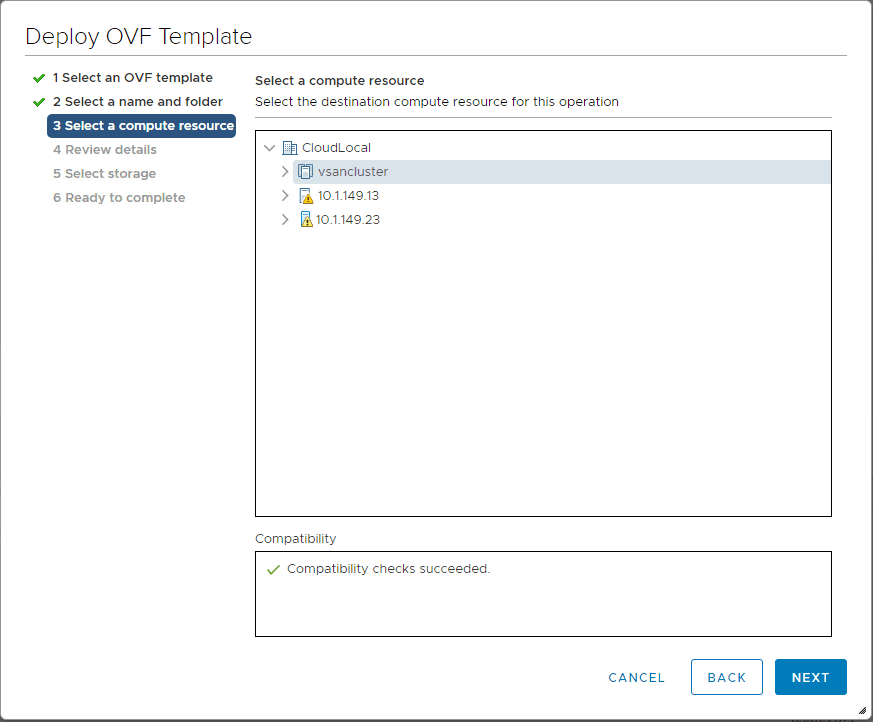
Selecting the compute resource.
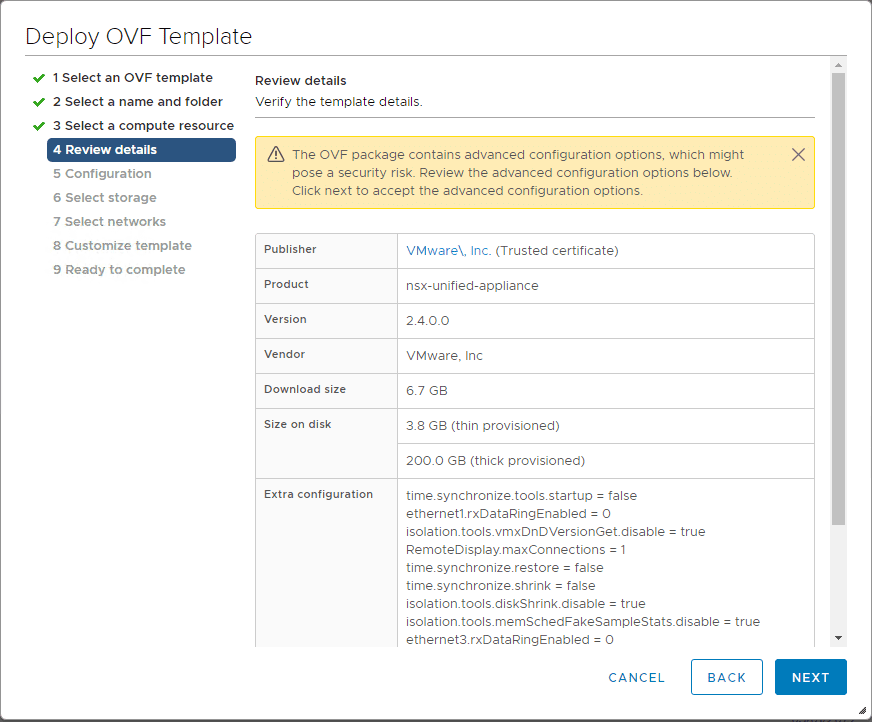
The initial review of the OVA package deployment.
On the configuration page, this is where you select the size of the appliance. I have listed out the virtual hardware requirements above under the requirements section for each size you see below. Even though it is not supported as such for the combined manager/controller role, I am selecting the ExtraSmall appliance configuration for running on home lab hardware.
Select a port group configuration for network connectivity for the NSX-T 2.4 appliance.

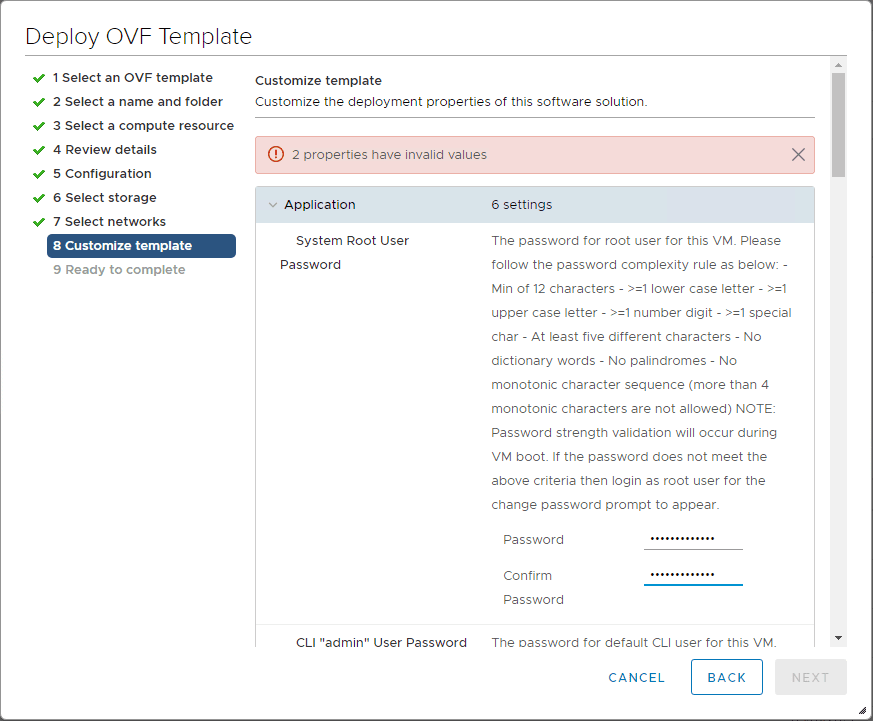
On the Customize template screen, you want to pay attention to several details here:
- admin CLI password
- system root user password
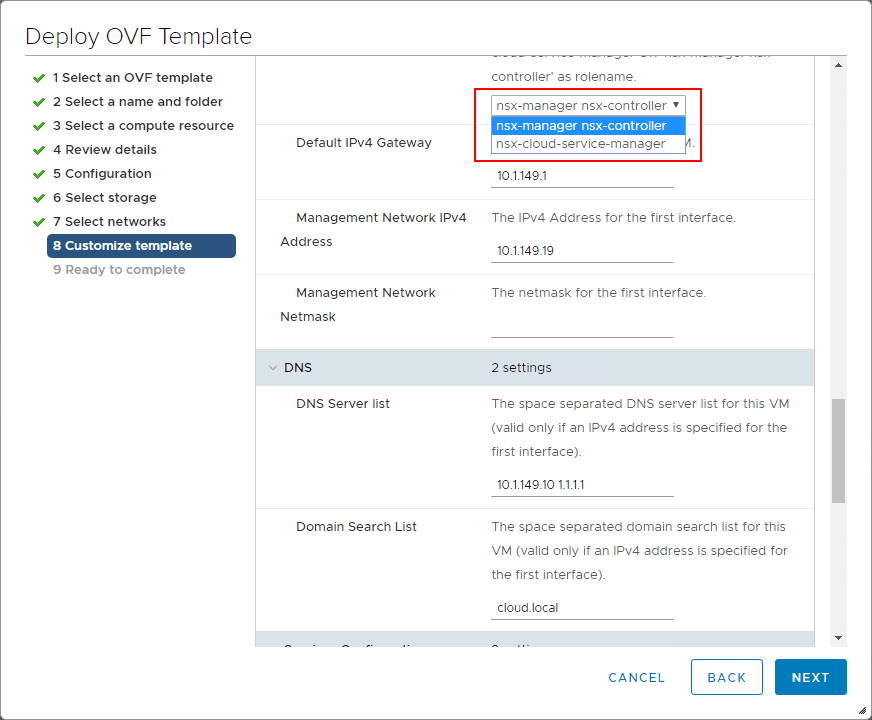
- Network address settings (IP Address, Subnet, Gateway, DNS, NTP)
- Role of the appliance (combined manager/controller, or nsx-cloud-service-manager
A look at the Rolename drop down box.
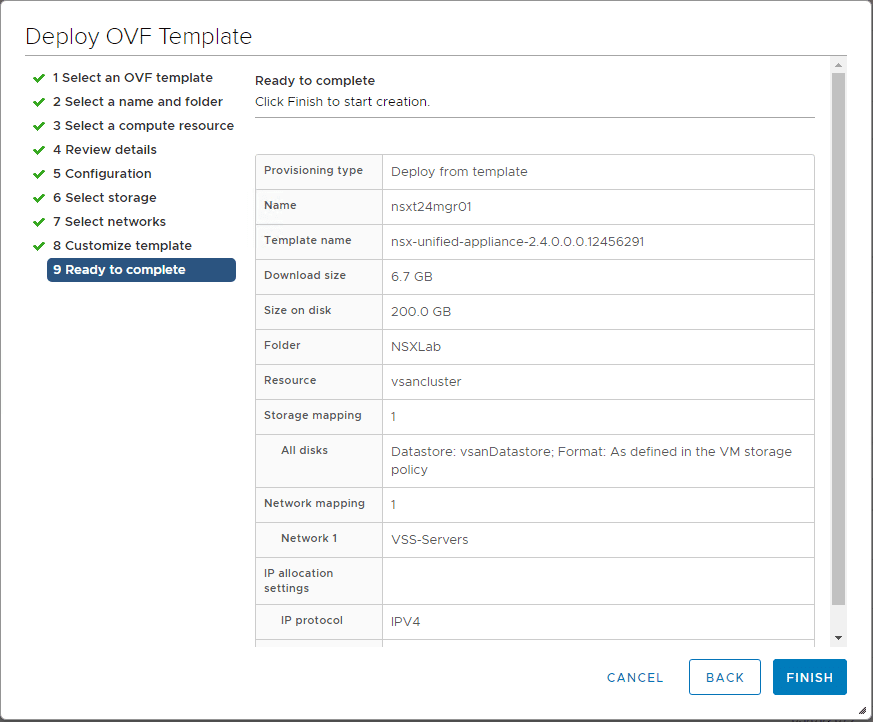
Ready to complete the NSX-T Data Center 2.4 combined appliance.
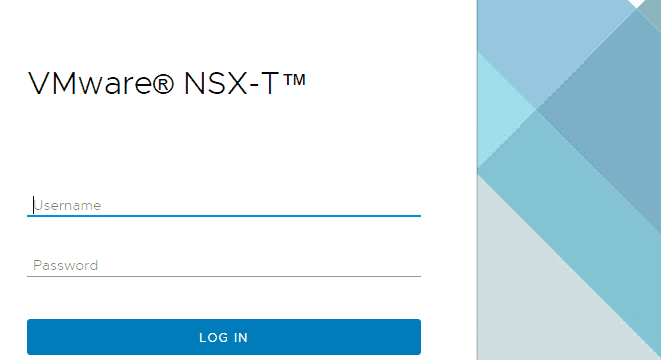
After the appliance is deployed and fully boots, you should be able to browse to the IP you assigned during the deployment of the appliance.
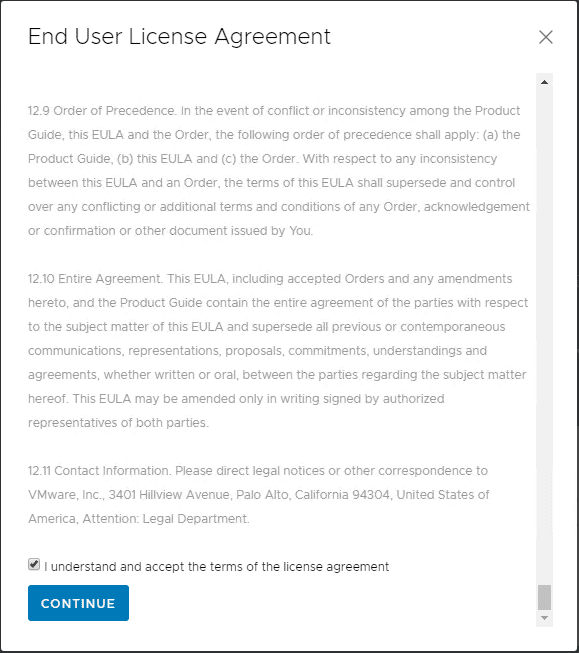
After logging in, you will see the EULA presented.
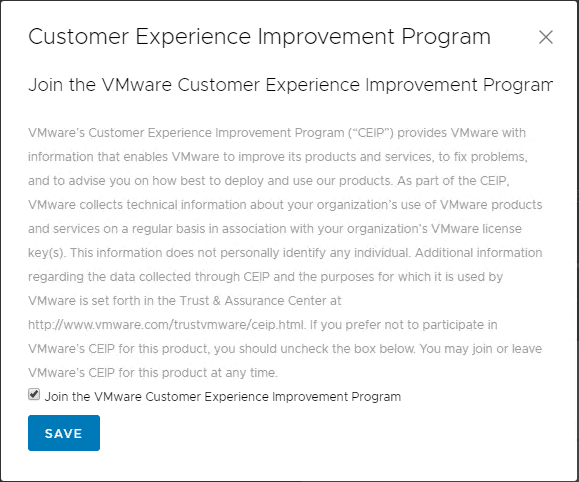
Next, make a choice on joining the VMware customer experience improvement program.
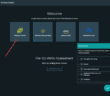
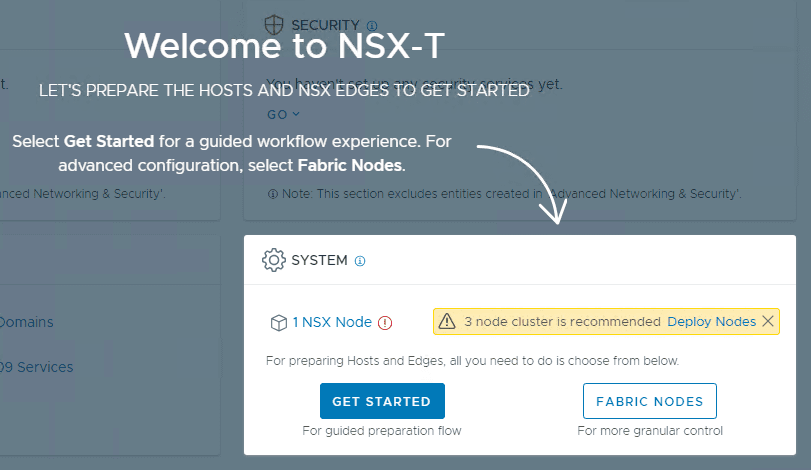
The NSX-T 2.4 UI will greet you with a guided workflow of sorts that suggests deploying additional cluster nodes if you haven’t created a cluster (recommended) or you can proceed without doing that. Clicking the Get Started button will take you to the Get Started dashboard that will walk you through the next step to standing up the NSX-T infrastructure.
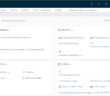
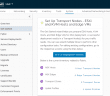
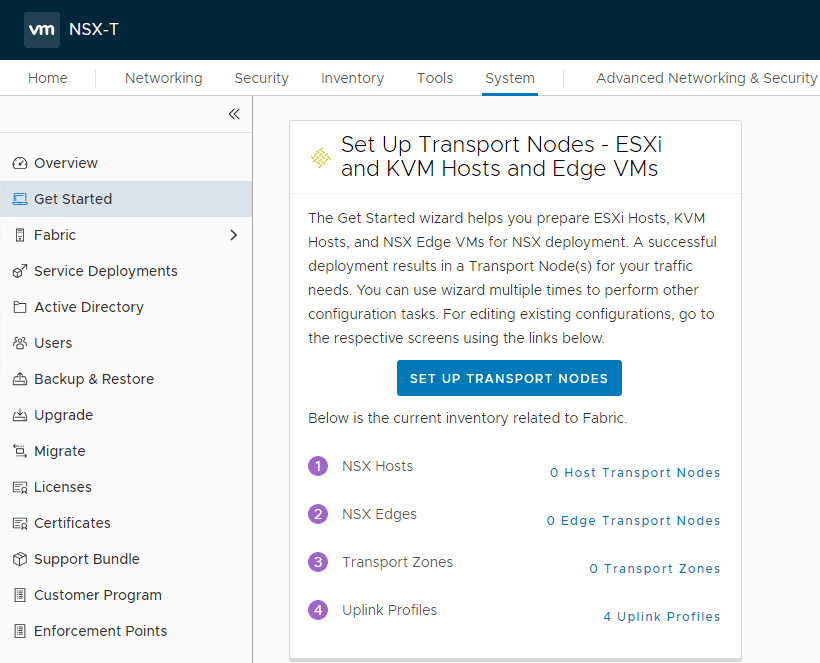
Below, the Get Started wizard helps you prepare ESXi hosts, KVM hosts, and NSX Edge VMs for NSX deployment. As it mentions, a successful deployment results in a Transport Node(s) for your traffic needs. You can use the Get Started wizard multiple times for your other configuration tasks. To edit existing configurations, go to the respective screens using the links provided on the Get Started screen.
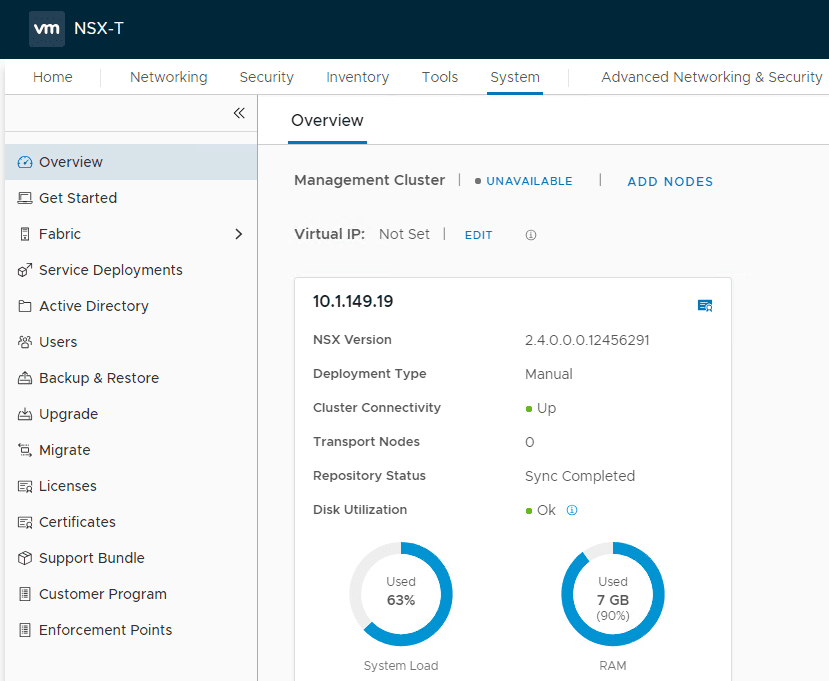
A look at the Overview page of the NSX-T Manager/controller appliance showing resources, network configuration, NSX-T version, deployment type, transport nodes, repository status, disk utilization, etc.
Please stay tuned for continued configuration of the NSX-T Data Center 2.4 configuration and we will look at the configuration of the environment after installing the NSX-T Manager/controller combined appliance.
Wrapping Up
As we covered in the previous post, NSX-T Data Center 2.4 is a great leap forward for the entire NSX ecosystem. It provides a tremendous amount of new capabilities with the platform and certainly represents the way forward for greenfield installations of NSX in either vSphere or other environments. Hopefully this look at installing the VMware NSX-T 2.4 Manager Controller Combined Appliance has been helpful in showing the easy process of getting the combined appliance provisioned and ready for continued configuration.
Google is updating how articles are shown. Don’t miss our leading home lab and tech content, written by humans, by setting Virtualization Howto as a preferred source.
About The Author