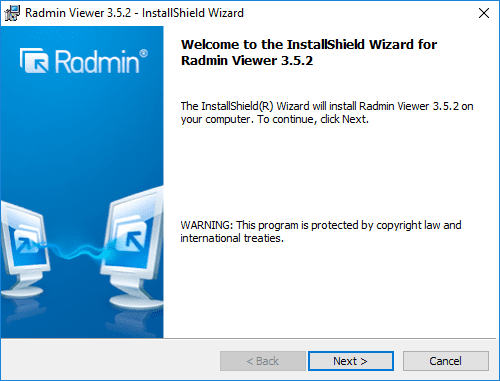
There are certainly cases when you need to connect to the console session of a Windows 10 remote workstation. One of which I documented here concerning testing 802.1x authentication. However there are many other scenarios that might require you to shadow an end user working on a remote Windows 10 desktop that needs help or you simply need to see what they are doing. I am always looking for good remote utilities of this sort. In case you haven’t tried Radmin, it is a great little remote support utility that allows viewing, controlling, supporting, and even chatting with a remote workstation via a server component. Let’s take a look at Radmin Windows 10 Remote Viewing Support and Console Control Utility and see how the utility is installed and used.
Installing Radmin Windows 10 Remote Viewing Support and Console Control Utility
One of the standout features of Radmin IMHO is the security highlights of the product. When you are talking about remote tech support and remote viewing of a client workstation console, security must be at the forefront of the solution. Radmin features really great security features and technology baked into the product. Some of the highlights of the solution include:
- AES 256-bit encryption of all data streams
- Use of Windows or Radmin local security
- Windows Security highlights include granular assigning of permissions to either users or groups from Active Directory using Kerberos authentication.
- Radmin security highlights include granular permissions assignment using Diffie-Hellman based key exchange with 2048-bit key size for user authentication.
- IP filter capabilities to filter connections from unauthorized IP addresses
- Includes audit log of both the DNS name and user name of connections made
- Smart protection from brute force password attempts.
This focus on security with the solution is certainly great for those environments that are under extra security compliance regulations. Installation of the solution is very easy. There are basically two components to the Radmin utility:
- Server Component
- Viewer
- Download the Radmin components here: http://www.radmin.com/download/
As you might imagine, the server component is the component that is installed on the end user client machine that you want to control or view the console session. The Viewer component is the management console that you use to connect to the client workstation.
Installing the Server Component
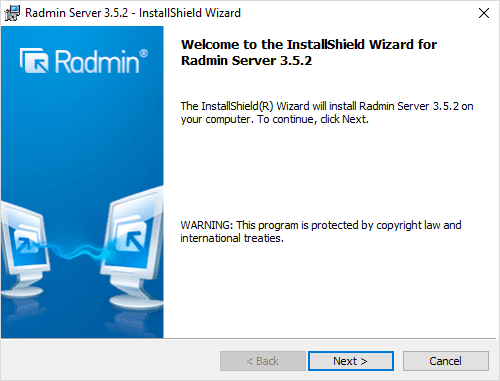
At the time of this writing, the file I have downloaded for the Radmin Server component is called Radmin_Server_3.5.2.1_EN. File size is 4.34 MB. The process to install the file is a basic MSI installer wizard that we all know too well.
Accepting the EULA agreement in the next step of the installation.
Beginning the actual installation of the Radmin Server 3.5.2 application.
The installation process begins copying files to the server and setting up the Radmin Server service. The service installed is called Radmin Server V3.
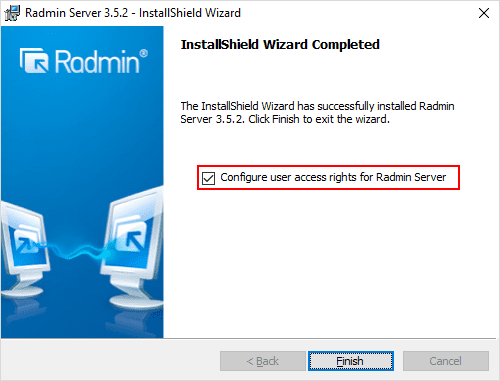
The installation of the Radmin Server component completes quickly. You will see the option to Configure user access rights for Radmin Server checked by default. This is important as you don’t want the Radmin Server component to be wide open to anyone to connect.
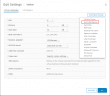
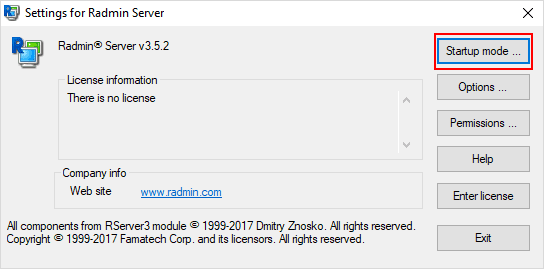
This launches the small Settings screen for Radmin Server. You will see several configurables here:
- Startup mode
- Options
- Permissions
- Enter License, etc
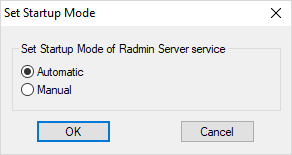
Configuring the Startup Mode for Radmin Server basically sets the Radmin Server V3 Windows service properties and if the service is started automatically when Windows starts or not.
Next, click the Options button.
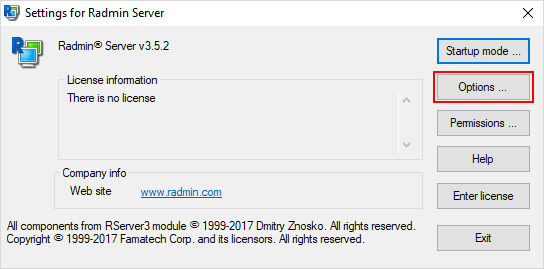
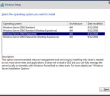
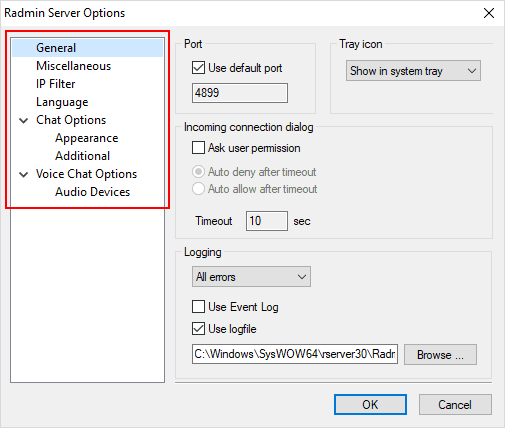
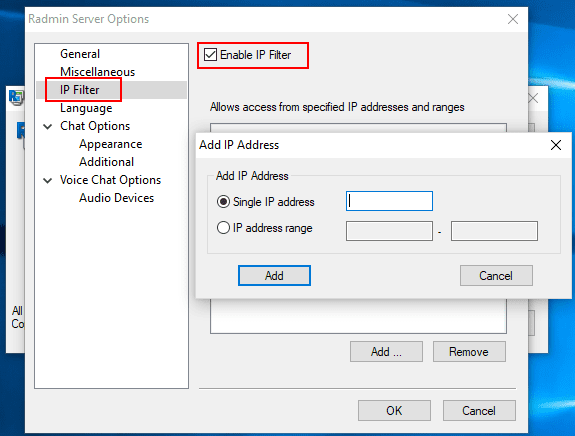
This brings up the Radmin Server Options that can be configured. Here are many aspects of the service that are controllable. This includes the server port, tray icon visibility, etc. Additionally, the IP Filter can be used as additional security for connections.
Enabling the IP Filter allows adding a Single IP address, or IP address range to allow connections.
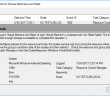
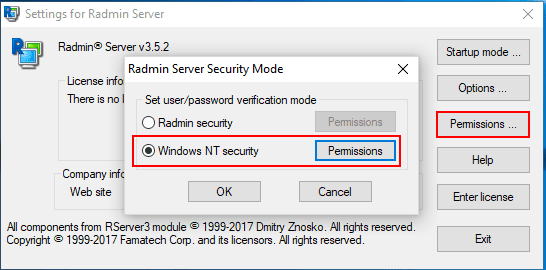
Clicking the Permissions button allows configuring how the authentication to the Radmin Server is performed. You can select either Radmin security or Windows NT security. The Radmin security option allows setting up a local database of users/passwords that are able to connect. For most, however, running in a Windows domain environment, the second option, Windows NT security is going to be the most desirable. Here you can select the Permissions button and add the Windows users/groups you want to allow to connect and their various permissions.
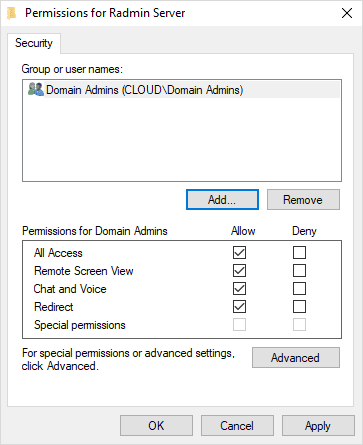
Adding a Windows group to allow Radmin server connections. Notice the permissions available include:
- All Access
- Remote Screen View
- Chat and Voice
- Redirect
This granular assigning of permissions is a great way to restrict what actions various groups have access to.
Viewer Component
Once you have the Radmin Server installed on the client device, install the viewer component to interact with the Radmin Server. This process is equally as intuitive and painless as installing the Radmin Server.
Accept the EULA for the Radmin Viewer installation.
Choose the destination folder and the visibility of the Radmin Viewer application to Windows users.
Ready to install the Radmin Viewer application. Click Install.
The Radmin Viewer installation completes successfully.
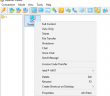
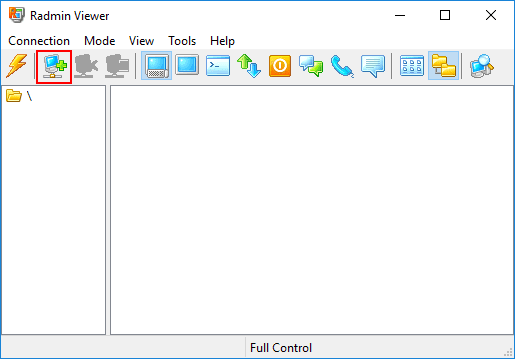
The Radmin Viewer application is extremely intuitive with the relevant actions and configurables made possible by the buttons in the toolbar of the Radmin Viewer application. You can add a new connection by clicking the computer icon with the + sign.
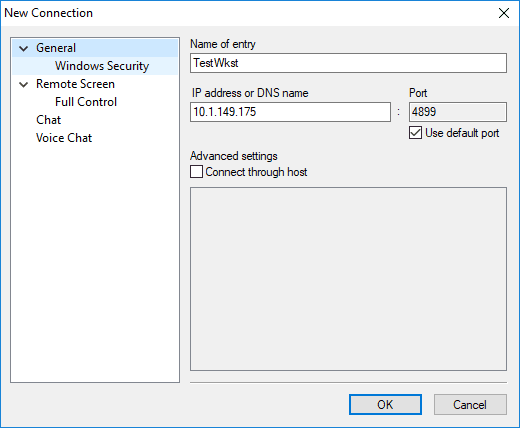
To add a new connection, you need to populate the normal, expected information to make the connection including a name for the entry, IP or DNS name, and port of the Radmin Server component running on the remote client.
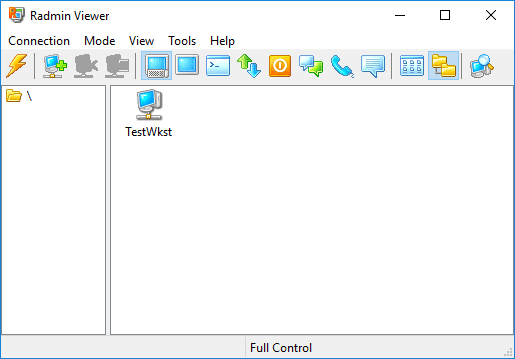
The new connection is made and you see it in the connection window, ready to make connections.
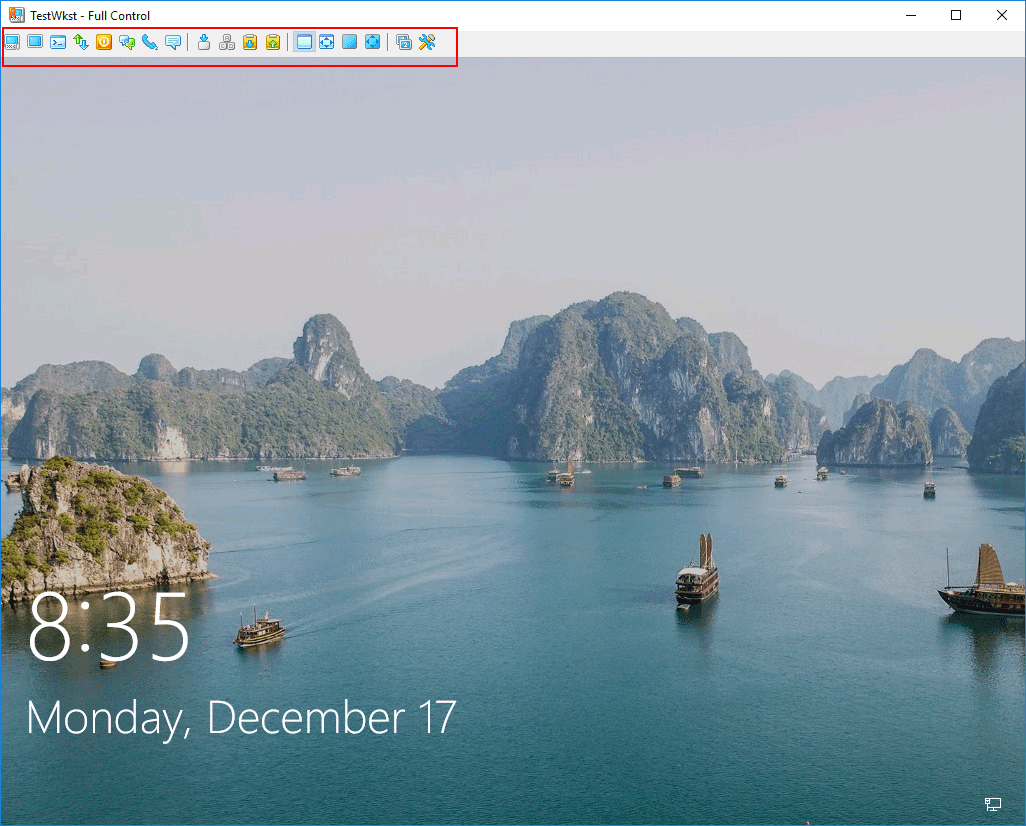
You can simply double-click on the new connection to establish the connection to the remote client. You will see a console Window appear in the screen along with a toolbar of available tools, and configurables. Available actions from the toolbar include:
- Control remote client
- View remote client
- Connect via terminal window
- Transfer files to and from remote client
- Shutting the remote client down
- Text chatting with remote client
- Voice chatting with remote client
- Sending keystrokes
- Many others…
As you can see, unlike a Remote Desktop session the workstation does not have to be logged in to view the desktop. The Radmin Server allows “seeing” the desktop even if it is not logged in.
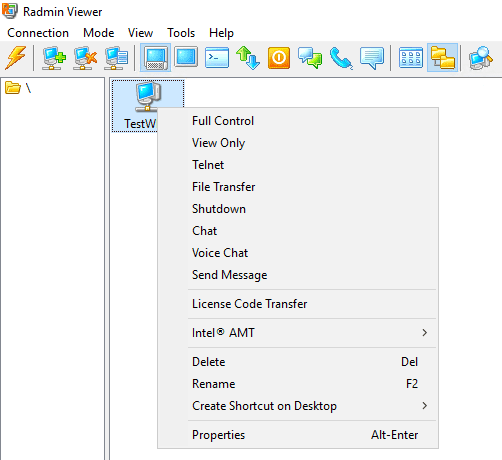
Additionally, you can right-click the connection and see various context menu options available.
Takeaways
Radmin Windows 10 Remote Viewing Support and Console Control Utility is a great utility for viewing remote clients via the console. It boasts many great features, especially when looking at the security aspects of the utility. Connections made to remote clients allow a wide range of capabilities including control, viewing, transferring files, chatting and other features. For me in the home lab, this has been a great little utility for testing applications and functionality that require viewing the console connection of the remote client, such as 802.1X. Radmin is available as a 30-day, fully functional trial version which lets you fully test it out in a lab or other environment to put the features and functionality through the paces.
Google is updating how articles are shown. Don’t miss our leading home lab and tech content, written by humans, by setting Virtualization Howto as a preferred source.
About The Author