As we have already covered, there are many great new features released with NAKIVO Backup & Replication v7.4. One of the powerful features introduced was the Instant File Recovery to Source feature. Prior to the 7.4 release, you had to either Download or Email the recovered file to be able to restore it. While this certainly fits a number of use cases and needs, most will want to recover files directly to the source server where the file restore is needed. The new Instant File Recovery to Source shortcuts that process and allows immediately restoring the file where the restoration needs to happen – the source server. Let’s take a closer look at NAKIVO Backup and Replication v7.4 Instant File Recovery to Source and how the Instant File Recovery to Source process works.
NAKIVO Backup and Replication v7.4 Instant File Recovery to Source
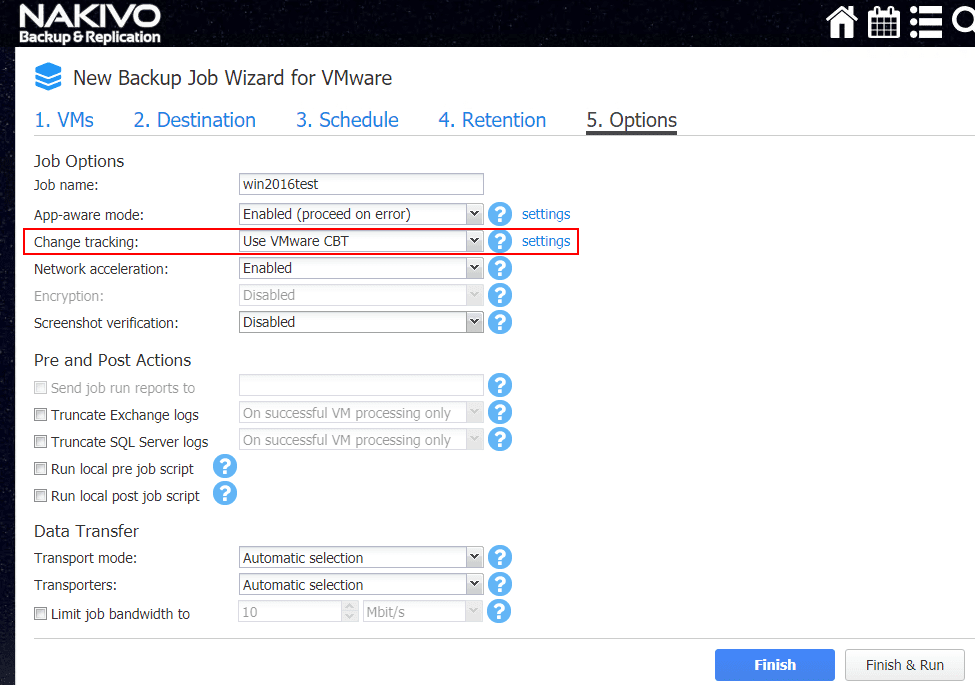
One of the great things to point out about NAKIVO Backup & Replication is that it uses VMware’s CBT technology which means the image-level backups are extremely efficient. Only those blocks that have changed since the last backup are copied over in the new backup iteration. File level restores work off this backup efficiency that is built into NAKIVO Backup & Replication.
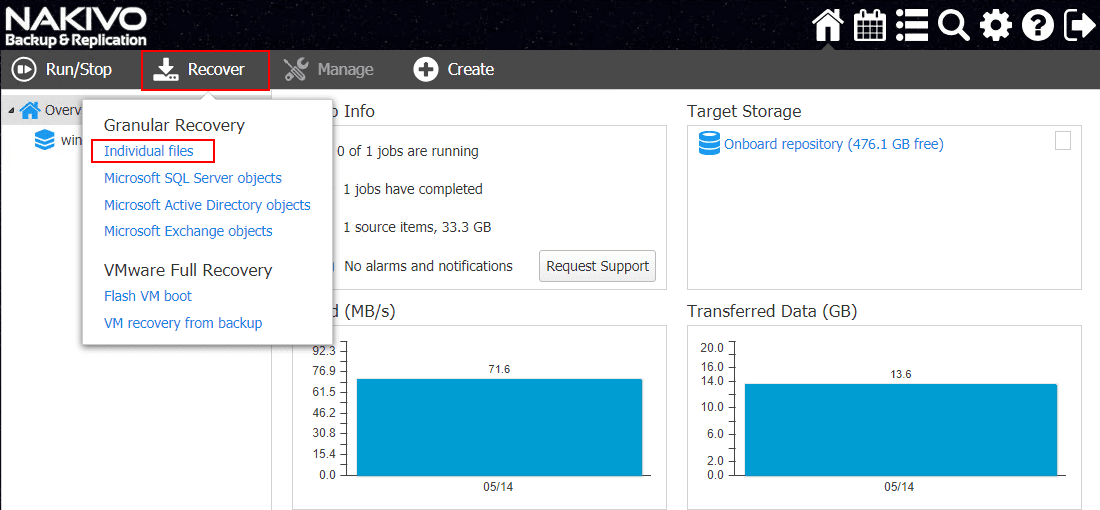
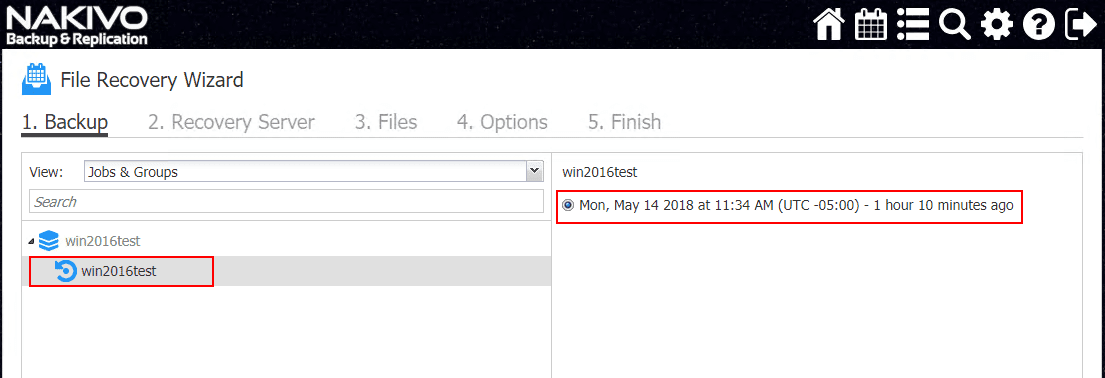
This begins the process of the File Recovery Wizard in the NAKIVO console. This is a quick and easy five step process that allows the quick file recoveries to source servers. Step 1 in the process is where you select the server backup and then also the specific backup recovery point you wish to recover files from.
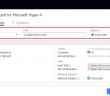
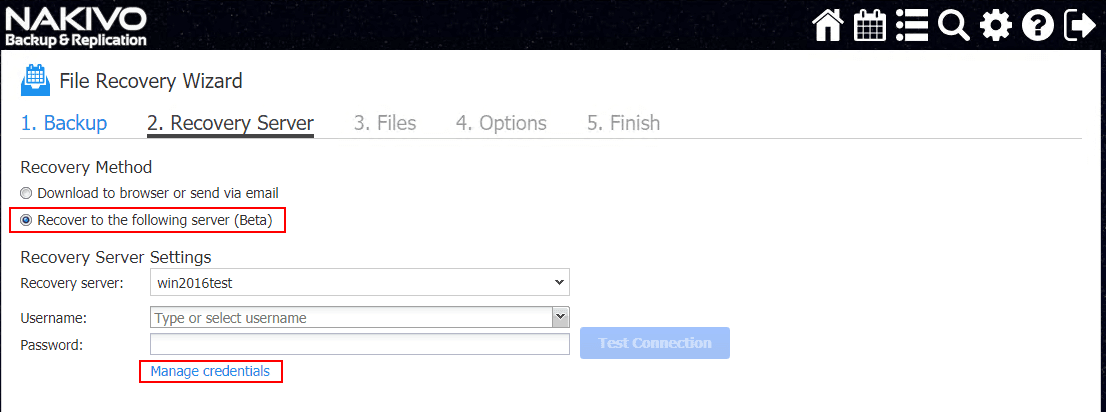
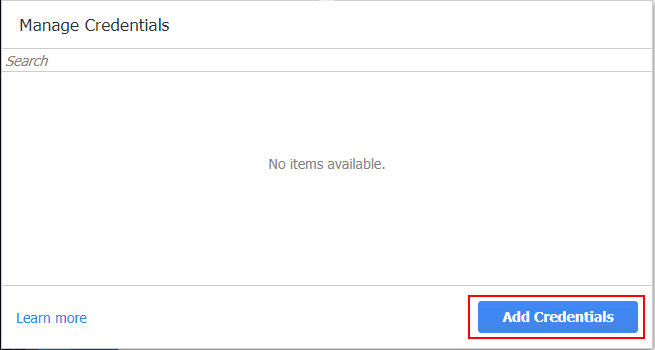
In Step 2, we find the new functionality of the Instant File Recovery to source. You can now choose the option to Recover to the following server (Beta). To use this option, you need to have credentials that are able to authenticate to the server and interact with the guest operating system. If you have not already added credentials that will authenticate to the guest operating system, choose the Manage credentials link at the bottom of the Recovery Server screen.
This will take you to the Manage Credentials dialog box where you select the Add Credentials button.
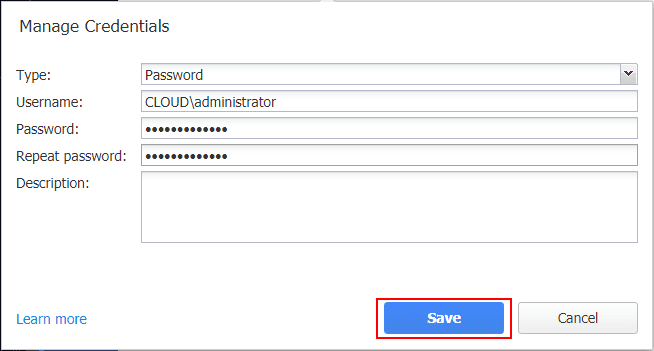
After adding the username and password for the new user that has permissions to the guest operating system to recover files, click the Save button.
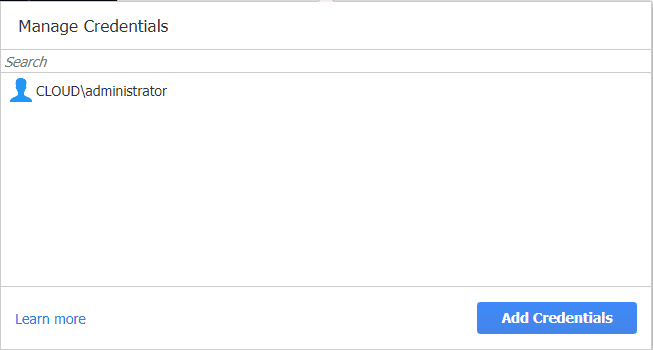
You will now see the newly added credentials in the Manage Credentials box.
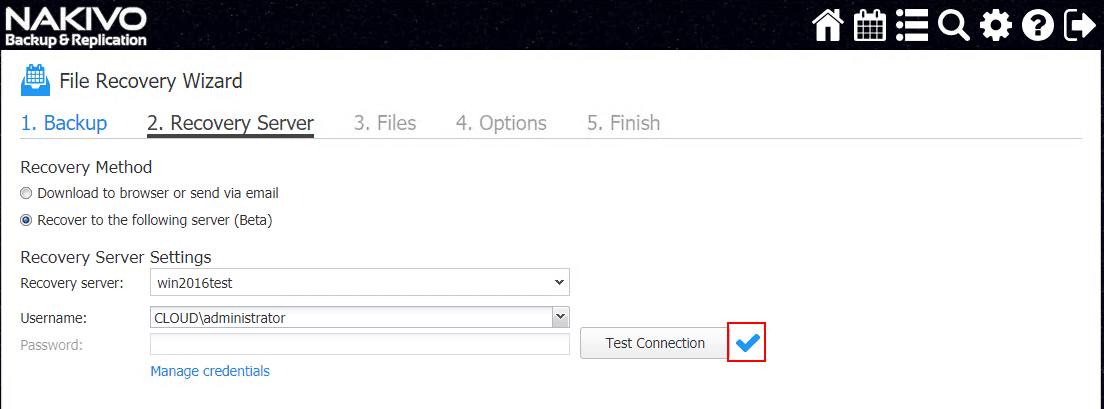
Now, you can choose the Recovery Server which is the target of the file recovery operation (source of the files when the backup was ran) to restore the files to. The Username allows pulling down the dropdown and selecting the credentials you just added in the Manage Credentials dialog box. You can then run the Test Connection process which allows testing authentication to the server.
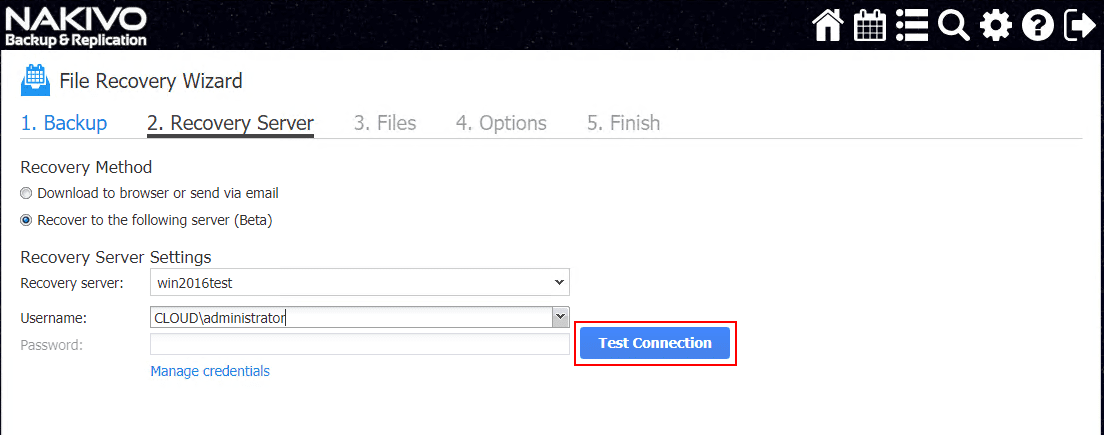
You should quickly see a “blue checkbox” as shown below which verifies NAKIVO can authenticate to the guest operating system running in the virtual machine.
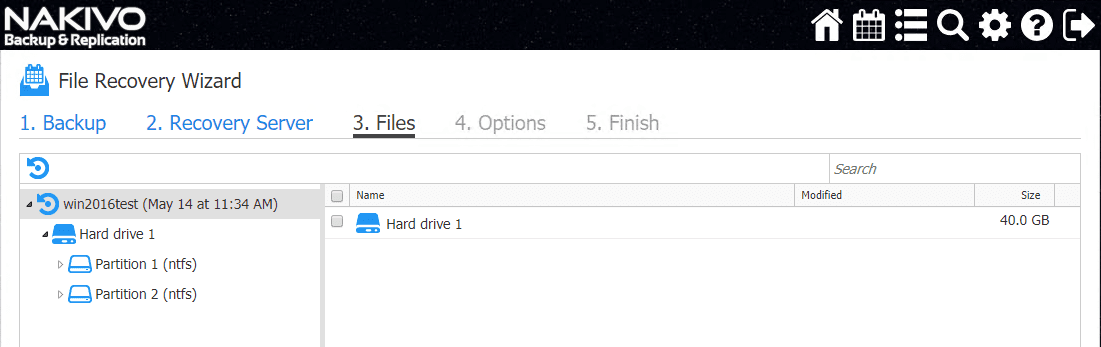
Moving on to Step 3, this is where you can browse the Files that are contained in the backup and recovery point.
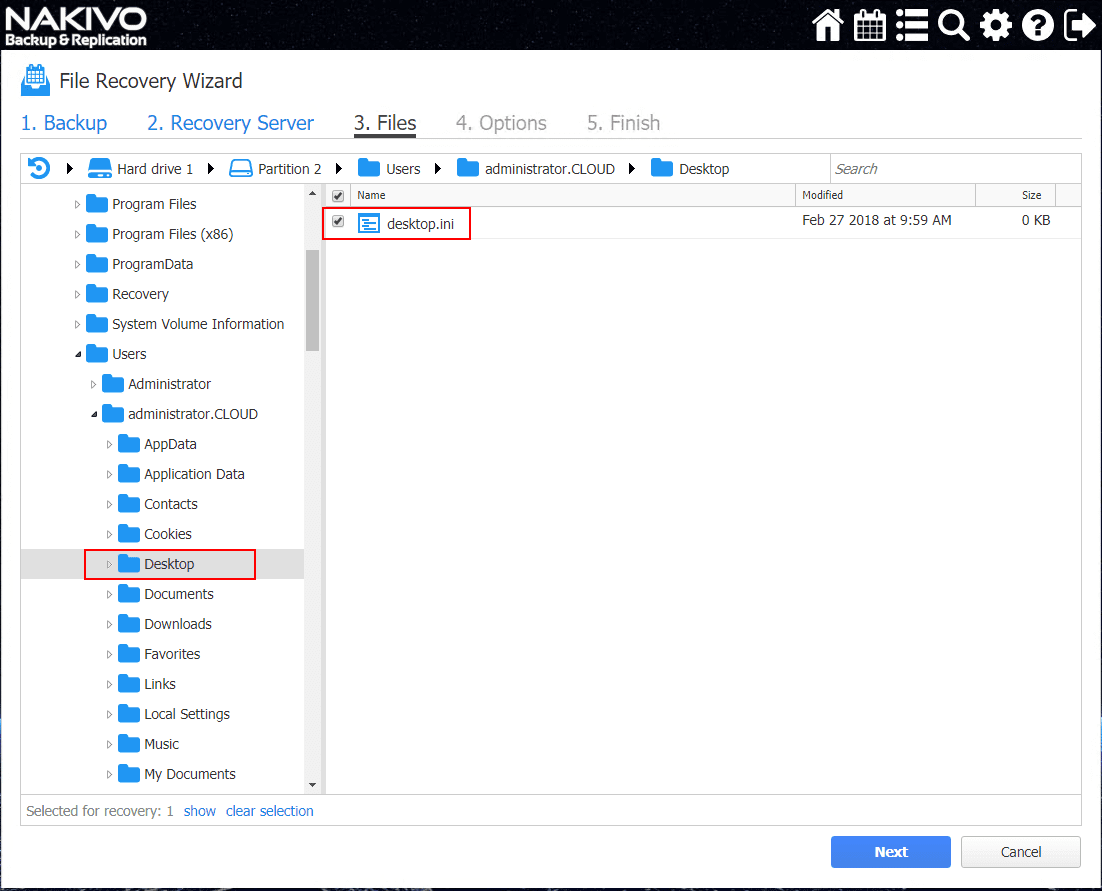
Select the file(s) that you wish to recover using the NAKIVO File Recovery Wizard. Here we are simply selecting a small “desktop.ini” file to test functionality. After selecting the files to restore, select Next to move onto the Options screen in the File Recovery Wizard.
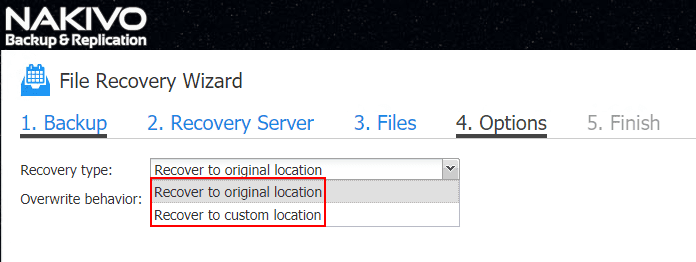
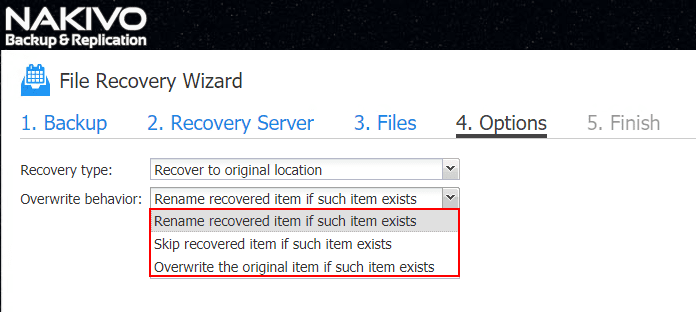
There are a couple of options in the initial Options screen:
- Recovery to original location
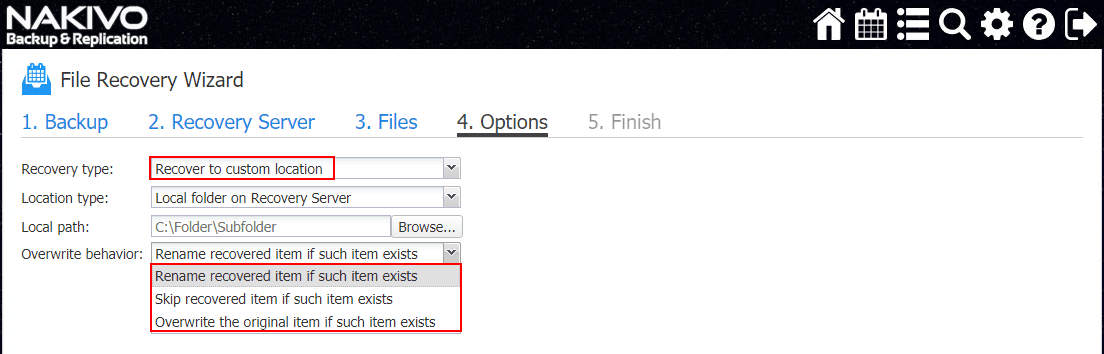
- Recover to custom location
In the Overwrite behavior you can control the behavior of the file recovery process if the file already exists in the destination. The options are:
- Rename recovered item if such item exists
- Skip recovered item if such item exists
- Overwrite the orginal item if such item exists
If Recover to custom location is selected, the overwrite options are the same.
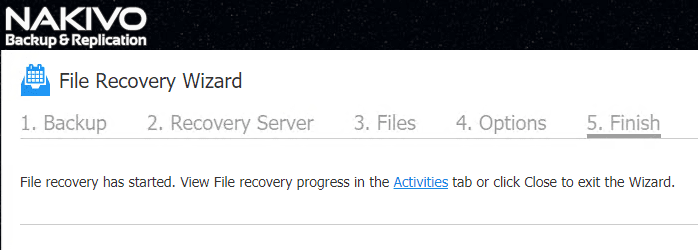
After selecting the restore location and the overwrite behavior options, clicking next takes you to the final screen – Finish. This initiates the actual file recovery operation. Also, in this screen, you will see the Activities hyperlink that takes you to the jobs status screen, showing progress of the file recovery operation.
As you can see below, the File recovery to “win2016test” VM shows to be Running.
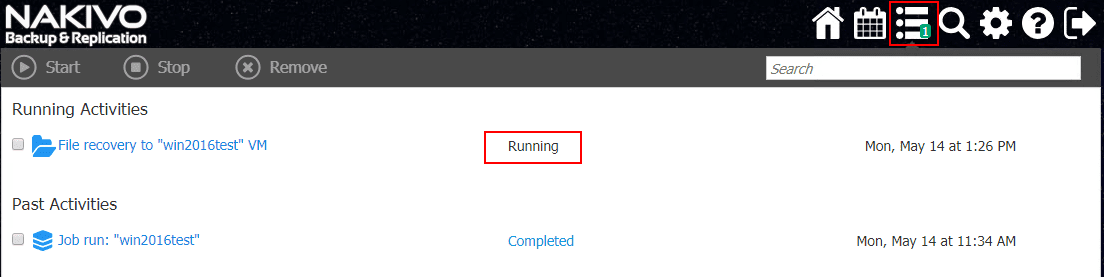
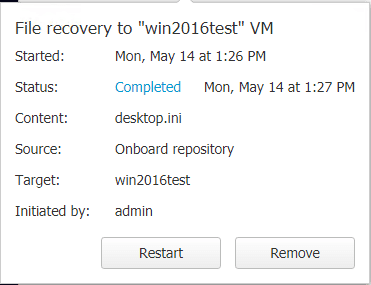
After a few moments the status changes to Completed. At this point the file recovery operation is complete, with the file being restored to the desired state from the NAKIVO image-level backup.
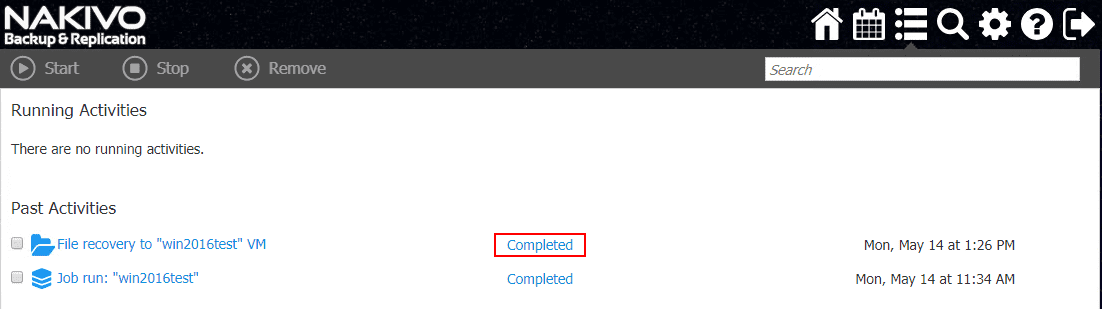
If you click on the hyperlink for the Past Activities job name, you can either Restart or Remove the task from the activites. This is extremely handy, if you have a file that needs to be repeatedly reset, perhaps in relation to a development environment, etc.
Takeaways
The new NAKIVO Backup & Replication v7.4 functionality that includes instant file recovery to source is a great new addition to the already long list of new features v7.4 contains. Being able to restore files to the source server without having to first either download the file or email the file to an email account, is a welcomed addition. While there are use cases where the former may be handy, being able to restore directly to the source server is typically what most environments will want to do. Additionally this eliminates any issues with either browsers or email accounts if the file is extremely large. This newly added feature in v7.4 brings NAKIVO on par with the other major players in the data protection field as they are certainly listening to the needs of the customers. Stay tuned for more detailed coverage of NAKIVO Backup & Replication v7.4 functionality.
Google is updating how articles are shown. Don’t miss our leading home lab and tech content, written by humans, by setting Virtualization Howto as a preferred source.
About The Author