Use Meraki MX Security Appliance to throttle bandwidth
As I detailed in a previous post, I was able to get my hands on a Meraki security appliance for home lab use. I am still liking the performance and cloud integrated features of the Meraki platform and the ease of which you can setup VPN, site to site VPN, firewall rules, etc. Let’s take a look at how you can use Meraki MX security appliance to throttle bandwidth easily and effectively.
Use Meraki MX Security Appliance to throttle bandwidth
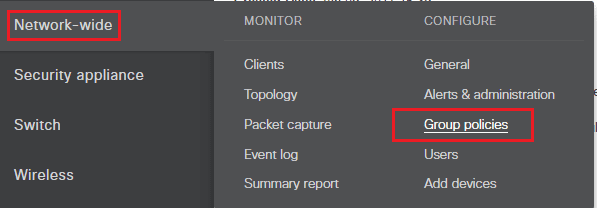
Perhaps the easiest way to throttle bandwidth using an MX Security appliance is to create a group policy with the bandwidth limits you desire for a particular client(s). This is not to be confused with Active Directory group policy as this policy exists in the Meraki cloud and doesn’t interact with Active Directory. The configuration is found under Network-wide >> Group policies.
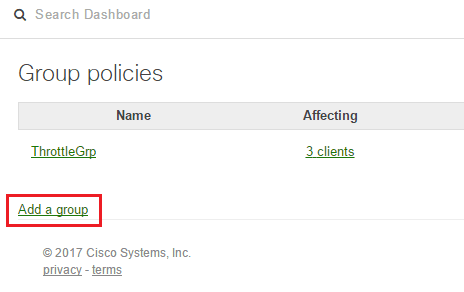
As you can see below, I already have a ThrottleGrp already setup. This is the one I will show the properties of below. However, to create a new group, just click the Add a group link.
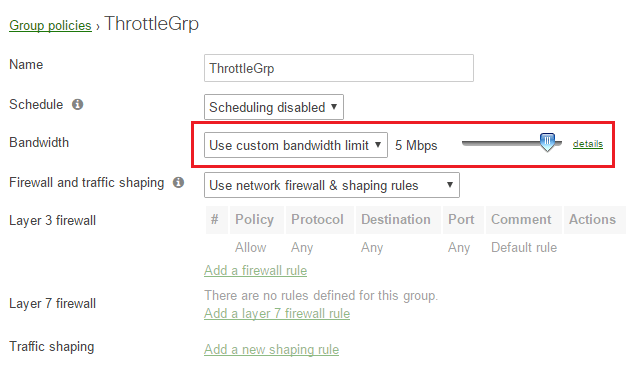
As you can see below, when you Add a group, you give the group a name first off. Also, to keep it simple for the example, the only setting I am changing is the Bandwidth setting. Choose Use custom bandwidth limit. The slider has presets moving at predefined intervals up to 5 Mbps. However, if you want to customize the limit further or provide a different value than the presets the slider offers, you can click details.
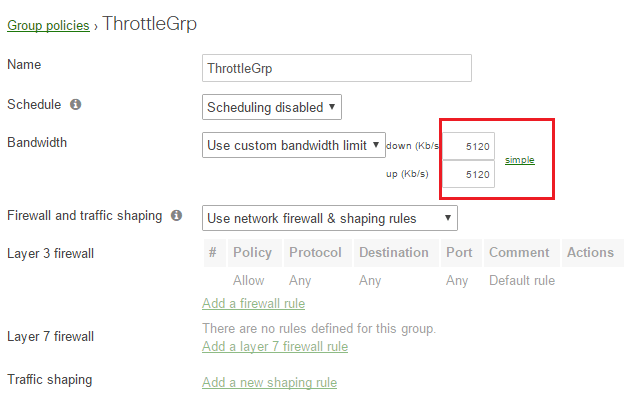
After clicking details above, you get an customizable down (Kb/s) and up (Kb/s) where you can type in the exact limits you want to set.
Applying the Group Policy limits
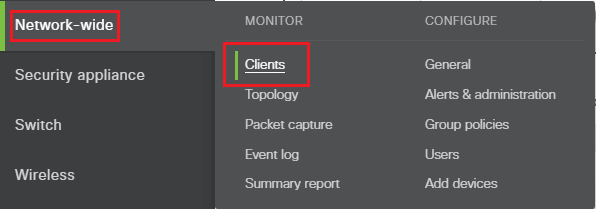
To apply the group policy limits to a client, we navigate to Network-wide >> Clients which will display a listing of all the clients in our network. Simply click the hyperlink for the client name or MAC address.
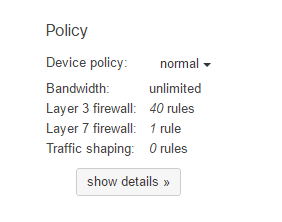
At the bottom of the client configuration page, you will see a Policy section. By default it will look like the following. Notice the Device policy is set to normal and Bandwidth is unlimited. This is the default settings for all clients.
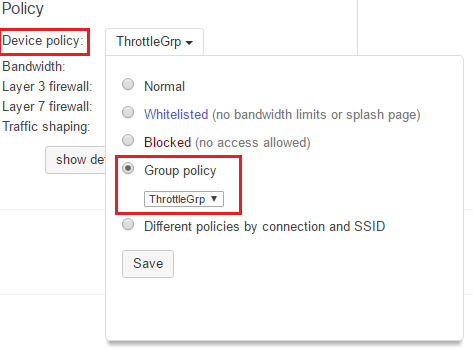
Now, we can click the normal dropdown and choose group policy and then pick from our available policies. Click Save.
After we have saved the policy and the MX security device is up to date with the cloud configuration, we can test on the client the policy is applied to.
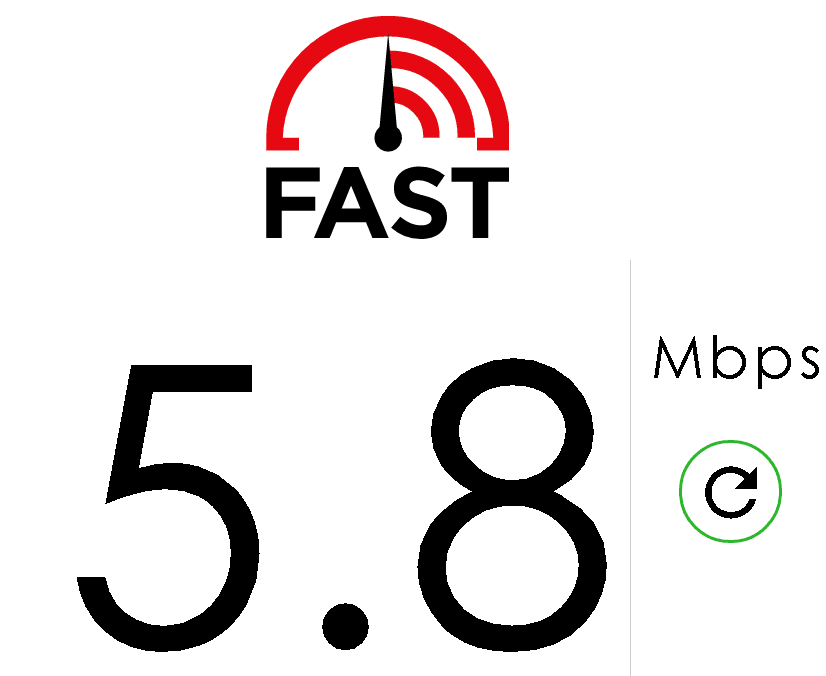
Below is a screenshot of using the https://fast.com Netflix sponsored website to test speed. This is on a 200 Mbps circuit, and as you can see we are correctly getting around 5 Mbps. Meraki allows some bursting on the throttle so this is why we see a little above that limit.
Thoughts
It is super simple to Use Meraki MX Security Appliance to throttle bandwidth and achieve control over devices that may be eating more than their fair share of bandwidth. The nice thing too with the Meraki cloud configuration is the changes can be made from anywhere as long as you can login to the Meraki dashboard.