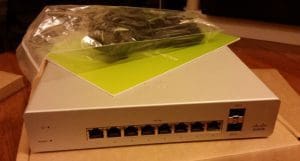
Recently, I was excited to get my hands on a new Meraki MS220-8P cloud switch. So I wanted to go through some of the unboxing highlights as well as some of the initial setup and configuration steps to get the switch up and running and talking to the Meraki cloud network. So enjoy the Meraki MS220-8P unboxing and initial setup review below.
The switch was packaged well with a minimalist approach to the packaging. However, if my opinion less is more without a ton of things to have to unpack and sort through. All of the documentation for the Meraki cloud switch is available on the web at https://meraki.cisco.com/docs/MS.
The unit is very sturdy with a metal case and feels like it is well built and durable. I have to say that I like the physical design of the switch. The only other hardware you get is the power cable in a plastic bag along with a booklet that basically covers the highlights of the Meraki cloud architecture and switch capabilities.
Setting up the Meraki
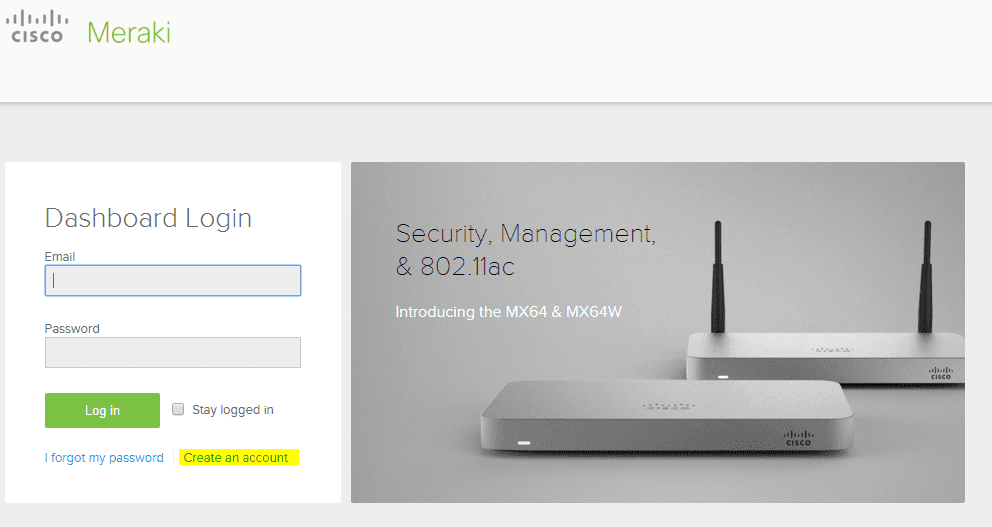
The first thing that you need to do is head over to dashboard.meraki.com and sign up for an account. Click the create an account link which will have you fill in your name, address, companyname and a few other details. The form will send out a confirmation email with a link that you will need to click to verify the account creation.
After the first housekeeping details and your account is created and ready to go, you are ready to add a device to your network. Click on your organization link and inventory which will allow you to claim the serial number of your device. The serial number on the MS220-8P can be found on the back of the unit.
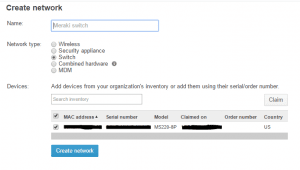
After you add the serial number of your device, you will be asked to create a network, including a name, network type, and select a device to include in that network.
So now we have the switch added to the account and as you can see below it has a status of Contacted at – never which means the switch hasn’t contacted the meraki cloud as of yet.
According to the Meraki quick start guide for the MS220-8P, it states:
“After powering on, your switch will download the latest software. While upgrading, the switch’s power LED will flash orange. Once the switch has checked into dashboard, the LED will turn green. Note: A solid orange light indicates that the device has not checked in with Dashboard yet.”
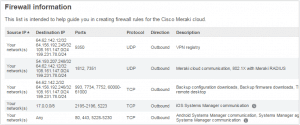
After waiting for a couple of minutes after booting the switch, the orange LED was still solid. I suspected there must be some connectivity issue between the switch and the Meraki cloud. After logging into the firewall, sure enough, there were tons of blocks from the IP the switch grabbed from DHCP and UDP port 7351.
A quick Google and the first hit was Meraki’s KB on the firewall ports that need to be opened for cloud connectivity. Take a look at that KB.
courtesty of Meraki’s website
After getting the firewall rules in place on my end, the switch then checked into the dashboard.
Local Access
If you don’t have connectivity to the cloud dashboard to administer your switch, you can access the switch using the hard coded local IP address (1.1.1.100) that is configured by default. Simply assign the address assigned below or any other class C address besides “.100” and you will then be able to connect to the default local IP address.
Meraki documentation shows the below IP for assigning to your workstation to connect.
IP: 1.1.1.2

Subnet Mask: 255.255.255.0
If you try to modify the uplink configuration, switch ports status, or switch ports configuration of the switch locally, you will be prompted for a username and password. You can set this password in the dashboard by going to Network Wide >> General >> Device Configuration and you will see the section Local credentials. If you haven’t set this password yet and you don’t have connectivity to the dashboard to set it from there, the default password for the admin user is the serial number exactly as it appears including case and hyphens.
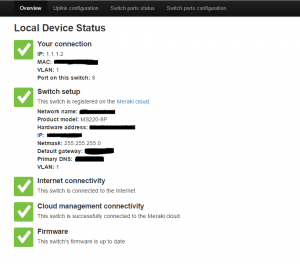
As a test of how quick the synchronization occurs between the cloud and the local switch, I set the password in the dashboard and had the login box up in a browser. The login failed once, and then I immediately tried again with the password I had just set in the dashboard and it logged in. The synchronization happens very quickly. Below is a screen grab of what the local device configuration page looks like after connecting.
Final Thoughts
My initial impressions of the Meraki MS220-8P are very positive. This looks to be a great little unit that has a wide range of features, bells, and whistles. Stay tuned for future posts as I dig in deeper with this switch.






a bit of incorrect info: login into it with serial number as username, no password