So this is not something that you will find yourself doing terribly often – having to change an existing Windows static route to persistent. However, if you have the need to add a persistent route in Windows and you didn’t think to make the route persistent when you created the route, let’s take a look at the simple process to verify and change your route. So why would you not make the route persistent to begin with? Well, if you are testing or troubleshooting a network connectivity issue and utilizing static routes in Windows to attempt to resolve, you may not at first want to make the routes static as with troubleshooting sometimes you try things and use the process of elimination.
What situation might you find the need for a static route? Let’s look at a use case – In a multihome/DMZ situation you may have two nics – DMZ and LAN. You have a gateway address assigned on your DMZ nic and no gateway on your LAN connection per Microsoft best practice of a single gateway assigned. You have multiple internal subnets that would normally be routed by a gateway address on the LAN connection that simply can’t be routed because of the lack of a gateway address in your LAN network configuration; in steps the static route use case.
Changing a static route
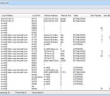
Let’s look at the process to change a static route that has been created to persistent. To begin with, if you want to verify that a static route is indeed persistent, we can look at the registry to verify. Navigate to the following registry key:
HKEY_LOCAL_MACHINESYSTEMCurrentControlSetServicesTcpip ParametersPersistentRoutes
Any persistent routes will be displayed in the above registry location as a string value.
We may want to change the static route instead of deleting it and then adding it back in. Maybe you resolved your traffic flow problem by the addition of a static route and didn’t make the route persistent and now you want to make it persistent without disrupting traffic flow with a delete/add.
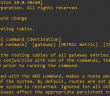
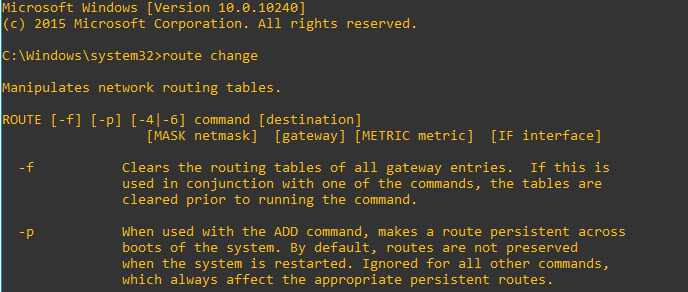
To change a static route to persistent we use the route change command show below. Note the addition of the -p on the end.
route change 172.16.16.0 mask 255.255.255.0 10.30.1.1 -p
After you have issued the route change command along with the -p option, simply refresh your registry key to verify and you should see it appear.
Google is updating how articles are shown. Don’t miss our leading home lab and tech content, written by humans, by setting Virtualization Howto as a preferred source.
About The Author