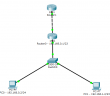
Recently, I ran into an issue connected an XOS switch to Netsight monitoring. After looking at Netsight, the console simply said the status was “Contact Lost.” From within Netsight however, I could ping the switch (simply right click the switch listed in the console tree and select Ping).
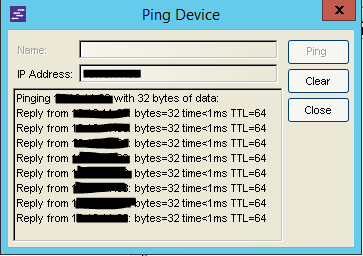
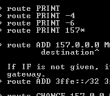
As you can see above, I had ping responses which means at least at layer three I have network connectivity. This pointed the problem towards SNMP configuration. This switch when configured initially was setup in the “enhanced security” mode which basically turns off everything until it is explicitly turned back on in the initial setup. On issuing a show config snmp the configuration looked like this:
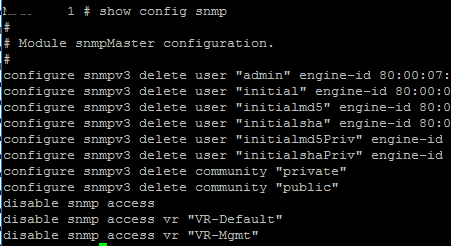
As seen above, you can see the reason that SNMP is not working correctly. Also a show log revealed many entries with Access Denied messages and the sort for SNMP. The following are the commands used to correct the issue with SNMP:
Adding the users back:

configure snmpv3 add user "admin" engine-id <your engine-id goes here>
configure snmpv3 add user "initial" engine-id <your engine-id goes here>
configure snmpv3 add user "initialmd5" engine-id <your engine-id goes here>
configure snmpv3 add user "initialsha" engine-id <your engine-id goes here>
configure snmpv3 add user "initialmd5Priv" engine-id <your engine-id goes here>
configure snmpv3 add user "initialshaPriv" engine-id <your engine-id goes here>

Enabling the communities:

configure snmp add community readonly public
configure snmp add community readwrite private

Enabling SNMP access:

enable snmp access vr "VR-Default"
enable snmp access vr "VR-Mgmt"
enable snmp access

Setting up the snmpuser:

configure snmpv3 add user yoursnmpuser authentication md5 privacy

Adding your SNMP user to the appropriate group:

conf snmpv3 add group admin user yoursnmpuser sec-model usm
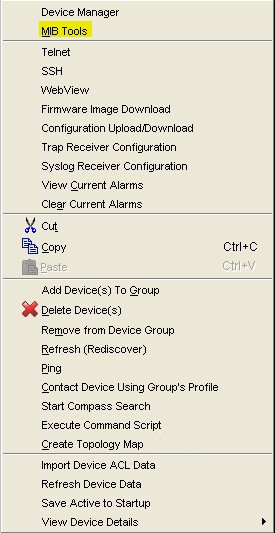
After the appropriate configuration has been put in place on the switch side, we can now go into Netsight and test the configuration using the MIB Tools:
Right-click the device in question and then select MIB Tools
You can then select the Profile dropdown to test SNMP versions 1-3.
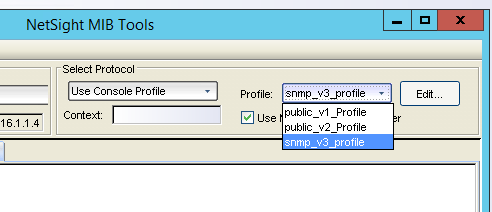
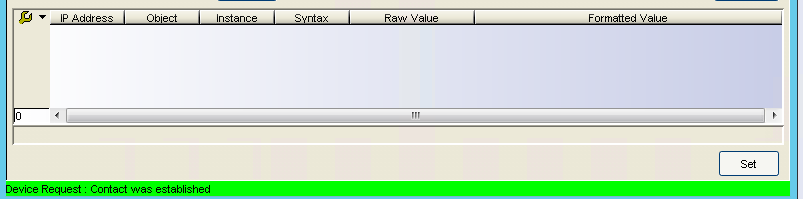
If the test is successful, you will see the Device Request: Contact was established message at the bottom of the MIB Tools window.
Configuring SNMP on XOS switches is not a difficult task, however, depending on whether or not the switch was initially configured with the enhanced security option will definitely make a difference in how much configuration needs to be put in place on the switch to allow SNMP communication.
Google is updating how articles are shown. Don’t miss our leading home lab and tech content, written by humans, by setting Virtualization Howto as a preferred source.
About The Author