Recently, I got my hands on a couple of Dell PowerConnect 8132f switches for a client to configure for iSCSI traffic for a 3-node VMware cluster that was being implemented for server consolidation, etc. I stepped through the basic configuration for the switches for iSCSI tweaks. Below is a short list of the basics that you need to do to configure your switch to get up and running on the network, optimize for iSCSI and other port configuration such as spanning tree.
To get started configuring, simply connect a console cable (ethernet to serial) to the management port on the back of the switch and use the default 9600/8/none/1 settings to get connected to the console. By default, there aren’t any passwords assigned even for the enable prompt. Once you get connected to the management port, you will be able to assign a management address to manage the switch via TCP/IP.
Configuration:
Disable DCB:
enable
configure
no dcb enable
exit
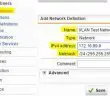
Configure out of band management port:
enable
configure
interface out-of-band
ip address X.X.X.X /24 192.168.1.1
exit
Http and telnet authentication:
enable
config
line telnet
login authentication default
exit
ip http authentication local
SSH keygen and enable
configure
crypto key generate rsa
crypto key generate dsa
ip ssh server
Configure login credentials:
username admin password yourpassword privilege 15
enable password yourpassword
Enable iSCSI optimization feature:
configure
iscsi enable
Are you sure you want to continue? y
exit
Configure flow control:
configure
flowcontrol
Are you sure you want to continue? y
Configure Jumbo MTU for all ports:
configure
system jumbo mtu 9216
exit
Configure spanning tree portfast on edge ports:
configure
interface range tengigabitethernet all
spanning-tree portfast
exit
Configure QSFP ports for LAG:
interface range yourports
no spanning-tree portfast
channel-group 1 mode active
exit
Save Configuration:
copy running-config startup-config
Firmware Update
First things first, you will need to download the latest firmware .zip file from Dell and then extract on your local hard drive. Once you have everything configured with the address and HTTP authentication, you can update the firmware via the Web console which makes it really easy. Simply login to the web console and navigate to System >> File Management >> File Download. Select the file type as Firmware the transfer mode as HTTP and then browse your computer and point it to the .stk file that you unzipped from the Dell firmware package.
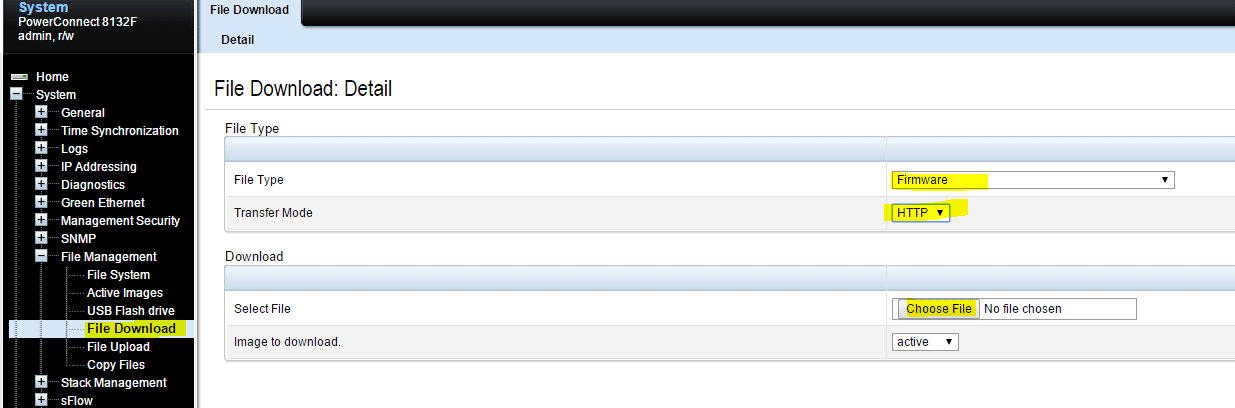
After you select the file, you then click Apply at the bottom right to start the file upload and apply the image. Don’t worry if this process seems to take a bit. On my switch using Chrome to connect, it took roughly 3 minutes to upload, apply, and then give me the ok to proceed.
Final Thoughts
The Dell PowerConnect switches are feature rich and really stable switches that can be used for a wide range of roles and they definitely make great switches for isolated iSCSI traffic in a VMware cluster environment. Hopefully the above configuration information will help most of you get up and running fairly quickly.
Google is updating how articles are shown. Don’t miss our leading home lab and tech content, written by humans, by setting Virtualization Howto as a preferred source.
About The Author

Can this switch be used for iscsi and ethernet traffic?
Pat,
Yes should be fine to use these types of switches with iSCSI. I would recommend 10 gig switches with Jumbo frames for iSCSI.
Brandon