Tiny11 OS – A Small Windows 11 Install
Tiny11 OS is a lightweight Windows 11 debloated operating system. This blog post will take a look at Tiny11 OS
Table of contents
Debloat Windows 11
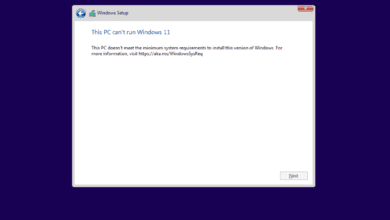
Tiny11 OS gets rid of many unnecessary apps and services. This removal of bloating apps helps reduce the normal Windows operating system’s size and resource usage and makes it ok to run on low-power devices with only a dual-core processor configuration, not much RAM or disk space.
Downloading Tiny11 ISO File and Creating a Bootable USB Drive
Download Tiny 11 OS here: GitHub – ntdevlabs/tiny11builder: Scripts to build a trimmed-down Windows 11 image.
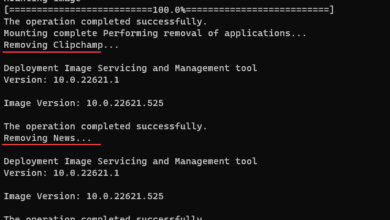
Components Removed in Tiny11 OS
Tiny11 OS removes the following components
Microsoft Store
Microsoft Edge
Microsoft Teams
Cortana
OneDrive
Xbox Identity Provider
Microsoft Defender Antivirus
Unnecessary background services (sound recorder, etc
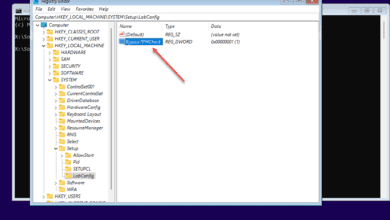
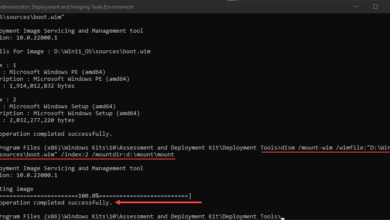
Build the Tiny11 ISO file
I recently created a blog post covering Windows 11 Debloater with the Tiny11 OS option here, which describes in detail how to create the Tiny11 OS from their GitHub tool.
Windows 11 Debloater with Tiny11 OS – Virtualization Howto
After building the Tiny11 ISO file, you can use software like Rufus or Ventoy to create a bootable USB drive. Put the ISO or USB drive into your machine and boot to install Tiny11.
Change the Boot Order of your Computer
You may need to change the boot order of your computer if it boots unexpectedly to another OS. To do this, restart your computer and enter the BIOS by pressing the appropriate key (usually F2, F10, or DEL). Once in the BIOS, change the boot settings and the boot order to make sure the USB boots first.
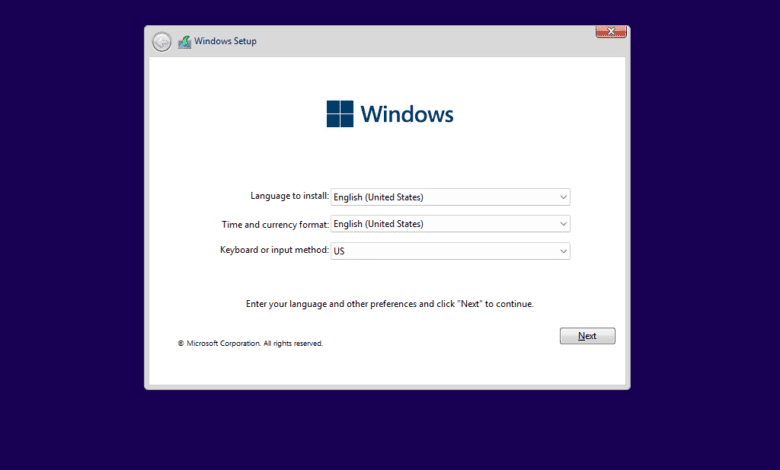
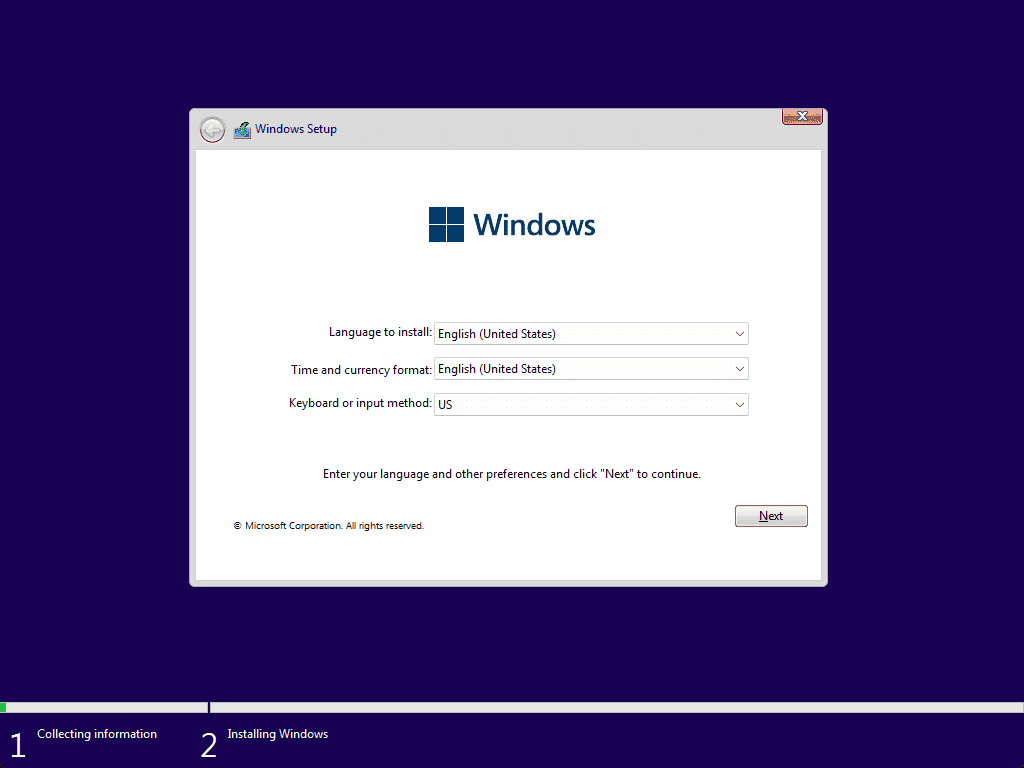
Install Tiny11 OS from ISO
Make sure to change the boot order of your computer so it boots from the USB drive, and follow the on-screen instructions to complete the installation process.
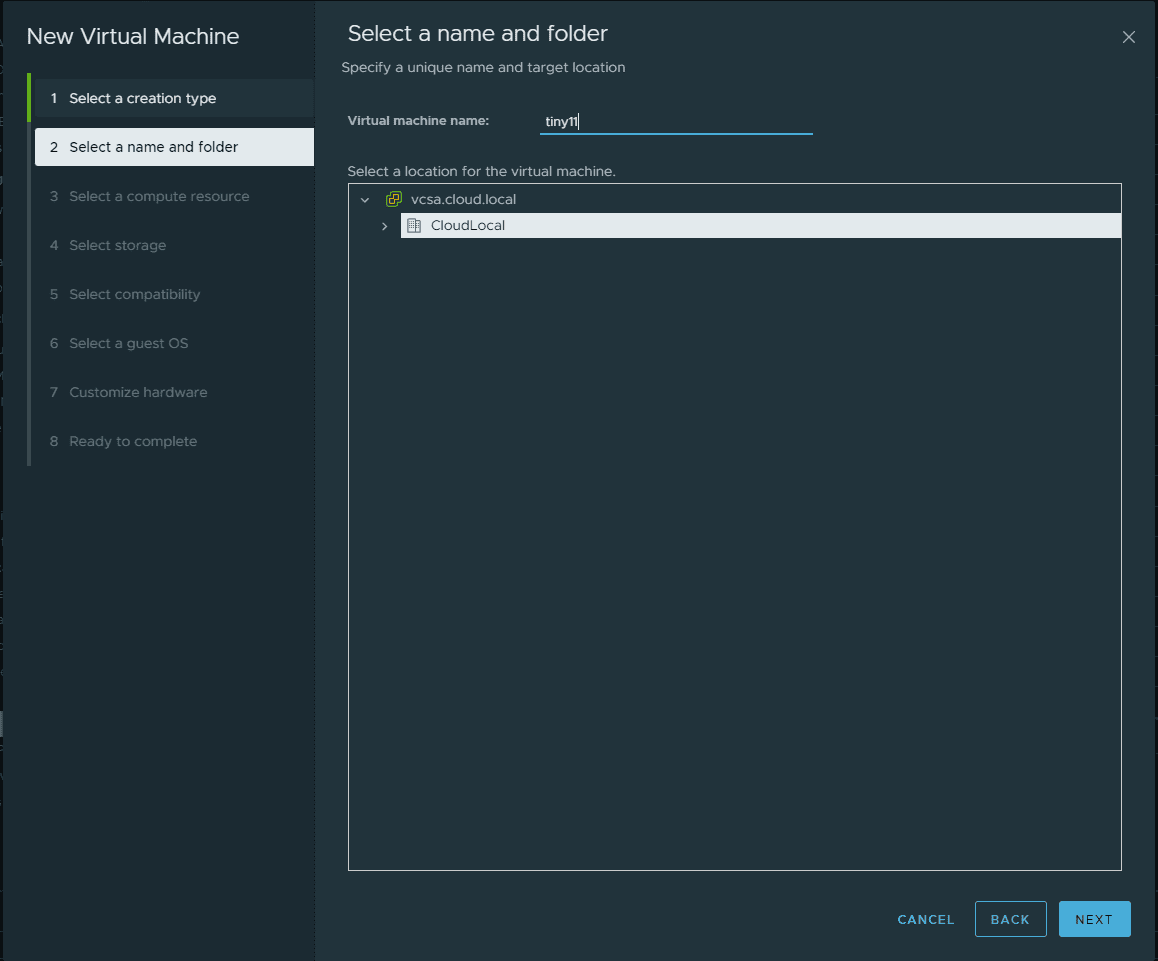
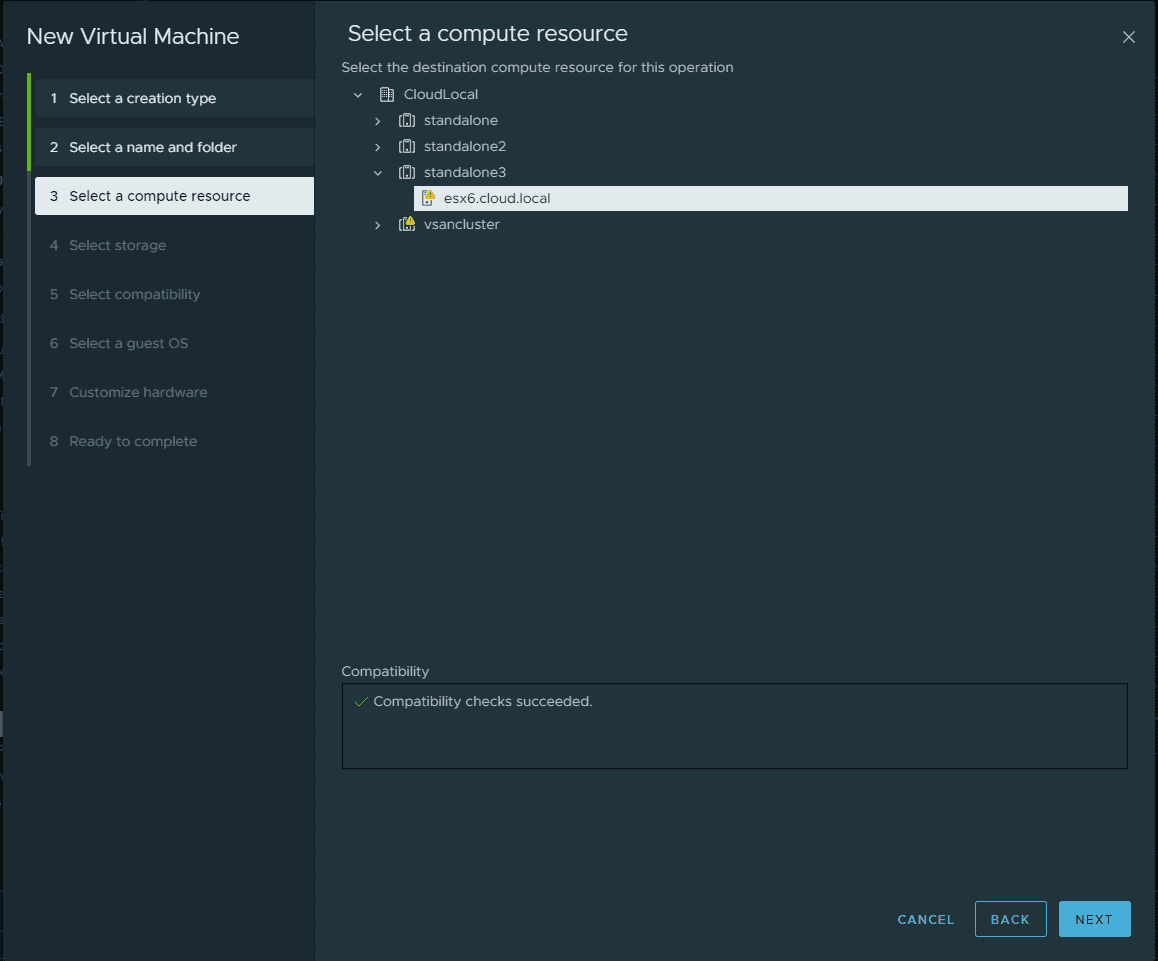
Below, we are using a new VMware vSphere virtual machine that will boot from the Tiny11 ISO image uploaded to a datastore.
Selecting the compute resource.
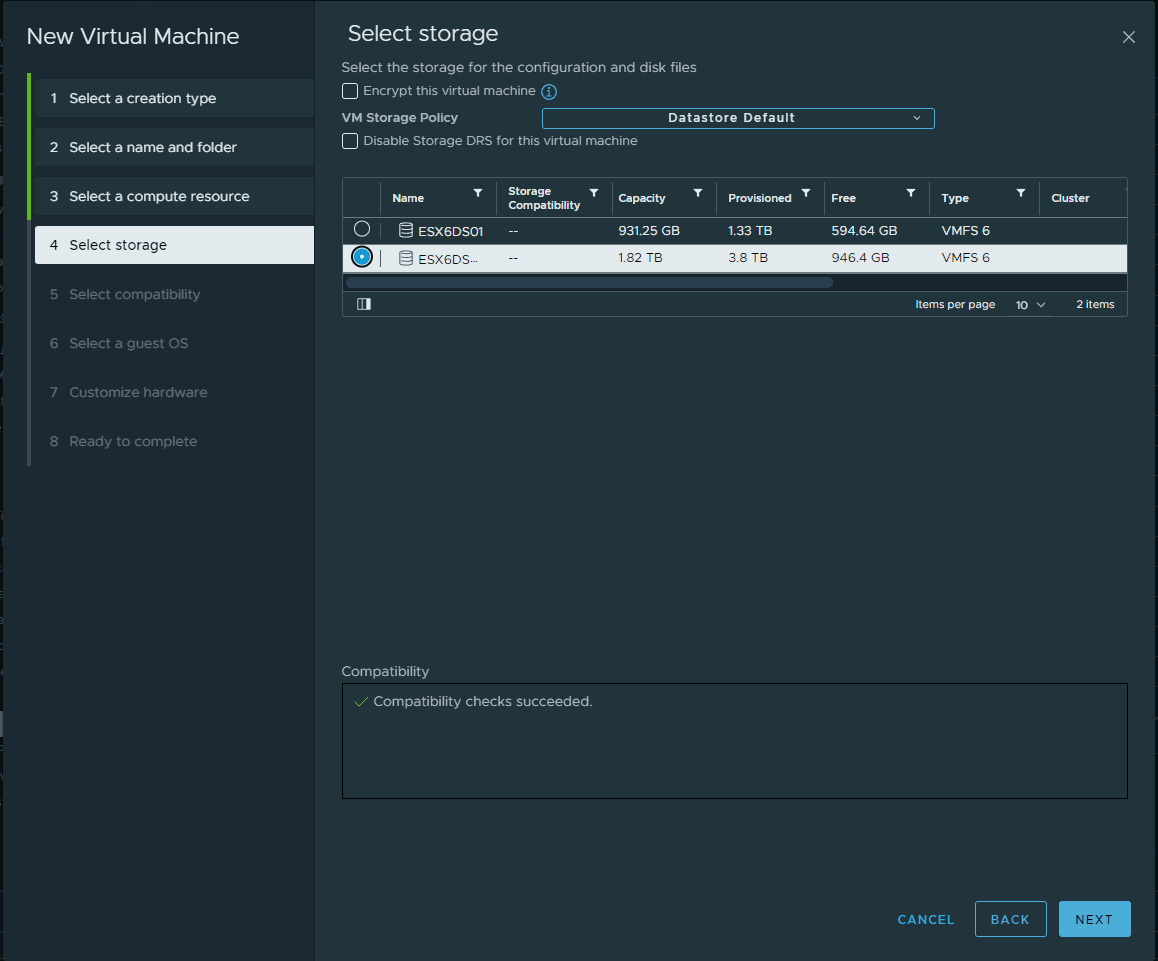
Select storage.
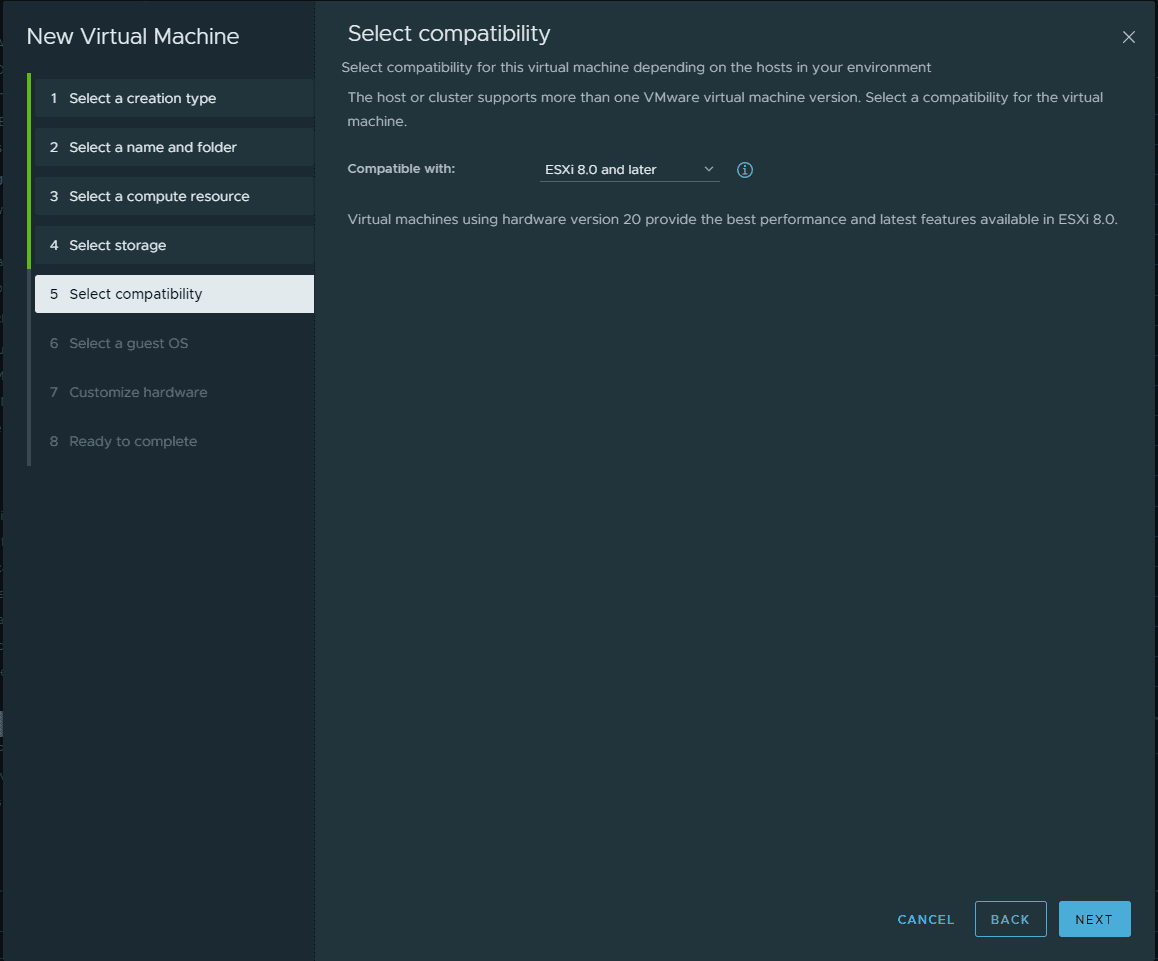
Select compatibility from vSphere perspective.
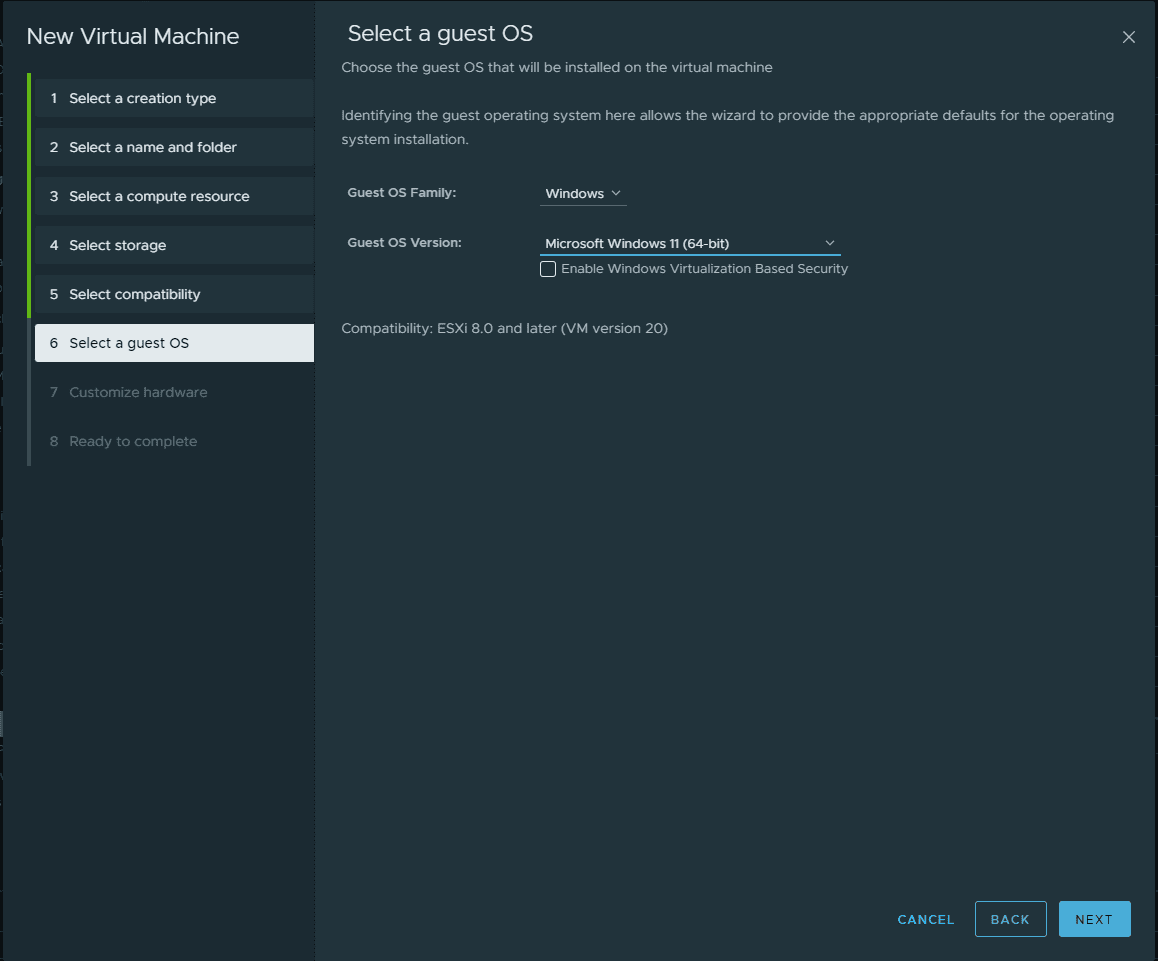
Select Windows 11 x64 as the guest operating system.
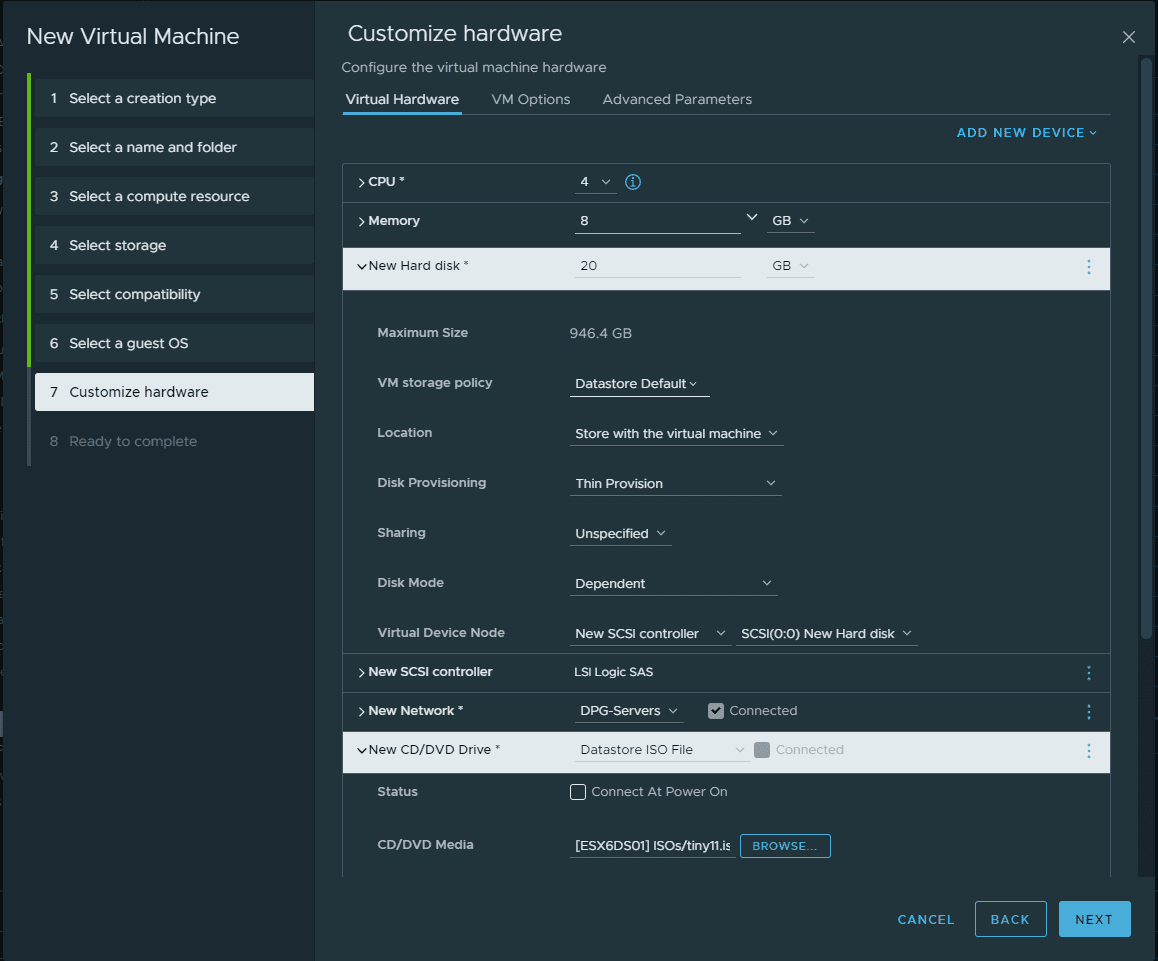
On the customize hardware screen, note I have configured 4 gigs of memory, and ISO image from the Tiny 11 OS ISO build.
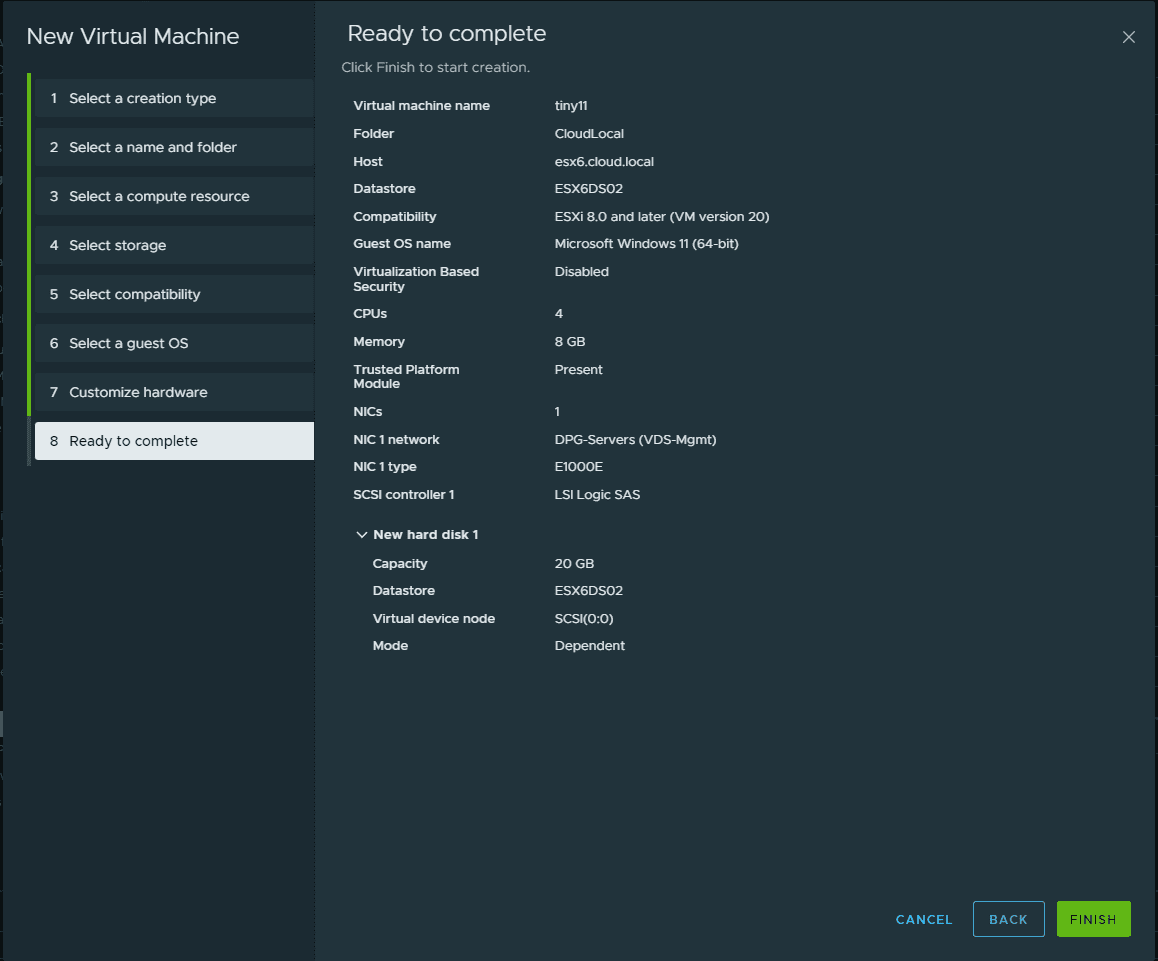
Finalize the hardware configuration.
Booting Tiny11 OS for the first time.
Beginning the installation of Tiny11 OS.
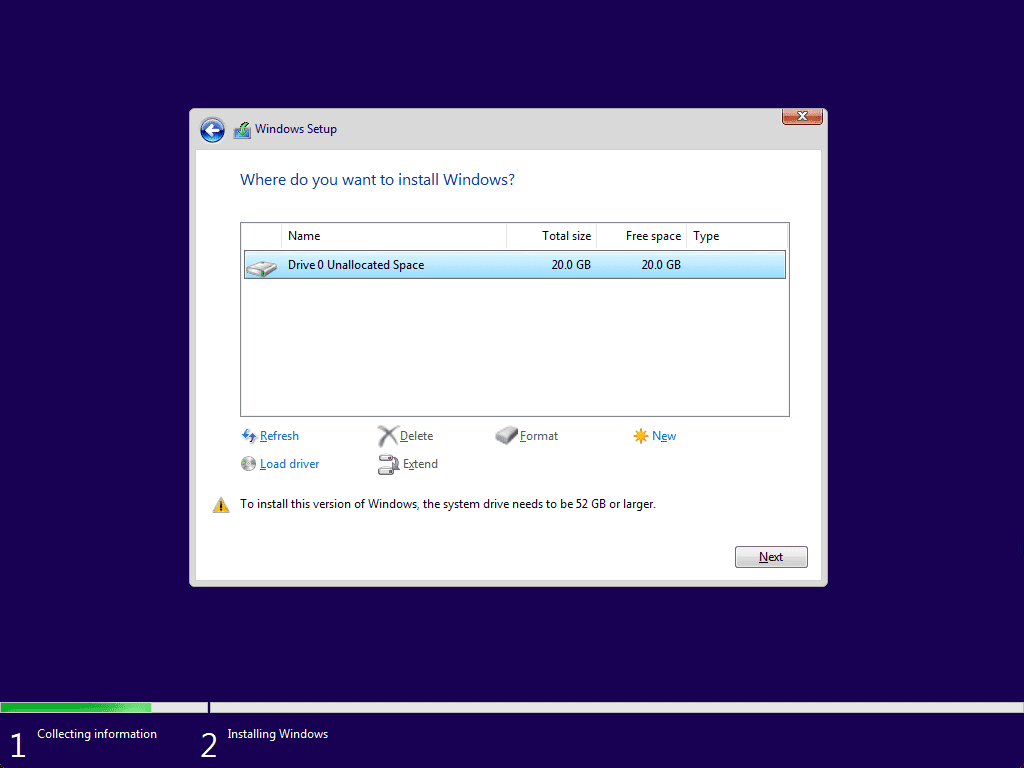
Proceeding along with the normal Windows installation. SElect the drive letter to install Windows 11 via the Tiny11 OS ISO.
With the stripped-down version, I really like to see that you no longer have to create a Microsoft account, but you can simply create a local account.
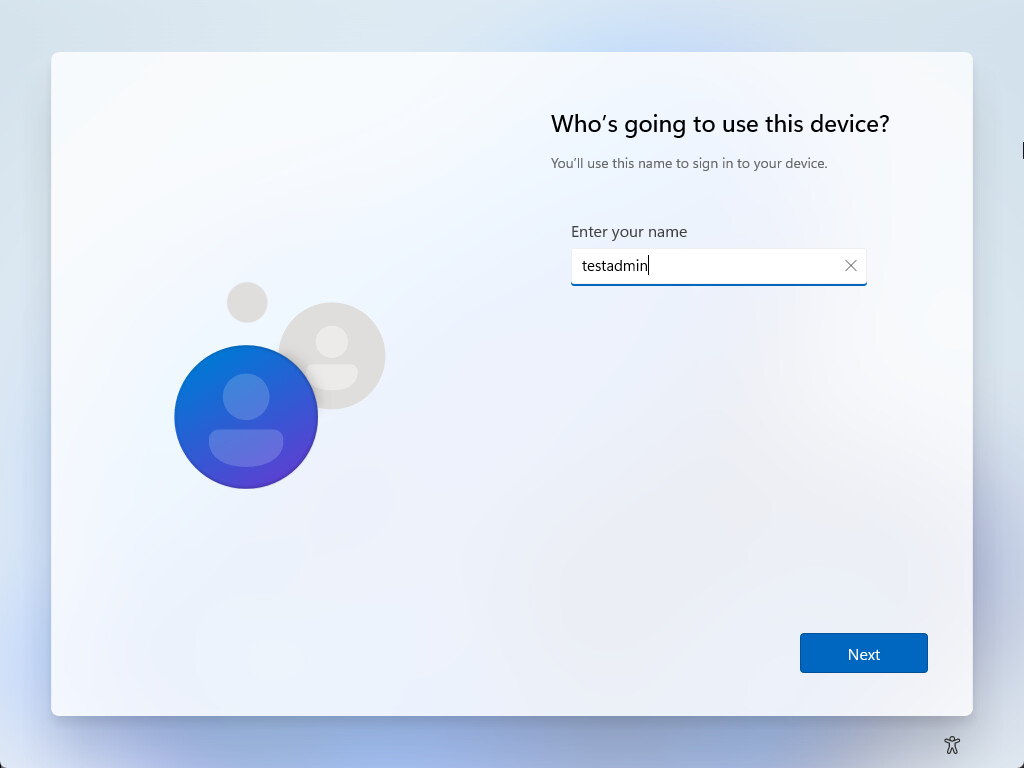
Configure a password for the local administrator account.

Support and Future Releases for Tiny11 OS
The community contributors behind the project are actively working on the project. Future releases of Tiny11 OS may have new additional features, performance and security updates.
You can follow the project on GitHub or join community forums and discussion boards if you want to keep up with releases and updates.
Remember that using a modified version of Windows may not be a good choice for all who may need a more stable or supported platform. Businesses will want to use the normal version of Windows 11 that has the security features they need like data encryption and secure boot requirements.
Related Links
Wrapping up
Tiny11 OS is an interesting solution for users with older systems that want to have the benefits of Windows 11 without the need for modern hardware that will have poor performance otherwise. By stripping down the operating system and removing unnecessary apps and services, Tiny11 OS is resource-friendly and can run on older hardware.