Netmaker: Automated Wireguard VPN You Can Self-host
With the hybrid workforce and hybrid networks spread across on-premises and cloud environments, network connectivity between devices and server resources is important no matter where these are located. A traditional VPN server and VPN connection between clients and resources is challenging to manage and maintain. Enter Netmaker, a tool designed for creating and managing virtual overlay networks using Wireguard for unified communications.
Table of contents
What is Netmaker?
Netmaker is a tool designed for creating and managing virtual overlay networks. If you need to connect at least two client device machines with Internet access through a secure tunnel or manage thousands of servers distributed across multiple locations, data centers, Internet Service Providers (ISPs) or cloud environments, Netmaker is designed to meet that requirement. Its core function is to connect machines securely, regardless of their geographical locations.
Netmaker communications using WireGuard Protocol
At the heart of Netmaker is the WireGuard VPN protocol. Wireguard is a recent addition to the Linux kernel and has gained traction as a secure protocol, outpacing other VPN protocols like OpenVPN and IPSec.
Wireguard is known for being simple and having high performance, making it the preferred choice for many businesses and individuals to run the Wireguard client for VPN connectivity instead of other solutions. With near-over-the-line network speeds, WireGuard ensures that users running Wireguard clients experience minimal latency.
Most modern security and connectivity appliances support Wireguard and can spin up a Wireguard interface for VPN connectivity. It also boasts fewer lines of code than other VPN protocols, helping to minimize the attack surface.
Netmaker and Mesh networks
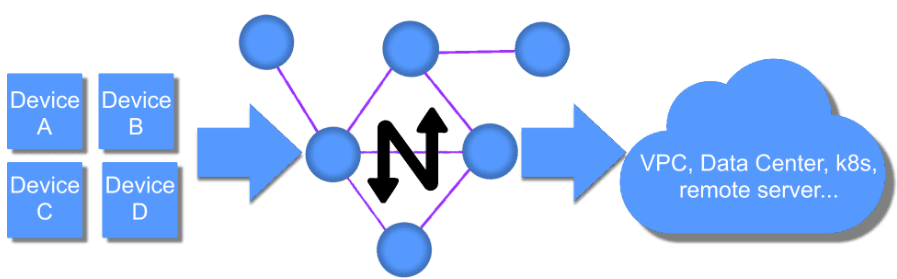
Netmaker uses a mesh network, specifically a “full mesh.” In a mesh setup, each node can connect and communicate with all the other connected nodes. You can compare this with a hub-and-spoke model, where traffic must pass through a central server. With Netmaker, you can create full and partial mesh networks, allowing you to have interesting ways to connect devices.
Netmaker utilizes these machines to establish a flat network, ensuring they can communicate with each other easily and securely. For those familiar with AWS, it’s akin to a VPC but composed of arbitrary computers. This setup ensures that from a machine’s perspective, all other machines appear to be nearby, no matter where they are located.
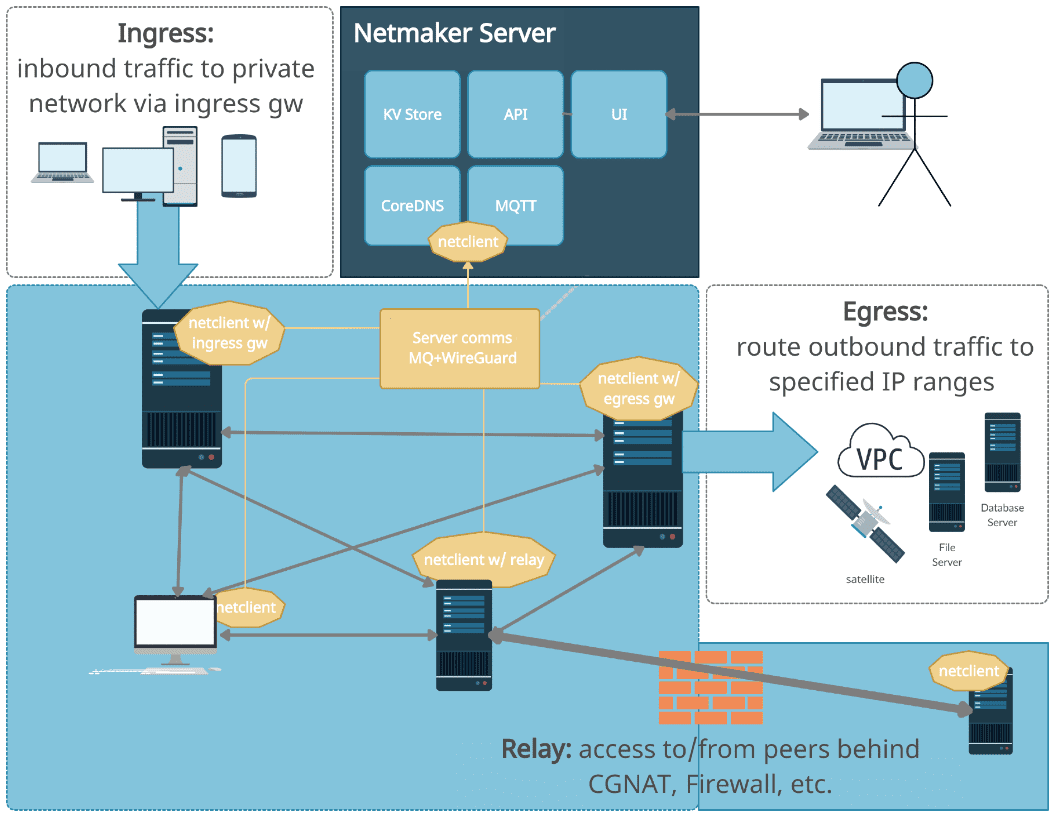
Beyond just creating a flat network, Netmaker introduces elements like Ingress and Egress. These gateways manage the flow of traffic entering and leaving the network. Additionally, Netmaker incorporates Access Control Lists (ACLs), providing precise control over machine interactions within the network. This design allows for creating networks beyond a basic mesh’s simplicity.
Netmaker’s Unique Architecture
While there are other solutions like Tailscale, ZeroTier, Nebula, and other VPN providers, Netmaker certainly has a place among them for its flexibility, interface, and features. As mentioned, Netmaker uses Wireguard as a VPN provider for fast performance.
Its server and agents are also fully configurable, allowing for a wide range of use cases. For those concerned about data privacy, the option to self-host Netmaker ensures complete control over network traffic.
Practical Use Cases
You can automate the creation of large WireGuard-based networks to manage a secure mesh of IoT devices. Businesses can benefit from its ability to create secure networks between multiple environments, be it VPCs, clouds, or data centers. Even for individual users, Netmaker offers secure access to home or office networks.
Diving Deeper: Netmaker components
At its core, Netmaker operates by managing WireGuard across machines to establish sensible networks. The system comprises two main components:
Database: Netmaker uses SQLite by default but is also compatible with PostgreSQL and rqlite. This database holds crucial information about nodes, networks, and users.
Netmaker UI: A user-friendly interface built on ReactJS, the Netmaker UI simplifies network management tasks.
Message Broker (Mosquitto): This facilitates the pub-sub messaging system, ensuring seamless communication between the server and nodes.
Netclient: A crucial component, the netclient ensures each node’s smooth integration into the network.
The brilliance of Netmaker lies in its dynamic nature. Even if the main server faces issues, the network remains functional as long as the existing machines remain stable.
Netmaker server configuration
There are a couple of ways to sign up with Netmaker. You can either choose the route of the SaaS configuration, which they have a free version of, or you can self-host it. Let’s first look at the hosted SaaS version. You sign up with your email address and choose a password.
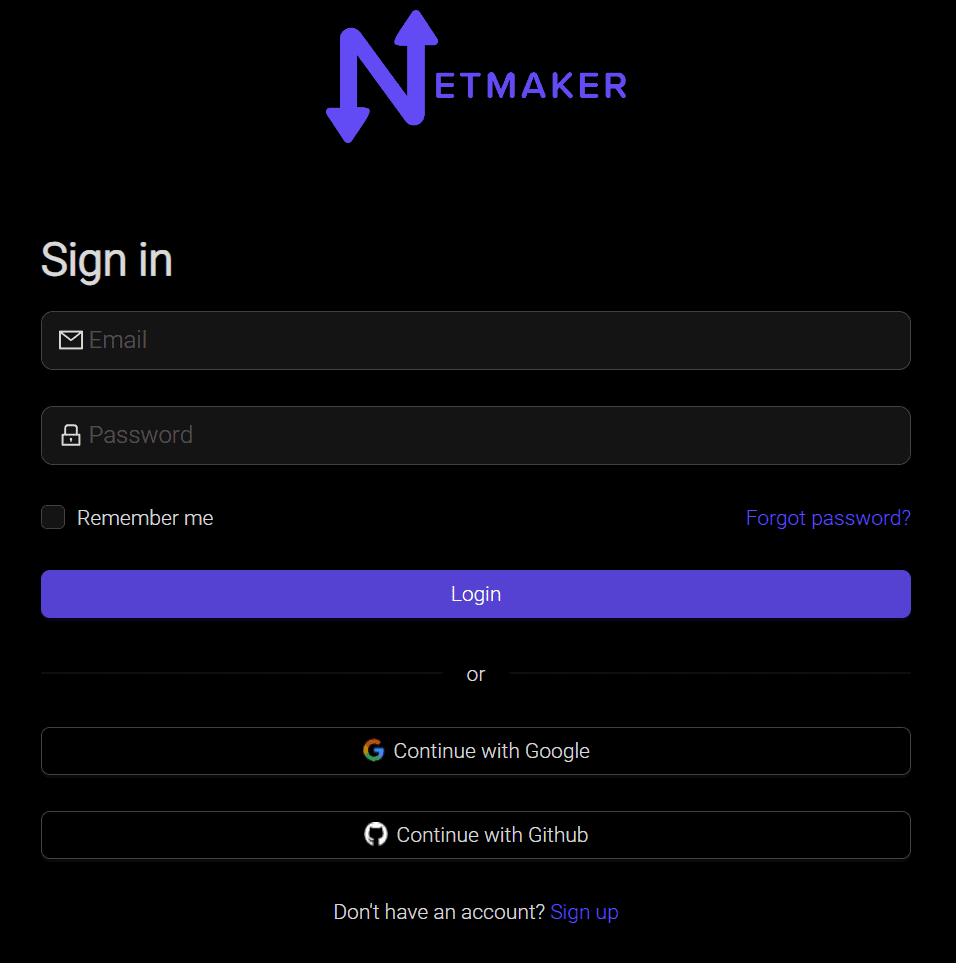
You will receive a verification email. Once you do, just click the link in the email to verify your account. Then you will be taken to your Netmaker dashboard.
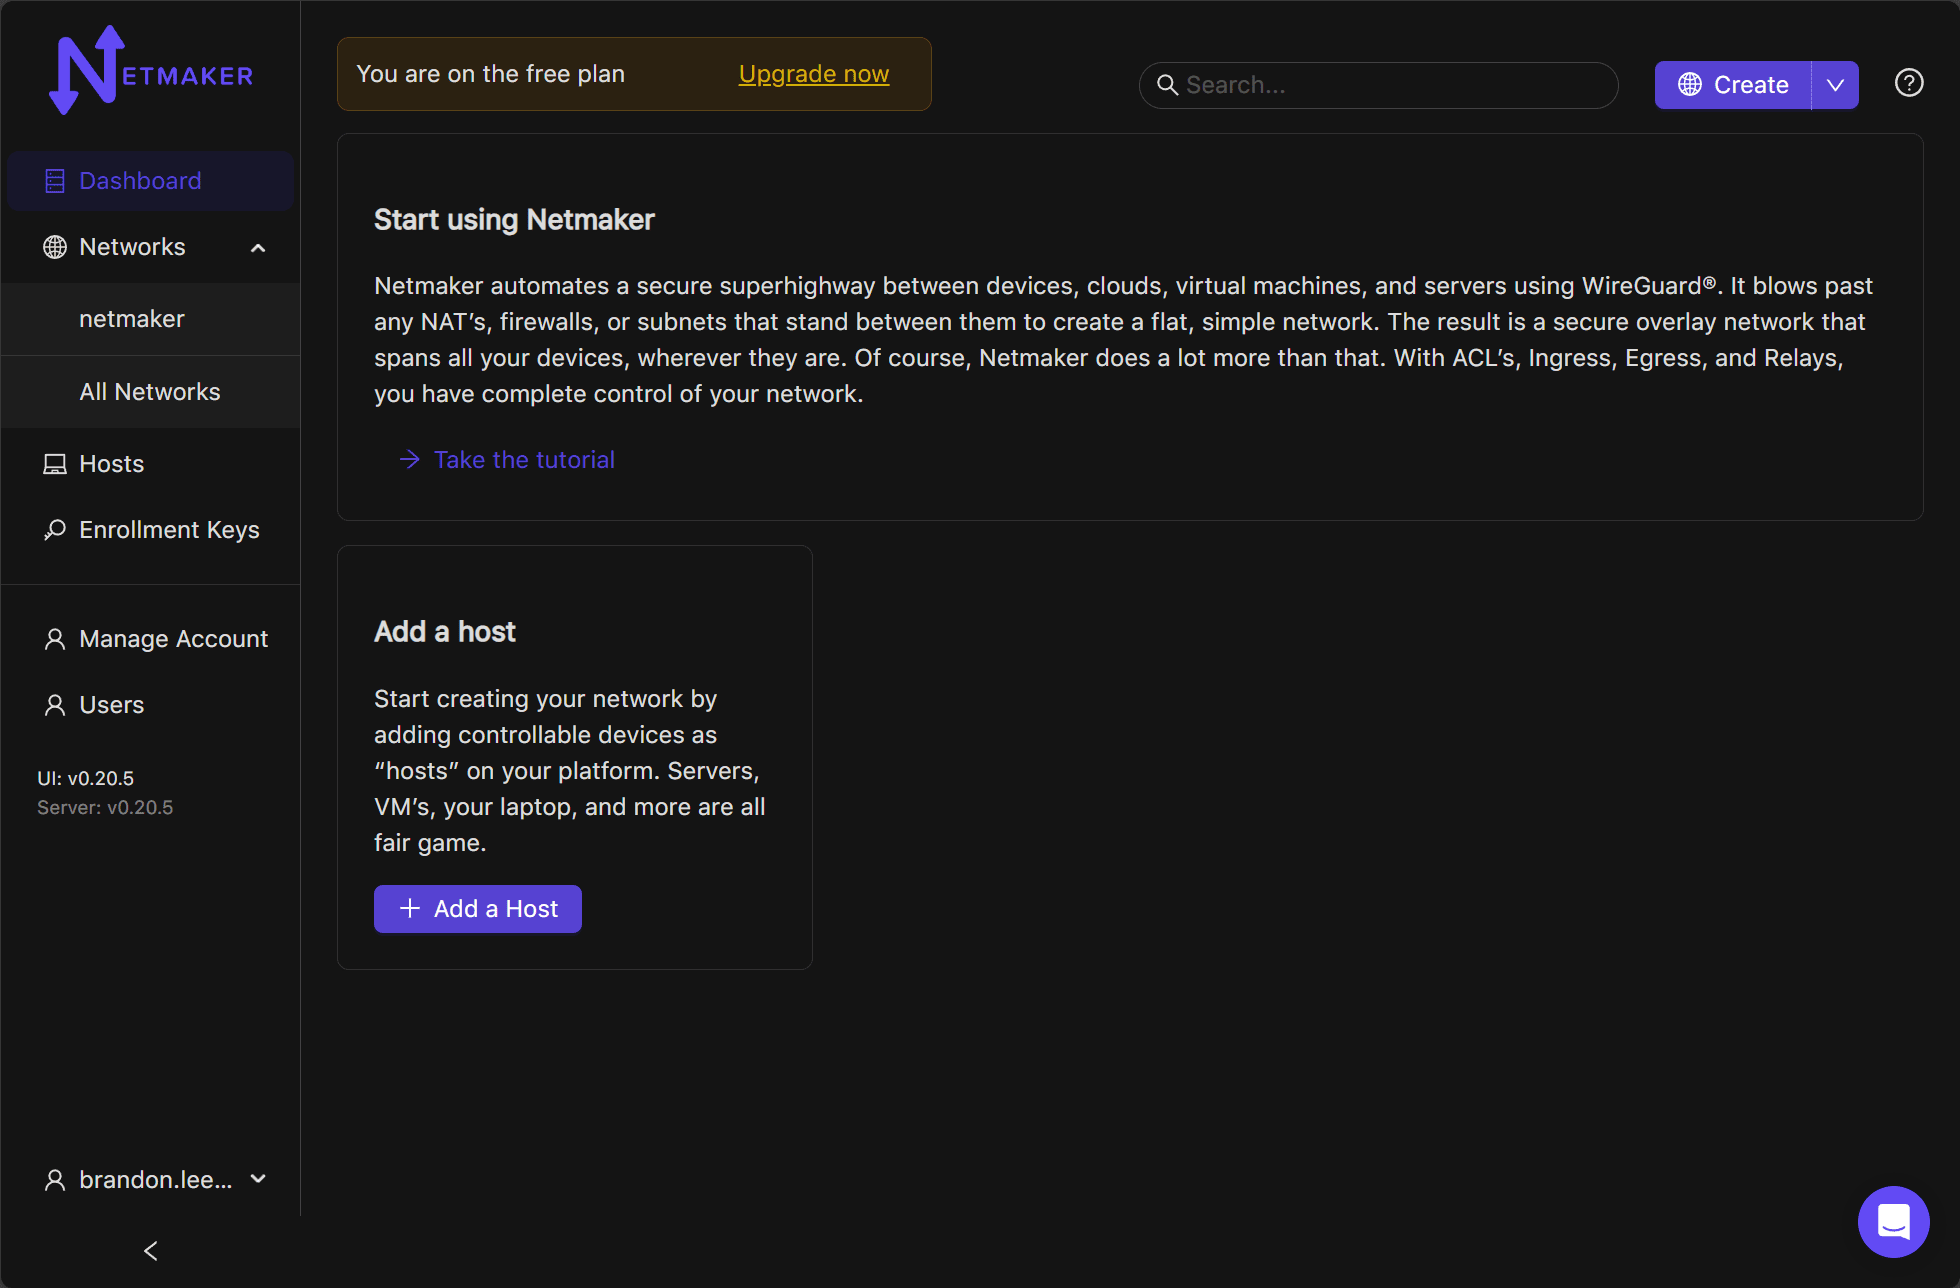
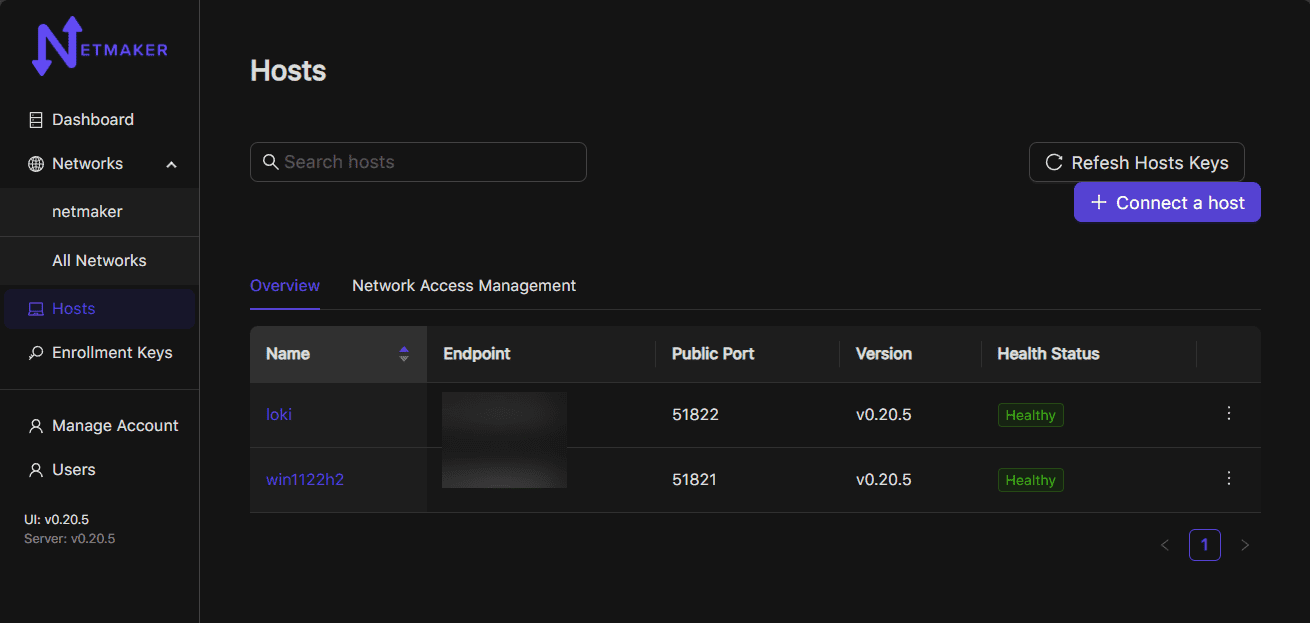
Adding hosts to your Netmaker network
Adding hosts is fairly simple and the dashboard walks you through the process.
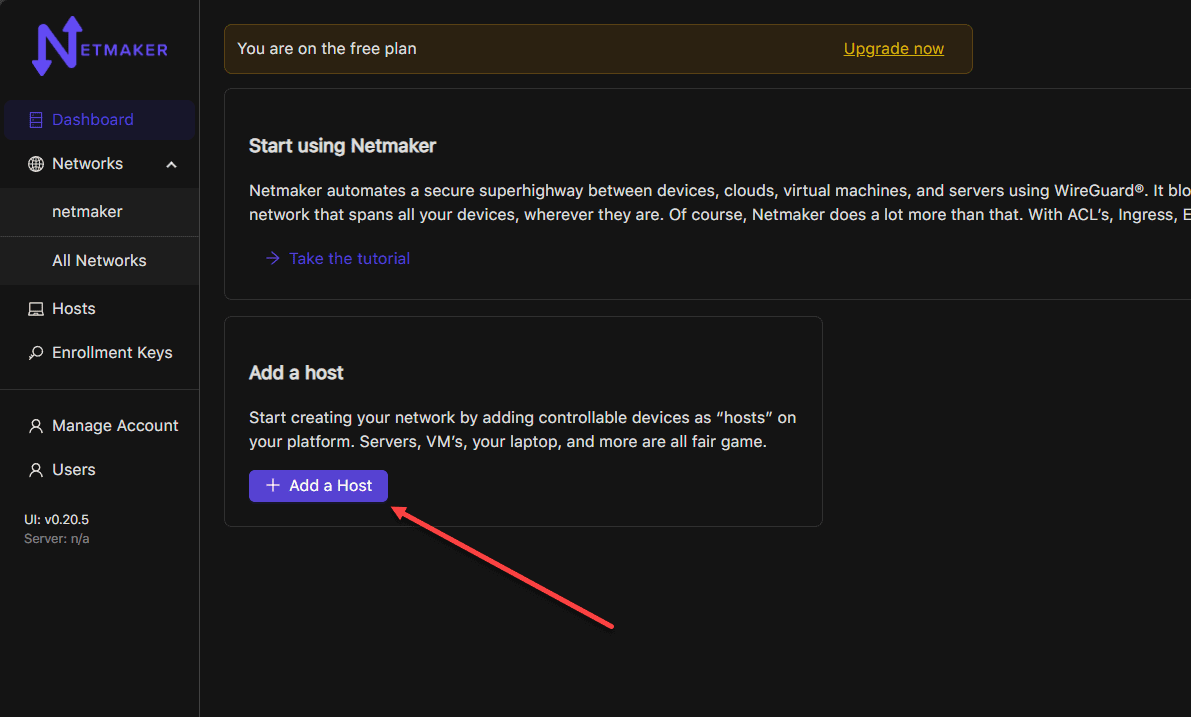
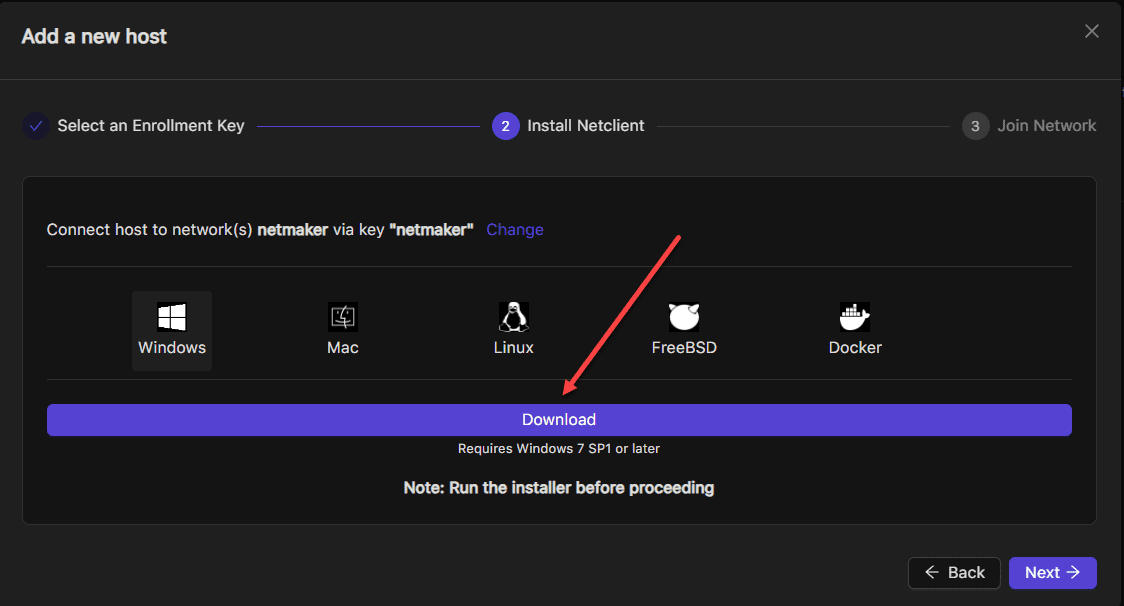
When you click Add a host, you will be prompted to download the client for the platform you choose.
The enrollment key is displayed for adding the host. Copy this key and click Finish.
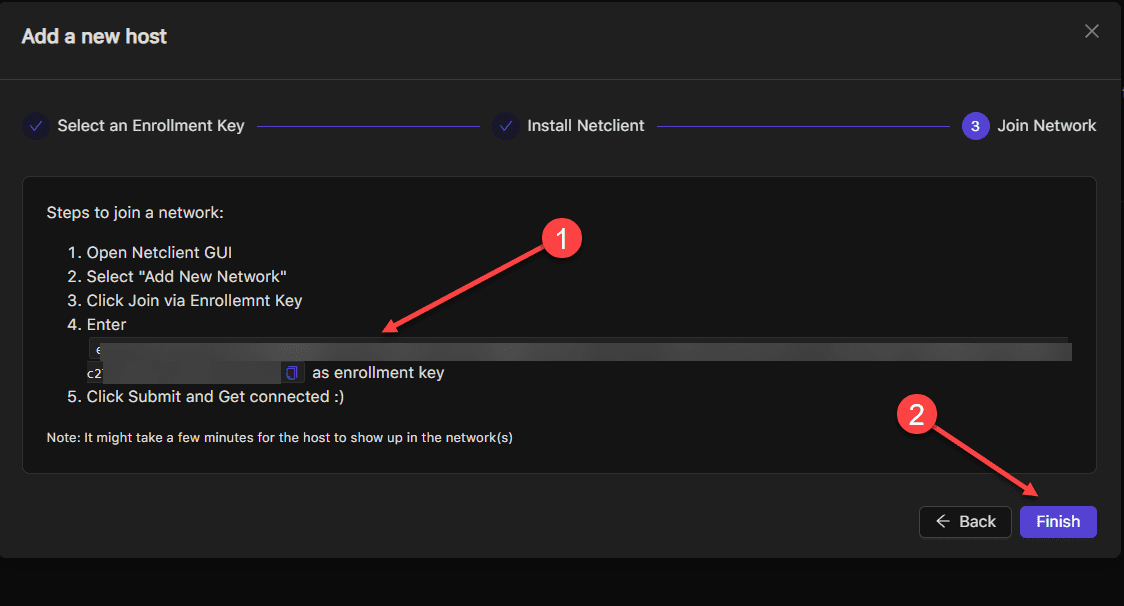
Now, with the host staging process complete, we can complete the steps to install the Netclient software on the client hosts.
Installing and configuring the NetClient application
In Windows the Netclient application when ran just pops up several UAC prompts for various component installs after registering the service. After you install it, you can search for the Netclient application in the start menu.
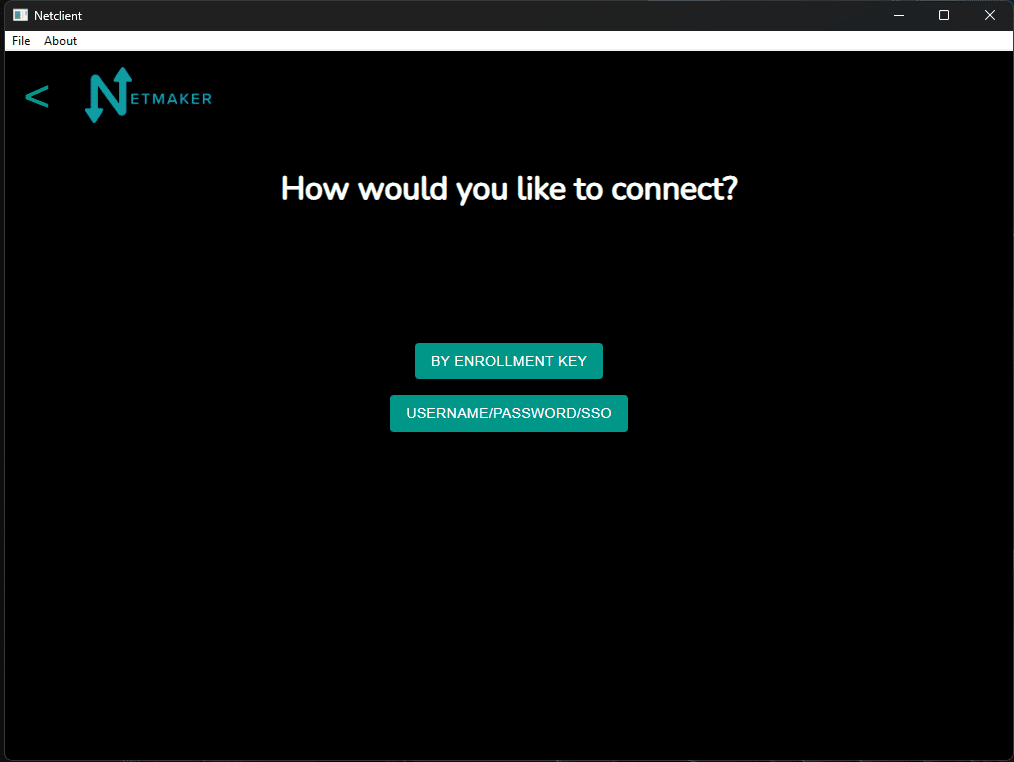
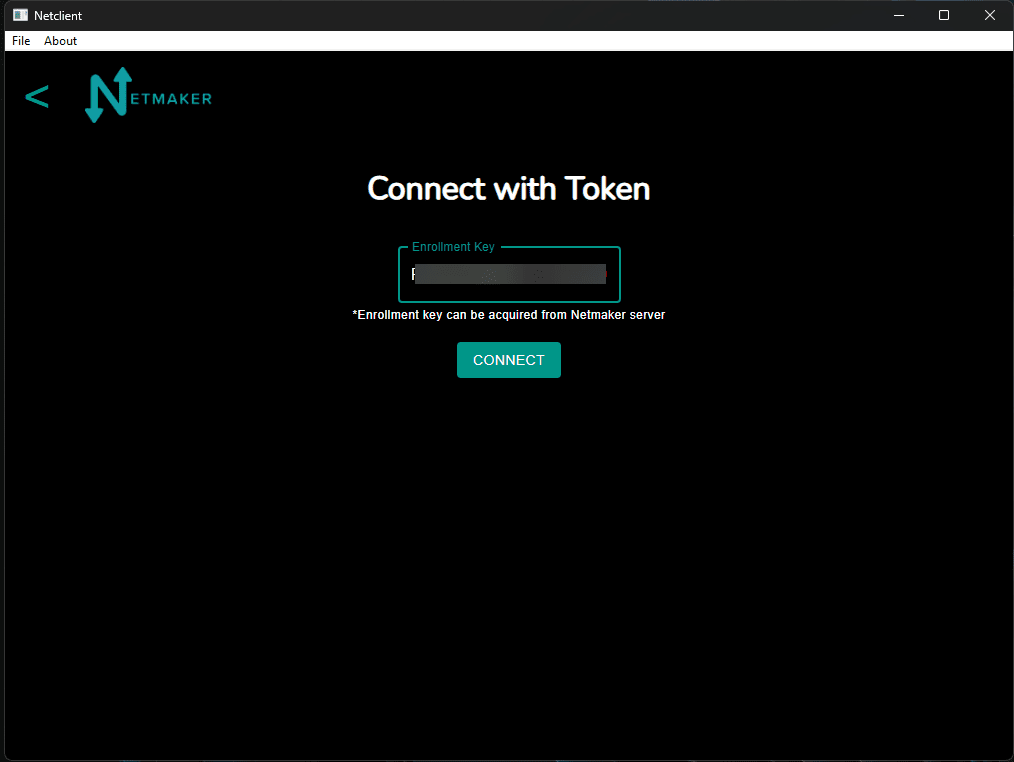
Enter the token you copied and click Connect.
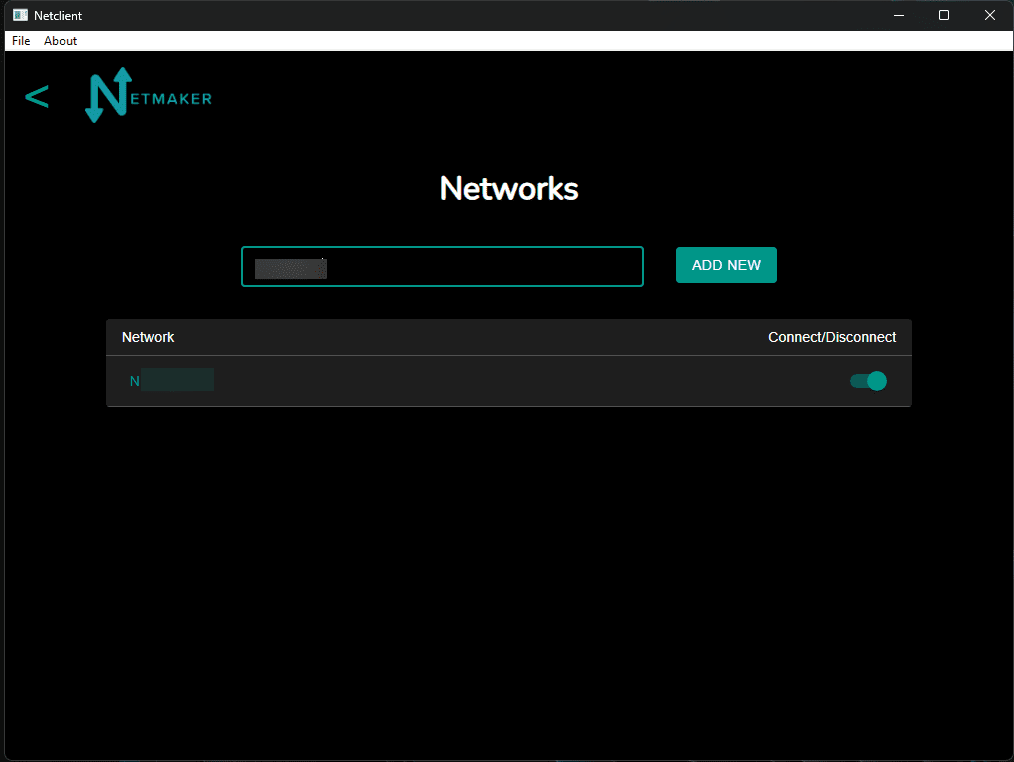
Your network should be displayed for you to choose or you can Add New and add a new network to Netmaker.
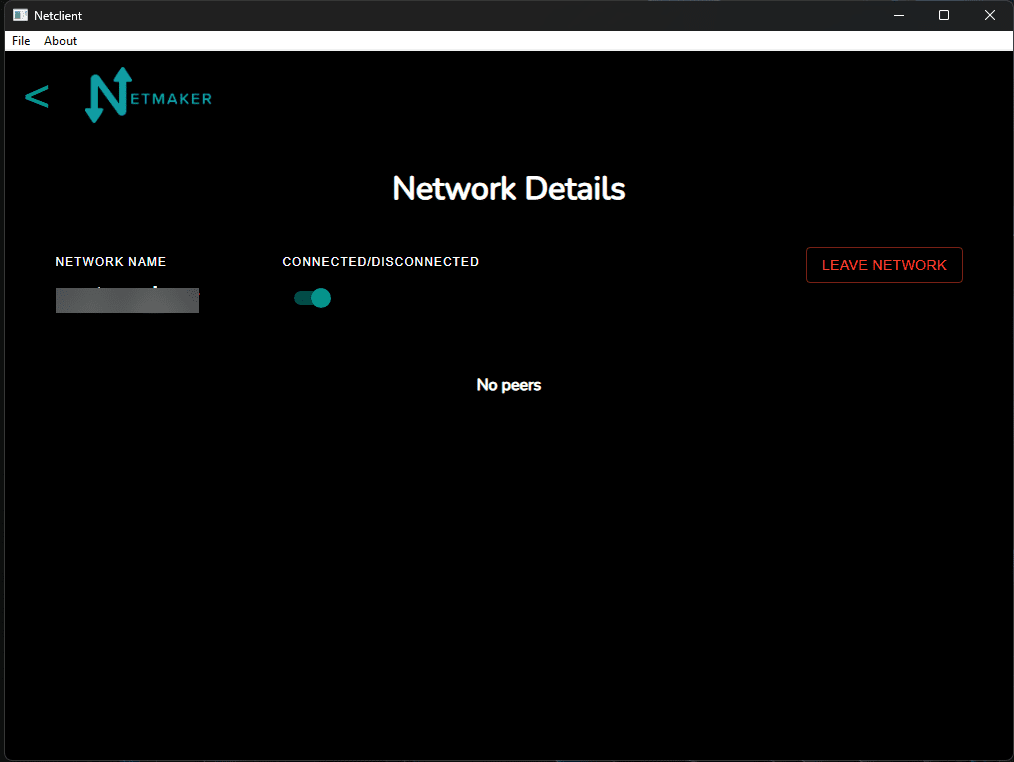
The host should connect to the network.
Below, we are adding a Linux host client. With Linux, it will display a wget command to pull down the installer and install the Netclient software. Copy this command and run it on your Linux host.

Clients connected
After installing the netclient software, I was able to get a couple of machines connected and working.
Self-hosted installation
In addition to the SaaS-hosted solution, as mentioned, you can choose the self-hosted installation as well. In my lab, I built up an Ubuntu 22.04 LTS Server for the base of the installation.
Run the following to run the installer:
sudo wget -qO /root/nm-quick.sh https://raw.githubusercontent.com/gravitl/netmaker/master/scripts/nm-quick.sh && sudo chmod +x /root/nm-quick.sh && sudo /root/nm-quick.shThe installer runs and will begin prompting you for configuration.
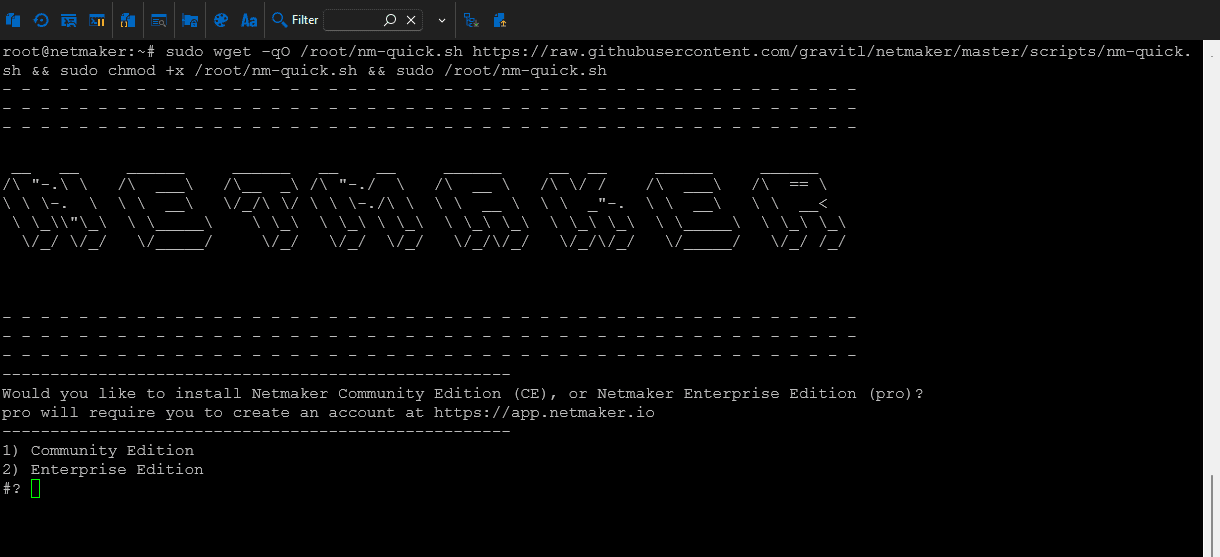
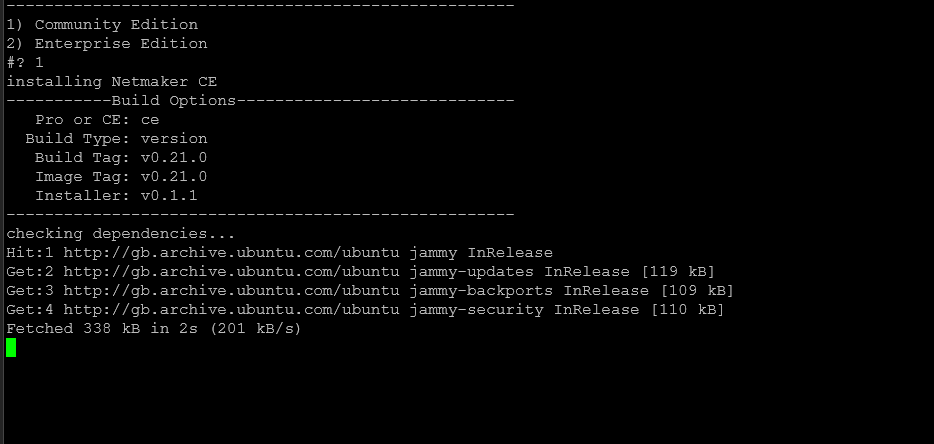
You will be prompted whether you are installing the Community or Enterprise editions.
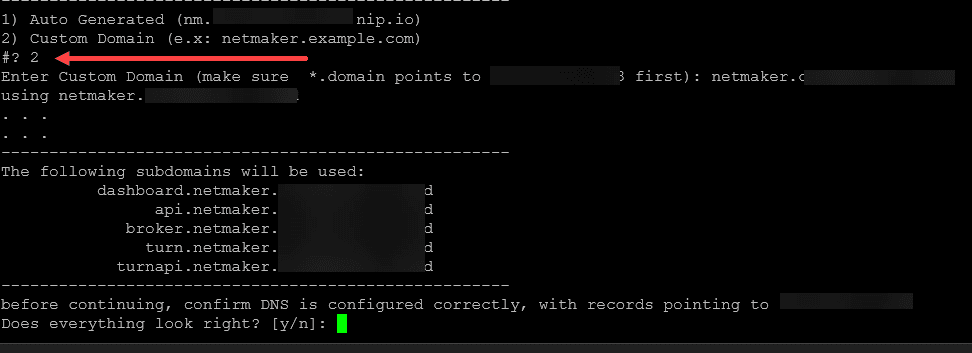
The netmaker self-hosted installation depends on you creating DNS records for:
api.netmaker.<your domain>.com
dashboard.netmaker.<your domain>.com
broker.netmaker.<your domain>.com
turnapi.netmaker.<your domain>.com
Wrapping up
Netmaker is a great solution for a very easy-to-manage and configure Wireguard-based VPN solution. While there are many VPN network solutions, Wireguard has become the defacto standard for security and performance in VPN solutions. Netmaker gives you the option to use their cloud-hosted dashboard or you can also self-host the solution. This enables you to have full control over your data and network connectivity details

“Netmaker: Automated Wireguard VPN You Can Self-host”
This is nit-picking.. But please explain how any of this is “automated”? You have to configure the server, and you have to install each individual host.
Kel,
Thanks so much for your comment! There is definitely some manual steps involved. I think one of the great things that I see about netmaker is once you have your connections established, many of the operations are just point and click operations such as deciding which hosts each client can connect to. Also, there are other advanced topics with Netmaker such as automating ACLs with JSON inputs: https://www.netmaker.io/resources/how-to-automate-your-wireguard-virtual-networks-with-nmctl-and-netmaker.
Brandon
Brandon, kinda of a newbie homelabber here. Can you quickly explain how the self-hosted Netmaker scenario would integrate with an OPNsense firewall currently running unBound?
Regards
Chuck
This article was super interesting and helpful.