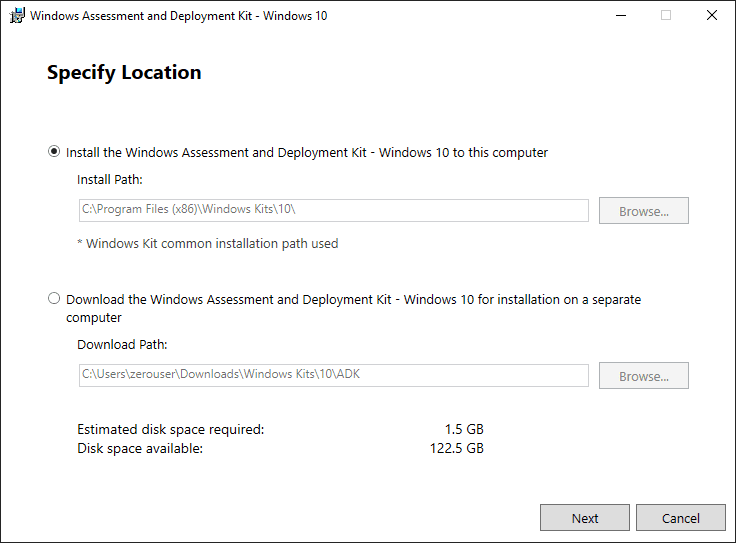
Download and Install Windows ADK for Windows Server 2022
The Windows ADK is the goto tool used to deploy and manage images in Windows clients and Server. As each new operating system is released, you need to have the equivalent ADK to interact with the images for the new OS. Microsoft has recently released the Windows ADK for Windows Server 2022. Let’s take a look at how to download and install Windows ADK for Windows Server 2022.
Windows Server 2022 ADK new features
First of all, let’s look at what’s new in ADK for Windows Server 2022. A part of the Windows Performance tools, The ADK for Windows Server 2022 contains a new Windows Performance Recorder (WPR). This allows recording events from the system that can be analyzed using the Windows Performance Analyzer tool.
The below is taken from the official “what’s new” post from Microsoft.
- New for Windows Server 2022 The WPR command line has gotten a few new features and updates to improve your developer analysis:
- Merge command enables merging of ETL traces (similar to XPerf’s merge command).See
wpr -help stopfor more information. - When saving a ETL, Ctrl + C can be used to cancel an in-progress save.
- Export profile command enables exporting of built-in profiles to be used as a starting point for building a custom Windows Performance Recorder Profile (*.wprp). See
wpr -help profilesfor more information. - Start command now supports shutdown tracing to persist over reboot. See
wpr -help startfor more information.
- Merge command enables merging of ETL traces (similar to XPerf’s merge command).See
- After recording a trace, you can now immediately open it in WPA by choosing the Open in WPA button.
- Direct handling of CLR symbols, so no flags are necessary when configuring and using NGEN support
New for Windows Server 2022 WPA’s code structure and tooling has been rewritten with early support of the Performance Toolkit SDK. With the rewrite, WPA is now a self contained .NET Core 3.1 application, allowing for extensibility by loading plugins to process any specific data sources (outside of ETL).
Download and Install Windows ADK for Windows Server 2022
First, to download the new Windows ADK for Windows Server 2022, you can find the download for the Windows ADK and the Windows PE installation environment here:
- Download the Assessment and Deployment Kit for Windows Server 2022
- Download the Windows PE add-on for the Assessment and Deployment Kit for Windows Server 2022
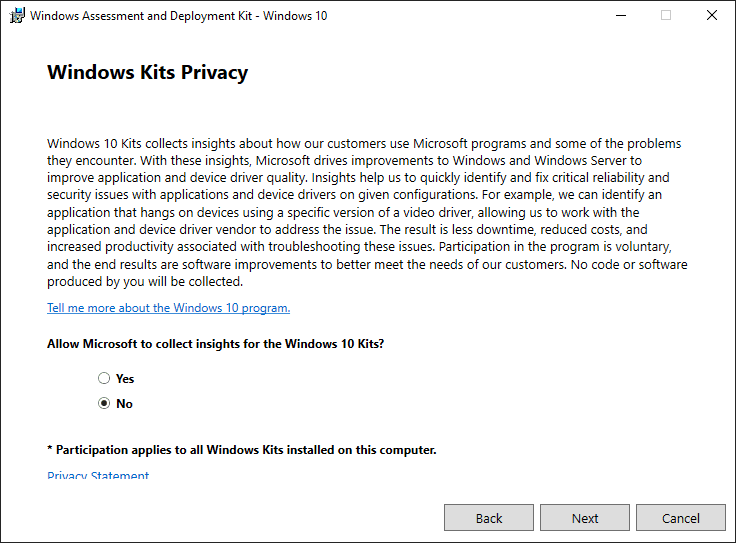
Choose your privacy settings for the WADK for Windows Server 2022.
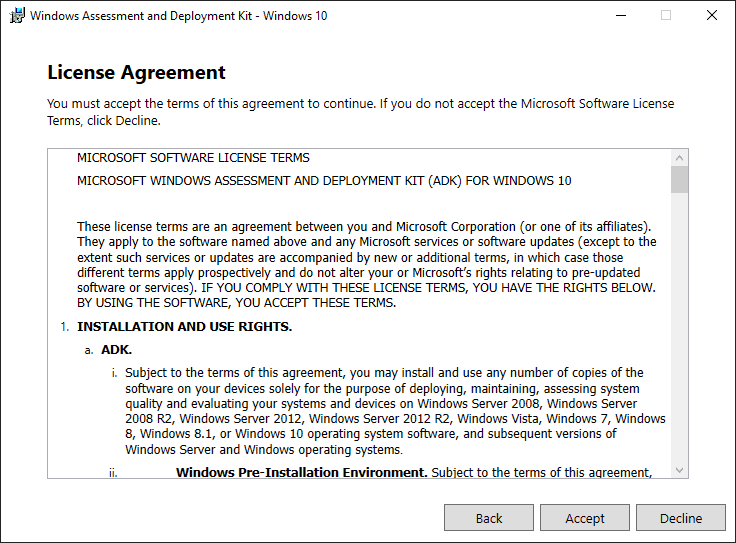
EULA agreement for Windows Server 2022 ADK.
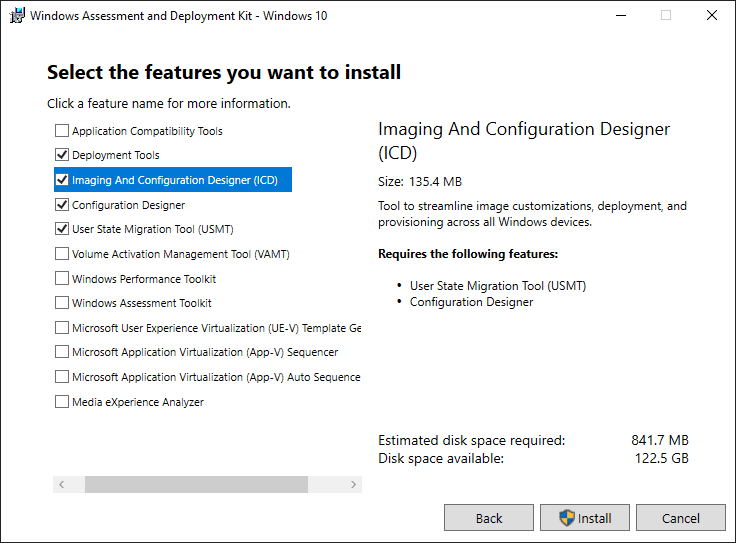
Select the components you want to install with the Windows Server 2022 ADK. Here I am selecting the deployment tools, imaging and configuration designer, configuration designer, and user state migration tool.
The installation of the Windows Server 2022 ADK completes successfully.
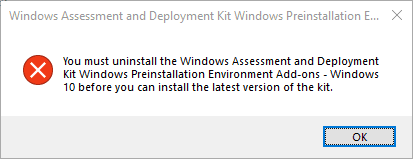
As a note. Before you install the new version of Windows Assessment and Deployment Kit and the PE add-on, you will need to make sure you uninstall the old versions of these you may have installed. The installer will error out, pointing this out.
Installing the Windows Preinstallation Environment Add-On
The next step we want to take is installing the Windows Preinstallation Environment (PE) Add-On. A few versions back, you may remember this simply being a part of the Windows ADK add-on. However, Microsoft has split off the PE add-on from the WADK installation, most likely to help modularize the installation and reduce the size of the installation as well for those who do not want/need the PE environment.
The installation of the PE environment looks almost identical to the WADK installation.
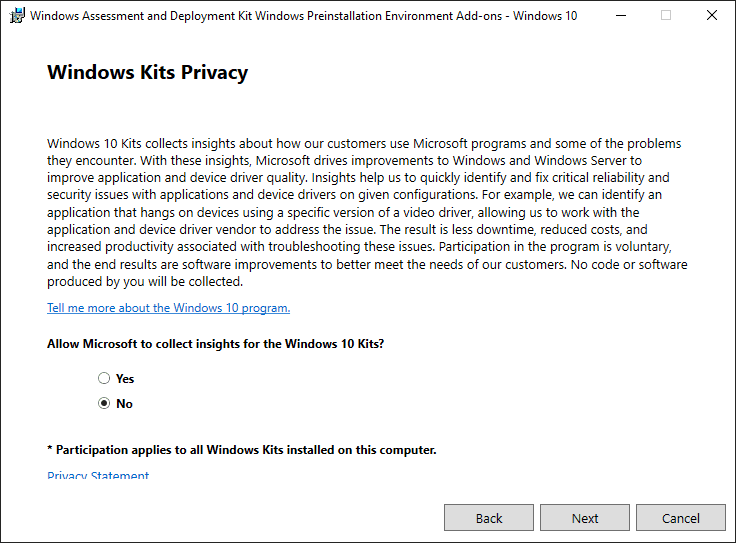
Same thing here as with the ADK….privacy configuration.
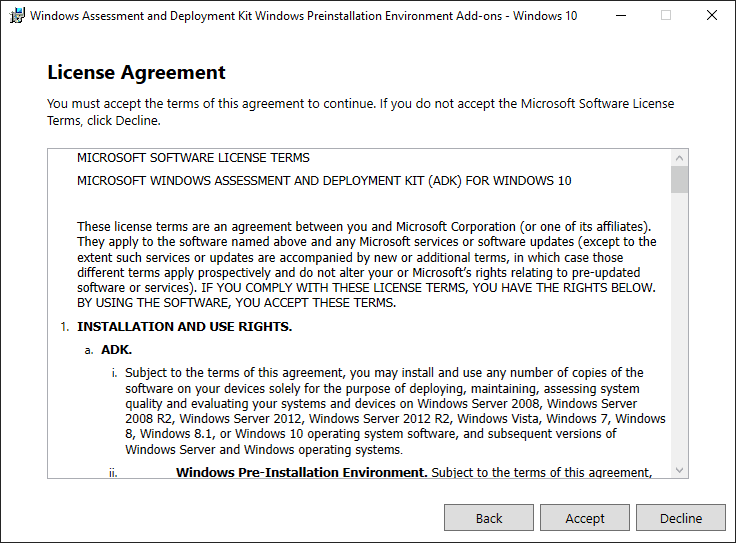
EULA.
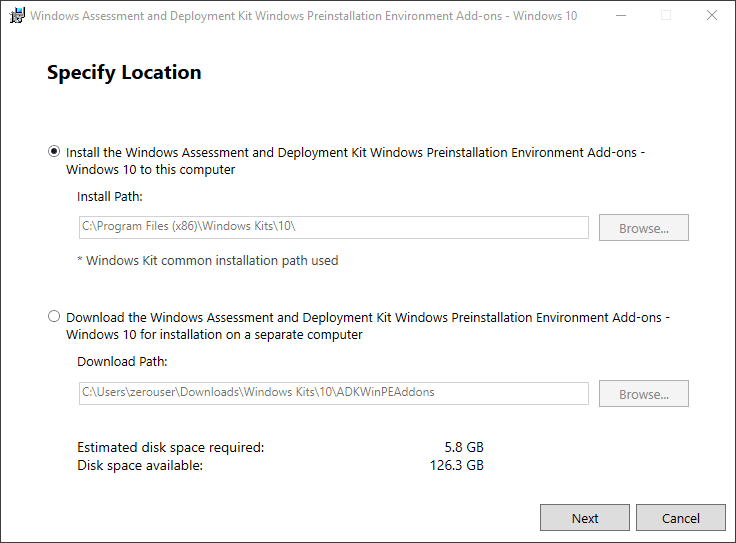
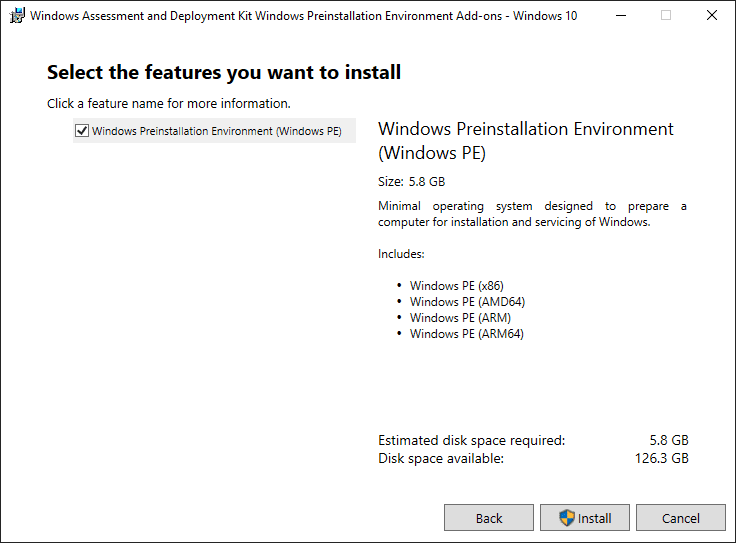
There isn’t much to choose on this screen with the PE Add-on as there is only one option that is selected by default. As you can see, this is the heavy-hitter when it comes to disk space required at 5.8 GB.
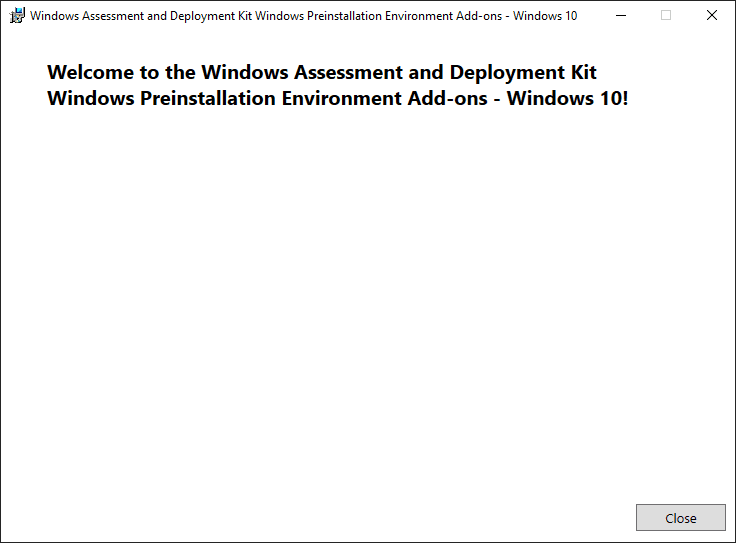
The Windows PE Add-On installation completes successfully.
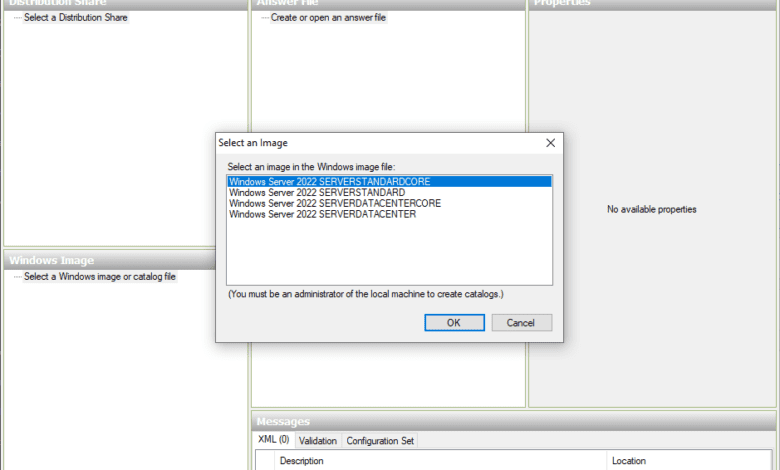
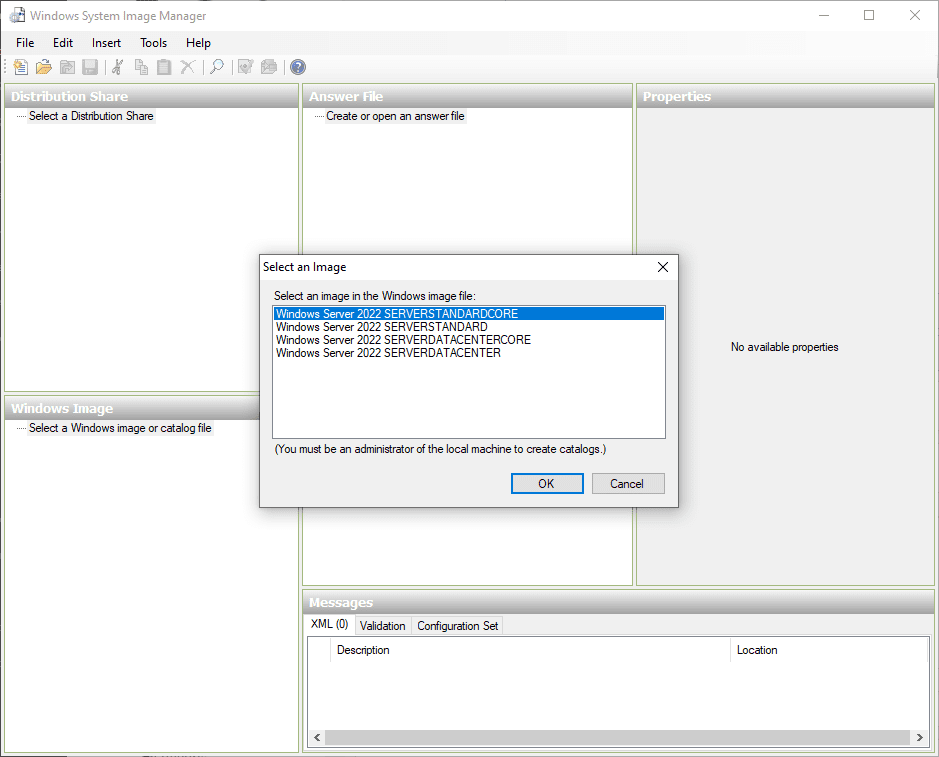
After performing the Download and Install Windows ADK for Windows Server 2022, I have launched the Windows System Image Manager utility and have pointed the Select a Windows image or catalog file to the Windows Server 2022 install.wim.
Use Cases for the Windows ADK and PE Add-On
What are the use cases for the Windows ADK and PE Add-On for your environment with Windows Server 2022? The WADK and PE Add-On are great tools for creating images and automating your deployments. I use the WADK and PE Add-On in my environment for creating customized answer files for various OS’es that I am deploying in the lab environment and in production. The PE tools are also great to use as a way to create bootable USB disks for various use cases. Note some of my posts here covering interesting topics along these lines: