I have played around with a lot of CI/CD tools in the past few years now. However, a new one to me that I have not played around with was TeamCity. In installing and using it though, I can see why it is a great choice for developers looking for a friction-free way to get up and going with CI/CD, especially with builds and CI testing being its strength.
What is TeamCity?
The TeamCity solution is developed by JetBrains which is a company that many .NET developers know well. It is a Java-based CI/CD server that supports several programming languages and frameworks. One of the things it is known for is just how easy it is to setup. Also, it has lots of plugins and other features and capabilities right out of the box.
I have set this up in Windows Server and also using a Docker container. Both were super easy. The Windows install was just a “next, next, finish” type of workflow, and the Docker container was as easy as you would imagine by just pulling and running the container.
Free edition
One of the nice things for small environments or home labs is that it has a free edition of TeamCity Professional that you can self-host. It is free up to 100 build configurations and 3 agents. So keep this in mind as it is basically all the enterprise features with just those limitations.
What are its features?
Well, just as a high-level overview, you can use it for:
- Building code
- Running tests
- Delivering artifacts
- Deploying to various environments
TeamCity doesn’t force you into a specific language or workflow. You will find that it works well across .NET, Java, Node.js, Python, Docker, Kubernetes, and more languages and environments. Keep in mind though that TeamCity is not a code repo. So, you will need another code repo that serves this purpose in your environment. TeamCity just handles the build.
Here are also some core features to note with the solution:
1. Intelligent builds you get out of the box – TeamCity detects changes in your repository and automatically triggers the correct build steps. It supports incremental builds, dependency-based caching, and test history tracking, giving it a level of “smart CI” behavior that reduces unnecessary workloads.
2. Integrates well with IDEs that you probably use – Thanks to its JetBrains, TeamCity integrates tightly with IntelliJ IDEA, Rider, and Visual Studio, making it easy for developers to interact with the CI/CD system directly from their IDEs.
3. Uses Kotlin DSL and note YAML – Different than most CI/CD tools, TeamCity uses Kotlin-based DSL compared to YAML of most others.
4. Docker and Kubernetes – TeamCity works with Docker agents and you can build and test containers natively. With Kubernetes support, you can even spin up build agents dynamically based on the workload.
5. Parallelism and Build Grid – With most solutions parallel builds can be an enterprise-only feature. TeamCity makes build chains, build dependencies, and parallel builds a core feature.
6. Plugins – JetBrains has tons of plugins. You can integrate its plugins with GitHub, GitLab, Bitbucket, and Azure DevOps, to Slack, Jira, Octopus Deploy, and others.
What does Kotlin-based DSL look like compared with YAML?
Let’s take a quick look at the difference in syntax between Kotlin-based DSL and YAML. Some people have a love/hate relationship with YAML. For those that hate it, the Kotlin DSL will be a breath of fresh air. Below is Kotlin DSL used in TeamCity.
version = "2023.11"

project {
buildType(BuildAndTest)
}

object BuildAndTest : BuildType({
name = "Build and Test"

vcs {
    root(DslContext.settingsRoot)
}

triggers {
    vcs {
        branchFilter = "+:main"
    }
}

steps {
    gradle {
        name = "Build"
        tasks = "build"
    }

    gradle {
        name = "Test"
        tasks = "test"
    }
}

artifactRules = "build/libs/*.jar => artifacts"

})
Compare this with the more familiar YAML format:
stages:
  - build
  - test
  - publish

build:
  stage: build
  script:
    - ./gradlew build
  artifacts:
    paths:
      - build/libs/*.jar
    expire_in: 1 week
  only:
    - main

test:
  stage: test
  script:
    - ./gradlew test
  only:
    - main
What code repos is it compatible with?
Since it does not serve as the source of code repos, which ones is it compatible with? There are many code repos that it is compatible with, including the big ones that are used today, including the following:
- Bitbucket (Cloud or Server)
- GitHub
- GitLab
- Azure Repos
- Perforce, Mercurial, Subversion, etc
Installing TeamCity
If I can spin up a solution in Docker, this is the way I typically go these days as it just makes life so much easier from a lifecycle and manageability standpoint. The official way to use Docker for installing TeamCity is the below:
docker run --name teamcity-server-instance  \
    -v <path-to-data-directory>:/data/teamcity_server/datadir \
    -v <path-to-logs-directory>:/opt/teamcity/logs  \
    -p <port-on-host>:8111 \
    jetbrains/teamcity-server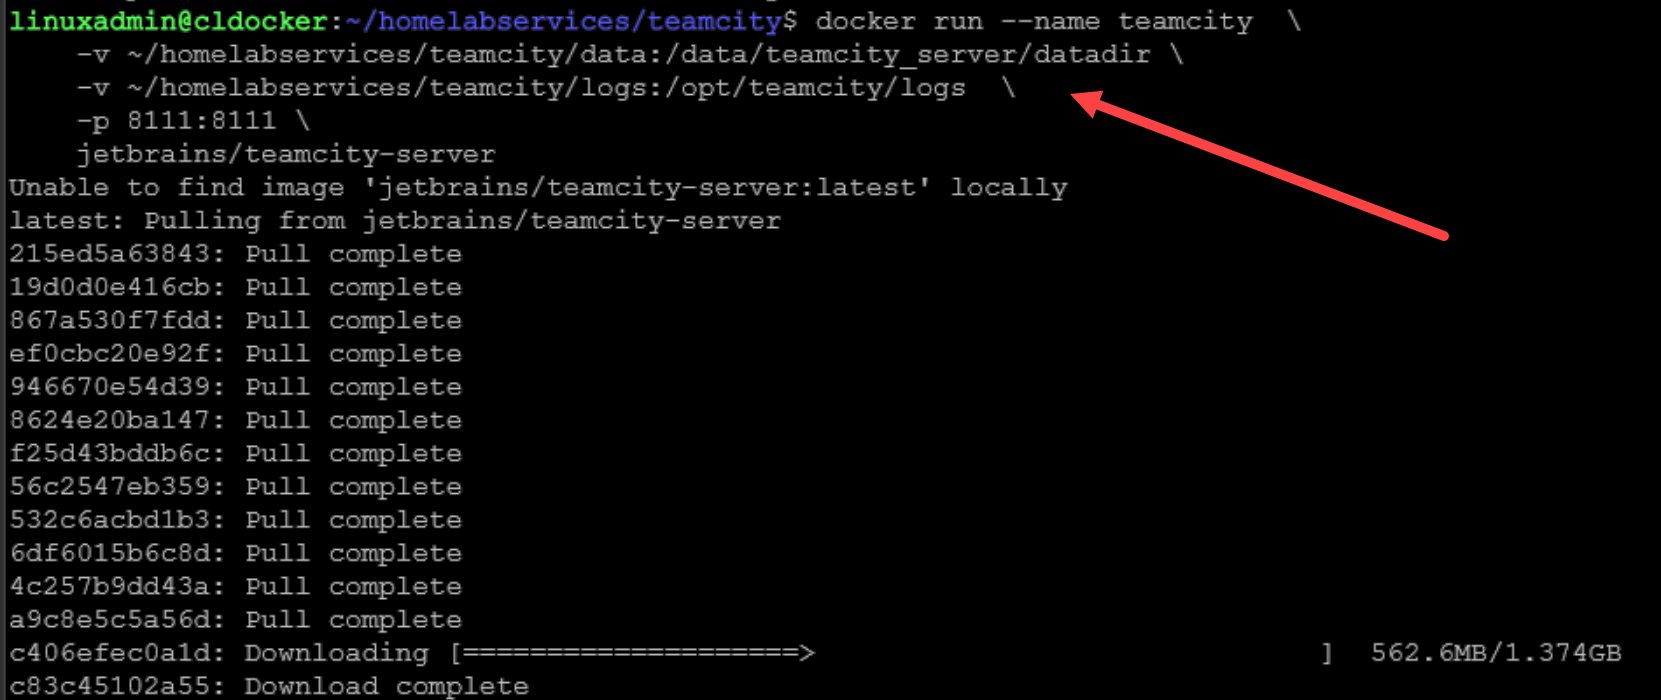
First start wizard
Once the container spins up, you will see a first start wizard that will guide you through getting setup with the solution. Here are a few screenshots of that process. To begin with you can proceed with the new setup or restore from backup.

Next, is the database connection setup. here we select the database type for the connection. By default, it will use the internal HSQLDB.
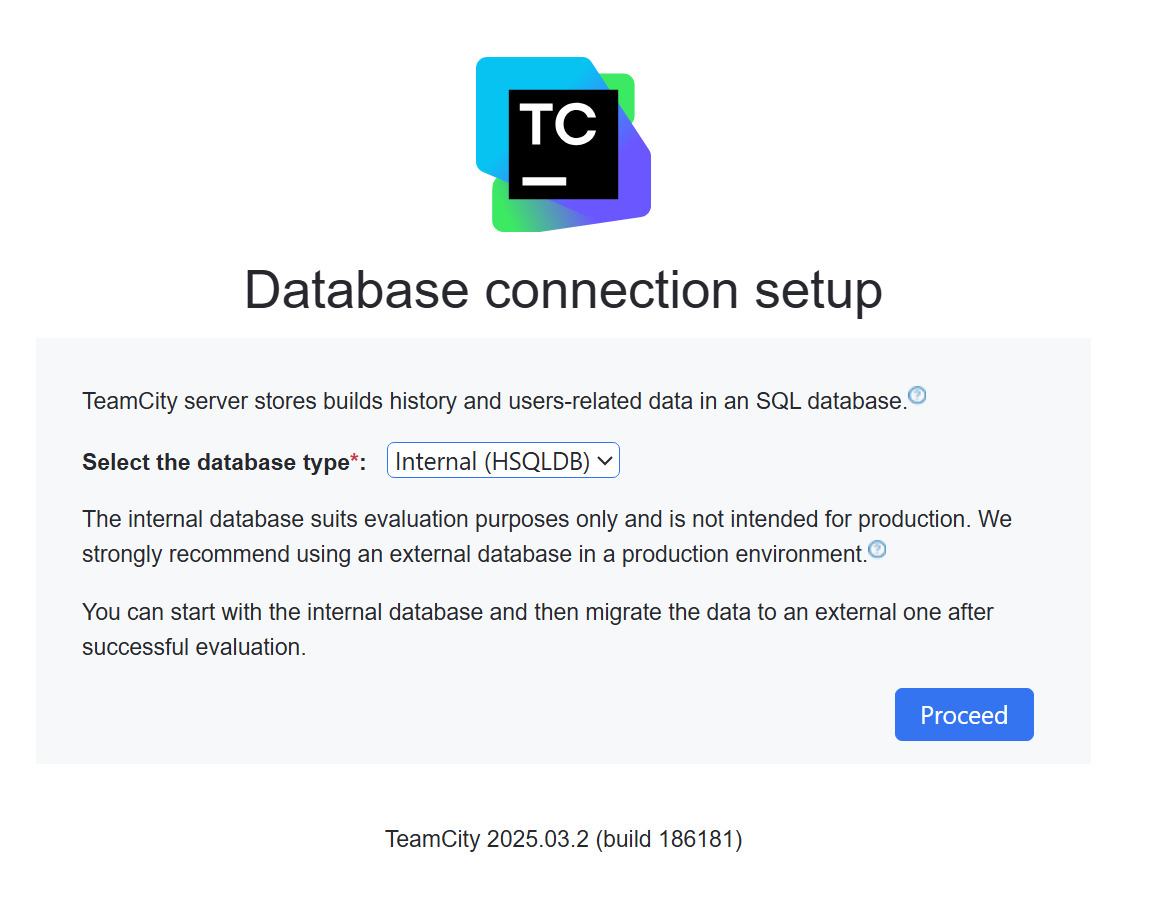
After this, the solution will start.

Next, you will need to create your administrator account. Type in your admin username you want to use and then enter and confirm the password.
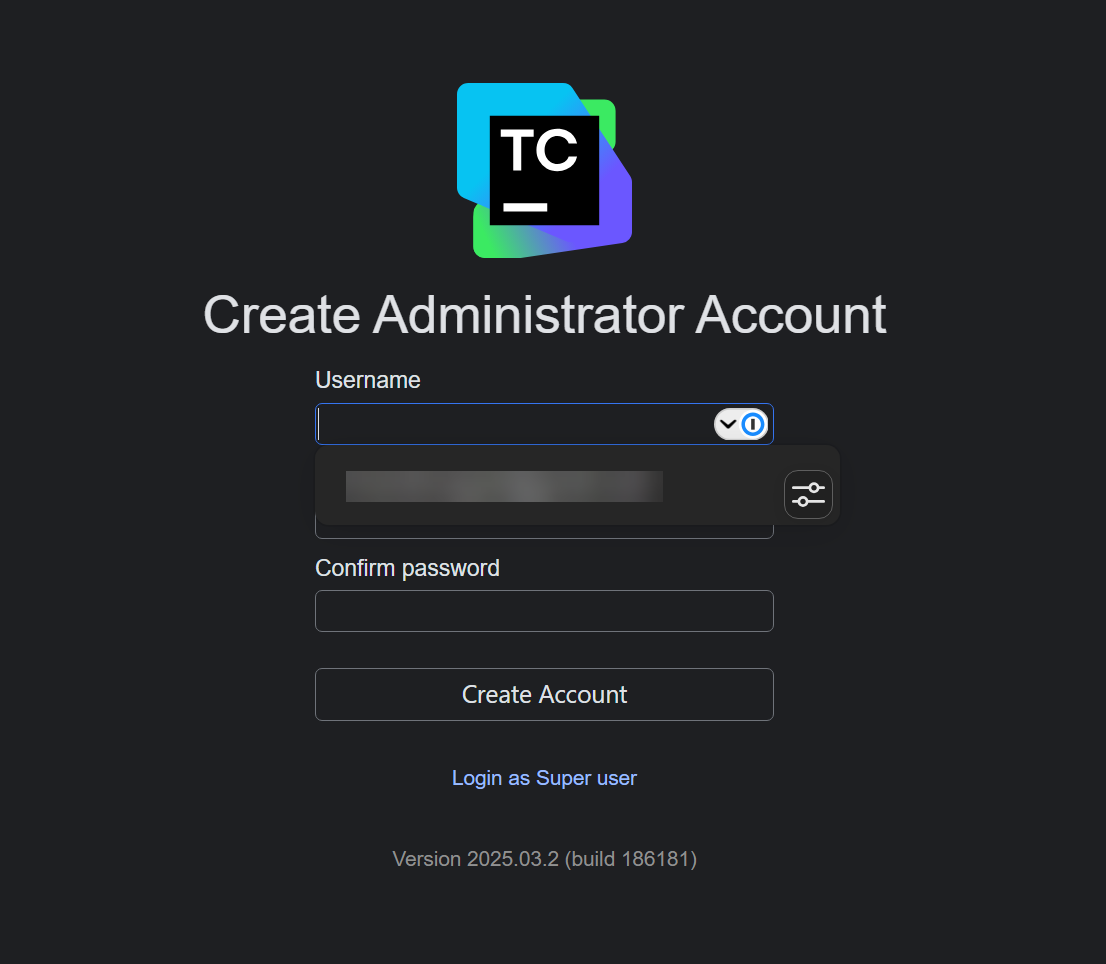
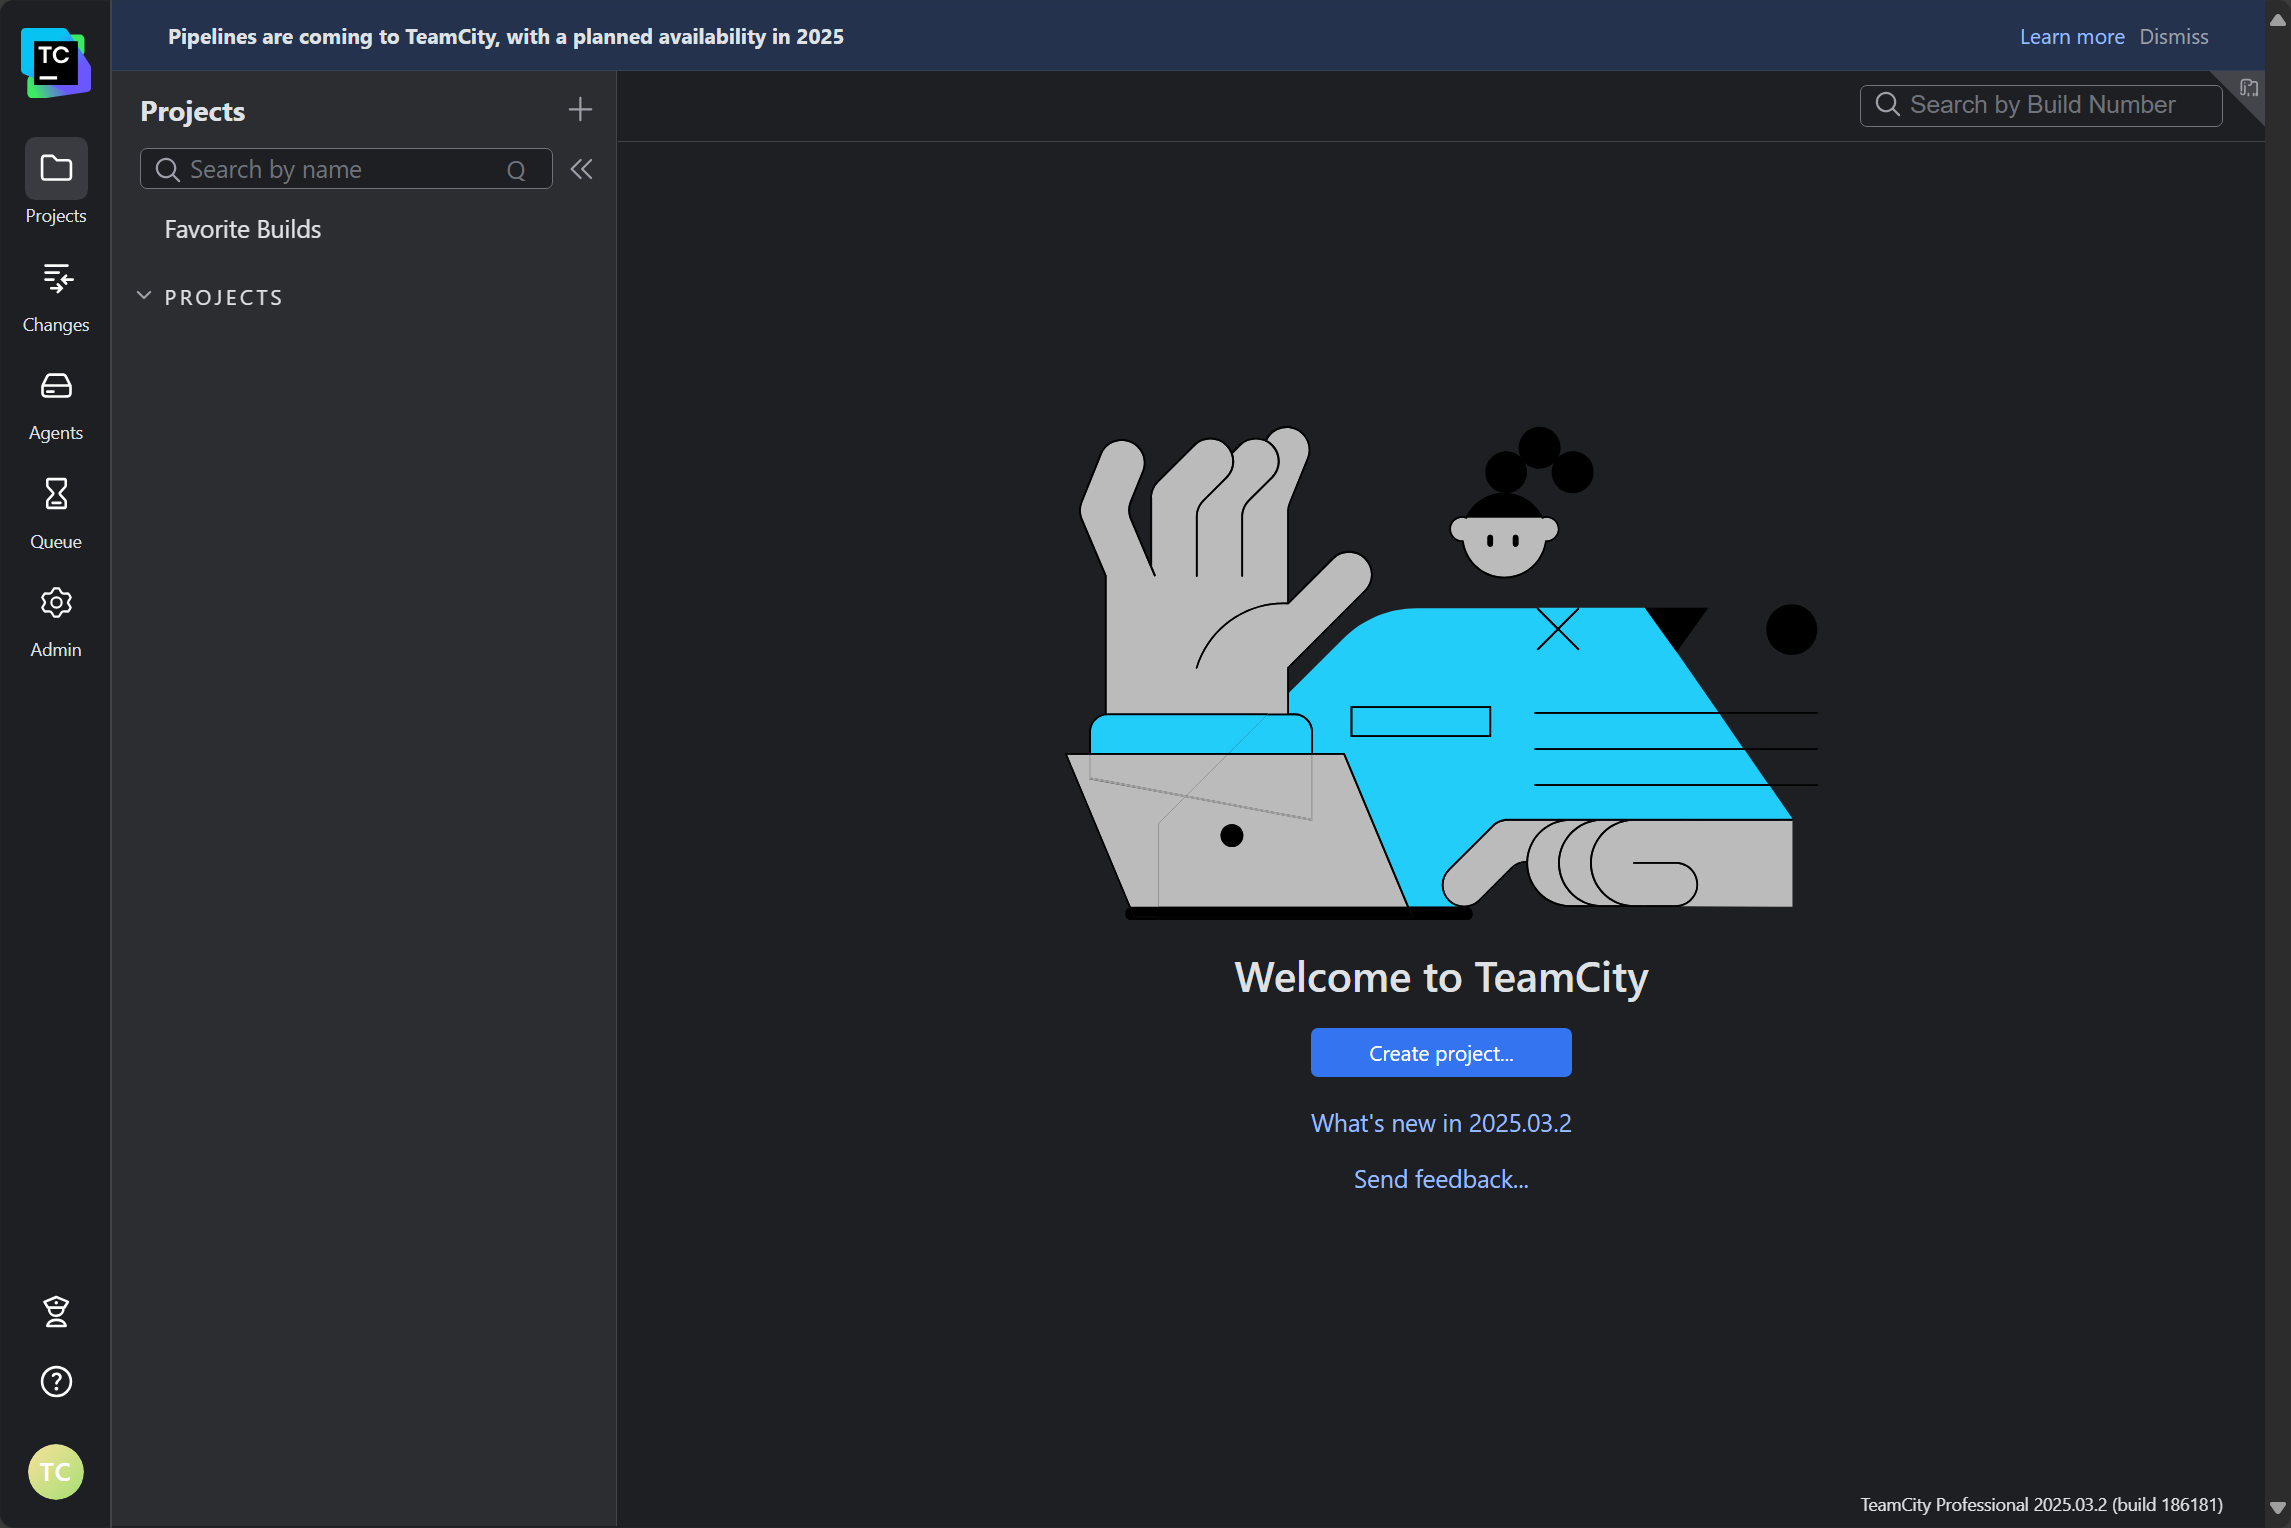
After this, you will be logged into the default TeamCity dashboard where you can create your first project.
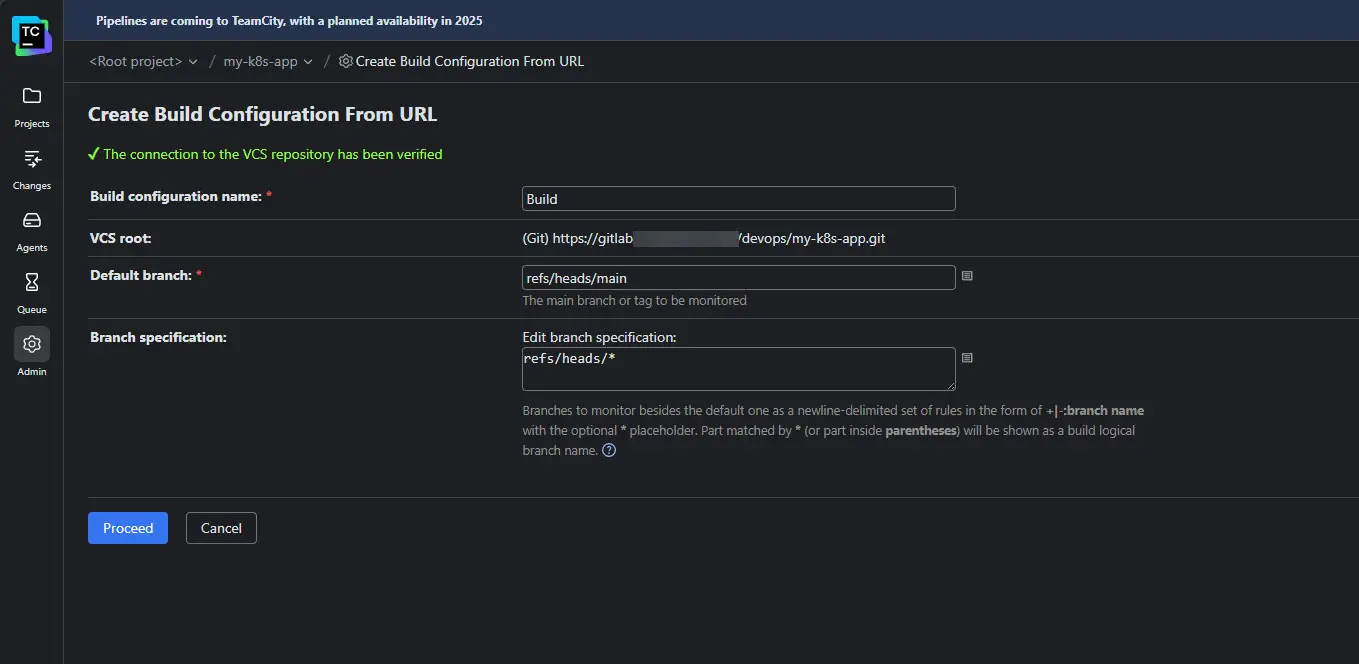
Connecting to a repo
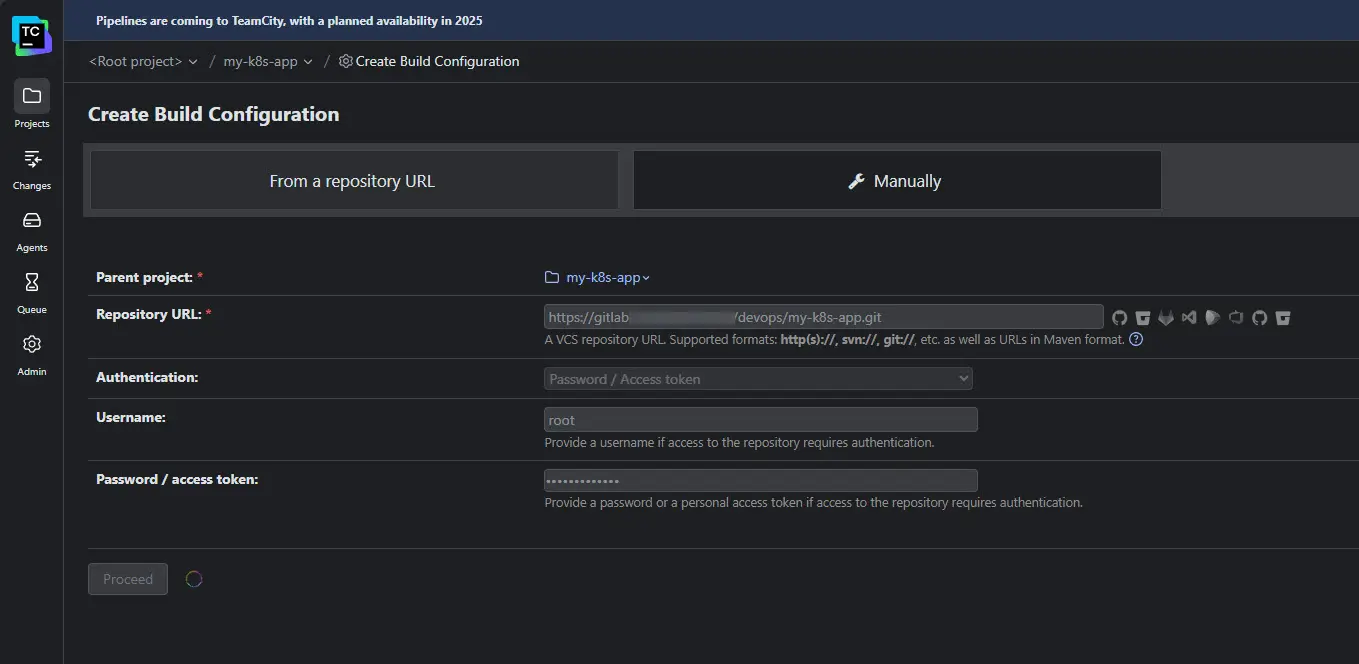
When you create your first project, you will want to create a build configuration. This is where you actually connect the project to a code repo:
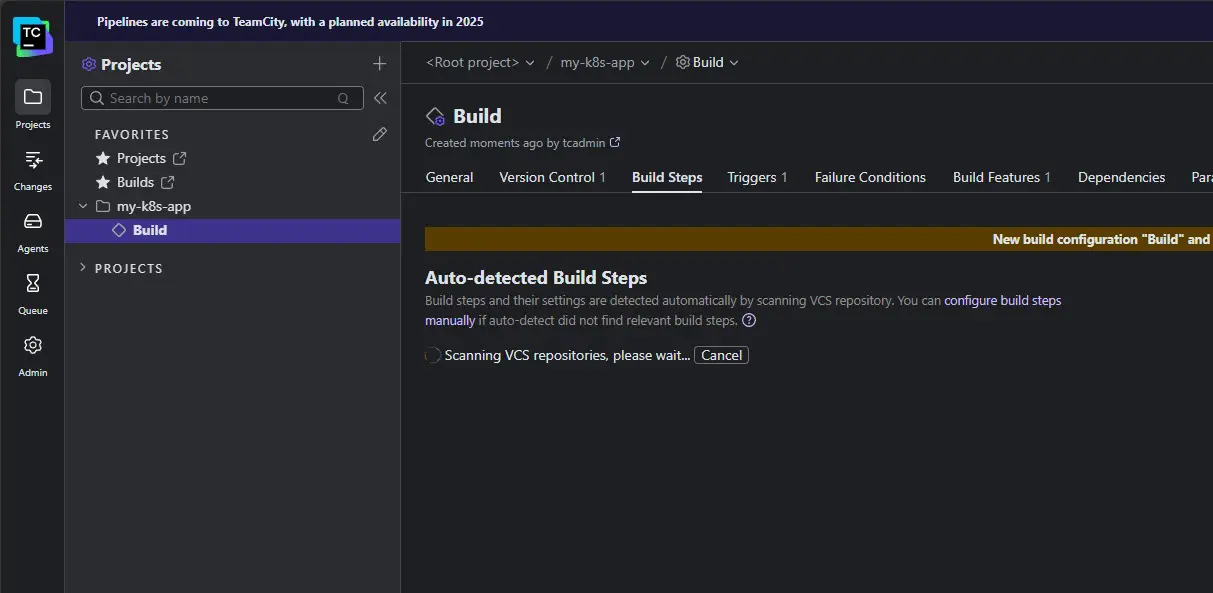
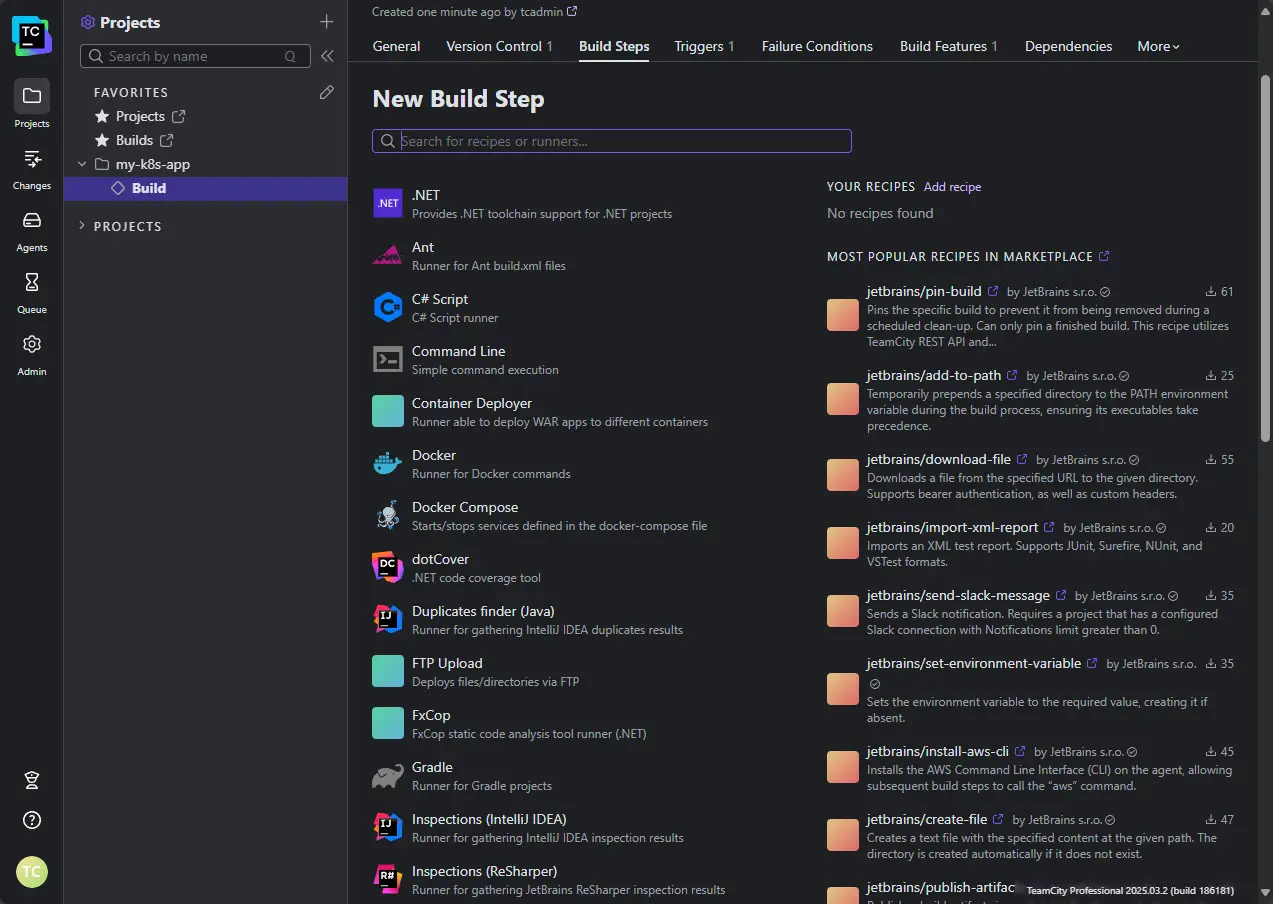
Adding build steps
If it doesn’t automatically detect build steps, you can add these manually.
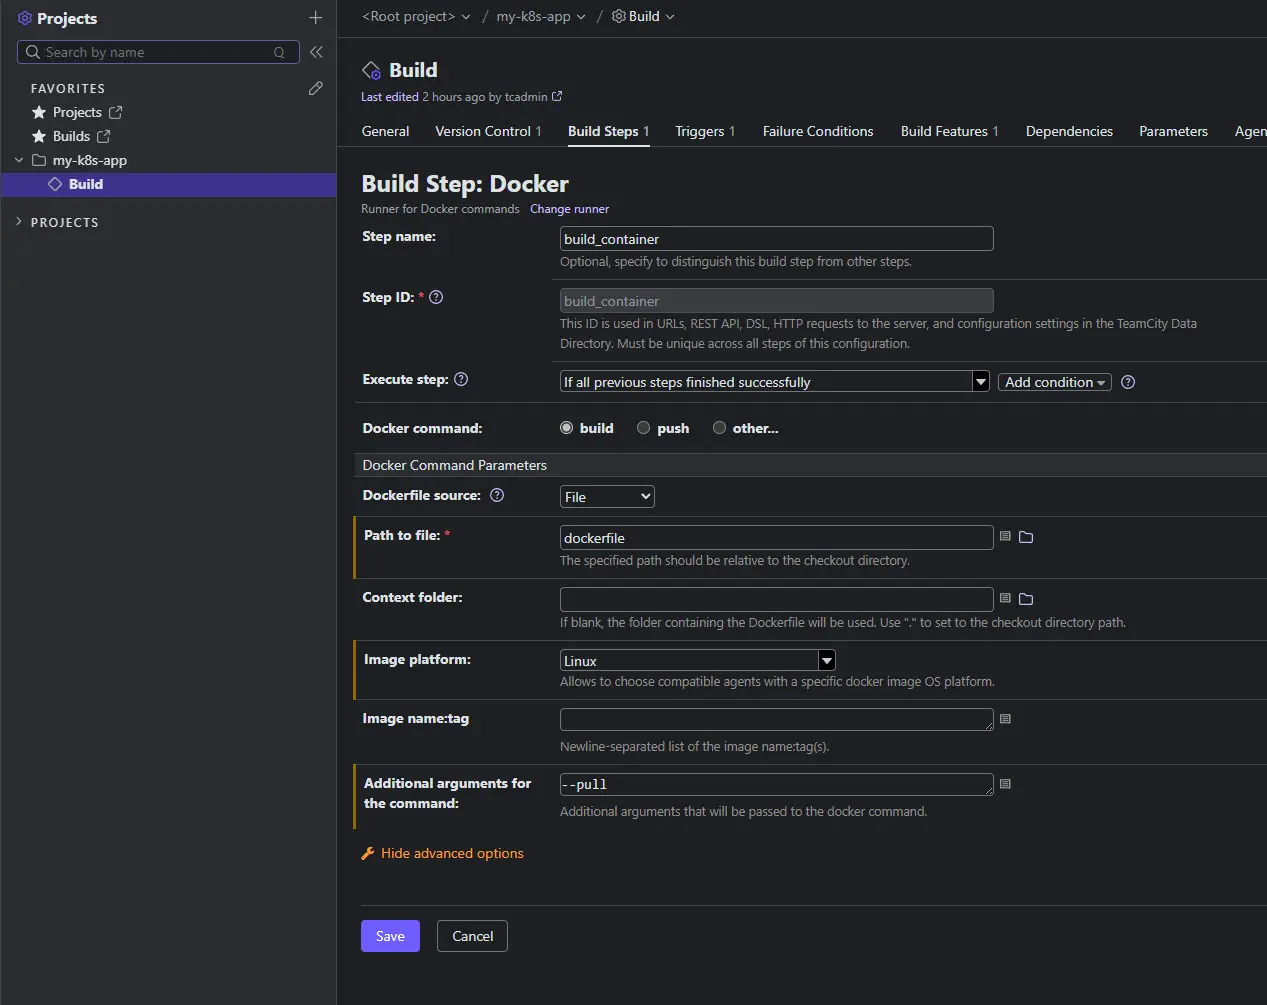
Here, I am adding a build step to build a Docker container from the Dockerfile I have in my code repo directory.
Adding agents
You will need to add an agent that can do the “work” of running your TeamCity CI CD builds. This process is a little convoluted from my experience, but I will share some screenshots below of what I did. It has the concept of pushing agents which is nice. Here I am getting setup to push an agent to a Linux VM.
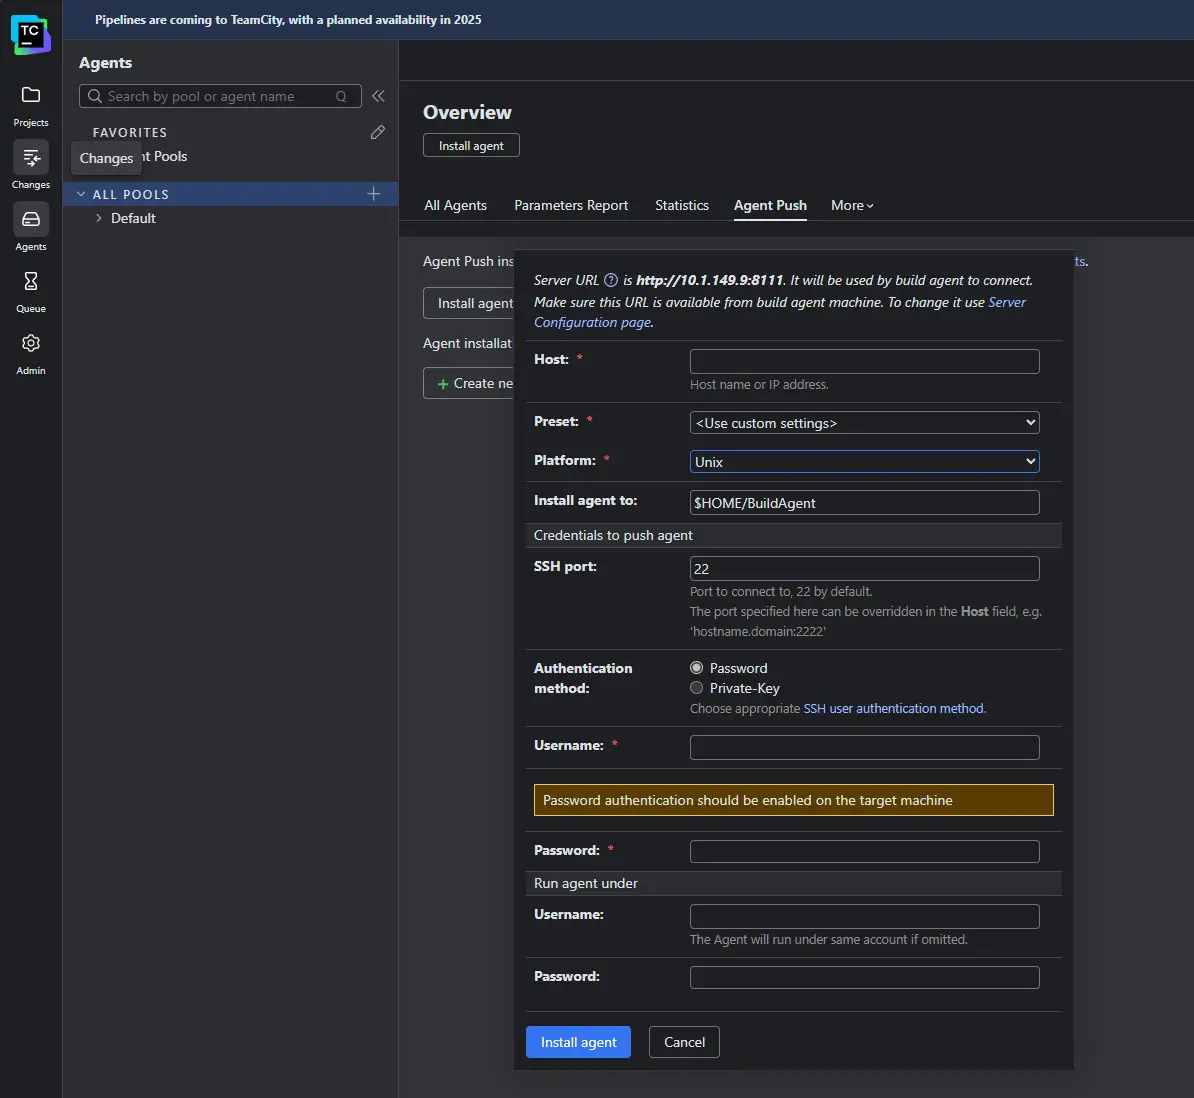
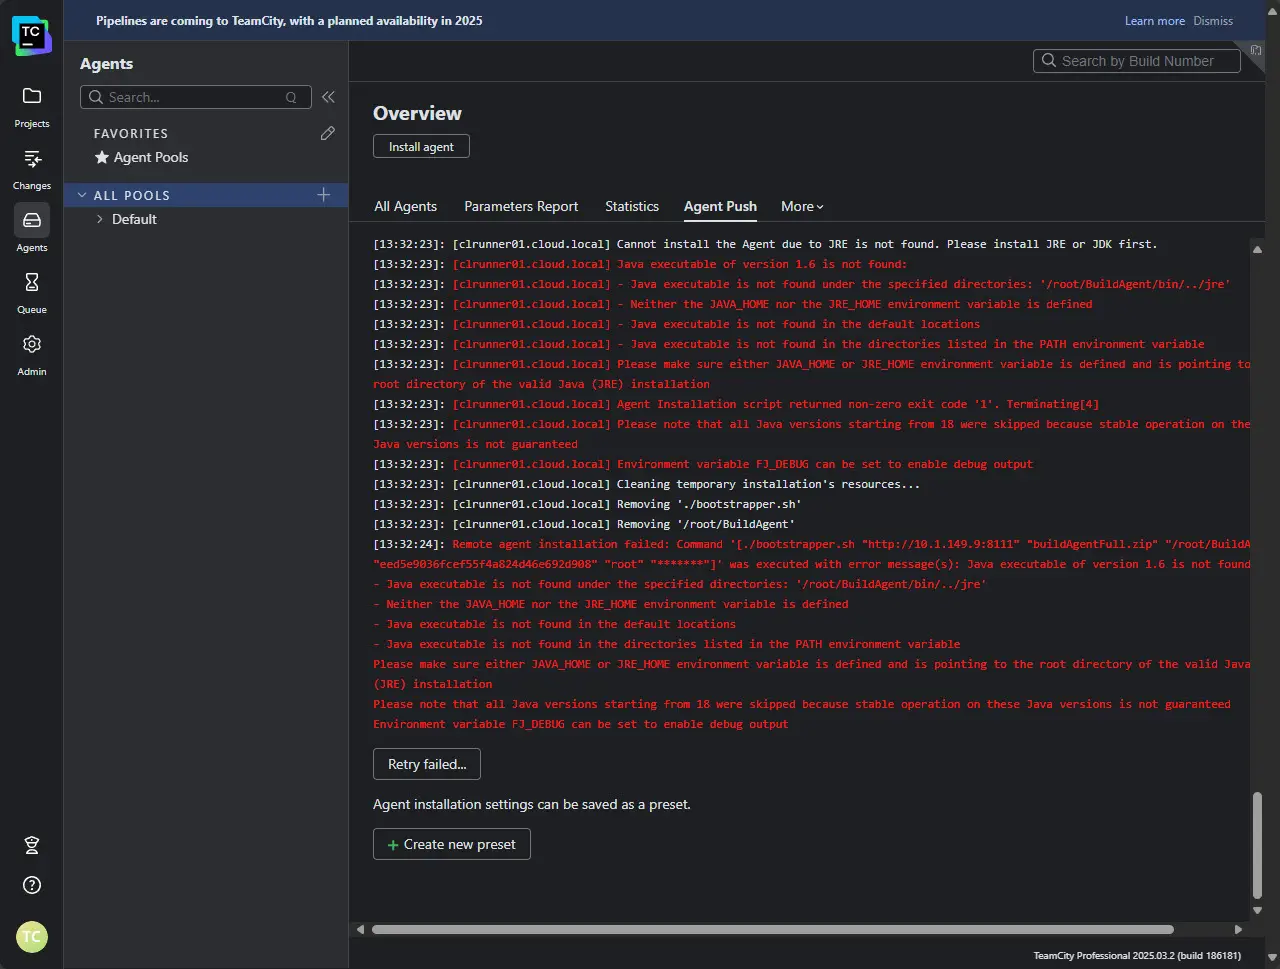
However, one of the clunky things about the agent push is that it doesn’t install the prerequisite of Java. I thought that the Agent JDK setup on the server would push this out to the agent. But, that doesn’t seem to be the case. So I had to manually install Java on my Linux box and then rerun the process.
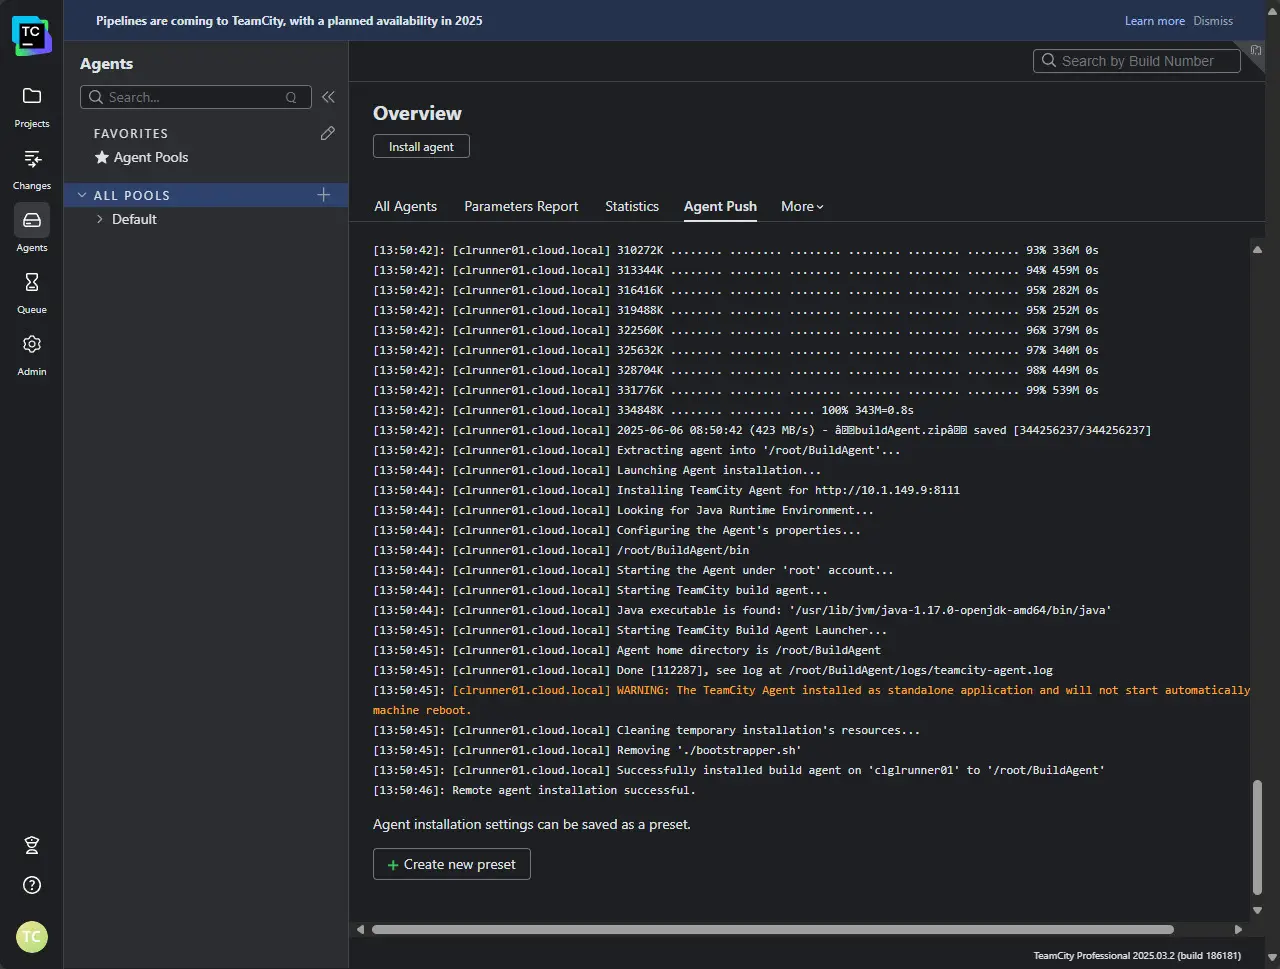
After installing OpenJDK, it ran successfully.
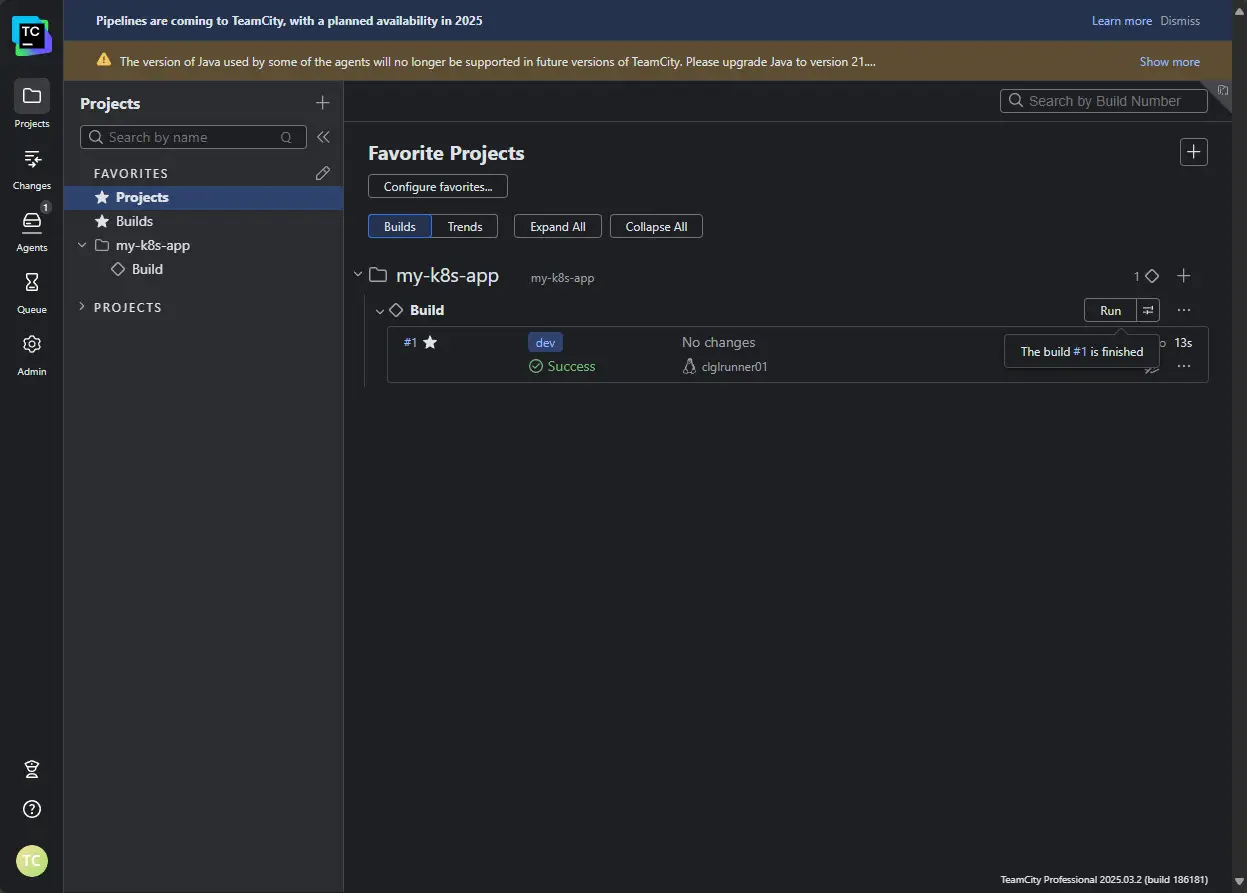
Now, after installing the agent. I was able to go back to my Build and click Run to actually run the build. The build of the container image ran successfully. I evidently installed an old version of Java on my agent machine so you see the message about the old JAVA version.
Wrapping up
I really like the TeamCity CI CD solution so far in working with it. It provides a lot of functionality with your builds that you don’t get in other solutions. Many prefer the non-YAML requirements of Kotlin DSL for creating configurations so that is a plus for the solution if you don’t like YAML. Keep in mind you will need a code repo for working with your projects as TeamCity is not a git repo as well as build server. But that holds true to its focus as the build is its strong suit. Many also pair this with Octopus for CD. However, TeamCity can do both. I didn’t get to get into using it for deployments as of yet, but this is something that I am looking to try out next, so stay tuned on that front.
Google is updating how articles are shown. Don’t miss our leading home lab and tech content, written by humans, by setting Virtualization Howto as a preferred source.
About The Author