When I saw Neil Cresswell’s (Portainer’s CEO) post on LinkedIn about a new Kubernetes distribution that was about to be released by Portainer, this got my attention. The new distro, called KubeSolo, was purpose-built to be for Kubernetes environments that need to be run on low-resource devices like a Raspberry Pi, an IoT gateway, or even low powered router type devices. What’s interesting is that it is a single-node Kubernetes distribution that is built specifically for these types of edge environments that are resource-constrained.
Let’s see what KubeSolo is, how it compares to k3s and other Kubernetes distros. Also, we will talk about where it shines, and how you can run it in your home lab or edge deployments.
What is KubeSolo?
First of all, what is KubeSolo? Well, as mentioned at the outset, it is a single-node Kubernetes distro that is made specifically for edge computing environments. If you have a use case where you want to use Kubernetes but the device or edge location has hardware that is resource-constrained, this is exactly what KubeSolo was intended for.
Portainer has created KubeSolo to strip down Kubernetes to the bare essentials. This includes no clustering, no etcd, and no unnecessary bloat. You may wonder, what is the point of that? Well, the advantage of this is that it offers full Kubernetes compatibility, meaning it works with kubectl, Helm charts, CRDs, and any OCI-compliant container.
But it focuses on simplicity and low resource usage. The memory footprint is under 200MB which is amazing. It means that KubeSolo can run on hardware where other Kubernetes distributions simply won’t run.
You can read the official documentation on KubeSolo here: kubesolo.
Where did Portainer get KubeSolo?
This is the interesting bit about KubeSolo. It is actually a fork of k3s, the well-known Kubernetes distro from Rancher Labs. KubeSolo however removes all the HA functionality and logic from the distribution to allow it to be even more resource efficient.
Comparing it with k3s, MicroK8s, or k0s
Let’s take a look at a comparison between KubeSolo and other very popular lightweight Kubernetes distributions along with their resource footprints and capabilities.
| Feature | KubeSolo | k3s | MicroK8s | k0s |
|---|---|---|---|---|
| Architecture | Single-node only | Multi-node capable | Multi-node capable | Multi-node capable |
| Resource Usage | <200MB RAM | around 500MB+ RAM | 600MB+ RAM | around 300–400MB RAM |
| etcd | No etcd | Optionally embedded etcd | Embedded Dqlite/etcd | Embedded etcd |
| Cluster Support | No | Yes | Yes | Yes |
| Helm/CRD Support | Yes | Yes | Yes | Yes |
| Designed for Edge | Yes | Yes | Yes | Yes |
| System Requirements | Ultra-low | Moderate | Moderate | Moderate |
| Read-only Filesystem Support | Yes | Partial | No | Partial |
What are the key differences?
- Single Node: Other distros have as their aim smaller cluster sizes, KubeSolo is intentionally non-clustered. This eliminates the resources needed for managing control planes, quorum, and etcd.
- Container runtime: KubeSolo includes its own container engine (based on containerd) and requires no other container runtime
- Tiny Footprint: Its footprint makes it ideal for devices like Raspberry Pi Zero, OpenWRT routers, or minimal ARM SoCs where every megabyte or RAM counts.
- Purpose-Built for Edge: It can handle low power, intermittent connectivity, limited I/O, and even read-only filesystems
What Can You Use KubeSolo For?
Because of its tiny footprint and simplified architecture, let’s talk about what it can be used for specifically according to the documentation for KubeSolo as well as a few ideas we can extrapolate.
1. Edge Computing Deployments
Think smart factories, warehouses, wind farms, or rural IoT deployments. KubeSolo will let you deploy Kubernetes-native workloads to physical locations where traditional K8s clusters wouldn’t work or just aren’t really that practical.
2. IoT Devices
Deploy containerized applications on small devices like Raspberry Pi, NVIDIA Jetson Nano, or ARM-based dev boards. With KubeSolo, you could run things like lightweight services such as MQTT brokers and local APIs.
3. Home Labs
It makes getting into Kubernetes at home on an extremely low-power device, even easier. You can use an older laptop or tiny mini PC. It will be able to host a fully operational KubeSolo node for testing Helm charts, deploying web apps, or learning K8s.
4. Offline or Remote Systems
KubeSolo is also great in locations where connectivity is spotty. You can run a full Kubernetes-compatible platform offline with zero dependency on external cloud services.
5. Portable Apps
If you need to pre-make deployments on USB sticks, SD cards, or immutable systems, KubeSolo would be great for this use case as well.
Is KubeSolo Good for Home Labs?
Diving into the home lab aspect as we cover a lot of home lab solutions here, KubeSolo is a great entry point into Kubernetes without the need to setup a full cluster. Think Minikube, but the difference is that KubeSolo is production ready and meant for edge environments where Minikube is not a production Kubernetes release and can’t be used as such.
You can use KubeSolo if you’re learning K8s, testing container deployments, or integrating with GitOps tools like ArgoCD or Flux. It also gives you the real Kubernetes experience on small hardware.
For example, a mini PC or Raspberry Pi with 1–2 GB of RAM is enough to run KubeSolo and a few test workloads. Just a few ideas to deploy with KubeSolo:
- Personal dashboards (like Heimdall or Dashy)
- Lightweight monitoring (like Netdata or Prometheus with small scrapes)
- Self-hosted services like Pi-hole, FreshRSS, or Home Assistant
- CI/CD runners with limited jobs (for testing Drone CI or GitHub Actions runners)
How Do You Run KubeSolo?
Getting started with KubeSolo is refreshingly simple. Here’s how to install and run it on a Linux system:
Step 1: Prep the Host
Ensure your system meets these requirements:
- No container engine like Docker or containerd should be running
- A Linux distribution (x86_64, ARM, or ARM64)
- Root access or
sudoprivileges - At least 256MB of RAM (512MB+ recommended for additional tools)
Step 2: Install command
curl -sfL https://get.kubesolo.io | sudo sh -
This script handles all the setup automatically.
Step 3: kubeconfig
After installation, your kubeconfig will be located at:
/var/lib/kubesolo/pki/admin/admin.kubeconfigYou can copy it to your local machine and use it with your existing kubectl setup:
export KUBECONFIG=/path/to/admin.kubeconfig
kubectl get nodes
You can also use it on the local KubeSolo machine as well. First we need to make the .kube directory and copy the file there:
mkdir -p ~/.kube
sudo cp /var/lib/kubesolo/pki/admin/admin.kubeconfig ~/.kube/config
Below, we are taking ownership of the file from root and then running the kubectl get nodes command:
sudo chown linuxadmin:linuxadmin ~/.kube/config
Step 4: Deploy Apps
You can now use standard Kubernetes manifests, Helm charts, or kubectl commands to deploy services. It behaves like any other Kubernetes node—just in a single-node, ultra-efficient format.
Real-World Scenarios
Neil Cresswell, co-founder of Portainer, has demonstrated several real-world examples of KubeSolo in action:
- Industrial Edge Gateways running small AI inference workloads
- Smart Retail Setups with POS applications containerized and managed via GitOps
- Offline Data Collection Nodes in agriculture and mining
- Rugged Mobile Devices for use in disaster zones or temporary deployments
These use cases prove that KubeSolo isn’t just a fun experiment—it’s a practical tool with real utility.
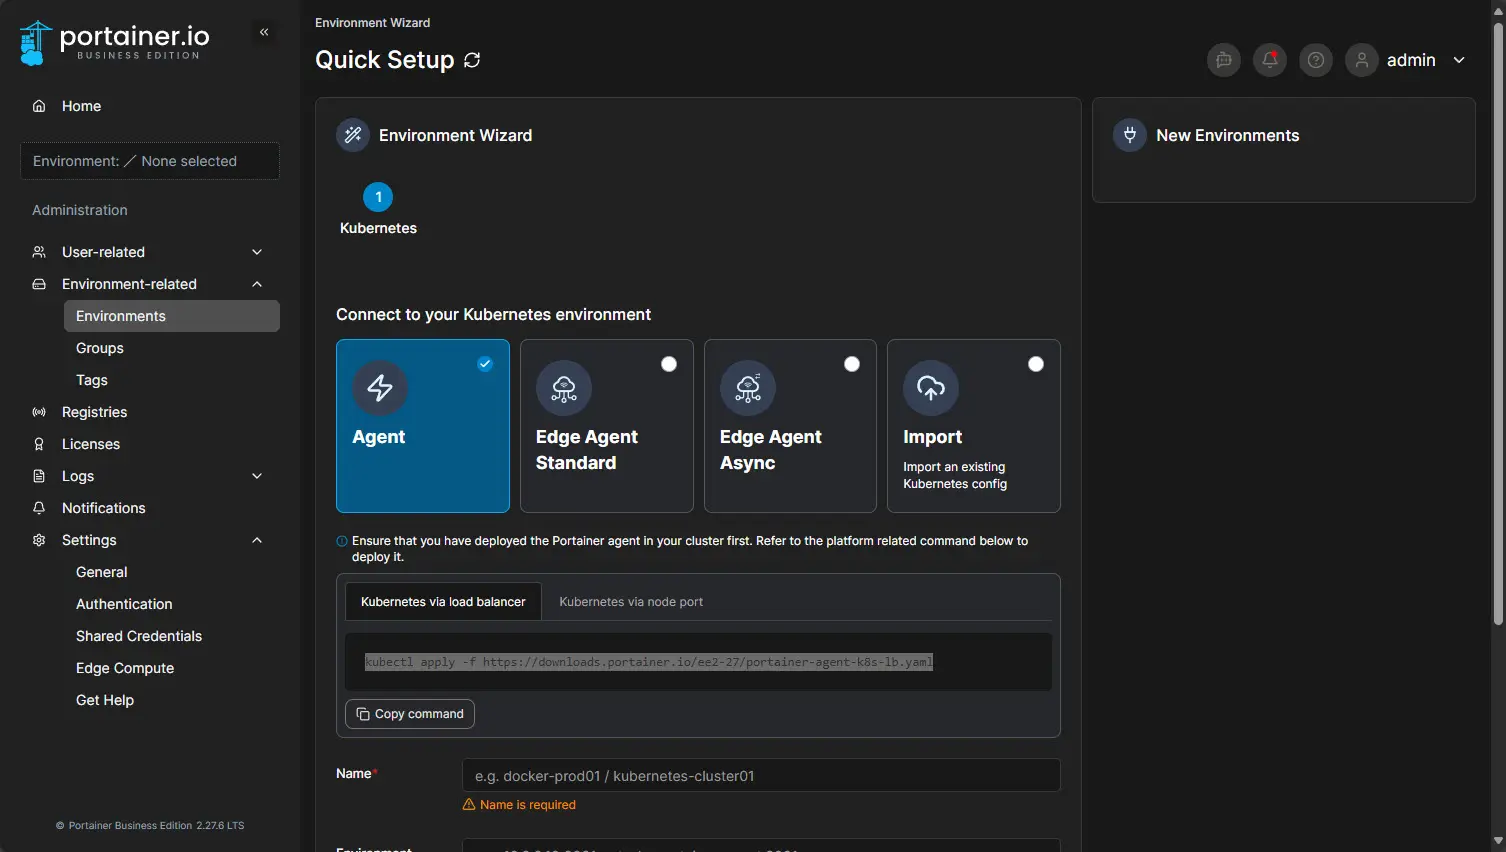
What About Portainer Integration?
Yes you can add the KubeSolo instance like you would any other Kubernetes cluster to Portainer CE or Business Edition. This let’s you have all the management and visibility features that you are used to with Portainer.
The good thing about this as well is that Portainer provides the single pane of glass management if you have multiple edge KubeSolo instances, your entire fleet can be managed in Portainer.
Wrapping up
Portainer has really delivered a great resource for the community, not only for homelabbers and those who want to learn Kubernetes with low-powered hardware, but also for resource-constrained production nodes at the edge. But don’t take my word for it, test this out in your lab environment or test environment in production and put it through the paces.
Google is updating how articles are shown. Don’t miss our leading home lab and tech content, written by humans, by setting Virtualization Howto as a preferred source.
About The Author