In your home lab environment or production use cases, you may need shared storage for virtualization, scale-out repositories, high availability, hyperconverged infrastructure, and other use cases – free Virtual SAN storage software. You may run various vendor-specific environments like VMware vSphere, Microsoft Hyper-V, bare metal servers, Microsoft failover clusters, Citrix Xenserver, bare metal Windows server, or other various operating system solutions.
With most organizations now running some type of virtualization environment, adding a virtual SAN free is as simple as deploying free virtual SAN storage resources. This helps to circumvent the need for expensive physical shared storage resources. Let’s look at StarWind SAN and NAS, built on top of the same solution as StarWind virtual SAN, which provides a great solution for free virtual SAN storage.
What is StarWind Virtual SAN (VSAN)?
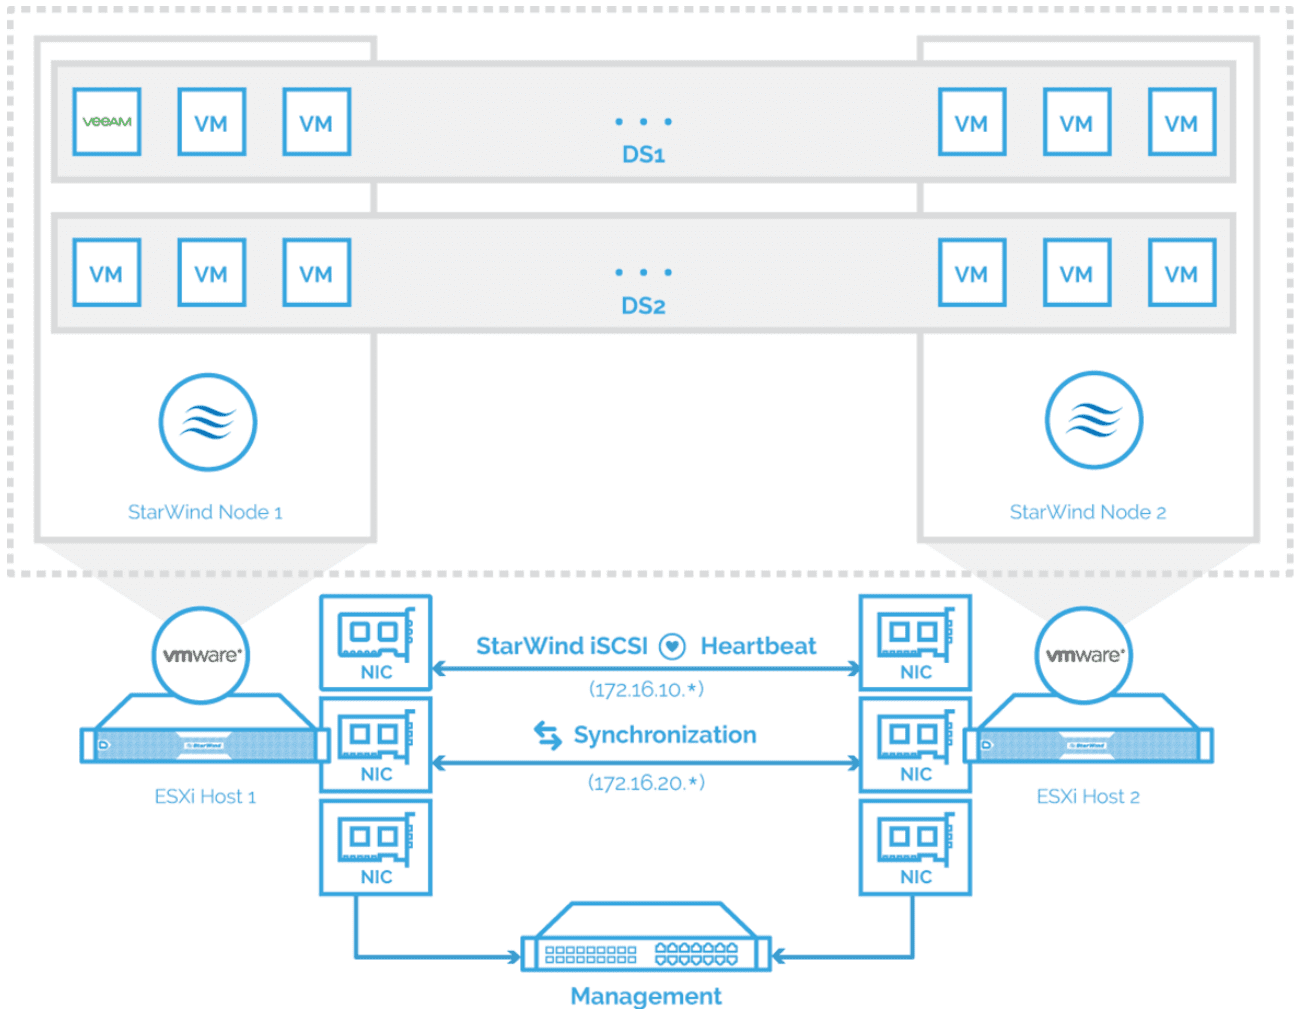
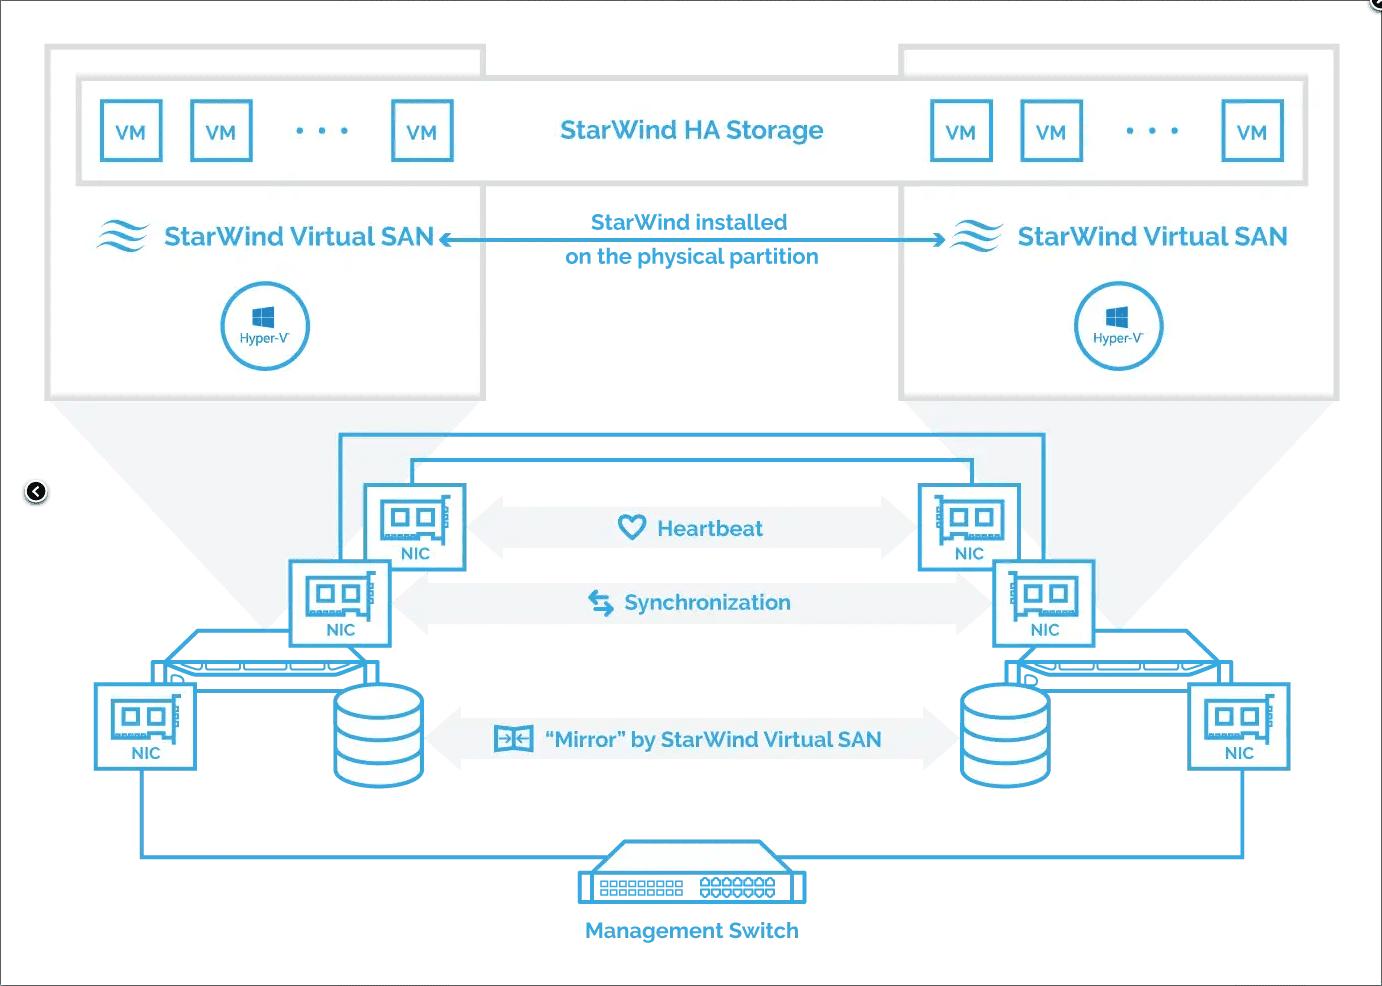
The StarWind Virtual SAN solution is software that eliminates the need for physical shared storage. It does this by mirroring internal storage disks and flash between hypervisor hosts. It is compatible with VMware vSphere, Microsoft Hyper-V, Linux KVM, Citrix Xenserver and others.
No HCL is required with StarWind Virtual SAN
With StarWind Virtual SAN there is no need for a hardware compatibility list (HCL). The solution is a commercial off-the-shelf (COTS) system using commodity hardware to create software-defined storage solutions.
With StarWind Virtual SAN, it can operate using only two nodes without a witness host appliance. With the StarWind Virtual SAN solution, you deploy VMware ESXi virtual machine appliances or Microsoft Hyper-V VMs that act as the virtual storage targets for the StarWind VSAN solution. Again, this can be with just two nodes.
Community supported and same performance benefits
You can choose to use StarWind VSAN free as a community-supported free product, or you can choose the paid version with enterprise support from StarWind. However you get the same performance benefits with StarWind VSAN free version as with the paid version. The StarWind forums can be used to find answers to questions, troubleshooting, etc.
Managed using the StarWind management console
All of the solutions are managed using the StarWind management console. Once you have the VMware vSphere virtual machines or Microsoft Hyper-V VMs provisioned, you can configure replication and then iSCSI targets.
Features of StarWind Virtual SAN
What are the features of the StarWind Virtual SAN solution? These include:
Synchronous replication
Using the StarWind Virtual SAN solution, you can benefit from synchronous replication technology. StarWind VSAN immediately copies data to the second node over the network to ensure instant failover for critical workloads.
High-performance iSCSI stack
With StarWind Virtual SAN, you get a high-performance iSCSI stack that provides resilient and performant shared storage between hosts, even using the free version of VSAN.
Responsive support
With the paid version and not StarWind free, you get 24/7/365 support. With any of the solutions, you have the ability to perform hardware maintenance operations on nodes without losing access to shared storage and data.
Management command center
You get the StarWind Command Center as part of the solution which is a single view of your hyperconverged infrastructure configuration
vsa – Virtual storage appliance
With StarWind Virtual SAN, you can choose to deploy VSAN as a VSA appliance (Virtual Storage Appliance). With this solution, StarWind VSAN is run as a pre-packaged Linux-based virtual machine on top of VMware vSphere or Microsoft Hyper-V.
Fault tolerance and high availability
With StarWind virtual san free version and the paid version, you get mirrored storage that caches between the given hosts creating a fault-tolerant storage pool. You can choose how many replicas of a particular VM or LUN are kept alive and how many active storage controllers a cluster should use.
vCenter plugin
You also get a vCenter Plugin if you are running a VMware vSphere environment. The plugin simplifies integration with VMware vSphere. It provides unified management and monitoring of your StarWind environment.
What is StarWind SAN and NAS?
In case you have not seen the StarWind virtual SAN and NAS solution, it is a free solution shipped as a virtual machine appliance. It can be deployed as a virtual machine on either VMware vSphere or Microsoft Hyper-V.
It allows you to use your existing hardware for storage resources. Using your VMware ESXi hosts and shared storage, or Hyper-V storage, you can then present StarWind virtual SAN free and NAS capabilities to additional workloads.
it is a new solution allowing organizations to repurpose existing standalone hypervisor servers into storage appliances with a multitude of use cases in the enterprise.
Same DNA as StarWind Virtual SAN
The solution shares the same software-defined storage as StarWind VSAN free that uses StarWind nodes. It allows organizations to use ZFS storage. You can also use common enterprise data center protocols, including iSCSI, SMB, NFS, and others.
Lightweight appliance that is simple and easy to use
The new StarWind SAN and NAS is super lightweight and easy to use. I have used many virtual storage appliance solutions in my home lab environment to provide iSCSI targets for hypervisors, Microsoft failover clusters, and various PoCs. However, many of these are quirky and require quite a bit of time to install and apply the configuration to get to the point of presenting storage to a hypervisor host or Windows Servers.
The StarWind SAN and NAS is one of the easiest storage solutions I have configured in the home lab environment. You download the StarWind Virtual SAN and NAS package, deploy it in your hypervisor environment and literally start configuring storage targets as we will see in the configuration walkthrough.
No need for a physical SAN or NAS
With the StarWind Virtual SAN and NAS solution, there is no need to purchase a physical SAN/NAS appliance. The requirements are simple. If the server can run VMware ESXi or Microsoft Hyper-V, you can use the StarWind SAN and NAS to repurpose hardware as a high-performance storage appliance, network-attached storage (NAS), or as a backup target, using commodity hardware.
Built for Edge and ROBO environments
In edge environments and Remote Office Branch Office (ROBO) environments, the StarWind SAN and NAS solution provides cutting-edge performance and availability without needing expensive physical shared storage hardware.
Deploying Free Virtual SAN storage software with StarWind SAN and NAS
Let’s take a look at the process to deploy the StarWind SAN and NAS solution and then how we can easily provision an iSCSI target for mounting the storage.
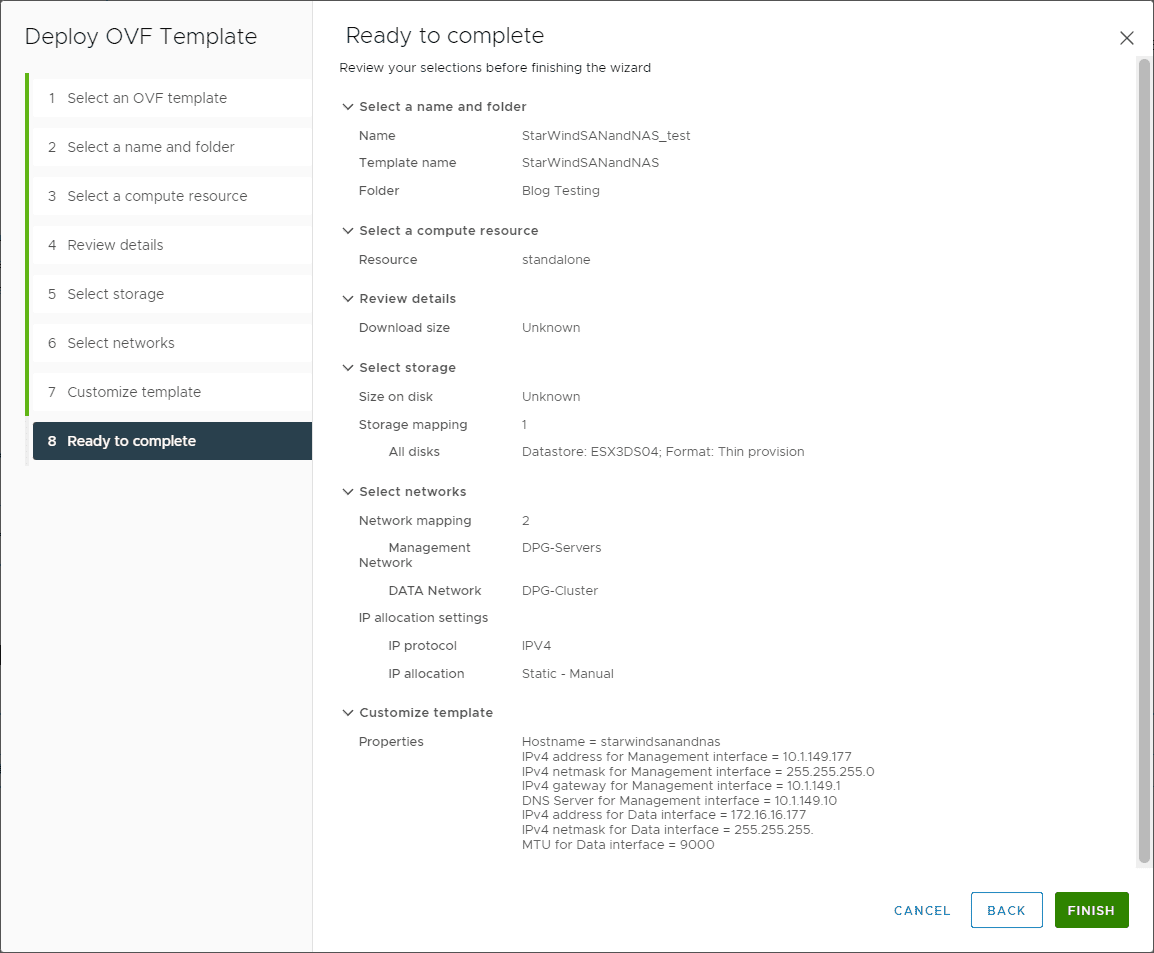
Since the OVF template deployment process for StarWind SAN and NAS is identical to installing any other virtual appliance in VMware vSphere, below is the final screen for the OVF template deployment.
Deploy the OVF template in VMware vSphere
Basically, you need to configure the networking on the StarWind SAN and NAS appliance, including IP addresses and plug these into the backing vSphere switches.
StarWind SAN and NAS storage configuration
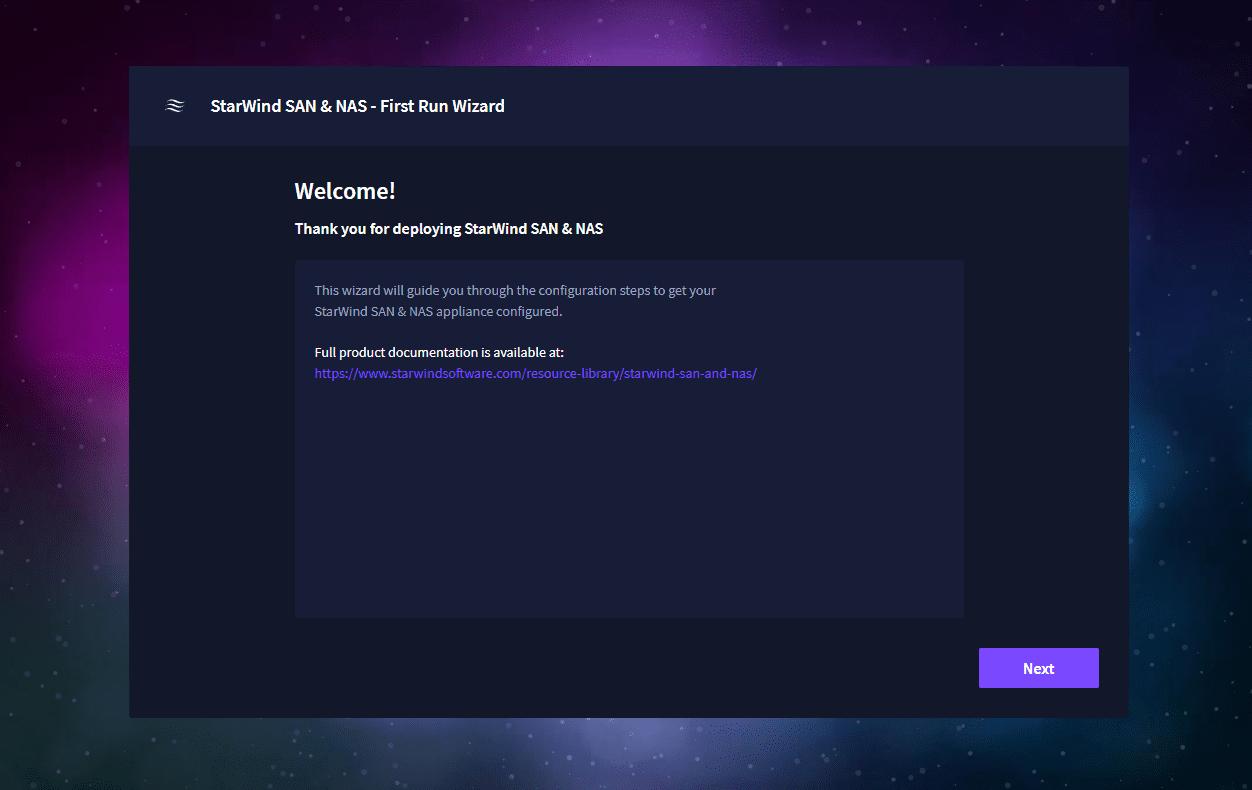
Once you have the OVA appliance deployed, you can browse out to your configured IP address port 8643:
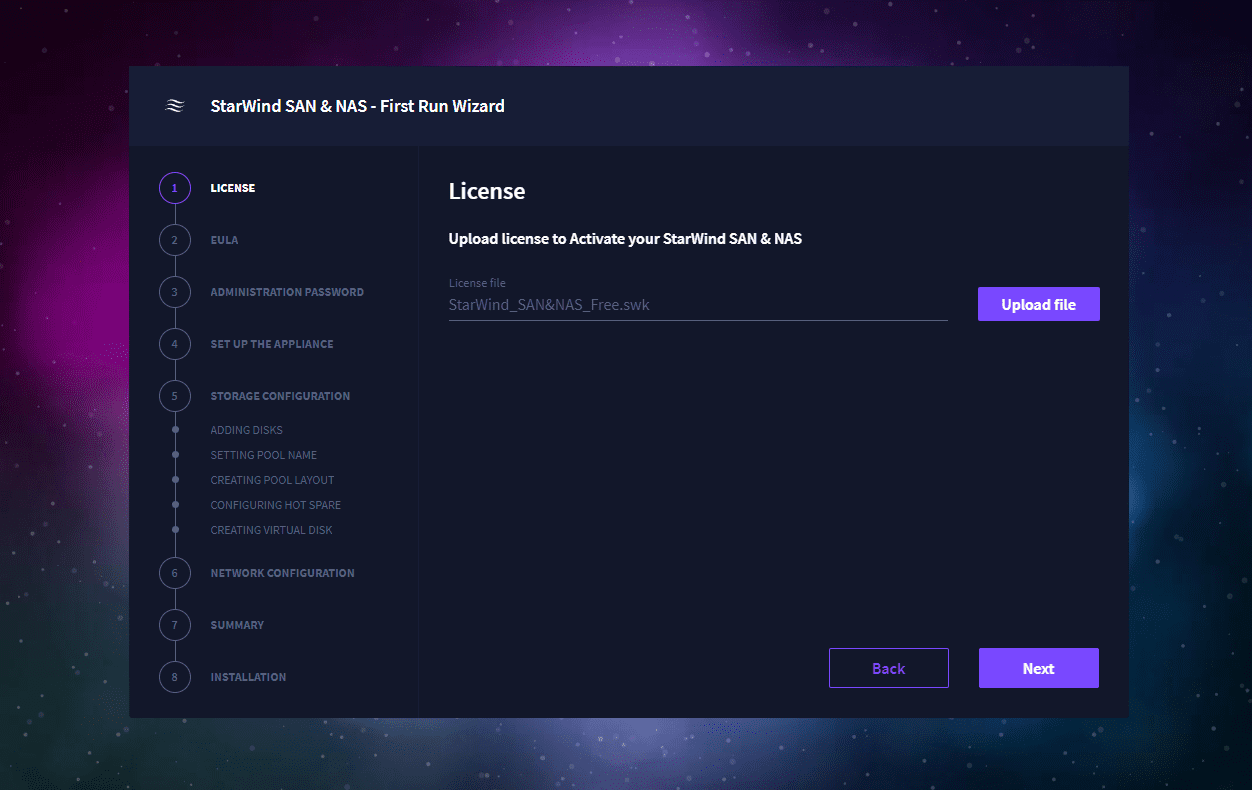
On the next screen, upload your StarWind SAN and NAS license file.
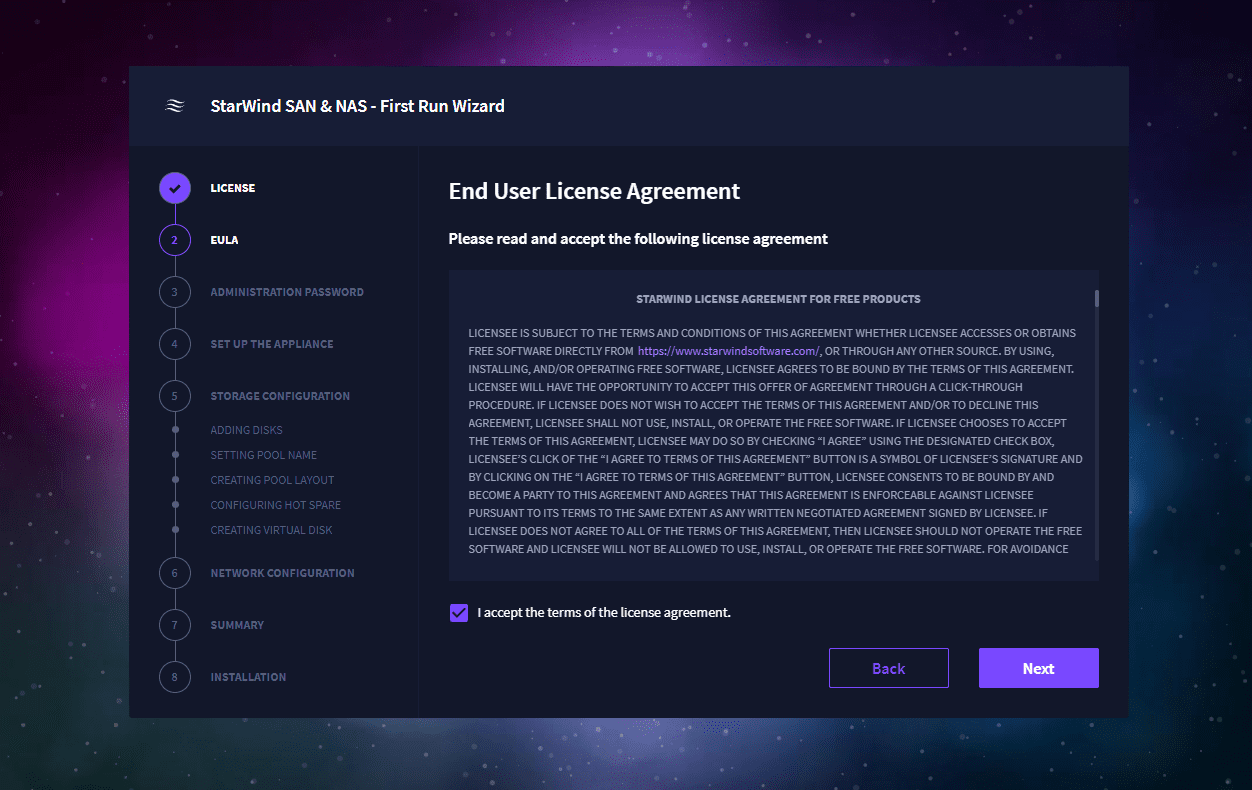
Accept the EULA for the StarWind SAN and NAS appliance.
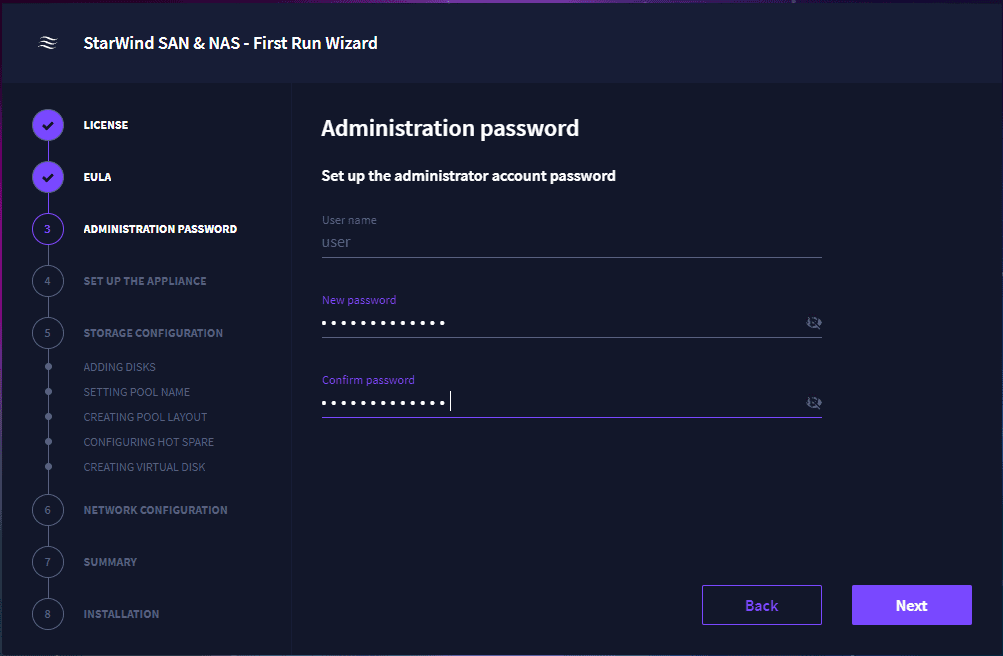
Set your administrator password for the appliance.
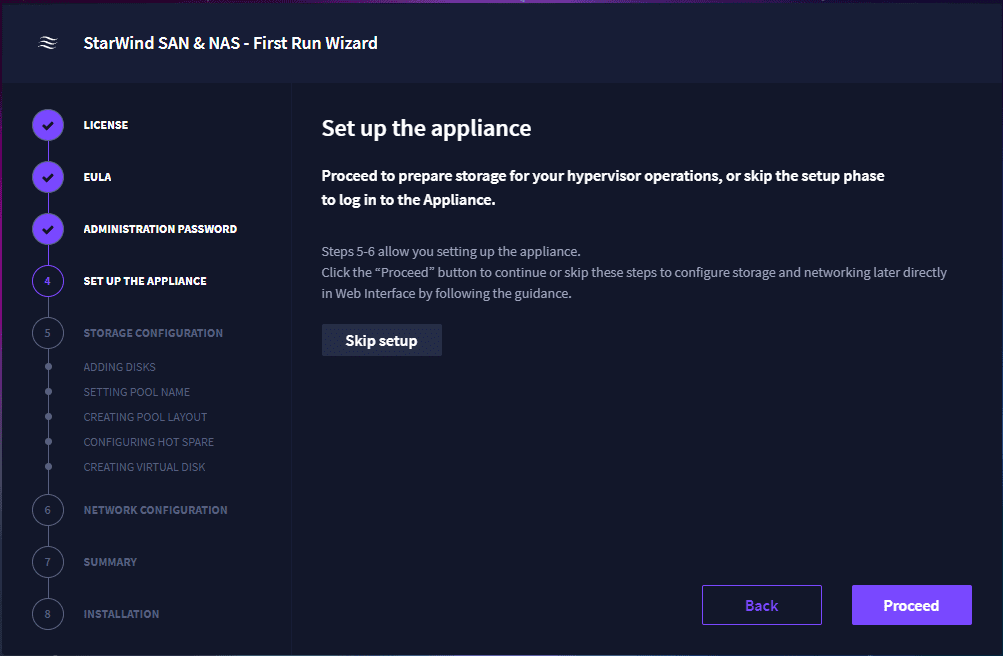
Storage configuration settings
The next section begins the storage configuration of the appliance. You can also click the Skip Setup to not configure the storage as part of the initial configuration.
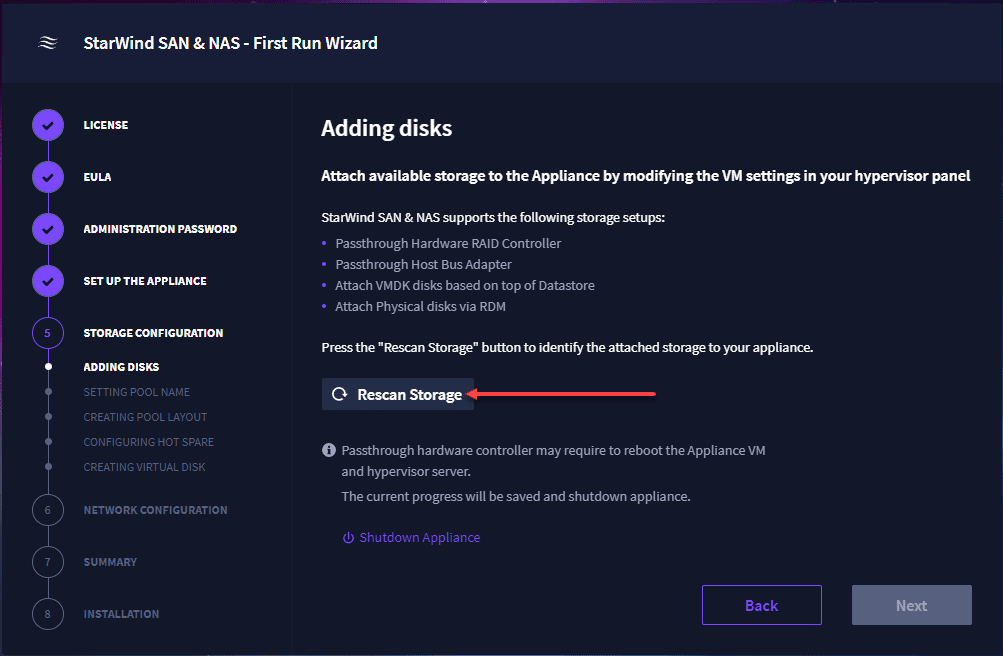
As a note. The default OVF deployment does not add disks that you can use for storage. You need to add a virtual disk to the appliance to use as storage for the solution. The cool part is you can do this while the appliance is running in vSphere. Just add a new virtual hard disk to the StarWind SAN and NAS virtual machine. Then click the Rescan storage button.
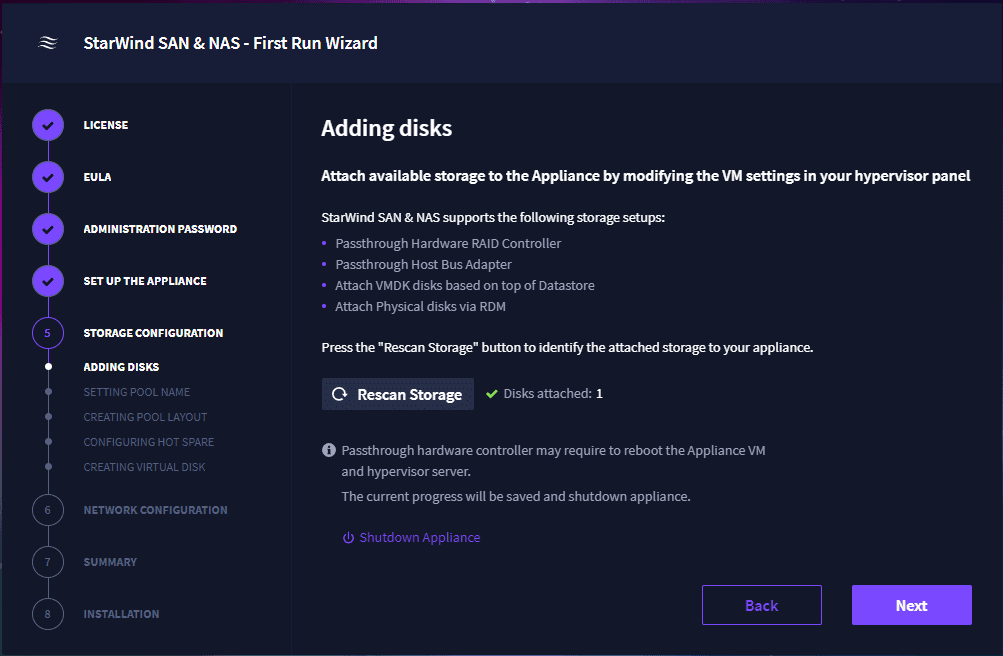
After you rescan, you should see a new virtual disk appear as ready to use.
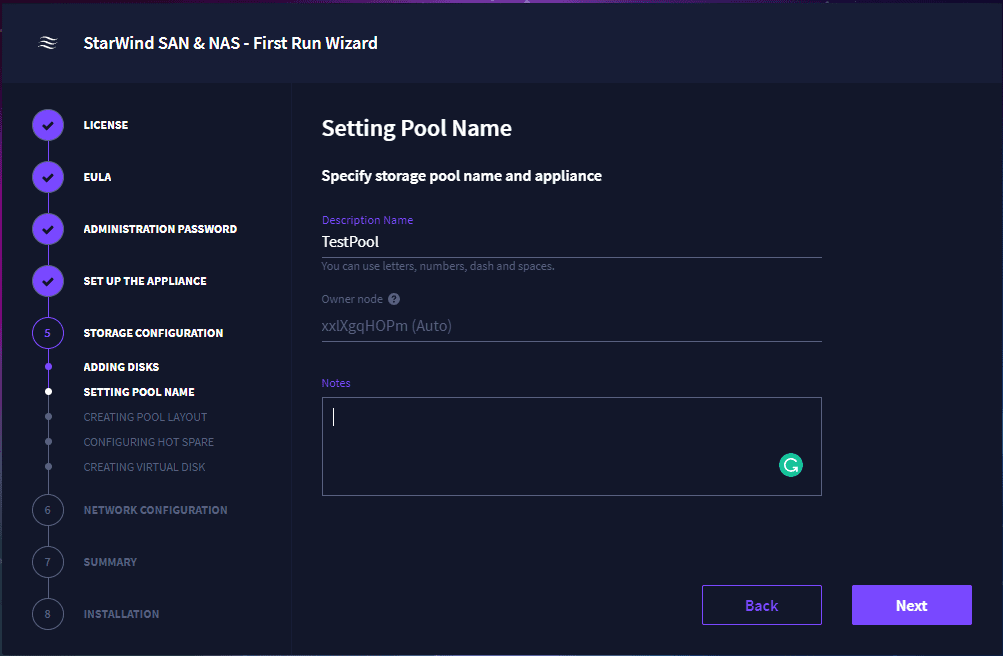
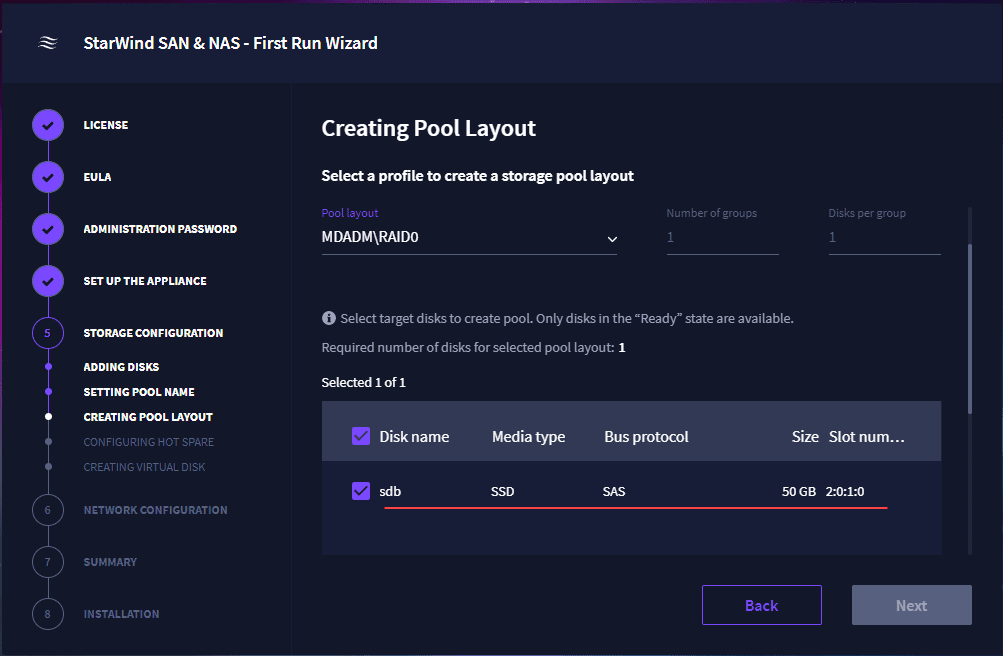
Setting a Storage pool
Set up the storage Pool Name.
Create your Pool layout. Here I am choosing a RAID0 configuration, choosing the new disk and then validate storage.
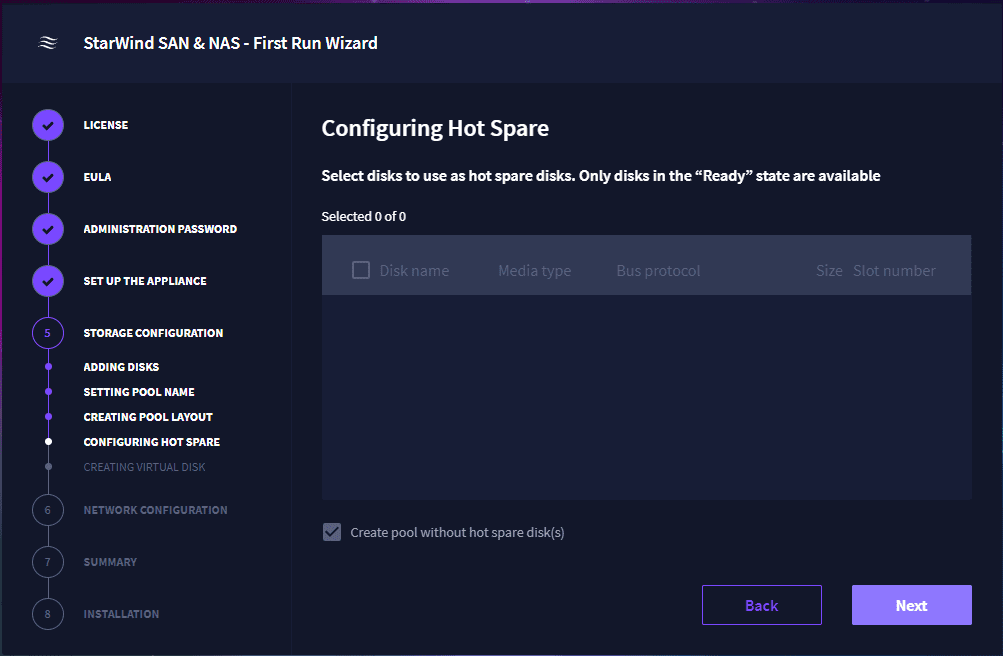
Configure a Hot Spare
Configure a hot spare if you want as well. However, this is optional.
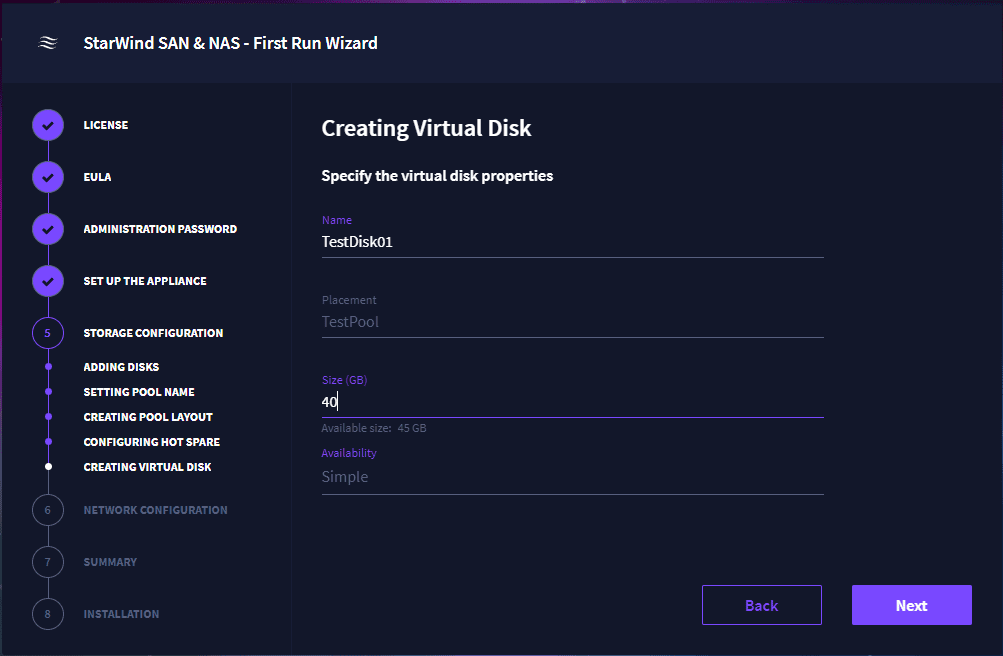
Next, create the virtual san free disk.
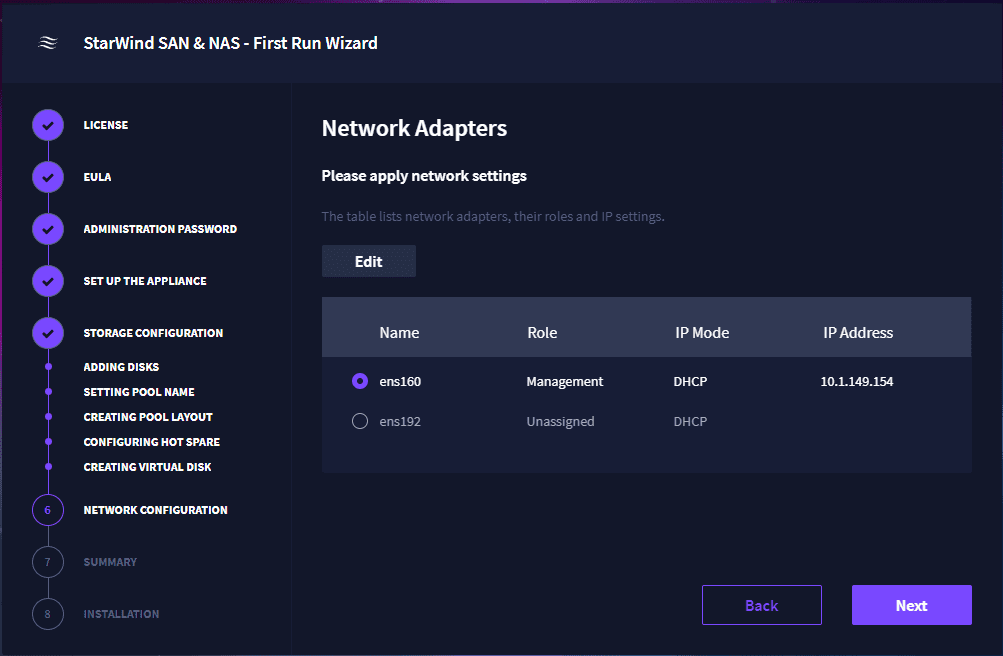
Configure networking
On the network adapters screen, this configuration should carry over from the initial configuration of the OVF. However, you can verify or edit from this screen.
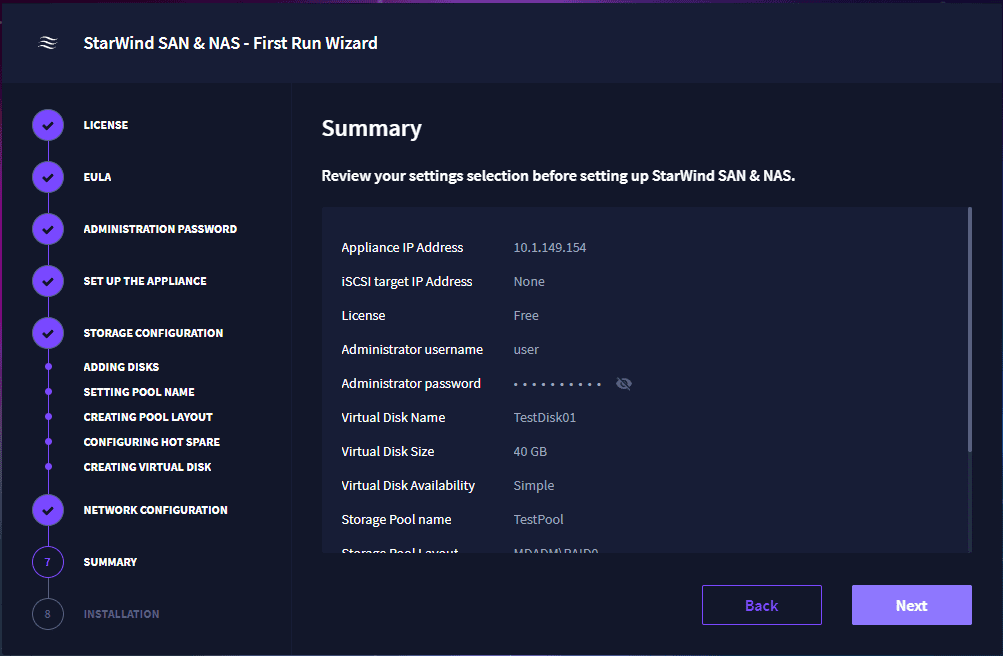
View the summary of the configuration.
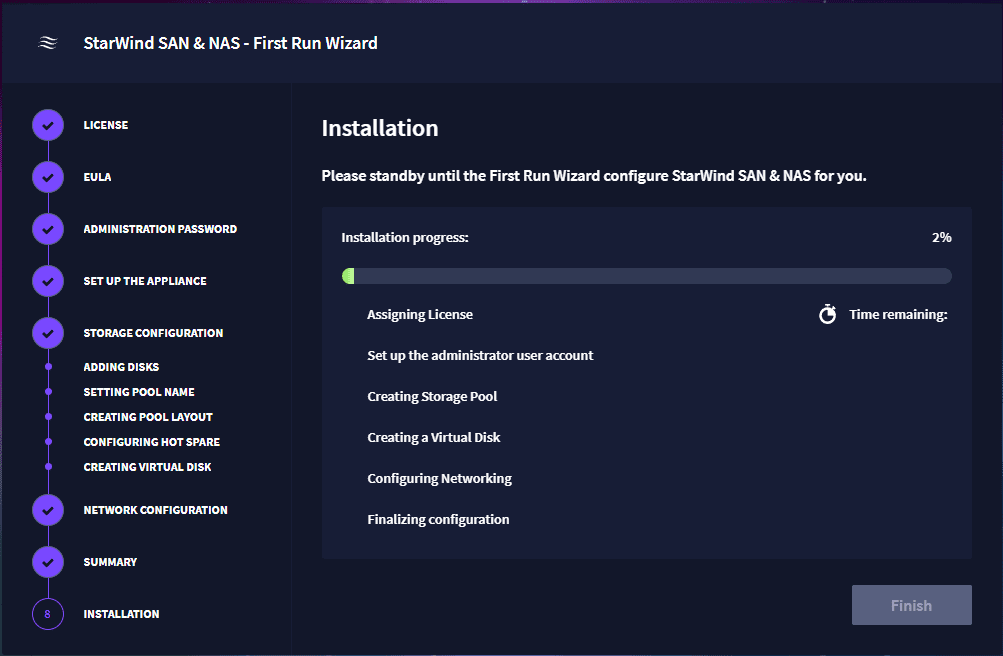
The installation of the StarWind virtual san free NAS solution.
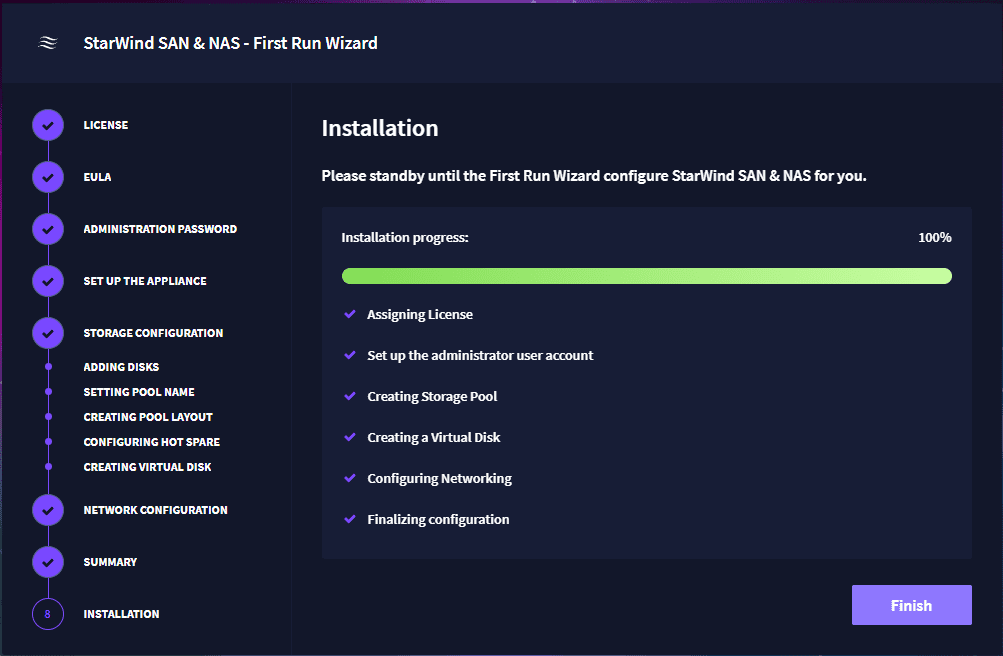
The installation completes successfully.
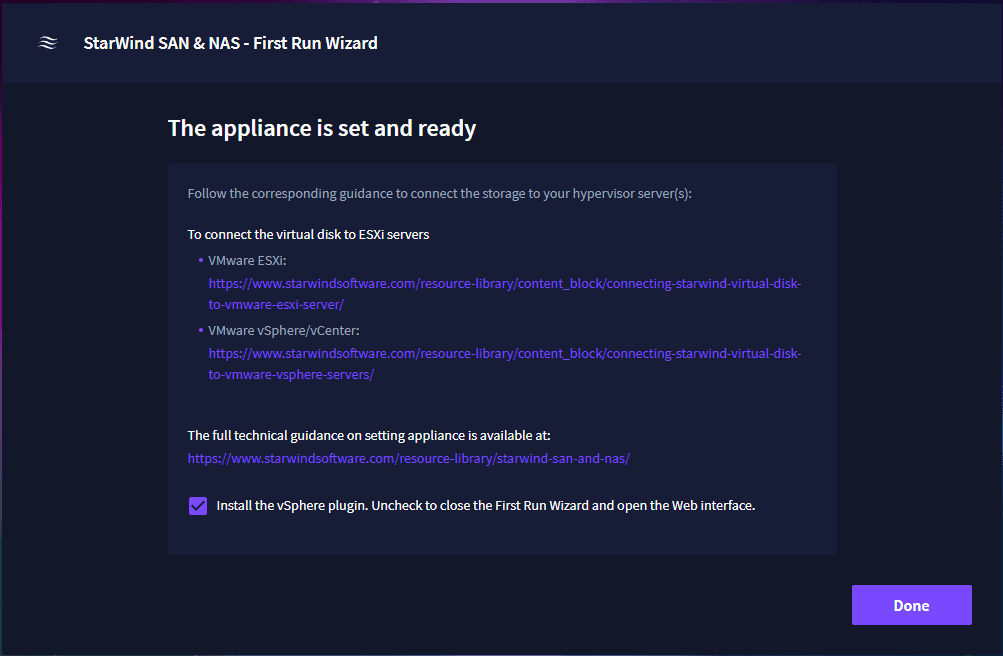
The appliance is ready to go. You can now browse to your https://<your applianceIP>:8643.
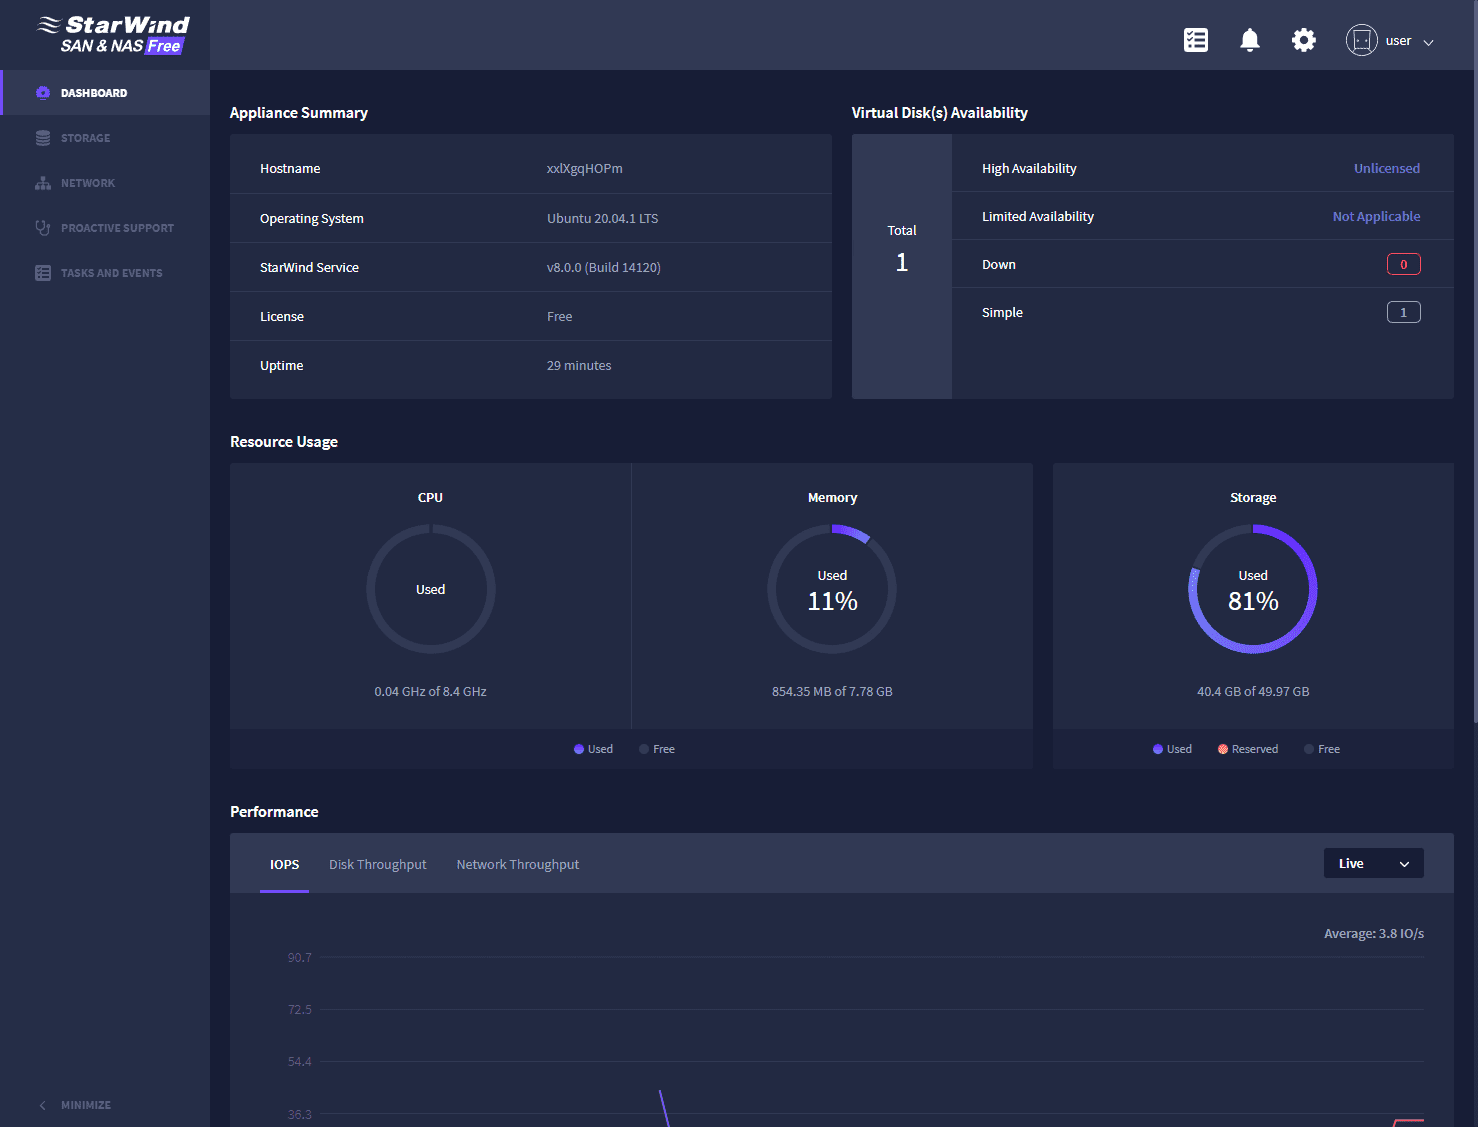
Logging into the StarWind SAN and NAS interface
When you browse out to the IP and 8643 port, you will login as user (this is the default admin user) and the password you set initially.
Wrapping Up
If you are looking for Free virtual san storage software, the StarWind Virtual SAN free solution along with the StarWind SAN and NAS are both excellent products that I use extensively in the home lab environment and in production use cases for edge deployments and ROBO installation to create robust SAN and NAS infrastructure without buying expensive SAN and NAS hardware. You can turn any server that can run a hypervisor into a SAN and NAS device.
Learn more about StarWind SAN and NAS here: StarWind SAN & NAS – Technical Guide – Resource Library (starwindsoftware.com)
Google is updating how articles are shown. Don’t miss our leading home lab and tech content, written by humans, by setting Virtualization Howto as a preferred source.
About The Author