In talking about software defined storage, most are familiar with VMware vSAN. However, there is another extremely powerful SDS solution available for free from EMC called StorageIO. StorageIO is free in the context of a lab or development environment. Otherwise it is my understanding it is sold by each TB of data that is in use by the storage solution. ScaleIO 2.0.1.2 is the version I used recently in testing installation with VMware vSphere 6. Currently, the GA release does not support vSphere 6.5, however, again the understanding I have is that version 2.0.1.3 which is soon to be released will support 6.5. In this post we will look at how to install ScaleIO 2.0 in VMware vSphere 6.
Install ScaleIO 2.0 in VMware vSphere 6
The process to install ScaleIO 2.0 in VMware vSphere 6 includes quite a few steps. You first signup and download the package from EMC via the link here. Once downloaded, there are several zipped folders contained for various deployment environments. You should see the ESX zipped folder contained therein.
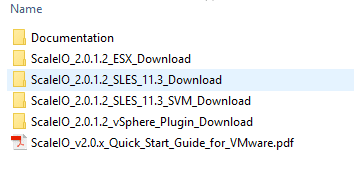
As you see above, the folders we are interested in are the ScaleIO_2.0.1.2_ESX_Download and the ScaleIO_2.0.1.2_vSphere_Plugin_Download folders. Underneath the plugin folder, we have a folder named EMC-ScaleIO-vSphere-plugin-installer-2.0-12000.122. This contains the plugin files and a .PS1 file that we use in PowerCLI to perform the actual installation of a special use plugin inside of vCenter.
The order of install is – install the plugin in vCenter, then use the integrated ScaleIO plugin to perform the actual ScaleIO deployment in vSphere.
Install the vCenter Plugin
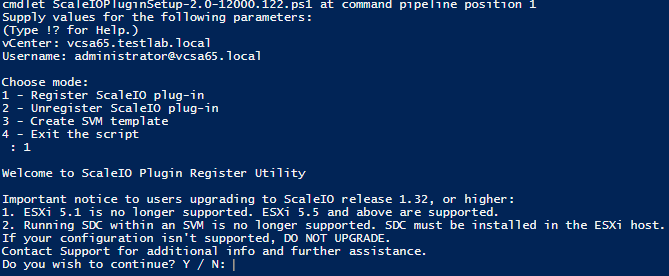
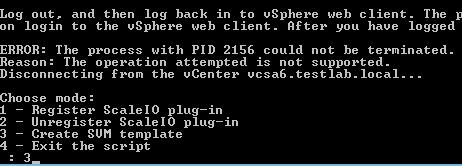
The first thing we do is login to our vCenter server via PowerCLI. Then we run the PowerCLI script provided. This launches a menu that steps us through the process. We choose option 1 here Register ScaleIO plugin-in.
For my installation here, I chose Standard installation. Once the process connects to vCenter, it uploades the plugin and registers the plugin in vCenter. We are directed to log out and back into the web client and then hit Enter. Note Once you hit ENTER, the web server that is spun up to serve out the plugin files is terminated.

I had an issue where even after the plugin was registered, it didn’t show up in the web client. A quick stop and start of the vsphere-client service resolved this issue.
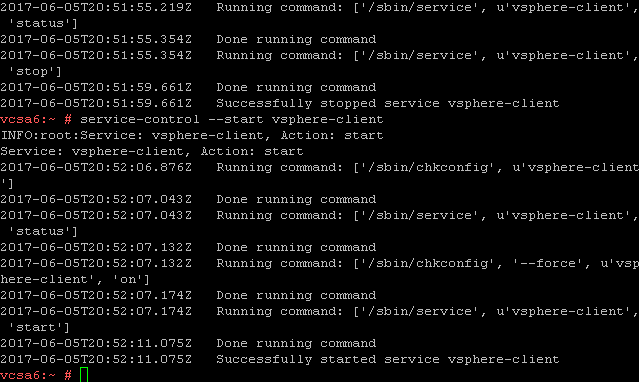
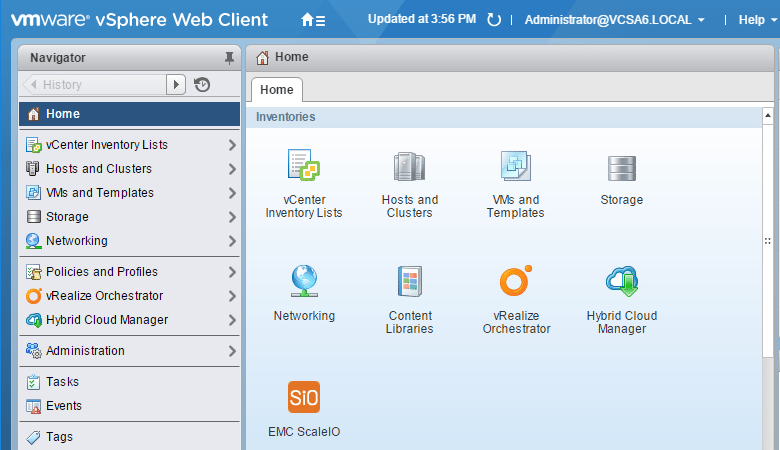
After the stop and start of the web service, the ScaleIO plugin showed up correctly.
Deploy the VM Templates
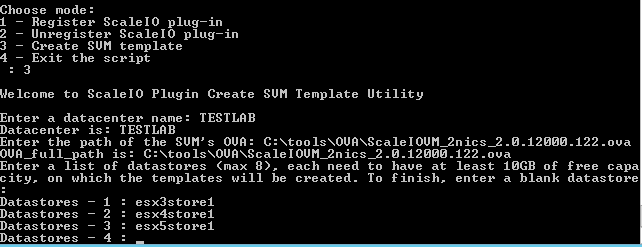
After getting the plugin up and running in vCenter, we need to copy up our ScaleIO SVM template. These are the templates used to provision the needed controller VMs, etc To do this, we simply use the same PowerCLI script we used to deploy the plugin. This time we choose option 3.
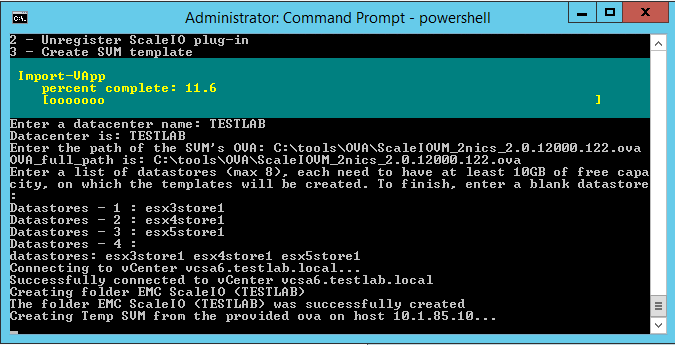
We simply feed the script our datacenter name, the path to the OVA template (included in the ScaleIO zip installation package), and then the names of our datastores.
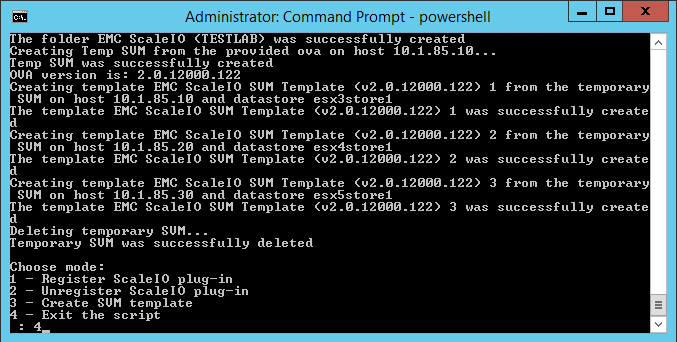
The upload and provisioning of the templates begins.
You should see the template SVMs provisioned successfully.
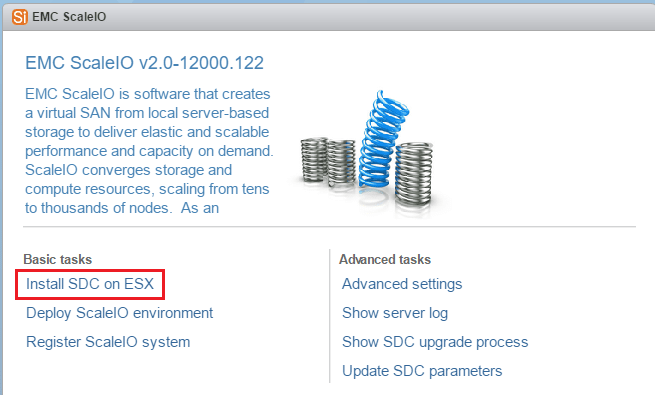
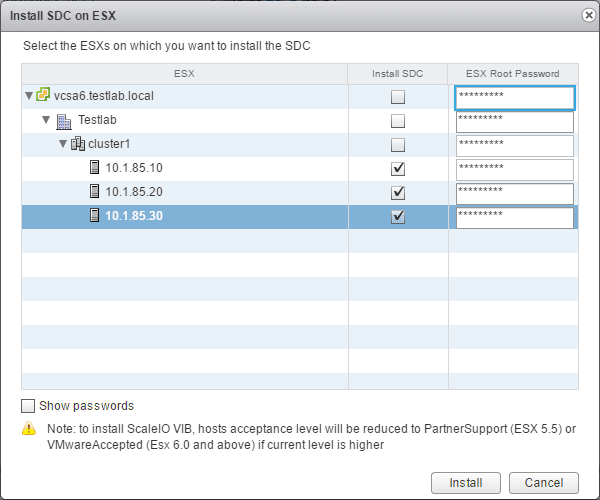
Deploy the SDCs in ESXi
The SDC is a lightweight device driver that exposes ScaleIO shared block volumes to applications.
We basically have to enter the root password for our ESXi hosts to install the driver.
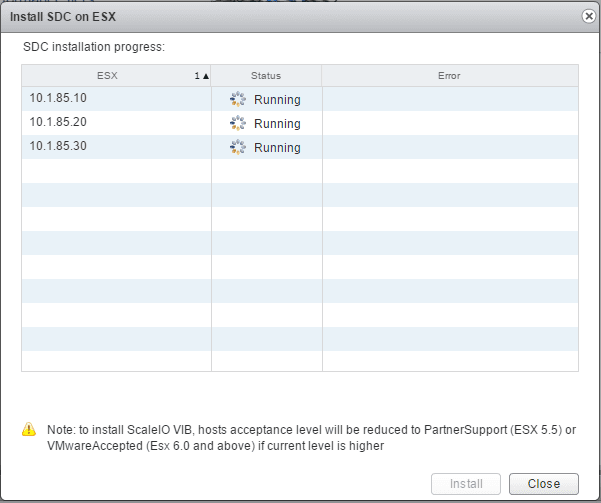
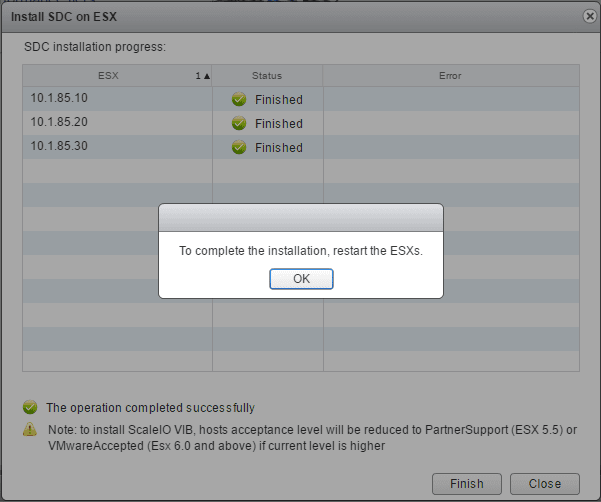
The progress of the installation progresses.
Installed.
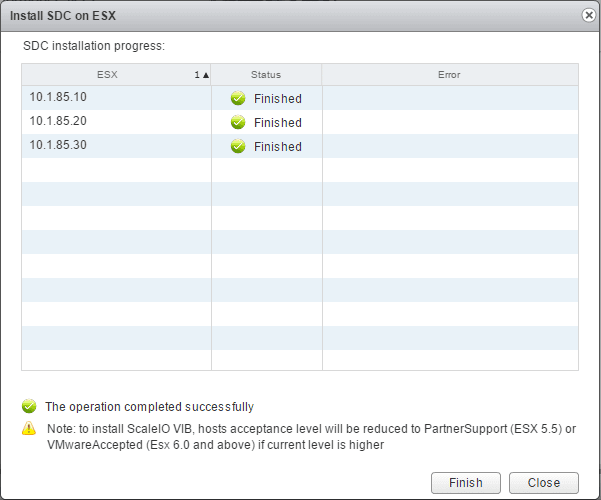
Once we click Finish, we are directed to reboot the hosts.
ScaleIO deployment
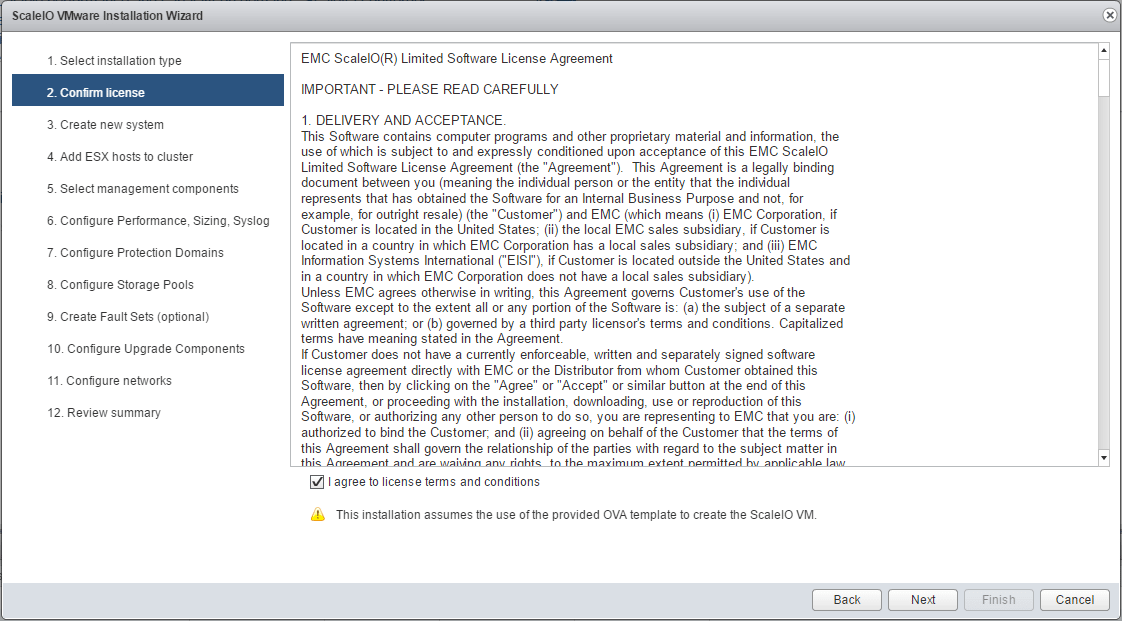
Once we have rebooted our ESXi hosts, we are ready to begin the ScaleIO deployment. One the main ScaleIO screen, click the Deploy ScaleIO Environment to begin the wizard.
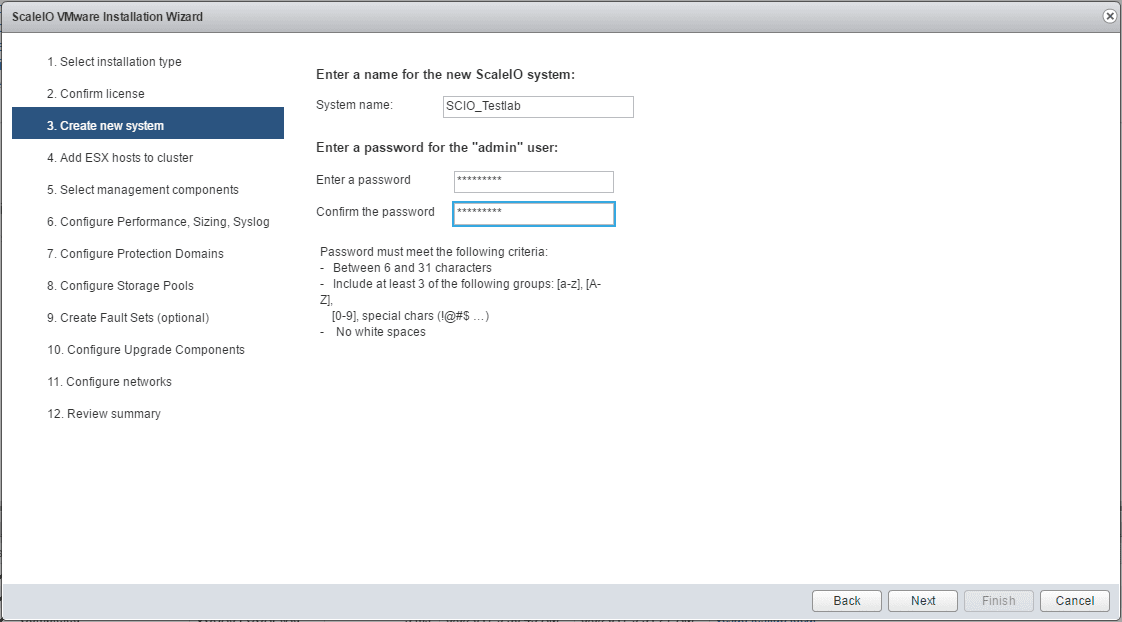
Naming the ScaleIO System Name.
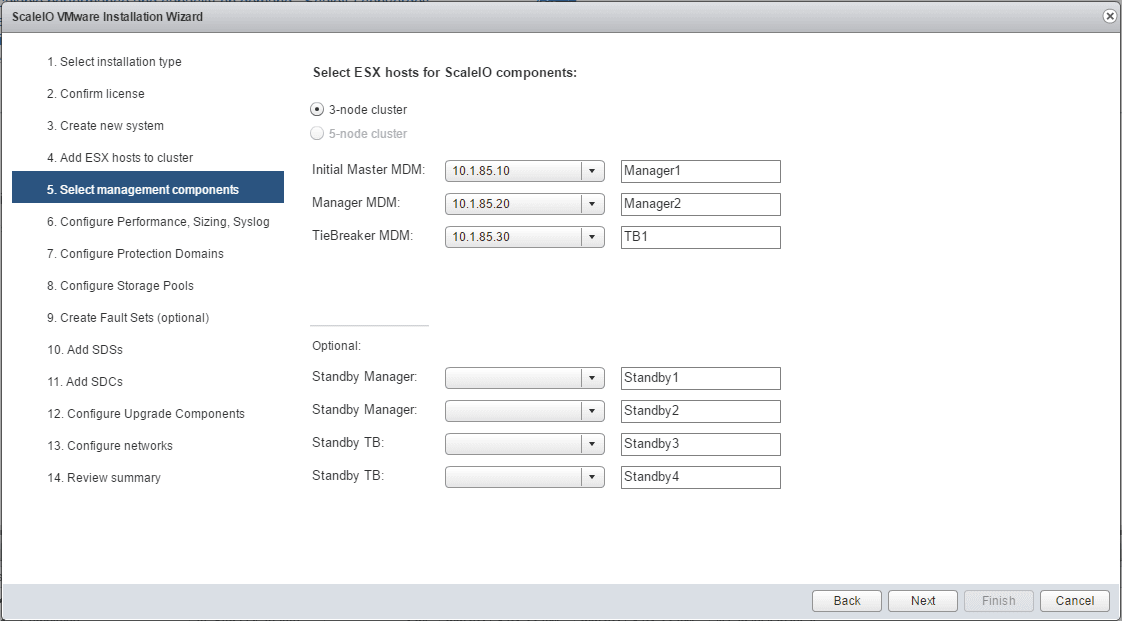
Picking which hosts the master, manager, and tiebreaker MDM VMs live on.
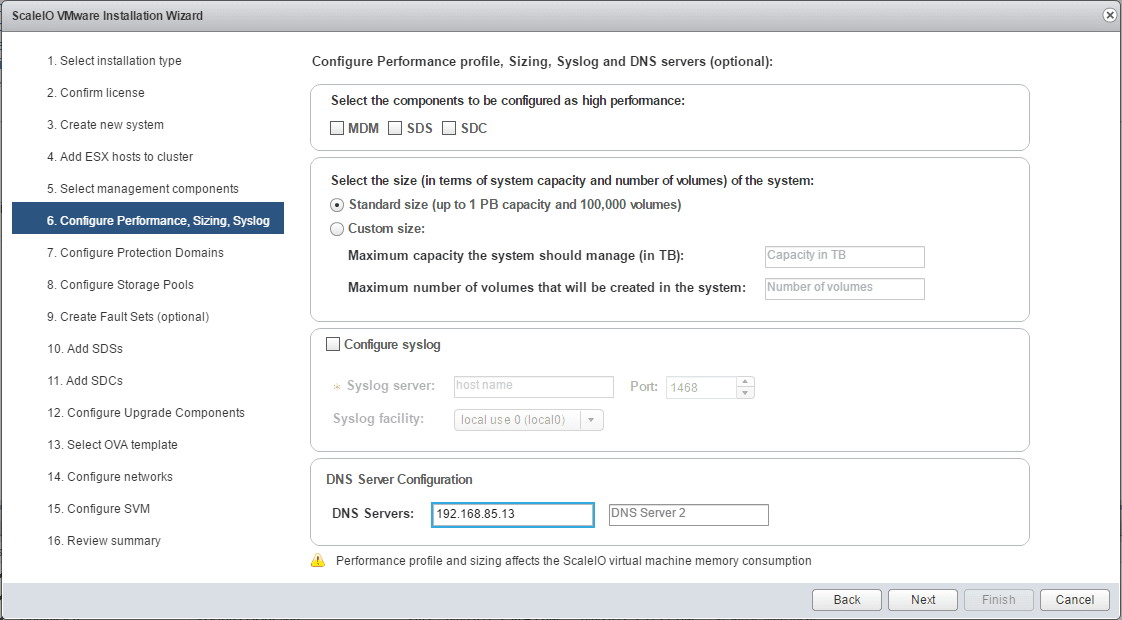
Setting up DNS.
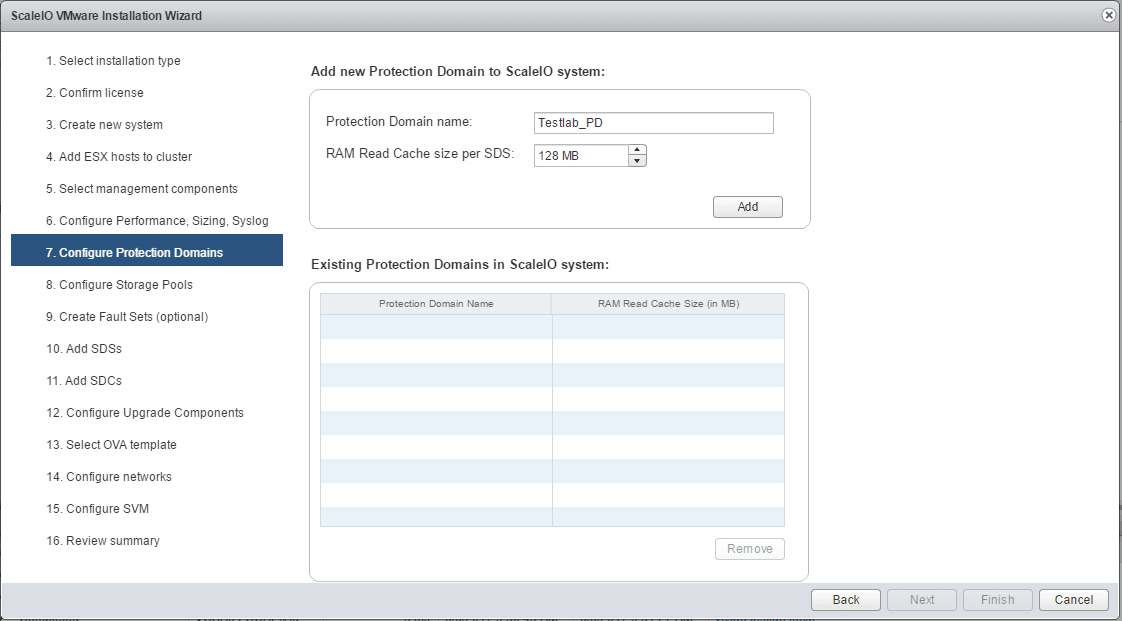
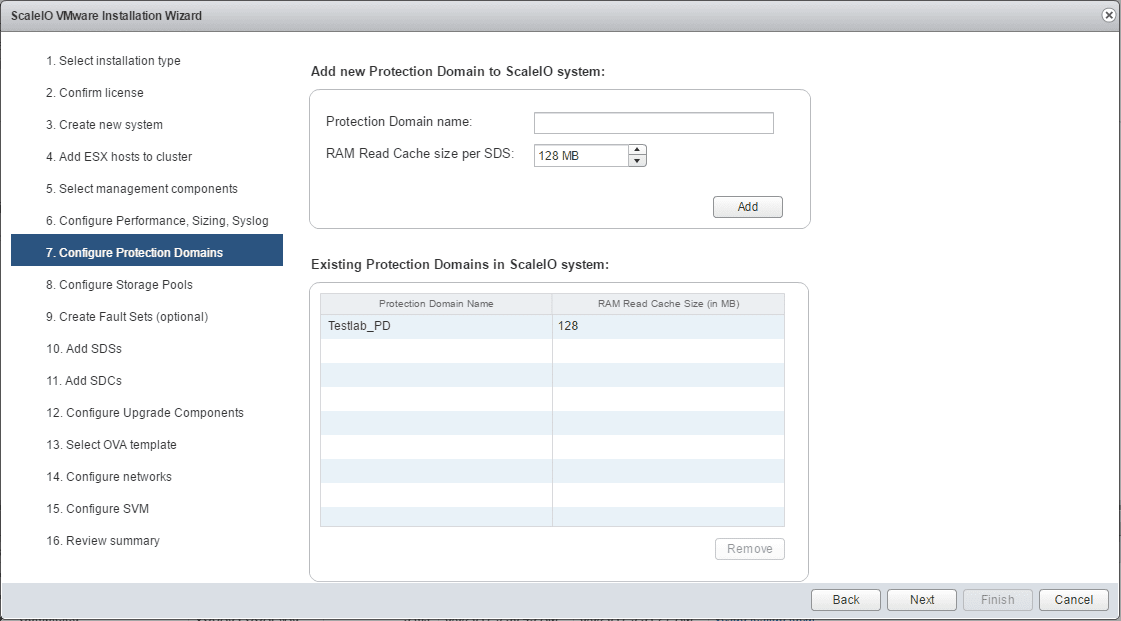
Setting up our Protection Domain name.
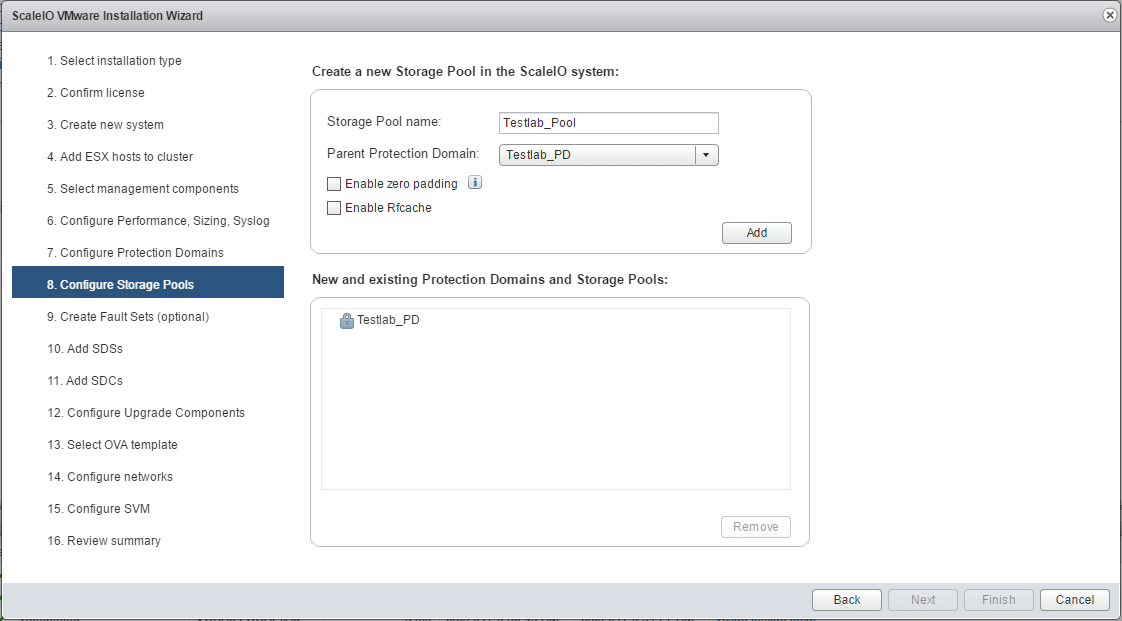
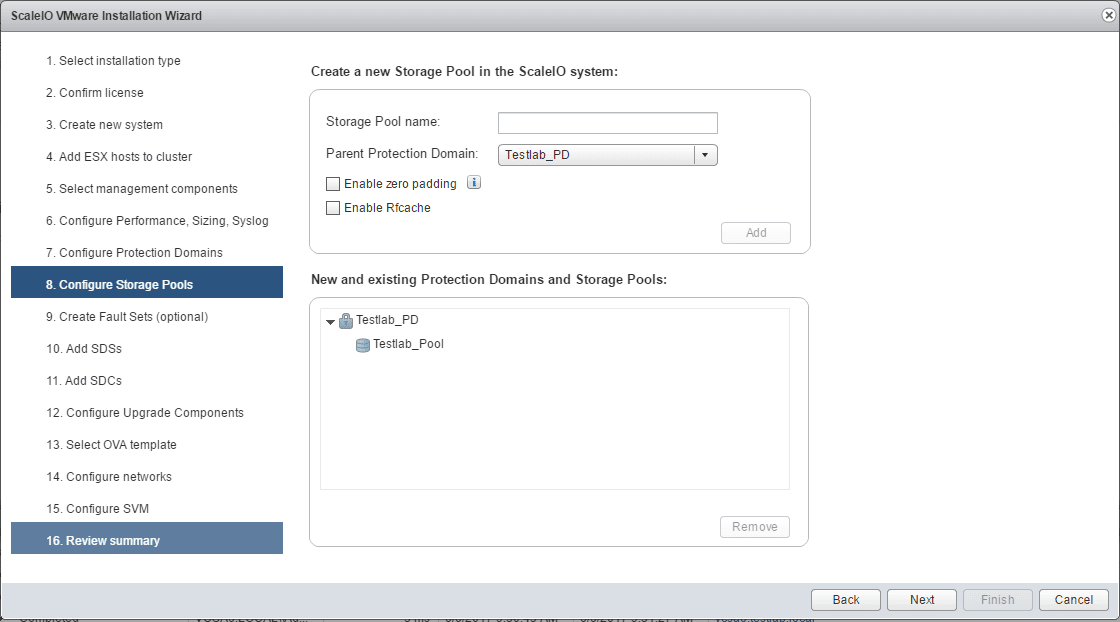
Next, create the Storage Pool for ScaleIO.
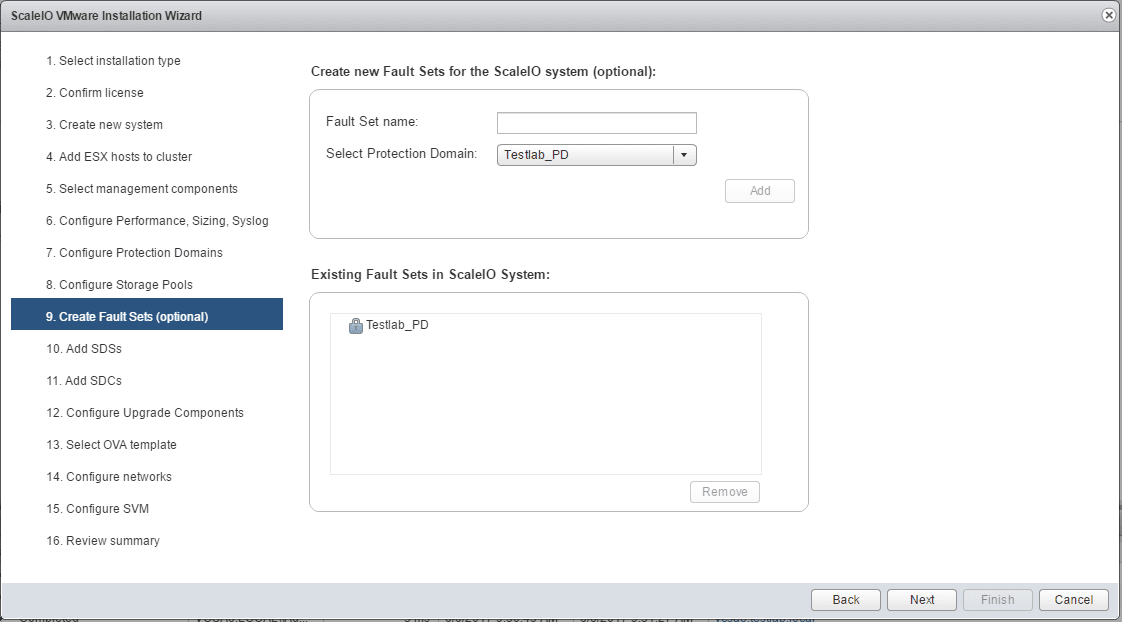
Accepting the defaults here on Fault Set.
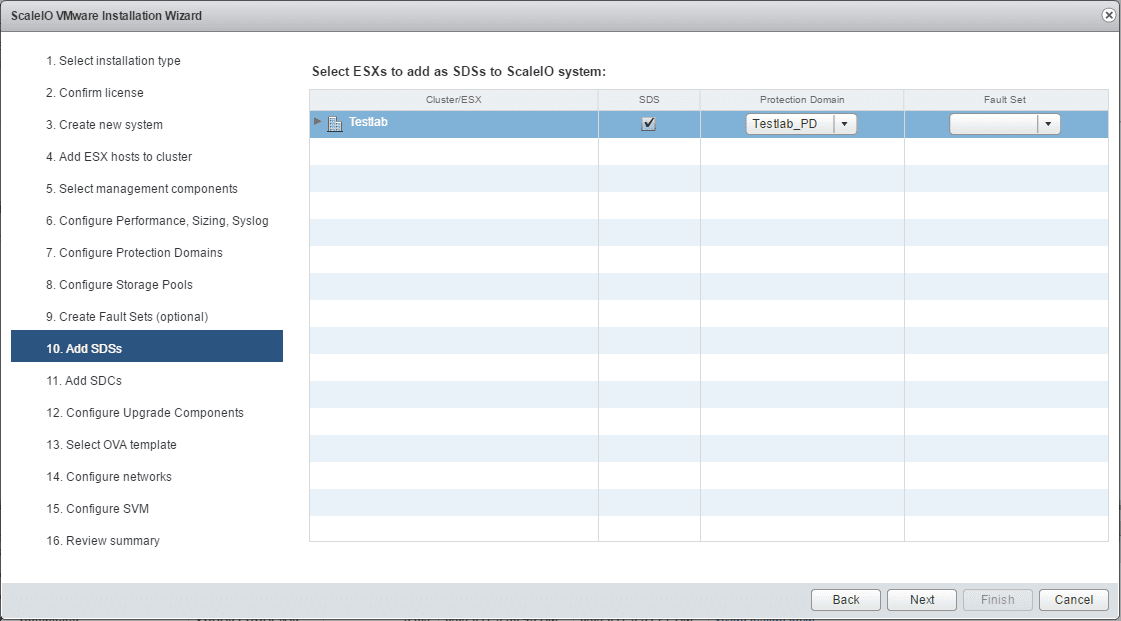
Here we begin adding our disk resources to the ScaleIO system. The SDSs are ScaleIO Data Sources.
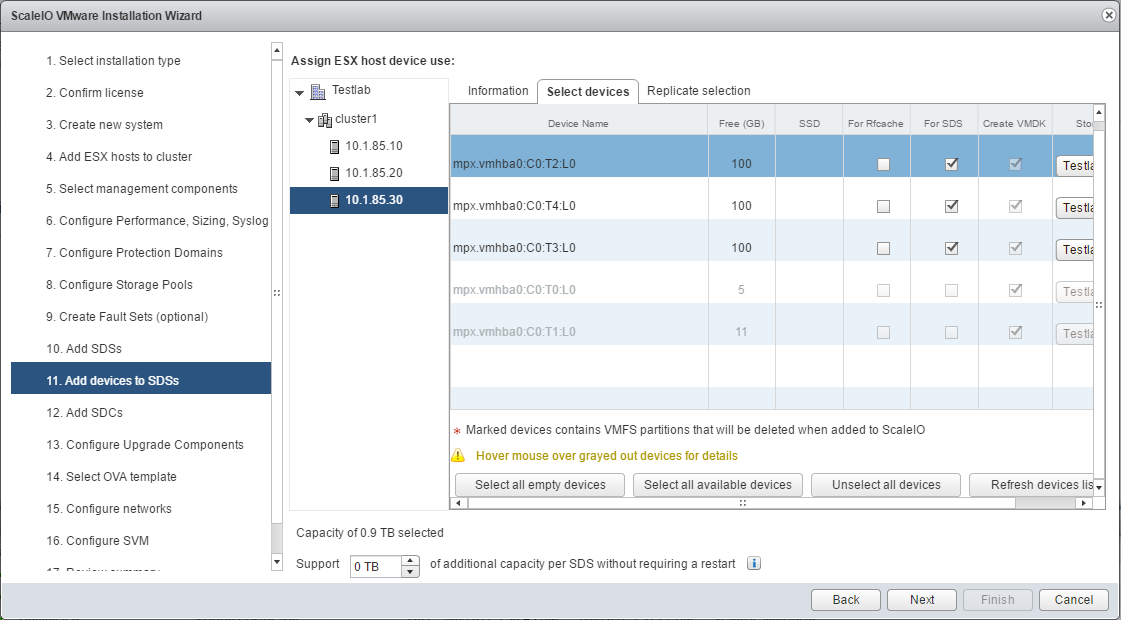
Selecting the unformatted DAS drives for each ESXi hosts.
Selecting all ESXi hosts here.
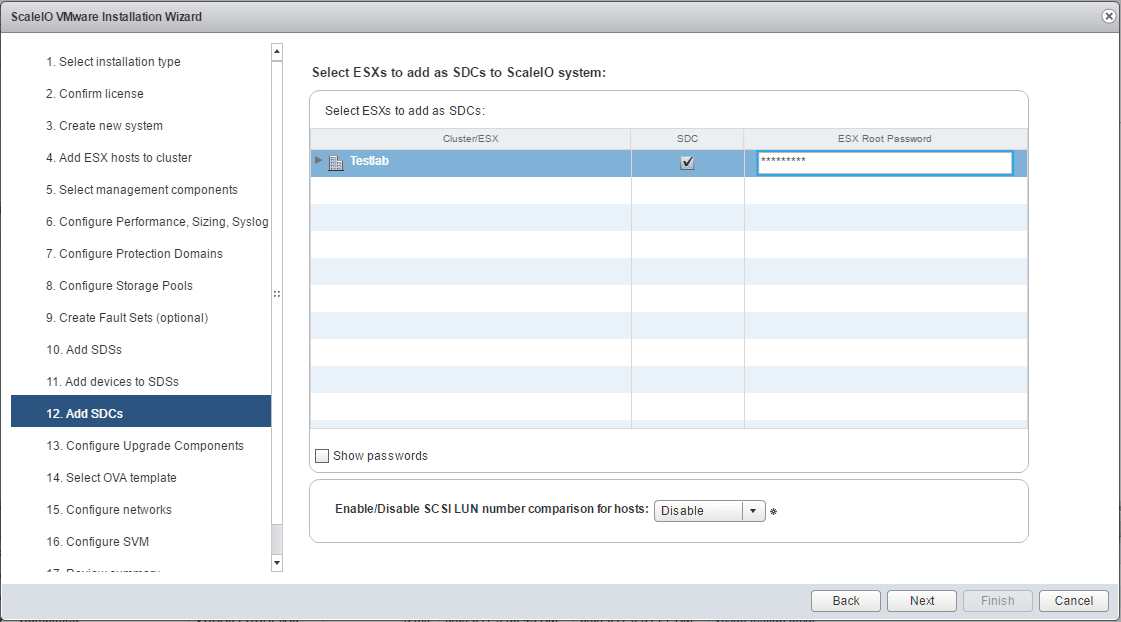
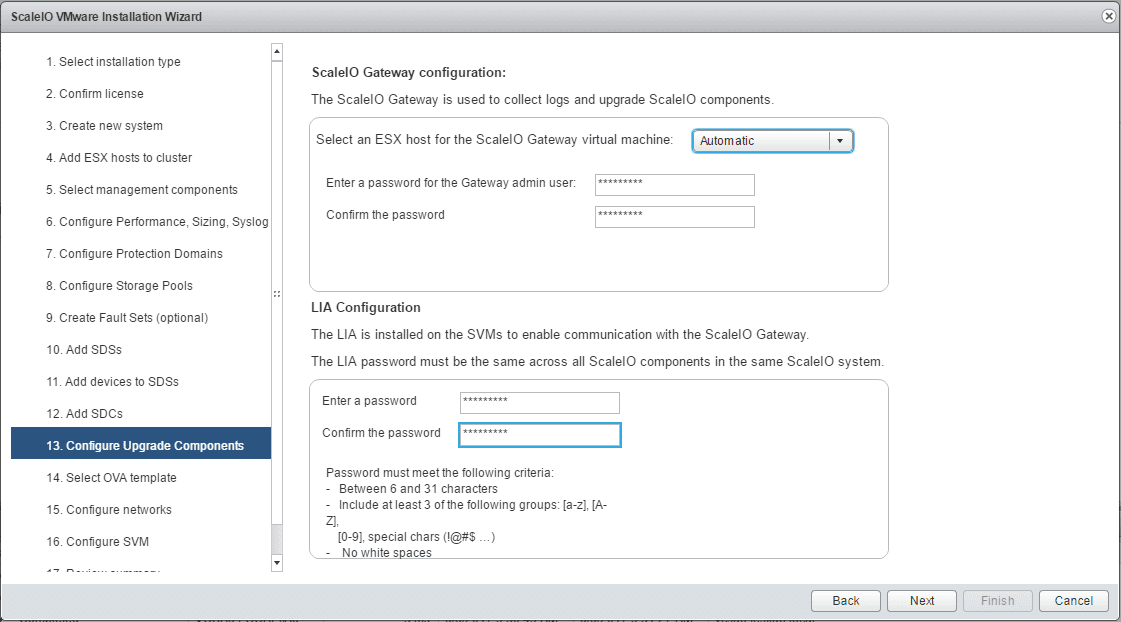
Selecting the Gateway ESXi host as well as the LIA password (used to communicate with ScaleIO Gateway
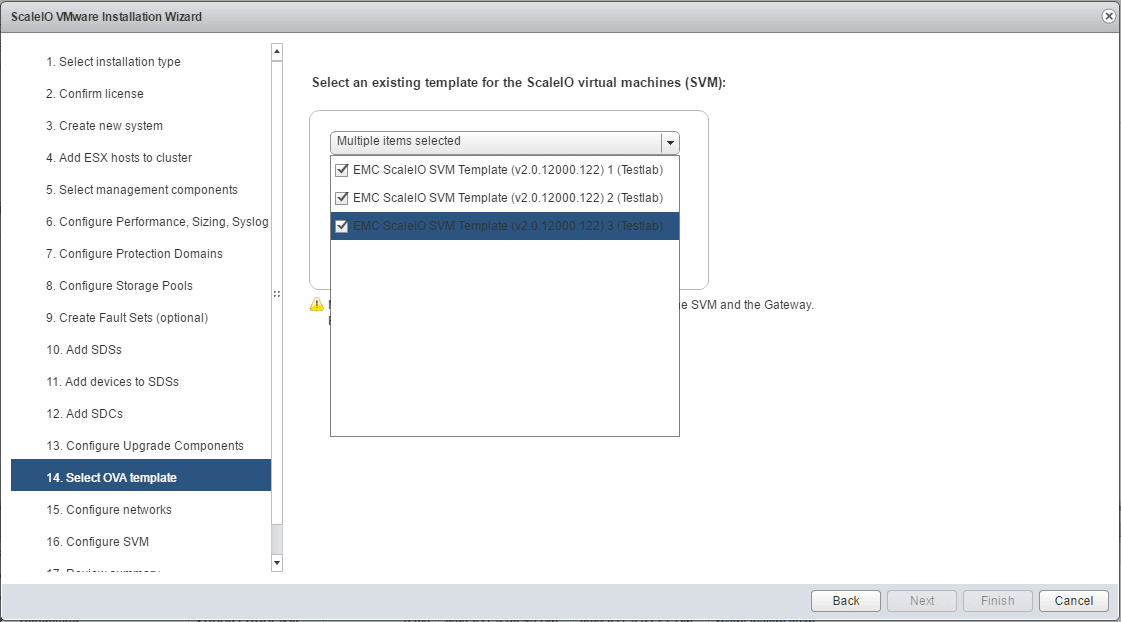
Choosing the templates for ScaleIO virtual machines.
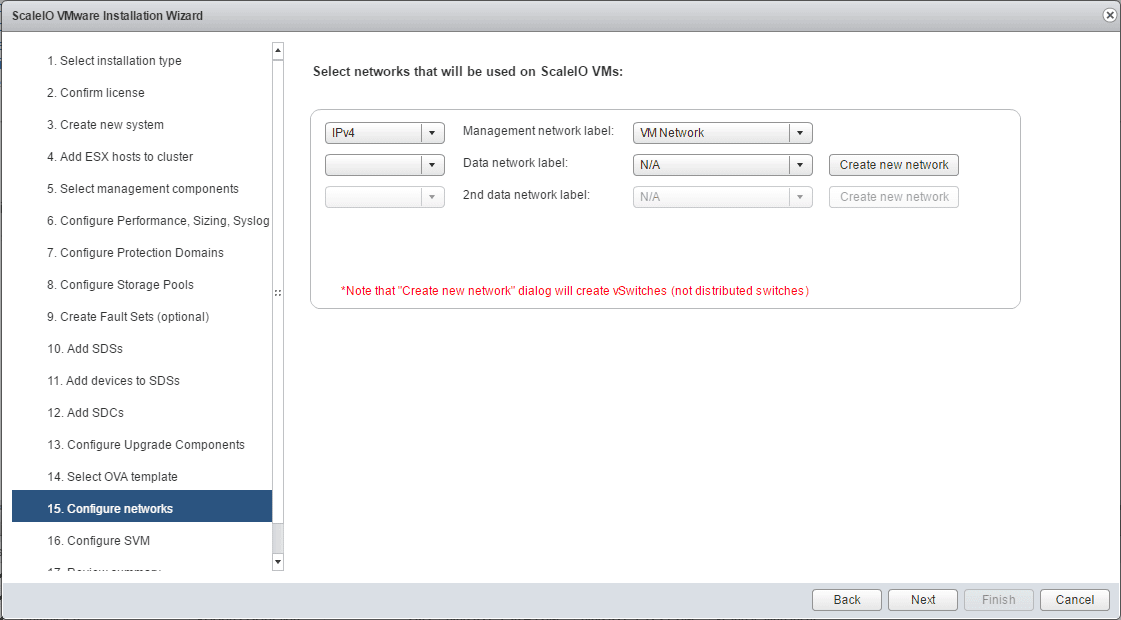
Setting up the ScaleIO networks. For lab purposes, I am simply using the existing management network.
Finalizing the installation.

Progress on the installation begins.
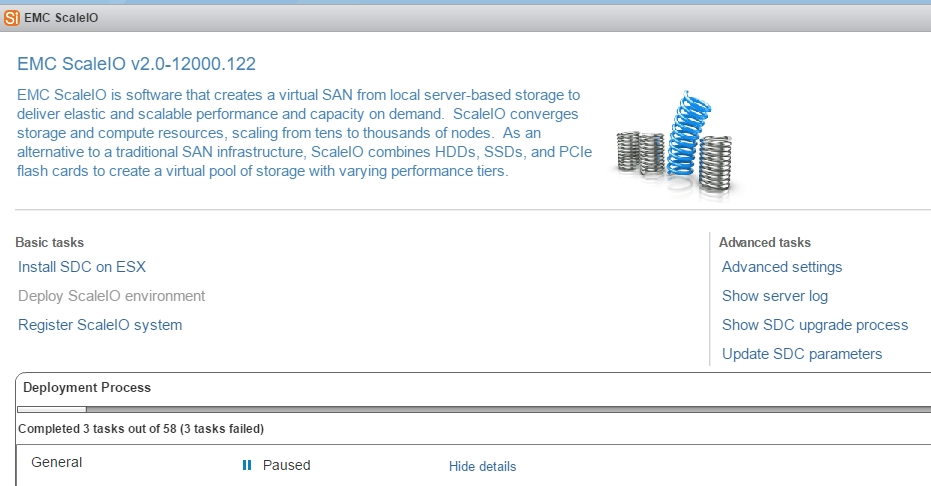
ScaleIO GUI
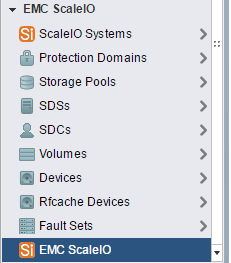
After ScaleIO installation finishes, you will see additional options directly in vCenter to view protection domains, SDCs, etc.
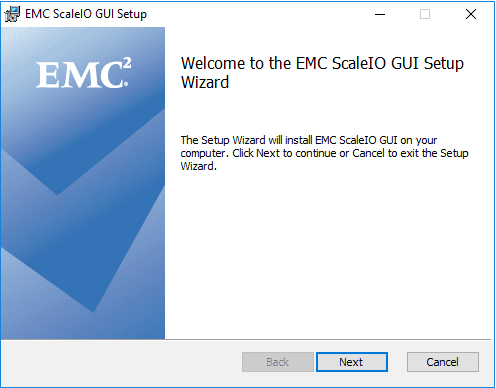
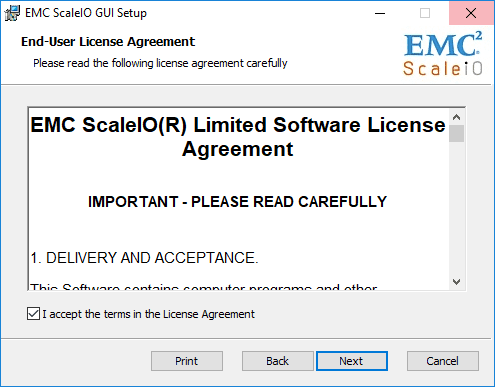
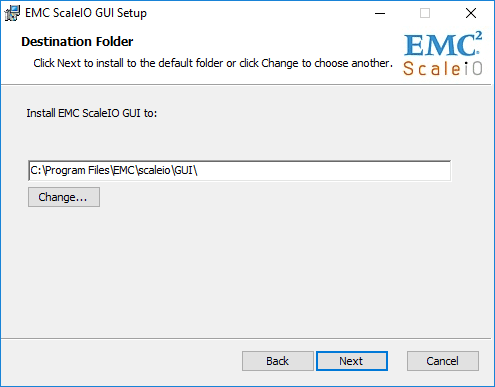
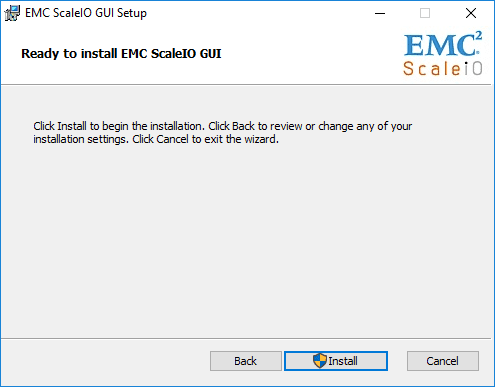
Additionally, you will most likely want to install the Windows GUI for interacting with the ScaleIO installation. This is a separate download from EMC. Installation is simple.
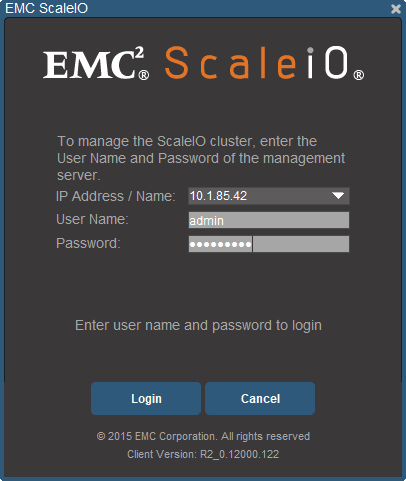
Once you have finished installing the ScaleIO management application, connect to your ScaleIO node with the credentials you set during the install.
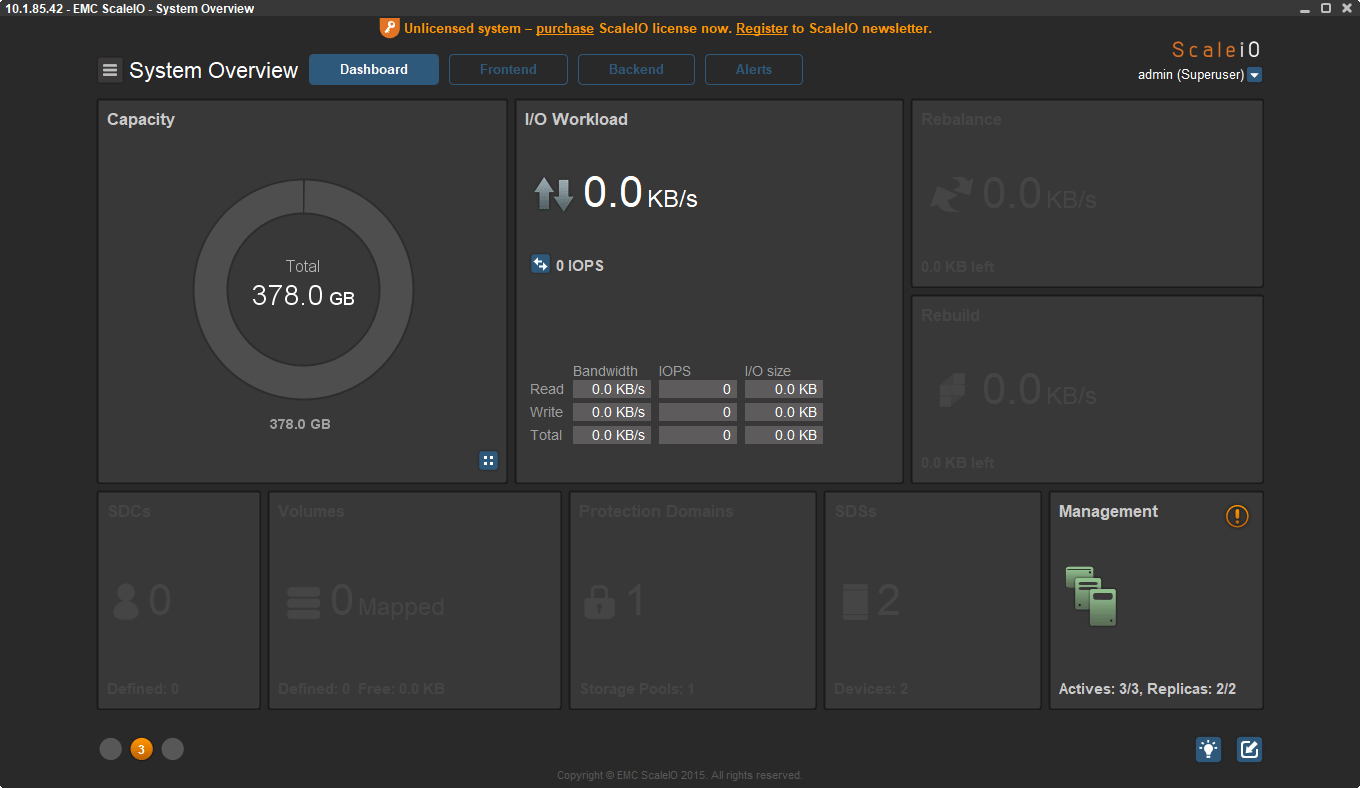
You will be presented with the ScaleIO System Overview. The GUI application allows you to view your Frontend, Backend, and Alert information.
Thoughts
Hopefully, this post on my adventures to install ScaleIO 2.0 in VMware vSphere 6 may be helpful to others who want to play around with ScaleIO in a lab environment and kick the tires on the solution. In the next ScaleIO post, I will show the ScaleIO interface as well as a few initial configuration steps, etc.
Google is updating how articles are shown. Don’t miss our leading home lab and tech content, written by humans, by setting Virtualization Howto as a preferred source.
About The Author